Around Memorial Day weekend, we got our patio set out for the summer and oooph, it was looking rough.

I initially thought the wood was teak, but after digging back through my purchase history I discovered this set is acacia wood. I bought it from Target in summer 2019 so it’s been through four summers and the wood on the coffee table in particular was looking very weathered. This set lives on the part of our patio covered by a porch, so most of it is protected from the bulk of rain and sun but the coffee table sits furthest out and gets more of the elements. The rest of the set was still a warm brown color but the table top was completely gray!

When we bought this set we were looking for a good, budget-friendly option that could last us several years – we may eventually have a patio renovation and invest in different furniture but in the meantime we’re trying to make this one work for us as long as possible. We hardly used our patio in June due to travels and other plans but in July we have several outdoor gatherings planned here and this set will get a ton of use. I decided to try and give the coffee table a little TLC and get it looking much nicer for these gatherings and just our general daily use too – it looked so great afterwards that I ended up working on the entire furniture set.

Here’s the process I followed:
Materials Used
-orbital sander
-80, 120, 220 and 400-grit sandpaper
-2-3 clean cloths
-drop cloths
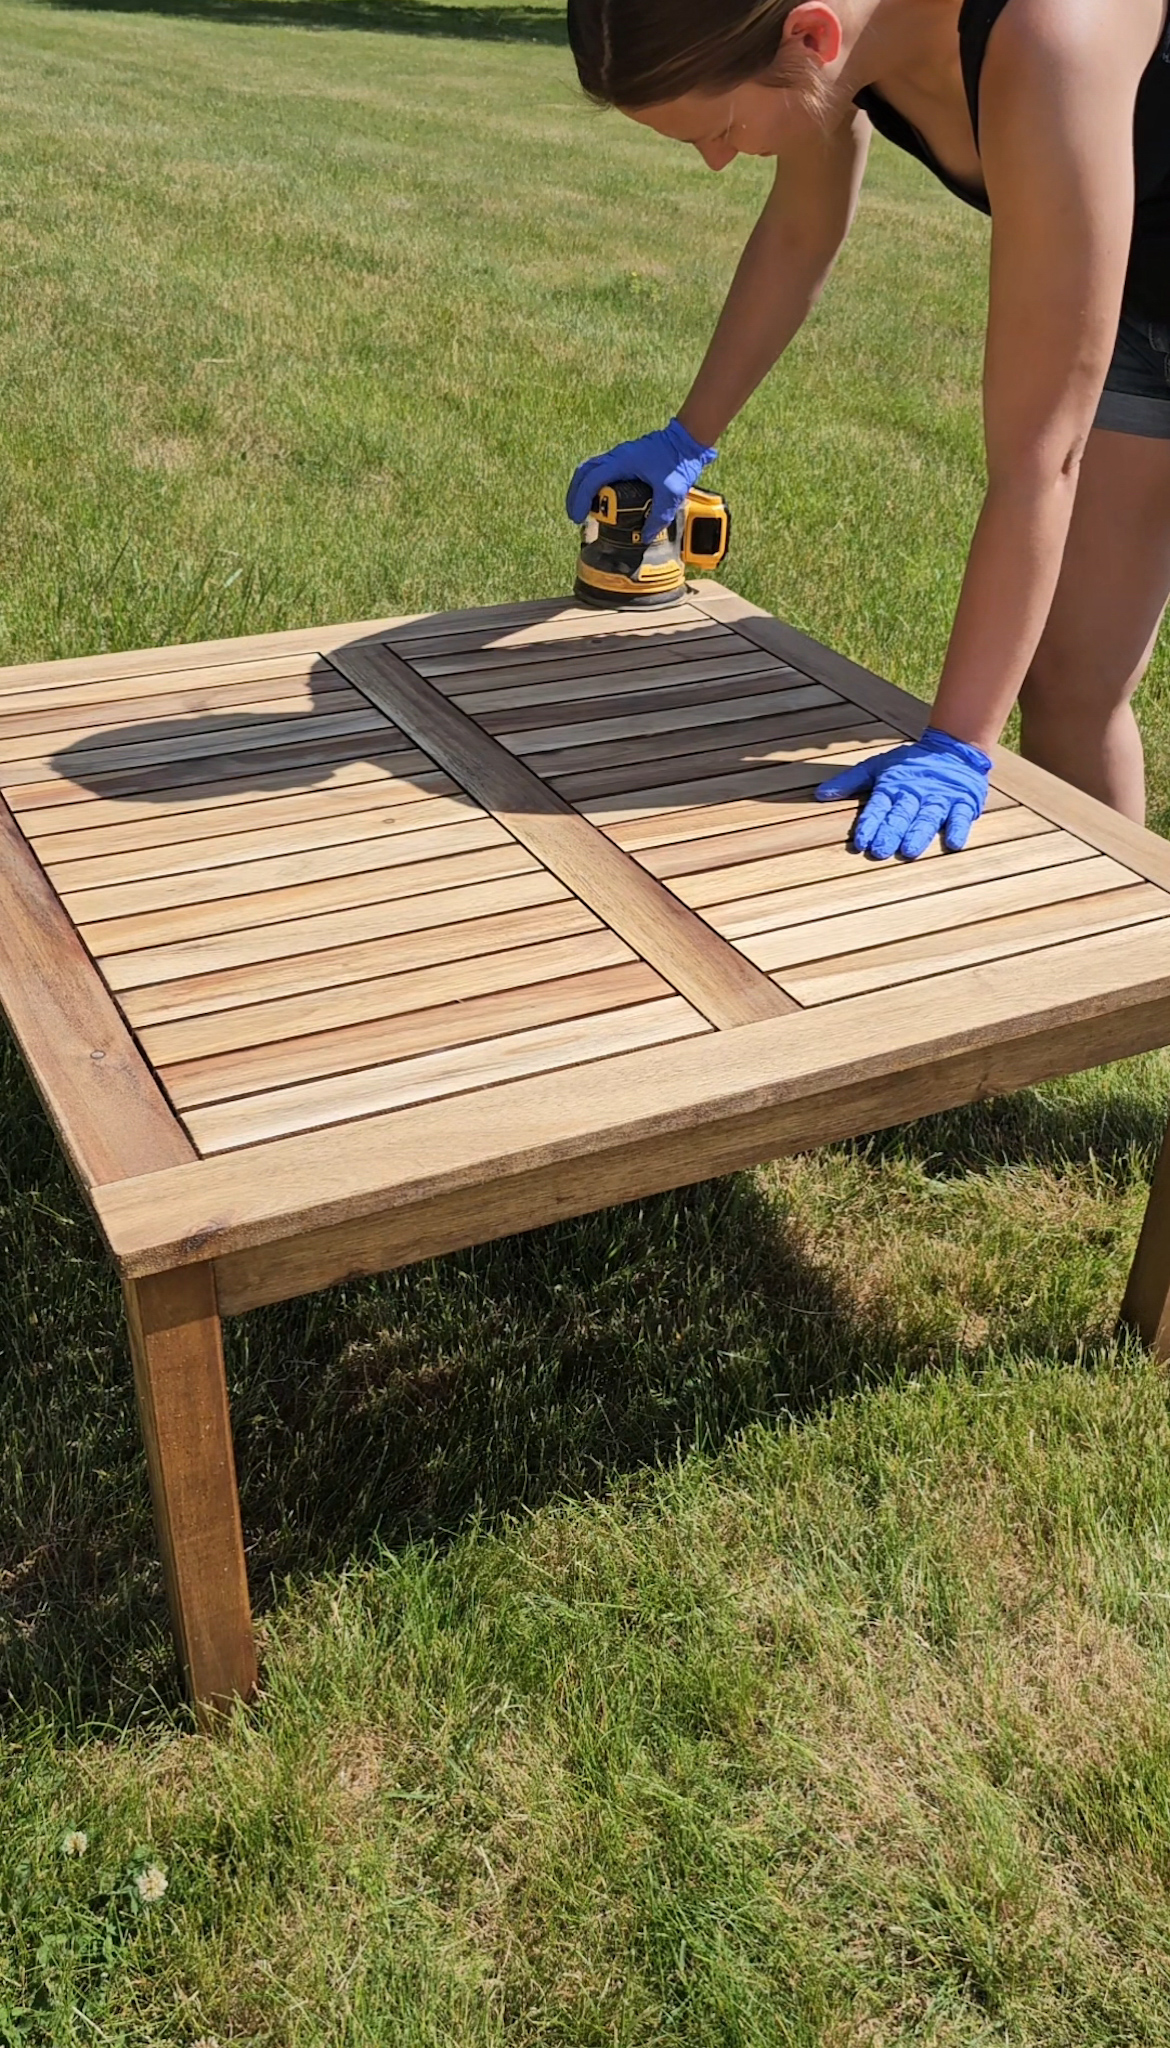
First up, I needed to sand off the top layer of dirt, grime, and weathered wood. I used 80-grit, then 120-grit, then 220-grit to get back to a smooth, clean surface.
After sanding, there was sawdust in all the little cracks between boards, but I figured out that flipping the table over and shaking it back and forth a bit in the grass acted like a bristle brush of sorts and knocked the sawdust out. Much faster than cleaning each one by hand! Once the majority of the sawdust was gone, I used a tack cloth over the entire surface to pick up the remaining amount.

It took some trial and error for me to figure out how much teak oil to use, but eventually I realized the answer is: a LOT.
I ended up pouring oil directly onto the wood; if you imagine drizzling olive oil over top of a salad, that’s kind of the process I used to pour this oil.
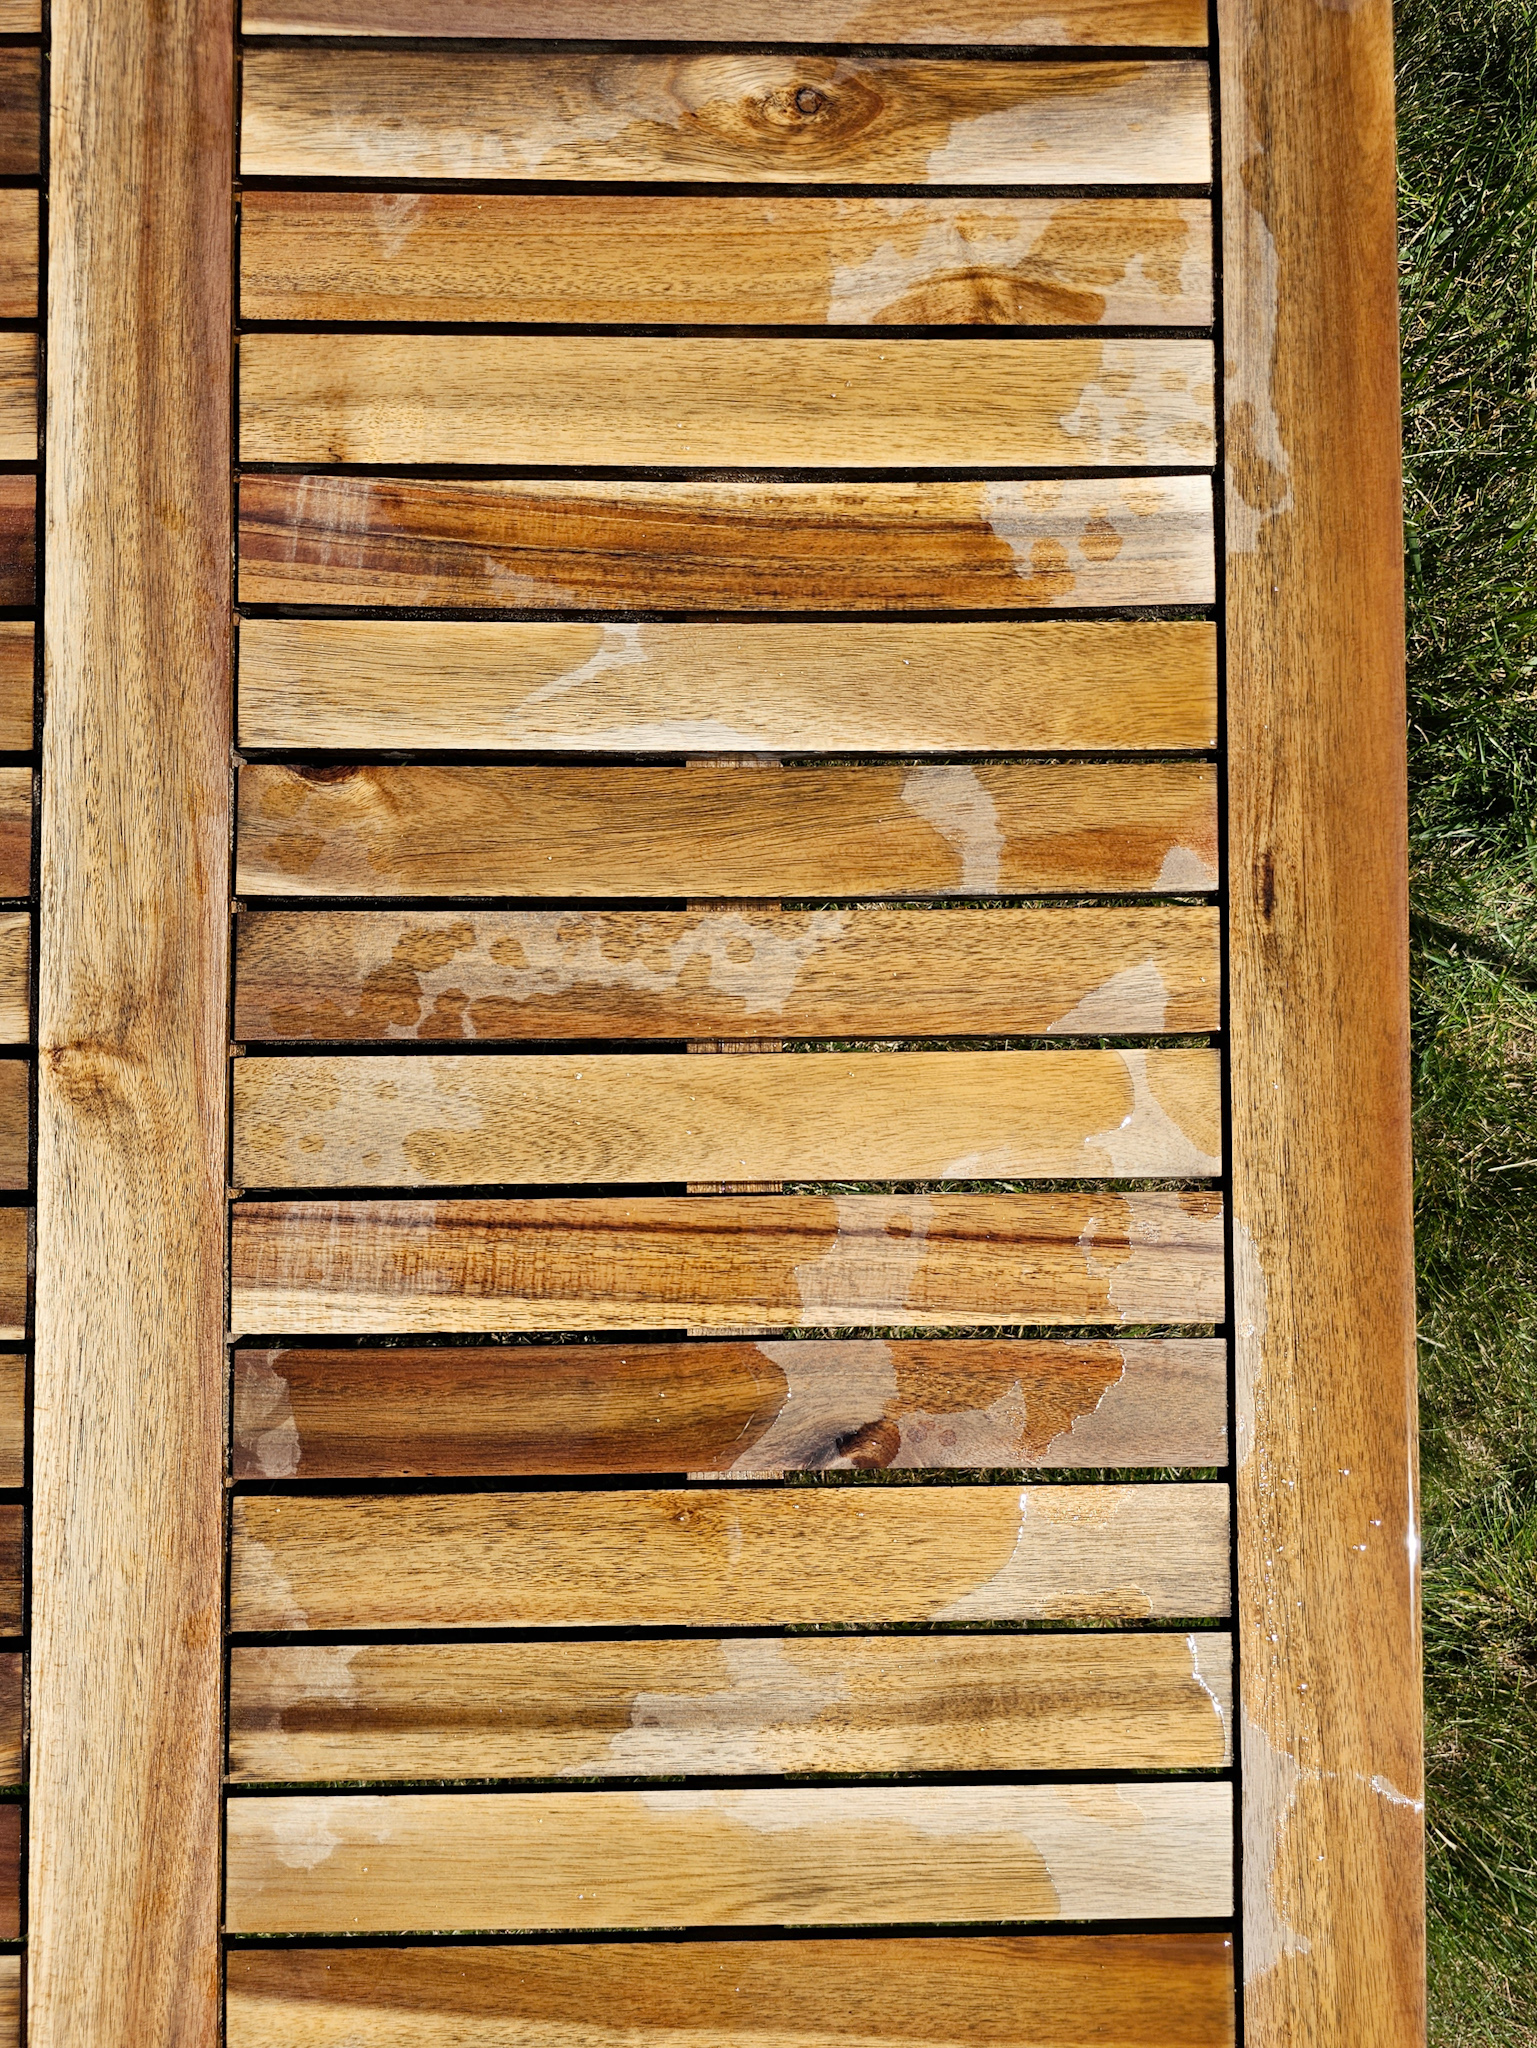
I then used a clean cloth to lightly spread the oil so the entire surface was coated.

I waited about 5 minutes or so to really let the oil soak into the wood, then I wiped off the excess with my cloth and let it dry overnight.
Side note: I did this outdoors so there was plenty of ventilation, but I should have put drop cloths down underneath the furniture. I did this on the grass so the oil wouldn’t drip and potentially stain my patio, but I wasn’t thinking about how the oil might damage the grass and well…now I have a big dead spot of grass in my yard. Oops!
There was a slightly gritty feel to the wood after drying – some particles from the air settled on the surface creating a rough feel – so I used a fine 400-grit sandpaper and very light pressure to sand off the texture and leave the surface smooth.
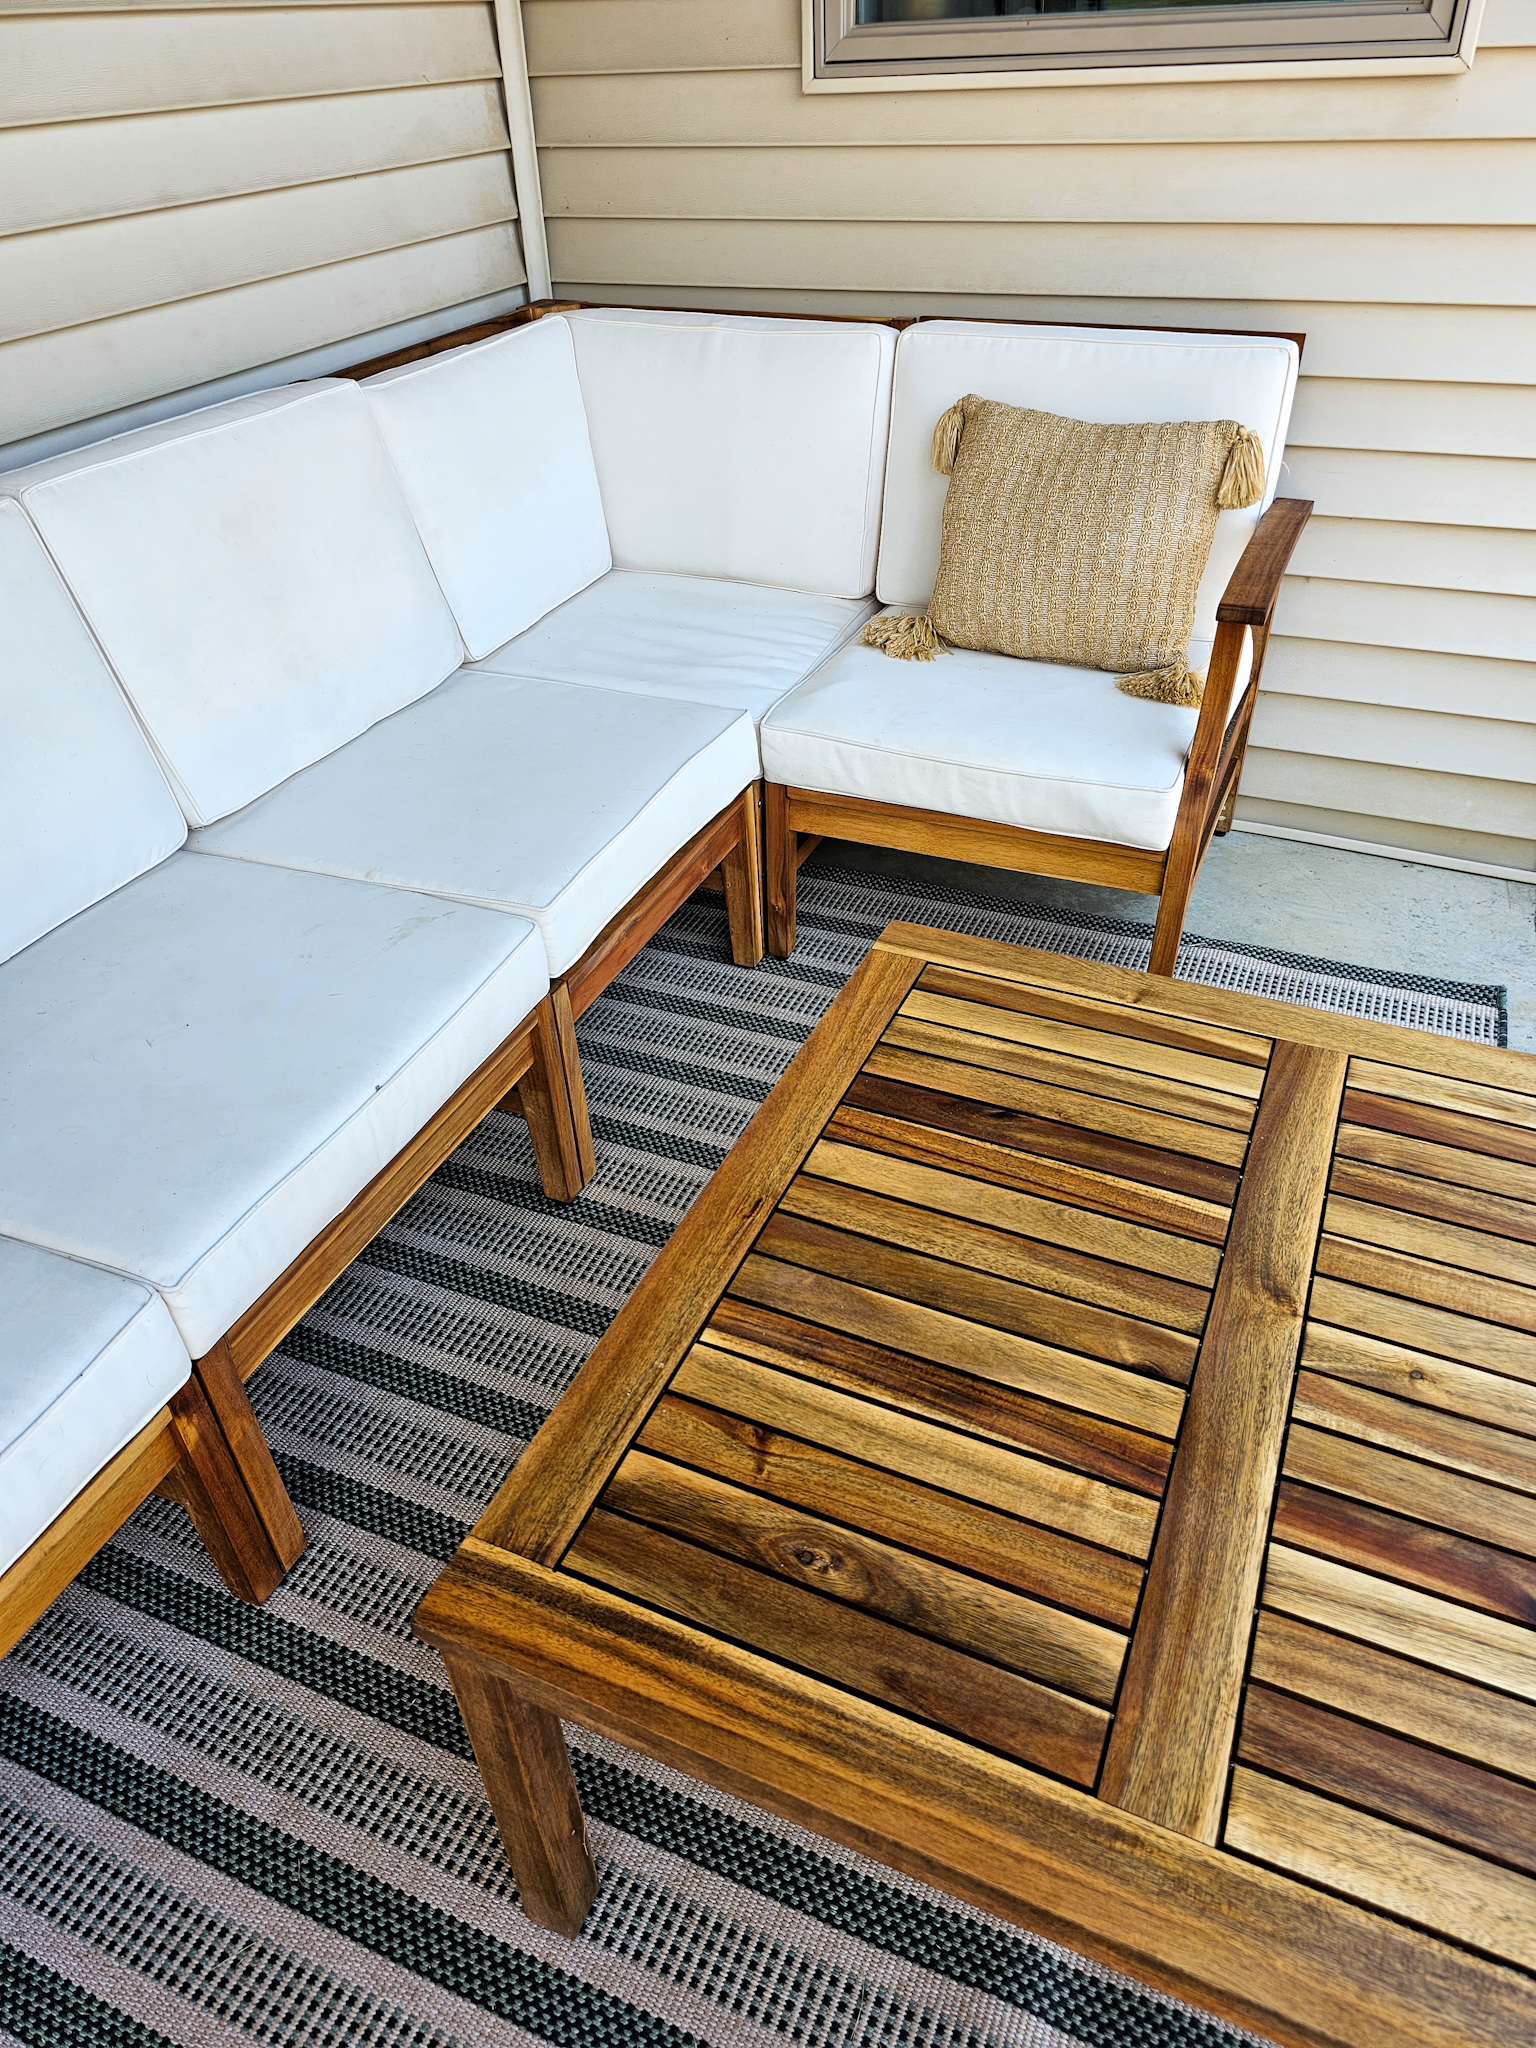
Once the table was finished, it kind of made the rest of the set look worse in comparison, so I repeated the process with the visible parts of the lounge set (I did not worry about the part covered by cushions). It refreshed the whole set!

I will admit, I was surprised to see how much variation there was in the wood after this process. I sanded everything down to the same layer, yet the oil made some pieces look deep red, some light yellow, and other fell somewhere in between. The original product was likely stained to have closer color matches; looking closely at the original wood remaining under the cushions, there is a bit of variation, but nothing like there is now.

The variation doesn’t bother me too much, but I did do a second coat of oil on the lightest wood to try and deepen the color. For those areas, I just waited until the first coat was dry and applied more oil. It did darken slightly, but there is still a wide range of color. Because the inconsistent color is, well, consistent, throughout, I’m considering this a feature and not a problem and going with it. If you are refinishing your outdoor wood furniture and want a more consistent look, it may be worth looking into stain options.

Overall I’m happy with how it turned out and we’re excited to continue to use this set for years to come!