A Day in the Life {4.24.23}

Lately I’ve been feeling in a little bit of a DIY rut – the world feels a little extra overwhelming and heavy with recent tragic headlines and I haven’t been feeling super motivated to share projects. I decided to scale back on social media and focus more on the smaller things that are within my control – things like being present with my family, taking my kids to the zoo and to drop off food at a free food pantry in our area, speaking to my senator’s staff members about legislation I think is important, etc. It felt good to make small positive differences in the world. And with all that being said, it also felt like a perfect time to document a day in our life and appreciate the everyday moments with our little family.

A few times a year, I like to take a pause from my DIY content to document a day in our life. I treat these like little journal entries – they’re a snapshot into our lives on any given day and it’s always just a perfectly imperfect, ordinary day, blurry photos and all. So here is what our day looked like this past Monday!

April 23, 2023

It was a bit of an unusual weekday morning because I usually choose to wake up before my kids to get things done (it makes such a difference in our days!) Our kids also know to wait until 7:00 am before coming out of their room. But today, I chose to sleep in and well, they did not.

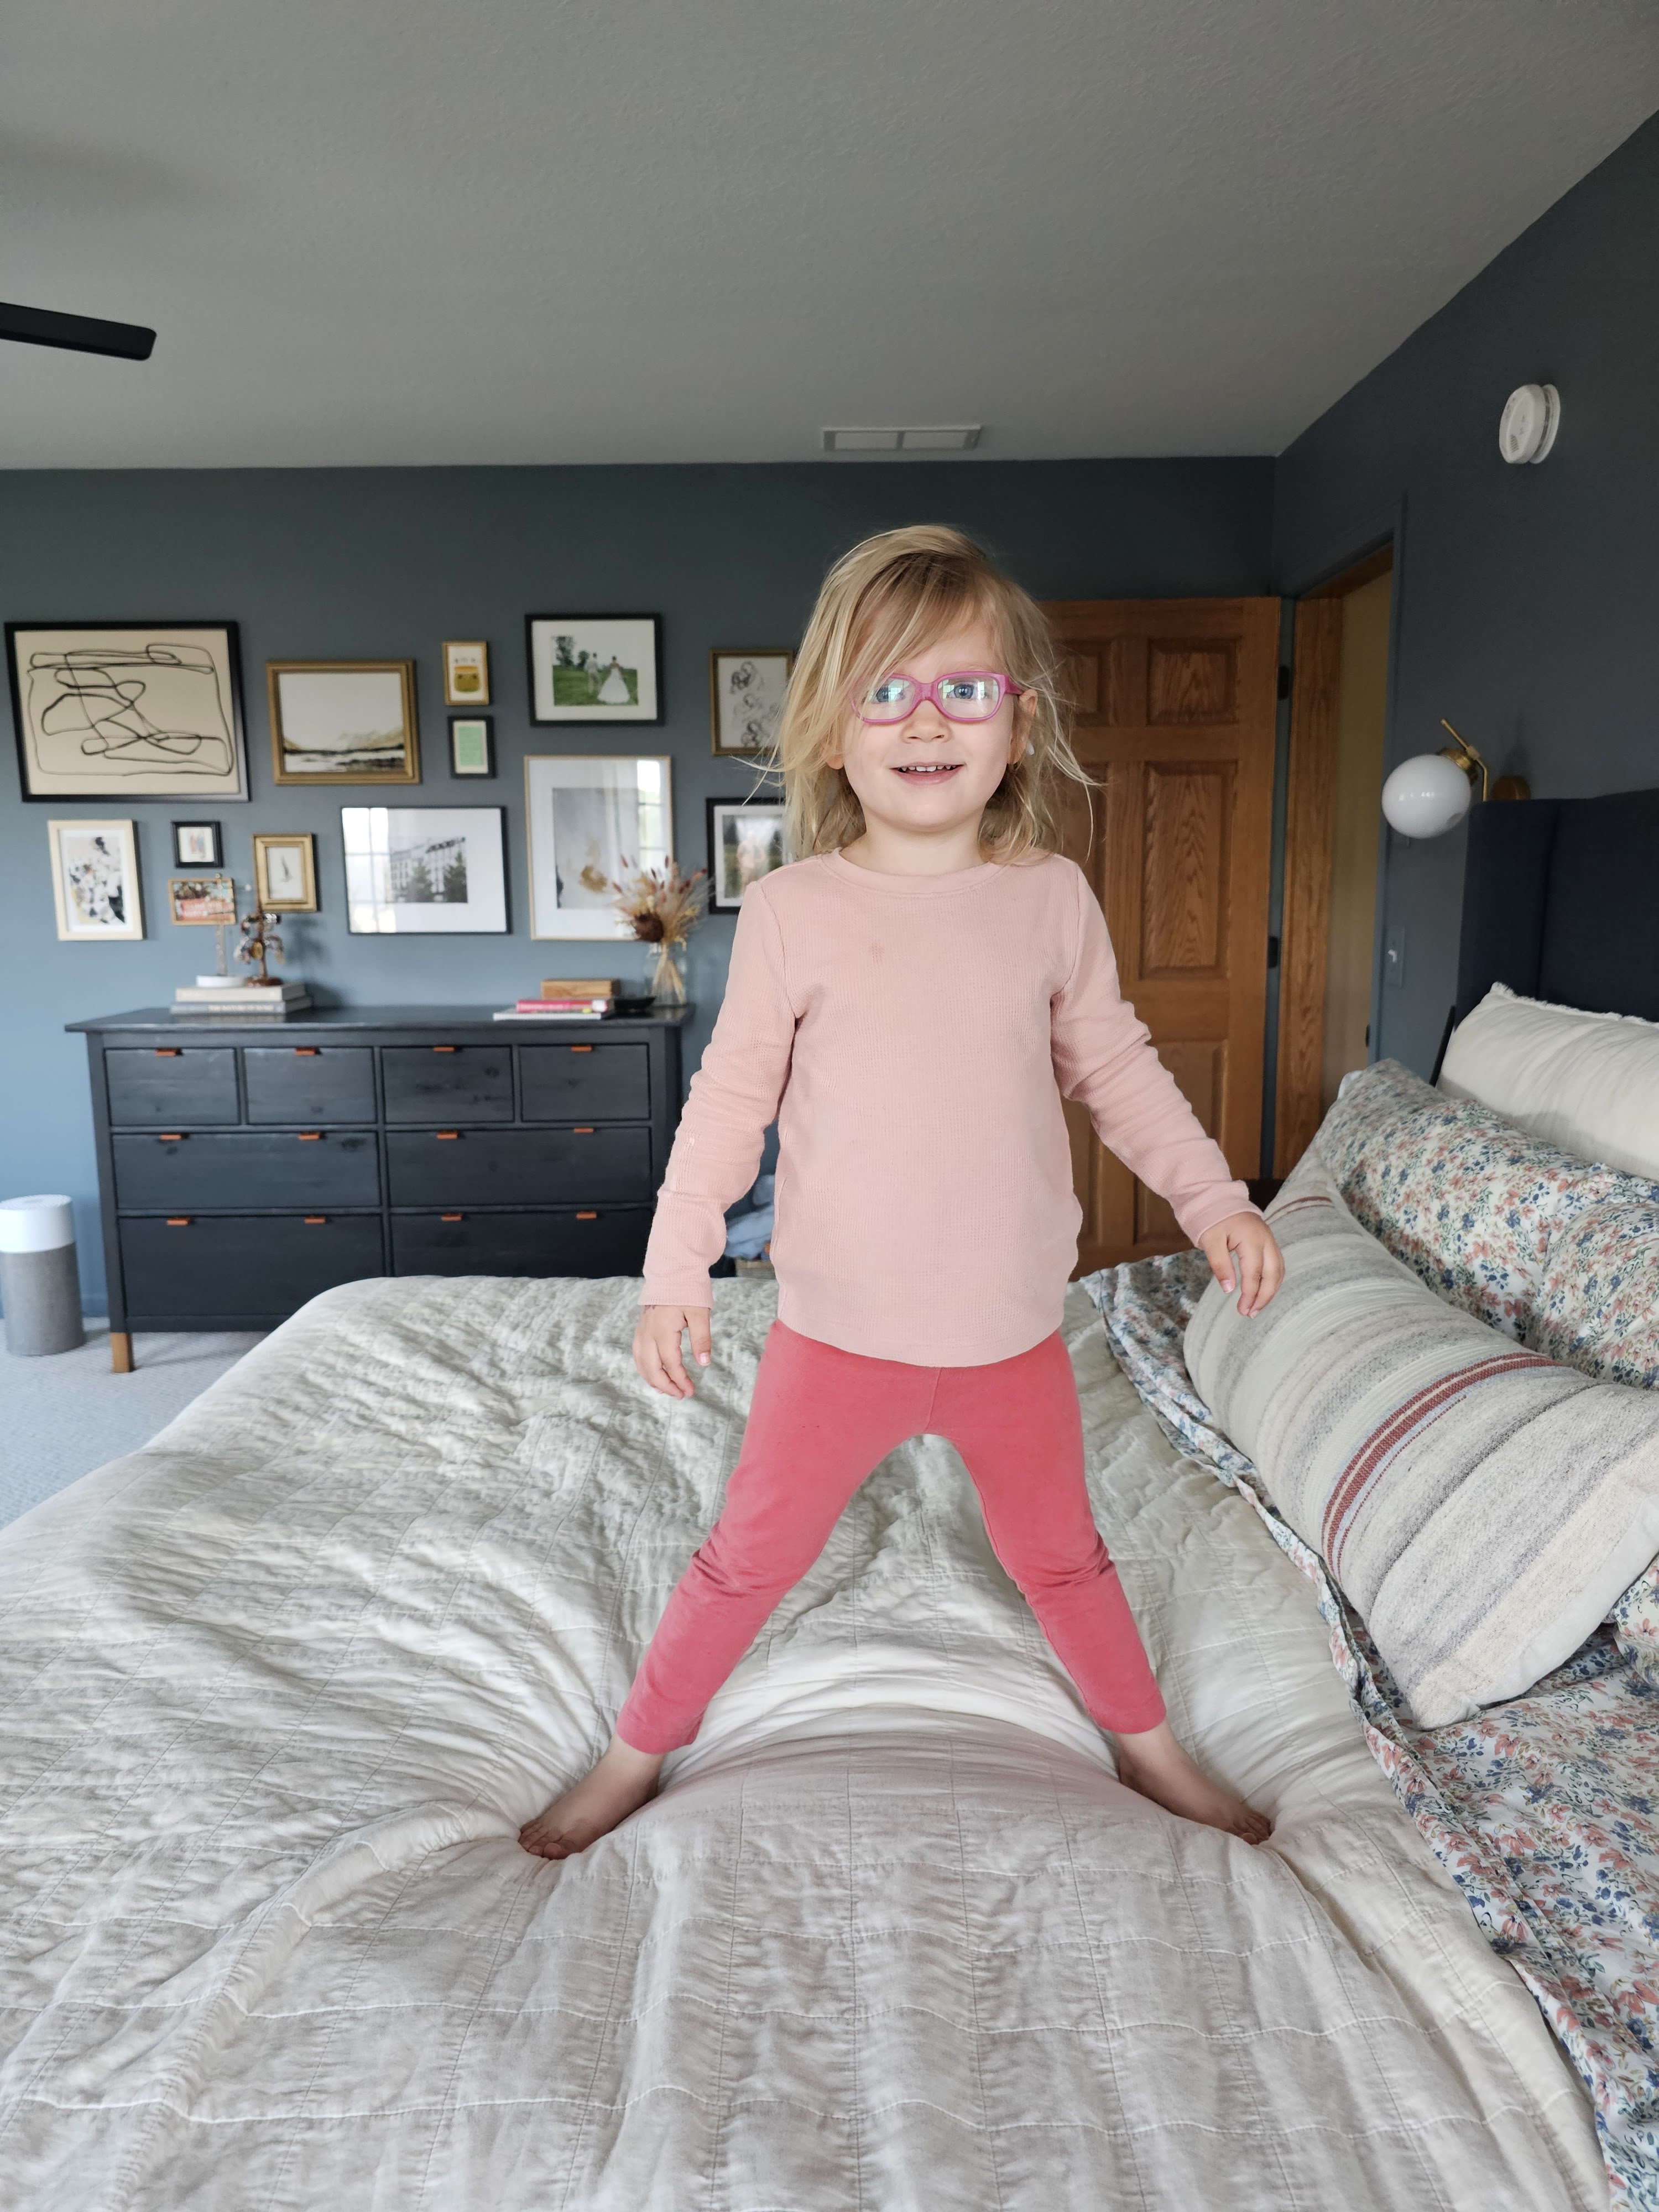
So instead of lots of early morning productivity, I got some 6:40 am snuggles and a whole lot of jumping in my bed! I’ll take it šŸ™‚

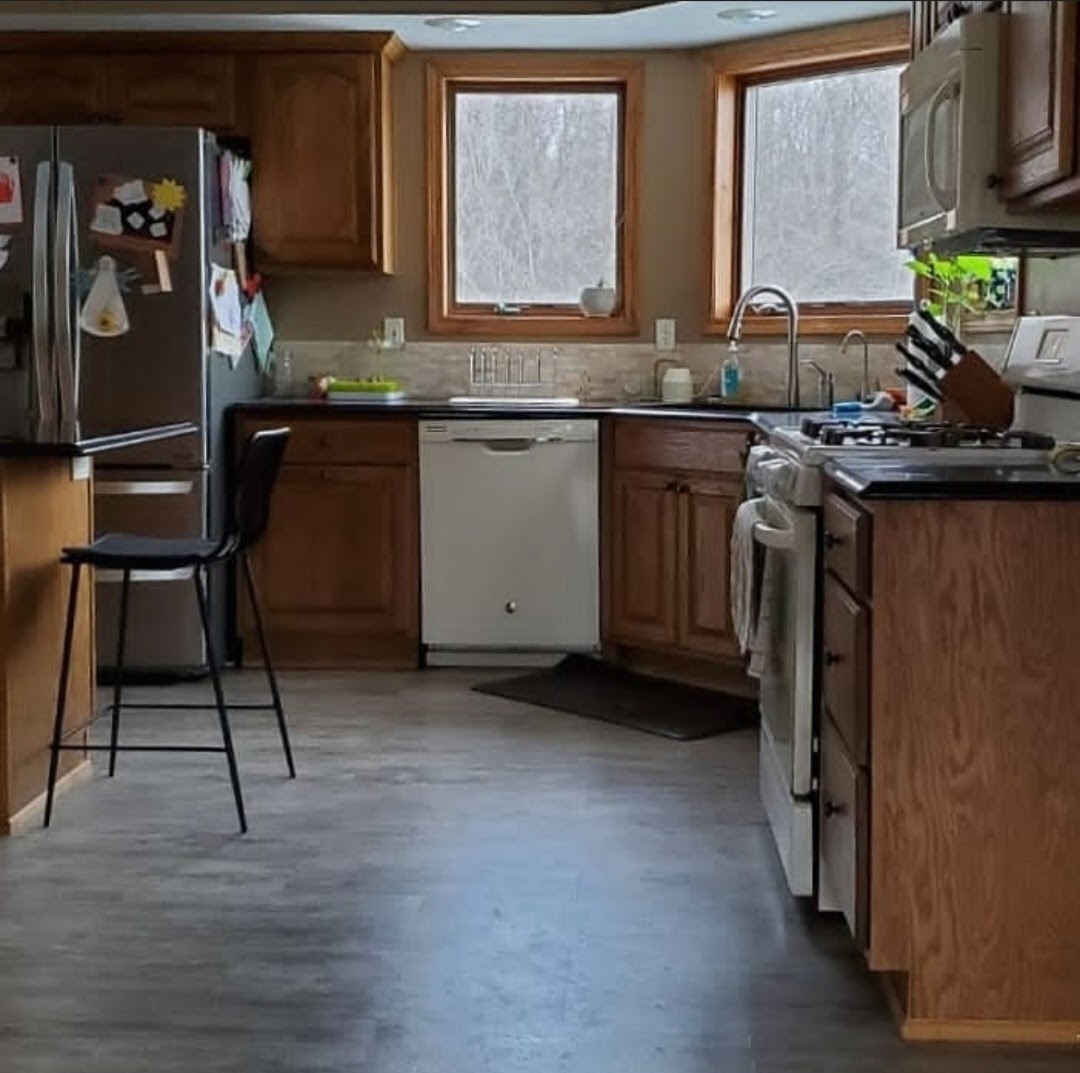
We headed downstairs for breakfast. My kids alternate with cereals, waffles, toast, eggs, and today they both wanted cereal.

I made my typical breakfast of two over-easy eggs, some chicken sausage, and half an avocado. I like to sprinkle salt, cracked pepper, and nutritional yeast on top of the eggs for some extra flavor!

After breakfast the kids requested some bubbles, so we had fun chasing, popping, and ninja-chopping them.

Around 8:20, the kids asked for their tablets so I first got them totally ready to go (socks and shoes on, school bags ready) and then I enjoyed quiet time with my devotions and a snuggly dog at my feet.

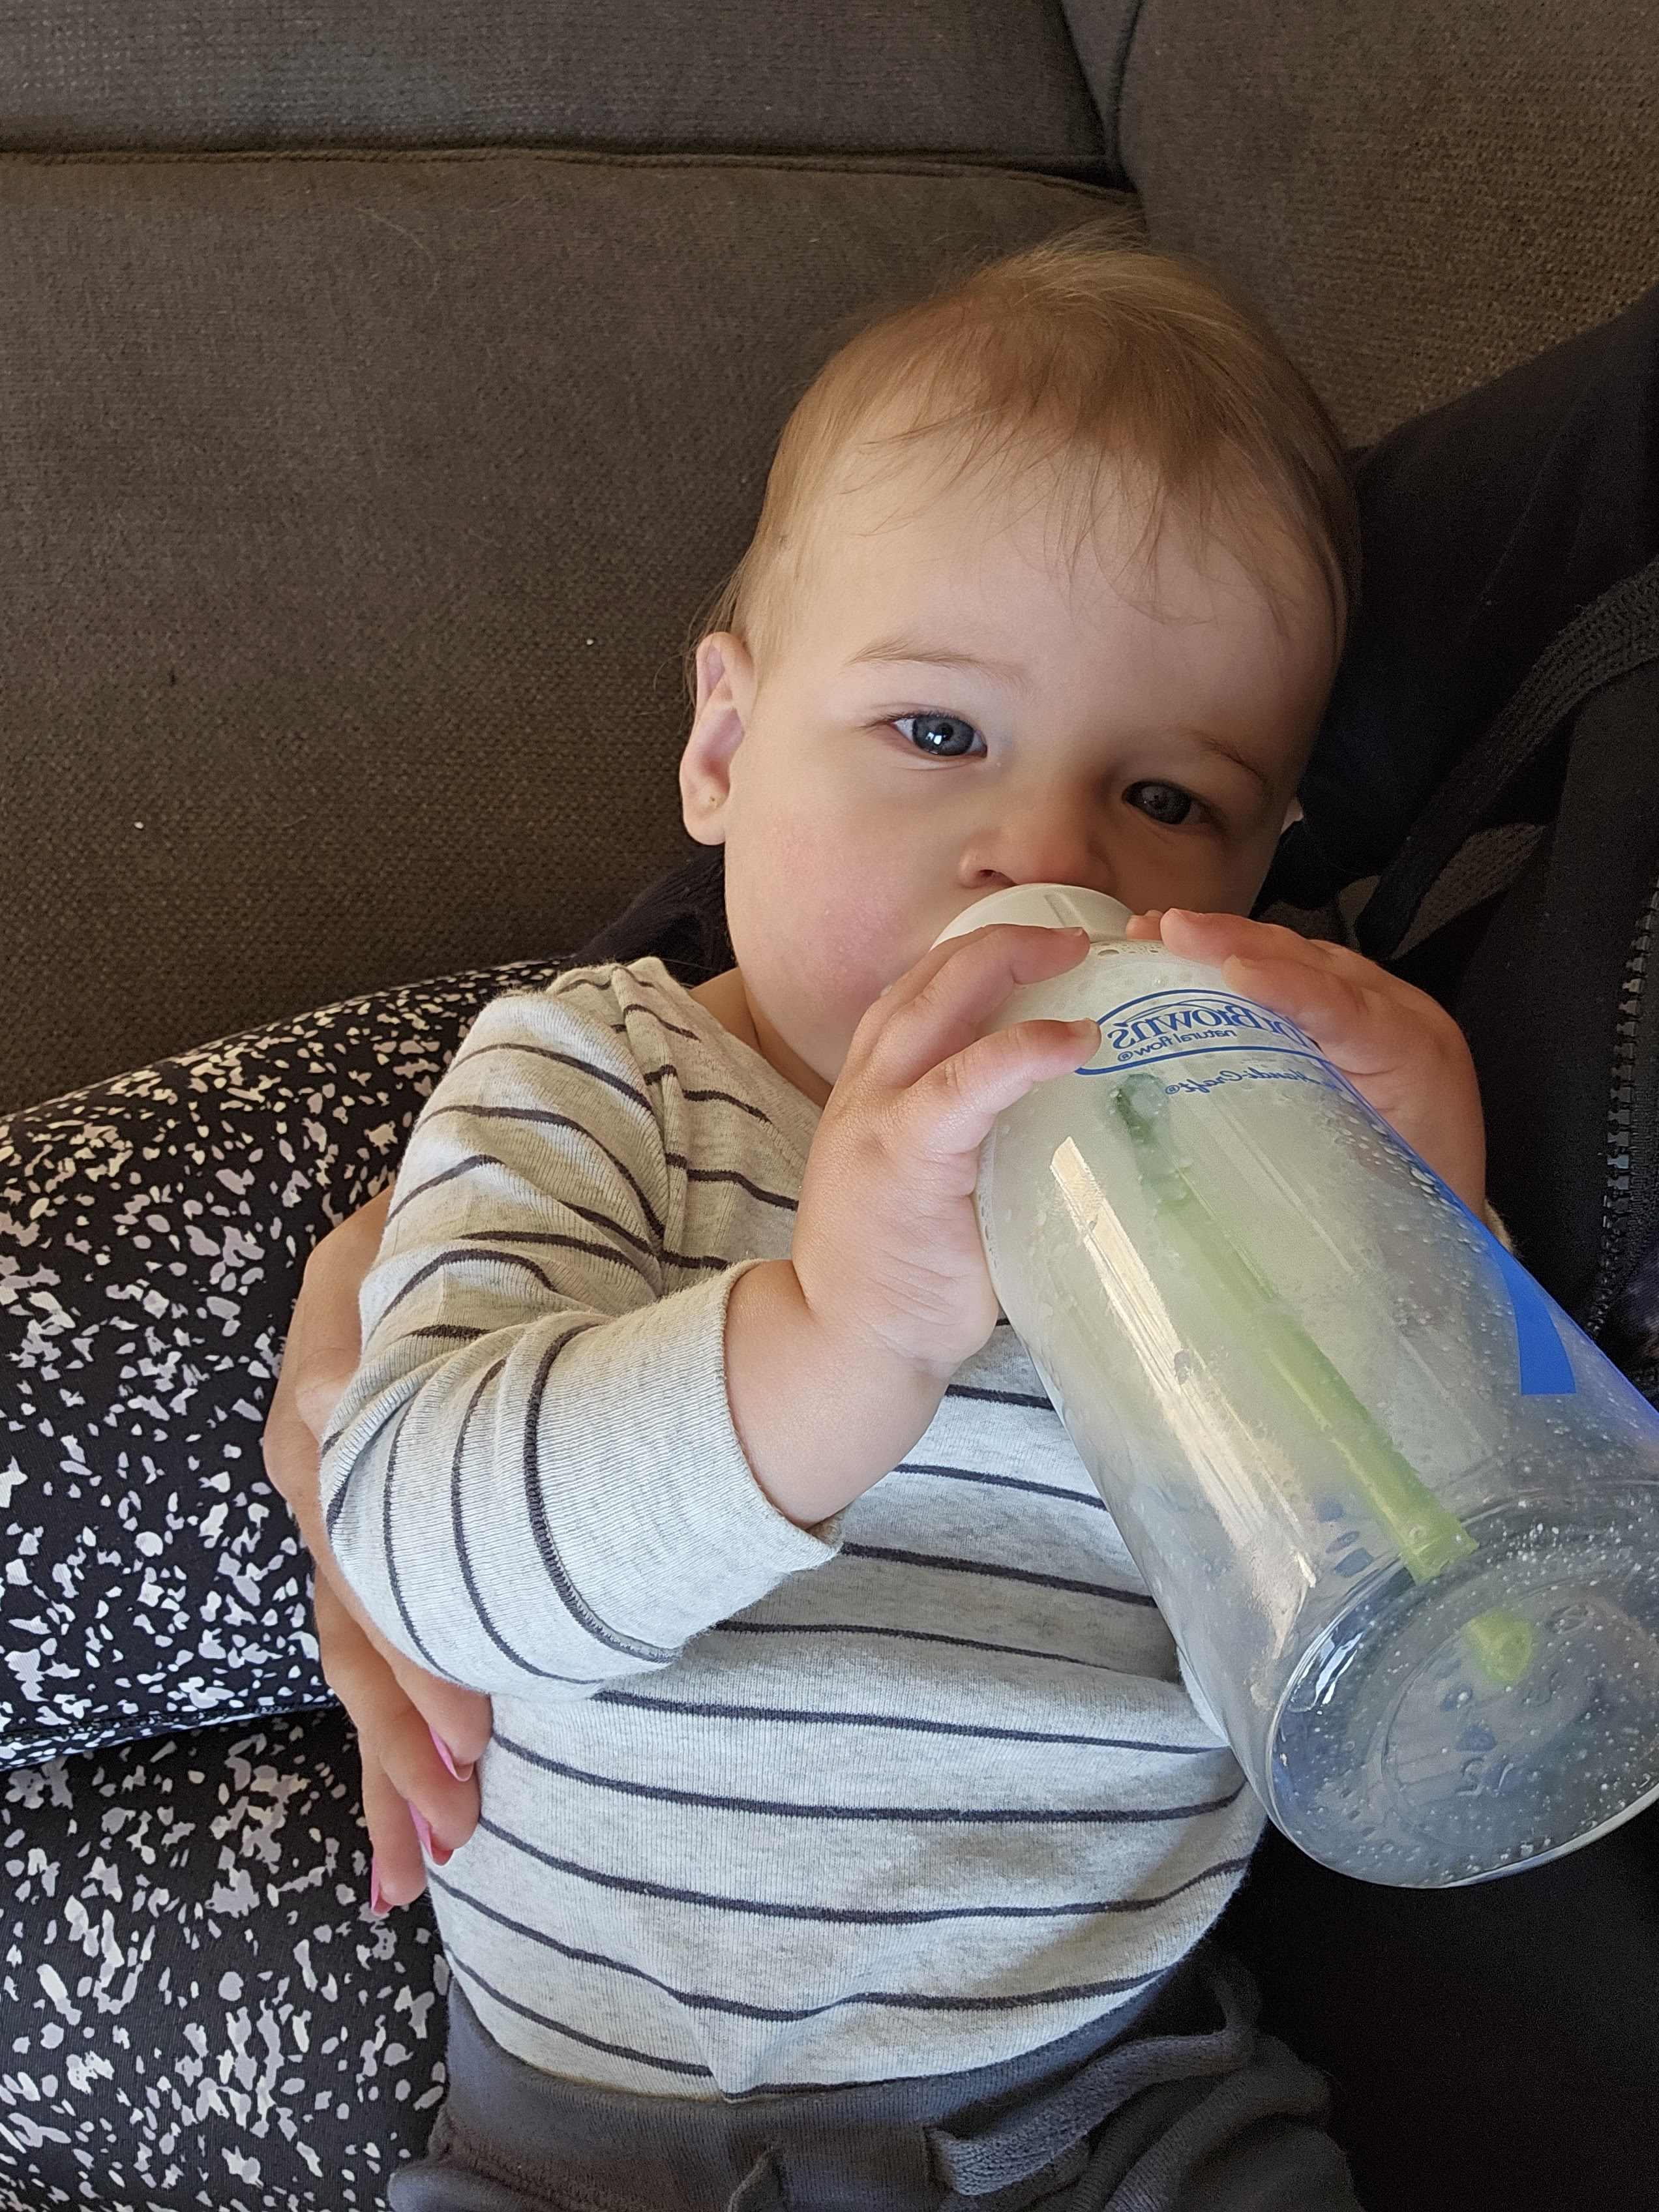
I had to wake up this sweetie around 8:40 so we could leave for school – he always wakes up so happy and smiley! My strategy when we’re cutting it close is to quick change him and give him his bottle in the car seat while we head to school.

Preschool drop off line! LJ goes four days a week and Vi goes two so today was just a day for him.

Vi asked for my phone to take pictures on the way home, so this is what my van looks like on any typical day. A little dirty, grocery bags on the floor, minion stickers on the seat. This is my minivan mom life, ha!

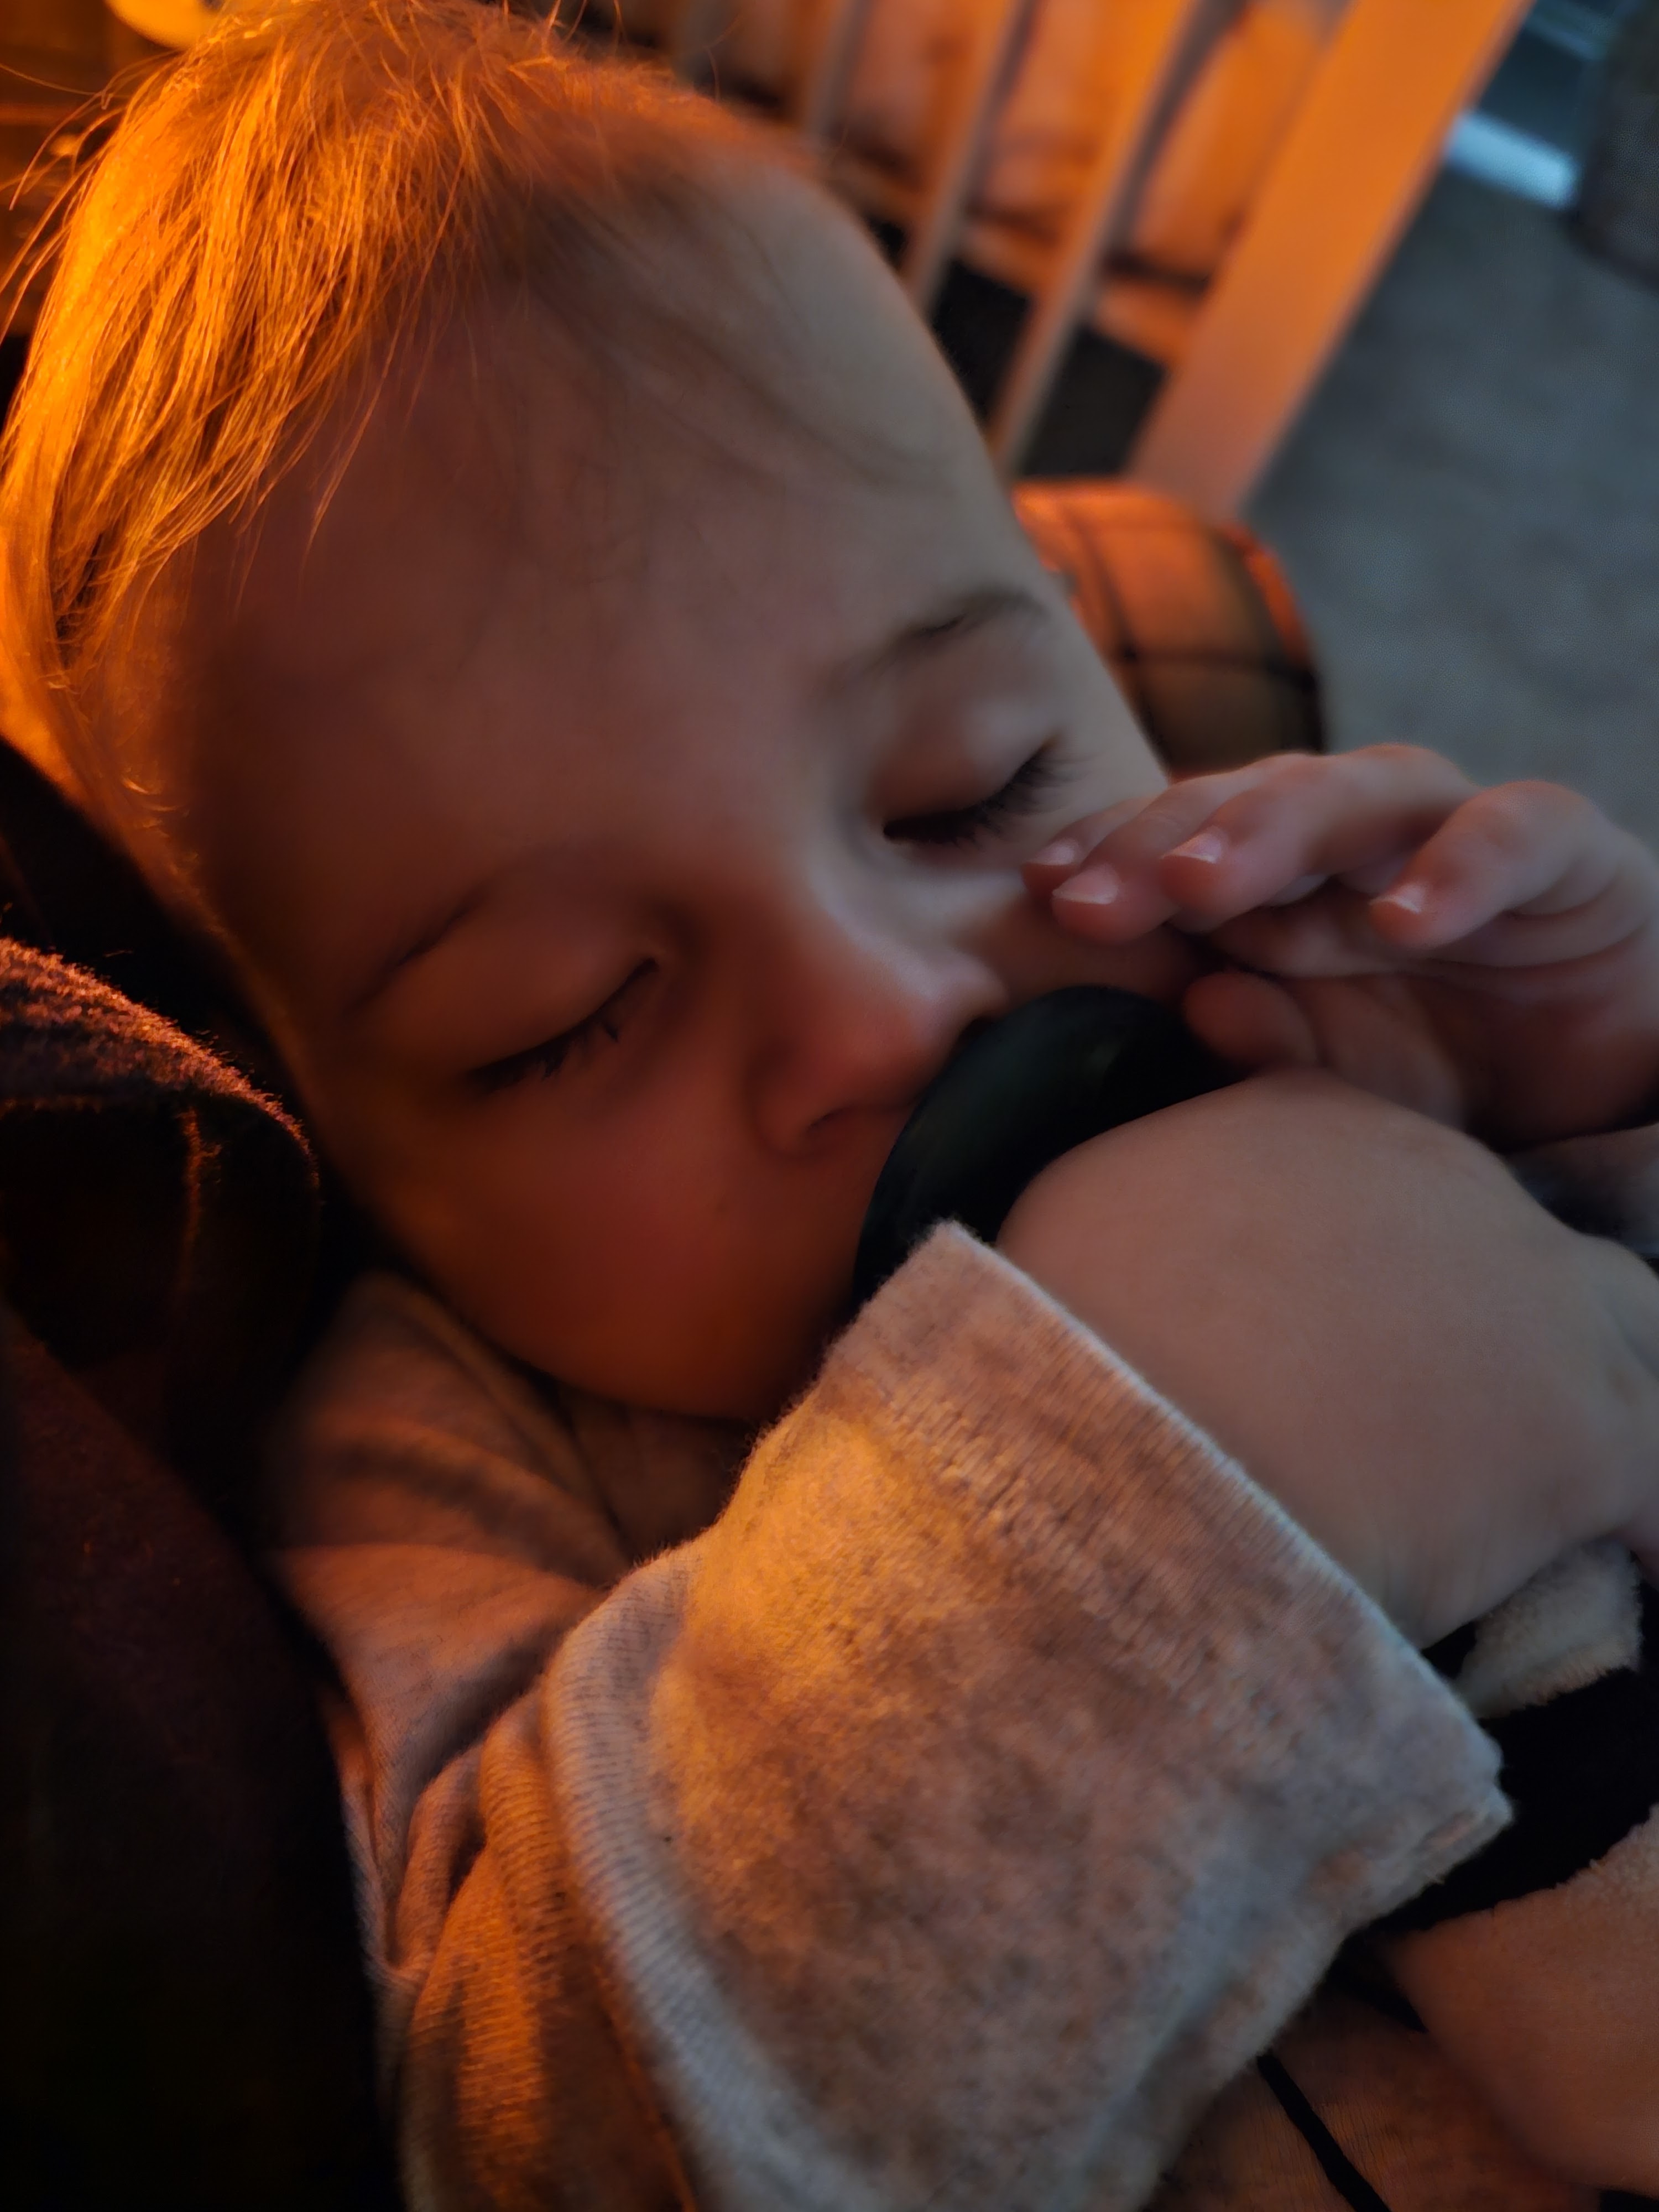
Ollie Bear wasn’t quite finished with his bottle when we got back home so I enjoyed some snuggles while he finished.

Vi and Ollie and I spent a big chunk of the morning playing in the playroom together. She is so sweet with him and I love watching their little bond grow.

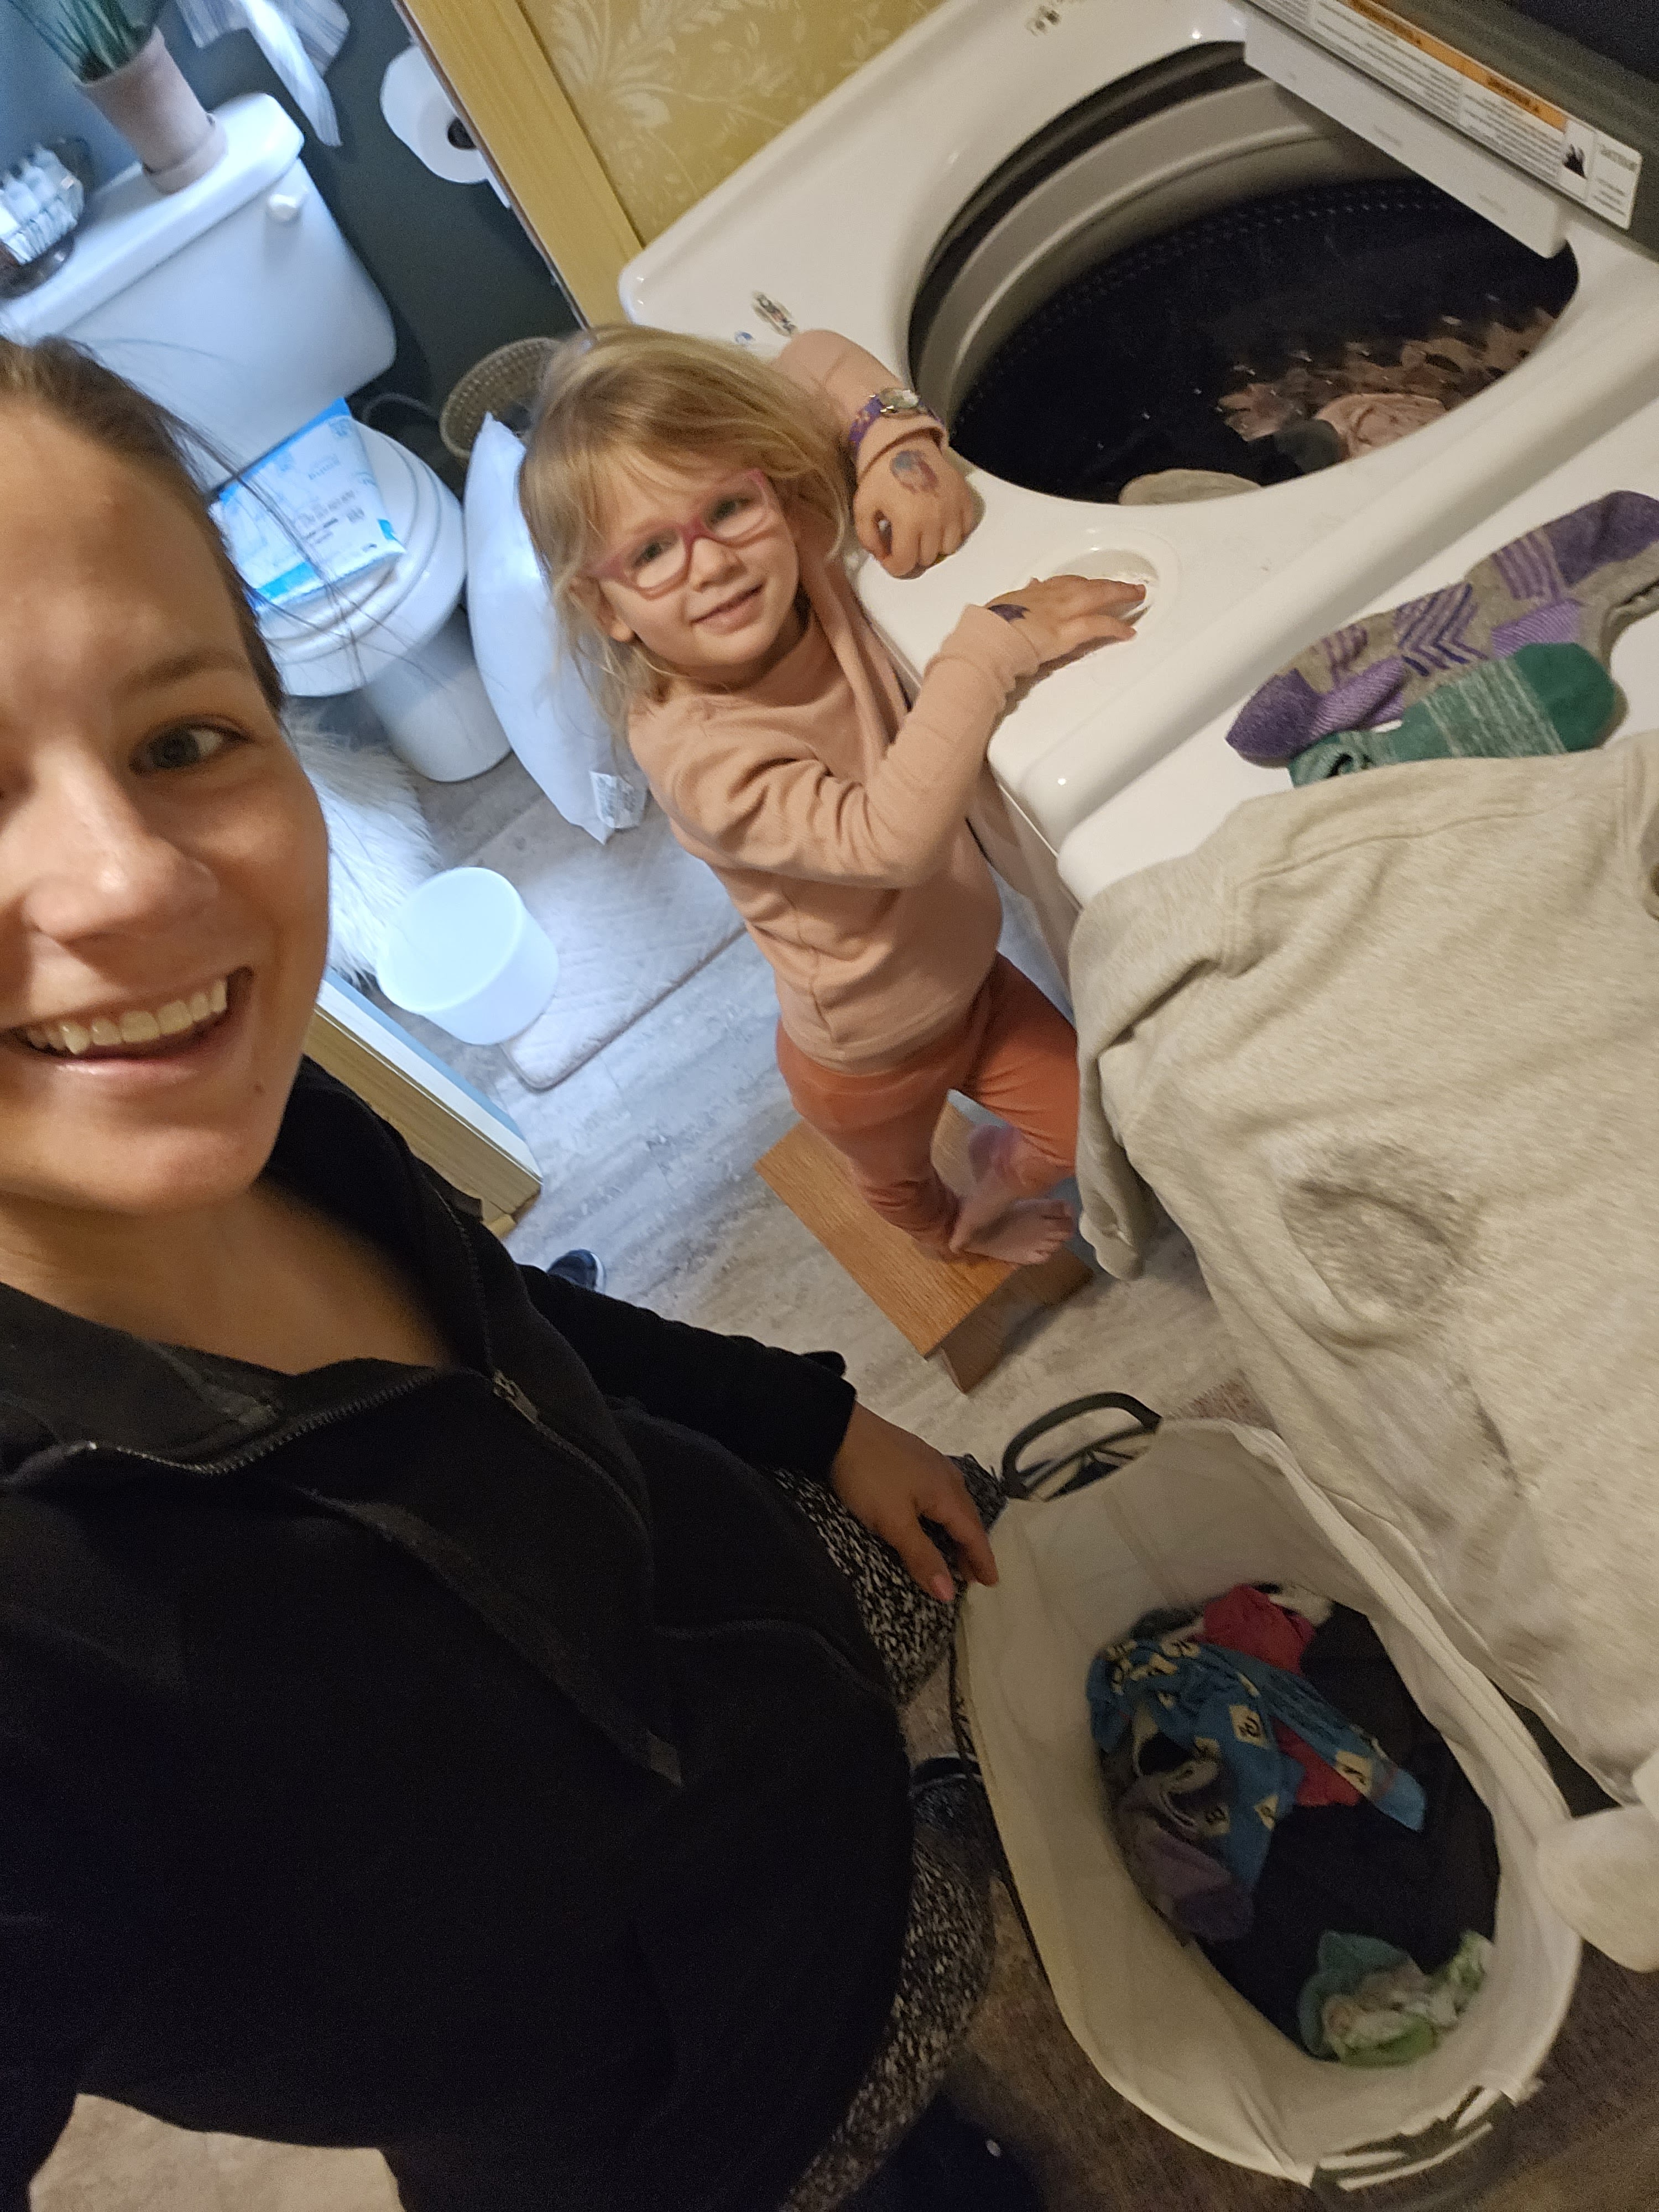
Around 10:30, Ollie went down for his nap and so I started on a load of laundry. Vi really loves anytime she can be a helper and has recently started pulling up her little stepstool to help me put the clothes in the washer.

I got a little bit of work down while Vi played independently and then she asked to play some games. Around 11:15 Ollie woke up from his nap and joined the party.

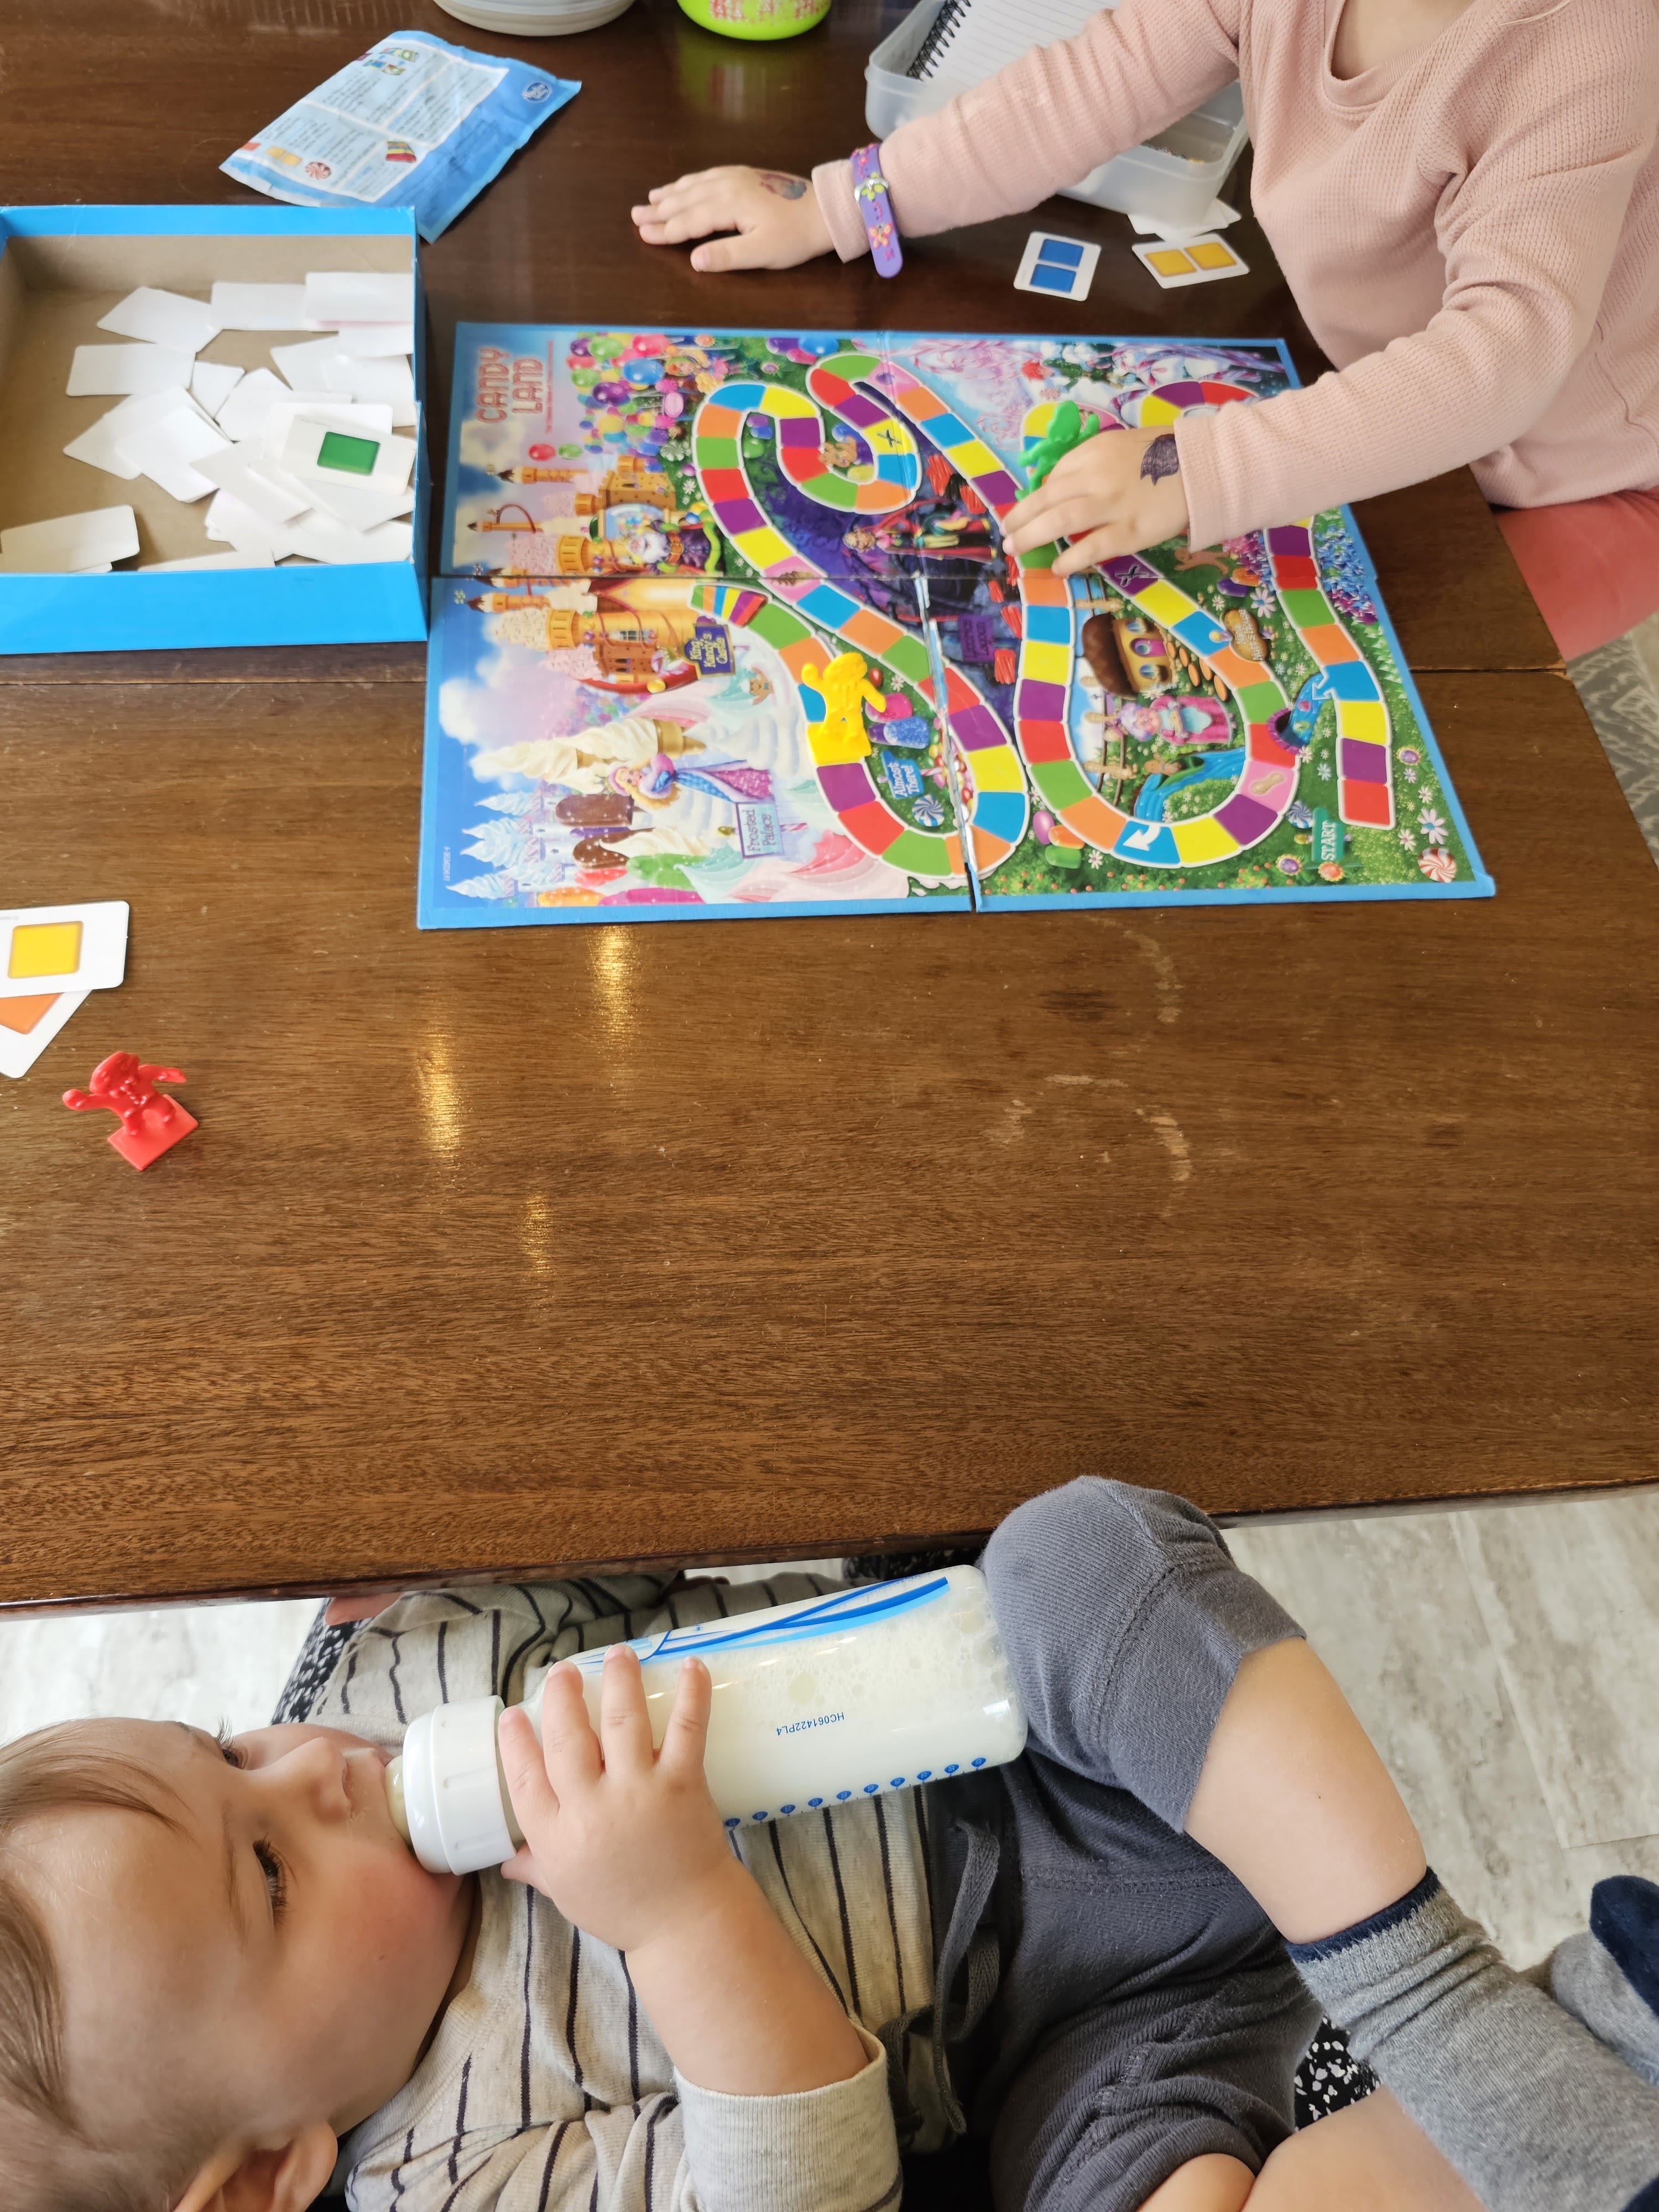
Vi has a very kind heart and is often willing to defer to whatever other people want to do, so it’s always nice to just give her some time to choose the games we play and really focus on connecting with her.

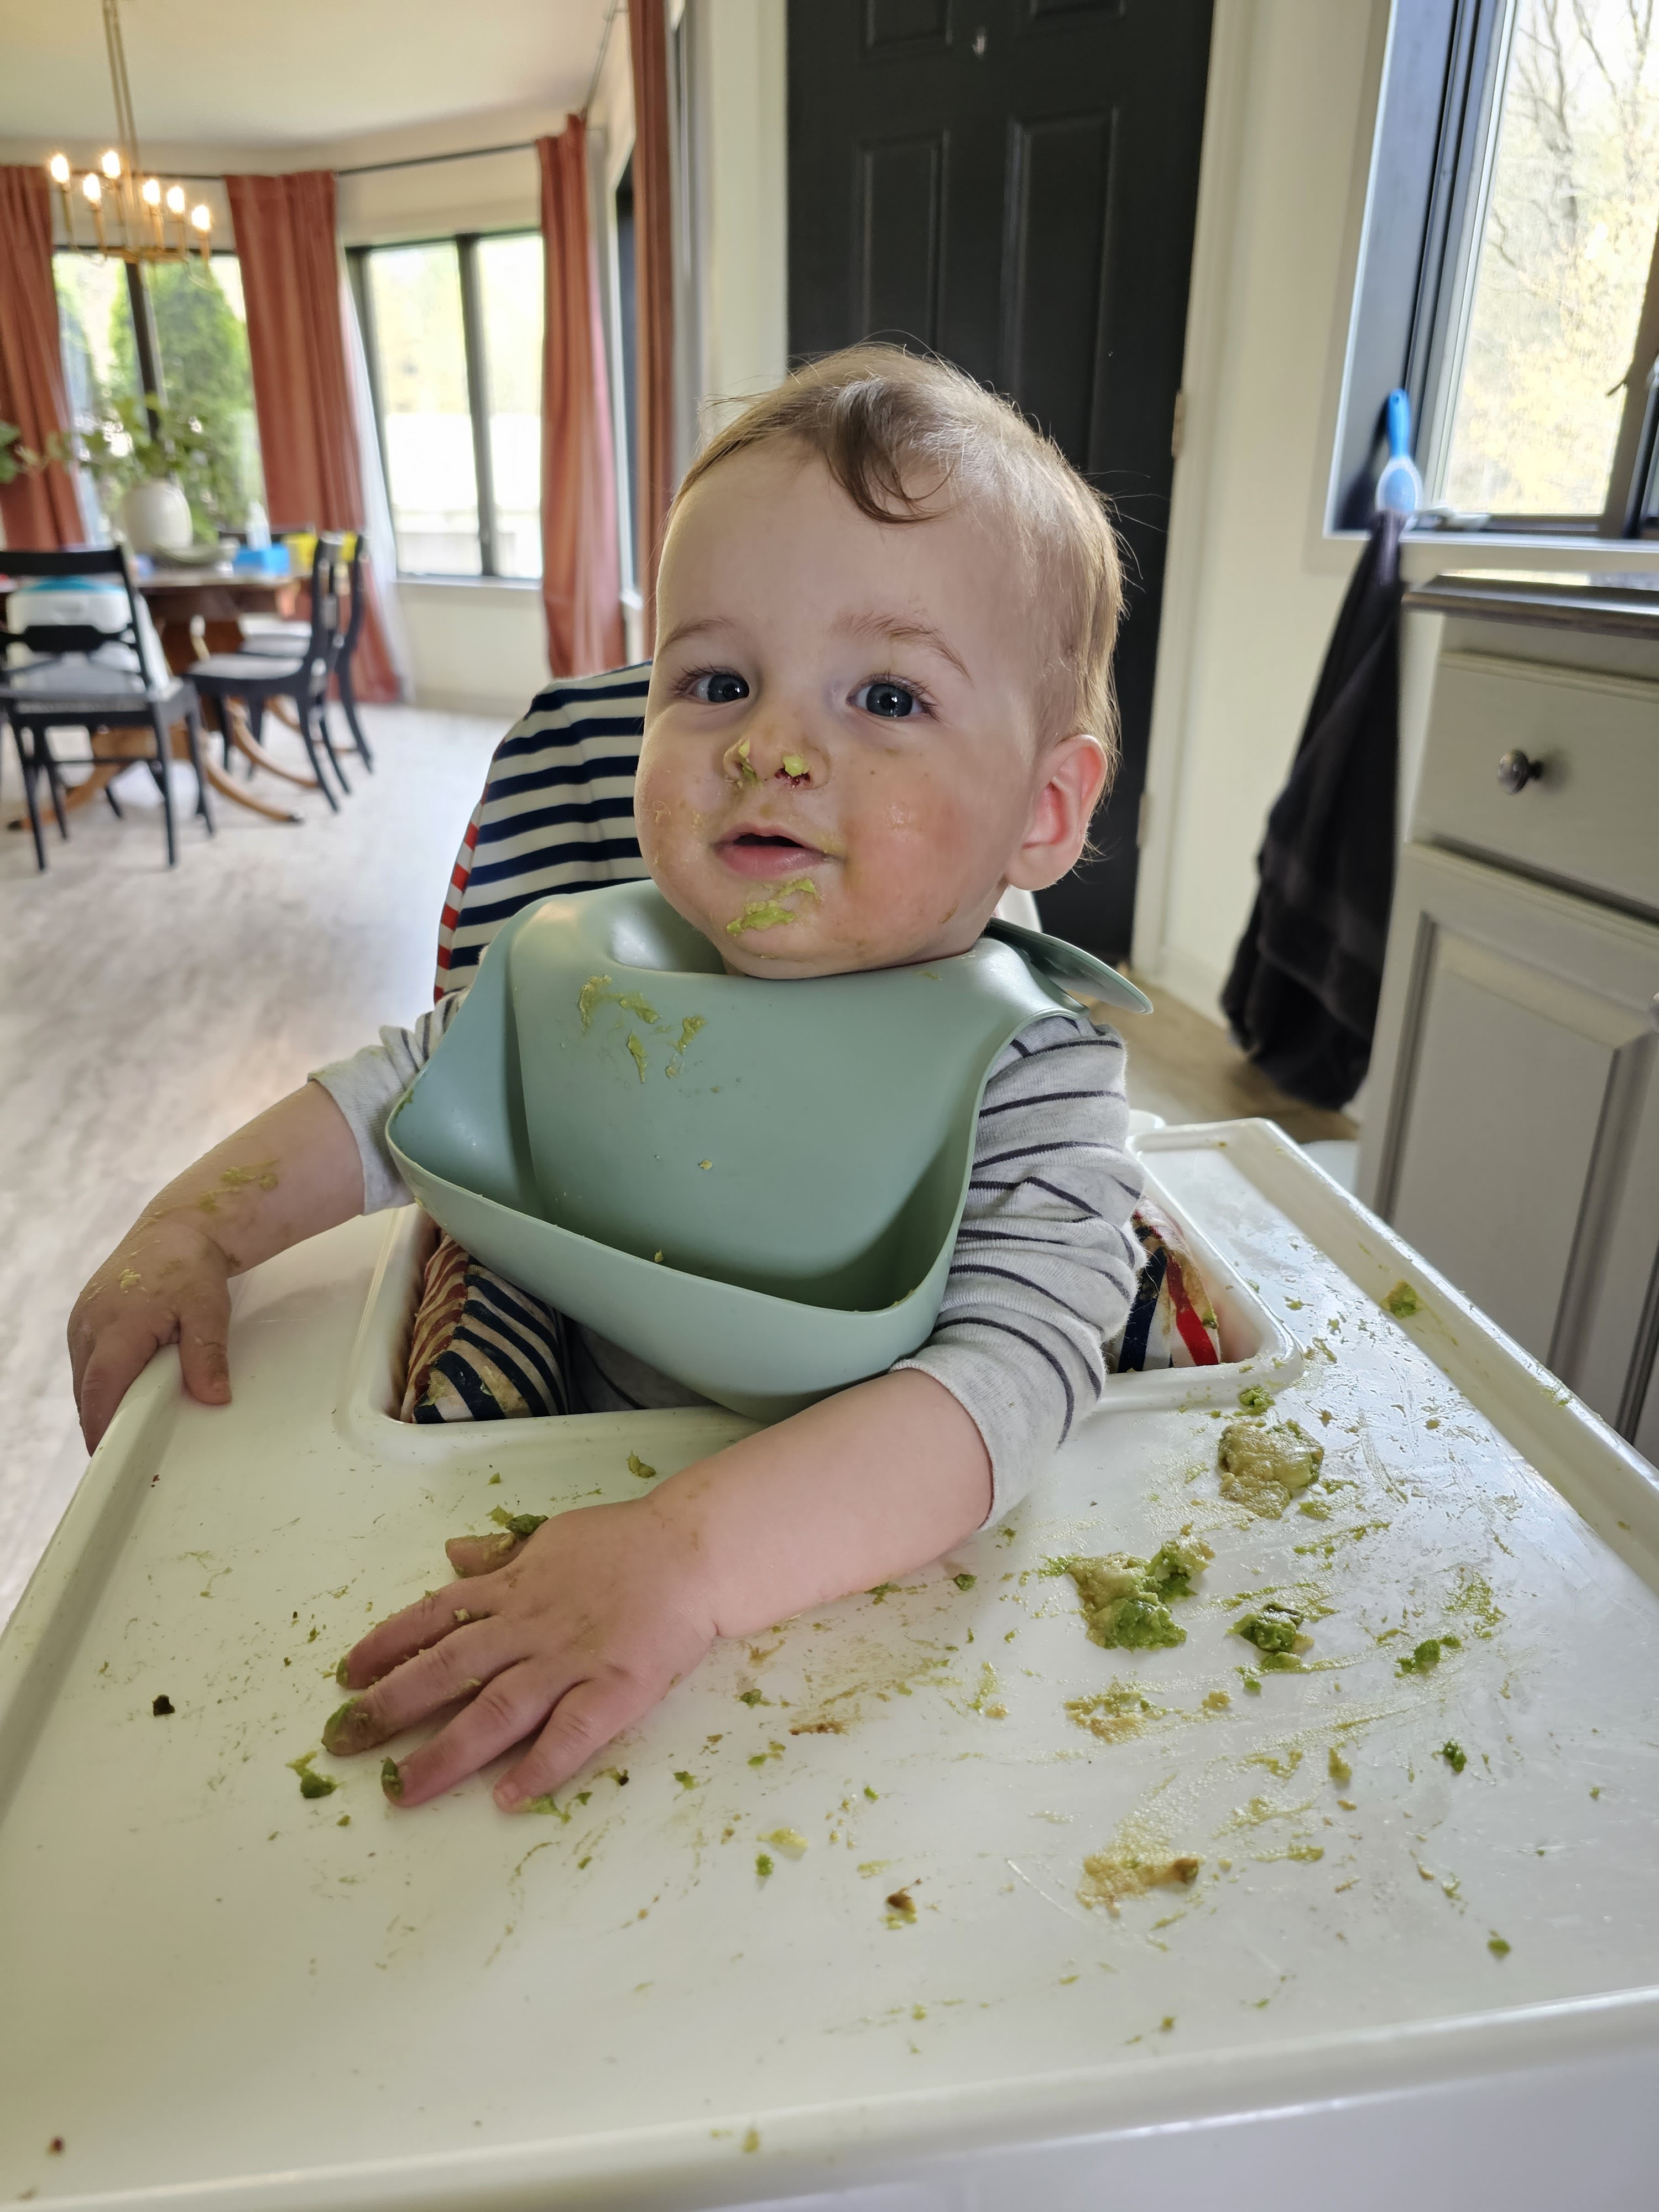
After picking LJ up from preschool we had some lunch. Today was a random mix of “let’s clean our our fridge” so it’s a smorgasbord.

And for Ollie, avocado šŸ˜‰

Around 2:00 pm Ollie went down for his second nap. Often I can just put him in his crib and he’ll fall asleep on his own but today I soaked up a few extra snuggles!

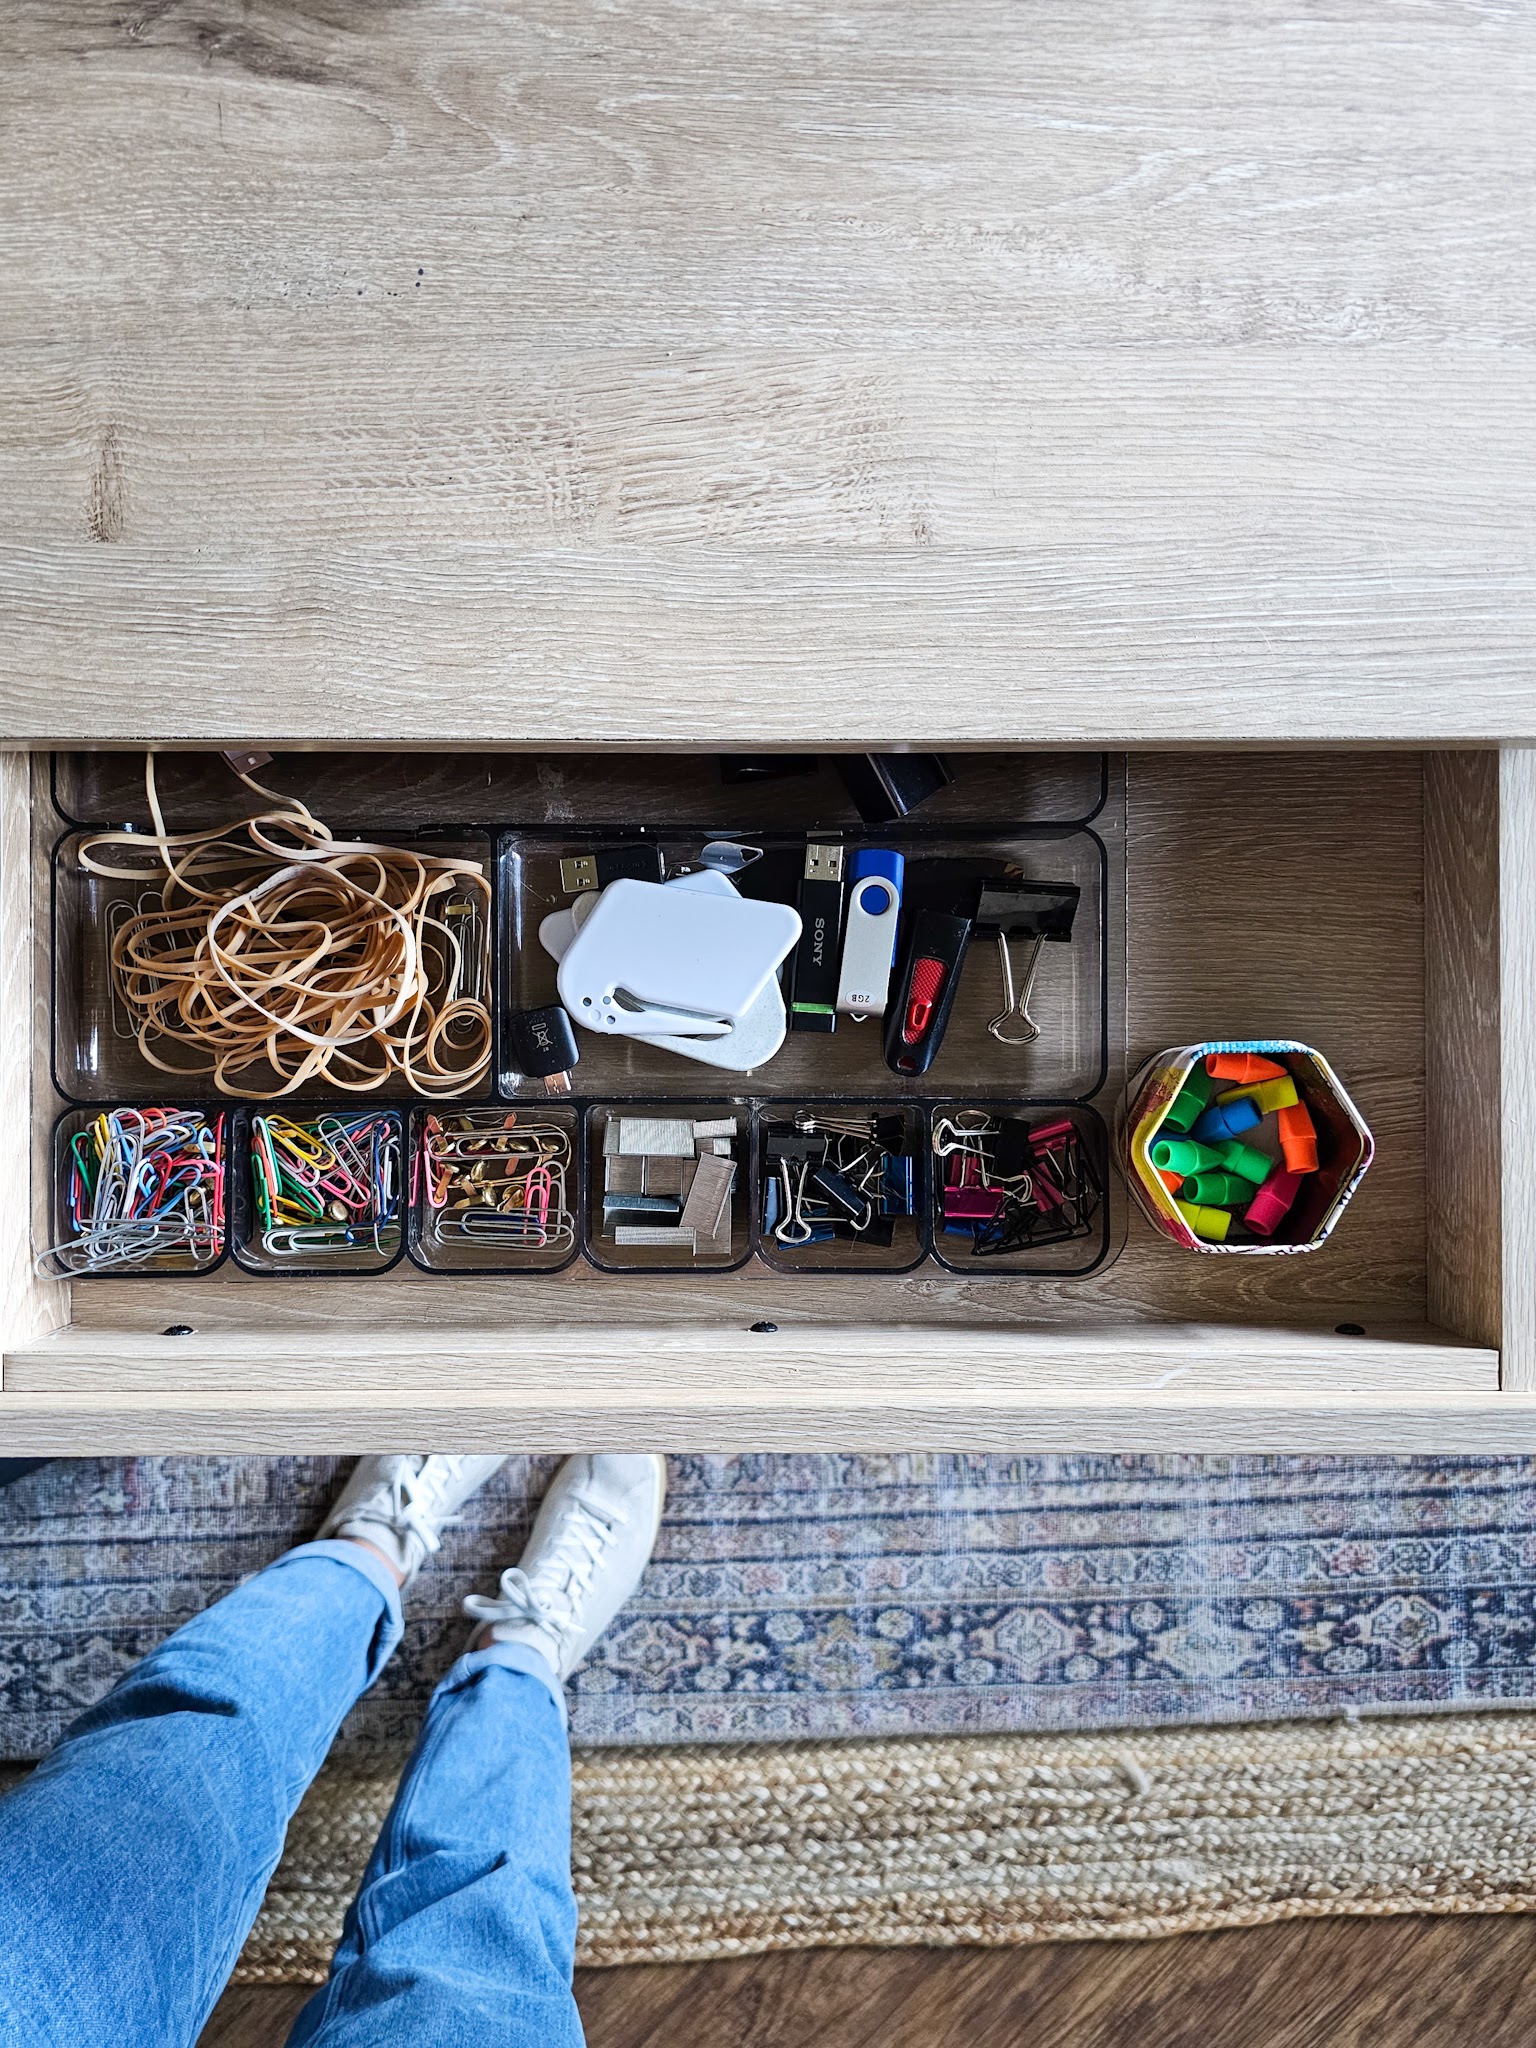
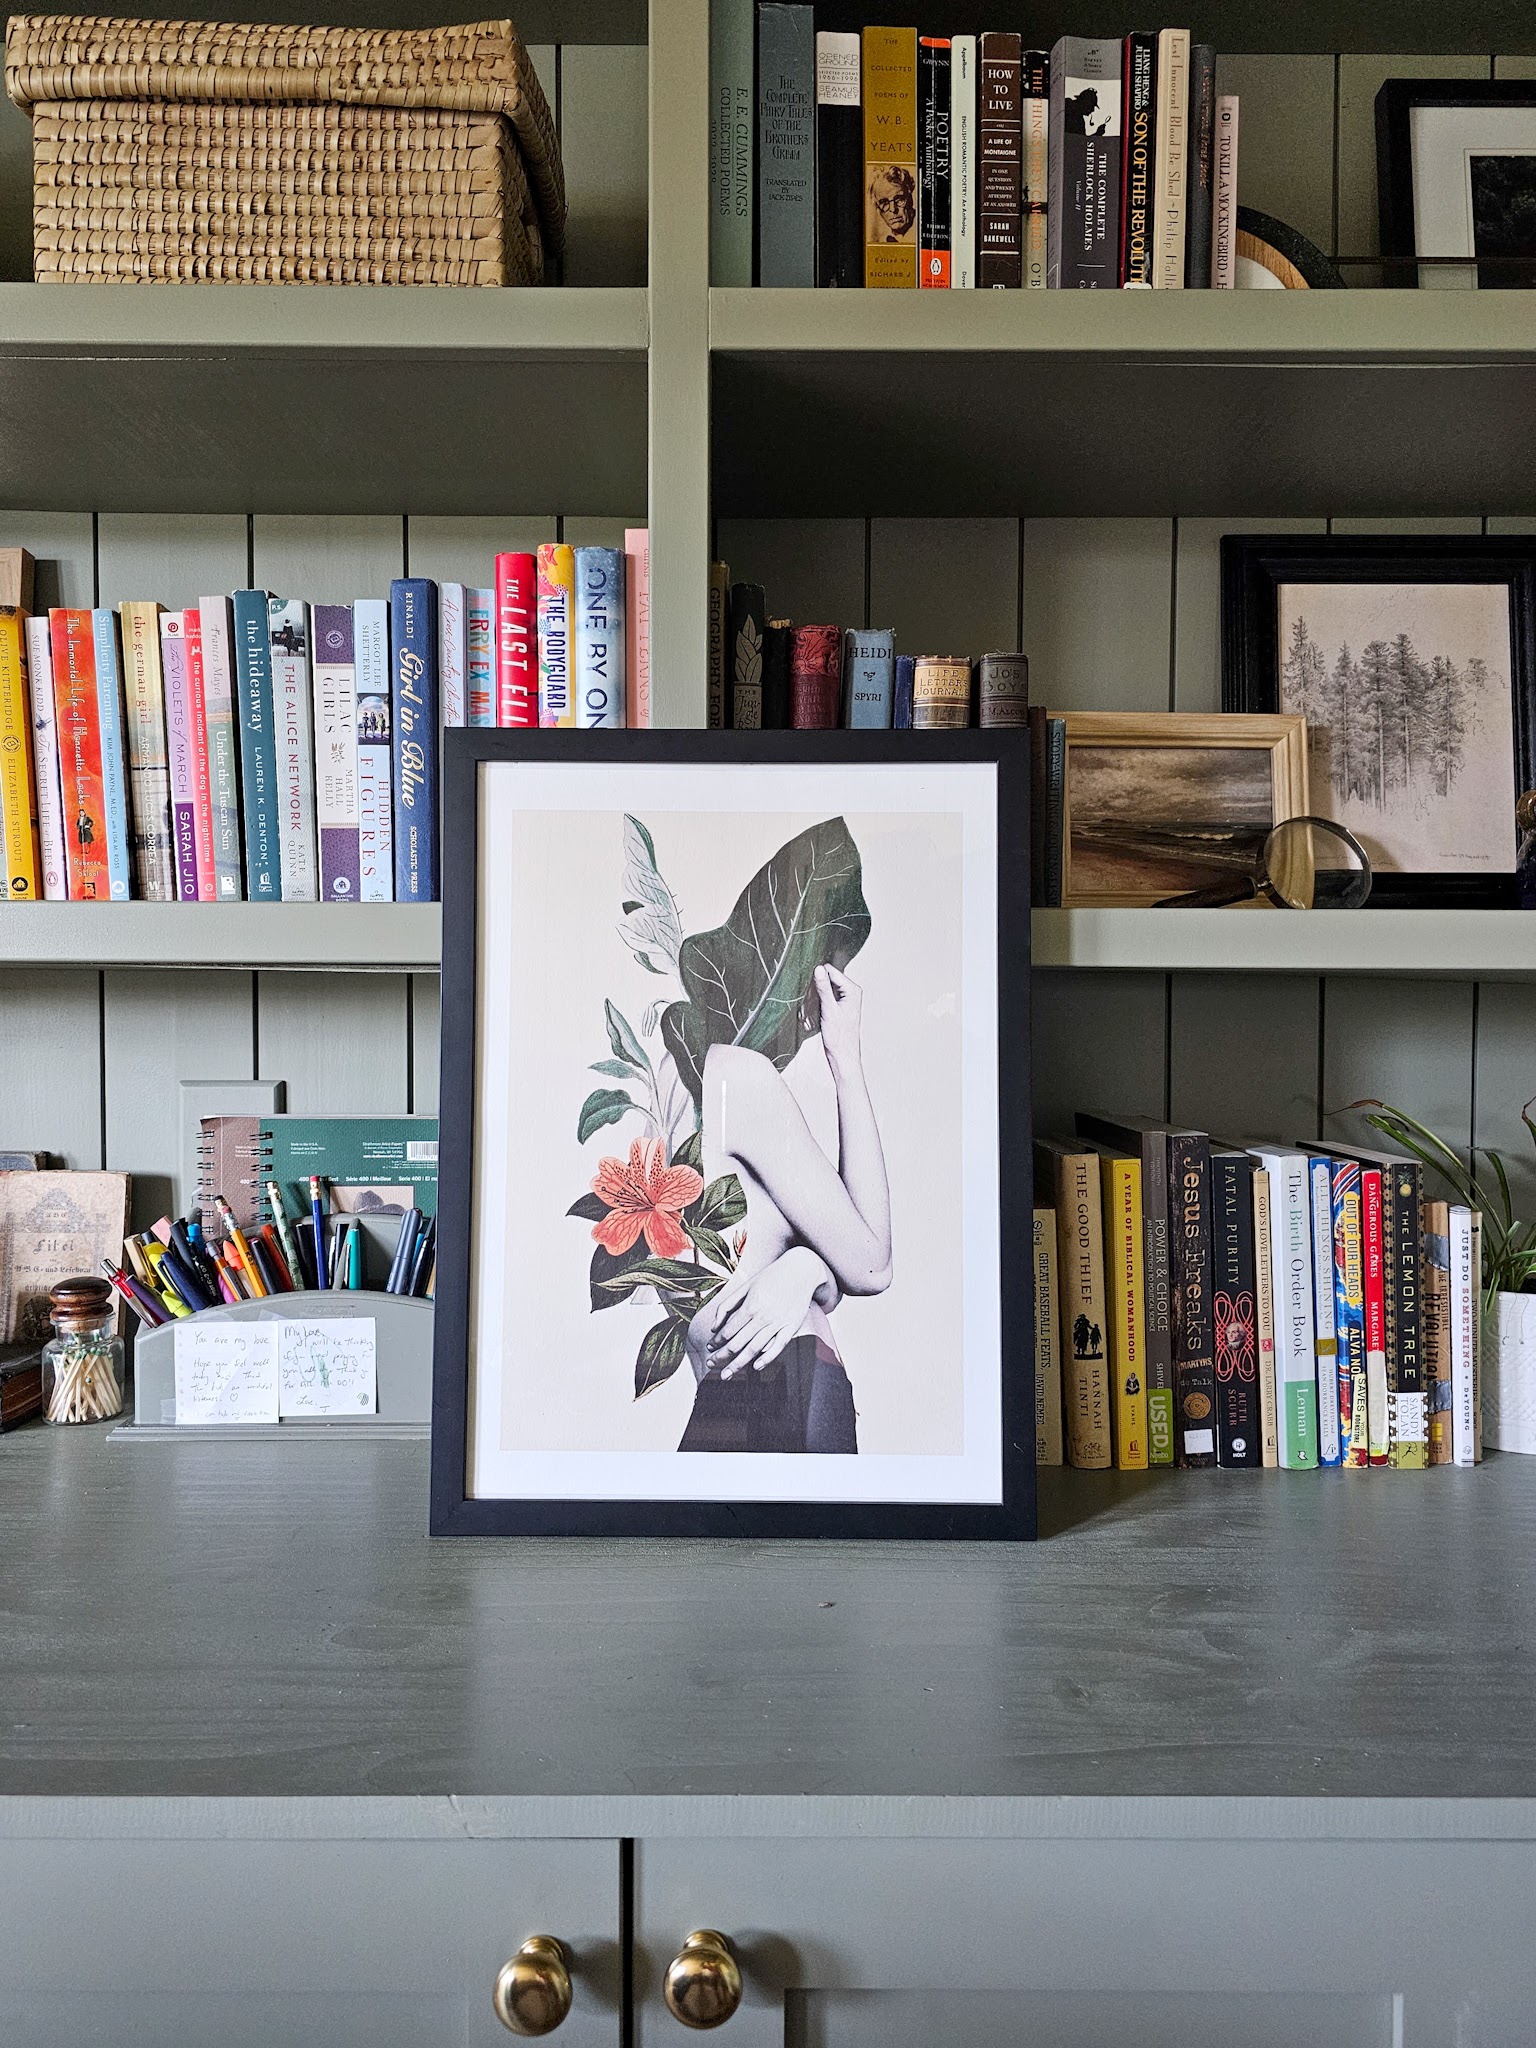
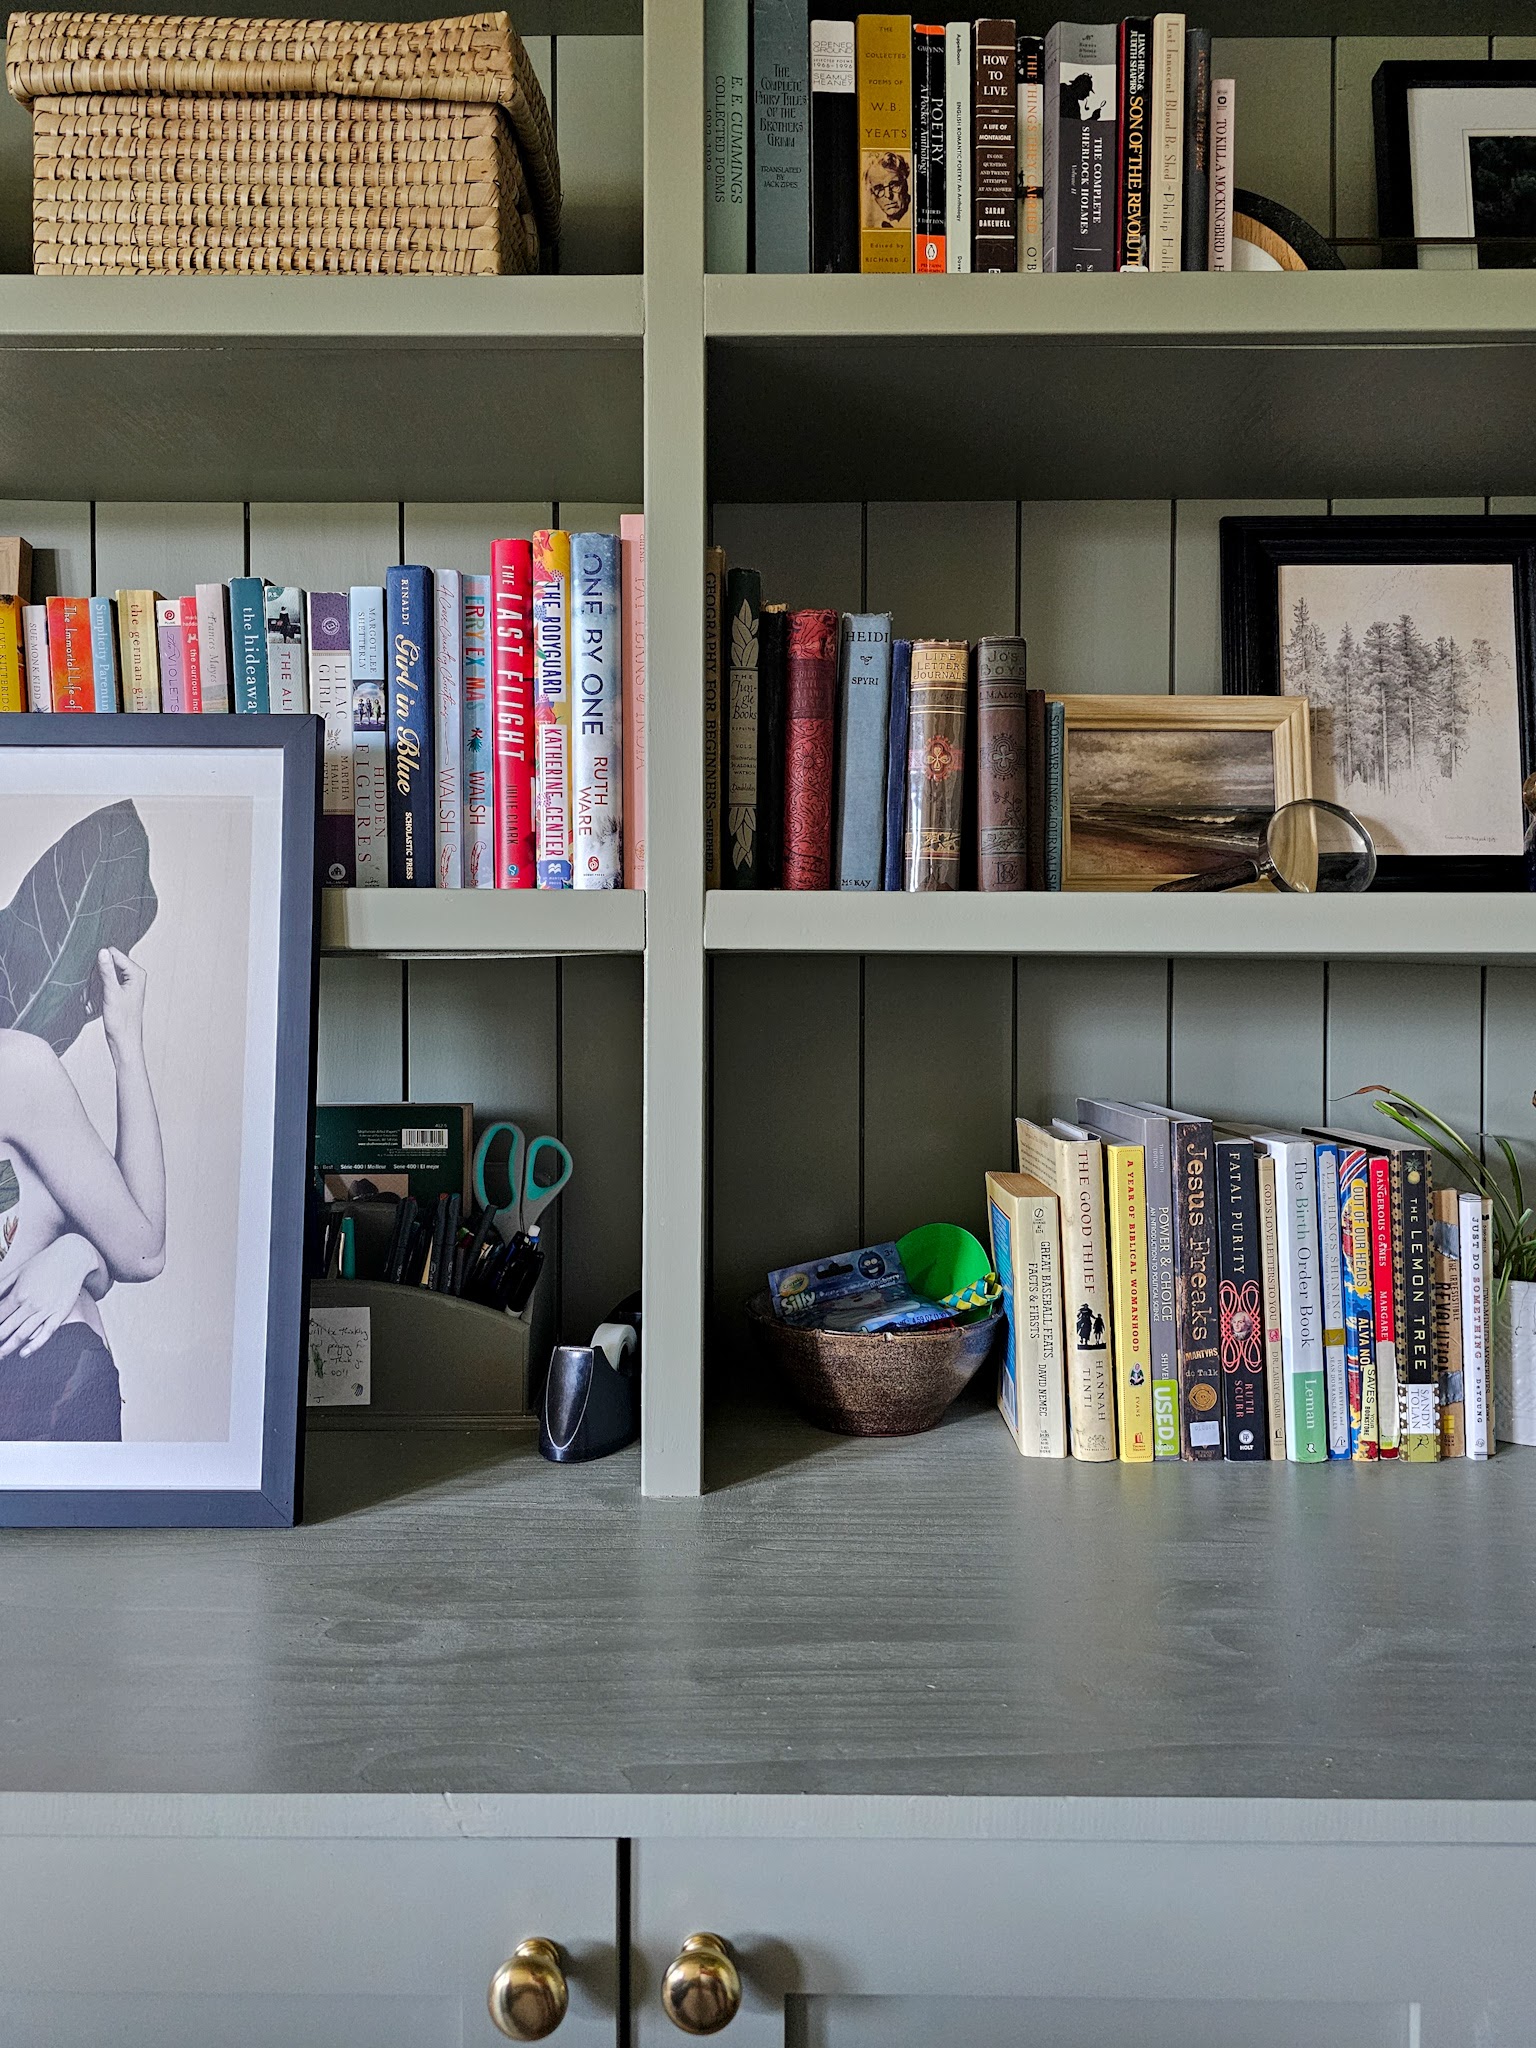
The big two enjoyed some time on their tablets and I headed to my office to get some work done for my job as a virtual assistant.

Around 3:00 pm the big two and I headed downstairs and I got a quick bike ride in while they played nearby.

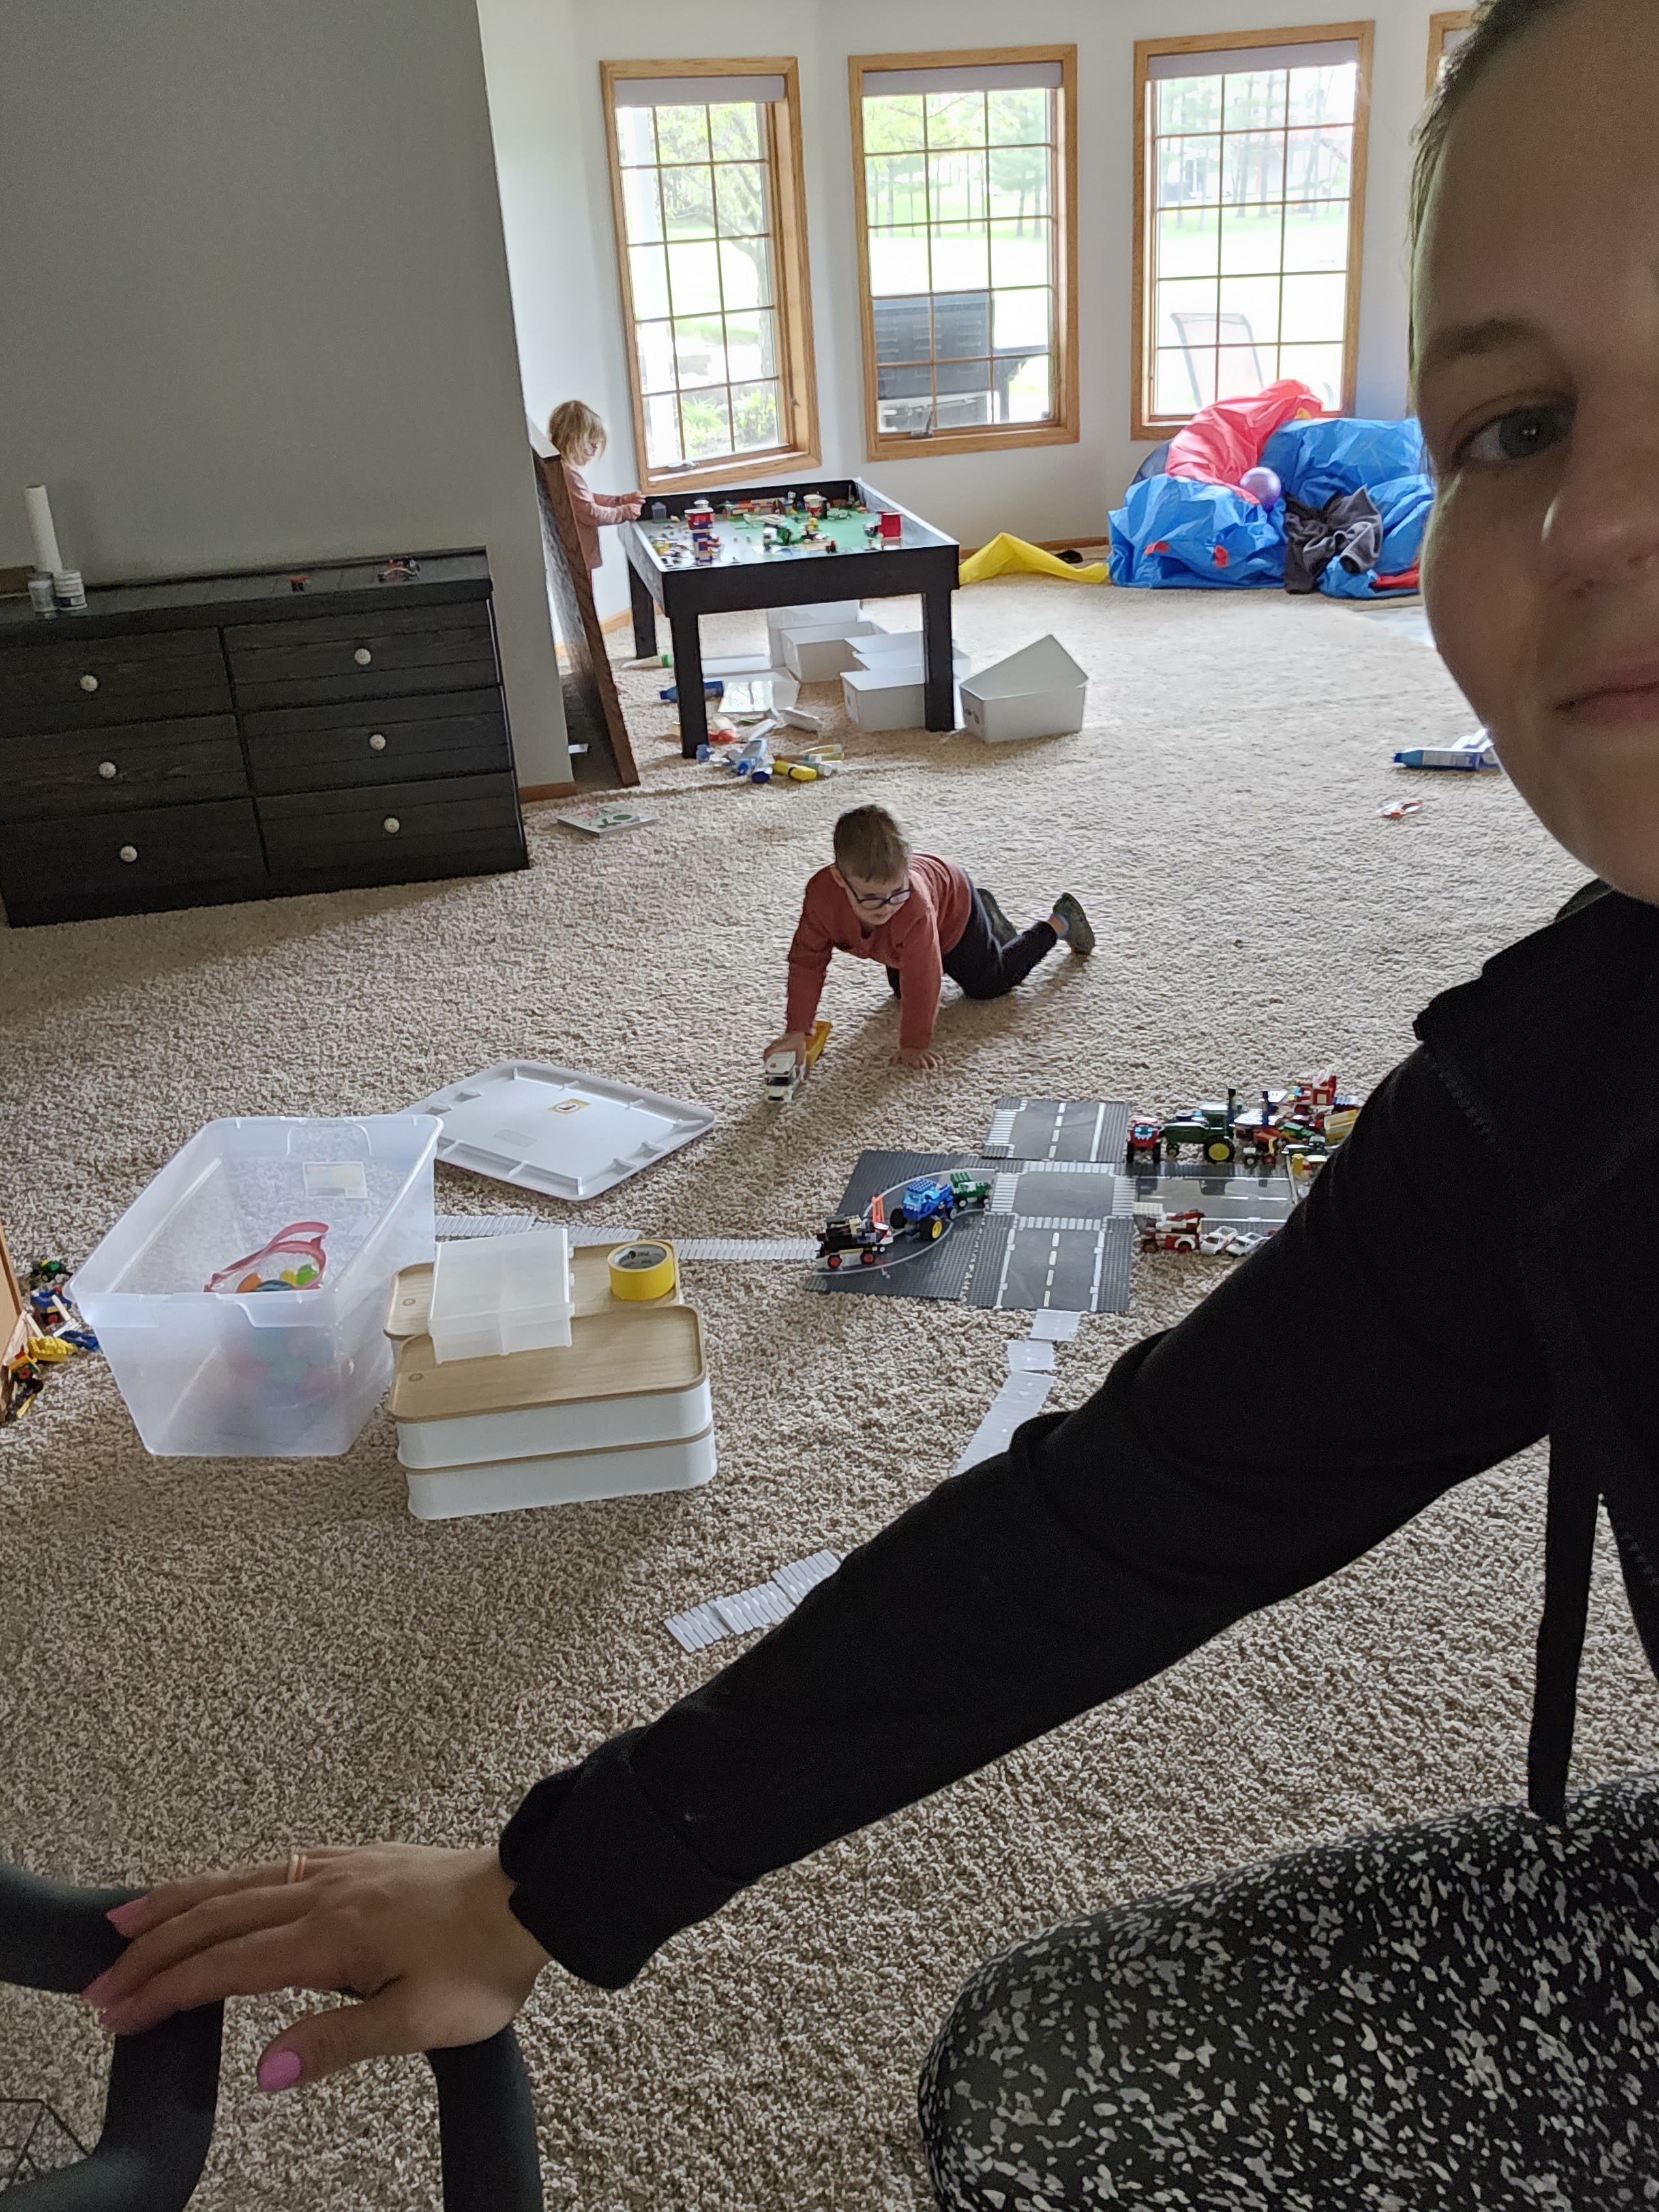
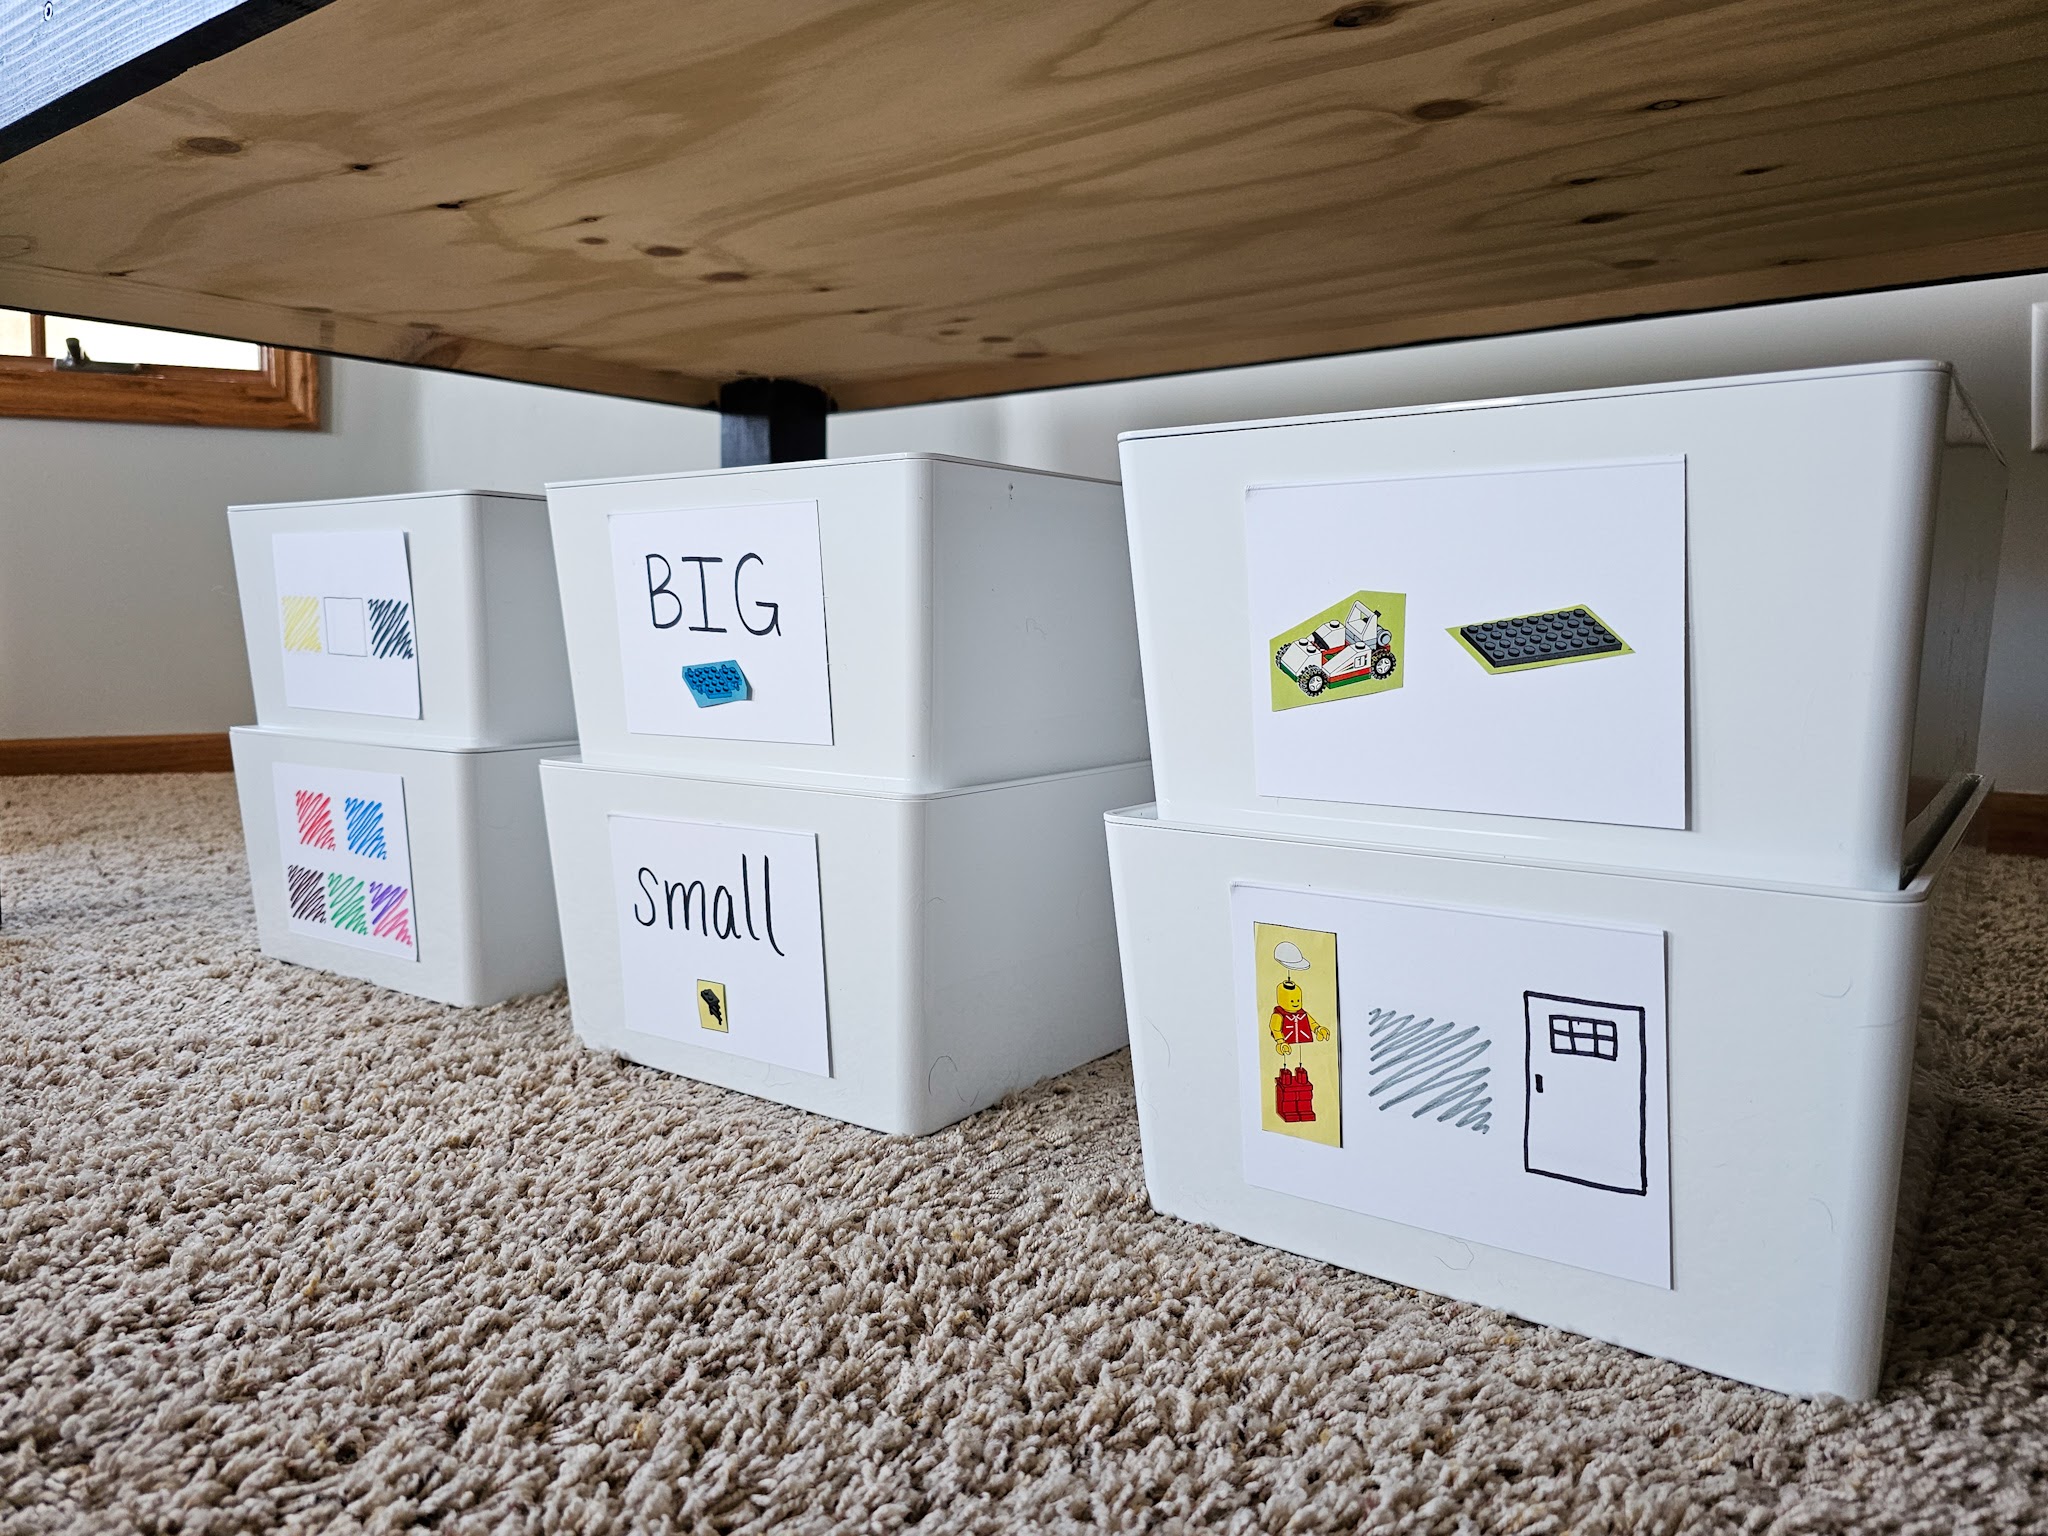
After my ride LJ wanted to show my his “workshop” of Lego creations and farm equipment so we played there together for a while.

Headed upstairs to switch over the laundry with Vi and start a second load.

This little guy woke up around 4:45 pm and was all smiles!

LJ and Vi had set up a station on the staircase landing so we played there until Justin came home.

Once Justin got home we headed outside to play. Our neighbor recently loaned us a go kart for our kids and they love taking it for a (slow and cautious haha) ride!

I quick changed while Justin handled dinner for the kids because I had to head off too . . .

. . . a kindergarten parent meeting. How can we already be here!? Feeling all the feels!

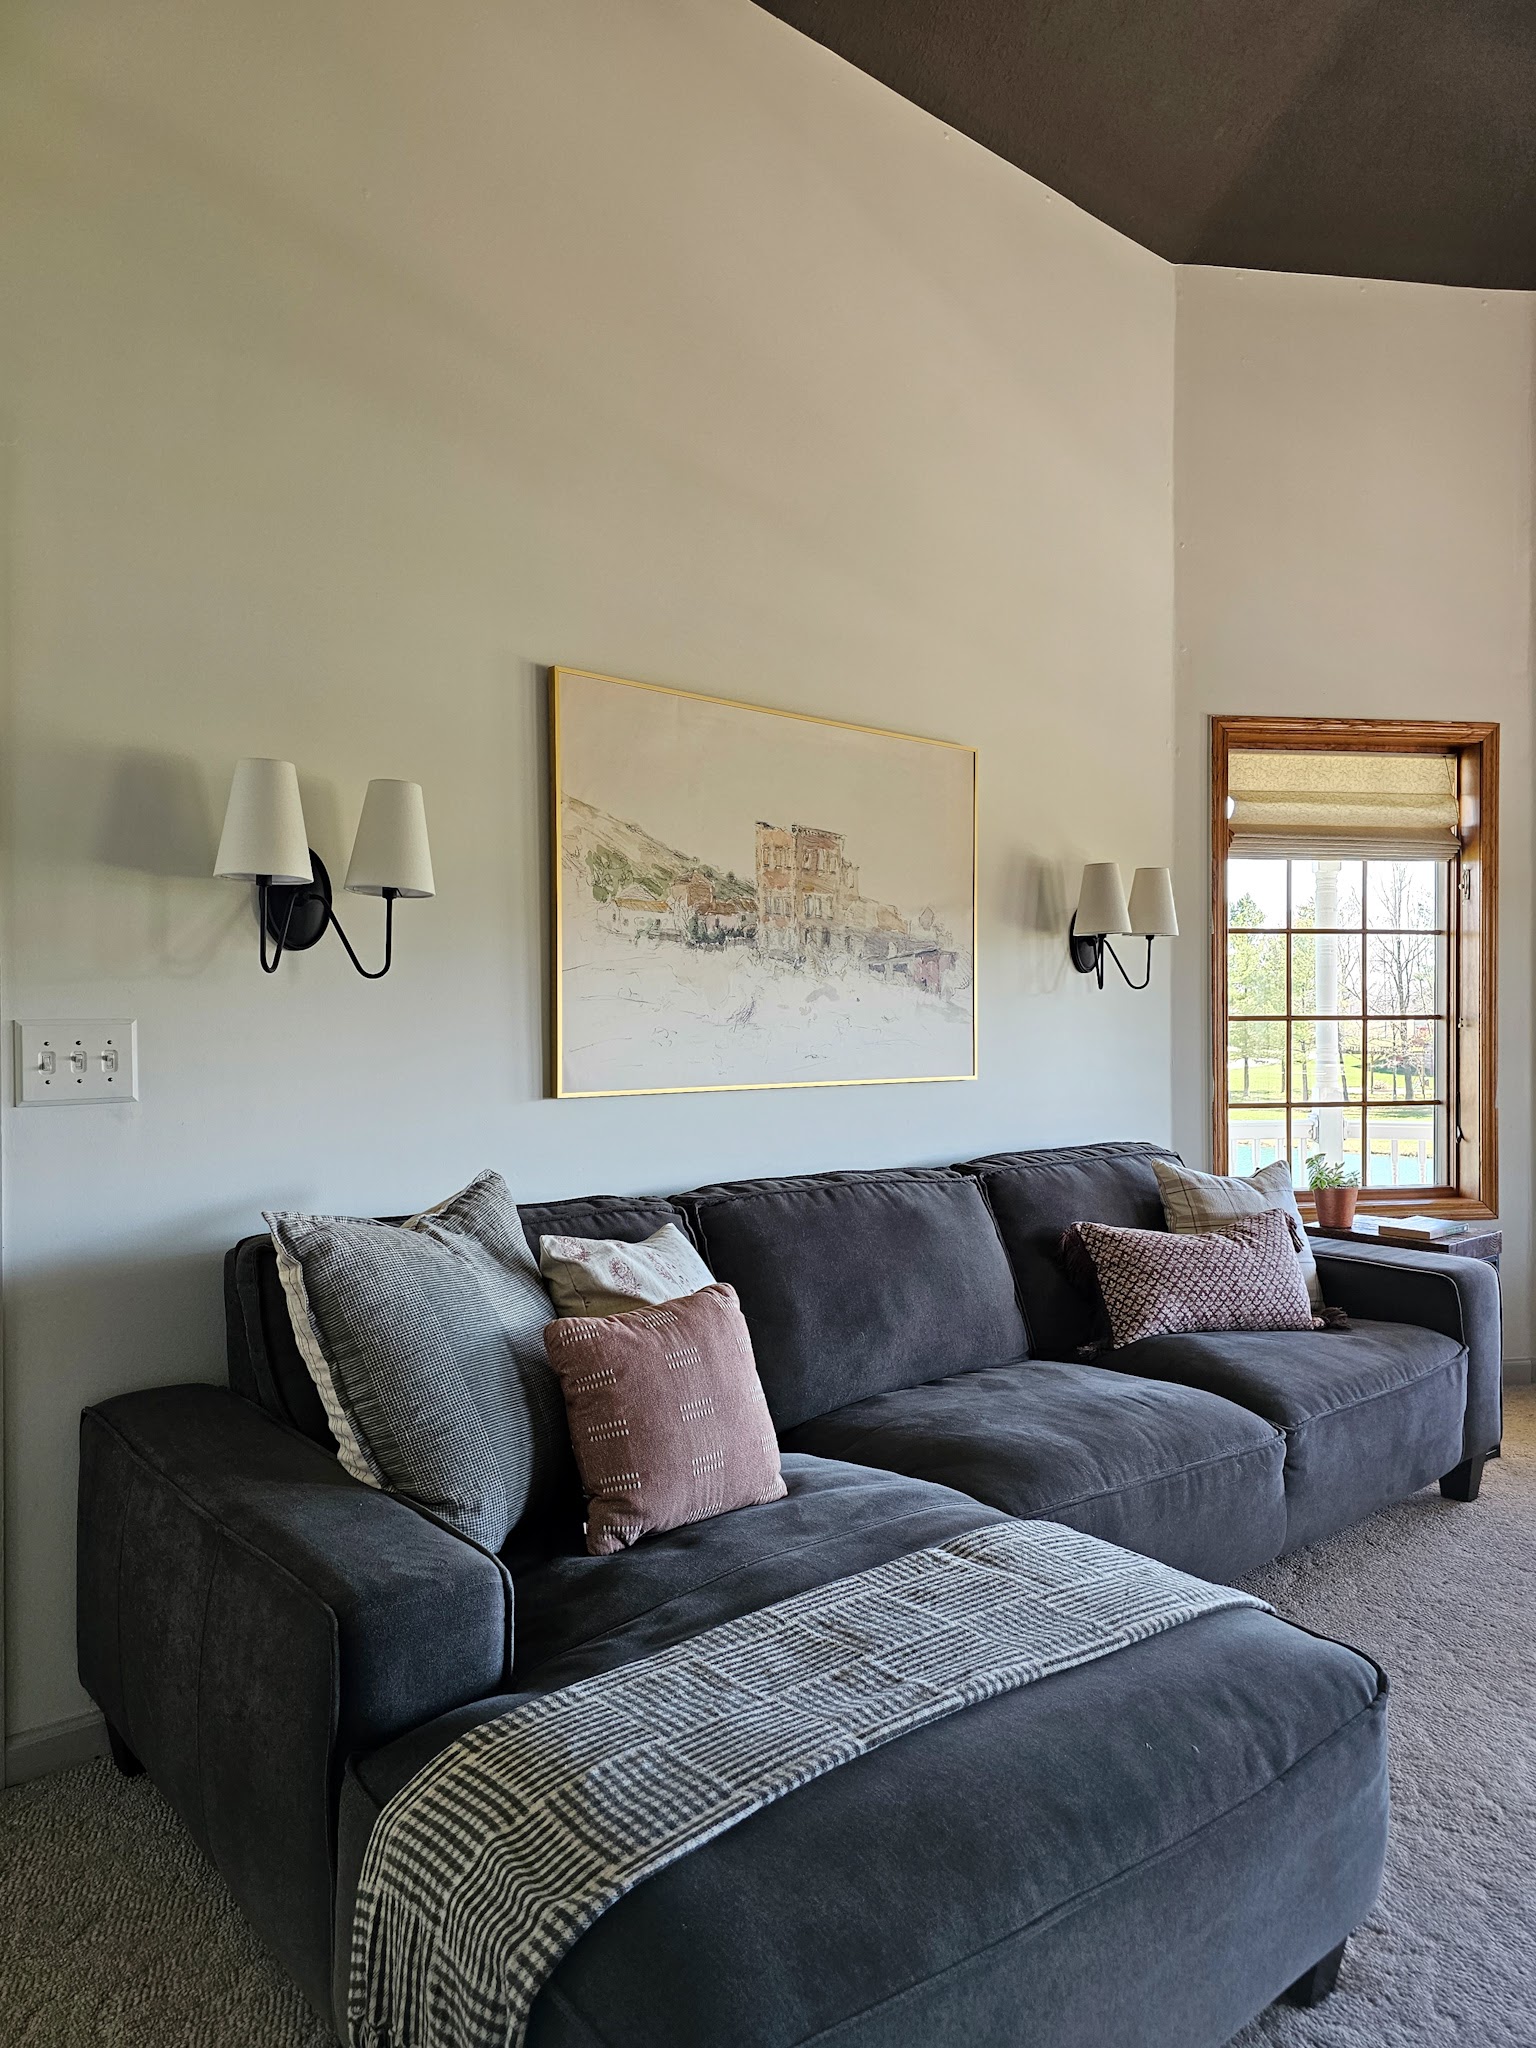
I was supposed to have a girls’ night with friends after orientation but it got cancelled due to scheduling conflicts so Justin told me to just head to the basement when I got home to enjoy some time by myself and he would handle bedtime. Don’t have to tell me twice!

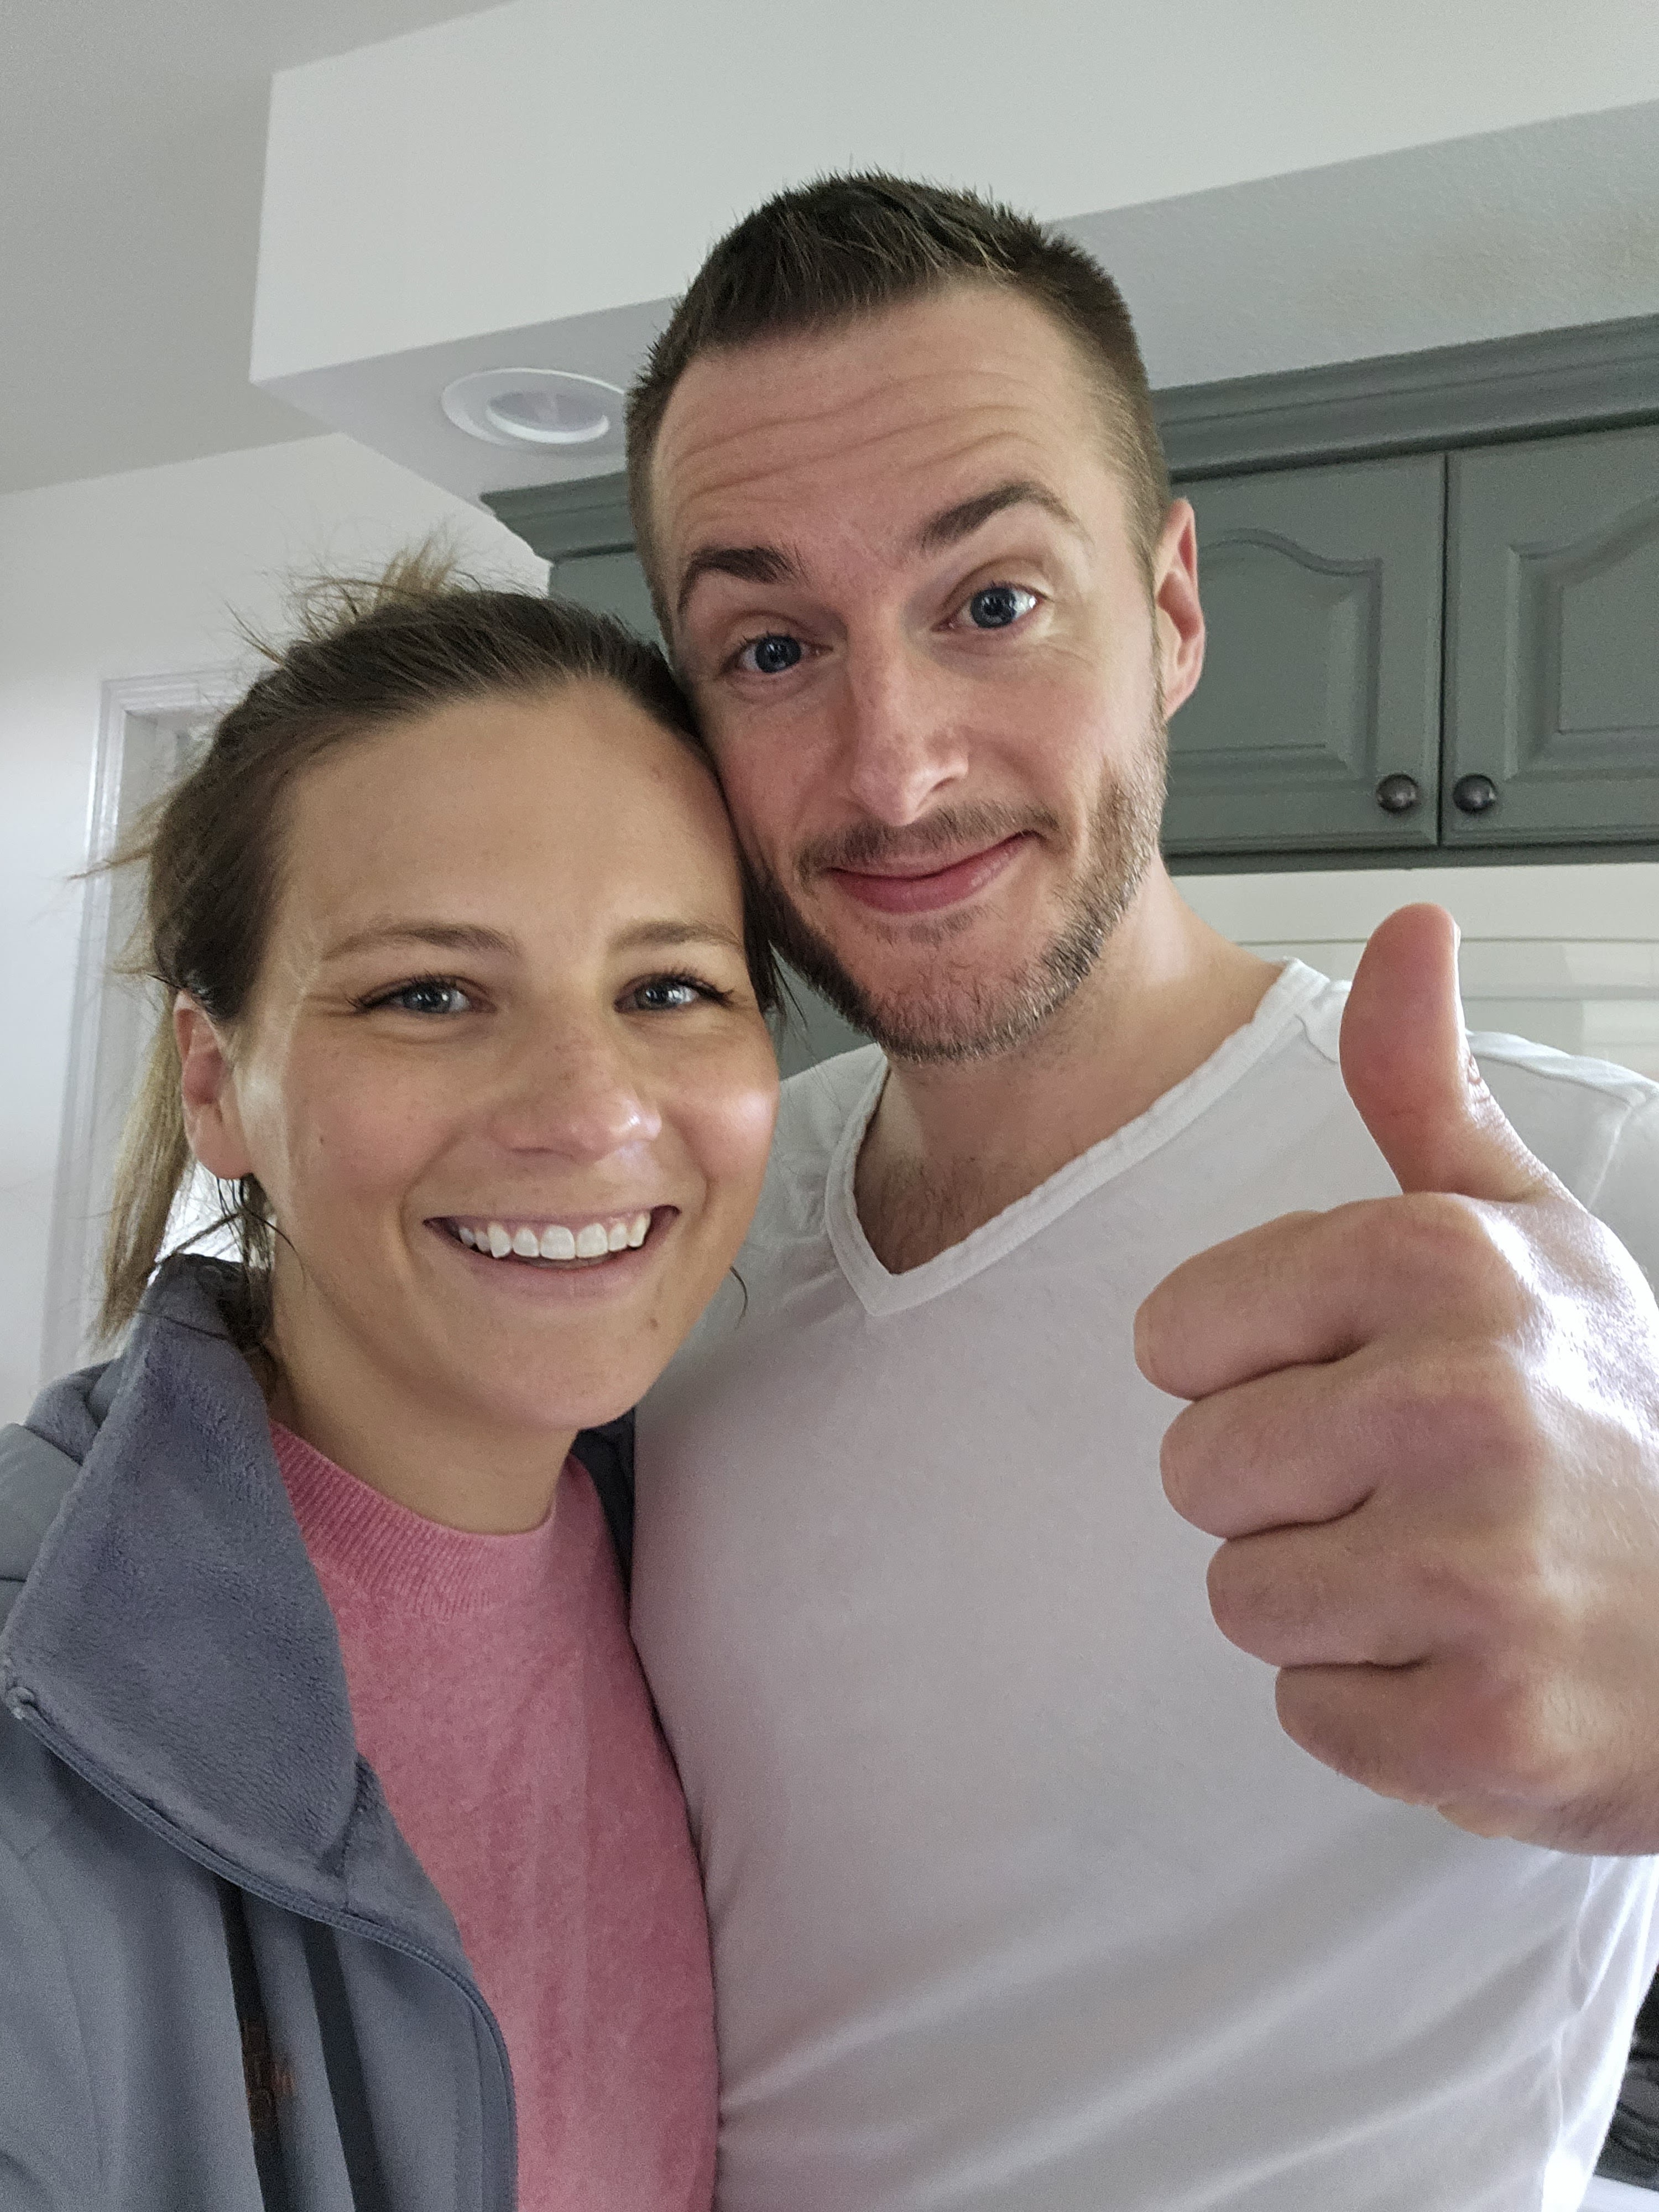
When I headed upstairs around 8:50 pm, all the kids were asleep and Justin had folded the laundry. This man is SUCH an incredible husband, father, partner. So thankful for him!

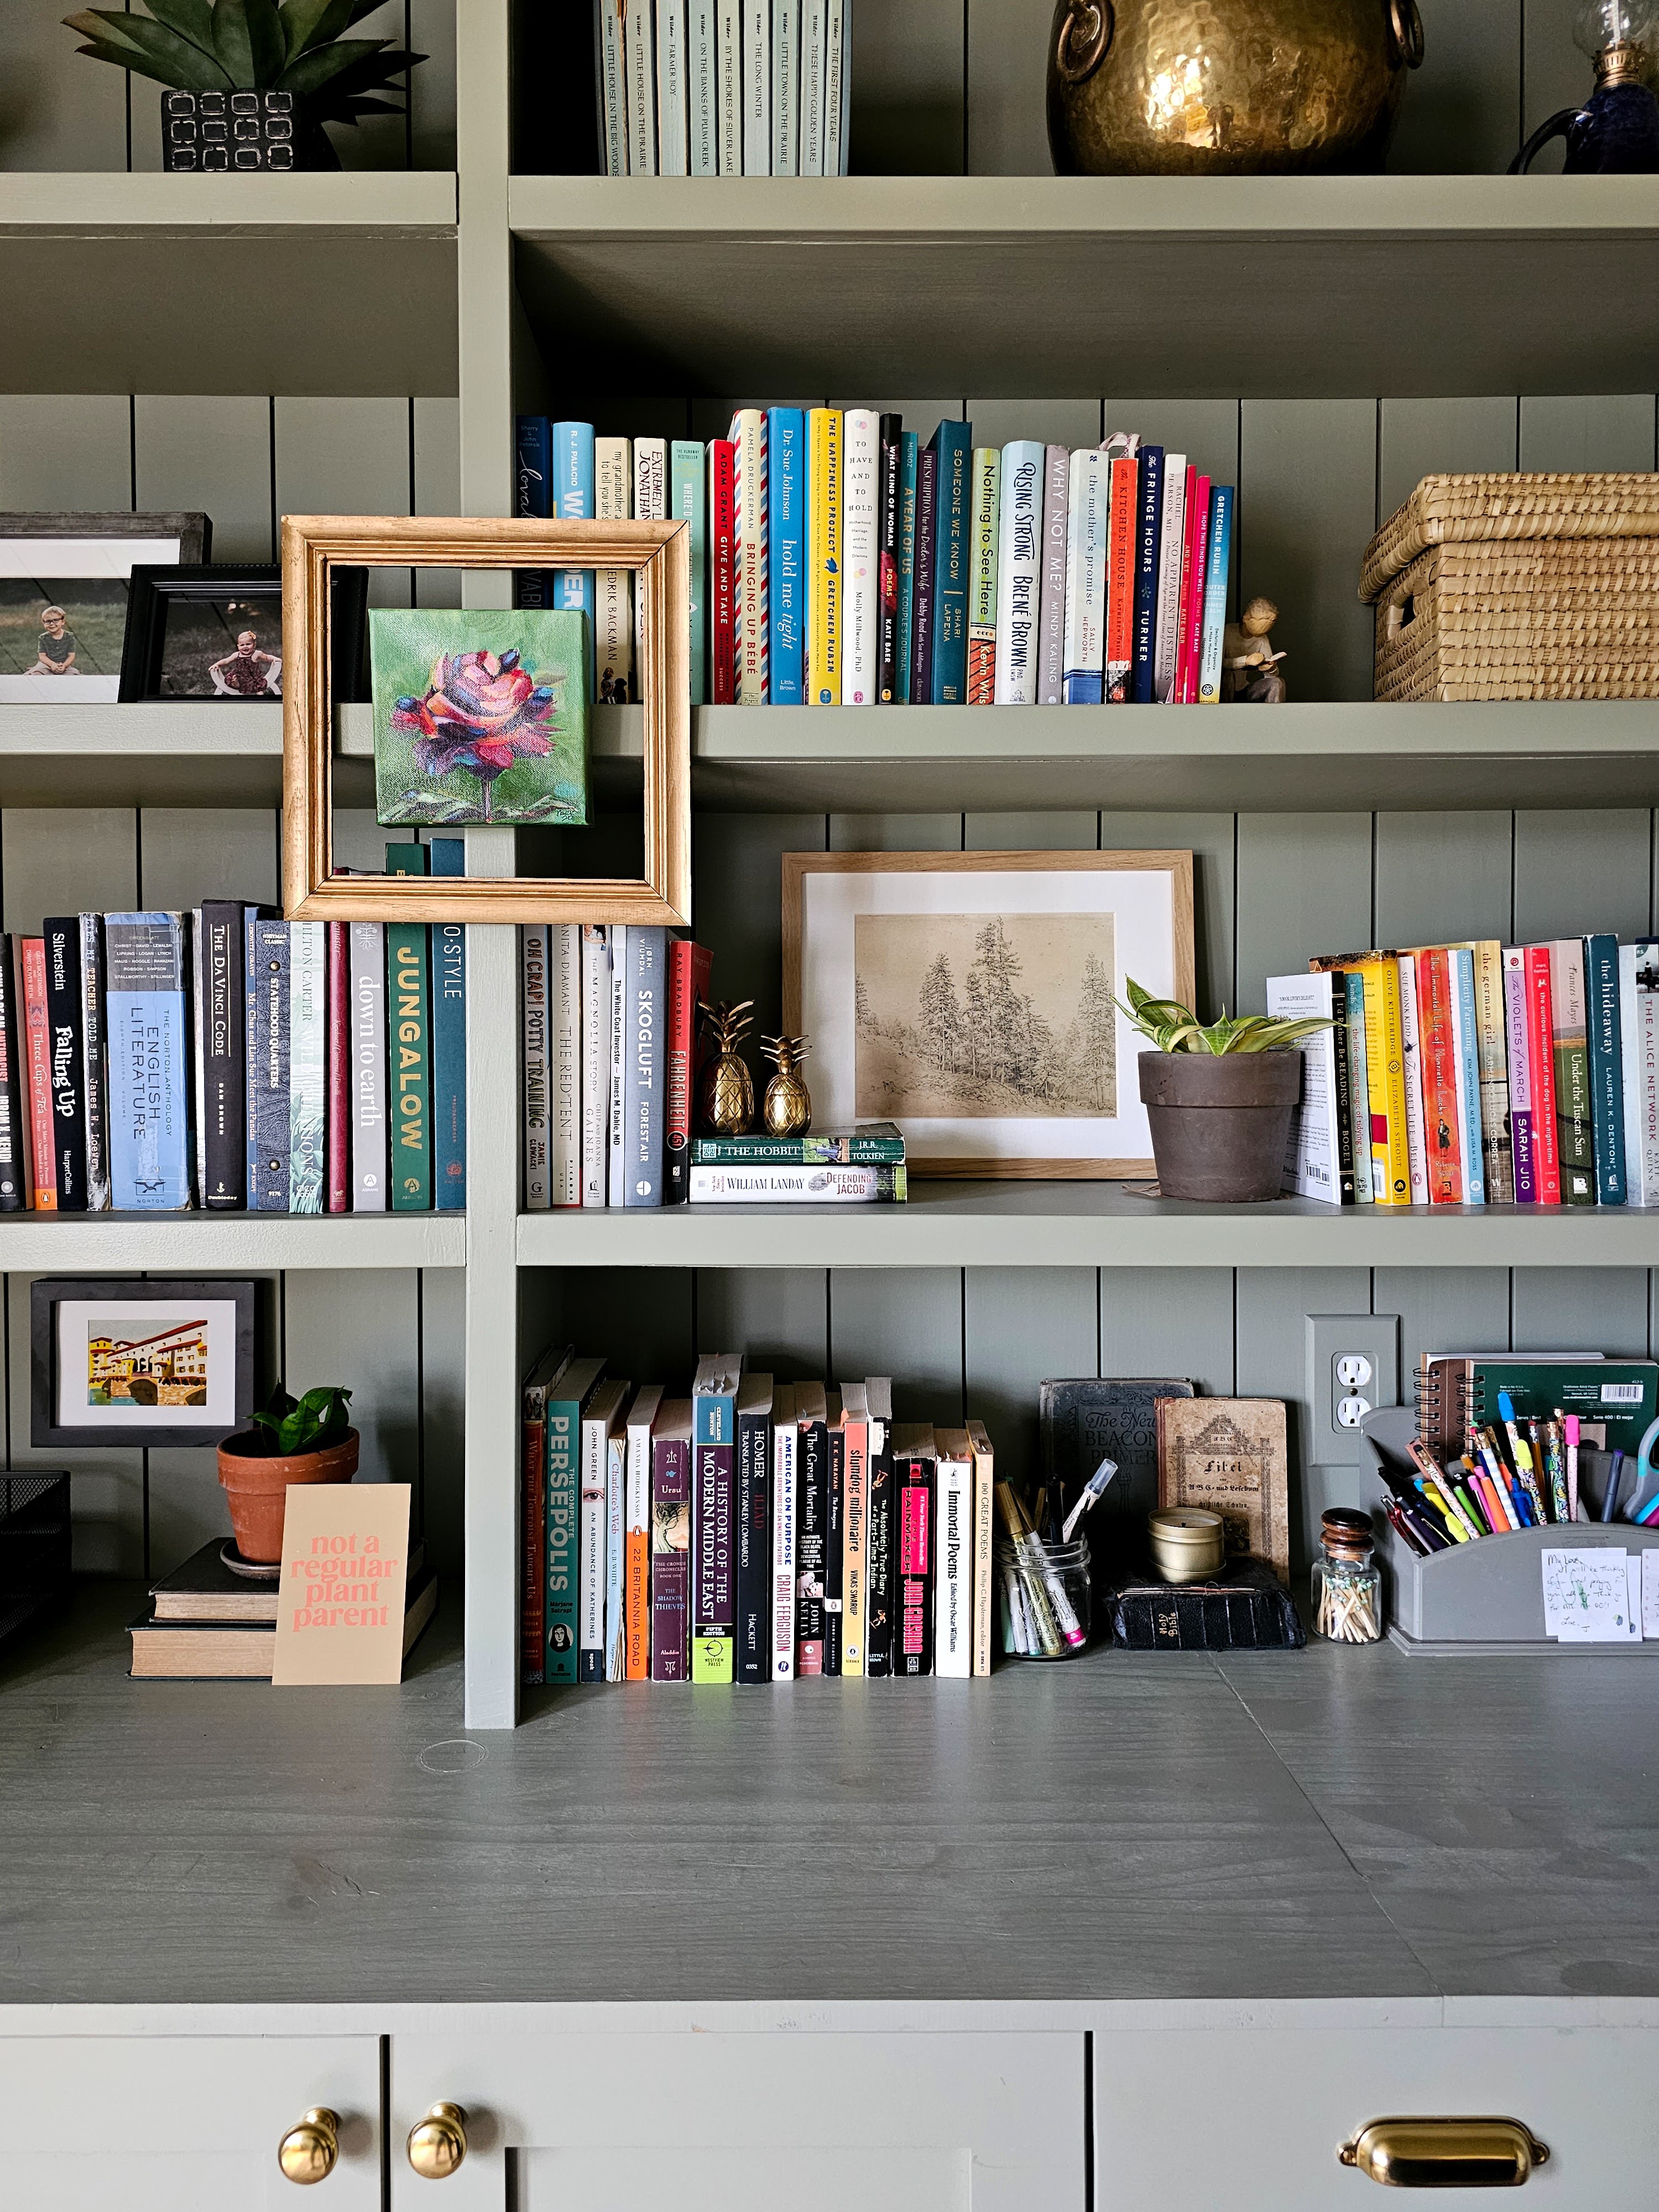
Finished off the day with some reading and dog snuggles. It was a great day!

To see previous Day in the Life posts, you can check out the links below:

November 16, 2018

July 9, 2019

January 14, 2020

March 26, 2020

February 13, 2021

September 13, 2021Ā 

June 2, 2022

September 9, 2022

Fresh Artwork + Pillows in the Living Room

This week I made some more progress in the living room with a few small changes that made a big impact.

The living room is the slowest renovation we’ve tackled so far. I shared the mood board back in October and since then, I’ve painted the walls and ceiling, swapped out the ceiling light fixture, and hired an electrician to hardwire two sconces. We also purchased one new chair for the bay window area. That’s it! Basically, I’ve been taking this Phase One renovation in, well, phases, and every so often I come back to do a little bit more. This week, I finally finished off this wall:

Before-ish

Midway

After

Let’s start with the artwork, as that was a driving force in all the other decisions with this view. From the start of planning this room, I had this print from Juniper Print Shop in mind. I like that it has interest, but it’s not overwhelming. The wall is huge and I had no chance of filling it; with a bold ceiling already I wanted to just have the art be a bridge between the couch and ceiling. It’s named Italian Hills and reminds me of Justin and my trip to Italy 7 years ago. I was drawn to the soft, muted colors used – it’s the same color palette that’s reflected throughout the rooms in the rest of the first floor so it felt like a great way to tie everything together.

I purchased the print as a digital download. Their website says their digital files are formatted to print up to 24×36 inches but I was able to have it printed locally at a larger size and I’m happy with the end result. (They do offer oversized prints too but I wanted a different size than they offer – more on that in a minute).

With the print in mind, I went a little bit crazy in Target and bought 13 different pillows to try out on the couch. I wanted to play off the colors in the artwork and chose patterned pillows with shades of green, taupe, and mauve. My vision was to have a mix of colors and patterns for a cozy, collected feel and I tried out numerous combinations before settling on these five.

Of the 13 pillows I bought, I’m only keeping 3. The large green pillow and small square pillow were actually two I already had – a reminder to always shop your own home first! A few new pillows gave a fresh feel to the ones I already have and I love how they all look together.

Because I was bringing in interest with the artwork and a mix of colored and patterned pillows, I wanted to keep the frame for the artwork pretty simple and streamlined. This gold frame from Frame It Easy was perfect for its understated elegance!

In the interest of full transparency, I received this frame from Frame It Easy in exchange for sharing on Instagram and providing them with photos for marketing. A blog post was not part of the contract, but I’m choosing to share about the frame and company here because I’m genuinely happy with the product and like how it looks in my living room.

Frame It Easy can create frames in whatever size you want – even if it’s super unconventional, like 14 5/8″ x 31 1/4″. I mentioned before that I wasn’t able to use the oversized prints Juniper Print Shop offers and that’s because none of their offered sizes fit the wall space in between the sconces like I wanted. I used painters tape to measure out different proportions and settled on 51″ x 34″ as my desired size. Frame It Easy asks you to put in the dimensions of your artwork and then creates a custom frame to fit. You can also upload your photo or artwork and have them print it, but due to the size of mine (and the file size given by Juniper) I had it printed locally.

Frame It Easy provided me with a link to share – if you’re interested in ordering, you can access their website through this link and you will automatically get 10% off your order, no additional code required! (I do not make a commission off of sales).

I originally used the acrylic cover that came with the frame, but because of the large bay window area in the room, there was SO much glare no matter what angle you were looking from. It really distracted from the artwork and I knew it would always bother me, so I removed the cover and am much happier with it now. I know I run the risk of my kids getting their fingerprints on the print but it felt like a risk worth taking to get to actually see all the details in the art without the glare.

I’m super happy with this wall in the living room and feel like it’s in a good place for now. It does make it pretty obvious though that the rest of the room still needs some work – as you can see from this view, the windows stick out like a sore thumb. Painting them is next on my list for this room!

Sources:

Wall Color: SW Alabaster

Ceiling Color: SW Urbane Bronze

Trim Color: SW Agreeable Gray

Pillows: patchwork, lumbar, plaid

Italian Hills Print

Frame It Easy Specs:

Art Size: 51″ x 34″

Outside Frame Size: 51 3/16″ x 34 3/16″

Style: Ashford in Satin Gold

Cover: Clear Acrylic (I removed)

Backing: Acid Free Foamcore

Order Here for 10% off your order (offer good through May 24, 2023)

A Peek into all our Office Storage

It’s been four years since we first walked through our house and from the very first showing, I had a vision for our home office. The room had no permanent storage, but I envisioned built-in bookcases along one wall and was so glad to bring that vision to life back in 2020. We have SO much storage space now and today I wanted to take a look at all the ways I utilize different types of storage in this room.

My desk has two small drawers that house basically what you would expect to find in a desk: notepads and sticky notes in one drawer and office-y bits and bobs (rubber bands, paper clips, binder clips, erasers, flash drives, etc) in the other. These are the things I’m often reaching for throughout the day as I work from home.

When designing the built-ins, I knew I had the option to do floor-to-ceiling bookshelves a la Beauty and the Beast, but I also knew that having some closed storage for my family was crucial. Utilizing cabinets on the bottom half was a game changer for our home’s organization!

I store typical office supplies like our printer, paper, notebooks, folders, and cords in the cabinets but they also house a lot of random things like construction paper and tubs of art supplies, my paint swatch decks and wallpaper samples, computer bags and tripods, and all of our family’s many, many games.

I originally wanted all the cabinets to have shelves and doors but we used Ikea cabinets and I couldn’t get a configuration to work in the allotted space. I had to pivot and include a set of drawers in the middle, which ultimately worked out better than all doors anyways! I love having a set of drawers to easily store things like my office backstock (rolls of tape, extra sticky notes and paperclips, etc), my stapler, all our batteries, command strips, envelopes, labels, etc. I’m so thankful for the drawers!

In addition to holding all my books, I also wanted to utilize the open shelves for beautiful and functional storage. Some items, like my spare buttons and calligraphy utensils, are stored in simple glass jars and are out on display. I have a little utensil holder for easy access to all my pens, pencils, and a few notebooks and also have black stacked paper holders to house school papers.

For not-so-display-worthy items, I rely on storage boxes.

I have all my permanent markers hidden in this pretty white box out of the reach of little hands. It’s stacked on top of another, larger box filled with all my sewing supplies.

This woven basket box houses all the greeting cards I have on hand. Several years ago I made some simple dividers to categorize the stash and they make it so easy to grab a card for the right occasion!

I also have some sneaky hidden storage. Tucked behind a large art print are utilitarian things like scissors and a tape dispenser, plus a pottery bowl filled with the little knick-knacks my kids pick up as birthday party favors, arcade game prizes, school holiday toys, etc.

These trinkets cause SO much clutter in my house; my kids bring them home and love playing with them for a few days, then lose interest and my house is littered with tiny toys. When that happens, I just quietly pick them up and dump them in this bowl. I can still “find” them if my kids ask or start to look for them, but they’re also out of sight, out of mind, and my kids usually end up forgetting about them.

Once the bowl gets full, I donate the trinkets to LJ’s previous preschool teacher to use in her prize box so they can have new life in someone else’s house. šŸ˜‰ For the record, my kids almost never look for the toys after I put them in the bowl – easy come, easy go!

It’s hard to imagine our home without the office now. It’s such a great space for keeping our things stored and organized, which allows the rest of the house to stay streamlined with way less clutter around. It’s an all-star of a room for sure!

Reflections on Our Kitchen Reno Two Years Later

Two years ago, in April 2021, I upgraded our kitchen with a mostly surface-level renovation.

I painted the cabinets, windows, walls, and ceiling. We swapped out the light fixture and added some new barstools. The most demo-heavy aspect was ripping out the old stone backsplash and repurposing the bead board paneling we took from our office renovation as our new backsplash. I kept the cabinet hardware, all the appliances, the counters, faucets, and flooring the same. All in all, it cost right around $1000 and took a couple long weekends but this kitchen felt like a totally different space. And I’ve loved it ever since!

Before

After

Last year, I did a check in where I talked about how the kitchen is holding up (and the few lingering things I needed to address at that time). Since that post, things have continued to hold up well. We have just a couple spots where the paint continues to chip off a bit on our most heavily used cabinets but other than that, the drawer and door fronts are all looking perfect! I still love all my choices with this renovation two years later.

This kitchen has always been a great reminder that small updates and Phase One projects can be so worth it. Truthfully, Justin and I still hope to someday remodel the kitchen and rework the layout to eliminate some of the persistent problems we run into. Eventually, we’ll be upgrading the 20-year-old appliances. I’ve been collecting and analyzing flooring samples because that is definitely a future upgrade as well. There are so many things we’re planning to change down the road . . . but I’m so glad we did a smaller update first to love the space we’re in NOW.

The kitchen is the heart of our home. We’re in it every single day, multiple times a day. Most days, it looks like this shot of a recent Saturday morning:

The island feels like our command center: we food prep and eat meals and do homework and art projects and bake and talk about our days and plan for the future and sort mail and do so many more things around the island. We spend a lot of time here and so it makes sense to me to want to really like the space we’re in.

We could have waited. We could have said “ehh, we know eventually we want to re-do the whole thing so let’s just save the money and effort and do it all at once down the road.” We could have lived with the perfectly functional, but totally not “us,” kitchen for 10 or more years. And it would have been fine. But to me, I think it was so incredibly worth it to make small but impactful changes to make the space something we love to look at and be in as it is right now. This Phase One update gave me a new appreciation for what already existed and it makes me happy to walk into this room multiple times a day. I am no longer itching to take on a huge, expensive, time-consuming remodel; although I still want it someday, I’m very content living with our current space for now! It’s like the Phase One actually gave more life and longevity to this space because it reflects our family and fits in with the rest of the house so much better now. And honestly, if the major remodel never happens, it would be okay if it stays just as it is. It was worth the cost of paint + a new light fixture +barstools. It was worth the time and effort to paint the cabinets and replace the backsplash. It did not have to be all or nothing – a middle ground was worth it!

I guess I wanted to share these reflections in case you need some encouragement to try a small update now while you dream/hope/plan for a bigger change down the road. Maybe you dream of a full-blown bathroom renovation someday, but right now a fresh coat of paint and a new mirror would make you enjoy the space more right now. Maybe you hope to replace your flooring but for now, a new rug would make the space feel cozier. Maybe it’s swapping out one light fixture. Maybe it’s painting your existing coffee table/nightstands/dining chairs/etc to change their look to something new. Maybe it’s even doing a Phase One in phases – painted cabinets one month, replace a light fixture a few months later, swap out some bar stools a few months after that. Don’t discount small upgrades – $5, $10, $20, or $50 changes can have a big impact too and you know I’m all about thrifting and secondhand finds to stretch a small budget farther. A plant, a candle, a pillow, artwork – so many things can change the way a space feels!

I think this can apply even to renters – back when I rented a townhome with some friends, we asked the landlord if we could paint. He said yes, we could paint, but we had to take on the cost. I’ve heard the argument not to “waste” money on a rental, but to me, it was VERY worth getting a low-budget can of paint, a brush, and a roller and spending a day painting my bedroom. I lived there for TWO YEARS! Even though it was a rental and it was temporary, two years is a long time and it was not a waste to me to actually love being in my space everyday. In fact, it felt like a form of self care to create a little haven in my room – totally worth it.

I’ll step off my soapbox now, but I hope this encouraged you to not wait for a huge remodel or gigantic budget. Maybe that’s never going to be in the plans, or maybe it’ll happen 5, 10, 15, 20 years down the road. You’re still living in your space every day – today, tomorrow, the day after that – and there are a lot of things you can do, big and small, to love your home a little more right now.

Easy, Functional Lego Storage

About six weeks or so ago, Justin and I completed a DIY Lego table for our kids. It has been a big hit with our children, particularly LJ, and has already gotten a ton of use. I knew when we completed the table that I needed to also address the storage for all the excess Legos and the past six weeks have made that even more evident. I finally took some time yesterday afternoon to organize our stash and I can’t believe the huge difference it made!

We had been working with a hodgepodge of storage bins: bright blue divided bins from when Justin was a kid, random clear bins from around our house, and white narrow bins I originally bought for the Legos. I totally blanked on taking a before picture, but I took a video of my organizing process and grabbed this screenshot from the beginning to give you an idea of the chaotic storage situation.

It took me a long time to find bins that would work for my purposes. I wanted lidded, stackable bins that were somewhat cute since they will always be out and visible. Size-wise, I didn’t want them to be too tall, since we don’t want a deep pile of Legos inside, but they needed to be tall enough to fit some type of divider. I also did NOT want them to be clear, which ended up being the hardest requirement! A lot of bins fit all my other parameters but were clear; I specifically did not want clear because when the Legos are put away, I want them to be somewhat discreet. The whole purpose of the Lego table was to corral Lego creations and keep tiny pieces up off the floor, away from little ones. By having opaque bins, I figured they’d be less enticing for curious little hands. Whenever babies or toddlers are in the basement, there is always adult supervision but I figured any extra help to keep them uninterested in the Lego space is going to be beneficial.

I thought I had hit the jackpot with these cute white bins, but I didn’t factor in the inset lids and bottoms – these plastic dividers fit inside but were slightly too tall to allow the bins to stack with the inset. I kept searching and finally landed on these Ikea bins – they were a little taller than I would have liked but they fit all other requirements so I decided to go for it. I chose the Kuggis in 10.25″ x 13.75″ x 6″ size.

I wanted adjustable dividers to customize sections based on the amount of Legos in that category. These plastic dividers were perfect! The length fit perfectly inside the Ikea bin; to adjust the size to fit the width of the bin, I just bent the divider back and forth at whatever length I needed. Sometimes it broke just with bending, other times the bend helped weaken the plastic and I could cut it with a scissors easily. I also used the scissors to trim off any sharp edge of plastic to keep edges smooth and safe for the kids.

I have no grand illusions of this staying perfectly organized, so I didn’t stress out too much over categories. I just tried to divide things in a general way that would make pieces easier to find. LJ’s exact words were “Mom, this looks so much better!”

My kids can’t read yet so I kept bin labels simple. I used cardstock, markers, and a few cutouts from an old Lego instruction book to remind them what was in each bin.

LJ could tell right away what each picture meant, so mission accomplished! Justin and I did decide on two catch-all bins of all the “weird” pieces that don’t really fit any category and we divided them into a big piece bin and a small piece bin; the former teacher in me loves the chance for them to start to recognize those simple words as they play!

I’m super happy with the result of this quick organization. It was such an easy way to *ahem* . . . simplify the chaos. šŸ˜‰ And honestly, even if the divided categories don’t end up lasting and all the Legos end up in piles in the bins, I’m satisfied knowing the storage bins will continue to hold up and keep things discreetly contained for years to come.