Five Game-Changers of Our Morning Routine

I have always been a morning person. I love a good morning routine and I love getting a jump on the day. That being said, with three kids aged five and under, you can imagine that our mornings can get a bit chaotic around here. I don’t know about you, but when my morning is rushed, stressful, and chaotic, it can easily mess up my whole day. A couple months ago, I set out to start making some changes to our morning routine to try to make things simpler, less stressful, and more enjoyable. I wanted slower, more peaceful mornings that would set us up for great days! And guess what? It worked!

Today I wanted to share the five things I’ve implemented that have been the game-changers of our mornings. Some were super easy changes to make, others took a bit of time, effort, and trial and error. I know everyone’s mornings look different due to school/work schedules and sleep preferences, but this is what has been working well for our family!

One caveat before I share: Ollie has been sleeping through the night for a few months now. I would not have been able to start making a lot of these changes back in the throes of newborn sleep deprivation – at that stage, we were just in survival mode! These were changes I made once we were all getting good, full nights of sleep.

An Early Wake-Up Time for Me

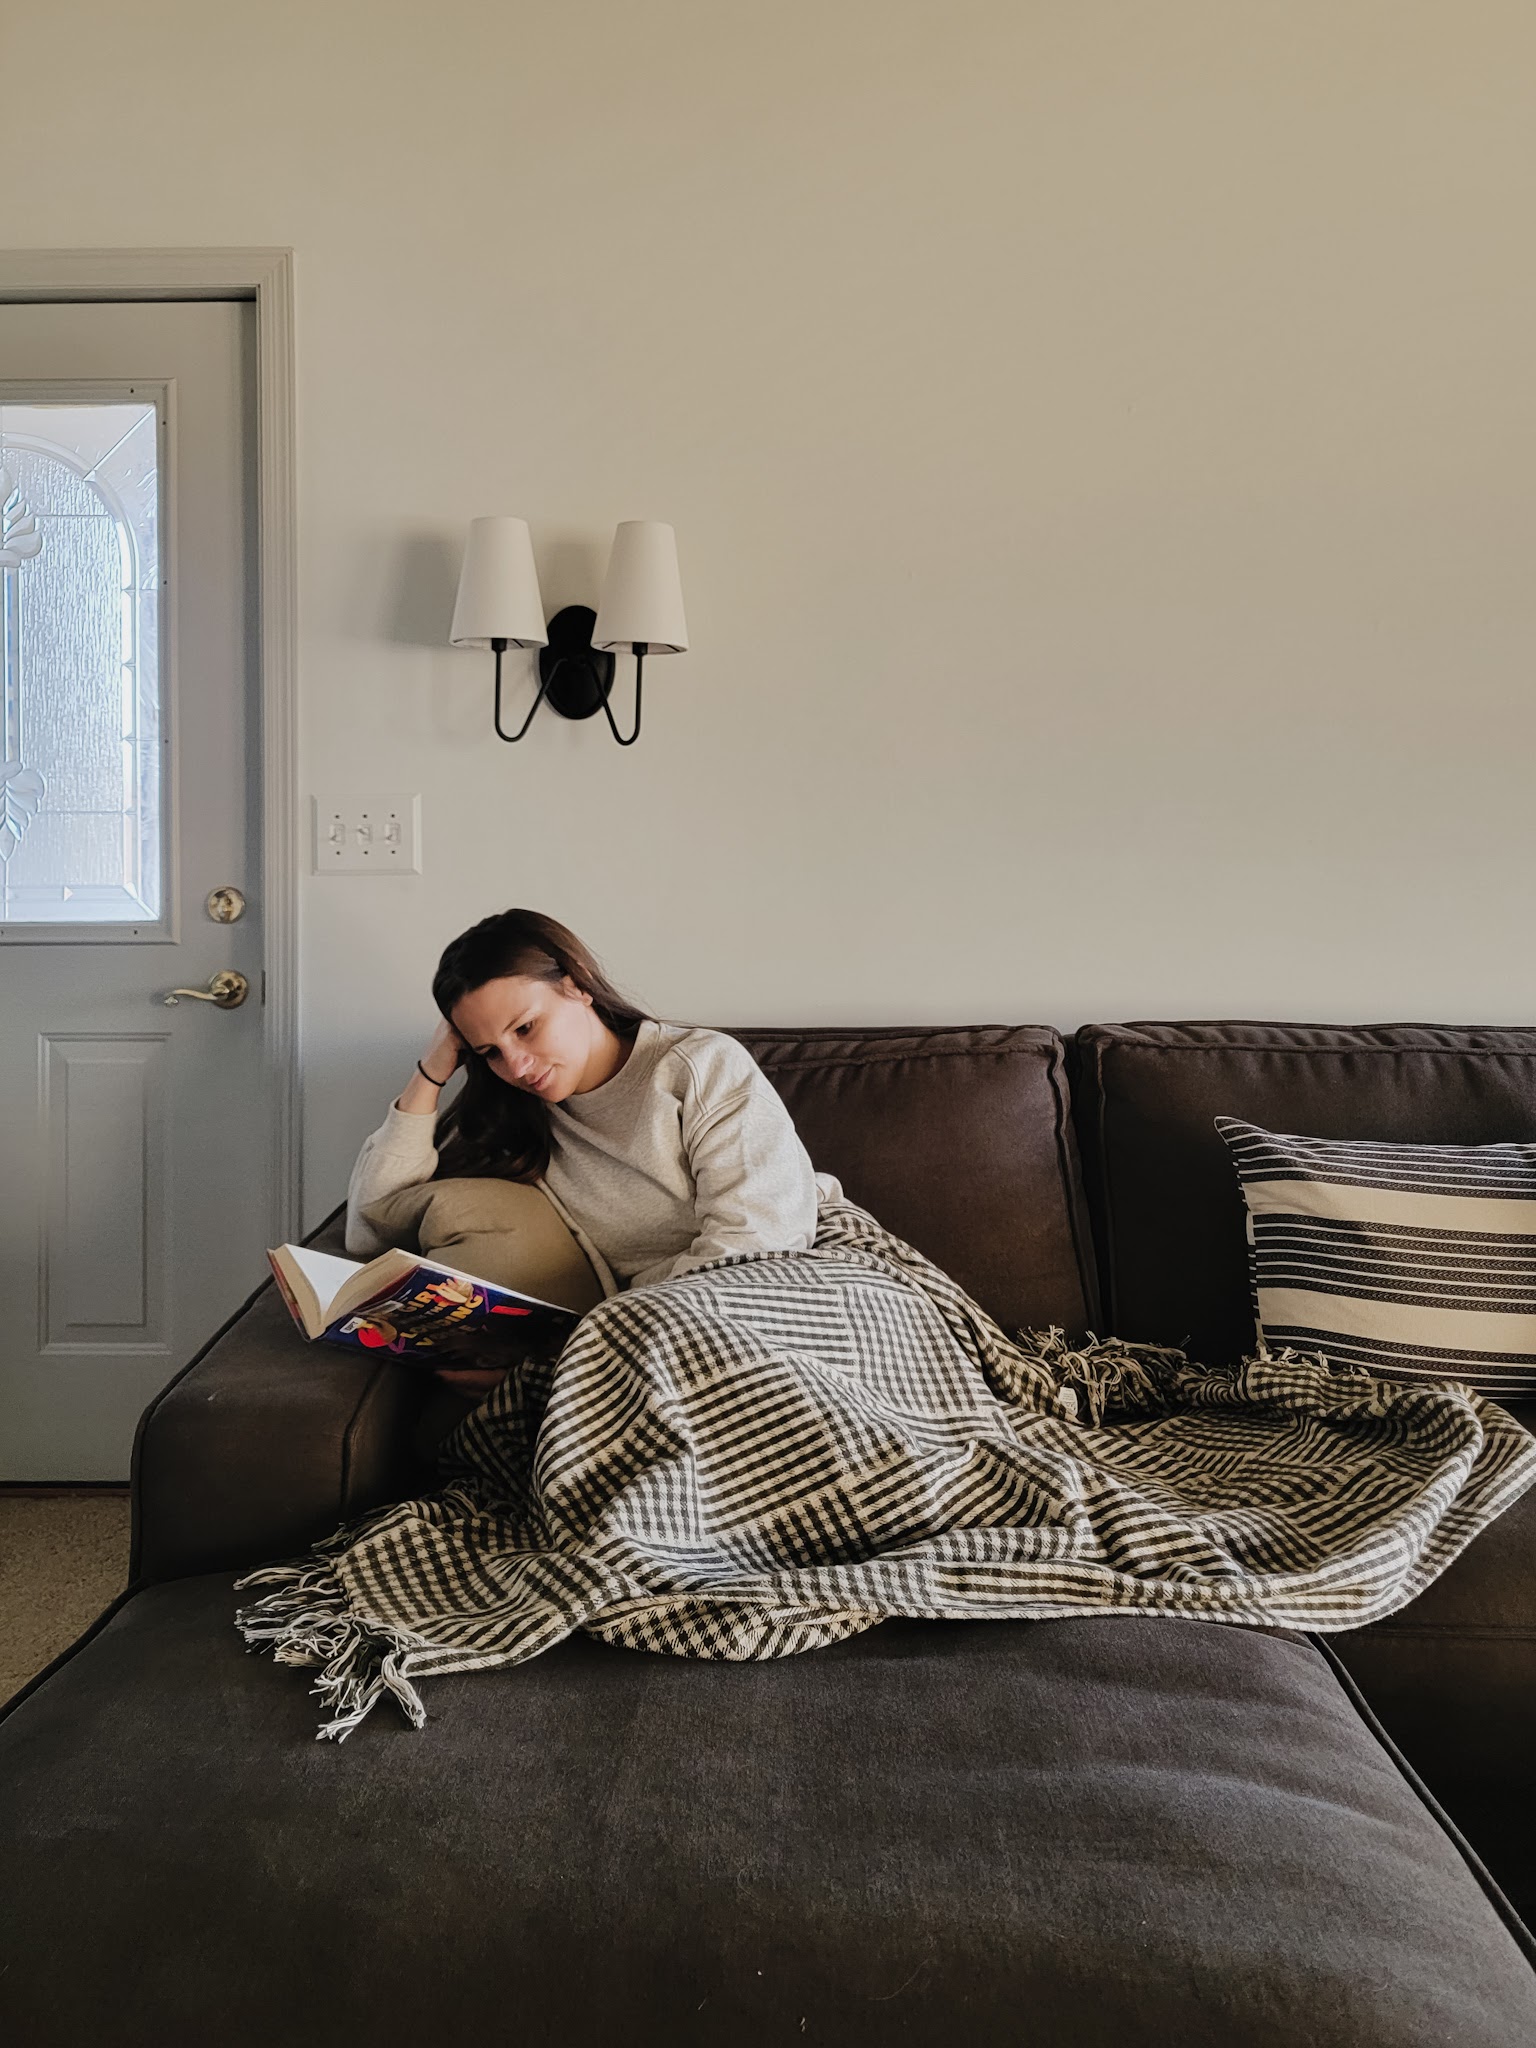
This is probably obvious, but the biggest positive change to my mornings happened once I could start waking up before my kids to get things going. Usually I shoot for anywhere from 5:45-6:15 am as a wake up time; I had to adjust to a goal bedtime of 9:30-10 pm to still get enough sleep but it was worth it! Sometimes, I try to workout but often I’m down in my office getting a jump on some work tasks (I have a part time work from home job with flexible hours so this is a great time to catch up on things). It’s so nice to be able to just hunker down and focus without the distraction and needs of kids.

That being said, there were many many days where LJ would get up, see my light downstairs, and come down. Sometimes he was downstairs before it was even 6 am! Which brings me to my next change . . .

A Digital Alarm Clock in the Kids’ Room

We have a Hatch sound machine in LJ and Vi’s room that changes colors based on the time. They were supposed to wait until the light turned green to come out of their rooms, but this just never really worked well for my early riser LJ. He would wake up and have no idea how much time was left before the light turned green – is it 5 more minutes? Is it an hour? He would get restless feeling like he had been waiting “a long time” and come out of his room before the green light. It was very frustrating for me because I often lost that important solo time early in the mornings and things generally didn’t go as smoothly when that happened.

A few weeks ago, we moved my digital alarm clock to their room and gave a very basic explanation of how to read the numbers. He is 5 and still can’t tell time BUT he is fully capable of understanding “do not come out of your room until the first number is a 7.” He understands number order so if it’s anything but a 6 or 7 first, he knows there is a lot of time left so he should try to sleep again. Even though he doesn’t fully understand time, this has at least given him a little more understanding of it and since moving the alarm clock, he has stayed in his room every day until 7 am!
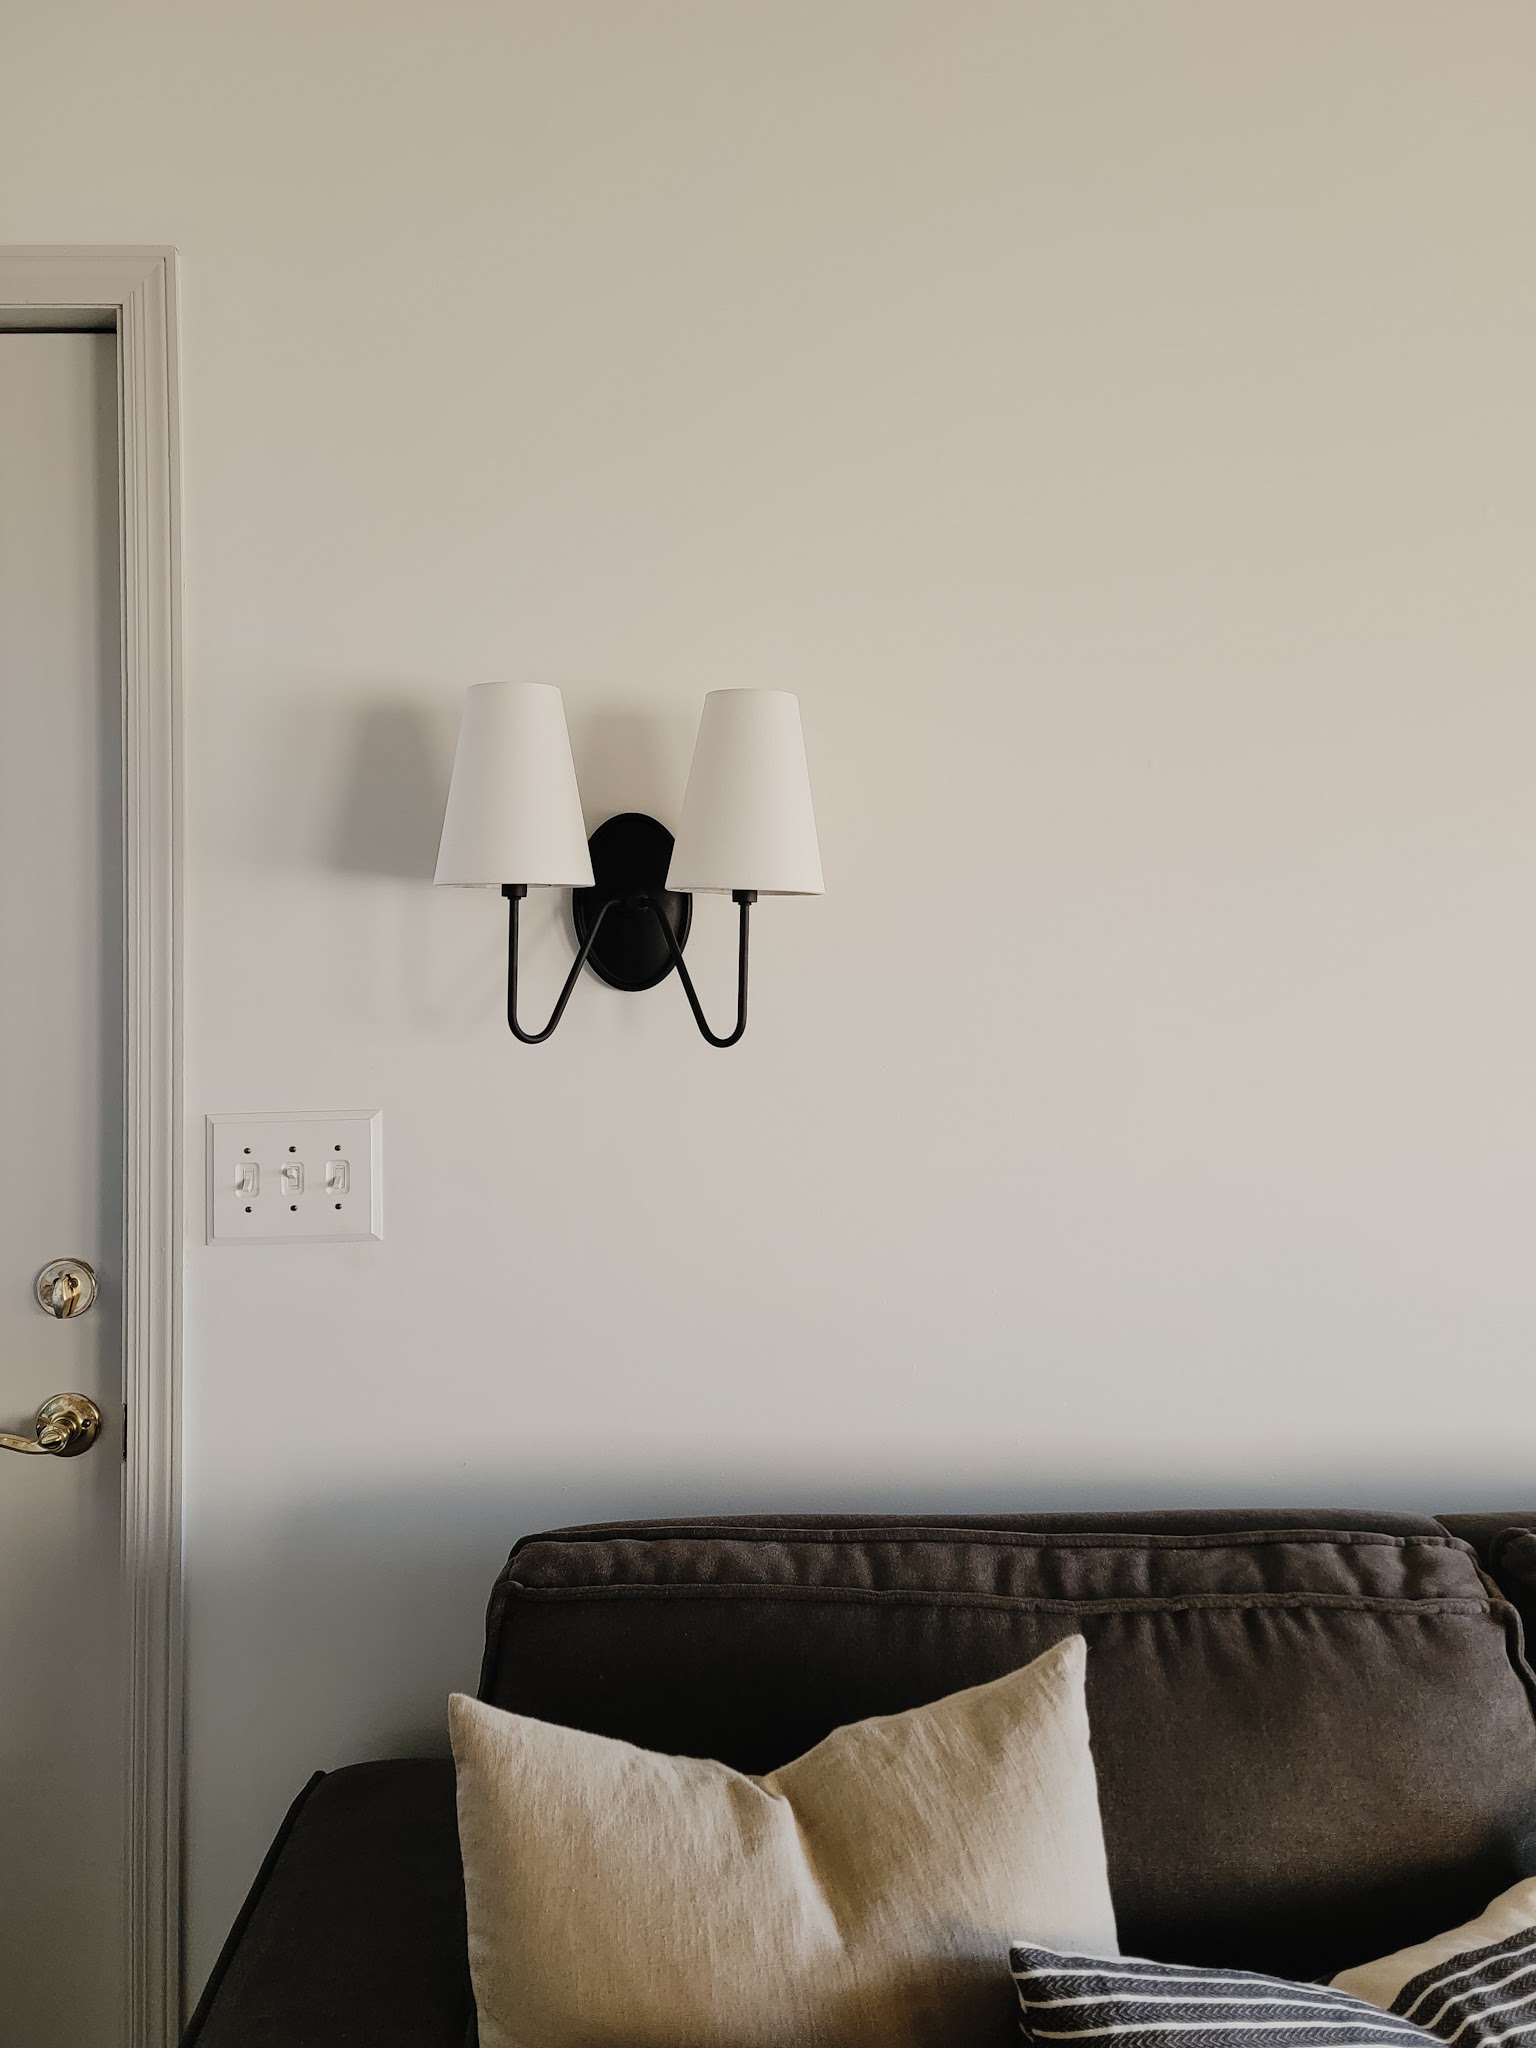
Dim Lighting

LJ is out of his room at 7 am sharp and while Vi sometimes sleeps a bit longer, she is usually up by 7:15. I stop my work, we have a few minutes of morning cuddles, and then we get our morning going. I used to turn on all the main overhead lights in the kitchen at this point but now, I am very selective. I turn on the little lamp on my kitchen counter. I turn on the overhead island pendant – it’s on a dimmer and I only turn it about halfway up. I turn on the microwave light above the stove, and sometimes I turn on the light above the sink. Choosing a few smaller lights creates a warm, cozy ambiance and feels like the perfect transition between night and day. It’s like dawn in the kitchen and I love how it allows us to keep a slow feel to our morning.

Protein-Packed, Filling Breakfasts

We used to be an exclusively cereal-eating family, but last year I started making some changes. My kids would eat a bowl of cereal at 7 am and be hungry for a snack by 9 am – to combat this, I started trying to incorporate more filling breakfasts. The kids will still do a bowl of cereal maybe 3x a week, usually with a side of fruit, but other days we’re doing things like protein-packed waffles, sausage, oatmeal, eggs and toast, etc. The snack requests have gone WAY down and as a bonus, we linger a bit more over breakfast and can chat together.

For me personally, I have completely stopped eating cereal for breakfast. Once the kids have their breakfast made, I will make mine. My new go-to is two over-easy eggs topped with salt, cracked pepper, and nutritional yeast, homemade hash browns (Justin makes a huge batch at once and it will last us for days), and half of an avocado. Sometimes I’ll add in a couple pieces of air-fryed bacon or chicken sausage for extra protein. It is delicious and keeps me full until lunchtime. It’s so nice to fuel myself with a solid breakfast and it feels like a treat – usually the kids are done and out of the kitchen by the time I’m sitting down to eat so I have 10 minutes of peace to savor every bite. It feels so good to prioritize myself in this way.

No Screens Until XYZ

I am now very firm with my boundary of no screens until 8 am. The kids both have Amazon Fire Tablets programmed in a way that they can’t even access anything until 8 am (highly recommend!) and the TV is an absolute no. Don’t get me wrong, they bickered, they whined, and they protested, but I have held this boundary and they adjusted. They had gotten used to the anything-goes newborn haze so it took some time to form new habits, but they now know 8 means 8 and rarely even mention screens before that. Sometimes they get so busy playing that it’s well after 8 am before they even realize it!

This boundary gives us from 7 am – 8 am to get ready. The kids eat breakfast and play in the playroom/draw/entertain themselves while I eat mine. They may have screen time starting at 8 am, but they also MUST first be fully dressed, including glasses, all clothing, and socks and shoes. It’s not an either/or, it’s a both/and. It must be both 8 am AND they must be fully ready to walk out the door. This has made a huge difference; we are no longer scrambling to find glasses or get shoes on as we run out the door! The kids can enjoy screen time until it’s time to leave, which allows me to have 30-45 minutes (we leave between 8:30-8:45) to get myself changed, get Ollie up, changed, and fed, and get their preschool bags ready. Then when it’s time to head out the door, everyone has everything they need and we can calmly just get in the van.

Of course, there are days where we get out of whack and are still scrambling to get out the door on time, but those are honestly few and far between (and usually, the culprit is that I didn’t do one of these listed things!) Implementing these changes has gone so far in making our mornings feel peaceful and enjoyable and I truly savor this time. Not matter how crazy and hectic the day ends up being, at least our mornings started out right.

The End of my Breastfeeding Journey

On January 15, one very significant era of my life ended: Ollie was given his last bottle of breastmilk.

I breastfed LJ for 13 months and Vi for 22 months. Neither one of them ever needed formula and they rarely had bottles since I didn’t really pump unless I was away from them. I talked about this previously, but Ollie’s needs ended up being much different. I won’t go into all the specifics, but as a newborn, he wasn’t transferring breastmilk directly very well, and after working with a lactation consultant for several weeks, I made the call to move to formula + pumped milk. Ollie was 10 weeks old. My supply has been decreasing ever since and I made peace with that, but it finally dwindled down to nothing this week. I’ve spent 40 months (over three years!!) of my life providing breastmilk for my children and now, that chapter is over.

Almost exactly four years ago, I was writing about my breastfeeding journey with LJ coming to an end. Ollie will be my last baby, and this is the definitive end of my breastfeeding era, so it only felt right to similarly process the end of this journey. Today, I’m sharing my experience with Ollie – from breastfeeding, to combination feeding, to moving to all formula. Honestly, I’m not sure anyone else is interested in reading about this, but for me it was therapeutic to process the end of this era in writing (and I know I’ll appreciate being able to look back on this in years to come) so here we go!

Things I wasn’t expecting

Not to state the obvious, but I wasn’t expecting this to be our journey at all. I had no major issues breastfeeding my first two babies and expected this time to be no different. My milk came in in full force while I was still in the hospital. I used my Haaka in the beginning and quickly amassed extra milk (I’ve always had a great supply). I thought it was going to be smooth sailing again. Then his two-week appointment came and I learned that he was still six ounces under birth weight. I was blindsided. We started doing weighted feeds and I started pumping, only to be shocked again to realize my initally-amazing supply had already adjusted to his lowered demands. That was honestly the most discouraging part for me: had I just known to pump from the beginning, my supply would have stayed up. Instead, I had to work on boosting my supply and building it back up while still breastfeeding AND pumping AND supplementing with formula. It was pretty stressful and I couldn’t keep it up very long, but I do wonder about how things would’ve been different had my supply stayed high from the start.

This experience kind of popped my newborn bubble a little sooner than I wanted. I absolutely LOVED the first two weeks of his life – snuggling just the two of us in the recliner in my bedroom, sun streaming gently through the windows, skin to skin contact, just soaking up the sweetness of his newborn-ness. It was an amazing experience and I will cherish it. After learning about his transfer issues, some of the joy got sucked out of my experience – I felt sad and guilty for not realizing he wasn’t gaining weight, and I was anxious about how to correct our course. I will say, I could feel that the joy was getting sucked out and did NOT want that to be what I remembered, so I worked hard to keep noticing and appreciating the sweet newborn moments too. I’m so glad I didn’t spiral and allow stress and anxiety to make me miss out on everything, but it still put a damper on things.

Things I’m SO glad I did

I’m so glad I worked with a lactation consultant. She was wonderful and supportive and encouraging and empowering. Working with her and doing regular weighted feeds gave me actual data on how he was doing, which in turn helped me make rational decisions about what to do. Thanks to her help, I feel like I did everything in my power to make breastfeeding work, which made it easier for me to let go of when it didn’t. I did what I could, it wasn’t what was working for him, and I feel no shame or lingering guilt over that. [Side note: I felt nothing but complete support from my entire circle. My pediatrician, my husband, my family, my friends – everyone was so supportive and I never felt one single ounce of judgement or shame from anyone about my decision. While I felt confident enough in what I was choosing, it certainly helped that I didn’t have people casting doubts or judgement over my choices and I appreciate that so much.]

I’m so glad I reflected on my experience with LJ and Vi. I think being a third-time mama made me a little calmer about the whole thing – once I got over the initial shock/disappointment/guilt, I could see that I wasn’t doing anything differently this time around. I wasn’t doing anything wrong or failing him or anything like that, he just had different needs than my first two kids, and it really helped to keep that perspective.

I’m so glad I knew my limits. I technically could have done more to try to make breastfeeding work, but it would’ve come at a cost. I have two other children, two dogs, a house to take care of, a husband to be in relationship with, and life I want to enjoy. I wasn’t going to be able to pump around the clock or power pump or completely change my diet or do more than I was already doing without it affecting other areas of my life. I was at the limit for what I could handle with all the things on my plate, and I’m glad I could recognize that and prioritize my own mental health and family life too.

I’m so glad I invested in a new pump. I’ll be honest – I’ve always thought pumping was a drag. But exclusively pumping? I had no idea how much of a drag it could actually be. While I loved my Spectra pump for the occasional pump here or there or when traveling, for day-to-day use, it was cumbersome and inconvenient. We invested in the Elvie pump and it made my life so much easier. I just tucked it in my bra (no need to change to a pumping bra like with the Spectra) and went about my day. Even though I ultimately only used it for about 3.5 months, I’m glad I got it. I’m absolutely positive I wouldn’t have lasted this long with the Spectra, so I’m glad I got to extend the time I provided breastmilk.

Things that were challenging

Did I mention pumping is a drag? Ha! While I’m still so thankful I used the Elvie, I never truly enjoyed pumping.

All. The. Dishes. Between pump parts and bottles, pumping creates a lot of extra work and it often felt like I was living in a groundhog day of constant dishes. I’m so glad someone gave me the advice to keep pump parts in the fridge in between pumps to at least eliminate some dishes during the day, but it still is a lot of work.

Using formula requires a lot more mental energy than breastfeeding did. Before leaving the house, we have to make sure we have filtered water, a container of formula, a clean bottle, etc. It’s not always easy to measure out formula and make bottles depending on where we are. It’s just – again – more work than whipping out a nursing cover and feeding him whenever and wherever he needs with no other supplies.

I never fully appreciated how breastmilk is free (I mean, there is an unpaid labor + mental load cost, but you know what I mean) until I had to start buying formula. To say I had sticker shock is an understatement, especially as time went on and I provided less and less breastmilk and we went through formula quicker.

Things I’ve enjoyed

With LJ and Vi, I was basically the sole provider of food. With the exception of a few bottles here and there, I was involved in every. single. feed. Now, Justin and I share the load equally. We can each give bottles, we can each prepare the diaper bag, we can each wash the dishes. It’s the most involved he’s been with feeding at this stage, which has been really sweet to see, and it’s nice that I can have some breaks. The kids even occasionally help give a bottle – melt my heart! It’s also been easier for grandparents to be involved and babysit.

With breastfeeding, I often had to leave to find comfortable surroundings, especially if we were away from home. This often meant leaving the table, leaving the group, leaving the conversations, and missing out on whatever was going on in order to comfortably breastfeed somewhere else. There were times it felt isolating. With bottles, I can feed wherever and don’t have to miss out on anything, which has been really great.

I’ve still enjoyed feeding and snuggles. I still get to bond with this baby. Formula and bottles hasn’t changed that.

I’m proud of the fact that I did what I could for Ollie for five months, and I’m proud of myself for recognizing that it’s time to close this door and move to exclusive formula. I’ve been breastfeeding or pregnant for the better part of SIX YEARS now and it will never cease to amaze me what bodies can do. Leaving this chapter behind is bittersweet, but I think it was always going to be that way. I leave it behind with tears in my eyes, but they aren’t tears of guilt or sorrow. They are tears of gratitude – it’s been a joyful, challenging, sweet, empowering, exhausting, and ultimately beautiful journey and I’m so extremely grateful for it. They all took different approaches to feeding, but I have three happy, healthy, thriving children and that is all that truly matters to me.

New Sconces for the Living Room

Our living room sconces are installed and I’m in love!

For the first 3.5 years of living in this house, we had no permanent light source in the living room. The ceiling fixture was simply a fan and the only other source of light was lamps. The previous owners had wired all outlets to be “half hot” and connected to a light switch so that the switch could turn lamps on and off, but we basically never used that feature and would turn lamps on and off individually.

Even with multiple lamps in use, Justin and I never felt like the living room was well lit enough so I’ve been excited to add better lighting basically since day one of moving in. First up was removing the old ceiling fan and replacing with a six-globe chandelier when we painted the ceiling back in November. This made a huge difference in making our ceiling a dramatic statement and bringing lots of light to the room!

Notice the mismatched lamps – functionally, we needed them, but aesthetically, they weren’t the greatest. We actually used to just have a small table lamp on the door side until it fell and broke one day and I had to get a replacement floor lamp. I didn’t want to spend money on a matching set since I eventually wanted sconces, so we just lived with the mismatched look. The lamps always felt in the way – one made it difficult to open and close that side door and the other made it both physically congested in a corner with lots of wires (we use that outlet for charging computers and tablets) and visually congested with the side table and window.

Justin swapped out the old ceiling fan for the chandelier but when it came to hardwiring sconces, we knew we needed a professional. I chose these sconces from Rejuvenation during a recent sale and we hired an electrician to come and hardwire them behind the couch. I knew I would love having sconces, but I didn’t realize just how much I’d love having them. They allow us to free up floor space and remove the visual clutter the lamps caused, they operate via light switch (the same light switch that previously operated lamps but we never used), they give the massive wall some much-needed interest, and of course, they bring so much great light to the living room!

I used 3000K, 500 lumen candelabra lightbulbs and they give the perfect amount of warmth in the mornings and evenings.

Now that the sconces are in, it’s time to decide what I want to put on the wall in between them. I’ve always pictured one massive piece of artwork instead of a gallery wall but wanted to wait until the sconces were actually installed before making any final decisions. The wall is so massive that I feel it really needs a statement piece to ground it a bit. Right now this print is a top contender but I’m still playing around with ideas.

The living room continues to be a string of slow and steady design decisions and while there are still several things to address, I’m super happy with how it’s coming together.

A Day in the . . . Thrift Store!

I’ve done several “day in the life” posts in the past that have covered an ordinary day in our house, but today’s post is a look at a completely different area of my life. I enjoy decorating our house (probably pretty obvious by now, ha!) and one of my favorite places to look for things is a thrift store.

Now don’t get me wrong, I have plenty of things in my home from places like Target too, but there is something I just love about hunting through a thrift store. You have to sometimes sort through a lot of stuff to find a gem, but I have found some seriously awesome, unique, good quality items when thrifting. It’s also a sustainable and relatively inexpensive way to shop – better for the planet and your wallet! I’ve come to have my favorite thrift stores where I often find good scores and those are now the ones I stop in most frequently. I particularly like the one in my parents’ hometown, so when I was visiting last week I stopped in to browse around. I thought it would be fun to take you along with me to see the types of things I considered, including what I passed on and what I ultimately bought. So today we have – a day in the life of Sarah at a thrift store! 😊

Planter: Passed

I’m always on the hunt for containers to hold my growing plant collection, but I’m pretty particular with what I pick up these days. It has to be a definite YES, not just a “yeah okay, this will work” – this planter was cute, but not quite a strong enough yes for me, so I passed it up.

Fabric: Bought

I really enjoyed wrapping Christmas presents in fabric this year and want to continue doing that in the future. I was able to save many of the fabric scraps I used but my niece also kept several pieces to use in her sewing lessons (I love that!) I found a plaid print that would be perfect for Christmas presents!

I also snagged this sweet floral print for $1 – it would be a fun option for wrapping gifts but I’m also thinking it would make for a cute throw pillow cover.

Fabric Ribbon: Bought

I also snagged a couple rolls of fabric that had been made into ribbon. Such an easy way to elevate a gift and I love that it gives new life to fabric scraps!

Wrapping Paper: Bought

While wrapping in fabric is cute and sustainable, there are still situations where I know I’ll want traditional paper. I dug through the gift wrap section and snagged two new rolls for $1 each – one fun sprinkle print and one plain brown paper. I like that these are both gender-neutral and can be used for a variety of events!

Books: Some Passed, Some Bought

It can take a lot of time to sort through books, but when I take the time to do it, I usually find at least one book to take home! On this trip I found three I’ve been wanting to read: The Mother’s Promise by Sally Hepworth, Someone We Know by Shari Lapena, and The Bodyguard by Katherine Center. Sometimes I’ll also choose books that I’ve never heard of but seem intriguing and occasionally I’ll find a book I’ve already read and loved and buy to add to my collection.

On this day, the only book I found that I’ve read before was The Dinner List by Rebecca Serle and since that isn’t a huge favorite of mine, I decided to pass.

Baskets: Passed

Baskets are another category I always check out – I love using them for functional decor! There were many baskets available, and one I considered, but ultimately none that I needed or had an immediate place for.

Copper Mug: Passed

This little mug was so cute, but I don’t think I’d use it much and since it’s not part of a set, it would likely just sit on my shelf.

Green Vintage Glass Bowl: Passed

I’m becoming pretty particular with tchotchkes because I don’t want a bunch of clutter, but I’m always looking through the decor sections for fun and unique pieces. While I loved the look of this green glass bowl, I couldn’t really think of a place to put it or a use for it so I decided to just appreciate it for a few moments and then move on.

Pink Vintage Glass Stemmed Dish: Bought

My heart stopped when I spotted this piece. It’s so pretty and unique! It’s the most expensive thing I bought on this trip ($8) but felt 100% worth it. I love the vintage glass charm mixed with the sweet pink color and will enjoy pulling this out to elevate a table spread for holidays, evenings with friends, or anytime I just want a little something extra. I also love the idea of having a some sort of “fancy” party with Vi and her friends in the future – maybe a little tea party or princess luncheon or something like that! I picture 6 or 7 year old girls in dress up dresses having cute little snacks on sweet little china pieces and just feeling fancy and fun. This would be the perfect type of thing to have set out on the table holding pretzels or candy or another fun treat!

Vintage China: Passed

In this hypothetical future party for Vi, these type of china dishes are exactly what I picture using – I don’t need a whole set, just a few plates to make it feel special. I was very tempted by this set of 5 plate for $3, but ultimately passed because a) Vi may not actually be interested in having this kind of party in a few years, b) it’s a long time to store plates that may or may not get used, and c) there are ALWAYS vintage china pieces for sale in thrift stores. If this party happens someday, we’ll be able to find something similar (wheras I will likely not be able to find something similar to the pink glass container!)

Frame: Bought

Similarly to baskets and planters, I’m always on the hunt for frames! I choose based on size and style but don’t worry about color since I often spray paint them. On this particular trip I snagged a small 5×7 frame for 50 cents that I plan to spray paint and use to expand a gallery wall.

Rugs: Passed

I really loved these rugs made from fabric scraps! A group of volunteers makes these for the thrift store using scraps from donations they receive and I think it’s such a brilliant, sustainable way to give new life to old demin and other fabric. I was tempted by the yellow and white striped one, but don’t have a place for it right now. In the future, if I need a rug for a doormat, I’ll look here first.

Furniture: Passed

I don’t have a need for any furniture right now, but I was surprisingly tempted by these two pieces. I’m actually super into the colors used and the floral pattern. They’re not a set but the individual pieces work so well together and I found myself wishing I had a spot for them. It was fun to be inspired!

Washable Paint: Bought

My kids do not need any more toys, but I saw this box of (new!) washable paint in the kids’ section and couldn’t pass it up. My kids love using these paints for art projects so I was thrilled to get another box for when our current supply runs out.

And that was my trip! I spent a total of $28.42 which felt like a pretty good deal to me. Hopefully this inspired you to give secondhand shopping a try – you might just be surprised by what you can find!

Reveal: A Mountain Mural for the Kids’ Bedroom!

The first project of 2023 is complete! When my parents asked to take the big two kids for the weekend, I knew it would be the perfect opportunity to tackle a lingering project in their bedroom: the blank wall behind their dresser. I spent Saturday and Sunday afternoons working on a mountain mural and love how it turned out!

The other three walls in the room have a 2/3 colorblocked look and I’ve been wanting to make the wall behind the dresser an accent wall. I tried wallpaper but ran into some issues and lost motivation for a while. I got the idea to do a mountain mural and after seeing a few other pictures online, my inspiration was renewed! Mountains are important to both Justin and me. He grew up in a beautiful valley in Virginia surrounded by mountains, and I went to college there and fell in love with the views. I also did a study abroad in India and spent some time in the foothills of the Himalayas – it was an awe-inspiring experience I’ll never forget. Additionally, we lived in West Virginia for the first three years of our marriage and loved spending our free time hiking and exploring. Mountains signify both home and adventure to us and I want our kids to feel the same way, so it felt like the perfect choice for their bedroom.

I wanted this to be a quick, $0 project so I went through my entire stash of paint and collected colors that felt like they would go together and work with the other colors in the room. I had a general idea of what I wanted the mural to look like, but I didn’t trace or map out anything and instead decided to just freehand and see what happened.

The beauty of a no-plan plan is that mountain ridges are jagged and unique, so really anything goes. Even if I made a “mistake” it ended up looking intentional and worked! As I went I would add and take away based on what was looking right to me; in some cases, I ended up painting over part of a mountain or changing a ridgeline by cutting in other paint. I even ended up altering the top gray ridge by painting back over some of it with the white wall color.

I expected to do two coats of all the paint, but I ended up liking the swirly, more abstract look of one coat of paint on some of the ridges, so I left those alone after one coat.

I painted the light switch and outlet cover the same color as the mountain ridge behind each one. The picture below also shows the one thing I did plan out – I kept the line from the connecting walls as a start for that same blue color. It lines up on both sides as a kind of continuation of the straight line into the mountain ridge. I also used that color as the bottom paint color along the baseboard so it matched the baseboards.

This was a pretty quick, easy, and inexpensive project and I’m really happy with how it turned out. It’s not perfect, but then again, neither are real-life mountains. šŸ˜‰ My kids love it!

I thought this wall would be the last project of the room but…now that I see things in place, there’s a lot of blue happening. There’s also a lot of painted surfaces, so I want to see if I can strip the paint off the dresser (a Marketplace find from 7 years ago) to see about staining it a dark wood color. Just like the mural itself – we’ll just see what happens!

For anyone wondering, here are the paint colors I used:

1 – SW Silver Strand

2 – Custom Color

3 – SW Blonde

4 – SW Nordic Bleu

5 – SW Quaint Peche

6 – BM Steep Cliff Gray

7 – SW Alpaca

8 – SW Foggy Day

9 – SW Mannered Gold

10 – SW Nordic Bleu

White wall color: SW Iconic White

Ten Simple, Inexpensive Ways to Freshen Up Your Home

All my Christmas decorations are down and my house feels ready for a fresh start – all I want to do is clean, purge, organize, and just freshen things up around here! What I do not want to do is spend a lot of money.

The Christmas season is so fun, but it can get expensive. Gifts, food, travel, experiences, holiday cards . . . it all adds up and January feels like a time I not only want to reset my home, but reset my budget. I’ve been thinking about ways to give my house a little refresh without spending money (or at least spending very little) and I came up with ten things to do. These things are either free or low-cost and I thought I’d share them today in case you’re also looking for easy, inexpensive ways to give your home a little refresh.

These ten things are what I’m doing now to refresh my home for the new year, but they can all be done at any time throughout the year!

Add in Seasonal Greenery

Faux seasonal greenery can be purchased from a variety of stores and there are items out there for lots of different budgets, but the most budget-friendly option is: head outside! This is obviously a bit easier in the summer, when there are abundant types of tree, bush, or flowering plants to collect from, but it’s still possible in the fall and winter. For example, you can snip a few branches from an evergreen tree or winter berry tree or collect pinecones to display in a bowl. If you plan ahead a bit, you can dry some flowers or leaves to use too. I dried hydrangeas from our yard last year and they looked great all winter long! I’m currently loving the look of dried fern stems in our bedroom and also kept an unlit, potted evergreen tree on display instead of packing it up with the rest of my holiday decor (when you subtract lights and ornaments, it feels wintery instead of Christmas-y!)

Clean Out Your Fridge

Since we were going to Virginia for a week over Christmas, I purposely tried to get our fridge stash super low so food wouldn’t just spoil when we were gone (although it wasn’t as empty as that first picture – I had already started taking things out to wipe down!) This ended up being a great time to just clear out all the remaining items and give every shelf and drawer a good wipe down. Pull everything out of your fridge, wipe down all shelves, drawers and items (whyyyyy does my ketchup bottle always get so sticky and gross?) and check dates before you put things back in. It’s so satisfying to open my fridge now and know it’s clean and nothing is expired. Also, I know I’m not the only one who gets on a health kick for the new year . . . here’s hoping my fridge still contains this many vegetables in August, ha!

Change Up Your Textiles

Swapping out bedding is such an easy way to freshen up the whole feel of your room. I love cotton and linen in the spring and summer, but once temperatures drop, I’m a flannel girl. I usually choose simple, graphic patterns so they’re easy to mix and match in different seasons and spaces. Adding wool or knit blankets to beds or couches in the winter feels so cozy too – I expect to use this vintage pink-and-cream checked wool blanket all over my house this winter! If you don’t have extra sheets on hand to swap out and don’t want to buy a whole new set, you can separately purchase pillowcases that coordinate with your existing bedding for a fresh, mix-and-match feel.

And speaking of textiles . . .

Launder Infrequent Items

You likely wash your sheets regularly, but what about your duvet cover, quilt, or comforter? What about throw pillow covers or the blanket that hangs out on the couch? Maybe it’s just me, but I recently realized there are a lot of textiles in my home that rarely get cleaned! The last time I did laundry, I was pulling things out of my hamper, which has a cloth liner. I noticed that the bottom of the liner was looking super dingy and realized I hadn’t washed it in . . . ever? I tossed it in with the load of laundry and it looks so fresh and clean now! It’s a little thing that makes a big difference. My goal this week is to go through our house and wash all the textiles I can find – all bedding, removable throw pillow covers, blankets, hot pads, oven mitts, small accent rugs, etc. – to give everything a fresh start.

Clean Out a Drawer or Cabinet

It can feel daunting to declutter, so keep it small and manageable and start with just one drawer or cabinet. Take everything out, wipe it down, and only put back in what you need (bonus points if you can add some method of organization to keep it this way and even more bonus points if you can donate any item still in good condition so someone else can use it!) It’s amazing to me how empowering it can feel to get a small space in order – it will make your house feel more streamlined, functional, and fresh! It also just might motivate you to tackle another drawer, cabinet, closet, or room. šŸ™‚

Test all your Writing Utensils

How frustrating is it to be searching for a writing utensil to jot something down quickly, only to find a broken pencil tip or pen with dried out ink? This is a great time to go through your house with a little notepad and sharpener and test every writing utensil. Sharpen dulled pencils and toss pens that don’t work anymore. It’s an easy task that will eliminate the inconvenience of reaching for something that doesn’t work, and it can also help you corral pens and pencils that have made their way to random spots around your house, making it feel so fresh and organized.

Rearrange!

When your eyes are used to seeing the same thing in the same spot everyday, it’s easy to not even really notice it anymore. You know when you take the same drive every day and then one day you suddenly realize “whoa, I’ve never noticed that house/barn/unusual thing before!” It’s been there, but you’ve just driven by the same thing day after day and haven’t really registered it. The same is true in your house. We get used to a certain arrangement and we stop really even noticing what we have. One of my favorite free ways to freshen up my home is to shop my own stuff and rearrange – it creates a fresh feel but also a renewed appreciation for what I already had! This can be as big as rearranging furniture, either within the room or moving something to a different room, or as small as just moving a piece of artwork or a plant from one spot to another. Try not to get stuck on things “but this is the blanket I’ve always kept on this chair in my living room” – it might look fantastic on your bed too! Trust me, even if you’ve had the artwork/decor/piece of furniture for years, it can feel fresh and new just by moving to a new location in your home.

Incorporate Seasonal Art

I love original art and will always encourage supporting and purchasing from artists if and when you can, but it’s also nice to find inexpensive ways to add quality art to your home. I’ve recently been introduced to an extremely cost-effective way to add some art to your home: the public domain!

Did you know there are millions of pieces of artwork in the public domain? Generally speaking, art becomes public domain 70 years after the death of the artist; what this means is the artwork becomes free of copyright restrictions. Museums like the Met and Smithsonian release it into the public domain and it’s free for you to use and reproduce without permission (I would include the caveat that it’s still important to credit the original artist every time!) The plus side of using public domain artwork over a digital download from a print shop is that it is completely free to download the image, but in exchange, you are giving up the curation that print shops provide. It’s daunting to sift through millions of images! I was thrilled to discover that A Home is Announced has a free curated public domain shop – she has taken the time to curate some beautiful public domain work that you can sift through and download what you like. It’s a great place to start when first exploring public domain art!

I searched through her shop and found five different pieces of artwork that felt like “winter” to me. I downloaded them (for free!) and had them printed at my local FedEx print shop on a matte cardstock for less than $2.50 per print. I put them in various frames I’ve thrifted over the years (anywhere from $1-$3 typically) and voila! Beautiful seasonal artwork for about $5 a piece, and it will be easy to swap out a different print in the frame if I want a change in another season.

Wipe down switch plates, door handles, and wall scuffs

Okay this isn’t an exciting one, but it can make a big difference! These high-contact surfaces get dingy over time and it often happens so gradually that we don’t notice it. Walk around with a multipurpose cleaner and cloth for the knobs and switches and a Magic Eraser for the wall scuffs and see what a big difference it can make!

Swap out scents

This one might be obvious, but changing up the scents in your home is a simple way to make your home feel fresh. Whether you use a candle or diffuser – scent is powerful and can make a big difference!

It might seem like these are all little things that won’t make much difference, but I’m a firm believer that refreshing the way your home feels can affect the way you and your family feel, and that is no small thing! I’ve already done a few things on this list over the past few days, and I will be checking off the remining items in the coming week or so. My home already feels so much better for me and my family, and I hope these ideas do the same for you and yours.

My 2023 Project Goal List

Good morning and Happy New Year!

I love the new year – fresh starts and goal-setting are so inspiring to me. It’s the perfect time to set some intentions for what I want to accomplish in both my personal life and in our home. I’ve typically shared all my goals on the blog each year but this year I’m sticking to just the goals I have for our home – looking at the list, there is definitely a recurring theme of storage! It might not be the flashiest or most exciting thing to add, but I am a big believer that if you can edit your things to only what you need in your home AND store them in a way that works for your family, your home will run so much more smoothly. Now that we’ve lived in this home nearly four years, I have a clear idea of how we actually use the space and what solutions we need to put in place to make it more streamlined.

Here’s a look at the things I’m hoping to accomplish in 2023 – whether they’re storage-related or not, I’m very excited for all these upcoming projects!

Finish the Accent Wall in the Kids’ Shared Bedroom

Last year, we moved LJ and Vi into a shared room and it is sooooo close to being finished. I originally planned a wallpaper accent wall that didn’t pan out and I was stuck in an uninspired rut for a long time afterward. I have renewed energy to paint a fun mural instead, so this wall is first up on my list of projects to accomplish this year. (Step One: Take down all the Christmas decor!)

Get the Foyer Painted

This is a carryover from last year’s project list. I painted the bottom level of the foyer back in March 2021 but due to the height of the walls and configuration of the stairs, I can’t handle painting the rest myself. Honestly, I can’t believe I’ve lived with a half-painted foyer for this long but it’s reached the point where I’m so used to it that it doesn’t even register in my brain anymore. It’s WAY PAST time to wrap up this project and I’m really hoping to hire it out and have it painted by March.

Finish Up the Living Room

I started working on a Phase One upgrade of the living room in the fall but there are some lingering projects to work on. I need to paint the windows and replace the window trim, as well as figure out a new buffet/TV stand situation. We also have some sconces to install and I hope to get on our electrician’s schedule soon to get them hardwired. Progress will likely continue to be slow and steady over the first part of the year as this phase takes shape.

Replace the Basement Carpet

The majority of our basement is carpeted, and that carpet is past its prime. It’s a high-pile shag, which is hard to keep clean when dirt and sand gets tracked in from outside. It has multiple stains throughout the rooms and is pulling up in random places, creating the look of ripples. I’ve wanted to replace it pretty much since Day One of moving in and this is the year we are budgeting to finally do it! Our deadline is May, because we will need to move all the Legos and tiny toys out of the playroom and down to the basement as Ollie gets to the crawling (and putting things in his mouth!) stage. I’m very much looking forward to checking this off the list!

Finish the Guest Room Stencil

Another carryover from last year’s list, I’m determined to finally wrap up this project! Summer tends to be when we have the most guests come to stay with us so I’m making it a goal to finish by Memorial Day.

Create a Workout Room

Our basement has always been (and will always be!) multipurpose. It’s a space for our overnight guests, it’s a space for entertaining, it’s a space to hang out. We moved here in 2019, so due to the pandemic we really haven’t hosted as much as we expected to, but we’re getting to the point now where we’re entertaining more and more down here. Add in the fact that we’re moving more of the kids small toys (Legos, marbles, etc) down there and the uses of the space are shifting once again. For the past two years Justin and I have worked out in the large main space, but it’s time to move our stationary bike, mats, and free weights to their own dedicated space. We don’t have an obvious room for a home gym, but after living here for a few years and thinking through options, I’m ready to transform our basement storage room to meet this need. This storage room has been a hot haphazard mess since the day we’ve moved in – it’s like our Room of Requirement + Monica’s closet (if you know, you know!) and I cringe every time I walk in. It’s going to involve a lot of organizing and re-structuring our storage solutions, which brings me to . . .

Clean Out + Update Storage in Our Garage

Our garage is huge but doesn’t really have any great storage solutions. We’ve been working with what we’ve had for the past few years but it’s time to make it functional for how we actually use it, not how the previous owners did. We’re going to clean it out and add some DIY shelving so we can make this a really functional space for storing all the things! I never would have thought I’d be so excited to renovate a garage but here we are. šŸ™‚

Update the Patio

We have big dreams for our outdoor space. It’s our #1 hangout in the summer and whether we’re hosting someone or just hanging out there as a family, we use it every nice day in the summer. We eventually want to expand the patio area, add a mini outdoor kitchen, and expand the deck area down by the pond. While this likely isn’t going to be the year to actually do all that, we’re going to start getting some quotes to at least start planning it out. This year I want to start with a few smaller changes to the patio by adding string lights and planter boxes to define the space and make it feel nice and cozy. We also need some (yep, here it is again!) storage solutions out there for all our grilling tools, fishing equipment, swimming floats, and sand toys.

Cheers to all that is to come in 2023!!