March 2022 Book Reviews

Happy Wednesday and happy book review day!

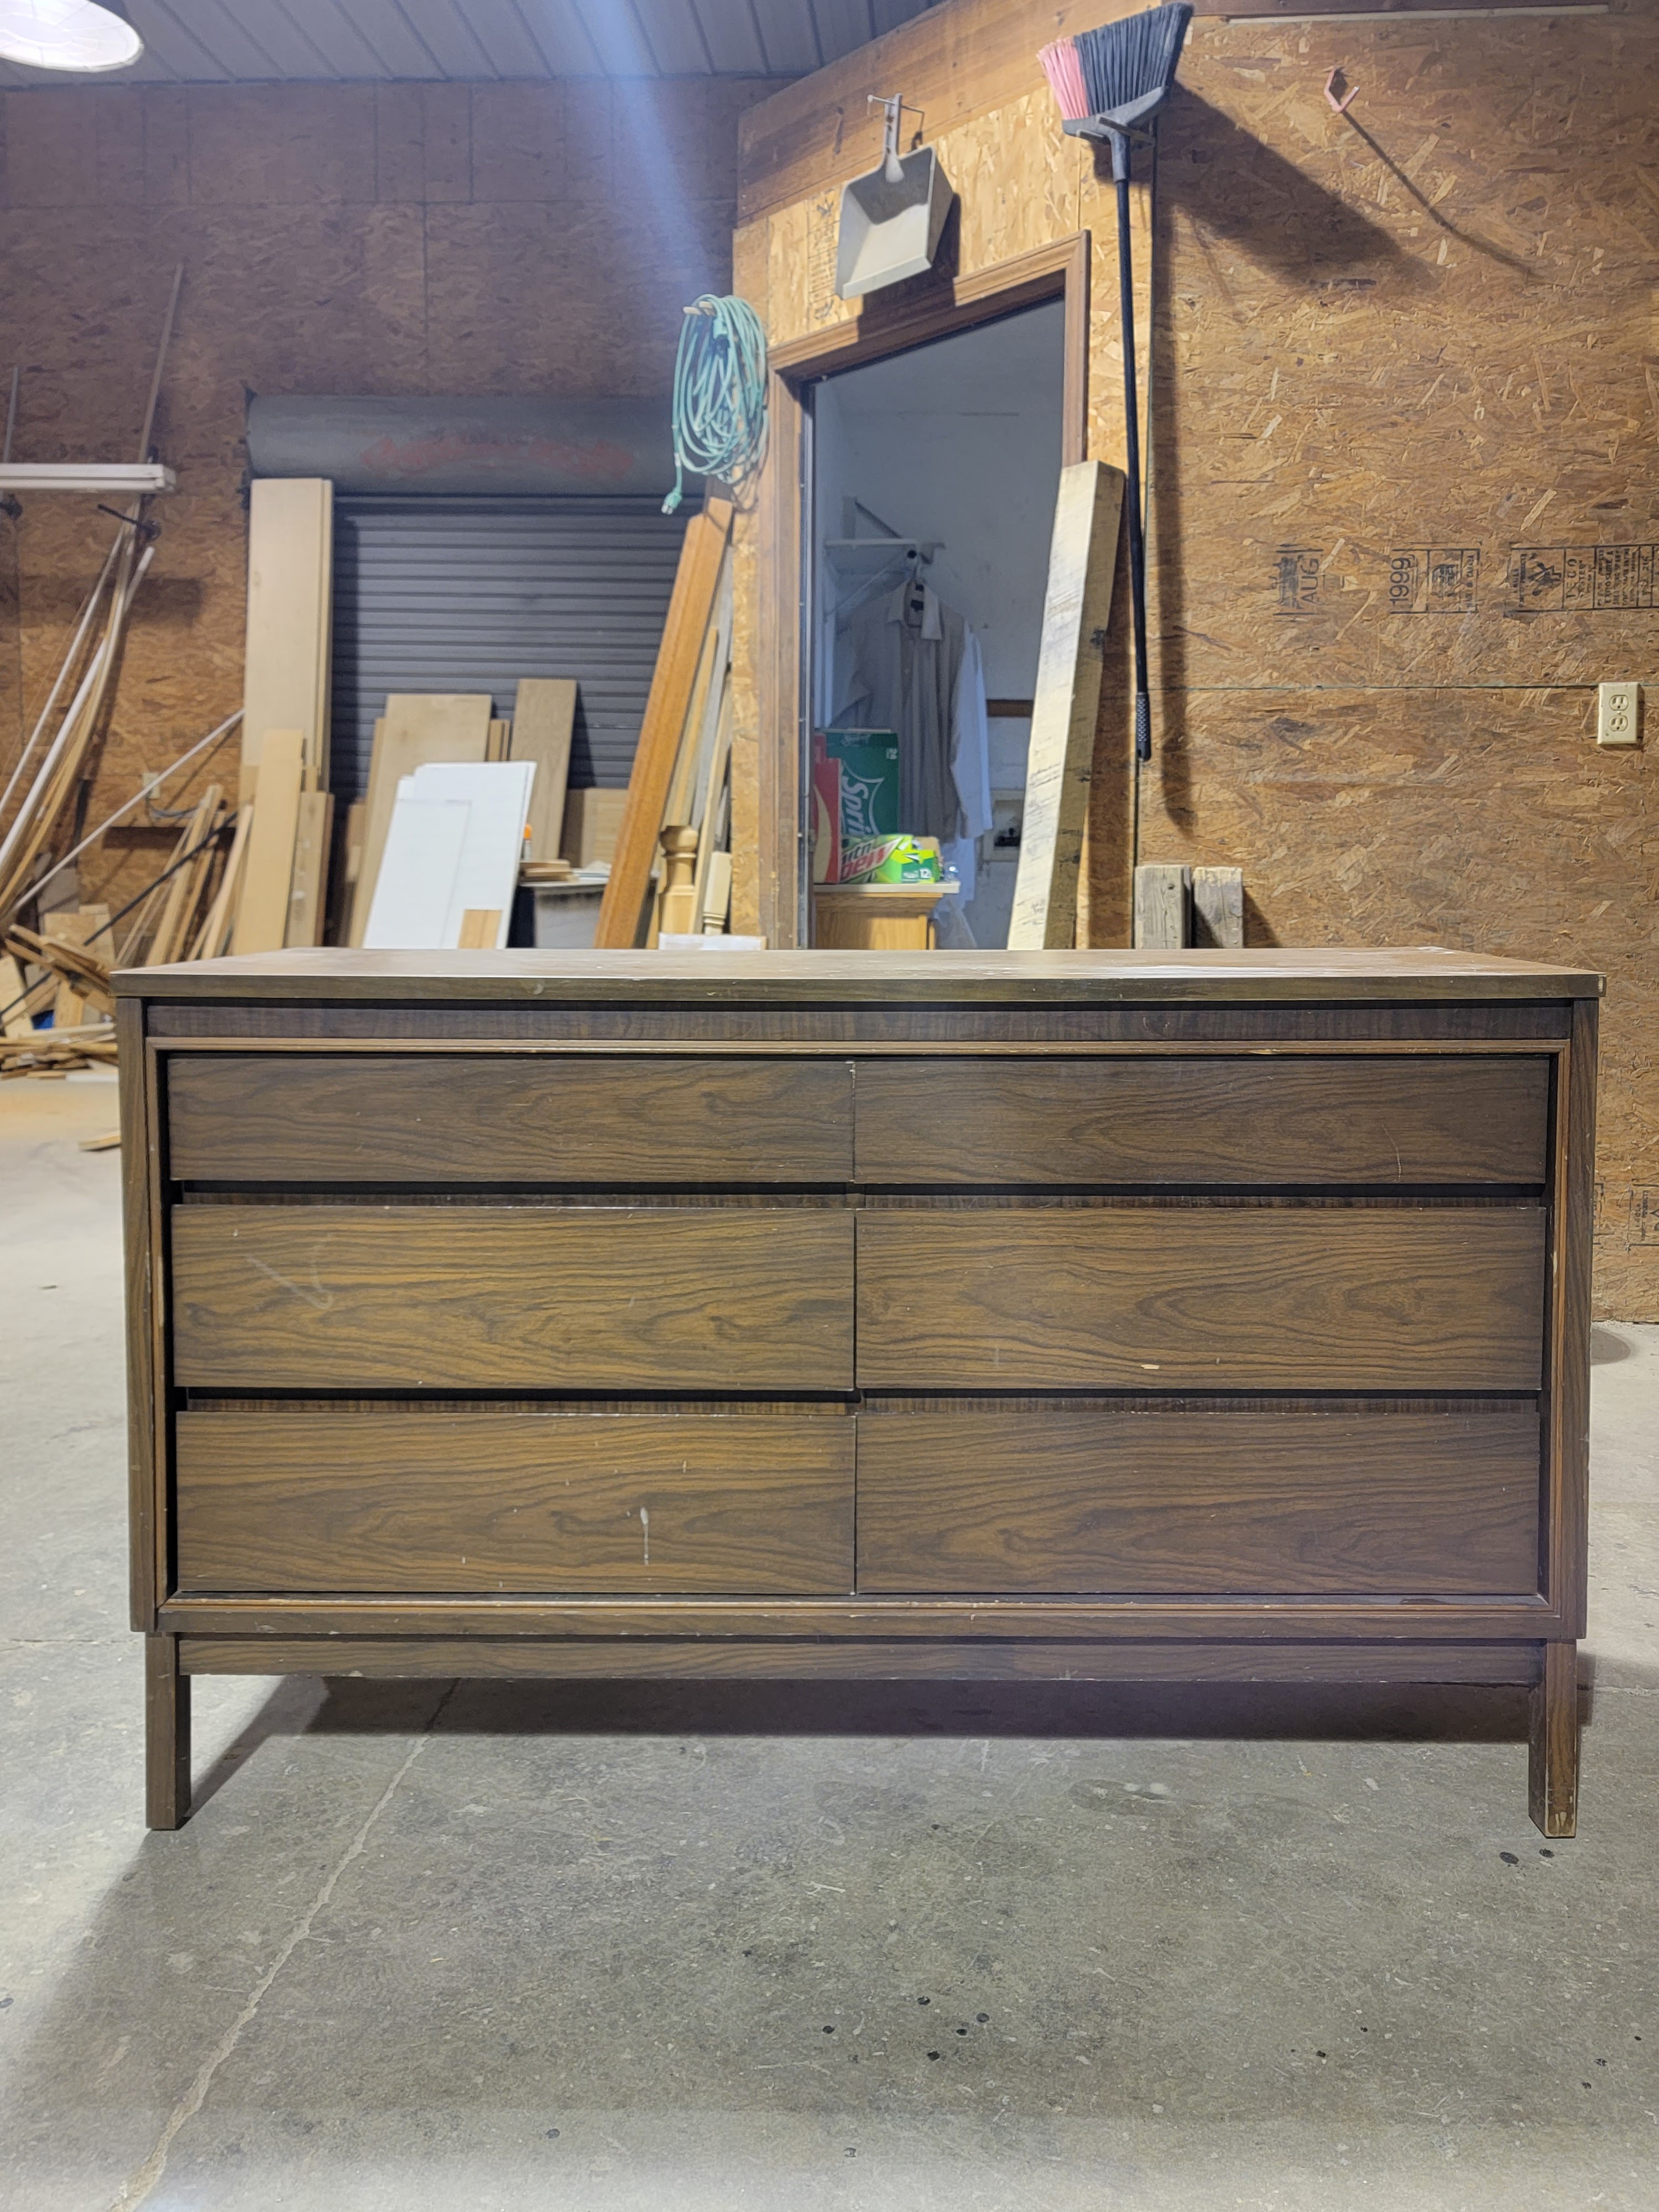
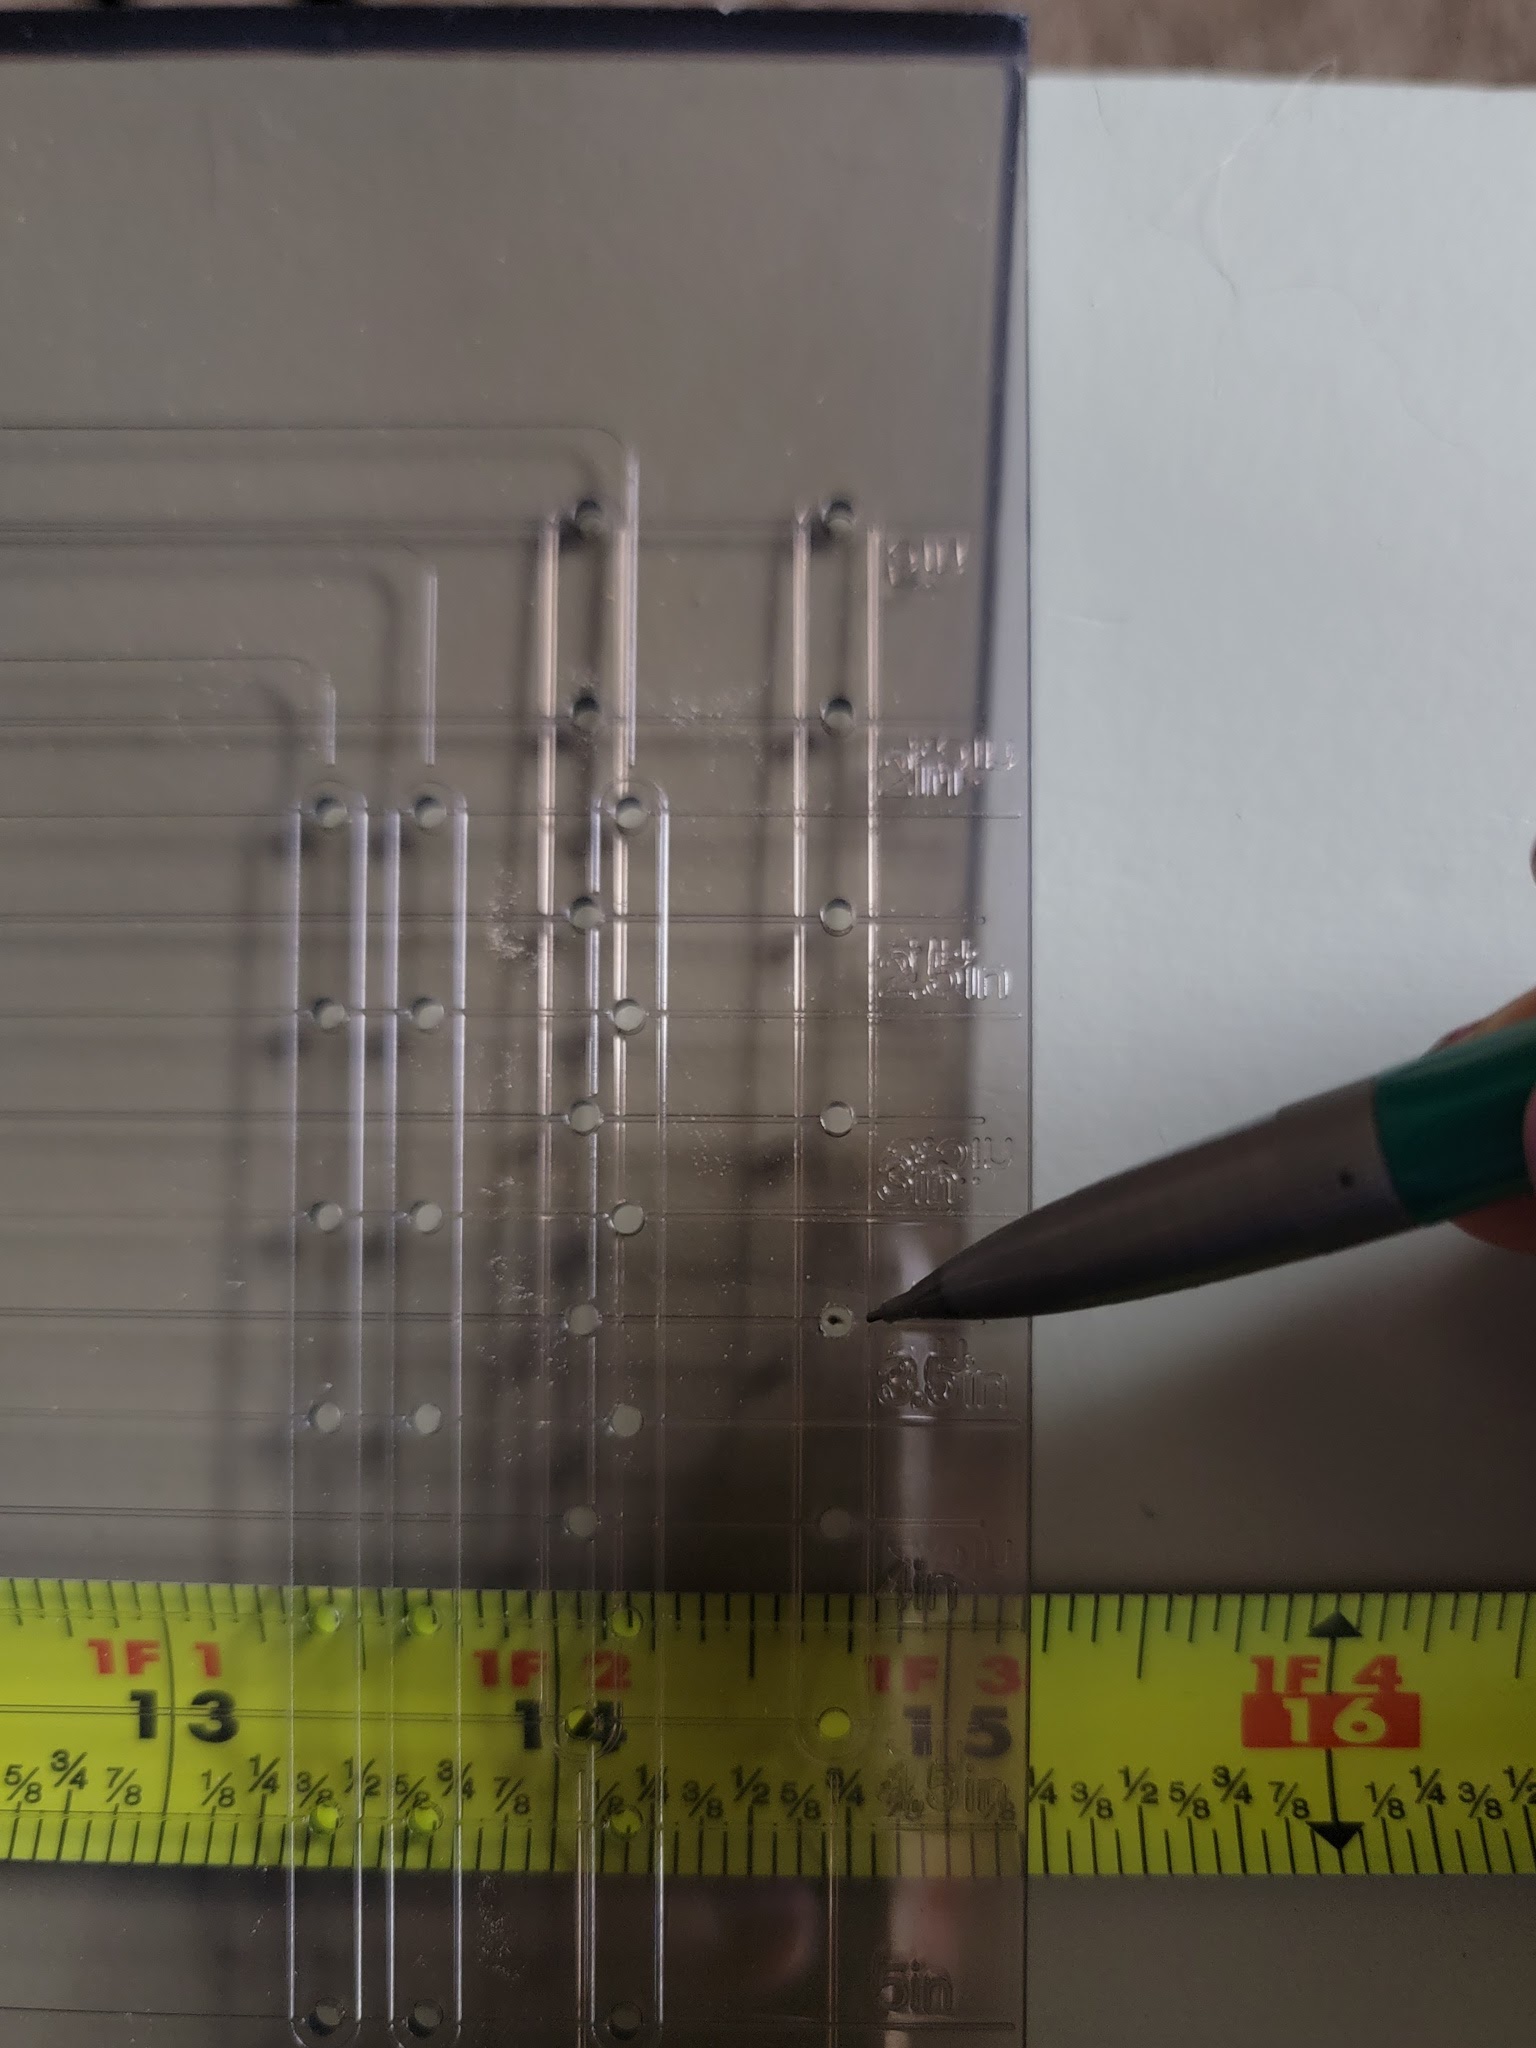
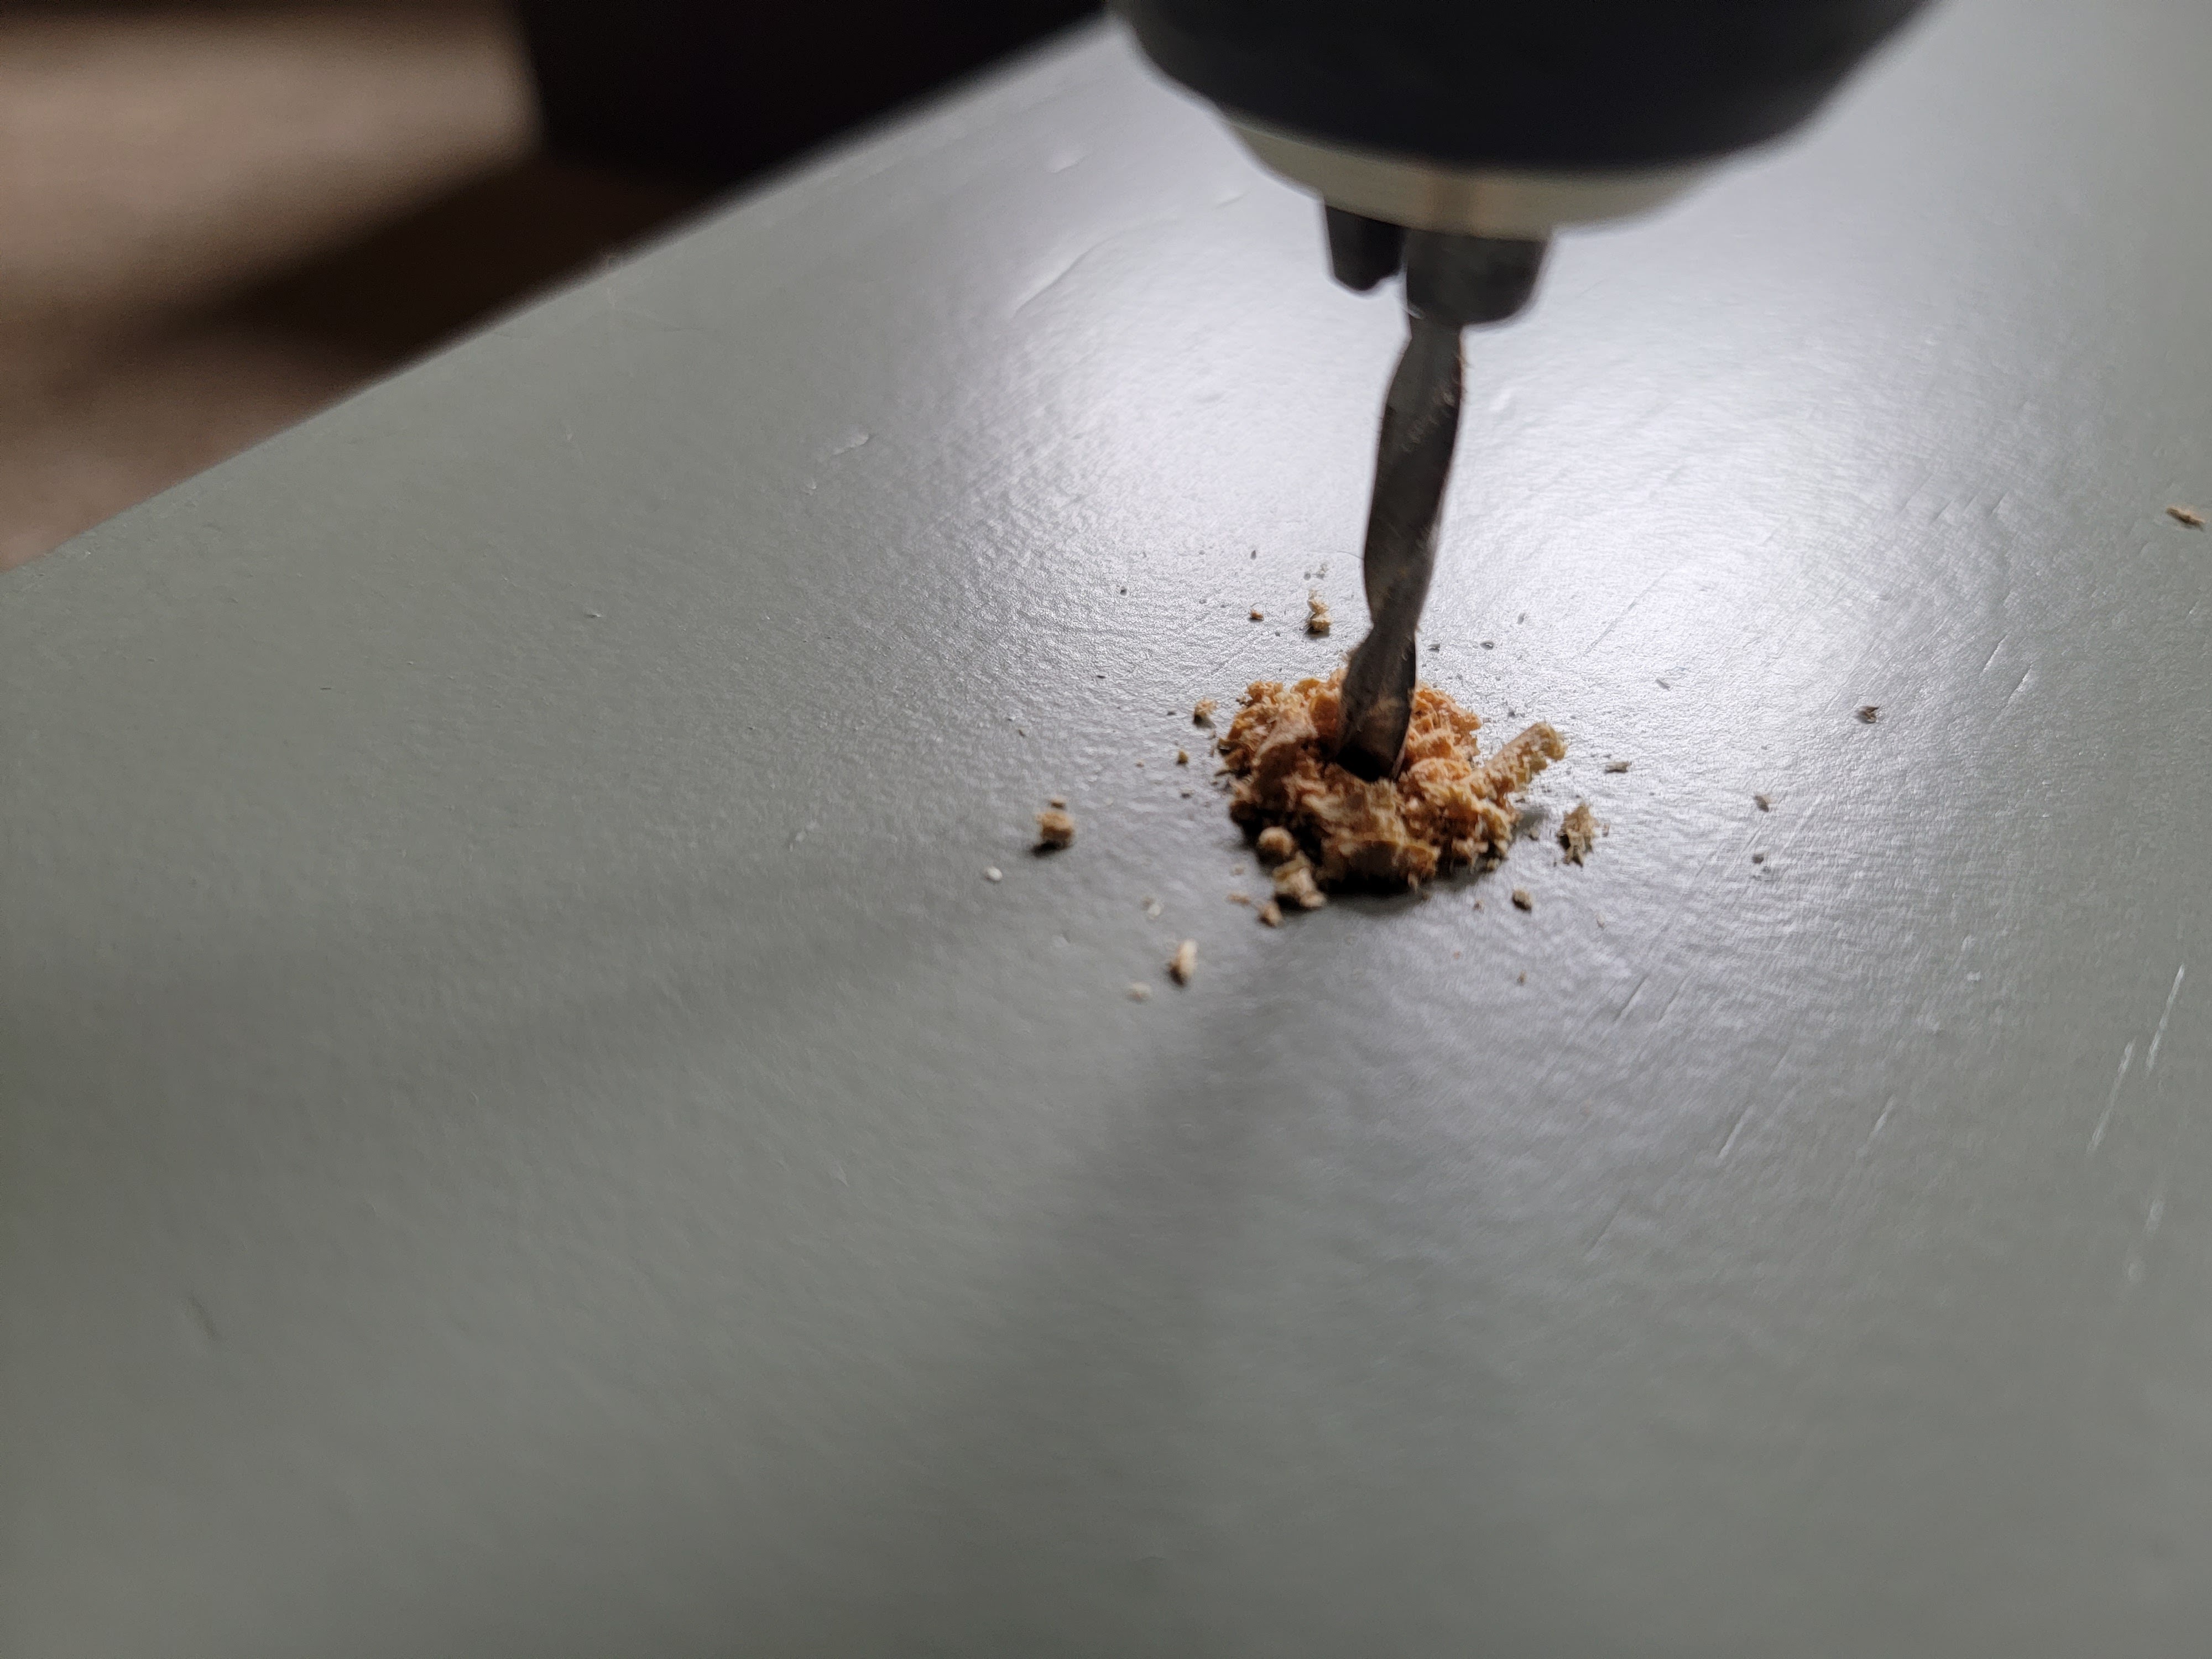
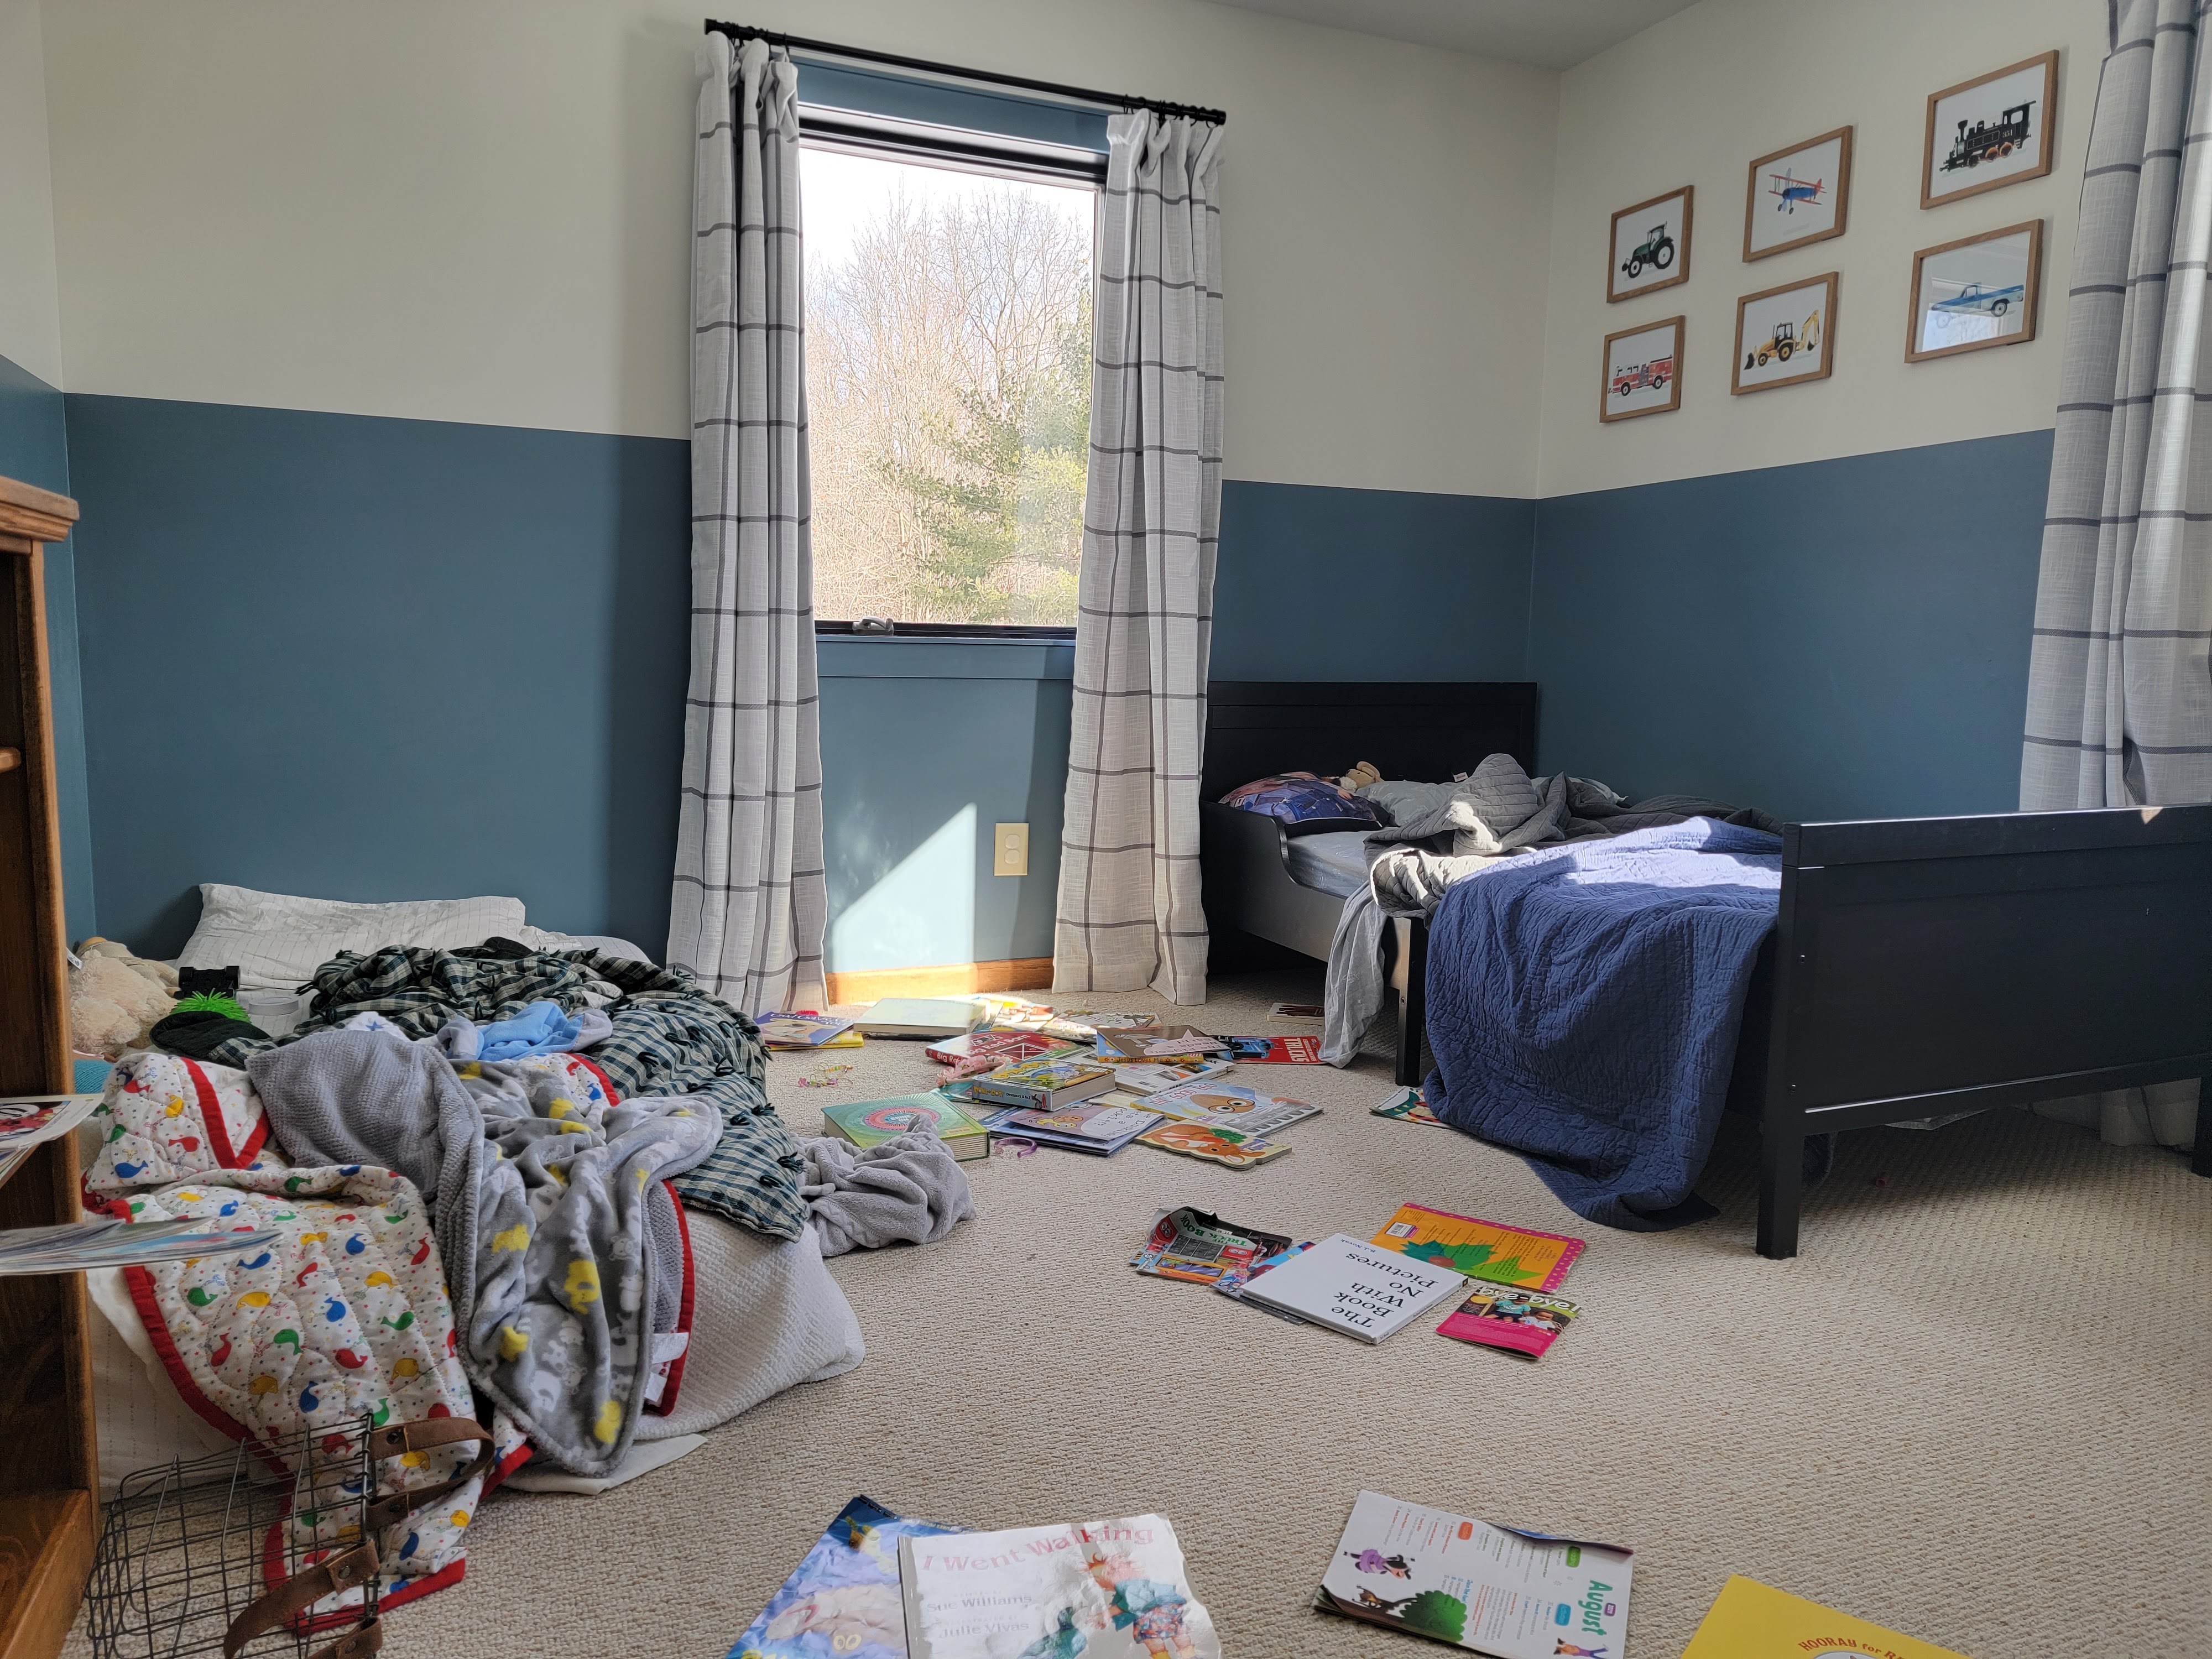
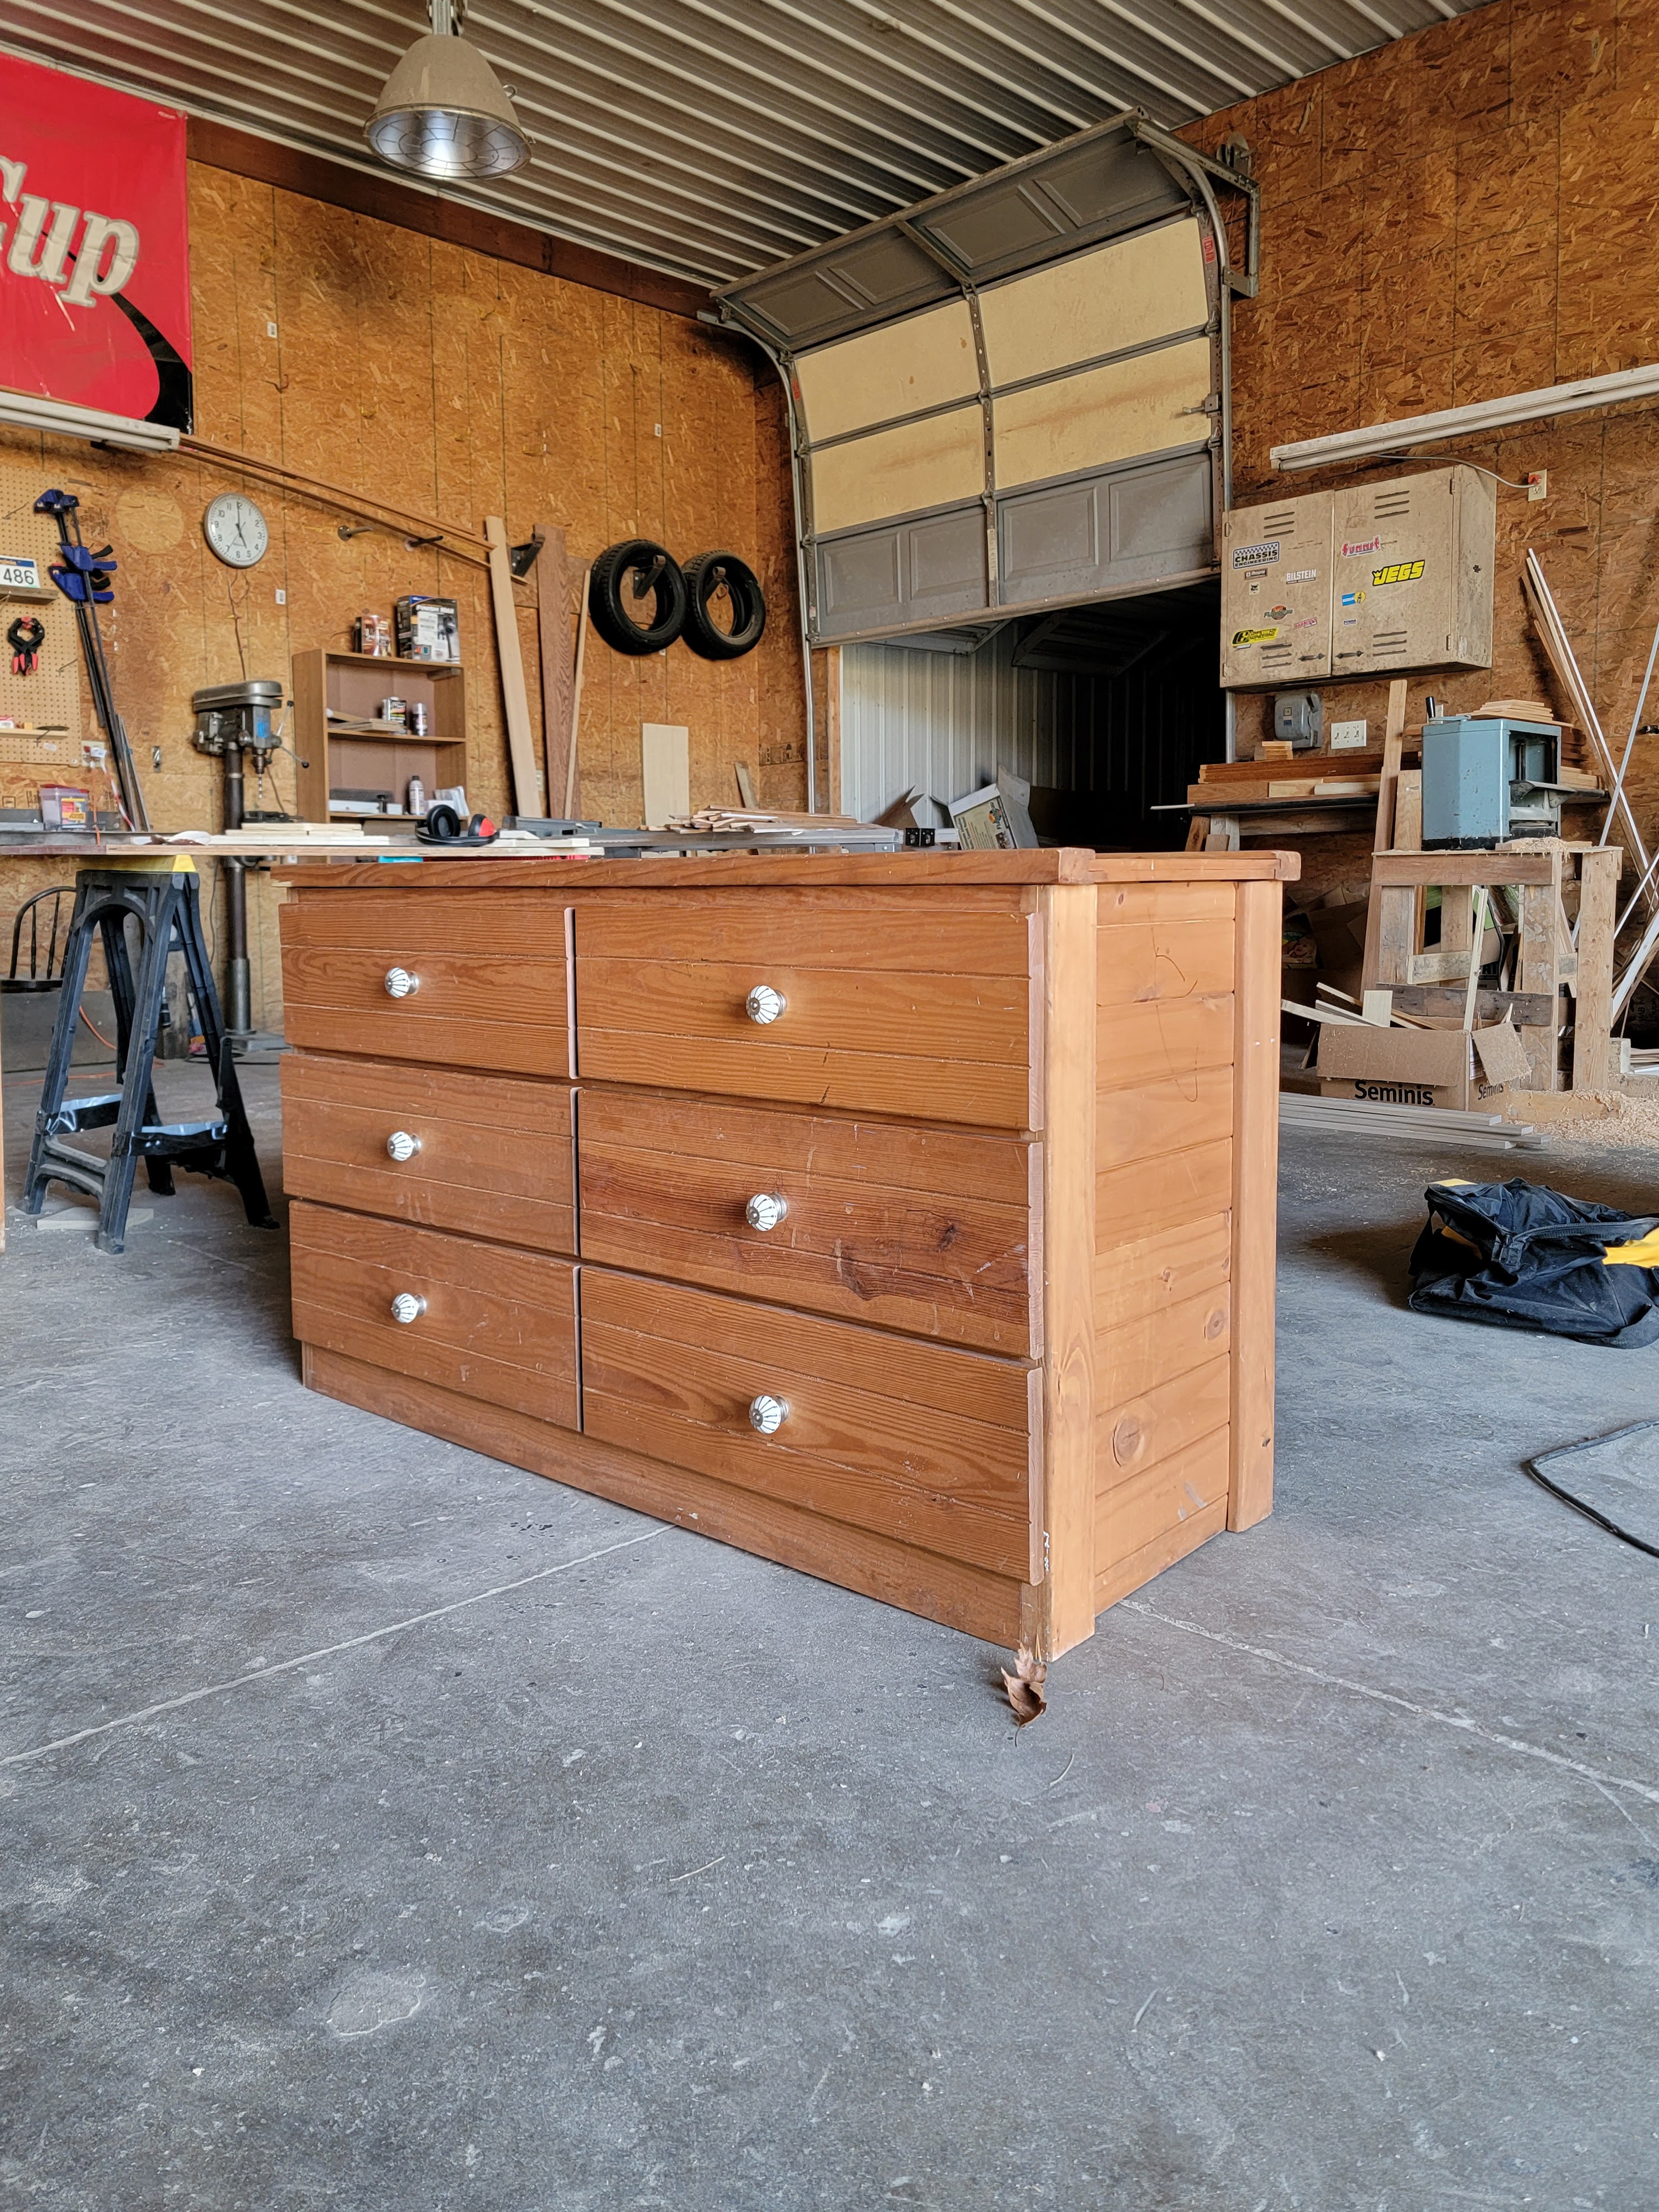
March was a longer month but I spent a lot of my free time working on projects like my kids’ shared bedroom and my sister’s nursery dresser. I did manage to get in three books and I’m happy to report that I enjoyed them all! Let’s dive right in.

The Love Hypothesis by Ali Hazelwood

In a barely-thought-out move to try and convince her best friend that she is dating someone, PhD graduate student Olive grabs the first man she sees in a hallway and kisses him while her best friend walks by. Unfortunately for her, she realizes after the kiss that the random man she grabbed is notorious faculty member Adam Carlsen, who is known for being a brilliant scientist . . . and a jerk. It turns out that rather than turn her in for disciplinary action, Adam has his own reasons for wanting to appear to be in a relationship, so he and Olive agree to mutually beneficial fake dating terms. With an entire department looking on, Olive and Adam may both be experienced scientists, but neither of them can predict just how this particular experiment will turn out.

I think this book is a great choice if you love a romance and also love science, although I know next to nothing about the PhD graduate science world and still enjoyed this read. I loved Olive and Adam individually and together, and I thought the side characters were all interesting and contributed well to the plot. I want to be friends with this crew! I enjoy a story where a theme is there is more to a person than meets the eye, and also where you learn to love a character for entirely who they are – good qualities and flaws alike. Also, despite many aspects of this book being pretty predictable (you can probably guess most of the plot just based on my synopsis), there were still a couple plot points that were very surprising to me and kept things interesting. There are some steamy parts that make it a rated-R read, so be aware if that’s not your thing. Overall, it’s funny, it’s entertaining, it’s cute, and I enjoyed it.

Finlay Donovan is Killing It by Elle Cosimano

Finlay Donovan is divorced, broke, and struggling to keep things together. On top of a nearly- inevitable custody battle with her ex over their two young children, she’s way behind on writing a novel that she’s already been paid for. After a harried morning at home that involved a pair of scissors and an unfortunate toddler haircut, Finlay meets with her agent in a Panera to discuss the details of her new suspense novel. As she describes the gory details of a book she has yet to write, she is overheard by a woman at the next table who mistakes her for a contract killer – suddenly, Finlay has an unexpected job offer and a way out of her financial crisis. That is, if she’s willing to kill for it. And she totally isn’t . . . right?

I’ll be honest, I didn’t enjoy this book at first. I despise the “hot mess mom” trope and Finlay is really, really leaning into it in the beginning. The plot is also pretty far-fetched and at first feels more than a little ridiculous. Thankfully, around 15-20% of the way in, another character is introduced that I think brought a lot of balance to the story. I also decided to just accept that this book was not going to feel entirely realistic and I would just go with it. From that point on, I really enjoyed it! It started to feel like an mystery, as the reader is trying to figure out what is going on right along with Finlay. It didn’t really feel suspenseful so much as amusing, but I still read it quickly because I wanted to know what happened. So my advice if you read this one is to not take it too seriously and just let yourself indulge a bit in a wild ride. Once I did those things, I found this book to be entertaining and fun!

Hook, Line, and Sinker by Tessa Bailey

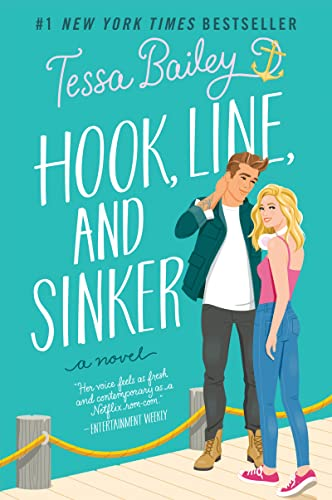
Fox Thornton is a known playboy who doesn’t allow anyone, including himself, to take him too seriously. He’s perfectly happy with just being known for good looks and a good time, but Hannah Bellinger is different. She’s the first woman in his life who is interested in being his friend and nothing more. He can be completely himself around her and it turns out, she actually likes him for his personality. It was one thing when she lived in LA and they just texted everyday, but now Hannah is back in town working on a movie set and staying in his guest room while pining over her unrequited crush on the movie’s director. As he tries to convince Hannah that she can be the leading lady in her own life and go for what she really wants, Fox starts to find himself in the uncomfortable position of thinking that maybe he too can be more than what he’s always tried to convince people he is. Maybe he too can have more. And maybe the more that he wants is with Hannah.

Last month I read the first book of this series, It Happened One Summer, and wasn’t a huge fan. Normally, I wouldn’t have been interested in the sequel, but that book had already introduced Fox and Hannah and the beginning of their friendship and I knew that I would feel differently about this book. I was right! This book is a slower burn and no pun intended, had me hooked from the beginning. Hannah and Fox are adorable! It is very steamy and for sure rated-R, but it goes beyond many other romances by diving into deeper topics like imposter syndrome, toxic masculinity, and oversexualizing young men while also being very fun and flirty. I loved the characters, I loved seeing Hannah and Fox’s relationship develop, I loved seeing both of them grow in their confidence to fight for what they wanted. They’re both just likeable and easy to cheer for. I would say it does help to read the first one and see the beginnings of their friendship, but it’s definitely not necessary to enjoy this book. If you don’t mind some language and steamy scenes, I would recommend this one!

I love when a month has all winners! What have you been reading and loving lately?

Upgrading a $20 dresser for my sister’s nursery!

Over the weekend, I finished up and delivered a special DIY project I’ve been working on: a dresser and mirror for my sister’s baby nursery!

I’ve thrifted and upgraded dressers to use as changing tables in the nurseries for both my kids and also my brother’s daughter, so when my sister announced she was pregnant and asked me to do the same for her child, I of course said yes! My aunt actually spotted this dresser for sale in a local Goodwill and sent me a picture. It had nicks, scratches, patches of missing veneer, very gooey sticker residue on one side, and a wobbly leg – it was perfect. It was discounted down to $20 and just begging for new life!

The first thing I needed to do was clean up the roughest parts to get it ready for paint. I worked hard using a combination of Goo Gone, a multitool with a flat blade, and a lot of scraping to remove the sticker residue on one side. I used an orbital sander to smooth out most of the nicks and dings on the dresser top, sides, and drawer fronts. I also took a piece of 80 grit sandpaper and sanded the little detailed edge around the drawers and other areas that the sander couldn’t reach.

I turned the dresser on its side and used a wrench to tighten up the bolt underneath supporting the wobbly back leg, and then turned my focus to the side of the dresser with chipped off veneer.

Kwik Wood is a product I learned to use when I worked on an old dresser for my brother and sister-in-law. You just mold the putty to soften it up, press it onto the space where veneer is missing, and let it harden. It looks terrible at first, but that’s okay!

Once it’s hardened, it’s totally sandable and paintable. So I sanded it down super smooth with the orbital sander and then was able to paint it just like the rest of the dresser!

Using a brush for the detailed sections and a foam roller for the sides, top, and drawer fronts, I applied one coat of primer and two coats of paint (I chose Sherwin Williams Evergreen Fog in Satin). Then it was time for the hardware.

My sister’s style is a unique combination of artistic, eclectic, and boho so leather drawer pulls felt like the perfect touch for this midcentury dresser. I bought a set of these leather drawer pulls and they were just right for the project.

One of the best purchases I’ve made for myself with regards to DIYing things is this cabinet knob/pull template. It is SO HELPFUL to use when you need to drill holes for hardware, whether on doors or drawers and is well worth the $10 investment. Once I determined the amount of curve I wanted the leather pulls to have, I used the template to mark out exactly where to drill holes to fasten them in place and it allowed me to keep everything perfectly lined up from drawer front to drawer front. It gave me the confidence to drill into the drawer front, which is good because there’s really no room for error – one hole being off will throw off the look of the whole dresser.

Justin and I also made a mirror to go with the dresser (a tutorial will be coming soon!) and we surprised my sister by driving them out to her and setting everything up with the help of her husband while she was out of the house. It was so fun to see her reaction when she came home!

The color of the dresser is only a couple shades darker than the nursery walls (Austere Gray at 75% saturation), which gives a cool monochromatic feel to the space. Jenni plans to incorporate a lot of color through bedding, artwork, and other decor so it feels right for this dresser to be a more subtle feature of the room.

Jenni wanted to be able to use the dresser as a changing table as well so we set it up with a changing pad and cute little basket with diapers and wipes. She plans to add diaper cream, lotion, and anything else she might need to be able to access easily during a diaper change to the basket as well.

Even her cat, Simba, approves of the space! Although we’ll see how he feels once his little brother or sister arrives and takes the spotlight. Ha!

Total Cost of Dresser Upgrade:

Dresser: $20

Quart of Paint: $22.45

Drawer Handles: $20.32

Total: $62.77

Note: I already had all the tools needed, as well as primer, brushes, rollers, sandpaper, cabinet template, and Kwik Wood, which definitely kept the cost of this particular project down.

Overall I’m so happy with how this turned out, and my sister is thrilled with it too. It’s such an honor to help her prepare for this next stage of her life and use my skills and interests to gift her a dresser/changing table. I can’t wait to see my niece or nephew get to use it in just a few months!

Kids’ Bedroom: The Curtain Saga is Over!

The kids’ shared bedroom, which used to be just LJ’s room, has been through a lot of changes in the almost three years we’ve lived here but one particular area has changed the most: the window treatments. Just this morning, I changed things up again but this time, I feel confident in saying they’re going to stay for many years!

When we first moved in, the previous owners left their curtain rods and mismatched roller blinds hanging. I kept the roller blinds and just hung up the curtains we brought from LJ’s nursery. His first nursery only had one window though, so I only had two panels – one for each window. From an aesthetic standpoint, it wasn’t a great look but from a practical standpoint, it worked fine.

I lived with that look for just over a year and in June 2021, I decided to do an inexpensive update. I removed the mismatched roller shades, painted the windows, updated the window trim, and took down the old curtain rods. I had leftover rods that I didn’t use from hanging our dining room curtains, so I repurposed them in here (I didn’t have all the pieces but I hot glued the end caps to the open end of the curtain rod to make it look finished!) and added inexpensive blackout curtains that I got on sale. Unfortunately, the curtain rods were just a single rod and didn’t extend, and the curtains only came in an 84″ length, so it wasn’t my “high and wide” preference but it was an inexpensive way to make this room feel much more cohesive. And somehow, the only photos I can find of this set up all look like this – ha! Vi had obviously already moved in at this point.

Once I updated the kids shared room with matching beds and new furniture, the short, narrowly placed curtains just felt cramped. Three out of four of them were behind something, and they didn’t do much to make the room feel more expansive. I shared my dilemma in this post: replace curtains or go without?

I took down the old curtains and hung blackout blinds only. (Side note: these were very easy to install and I was able to do it completely by myself!) Going to just blinds actually made the room feel too empty. Plus, I needed curtains to block out the small strip of light that still came through around the sides. Also, Vi’s side of the room has four more inches of wall space than LJ’s – without curtains to help offset the difference, it’s pretty obvious when you’re in the room.

So it came full circle back to curtains, but this time – I wanted them high and wide! My main goals were to make the room feel taller and more expansive and offset the asymmetrical wall space by cheating that curtain side out just a little. I ordered these grid curtains, which I thought would add a little pattern and fit my gender neutral theme, but could also definitely stay long term when Vi moves out since this will eventually be a shared boy room. The curtain delivery got a bit delayed and just came in last night; I was too excited to finally get them up on the wall so rather than wait for Justin to come home, I decided to figure out how to hang the new rods and curtains myself!

I followed this tutorial from Young House Love and made a quick little template out of cardboard marking where I wanted each curtain rod hook to go. I drilled pilot holes, hammered in anchors, and secured each hook in place. Following that tutorial made things surprisingly very doable for one person and I’m so proud that they are hung securely and evenly!

If you look closely, you can see I cheated just a bit more fabric width onto Vi’s side of the room. I don’t think it’s noticeable unless you’re looking for it, but it does make the sides feel more balanced! I’m very happy with how it looks and am feeling so accomplished to have done all this by myself in just under 90 minutes.

As happy as I would be to just sit back and enjoy looking at these new curtains, another delivery for this room is scheduled to arrive tomorrow so I’ll be back working in here soon. I’m excited to keep transforming this space piece by piece!

Sources

Windowpane Curtains

Blackout Blinds

Curtain Rods

Wall Color: Sherwin Williams Eider White and Nordic Bleu

Bedframes: Vintage

Viā€™s Sheet Set

LJā€™s Sheet Set

Yellow Quilts

Striped Throw Blanket

Baby #3 is a . . .

I’m officially 19 weeks pregnant and for the first time, we’ve decided to find out the sex of our baby in advance. We loved the surprise at birth with the first two babies, but for a few different reasons, we decided to switch things up this time around – it’s been so fun to have this little secret knowledge this time around!

I’m excited to announce that baby #3 is a . . .

BOY!

We cannot wait to meet our newest family member! The kids were predictably split: LJ was hoping for a brother and Vi was hoping for a sister. We told them by wrapping this balloon in a box and letting them open it – Vi kept searching for the pink balloon for a minute or two before it sank in haha! They are both very excited now and it definitely makes things feel a little more real to refer to the baby as little brother.

Another perk of finding out in advance this time is I actually can prepare the nursery a little bit more. While I’m still working on some updates to the older two’s shared bedroom, I’m going to be making a few updates to the nursery too. Currently, the nursery has a pink scalloped accent wall and is mostly devoid of artwork since many things followed Vi to the other room. I don’t plan to do too much since eventually the boys (I just love saying that!) will share the larger room and Vi will move back to this smaller bedroom, but since that’s several years away I’m going to make some simple changes now for the baby.

This time around, I didn’t do a mood board but I did start a Pinterest board with a few ideas (you can find the picture sources there too!)

I’m picturing the walls being a soft muted green (I’m thinking SW Evergreen Fog) with shades of green, gold, and taupe accented throughout. I want to keep things mostly neutral but also play with a few patterns. I think it will be a really sweet little room for our sweet little baby boy!

If you’ve been here a while, you might remember that I had no motivation to work on the nursery until Vi had almost arrived, but this time around I’m feeling so motivated and excited that I think I’ll be starting very soon. Stay tuned!

Making the Most of Thrifting when I am Limited on Time

On Saturday, I took Vi on a little mommy-daughter date for donuts and thrift store shopping. LJ had been sick with a stomach bug for a few days last week so this was a nice way to spend some quality time together and focus my attention back on Vi while Justin and LJ hung out at home. Obviously a two-year-old’s attention span isn’t huge, so we only spend about 20 minutes in the store. We were able to score a brand new “pop it” for Vi (she is obsessed with these!) and a small puzzle for LJ for a total of $5. It was totally worth it and we had so much fun! She was so excited to get home and show off her purchases.

This got me thinking about thrifting and the time I spend in stores. I feel like thrifting can sometimes seem a little intimidating for people because unlike a regular store, every single item in a thrift store is unique and there is SO much to sift through. It would take hours to look at every single item. And while I love spending an hour browsing the racks and stacks, more often than not, I don’t have that much time. Usually, I have 20 minutes or less to pop into a store in between running errands and sometimes I have as little as five minutes.

Is it still worth it to go even when I don’t have tons of time? YES! I think frequency is just as important as duration; spending 5-10 minutes total browsing my top sections 3 times a month can be just as rewarding as spending 30 minutes in one store once a month. (Side note: I’m talking about when I have 5-10 minutes by myself; I rarely go with my kids because that’s often more work than it’s worth). I have learned to be strategic about these short trips – I don’t have time to sift through racks of clothes or stroll aimlessly. Instead, I have my top sections that I prioritize, and then if there’s time leftover I can branch into other areas of the store. Today I thought I’d share the top sections I head to when I have limited time to try to maximize every minute. These sections are where I find the majority of items that make my home feel unique (and bonus that they’re so budget-friendly!)

Here are my top six sections for thrift store shopping:

Glassware

Glassware is a quick section to check out in just a minute or two; even though there are typically a lot of items there, the fact that they’re all clear makes it easy to skim through and spot the differences. I can pretty quickly scan these items and notice if there’s anything that sparks my interest – usually I’m just on the lookout for things like glass storage containers and Pyrex (I’ve found several nice Pyrex bowels and baking pans over the years), but lately I’ve also started looking for specialty drinkware. Justin just recently asked me to look for martini glasses and I was able to snag a pair of these cute stemless glasses for $1!

Picture Frames

All of these frames were purchased secondhand for $16 total!

I almost always stop in the picture frame section and spend a minute or two looking through the selection. I like to have a variety of frames in different sizes on hand at home so when I’m updating a room or just wanting to refresh a space with a change in artwork, I have options ready to choose from. Thanks to the ability to spray paint any frame a different color, I’m not too worried about finish but I do look for quality, size, and style. I particularly like finding options that can be added to the gallery wall around our spiral staircase: 8 x 10 or smaller in unique styles and a mix of metals. I don’t always walk away with a new frame but because I shop this section so frequently, I do collect enough to maintain a nice little stash of 10-15 extra frames at any given time.

Decor

There’s usually a catch-all “decor” aisle that has all the little tchotchkes we put in our homes. If I have more time, I’ll analyze everything, but if I only have a few minutes, I’ll specifically skim the shelves for decorative bowls, brass candlesticks, and containers that could be used as planters. The little metal bowl in the picture above was thrifted, as is the book it’s sitting on and the gold frames on the wall!

Books

Books can take some time to sort through and I can’t always devote the amount of time I want, but if I have five minutes to spend in this section I’ll at least glance through it. I like finding large coffee table books that I can stack with decor on top, antique books with yellowed pages and lots of character, books that I’ve actually read or would like to read, or just books that I really like the look of. The picture above is just a small sample of the books I’ve thrifted over the years – I’ve found everything from antique hymnals being sold at a flea market for $1 a bag to bestsellers that look brand new being sold for $3. I try to be purposeful with my book purchases; they’re not just to fill shelves. Each one I bring home is one I specifically chose for a reason and I love the collection I’ve curated over the years!

Games/Puzzles

This is a more recently priority for me, but I now try to skim the game and puzzle section if I have a few extra minutes. Justin and I have always loved games and puzzles, so it’s so fun to be in this stage of parenthood where Vi and LJ are now interested in them too! Most thrift stores will make sure that all the pieces are included, or they will note what is missing, so you can make an informed decision on whether a purchase is worth it or not. These days I’m searching for little puzzles for LJ or fun family games for the four of us! I also like looking for 500 or 1000 piece puzzles that Justin and I may enjoy, but I will only purchase one if the store has checked that all the pieces are there.

Furniture

Of all the sections, this is probably the one I actually purchase from the least, but I still always at least glance at it. You just never know when you’ll find the perfect little side table, bench, chair, etc. Sometimes inspiration just strikes! There are some “eventual” furniture purchases I want to make (vintage nightstands for our bedroom, a long credenza/buffet in the dining room, a storage bench in the guest room), and while I’m in no rush for them, the little list is always in the back of my mind as I browse furniture. Even if I don’t make a purchase, this section is fun to look through and get inspired by.

A few more things I keep in mind while thrifting:

1-I do have a little collection of picture frames and small decor in storage, but I try not to purchase anything else that I can’t immediately use or have a place for.

2-For those things I don’t immediately have a place for but can’t pass up, I try to think of at least three ways I can see myself eventually using the item before purchasing. An item with only one specific use that I can’t even use right now will likely just sit in storage for a long time and that’s not my personal goal.

3-Focus on what can’t be changed (or can’t be easily changed). Lampshades can be changed, but the shape of a lamp can’t. A picture frame can be painted, but the elaborate scrollwork around it can’t. A book cover can be removed, but the size of the book remains. The more I’ve focused on things I can change and things I can’t, the better scores I seem to find. You have to be willing to look beyond some things that CAN be changed to see the hidden gems that a thrift store can hold.

Do you enjoy thrifting? If so, what types of items are you most often on the lookout for?

Friday Features {3.18.21}

It’s been a while since I’ve done a little Friday Features post but today felt like a good day for one. I occasionally like to do these posts with the little things that have happened lately that haven’t warranted a full blog post but I still want to talk about – some of the small tweaks that have happened around the home, a couple projects I’m planning, and a few personal family things. It’s basically a little round-up of life lately!

Thrifted Side Table

Back in 2020 when we renovated our office, I thrifted a vintage yellow chair that was love at first sight. I envisioned a little round side table with some character tucked up next to it, but all I had at the time was a small square table we picked up in the early days of our marriage. I decided to put the square table there as a placeholder while I searched for the perfect round table. While I haven’t necessarily been diligently searching this entire time, I have been keeping my eye out online, at yard sales, and in thrift stores ever since. I squealed when I finally saw this $30 table posted a couple weeks ago in a Facebook yard sale group. I asked my sister if she would be willing to pick it up (it was for sale in her town – 500 miles from me!) and she brought it out last weekend. The long search paid off: this is just what I envisioned for the space and I love it so much!

Wallpaper in the Kids Room

A few weeks ago I made some upgrades to the kids’ shared bedroom including new beds, bedding, and artwork. I mentioned that I have some other plans up my sleeve and one of them is…wallpaper! I am going to take this wall behind the dresser and add a fun wallpaper to bring some playfulness to the space. I selected one of the four options shown above and it is scheduled to arrive in the next two weeks. I’m excited!

Window Treatments

Another change happening in the kids room is with their window treatments. I ordered blackout blinds for each window and installed them (myself!) a few days ago. I decided to just take the curtains down to see how it looked without, and I think it reaffirmed the need for curtains, but I need to find different ones. The ones I had previously were only 84″ and the curtain rod wasn’t extendable so they were really limited – I think something I can hang high and wide will really help the space. I think I found some that will work so it’s just a matter of waiting for them to arrive and see!

In-Law Visit

My in-laws came to visit this past week! We haven’t seen them in person since Christmas so it was great to get lots of quality time together. The kids loved getting to play lots of games, show them all their toys, and have them be part of their daily lives. It was a great visit and we’re feeling thankful! I was especially thankful that the extra hands meant I had some help with the kids and could start working on my sister’s nursery dresser while they played with the kids šŸ˜‰

Pandemic Reflections

Speaking of my sister’s nursery dresser, this week I’ve been reflecting a lot on the last nursery dresser I made back in March 2020. Yep, you read that right. March 2020. I was working on a nursery dresser for my brother and sister-in-law when the pandemic began. My in-laws were visiting at the time. We watched on TV as everything shut down – no March Madness, no sports at all, nothing. Our travel plans for the following week were cancelled. It was a pretty confusing and scary time! And now here I was, the exact same weekend two years later. Working on a nursery dresser with my in-laws in town. Except this time, we were two years into a global pandemic. It was surreal to say the least.

Google Photos has been showing me lots of photos from two years ago and I have to say, it’s a bit triggering. Looking back on what life was like, knowing what was to come and we just had no idea . . . it’s a lot to process. I think most days, I’m looking forward instead of looking backwards. In the little people years, the heavy demand of life with two small children means I am often just trying to do the best I can each day, getting through one day at a time. But the days are long and the years truly are short, and milestones like this cause me to pause and look back. On the one hand, I cannot believe it’s been two years of a pandemic, and on the other, it feels like we’ve been doing this forever. Two years of navigating the ever-changing public health recommendations, two years of sifting through information to try and make the best decisions for my family, two years of weighing risk before deciding on activities (masks, indoor vs. outdoor, size of gatherings, number of cases in the area, ability to distance, etc.) A missed Thanksgiving due to testing positive. Easter over Zoom with my extended family. Tears of relief when I walked in to finally get my vaccination. Learning what an N95 is and how to give myself an at-home COVID-19 test. Every runny nose and slight cough has become something to monitor closely in my kids. And seeing pictures of my kids just before the pandemic hit makes me really realize how much of their young lives have been encompassed by this. They haven’t experienced many things I thought they would in these little years – beginner sport activities and playdates with new friends and library story time and trips to the science museum and traveling to new places in the world. There are so many things that they don’t think are strange but just a part of normal life: people wearing masks, stickers for where to stand six feet apart, dividers separating us from the cashiers at the grocery store, etc. I think I don’t always process something as I’m living it, but taking a moment to stop and think about it does bring me a little shock.

There are so many things to be grateful for. I’m grateful for our health and that when we did test positive last year, our symptoms were all mild and short-lived. I’m grateful for the ability to work from home. I’m thankful for our home and the safe place to live and stay during this wild time. But it’s also been a really stressful, anxiety-inducing, scary, and sad two years filled with political bickering, misinformation, confusion, and the tragic loss of many many lives. The pandemic years have changed our lives and the world we live in in so many ways and I know this whole experience will continue to be something I have to process for many years to come.

Baby #3 Reveal!

Our reactions to opening the envelope

And to end on a more uplifting note, we had our gender reveal while my in-laws were out here! While we didn’t find out in advance for the first two kids, since this is more than likely our last pregnancy, we decided to find out this time. Justin and I found out first and then decided to have a small reveal so we asked my parents to come out while his parents were here too. We kept things very small and low-key and had the kids open a box with colored balloons inside. It was fun and we are all very excited! I’m hoping to share that news here soon so stay tuned. šŸ™‚

Thrifted Dressers: My next project(s) and a look back on past transformations!

If you follow me on Instagram, you may know that I’ve gone through a bit of a thrifted dresser saga lately.

One of my sisters is pregnant and she asked me if I would thrift a dresser and fix it up as a changing table for her. I of course said YES and started searching for a dresser. I spent a few weeks searching local thrift stores and online selling sources only to keep coming up empty. That’s often the nature of the game with thrifting – when you’re looking for something specific, it pays to be patient!

Finally, I found a picture online that looked like something I could work with: it was the right dimensions and a fairly basic shape. The seller was asking $50, which I normally would have tried to negotiate down, but due to my own pregnancy and needing help lifting, I needed her to hold it a few days for me and agreed to her asking price. (Mistake #1: this dresser was absolutely overpriced and should have been negotiated down). Unfortunately, Justin and his dad went to pick it up (Mistake #2: I should have gone with them to see it myself before paying) and when they brought it home, it was not what I expected. There was damage that the seller didn’t disclose, including a big chunk taken out in the front corner, marker drawings all over, and a piece missing from one of the sides, and the top and sides were planked, not smooth like I was expecting (Mistake #3: she only posted one picture, which was of the front and had things piled on top of it and I did not ask to see more).

The dresser gave a rustic cabin vibe, which was not at all what I wanted for my sister. For a few days, I tried to convince myself I could still make it work, but the truth it, it’s just not the right style for what my sister wants. So, I’m going to pivot and just fix this dresser up a bit by sanding, repairing, and staining it black and then sell it once again. It would be great if I could turn a small profit on it, but if not, I’m going to at least try to come out even and chalk this up to a lesson learned!

Thankfully, my aunt, who knew I was searching for a dresser but didn’t realize I had already found one, texted me a picture of one she saw in a local thrift store and it was absolutely perfect for what I wanted! I asked my parents to pick it up (the store was over an hour from my house but only 10 minutes from theirs) and they brought it out. It was priced for $20 and is going to feel like such a steal when I fix this thing up! I love the streamlined look and midcentury vibe which will go perfectly with my sister’s artistic and eclectic style. I plan to sand everything down, repair a wonky back leg, paint everything to match her nursery color scheme and possibly add some hardware. This baby is going to shine!

The reason my sister asked me to do this at all is because I’ve now fixed up three dressers for nurseries. I thought it’d be fun to look back on these past projects as I prepare to jump into this next one!

LJ’s Nursery

Way back when I was pregnant with LJ, I decided that instead of a changing table, I wanted to just have a regular dresser with a changing pad on top. We had bought a midcentury dresser on Marketplace (I think for $30 if I remember right) a few months before and it was perfect for the nursery. I cleaned it up a bit, painted everything but the wooden legs a neutral blue (Sherwin Williams Slate Tile) and voila! I loved it and it only cost me the price of paint and some time. It worked perfectly with a changing pad on top and now translates well to the “big kid” room for LJ and Vi.

Vi’s Nursery

When I was pregnant with Vi, I knew I needed another dresser for her nursery. This time I found a dresser on Craigslist for $10! It need quite a bit of sanding, then I primed it, gave it two coats of deep green paint (Sherwin Williams Green Tartan), and swapped out the hardware. Then Justin used dowel rods to create legs and give it more height to be comfortably used as a changing table. I also had him add a stained board to the front because the piece of plywood that was there was very flimsy and cheap. With the additions I made, the total cost of the dresser came in at just under $50 and once again, it worked perfectly in the nursery!

My Niece’s Nursery

When my sister-in-law became pregnant with her first, I offered to gift her and my brother a dresser to use as a changing table as well. They eagerly agreed and I started the hunt for the perfect dresser. After a lot of searching, I came across a very ugly dresser on Marketplace and negotiated the price down to $15. This thing was in rough shape and needed a lot of repairs, but I got to work sanding, replacing a side, and patching chipped veneer. I then primed and painted it (my SIL’s choice was Sherwin Williams Fading Rose) and spray painted the existing hardware. Once again, the total clocked in at just under $50 and they had a whole new look to the dresser!

Side note: one thing that has been a little surreal with working on my sister’s nursery dresser is that it’s been exactly two years since working on the one for my brother and sister-in-law. This is the project I was working on when the pandemic started and the world shut down. It’s such a strange feeling to be essentially doing the same thing two years later, but our world has changed so so much. It’s been on my mind a lot this week!

There is something really thrilling to me about taking an old dresser of diminished value, fixing it up, and giving it new life! It’s more sustainable for our planet than always buying brand new, it’s a great way to customize a specific look you want by choosing paint color, hardware, etc, and it’s incredibly satisfying for me to see a transformation of something unwanted to something beautiful and functional. I’m excited to jump into my now TWO dresser projects and see what I can do. I’ll be sharing real-time updates on Instagram so if you want more frequent updates on these projects, be sure to follow along there!