The laundry room “wallpaper” is finished and I’m in love!
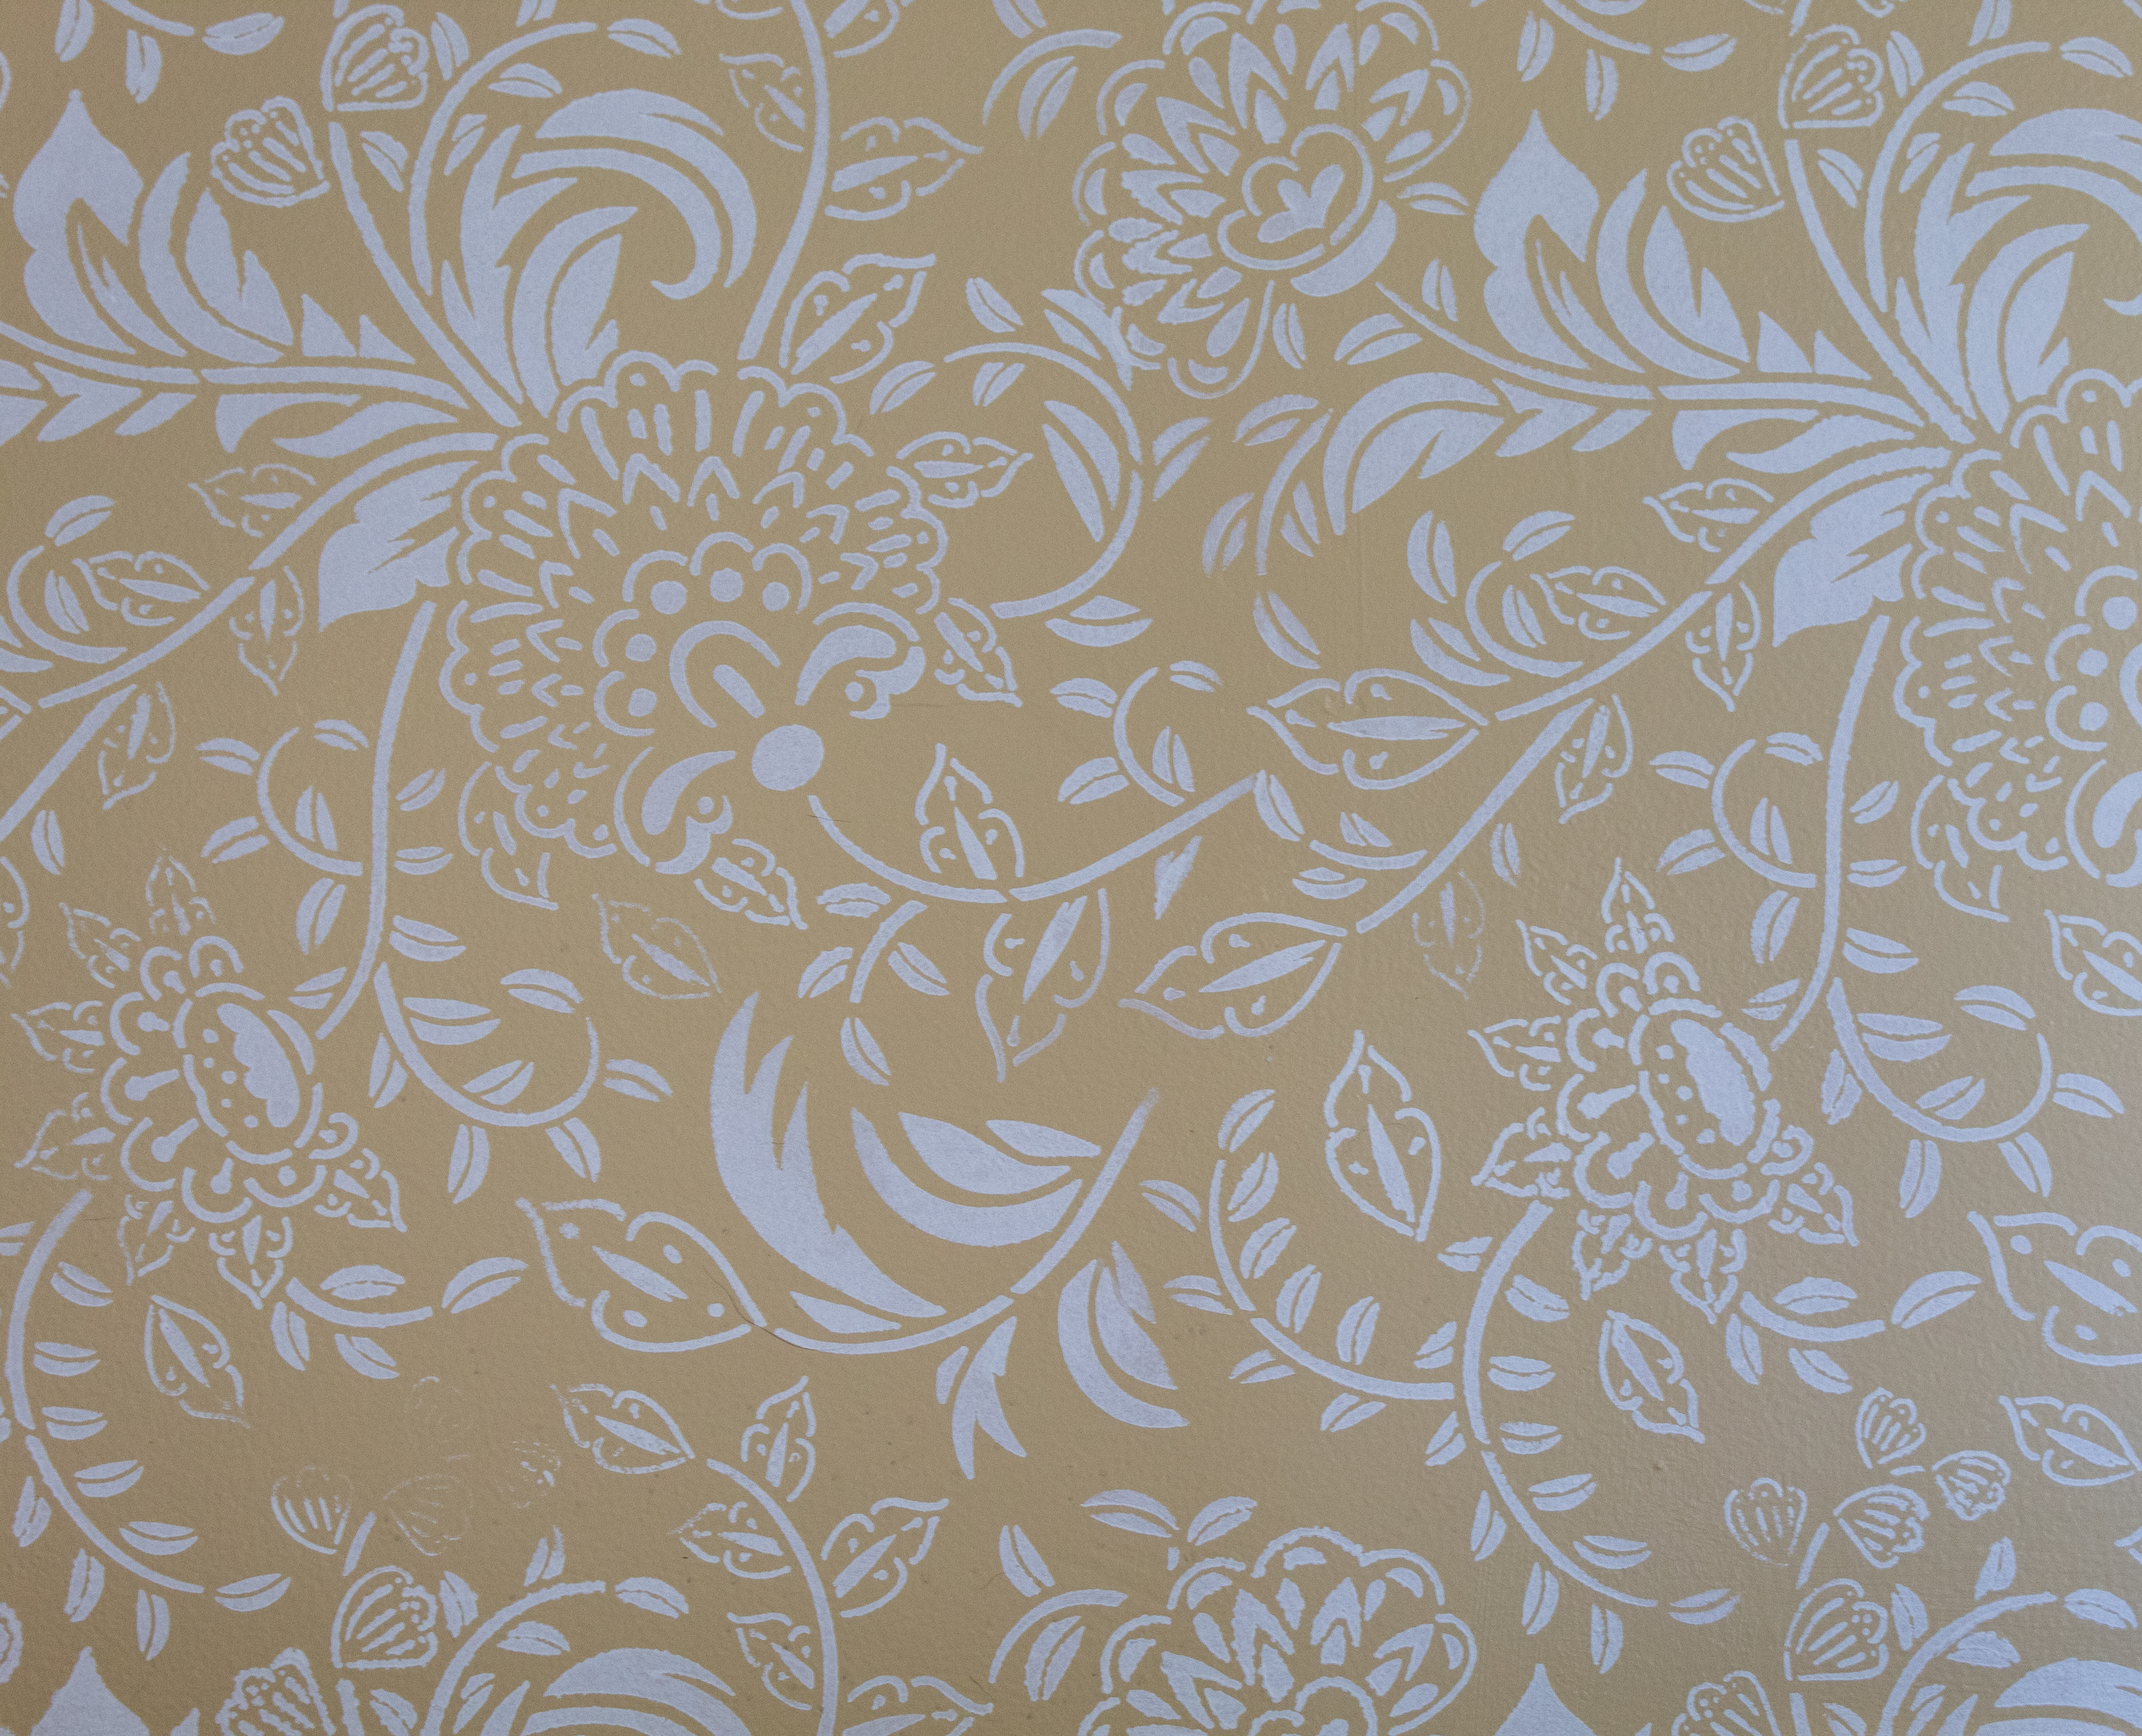
For this small but mighty room, I wanted the look of wallpaper but without the price tag. I was especially inspired by these wallpapers:
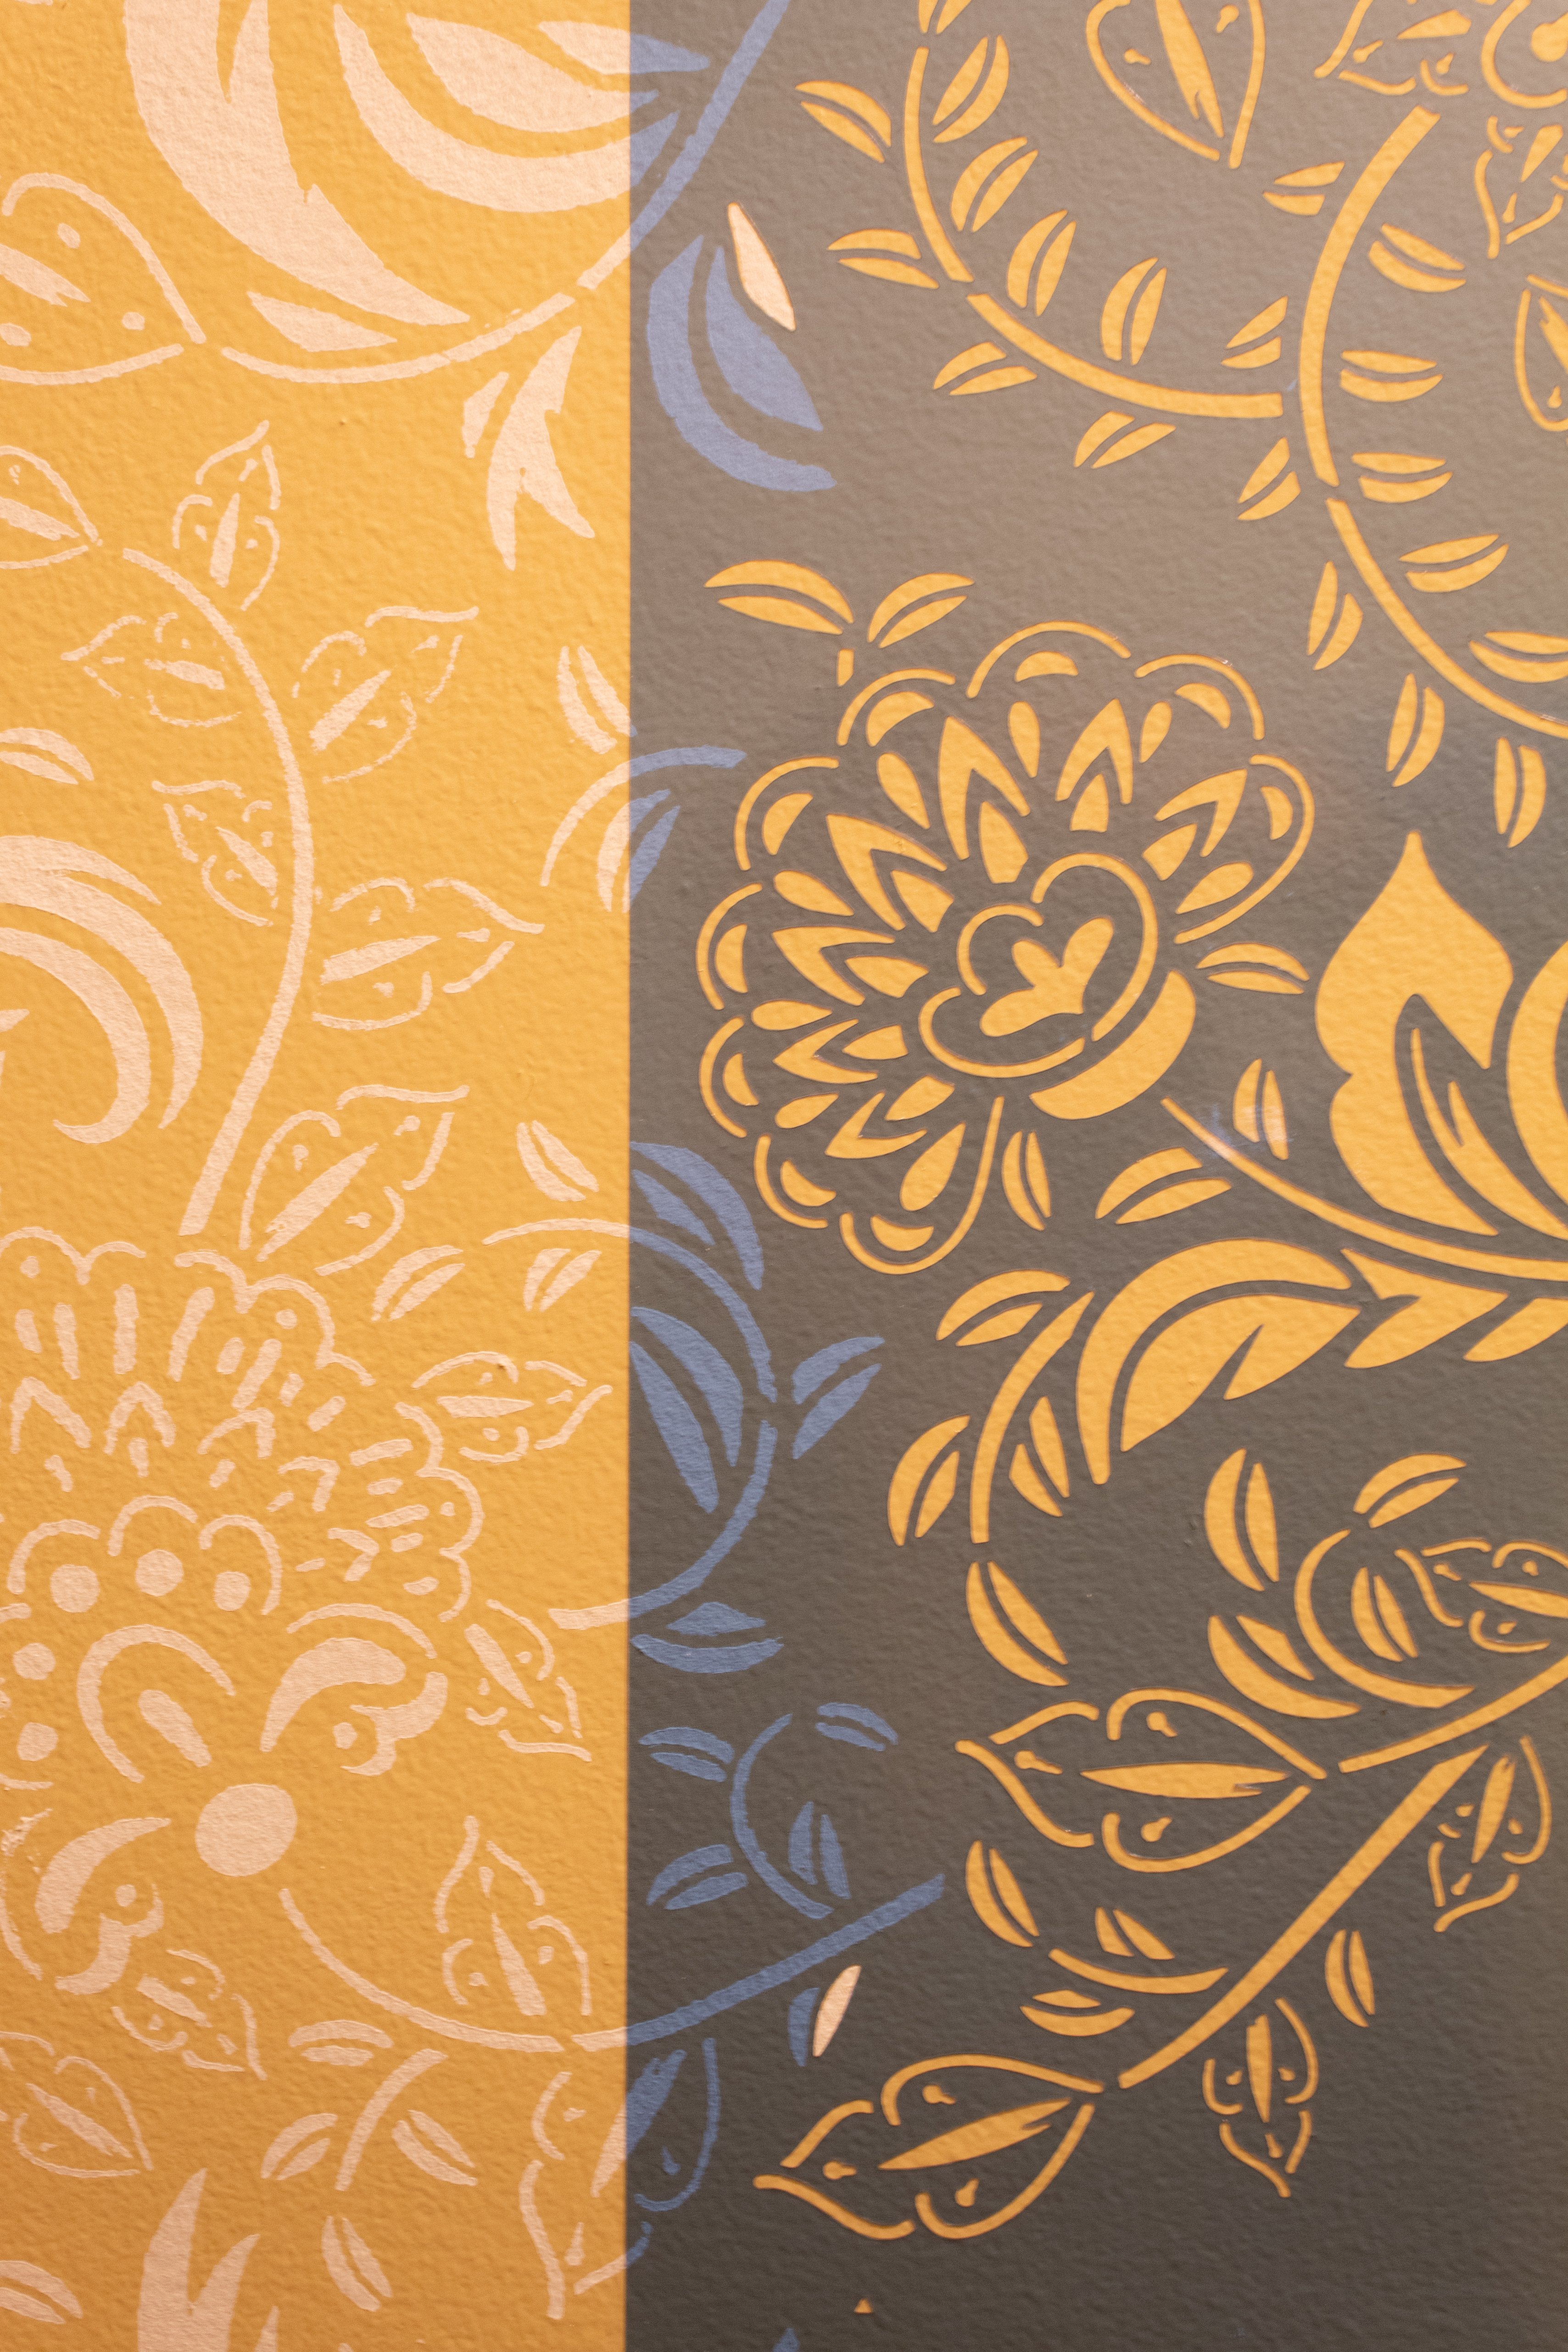
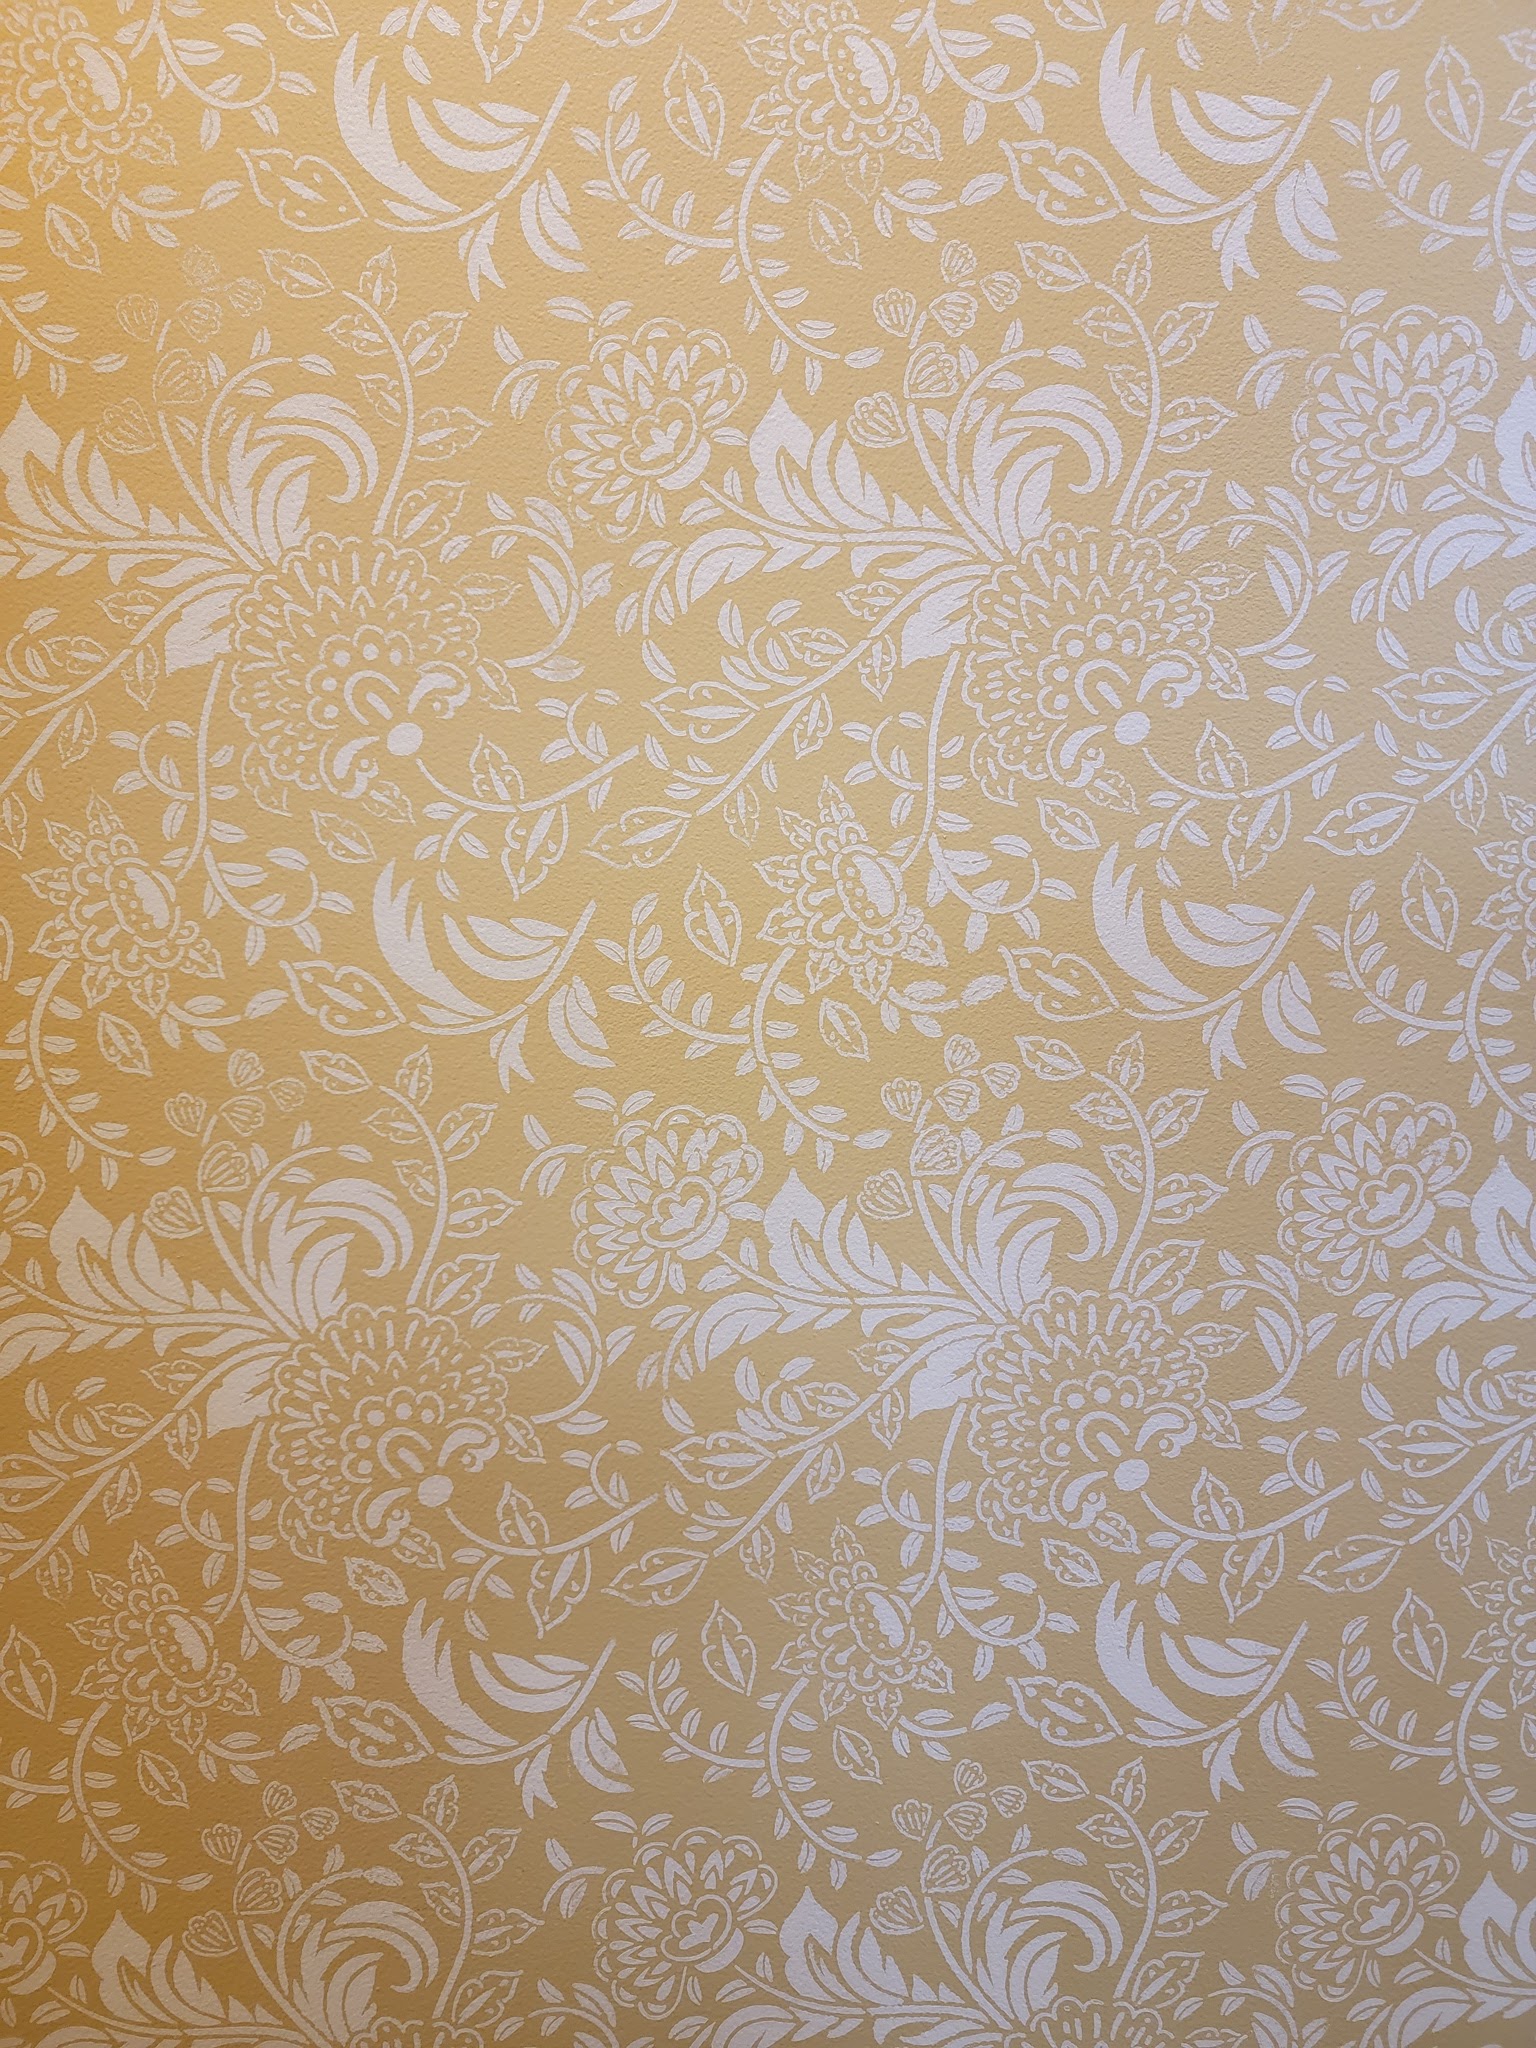
I found this stencil at Hobby Lobby and knew it would give just the look I was looking for! I decided to do the entire room instead of just an accent wall and I love the impact that it made. Today I’m sharing the process I used to create this look (for less than the cost of one roll of wallpaper!)
Materials
-stencil (I bought three of this one)
–foam paint roller
-paint tray
–painter’s tape
–repositionable spray adhesive
–small foam brush
-small level
-scissors
-paint
-drop cloth to cover furniture from adhesive overspray
–latex paint remover + soft cloth
An important note: I have tried using painter’s tape to keep the stencil in place and for me, the inside of the stencil still shifted too much and created messy lines. I now use repositionable spray adhesive, but the caveat is there is a lot of overspray! If you use the spray adhesive, you will want drop cloths on everything before you start, particularly furniture. Luckily my flooring was vinyl and the spray residue could be easily cleaned up, but if your floor is really nice wood or carpet, you will want to cover your floors as well.
Starting in the top left corner of a wall, I sprayed approximately 3-4 small bursts of the spray adhesive directly on the wall and pressed down my stencil in place (since it was the basis the entire pattern, I did use a small level to make sure the first stencil was perfectly level). To line up all subsequent stencils, the edges of the stencil had little leaves that were meant to match with the next pattern.
In other words, when I lined up the next stencil, a few of the cut outs would line up with leaves that were already painted. All I had to do was make sure those were aligned and I knew my stencil was in place.
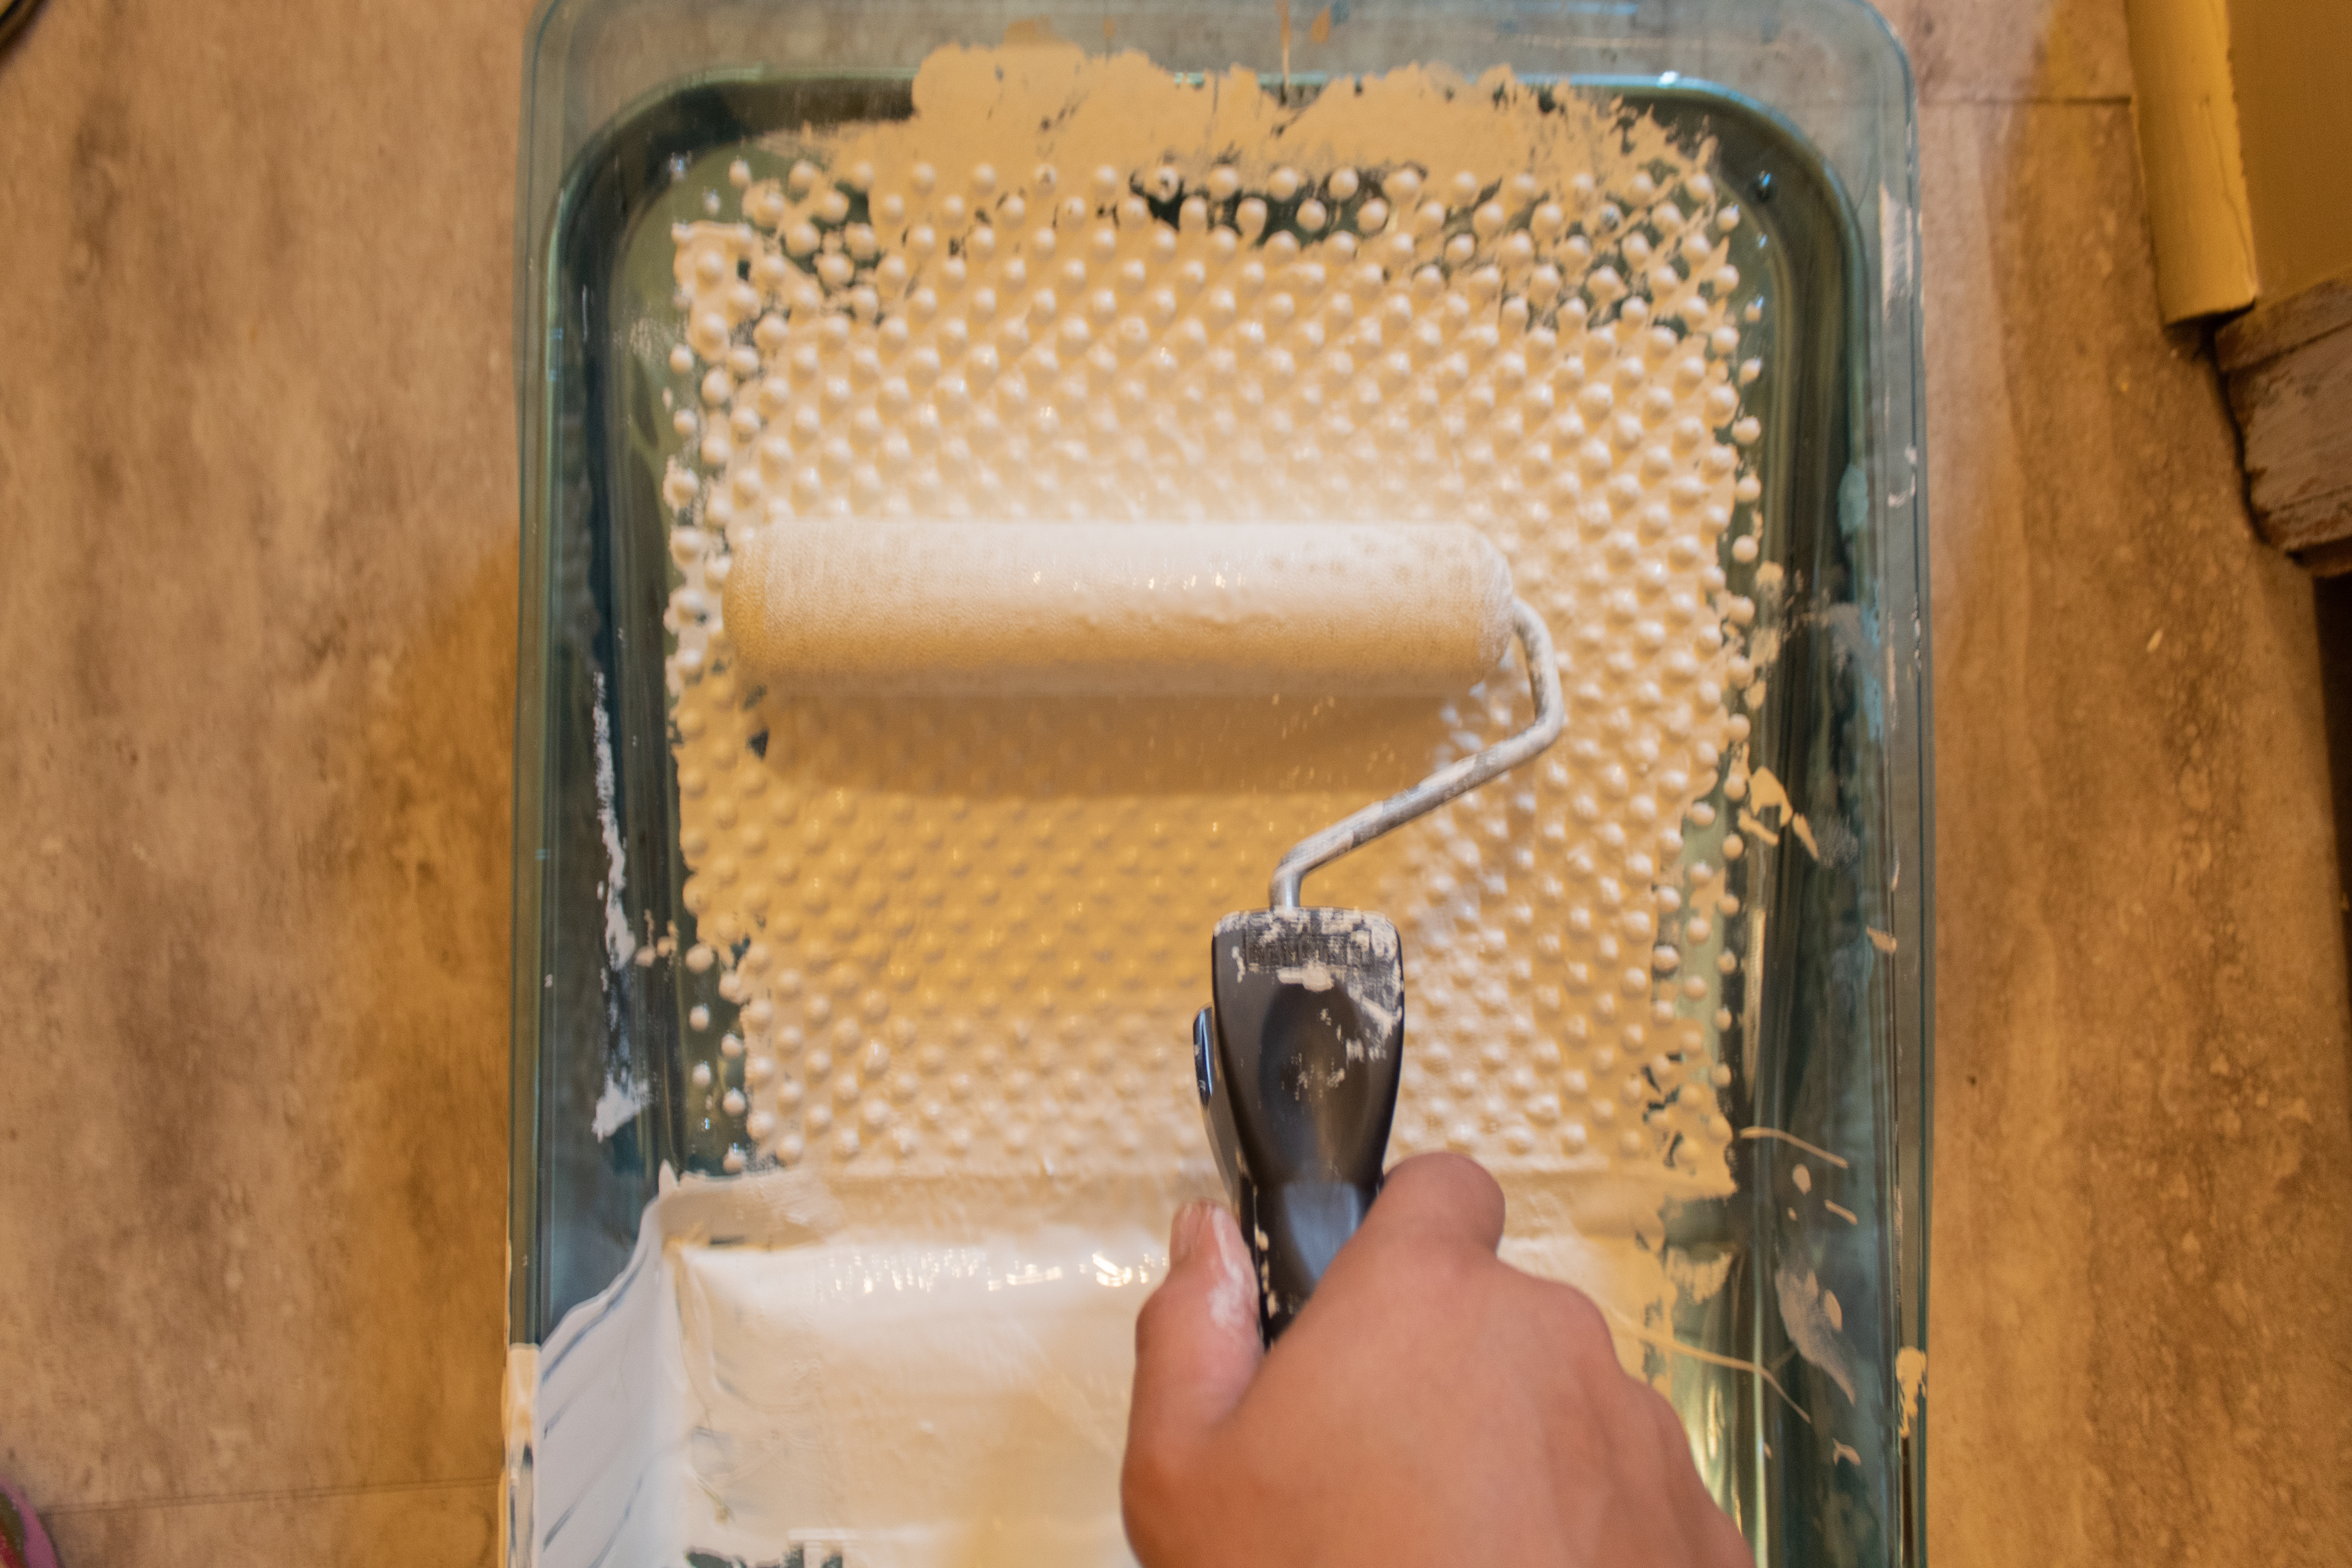
I poured a small amount of paint (I used Sherwin Williams Alabaster in Eggshell finish) into a paint tray and rolled a six inch foam paint roller in it. I then rolled it over the ridges in the paint tray several times to make sure it was evenly coated without excess paint.
I rolled the roller lightly over the stencil several times until the wall color disappeared and the insides of all the cut outs were white. It’s better to have less paint and roll over the stencil several times than to have excess paint and roll once – it helps keep lines nice and crisp!
Once the stencil was completely painted, I peeled it off the wall from top to bottom and started the process again for the next stencil. I did not wait for the paint to dry before laying the next one – the paint didn’t smudge because I just pressed straight down and didn’t slide the stencil around.
I worked my way across the wall in columns, working from top to bottom and moving from left to right across the wall.
I had three identical stencils and my process was to use the same stencil 10 or so times in a row, then clean it and while that one was drying, use a fresh one for the next 10 or so stencils. The key is: you must clean your stencils as the paint builds up! I learned this the hard way, but without cleaning them, paint slowly builds up more and more, making the cut outs slightly smaller each time until it gets to a point where paint can’t even get through anymore. I cleaned mine after 10-12 uses but you’ll have to judge based on how much paint buildup you’re noticing on your stencil.
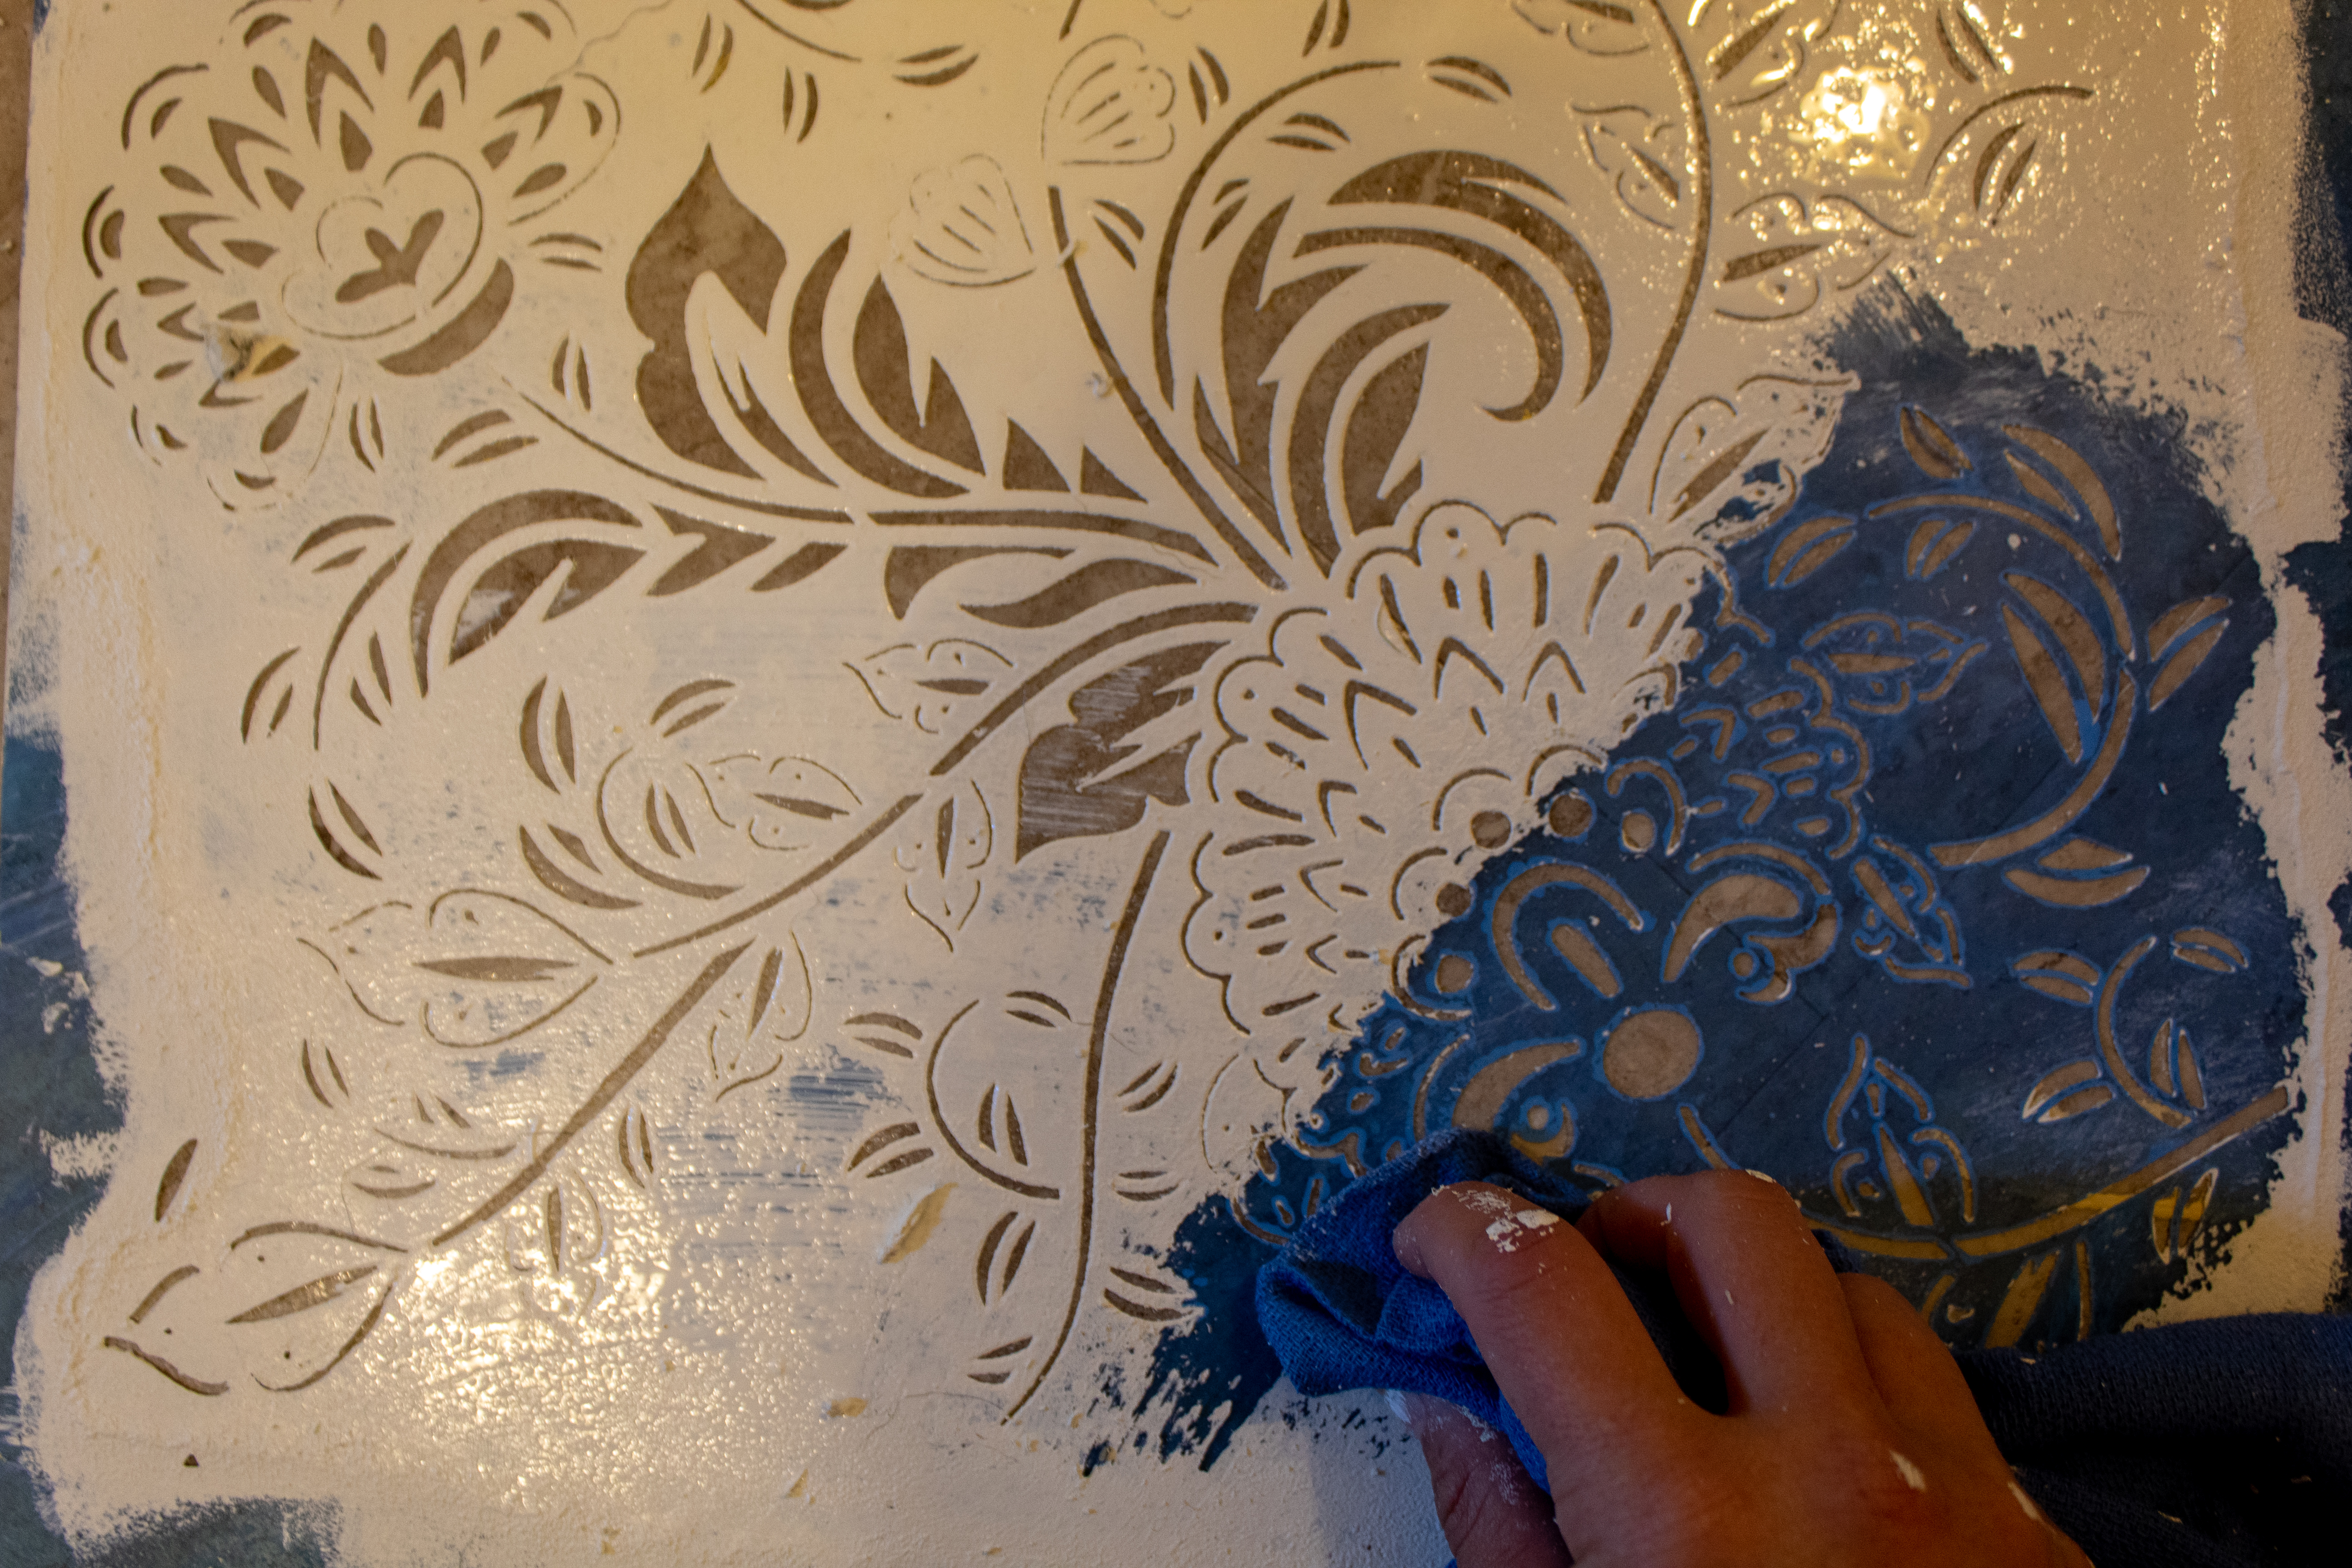
I used latex paint remover spray and sprayed it all over the coated stencil. I just sprayed it directly on my floor since it was vinyl, but you might want to do this on another surface or put down a protective layer over your flooring.
After letting the spray soak in a bit, I very carefully dabbed up the paint with a cloth. Because it was latex paint, I could also gently use my fingernails to clean out the paint built up in the cut outs. I tried to be as gentle as possible – aggressive rubbing will bend or even potentially break the more fragile cut outs. It was a little tedious to get clean, but a necessary step to prolong the life of the stencils and keep the pattern size consistent throughout the room.
Once the stencil was clean, I just let it dry completely and then could use it again!
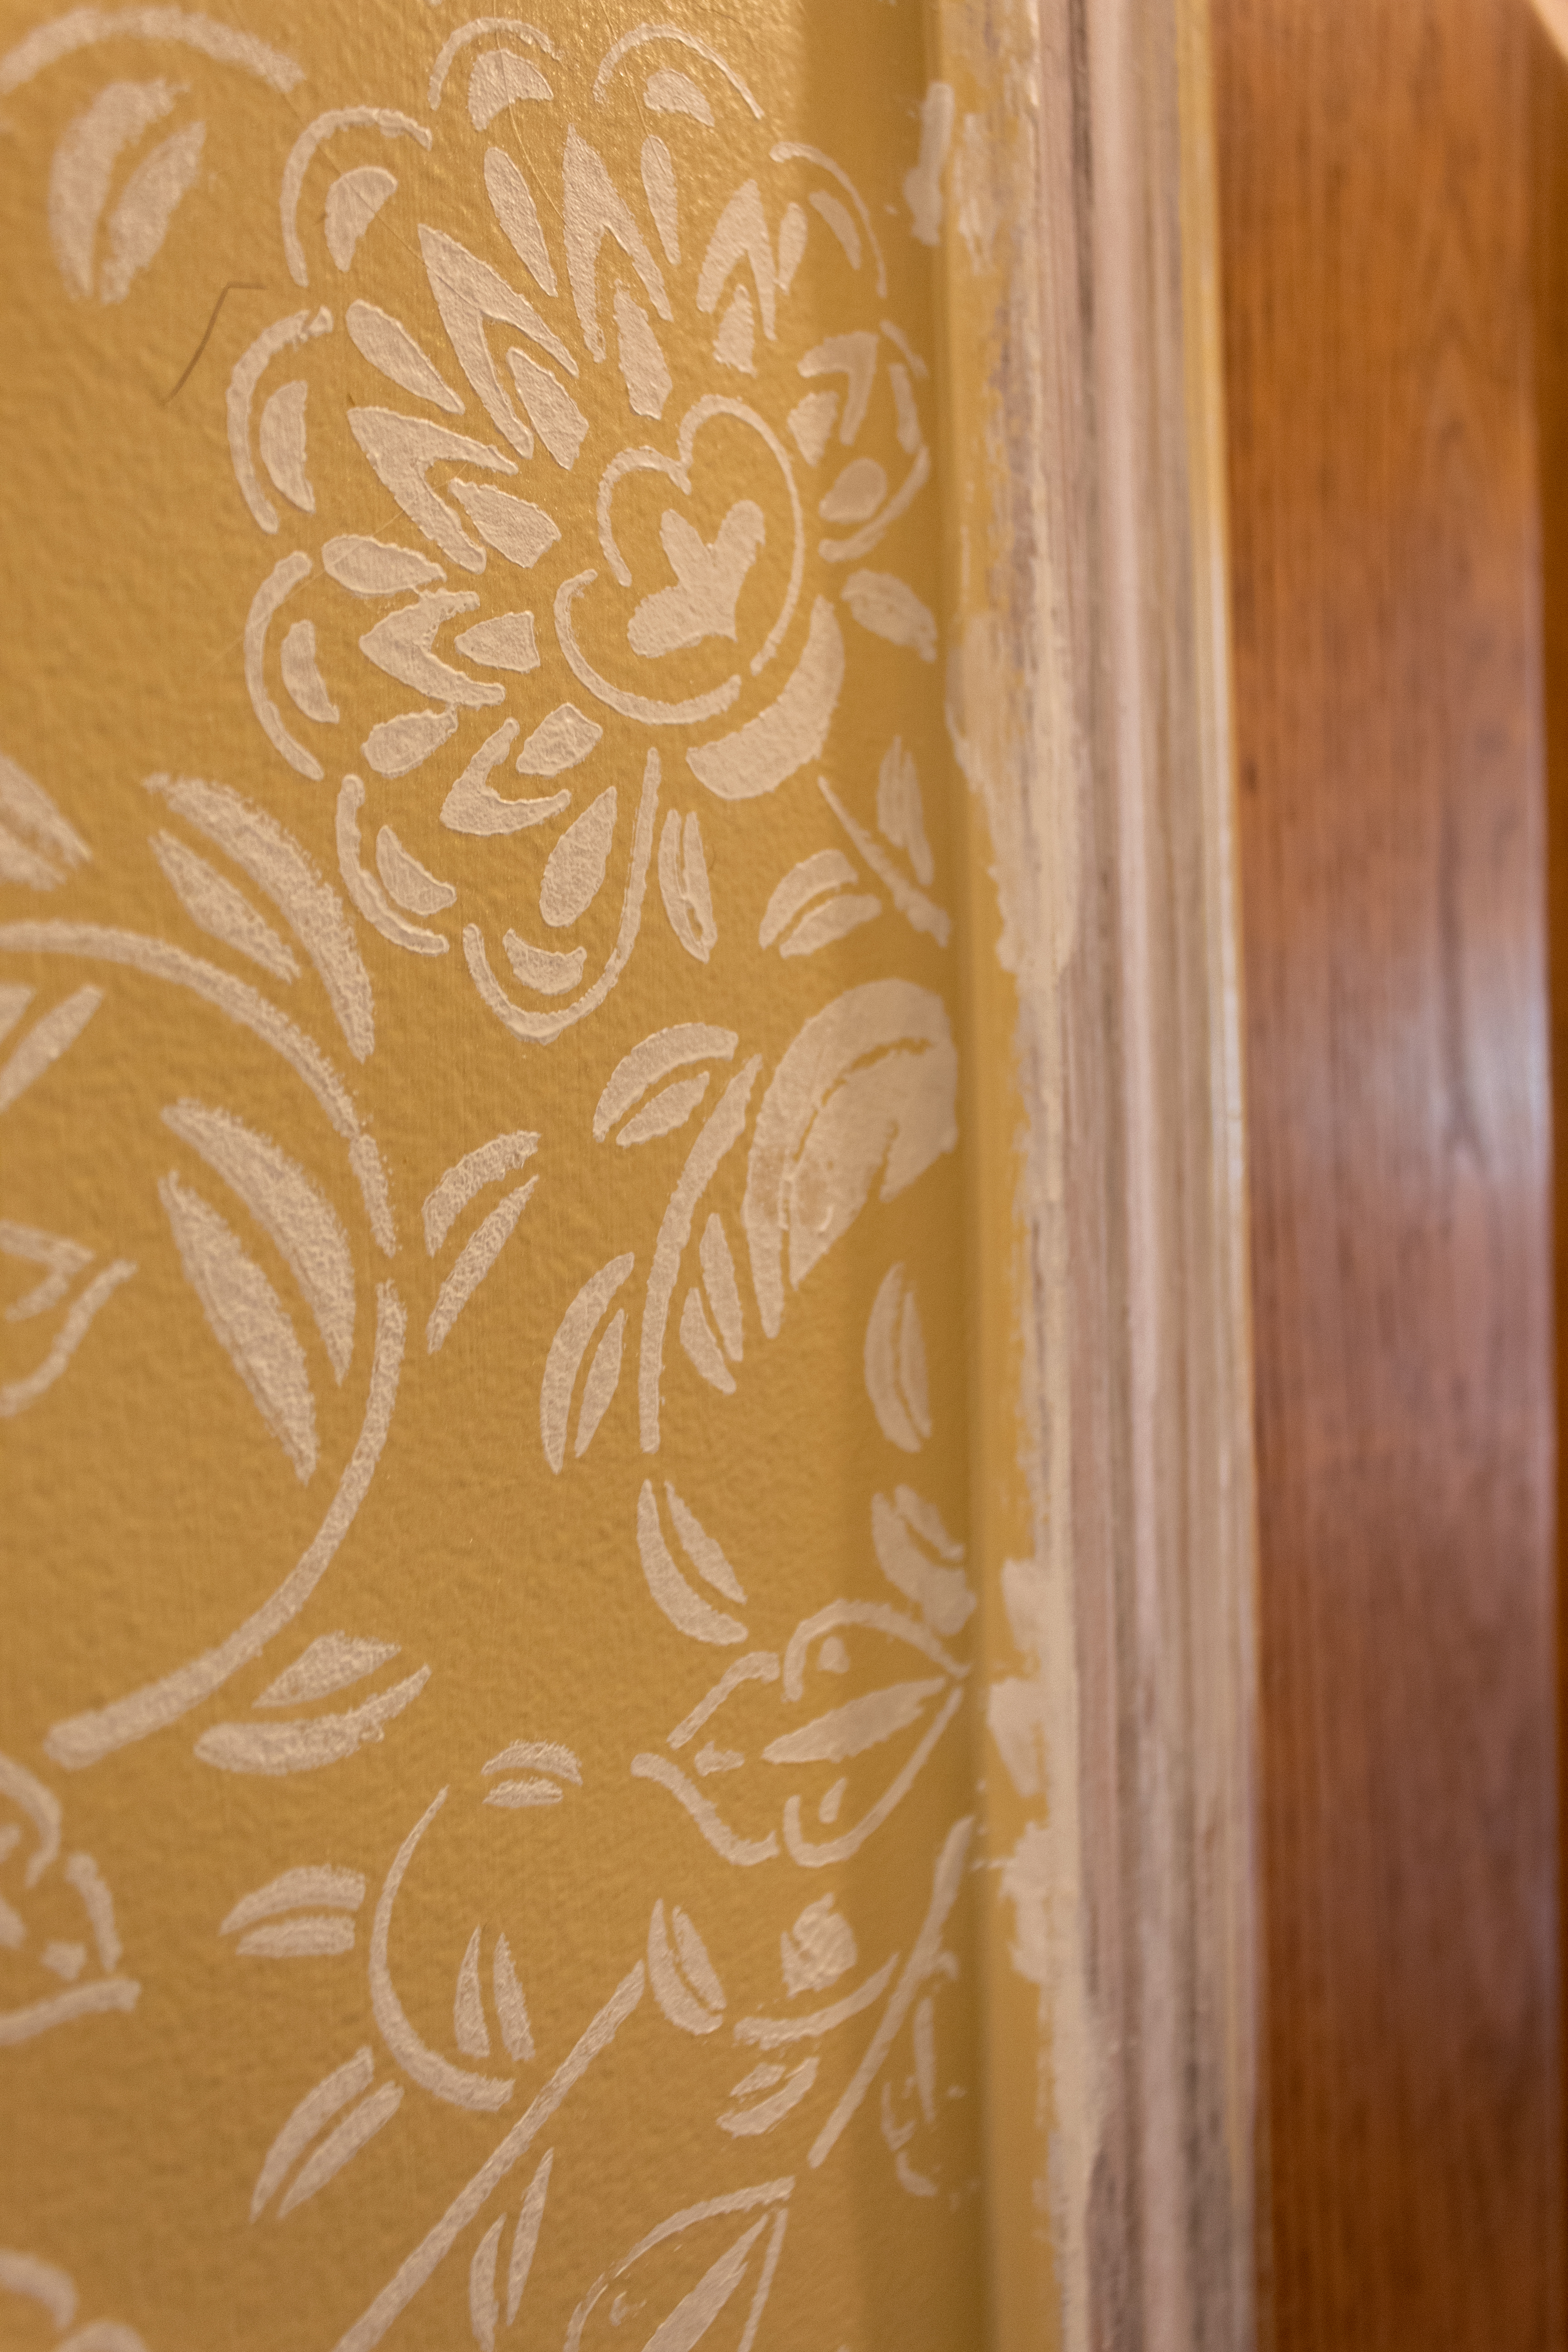
When it came to corners and edges, I followed the same process as much as I could. For an outward corner, the process was fairly straightforward. I just lined up the stencil on the wall, left the overhang alone, and carefully rolled over the wall portion.
I’ll admit, the corners didn’t always get lined up absolutely perfectly but overall I’m really happy with how they turned out! The pattern is busy enough that mistakes just blend right in.
For working around inside corners, trim, ceilings, and baseboards, I used the roller to get as close to the trim work and edges as possible, but there was always a small gap left behind.
Once I had worked my wall entirely around the room and all the full stencils were complete, I started cutting up the stencils to finish the edges. I attached it to the wall with the spray adhesive like before, but instead of the roller I used a small round foam brush to dab paint lightly all the way to the edge.
I had to be strategic about cutting the stencil up, making sure the places that needed the biggest section of stencil went first, then I went in order from biggest amount of stencil needed to smallest. I did not worry about taping the trim, because once the walls were finished I was going to paint over the trim anyways.
I did use painters tape in the inner corners – I placed tape in the very corner on the wall perpendicular to the one I would be painting so that I could get paint all the way to the very corner without painting the other wall. I unfortunately forgot to take pictures of that step but just imagine in the picture above, if the trim was actually another wall making a corner. By taping it off, I would have had a nice crisp corner instead of the smudged paint that you see on the trim.
I did have to use a tiny paint brush to do a bit of freehand work to connect the pattern in some corners, particularly the final corner pictured below where there wasn’t enough wall left for a full stencil to make the pattern complete. Luckily it’s such a busy pattern that I don’t think you can tell at all!
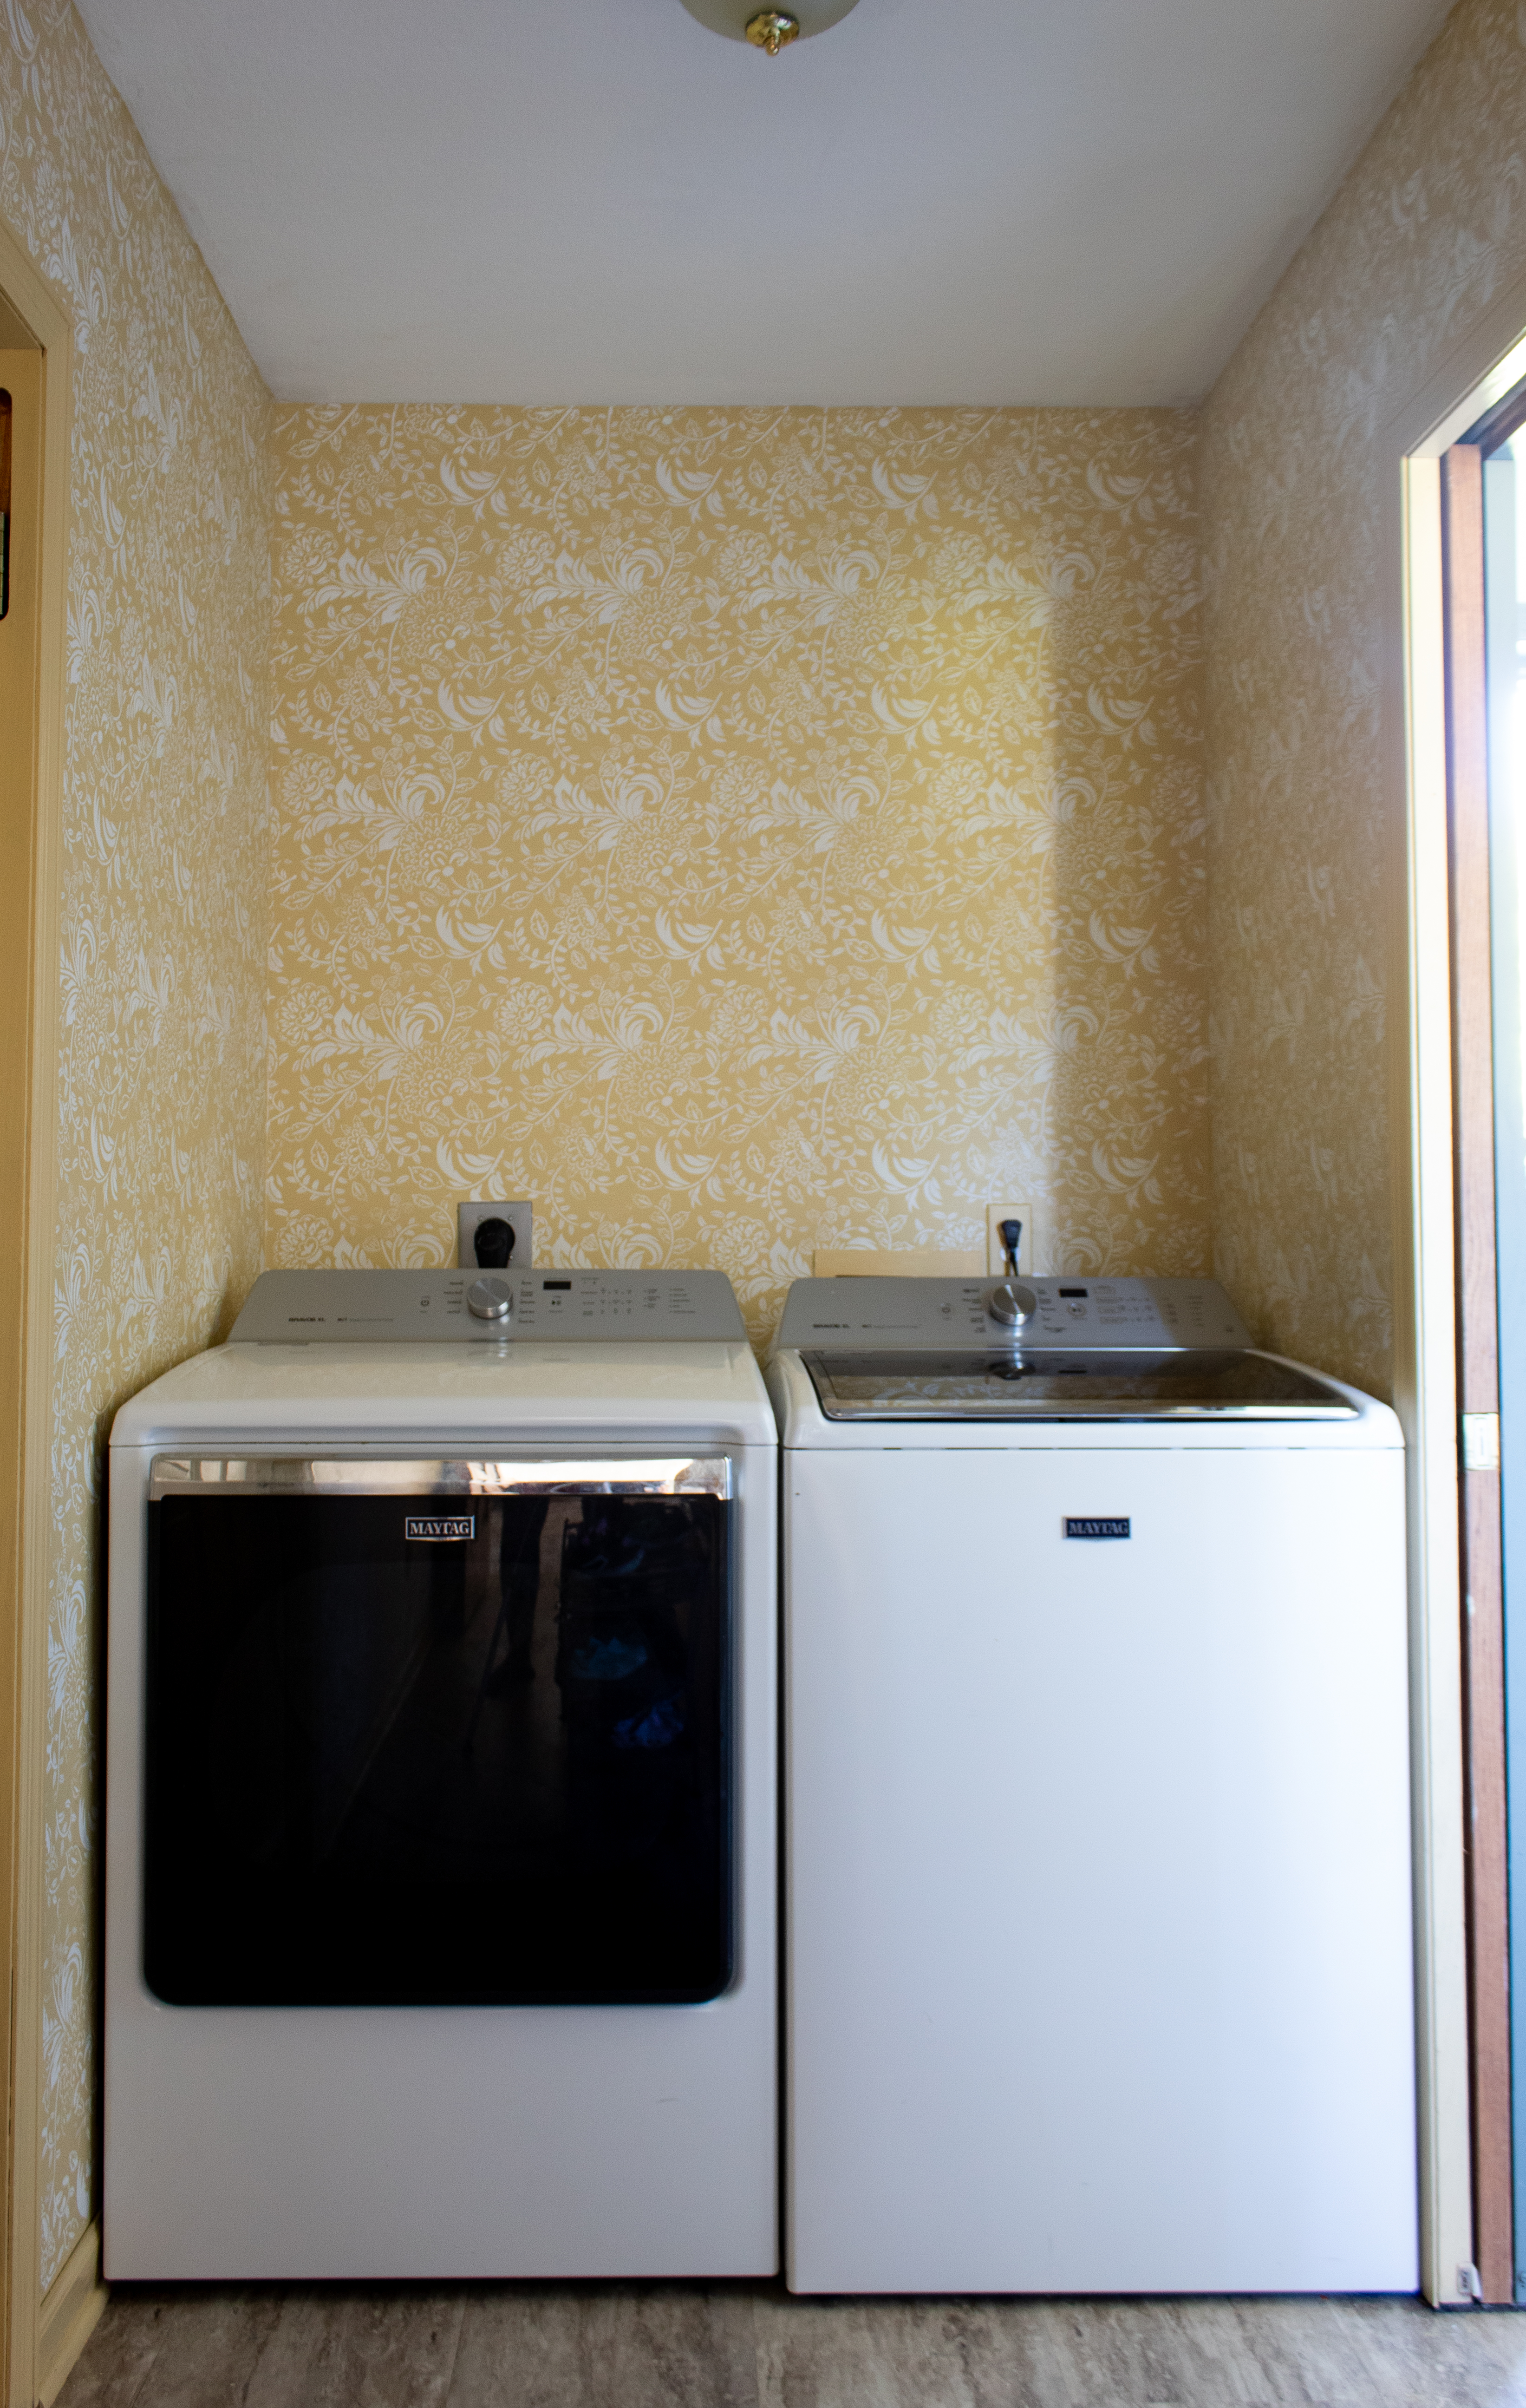
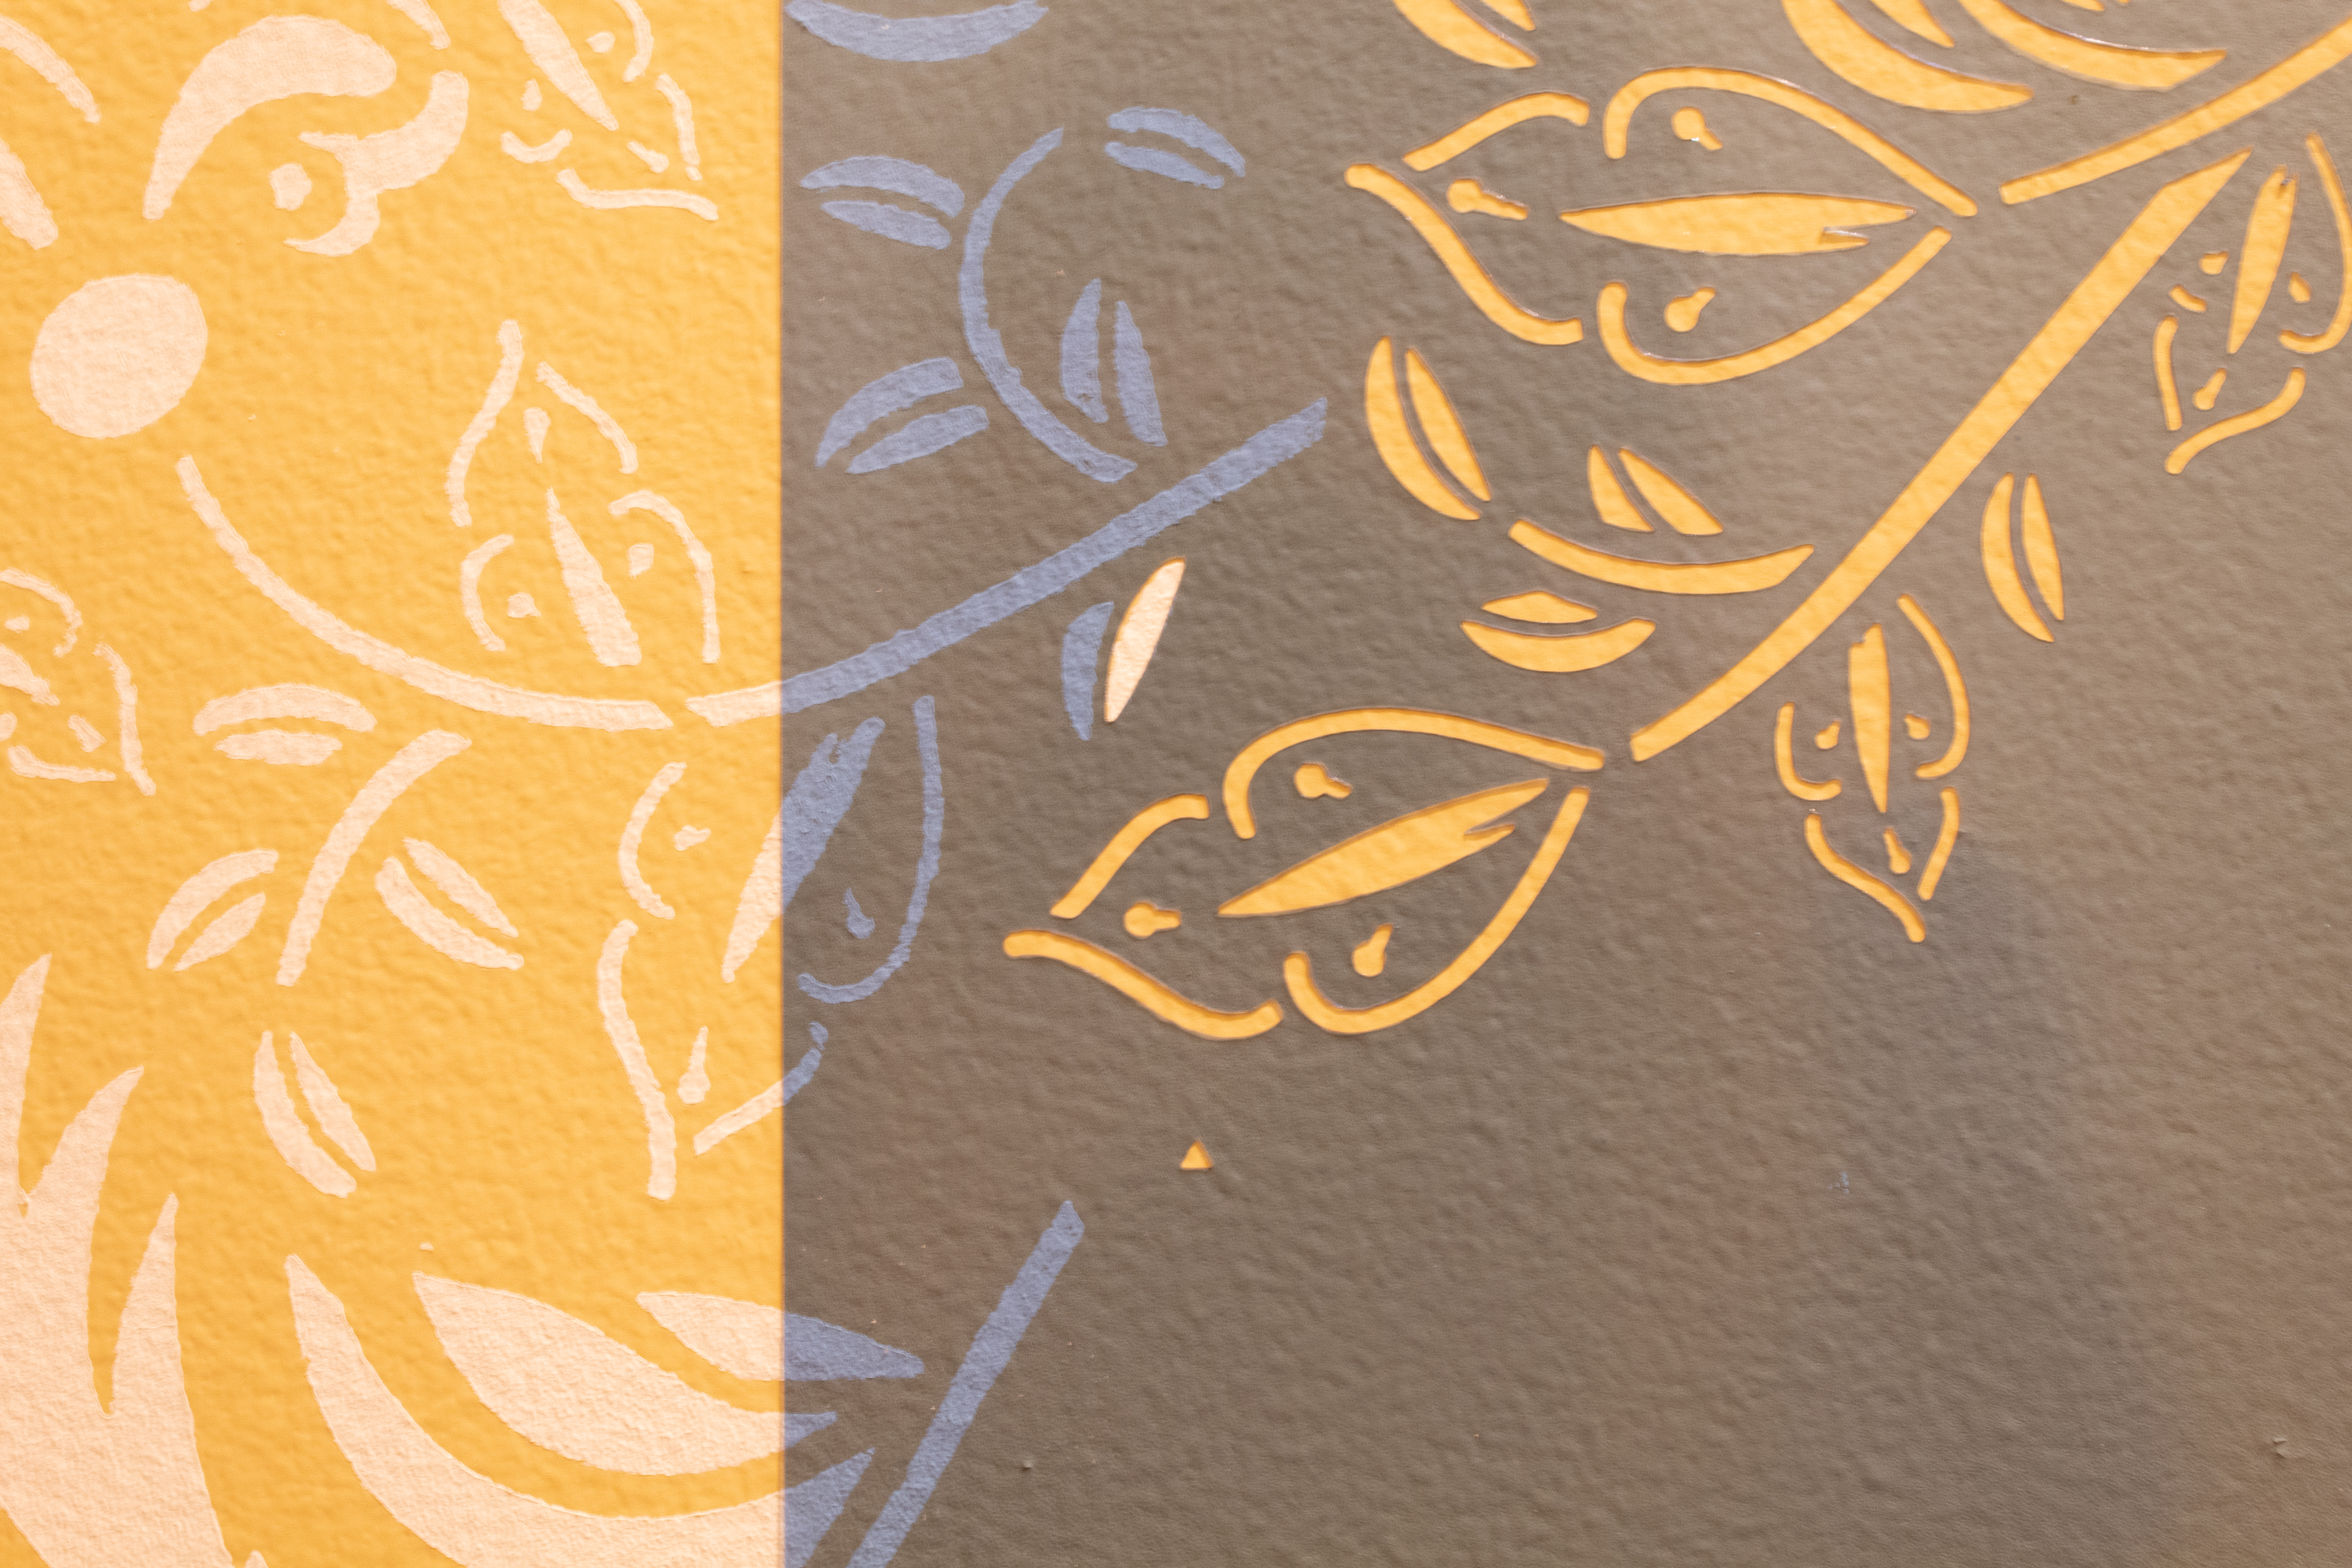
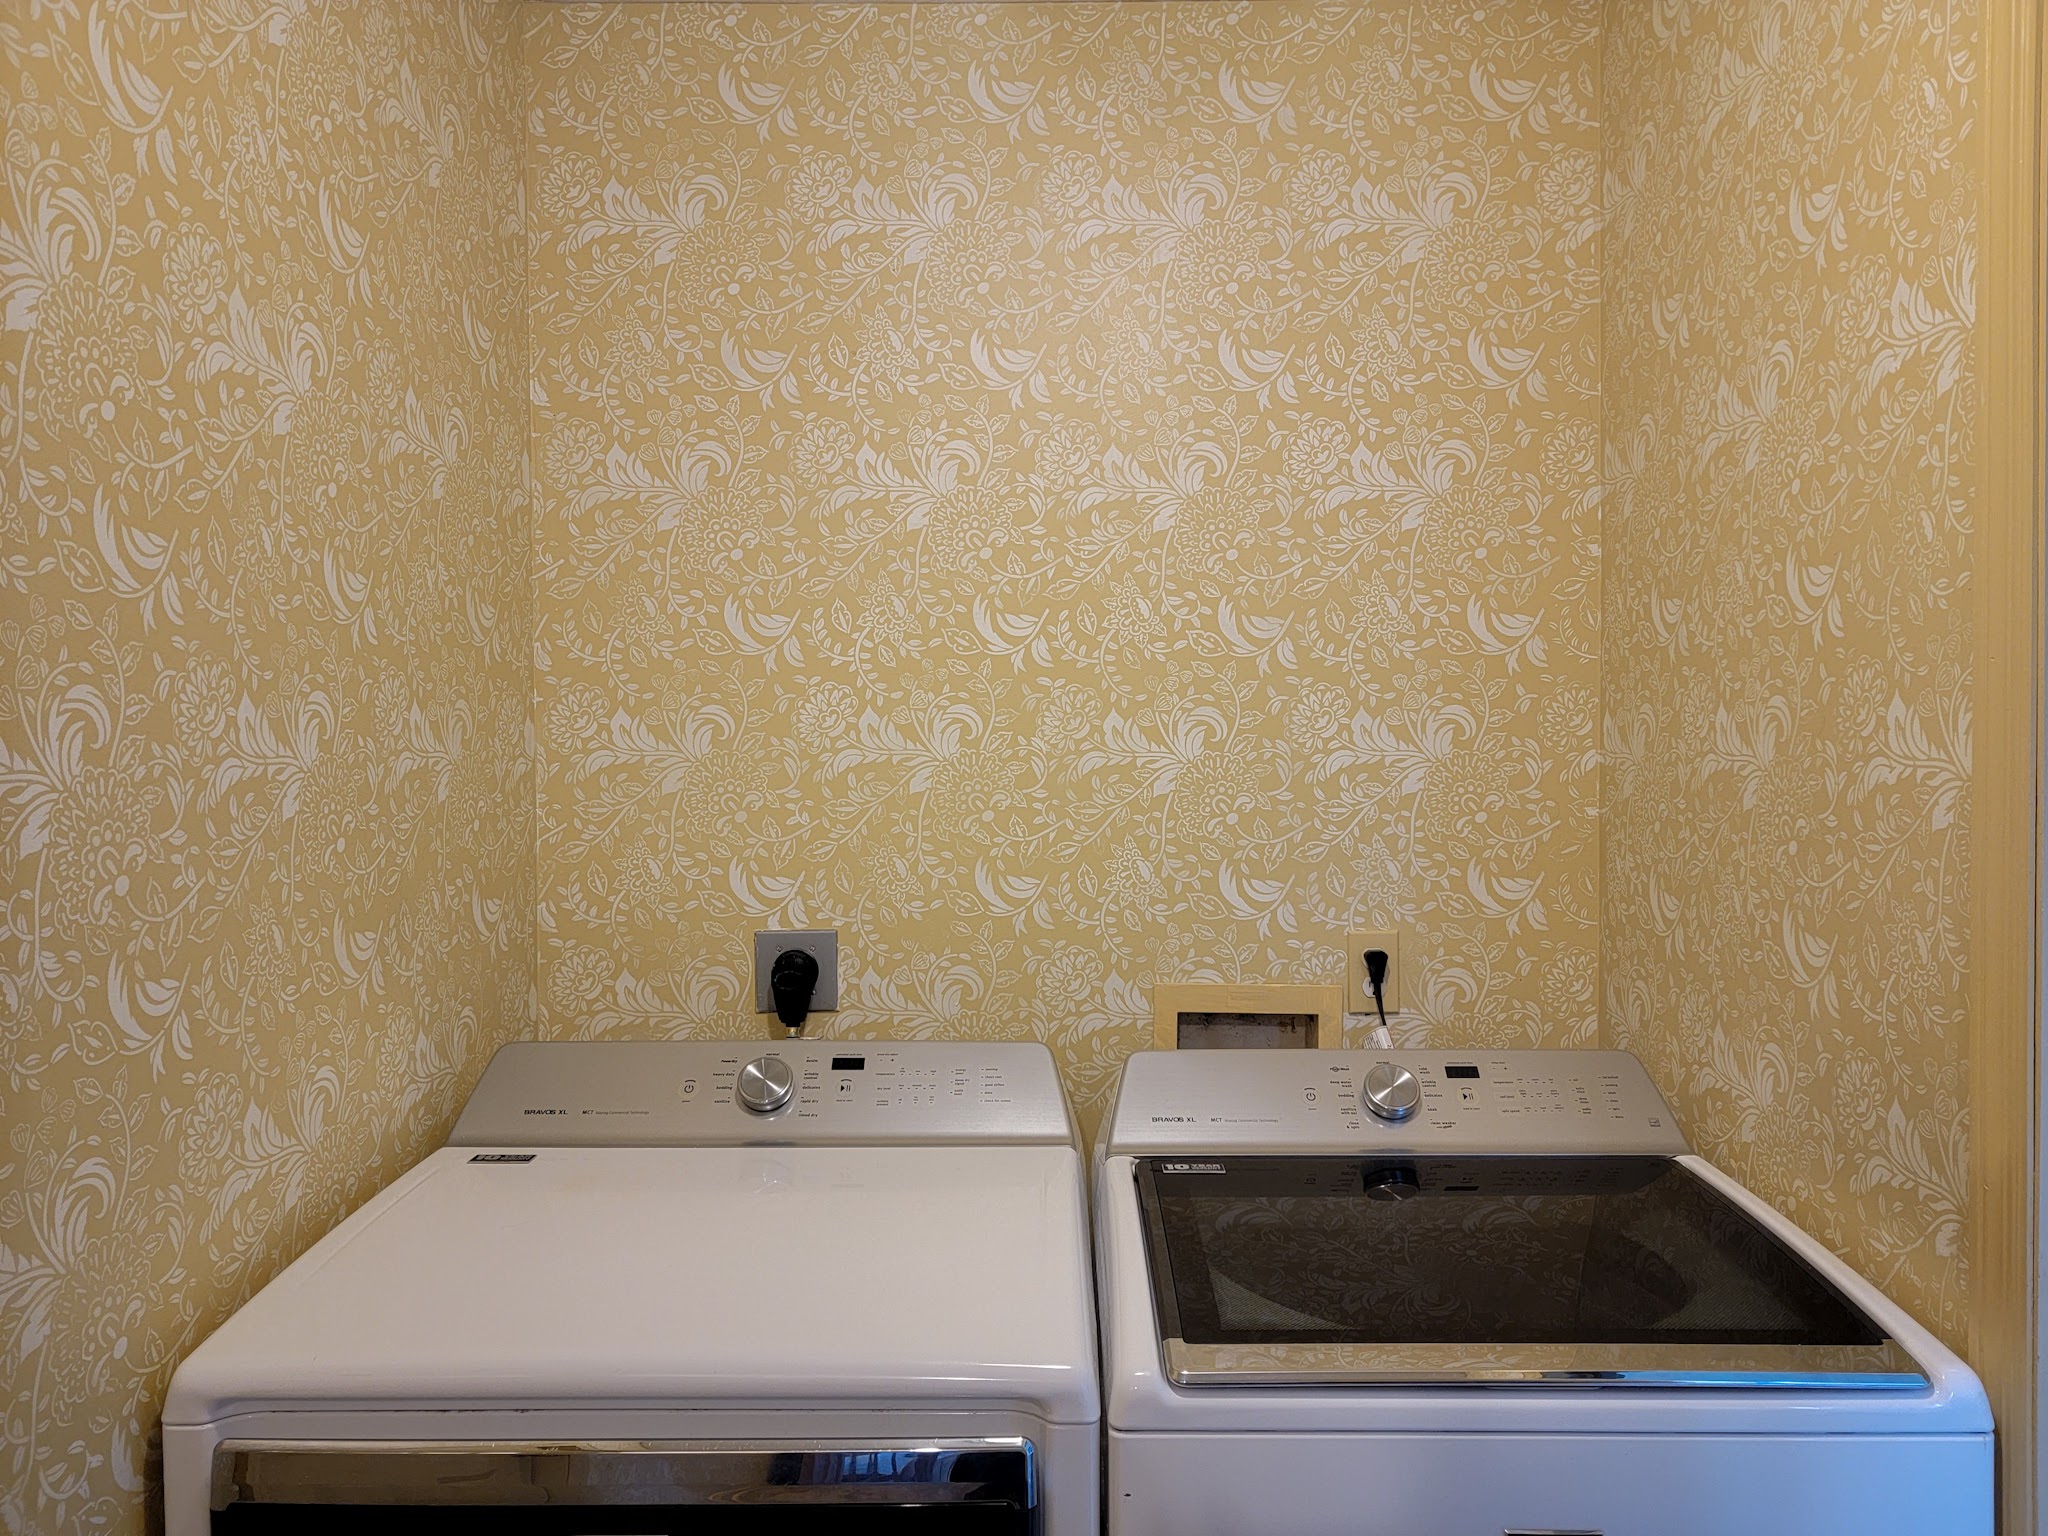
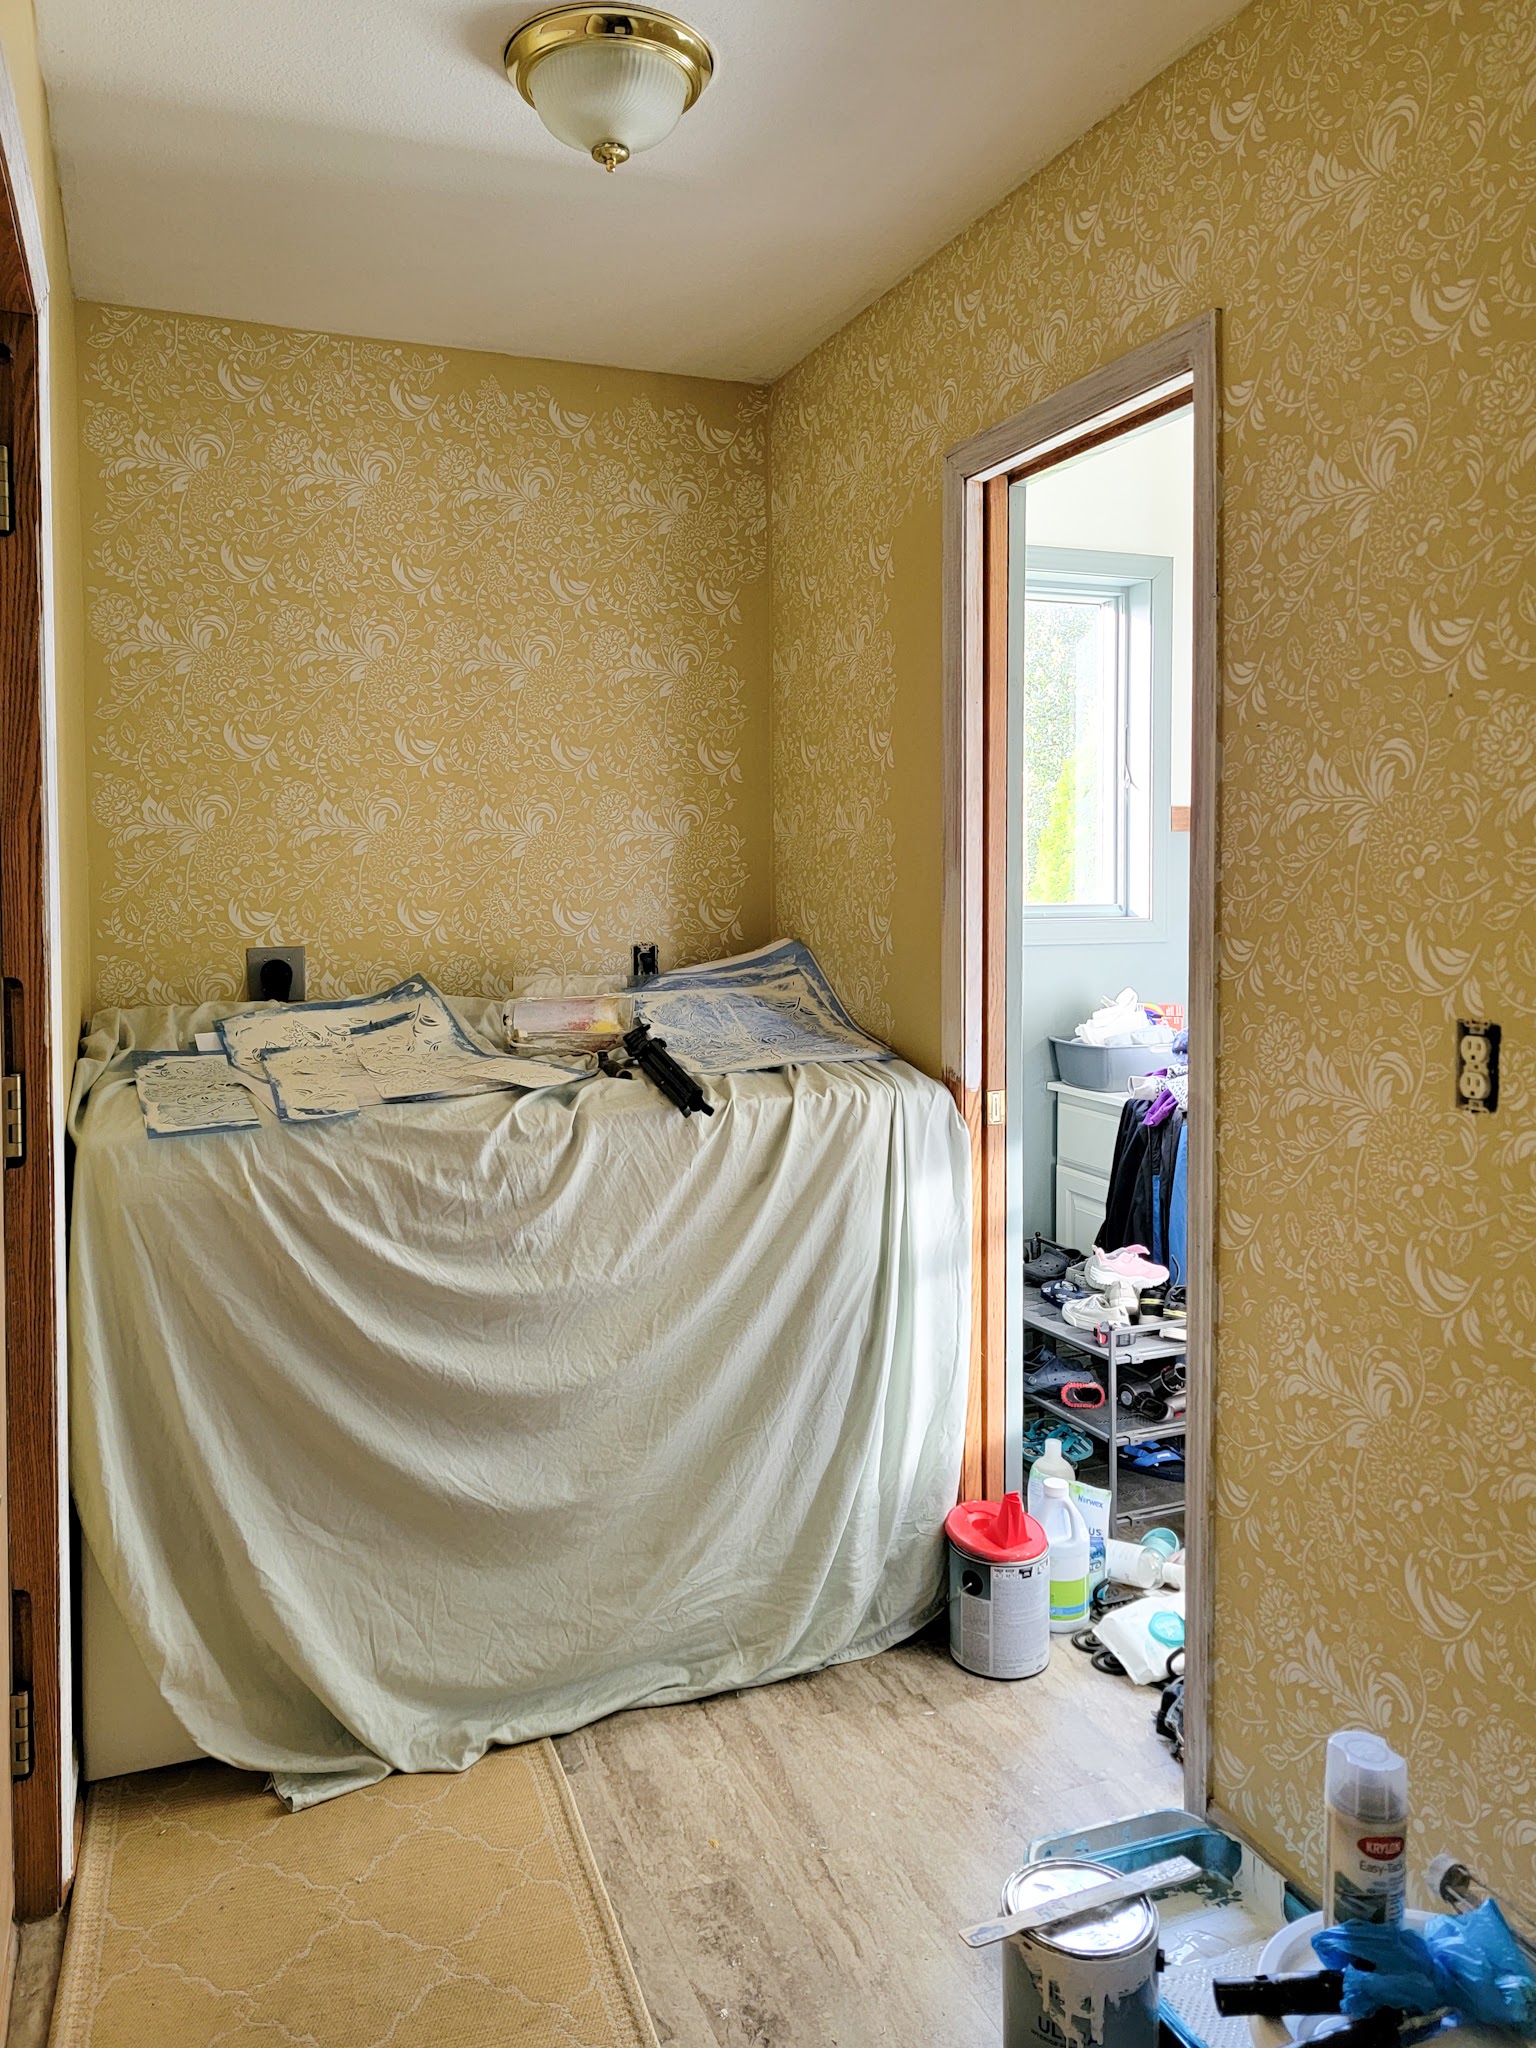
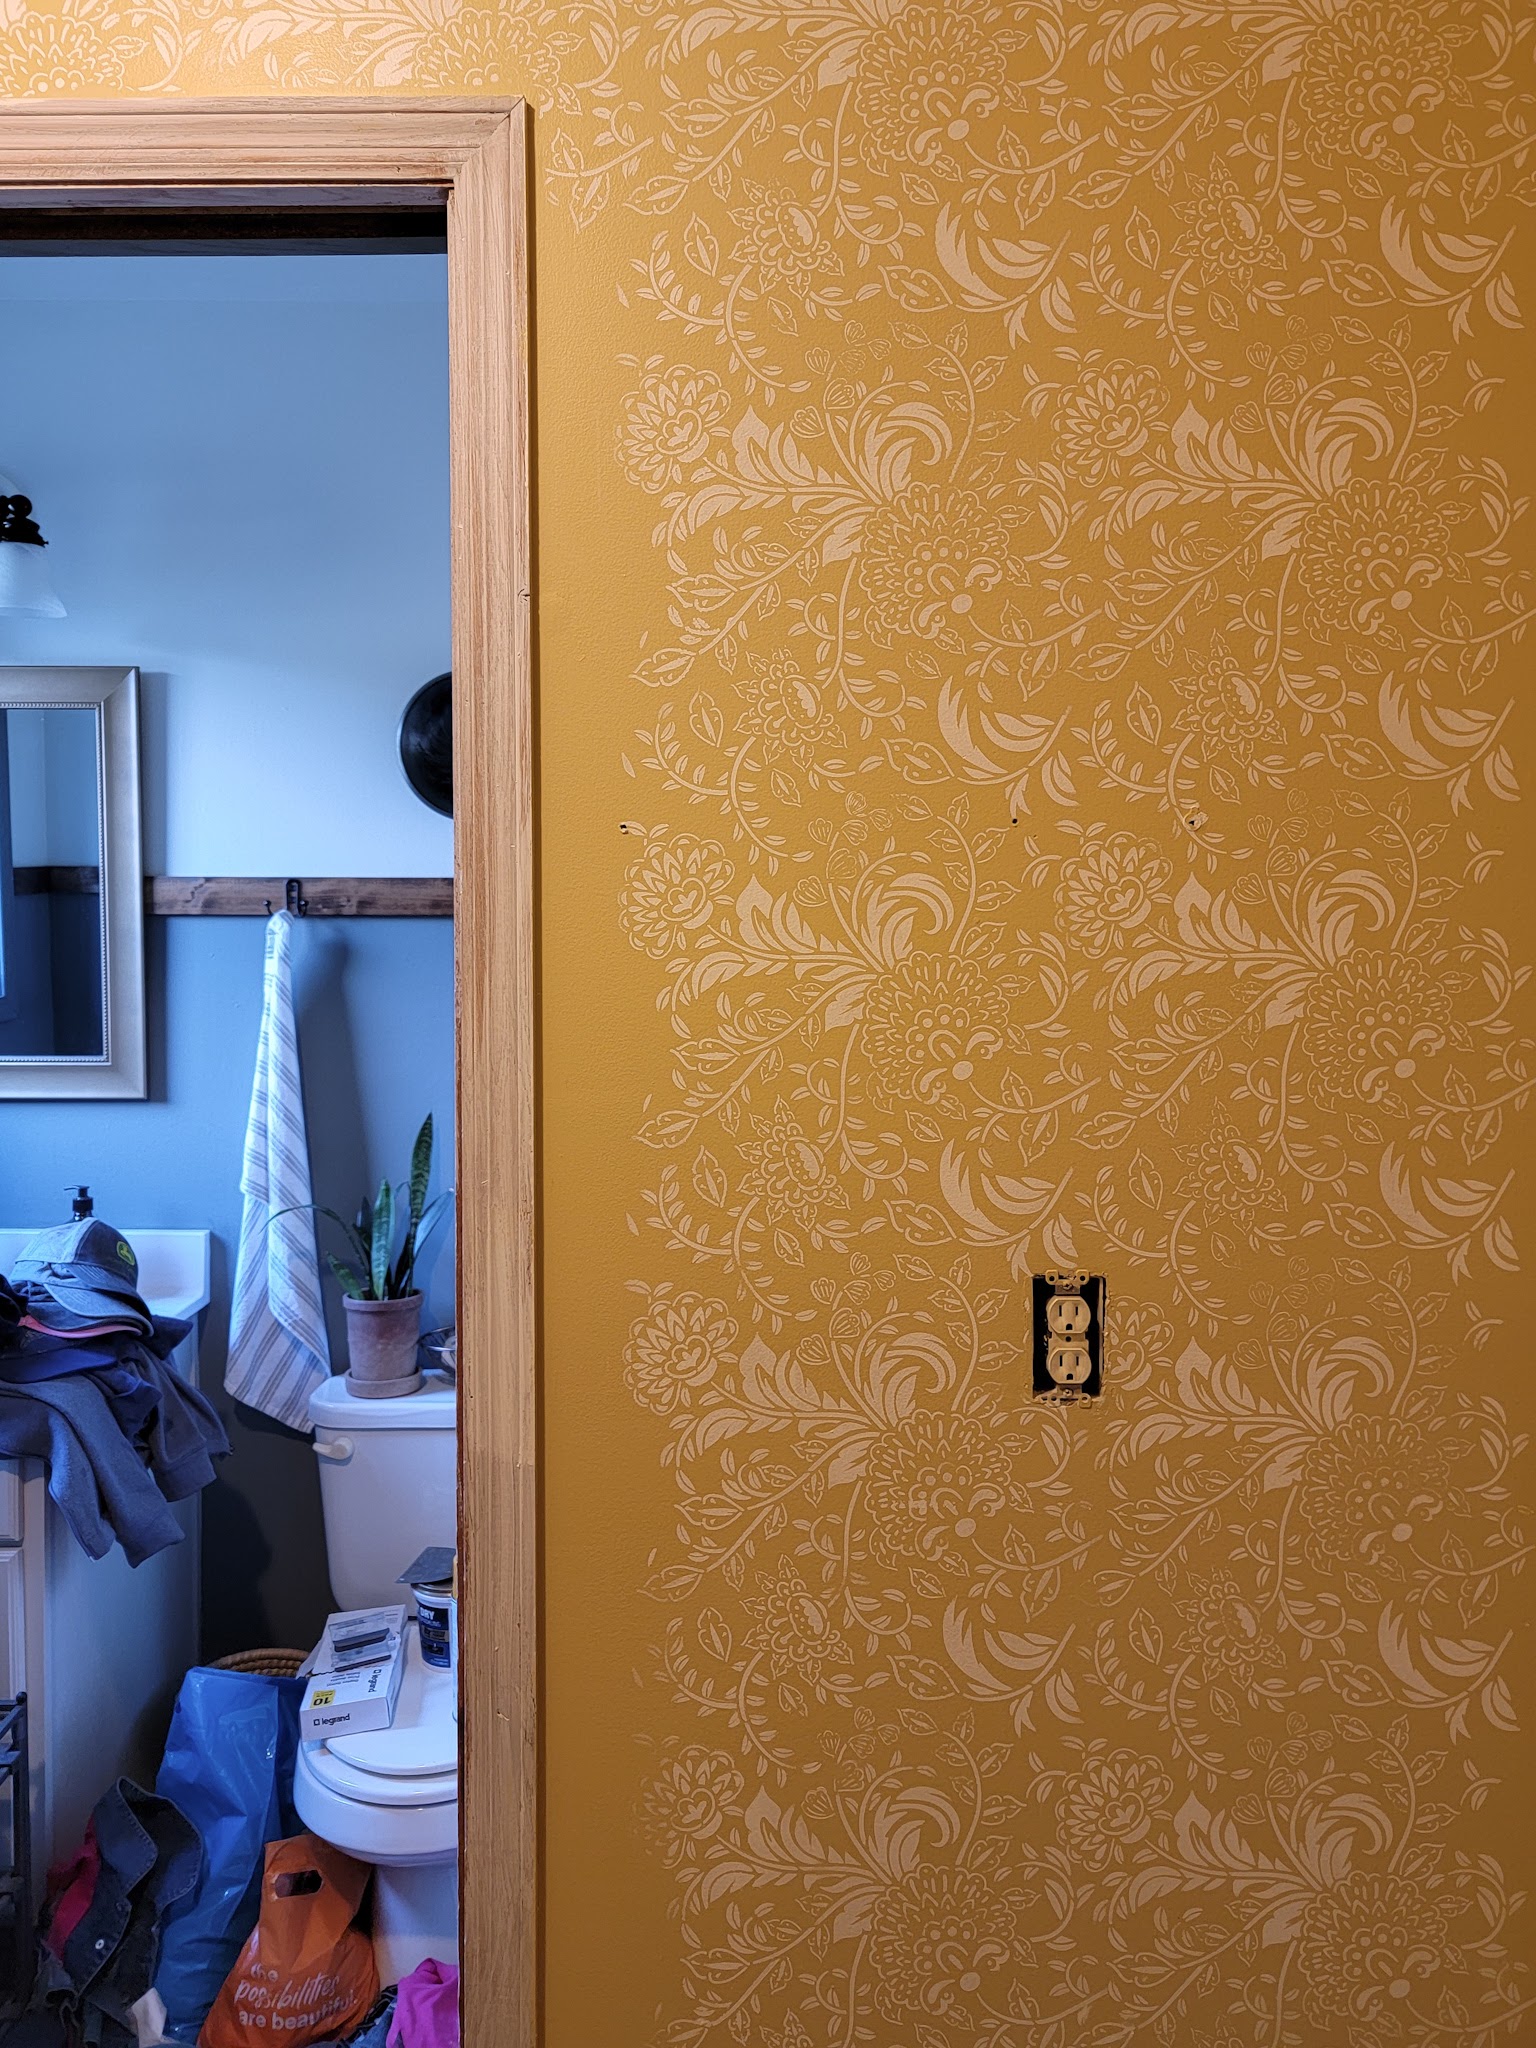
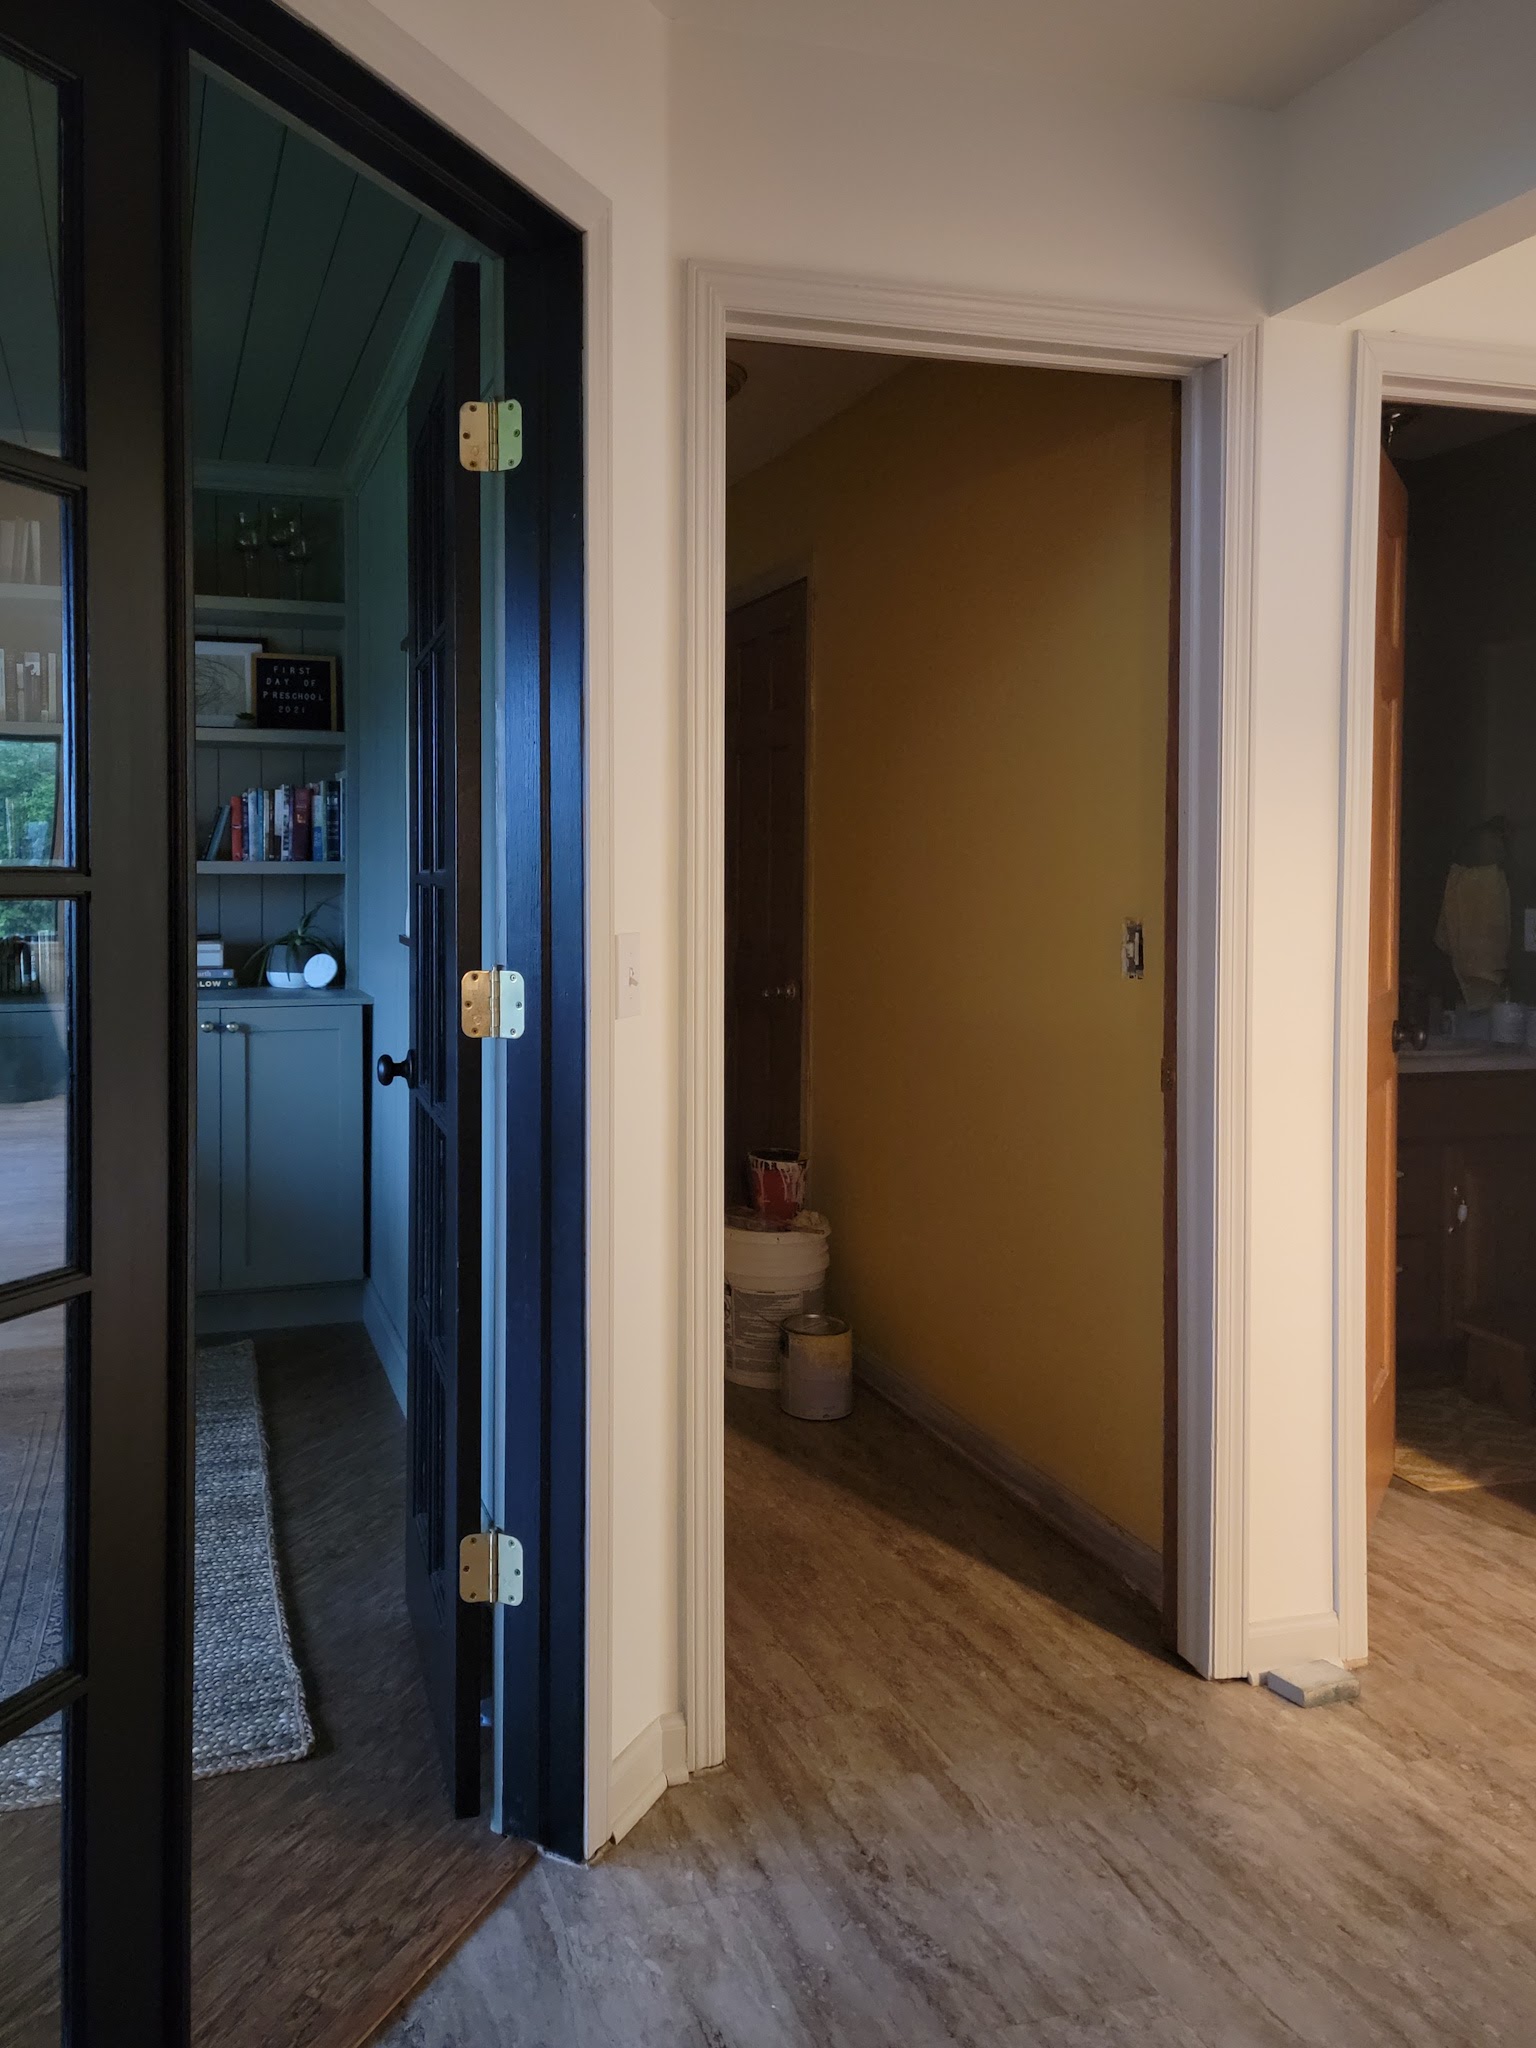
Overall I am SO happy with how this wallpaper turned out. The lighting in the space isn’t great for photographing, but here’s a few pictures in both natural and artificial light to give you an idea of how it looks now:
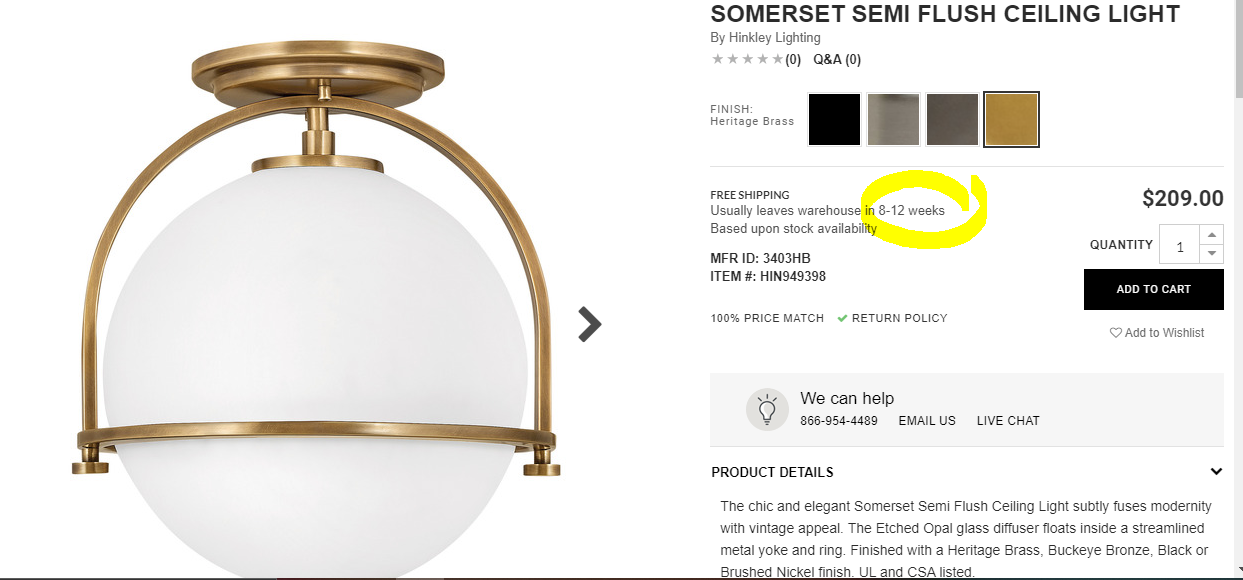
There is still SO much to do in the room, but just having the walls completely done makes it feel so much better! Still to come: painting all the doors, swapping out knobs, replacing the light fixtures, and building shelves above the washer and dryer. Slowly but surely this room is coming together!
I’m working on this room as part of the Fall 2021 One Room Challenge. To see all the other participants, click here.


![The Vanishing Half: A Novel by [Brit Bennett]](https://m.media-amazon.com/images/I/41ThX3SfAiL.jpg)
![Under the Southern Sky by [Kristy Woodson Harvey]](https://m.media-amazon.com/images/I/51ugnq0XARS.jpg)
![The Other Lady Vanishes by [Amanda Quick]](https://m.media-amazon.com/images/I/51rU25aJ4XL.jpg)
