21 for 2021 Mid-Year Update

After 2020 felt like it was 17 years long, it’s hard to believe but we’re now over halfway through 2021 (does anyone else feel like this year is going SO fast!?) I thought it would be a great time to check in with my 2021 goals to see how they’re going (or not going). This list is a mix of home goals, personal goals, family goals, and a few random others tossed in. I remind myself every year, it’s not about perfection but about progress! Here’s how everything is faring so far:

1– Get involved with our church’s foster care ministry. I’ve at least taken the first step here and have reached out to the person in charge of this ministry to let them know I want to be involved. Unfortunately, scheduling conflicts haven’t allowed me to help out yet but I’m hoping to be able to help out very soon.

2- Sort through 2013 pictures and create 2013 family album. I haven’t even touched this goal yet ha! I honestly don’t know if it will happen or not, but I’m still going to try to make time for it.

3- Register for Be The Match registry. Done! This process was super simple. Be The Match sends you everything you need and it’s a very straightforward process to swab and send your samples back in. This is something I have wanted to do for a while now and I’m so glad to officially be in the registry now.

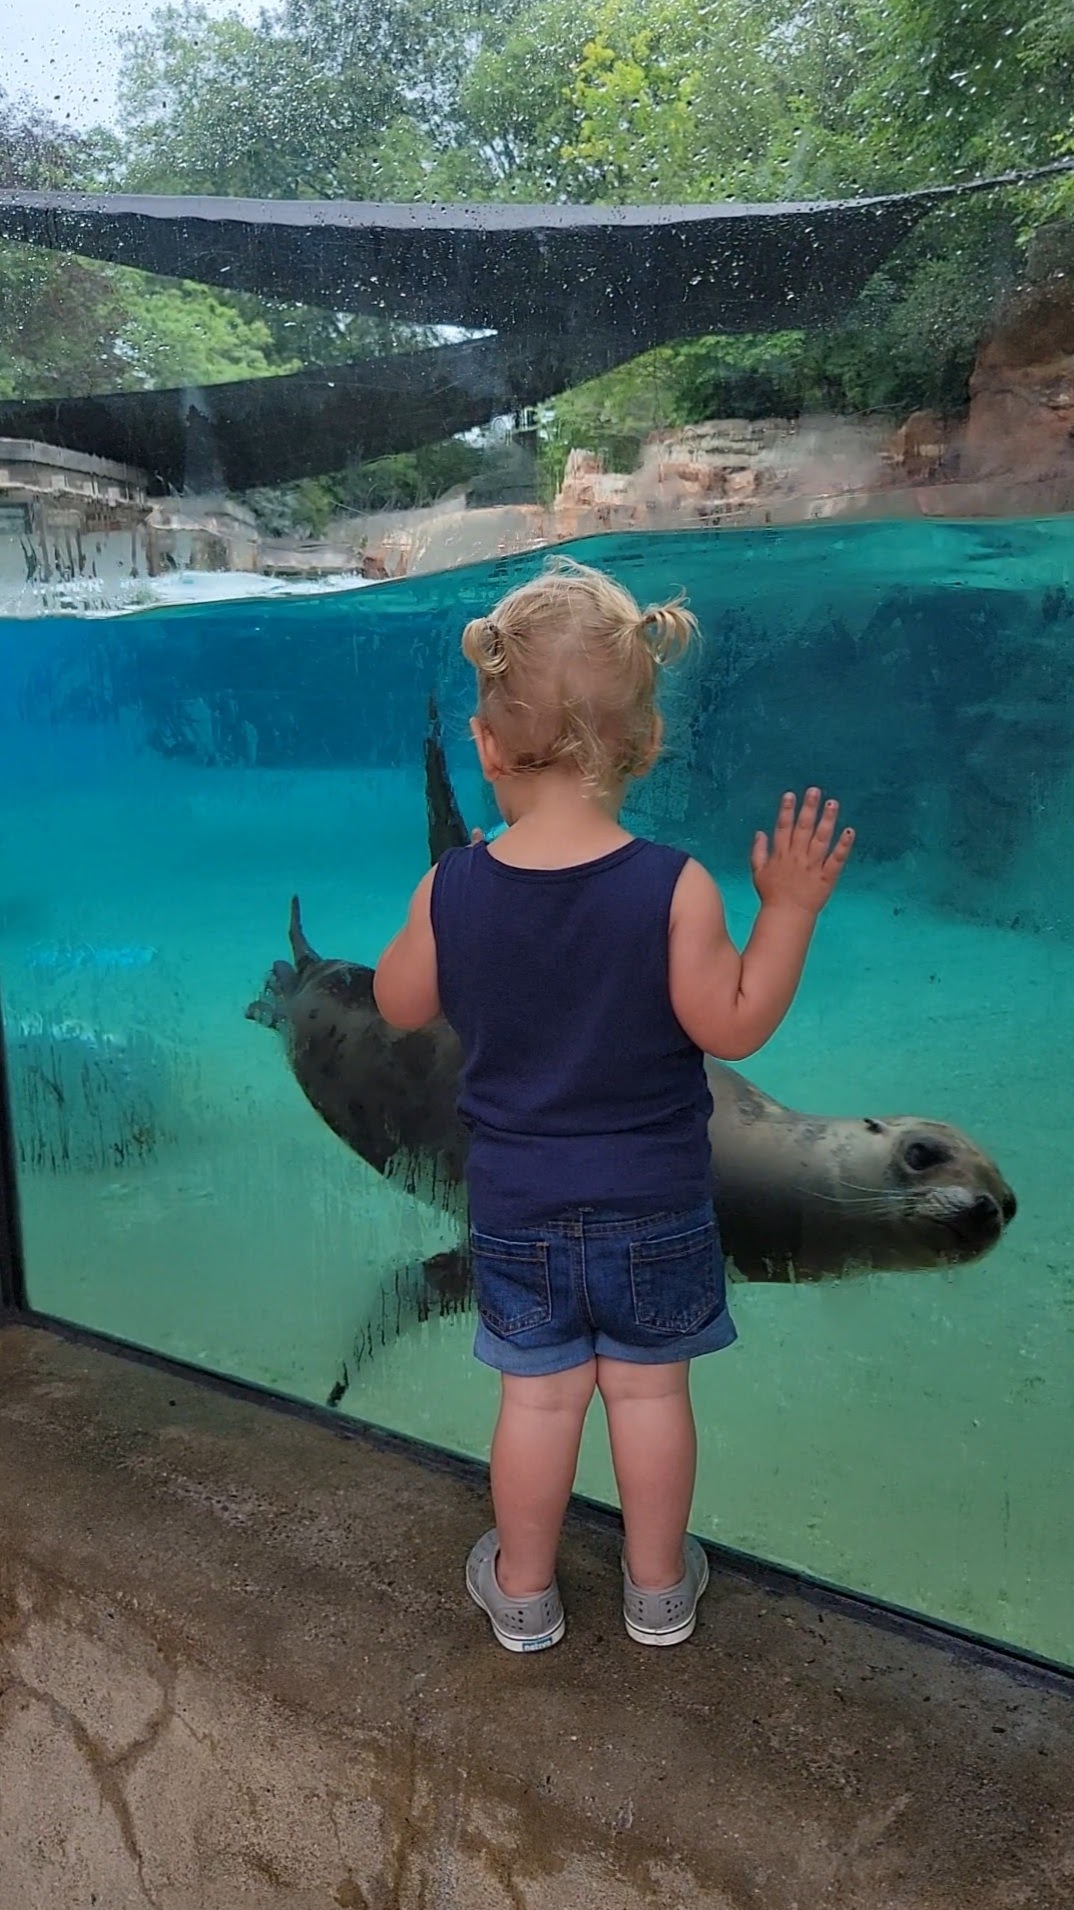
4- Take LJ to swimming lessons. I feel like I should give myself some bonus points because not only is LJ currently taking swim lessons but so is Vi and they both love it! I was really hoping to get them into ISR but both instructors in our area are currently booked, so they’re taking lessons at a local swim school while we’re on the ISR waitlist.

5- Invest in footwear with a purpose. I haven’t done this yet, but I have my eyes on a couple pairs that I think I might be ready to pull the trigger on!

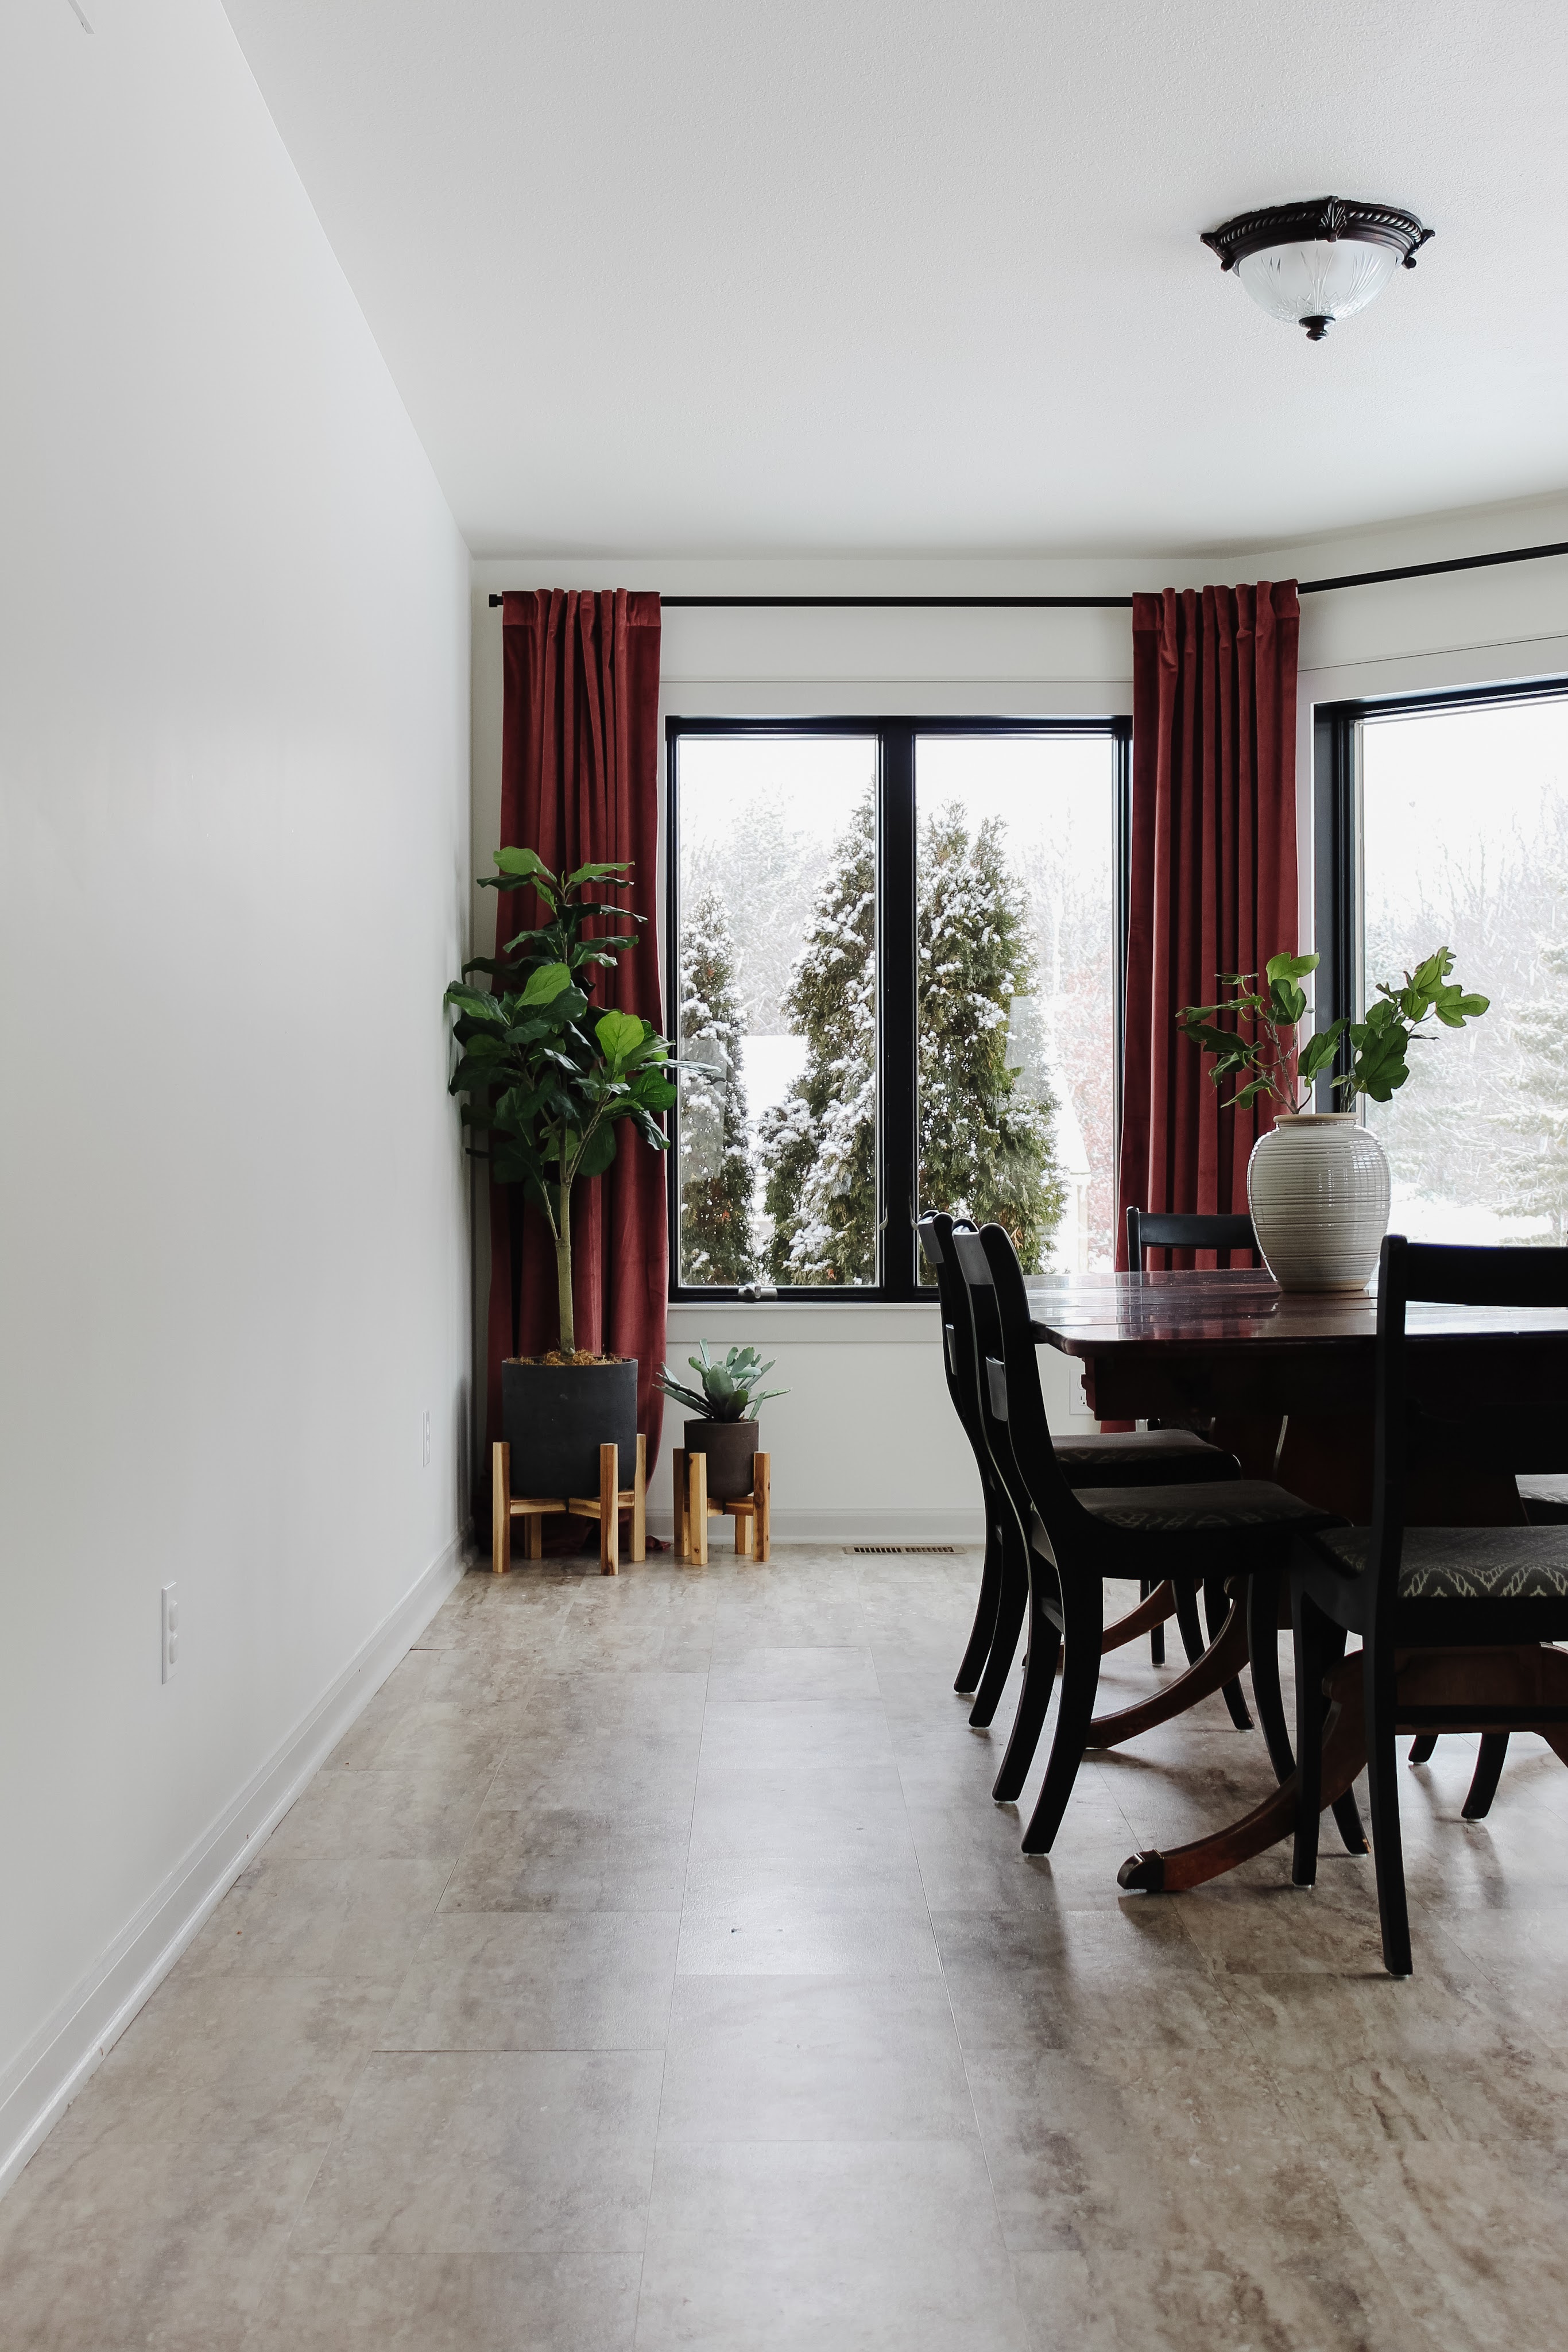
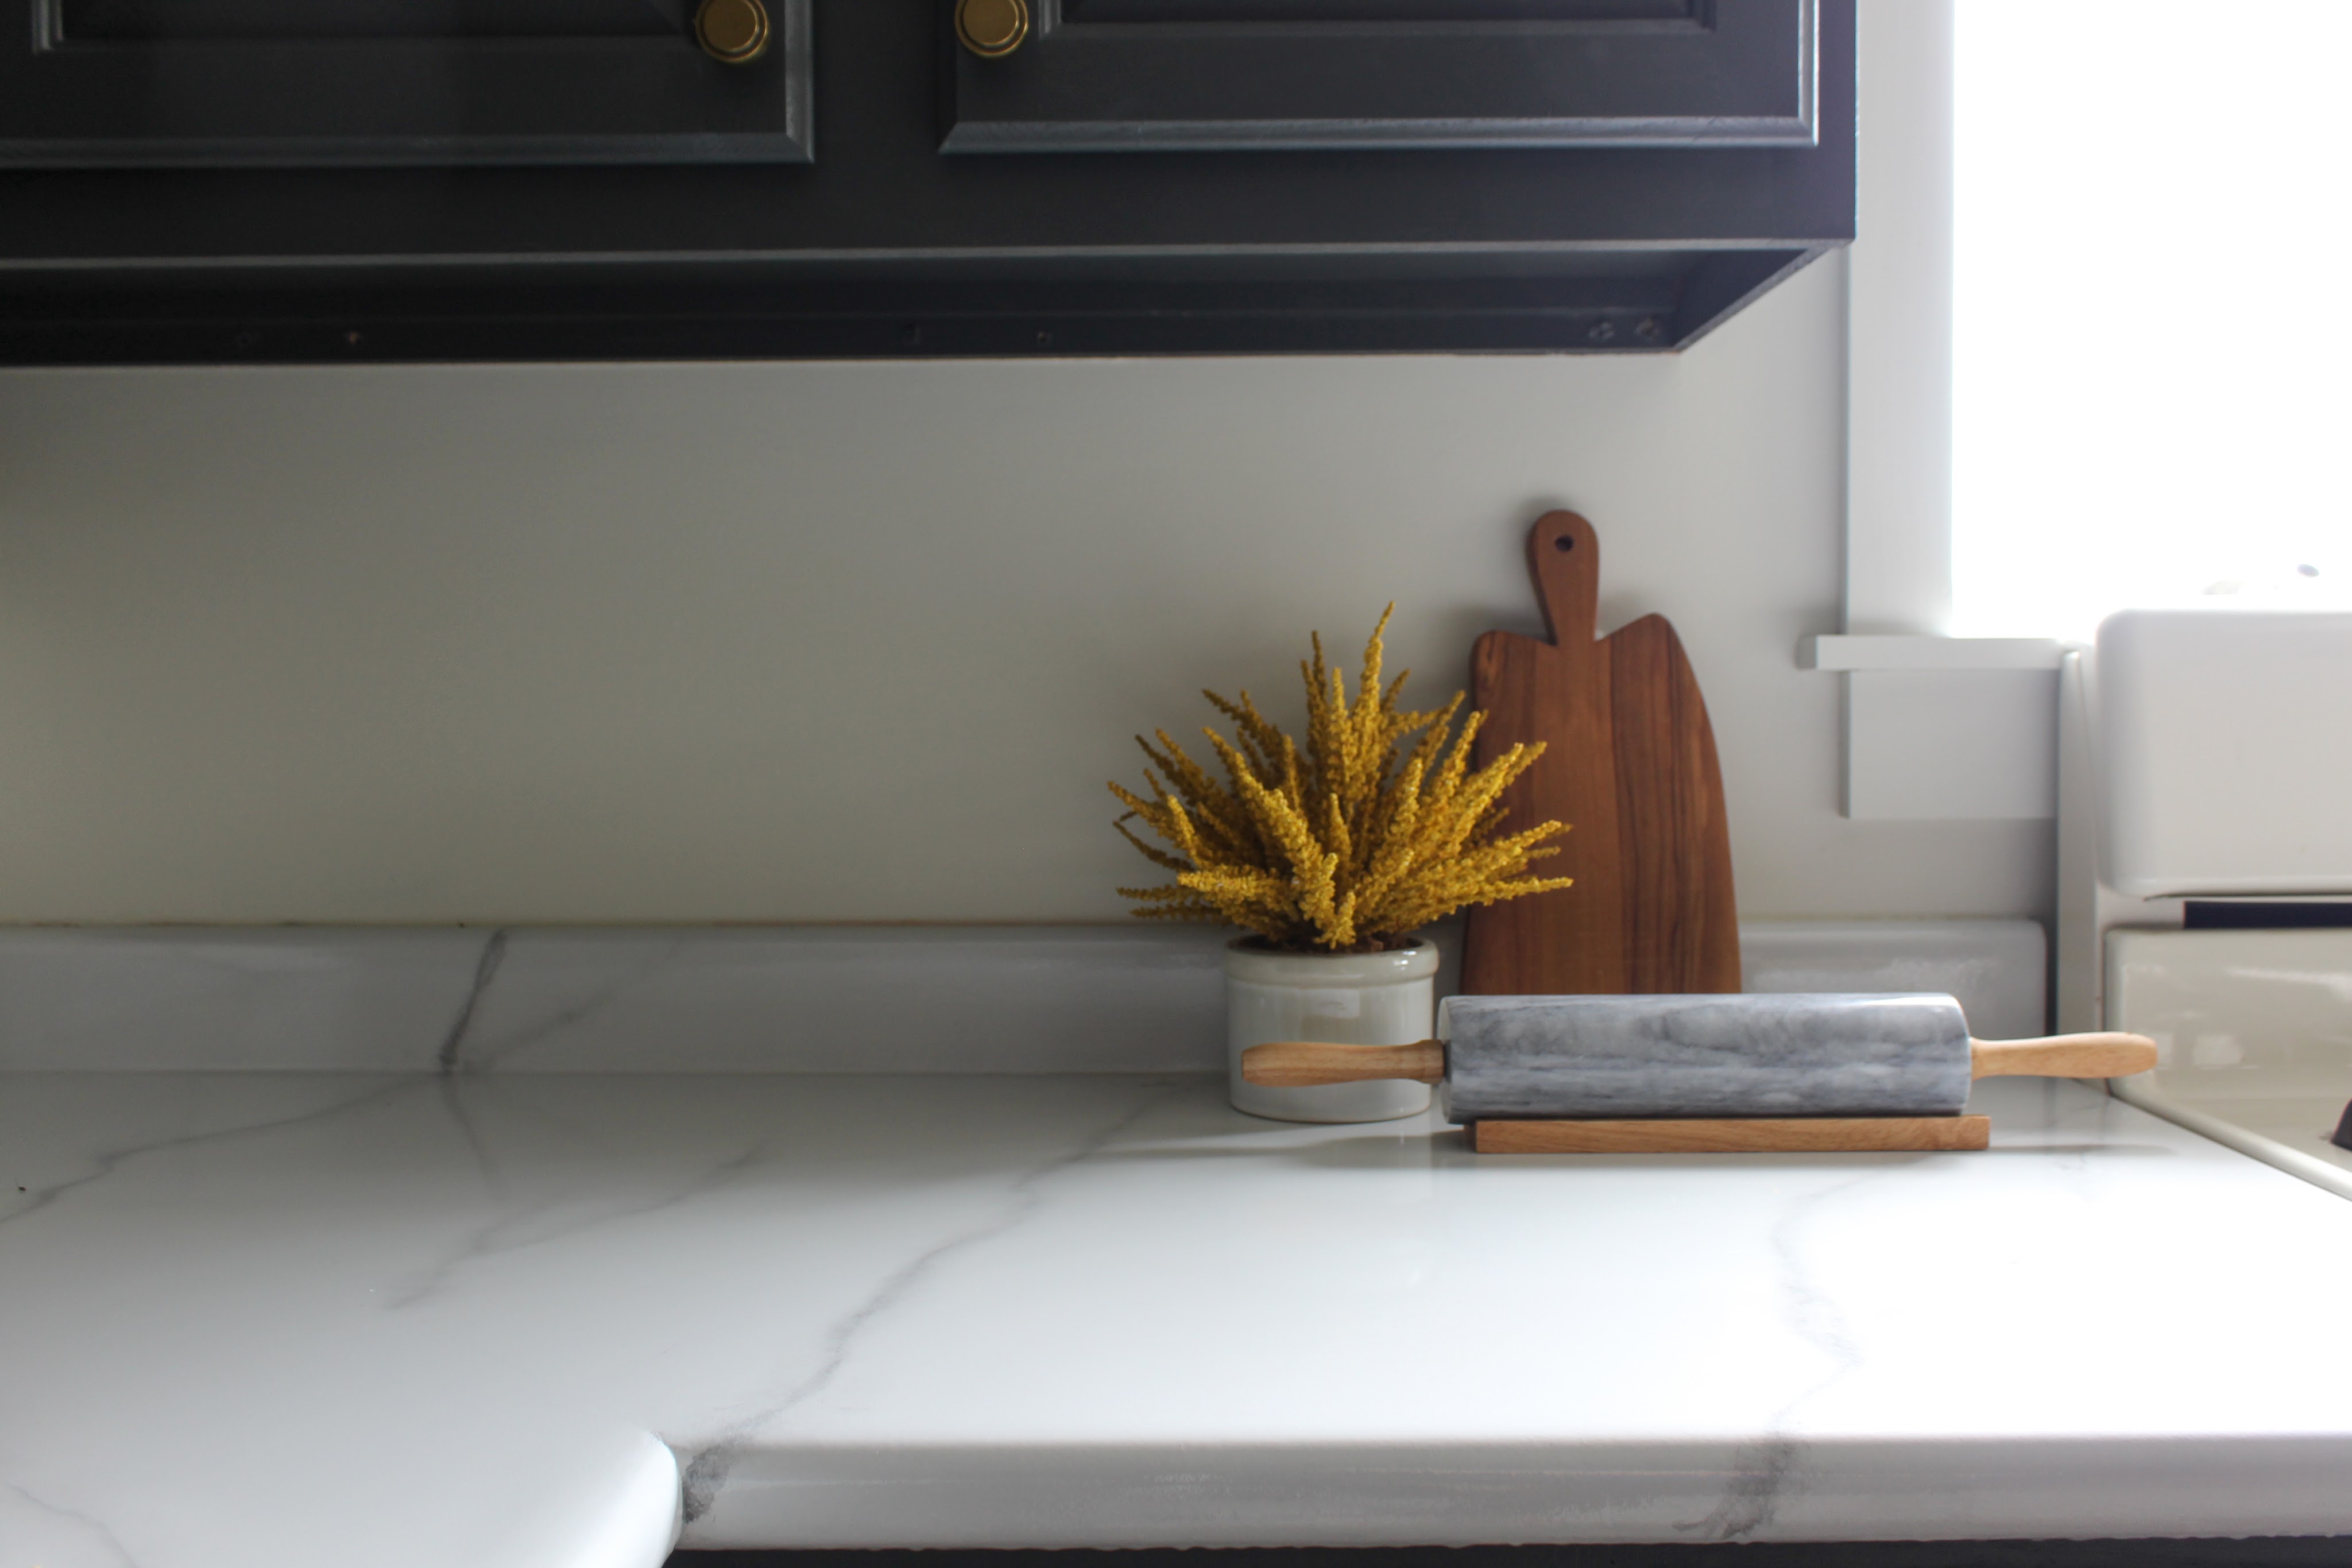
6- Continue to “level up” small areas of our house. This is an ongoing goal and so far we’ve upgraded the playroom light fixture, the mattress in our guest room, the curtains in LJ’s bedroom, and a few of the pillow covers in our living room. We’ve also replaced the window trim in the playroom with a chunkier trim (we’re slowly doing this throughout every room in the house). Just some small changes here and there that have made a big difference in the way our house feels!

7- Exercise at least 3 times a week. I have been exercising a bit more frequently, but still not 3x a week. I’m re-committing to making this a top priority for the second half of the year!

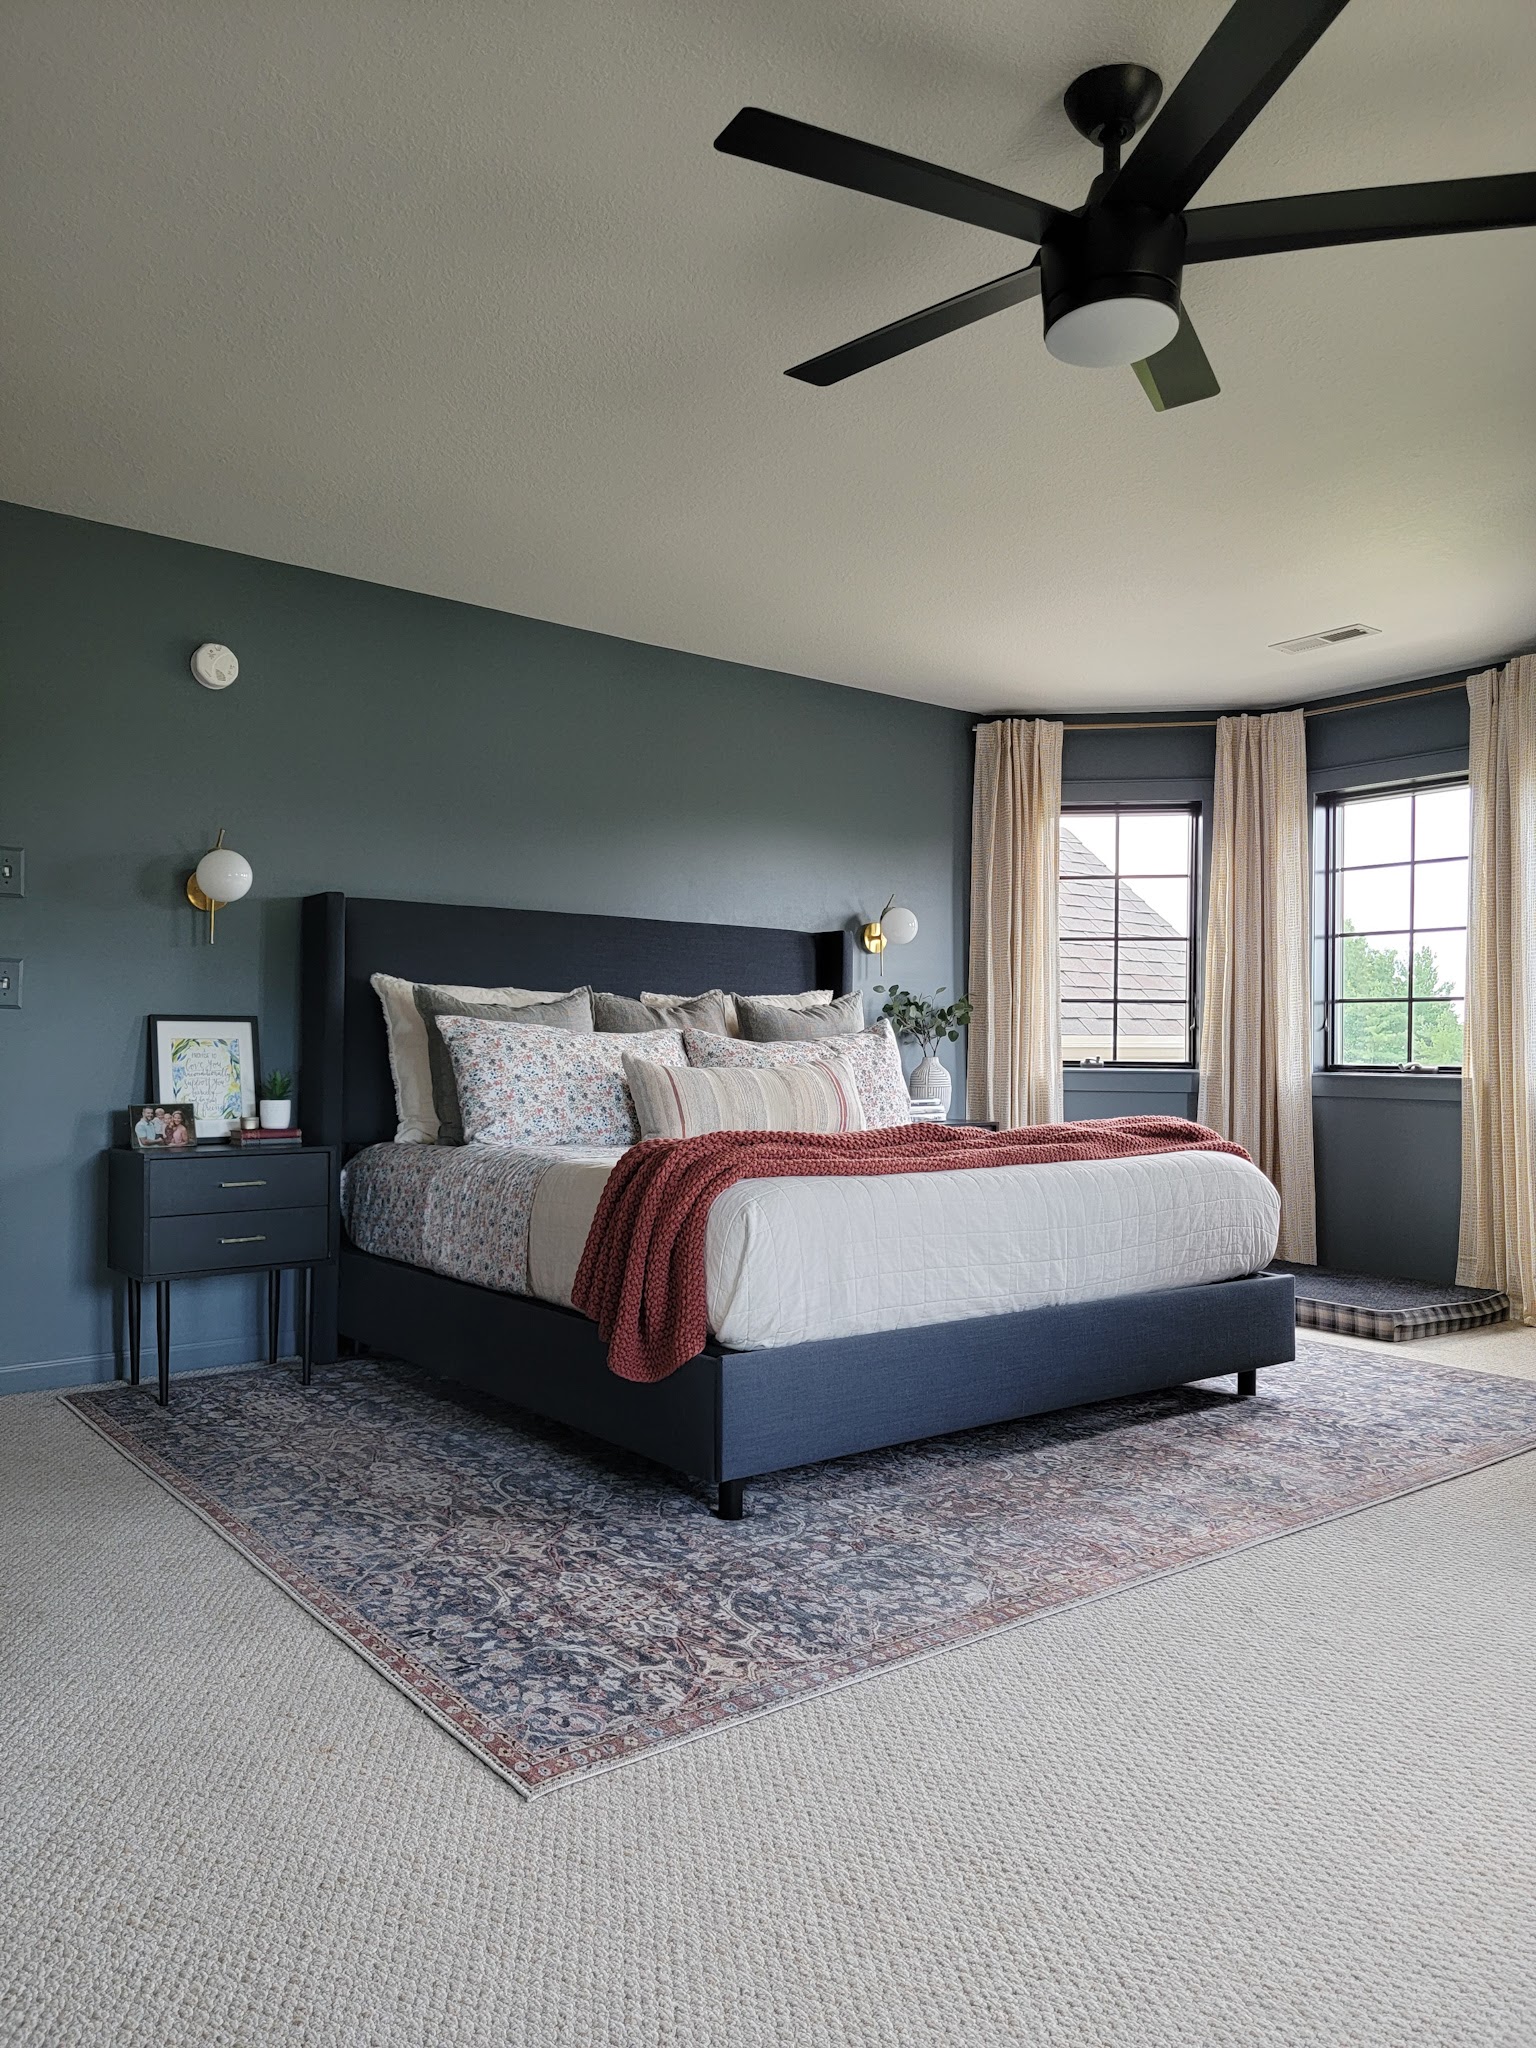
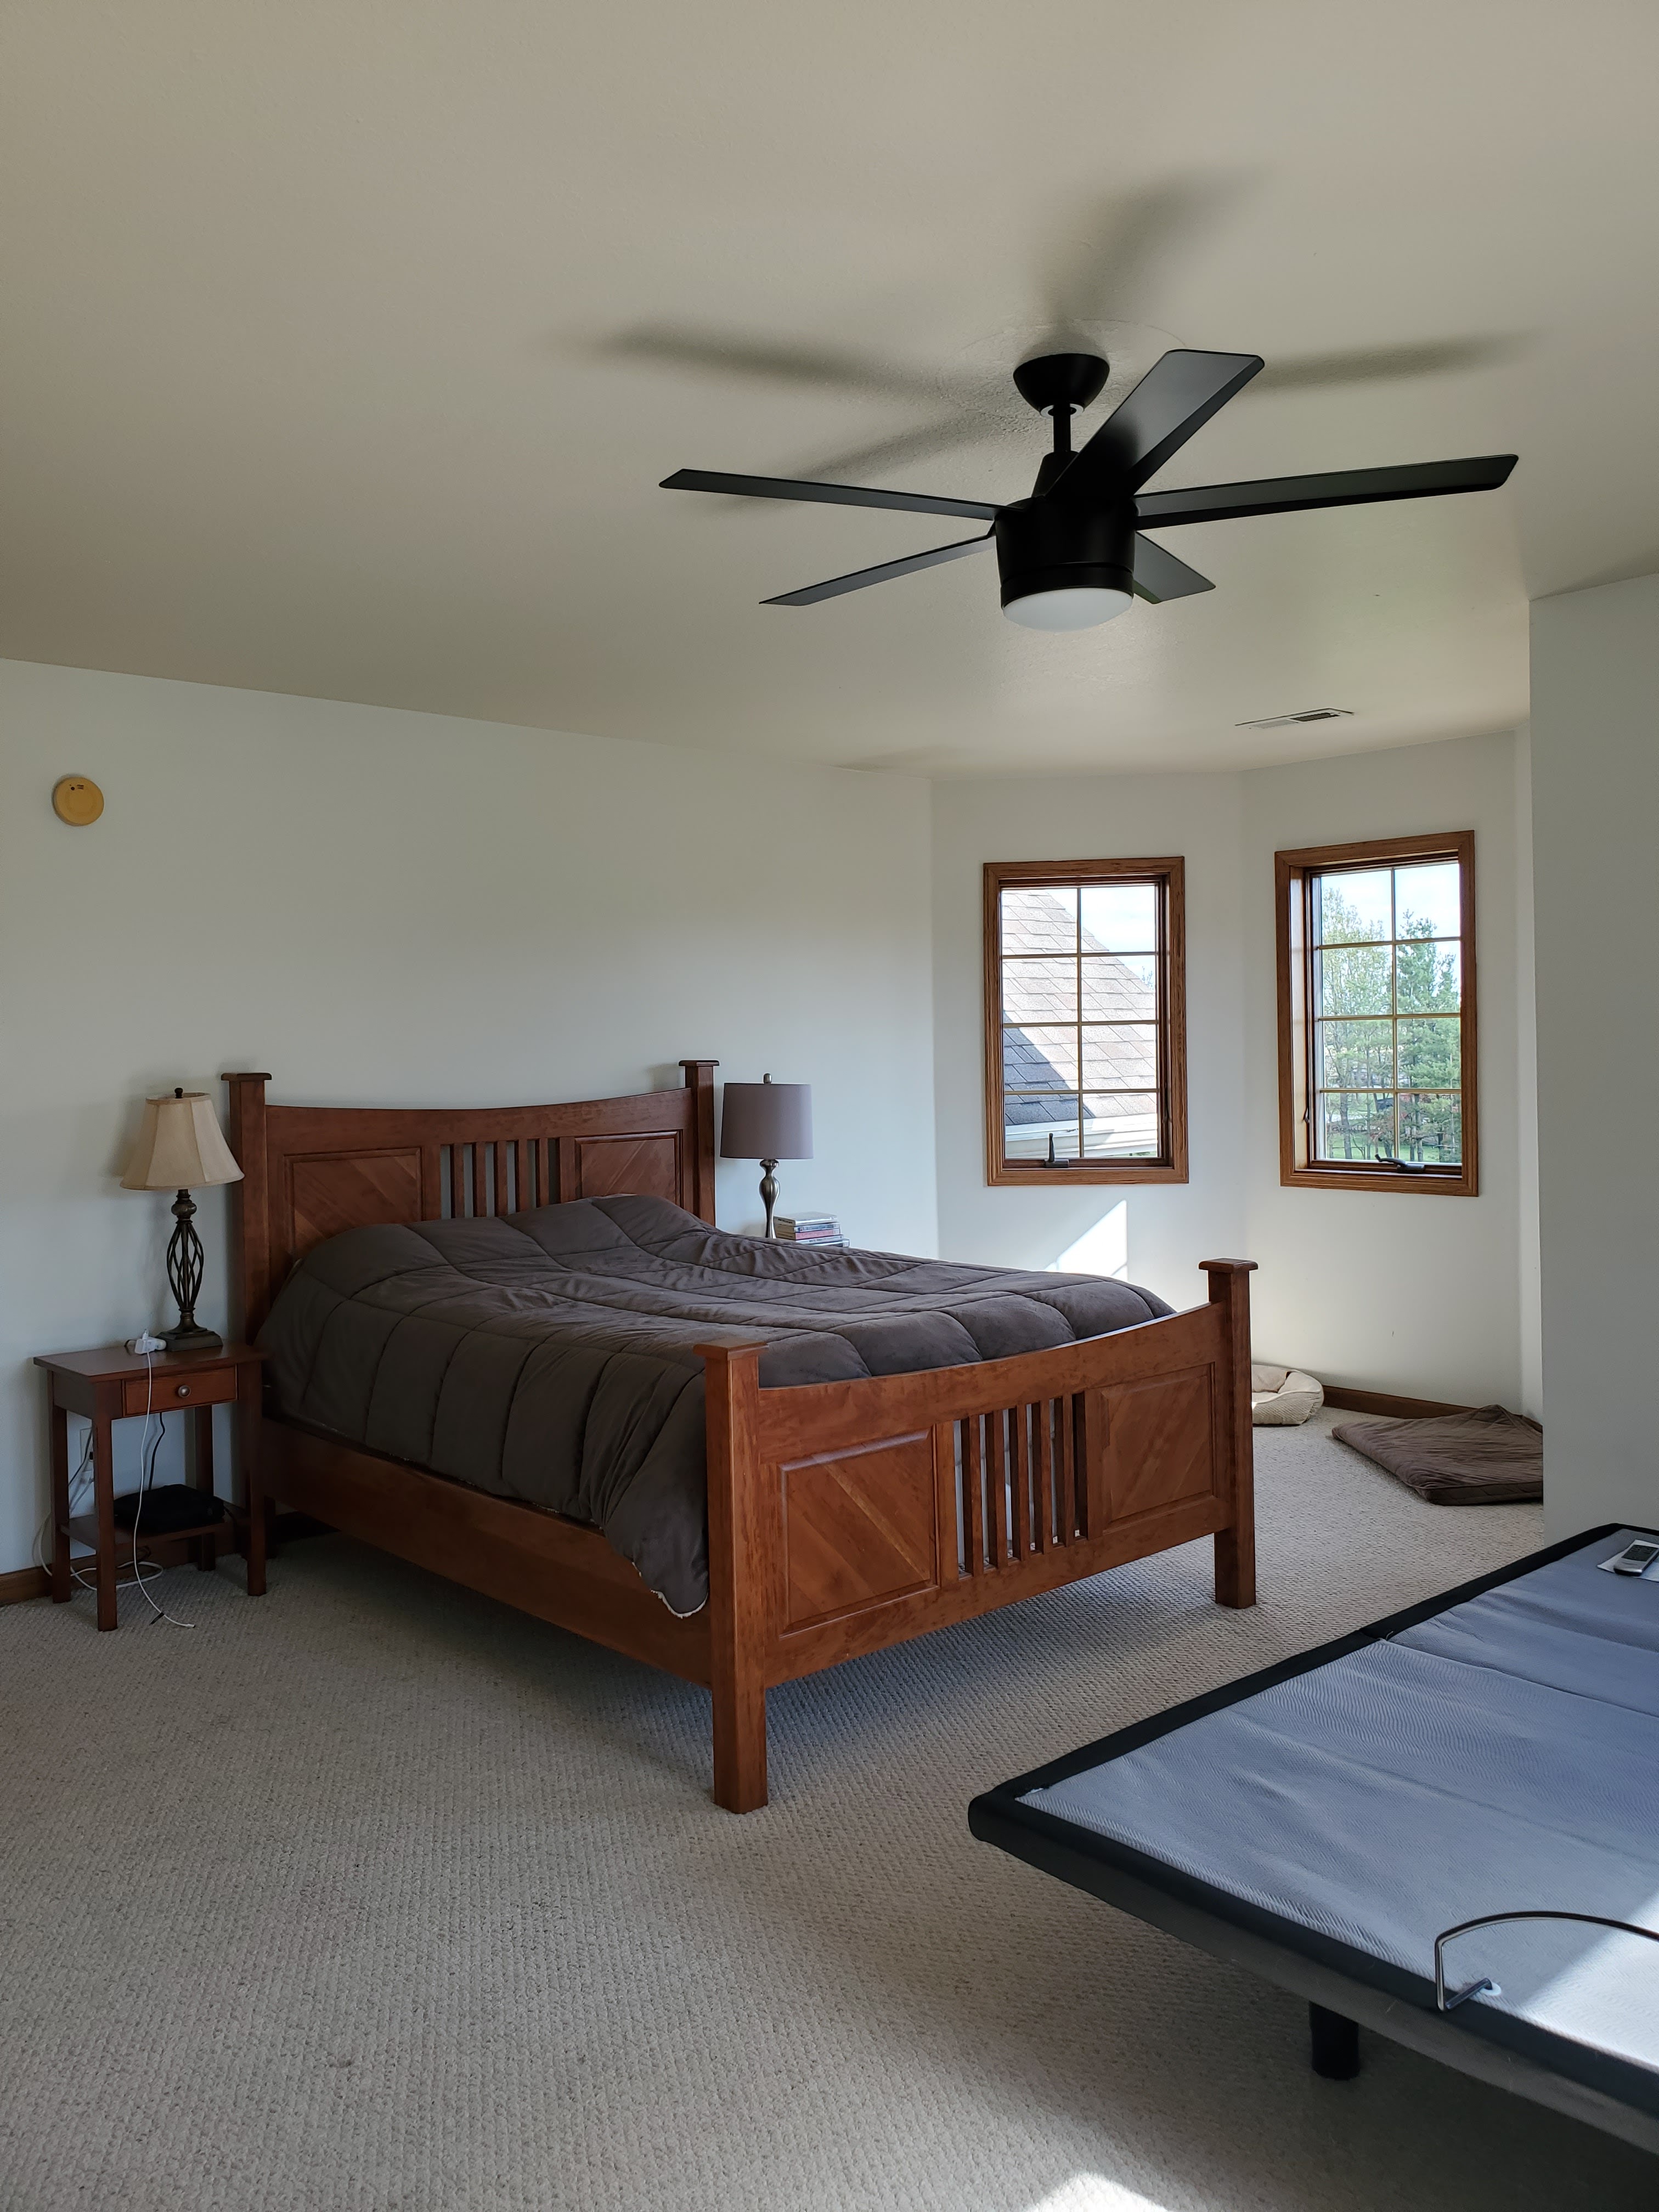
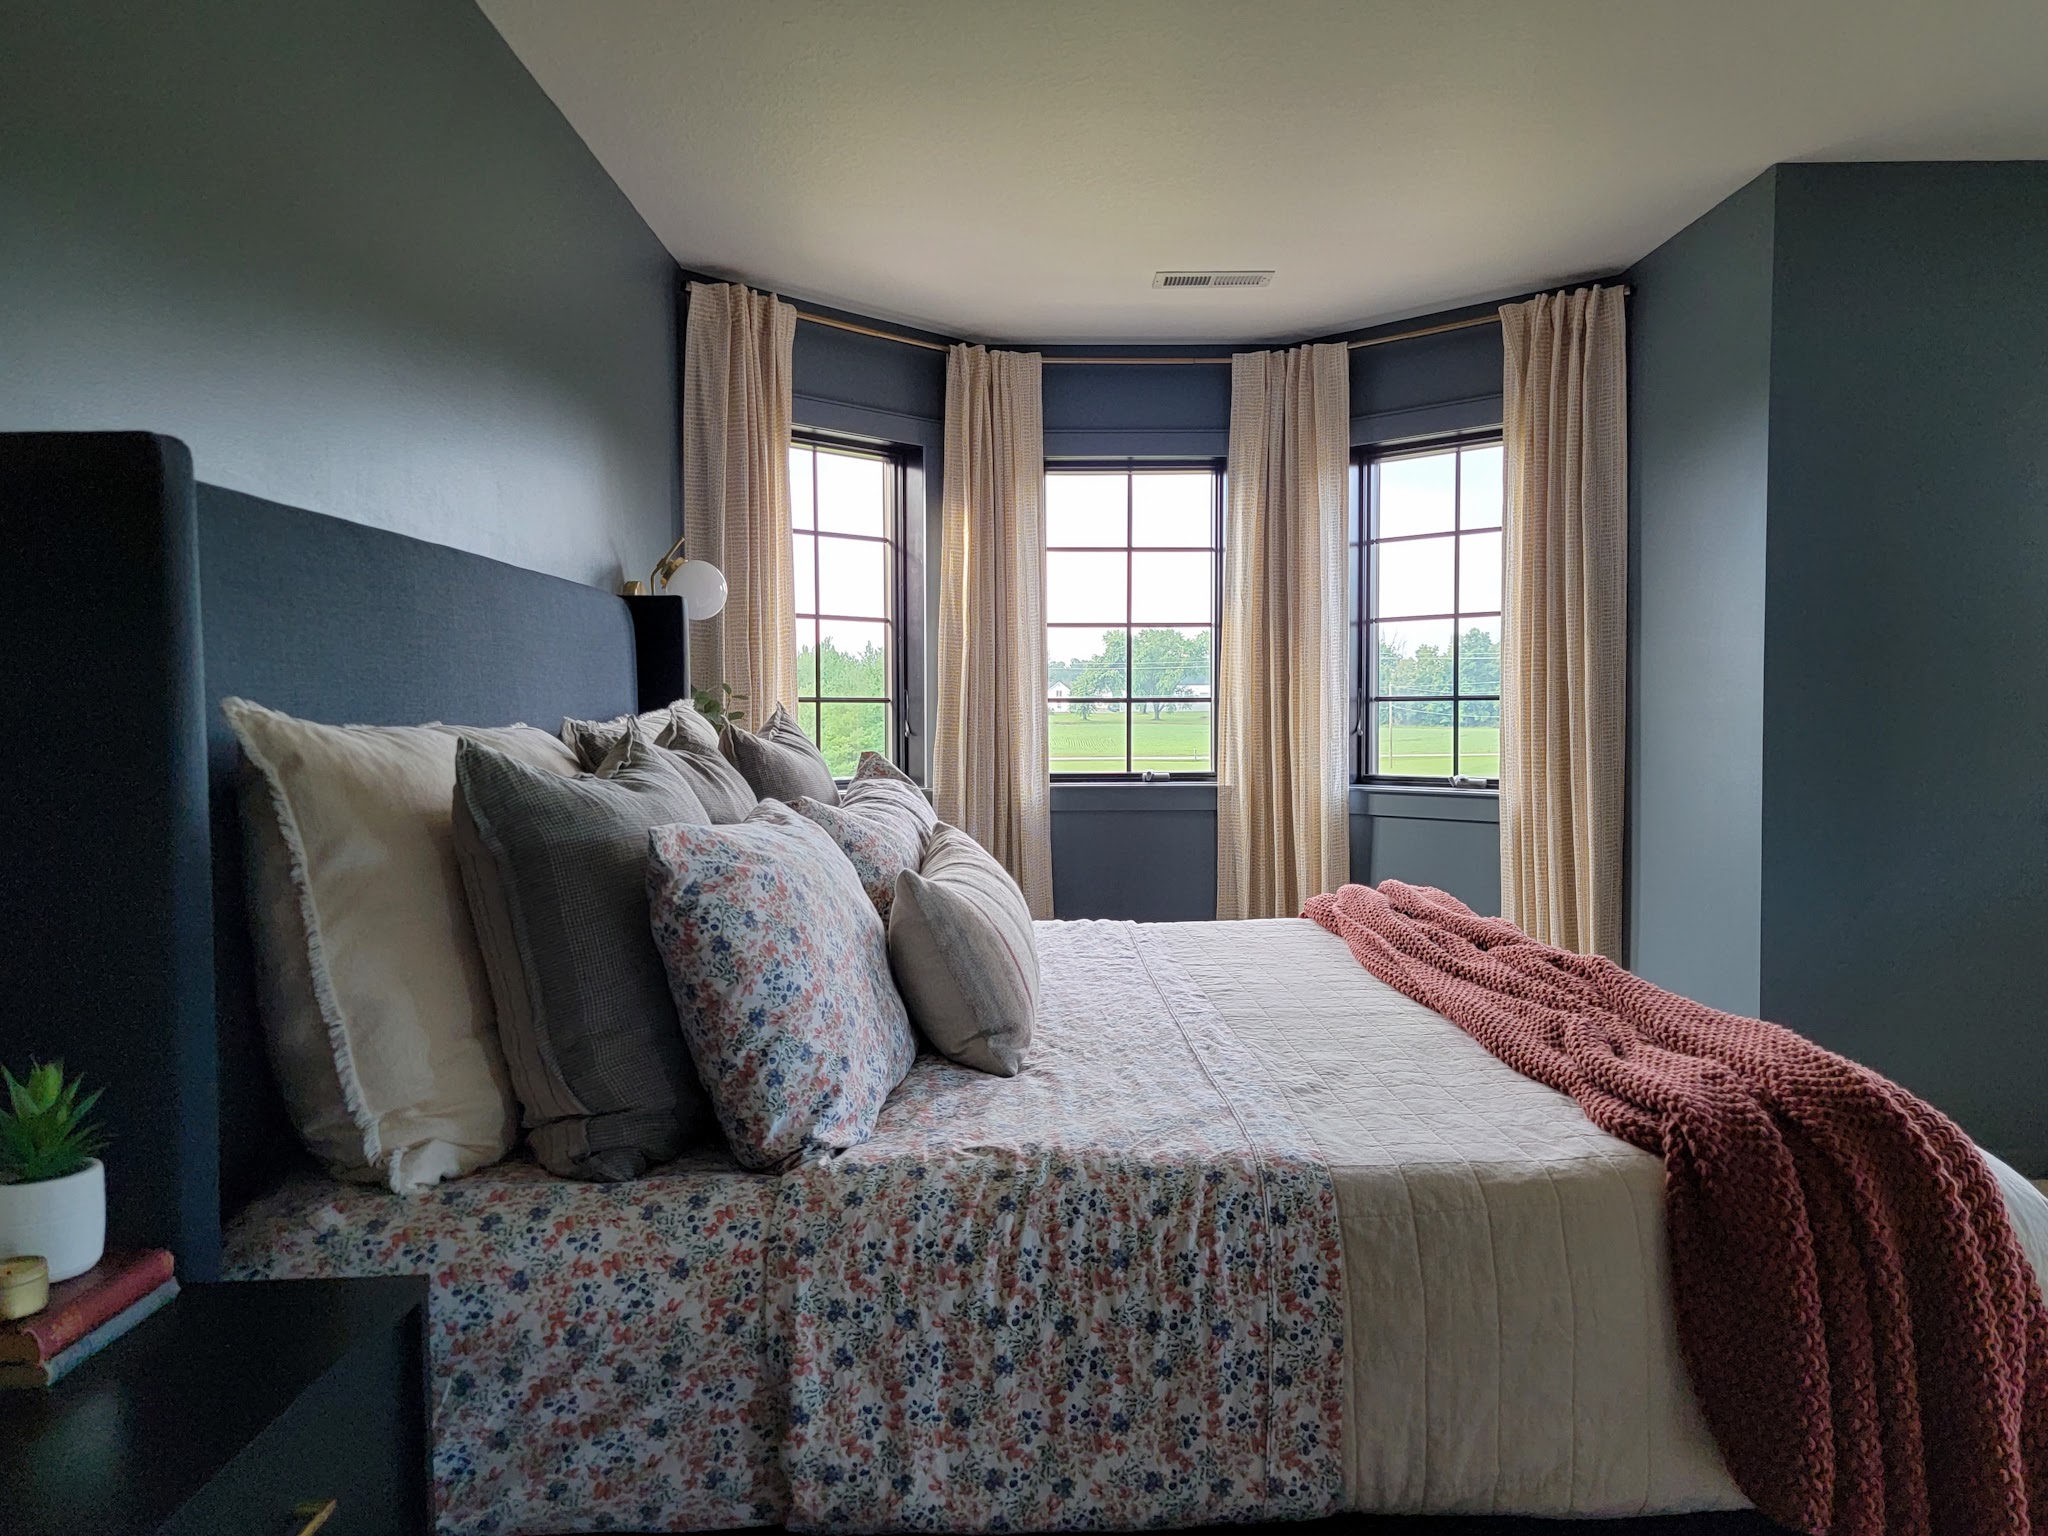
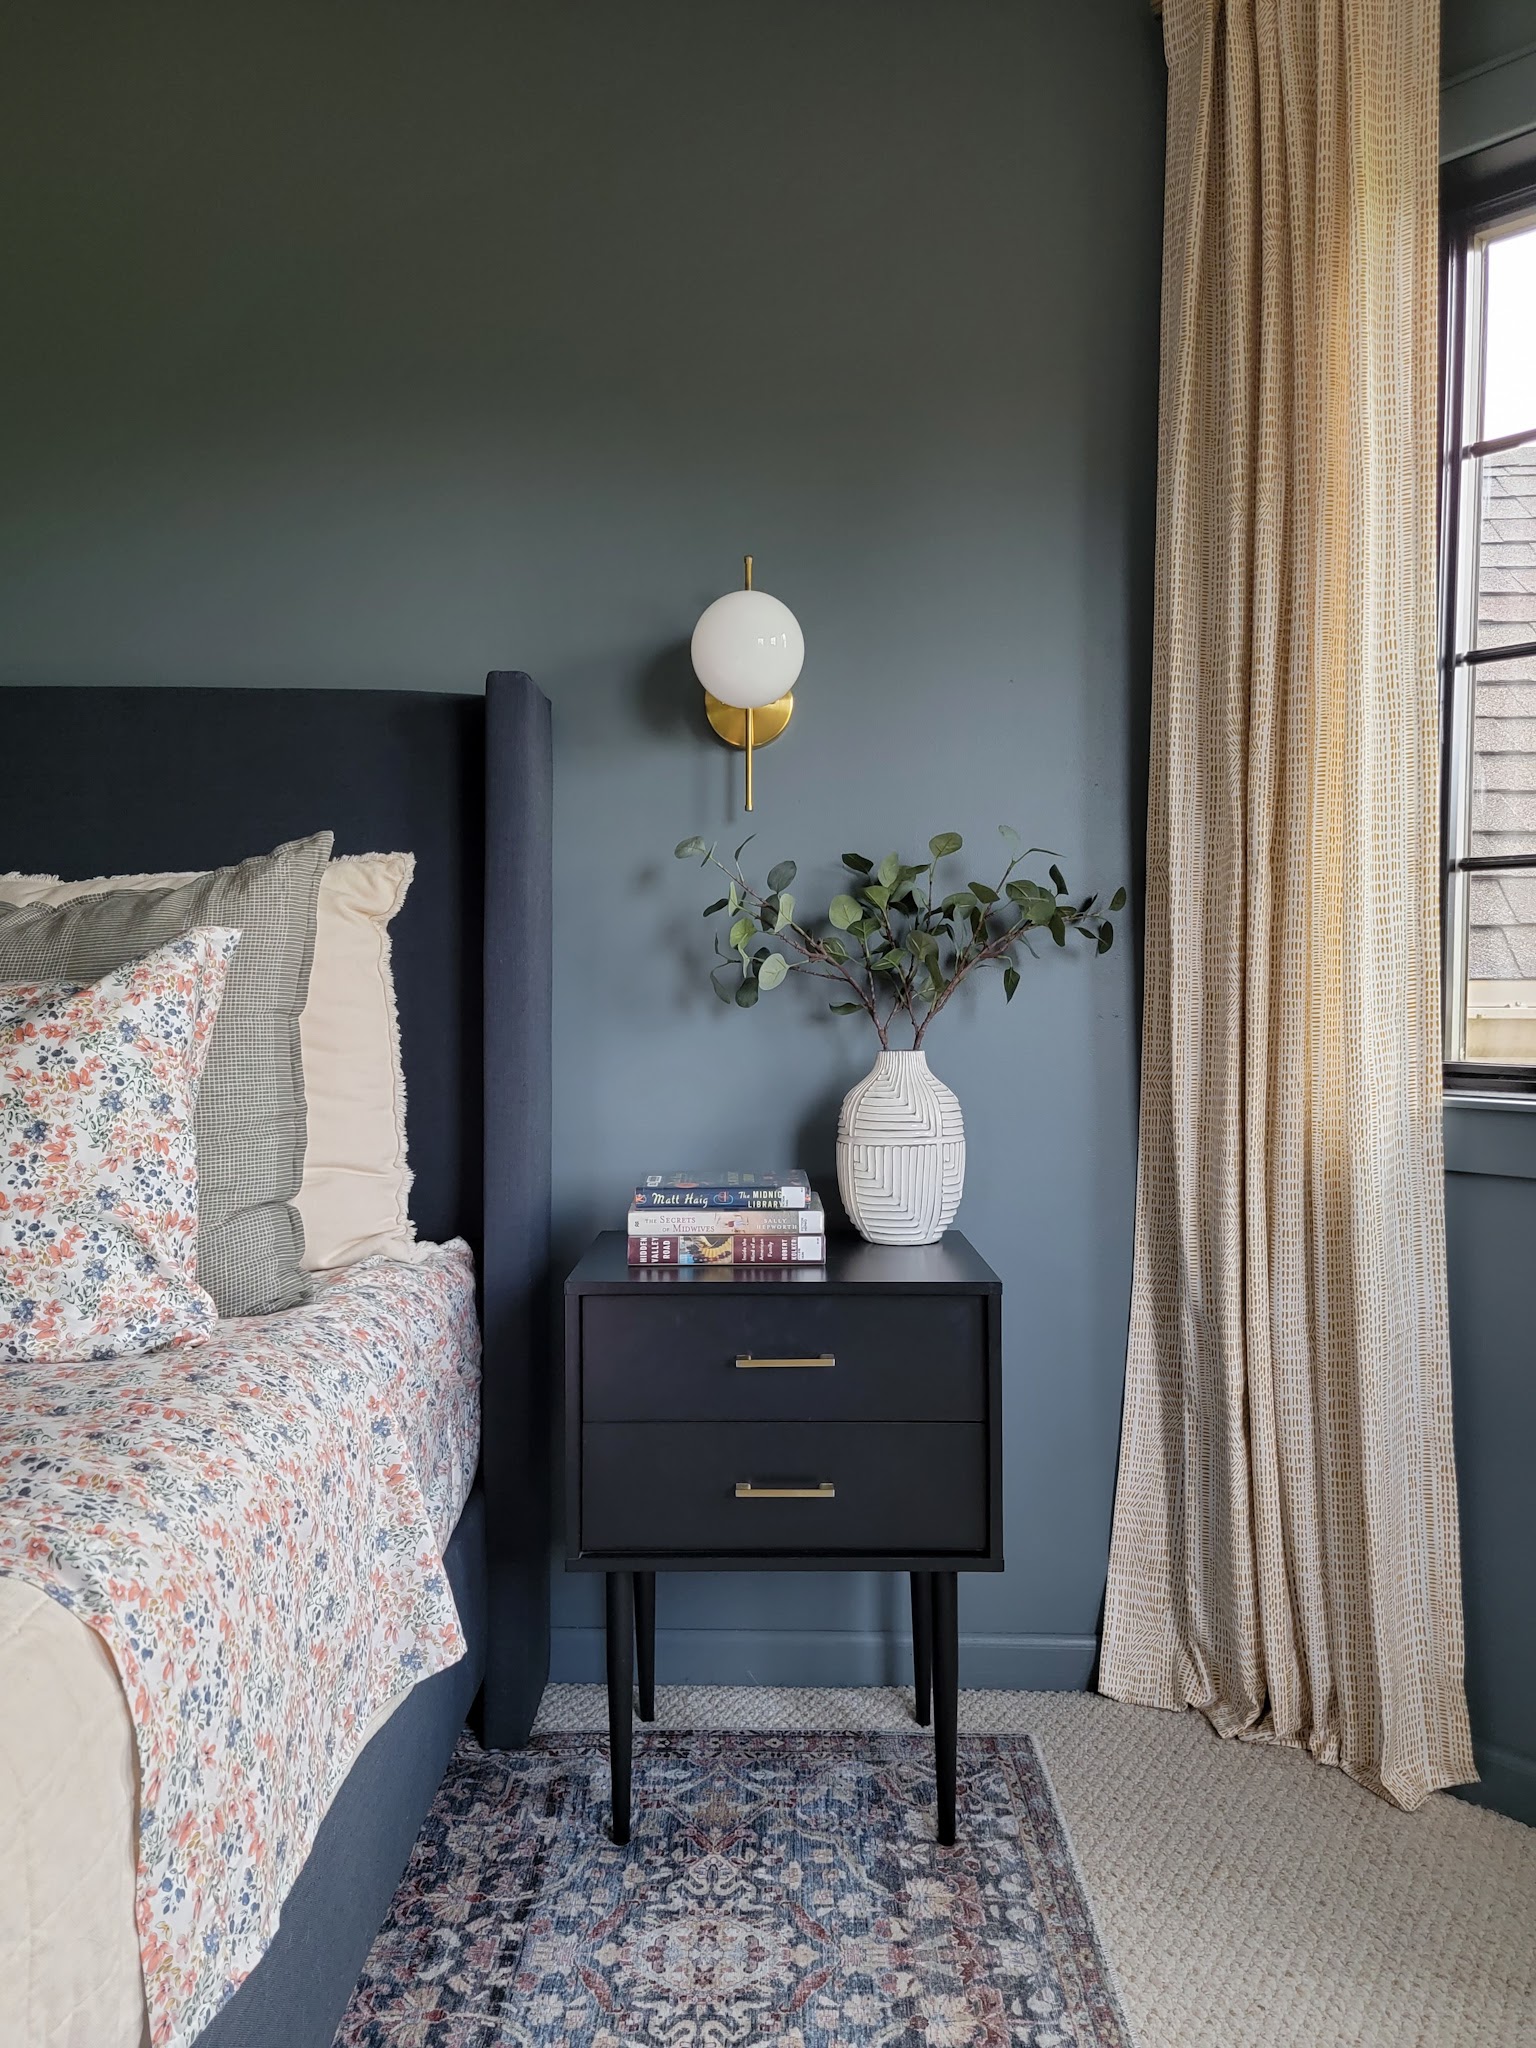
8- Give our bedroom some TLC. YES – although I’m not done yet! I’ve spent the past two months working on updating our bedroom and while I still have some projects on my list, I’m so happy with the progress I’ve made so far.

9- Commit to less screen time. I have not done a good job with this. I think it might be time to start actually using a timer to limit the amount of screen time, particularly on social media, that I have each day.

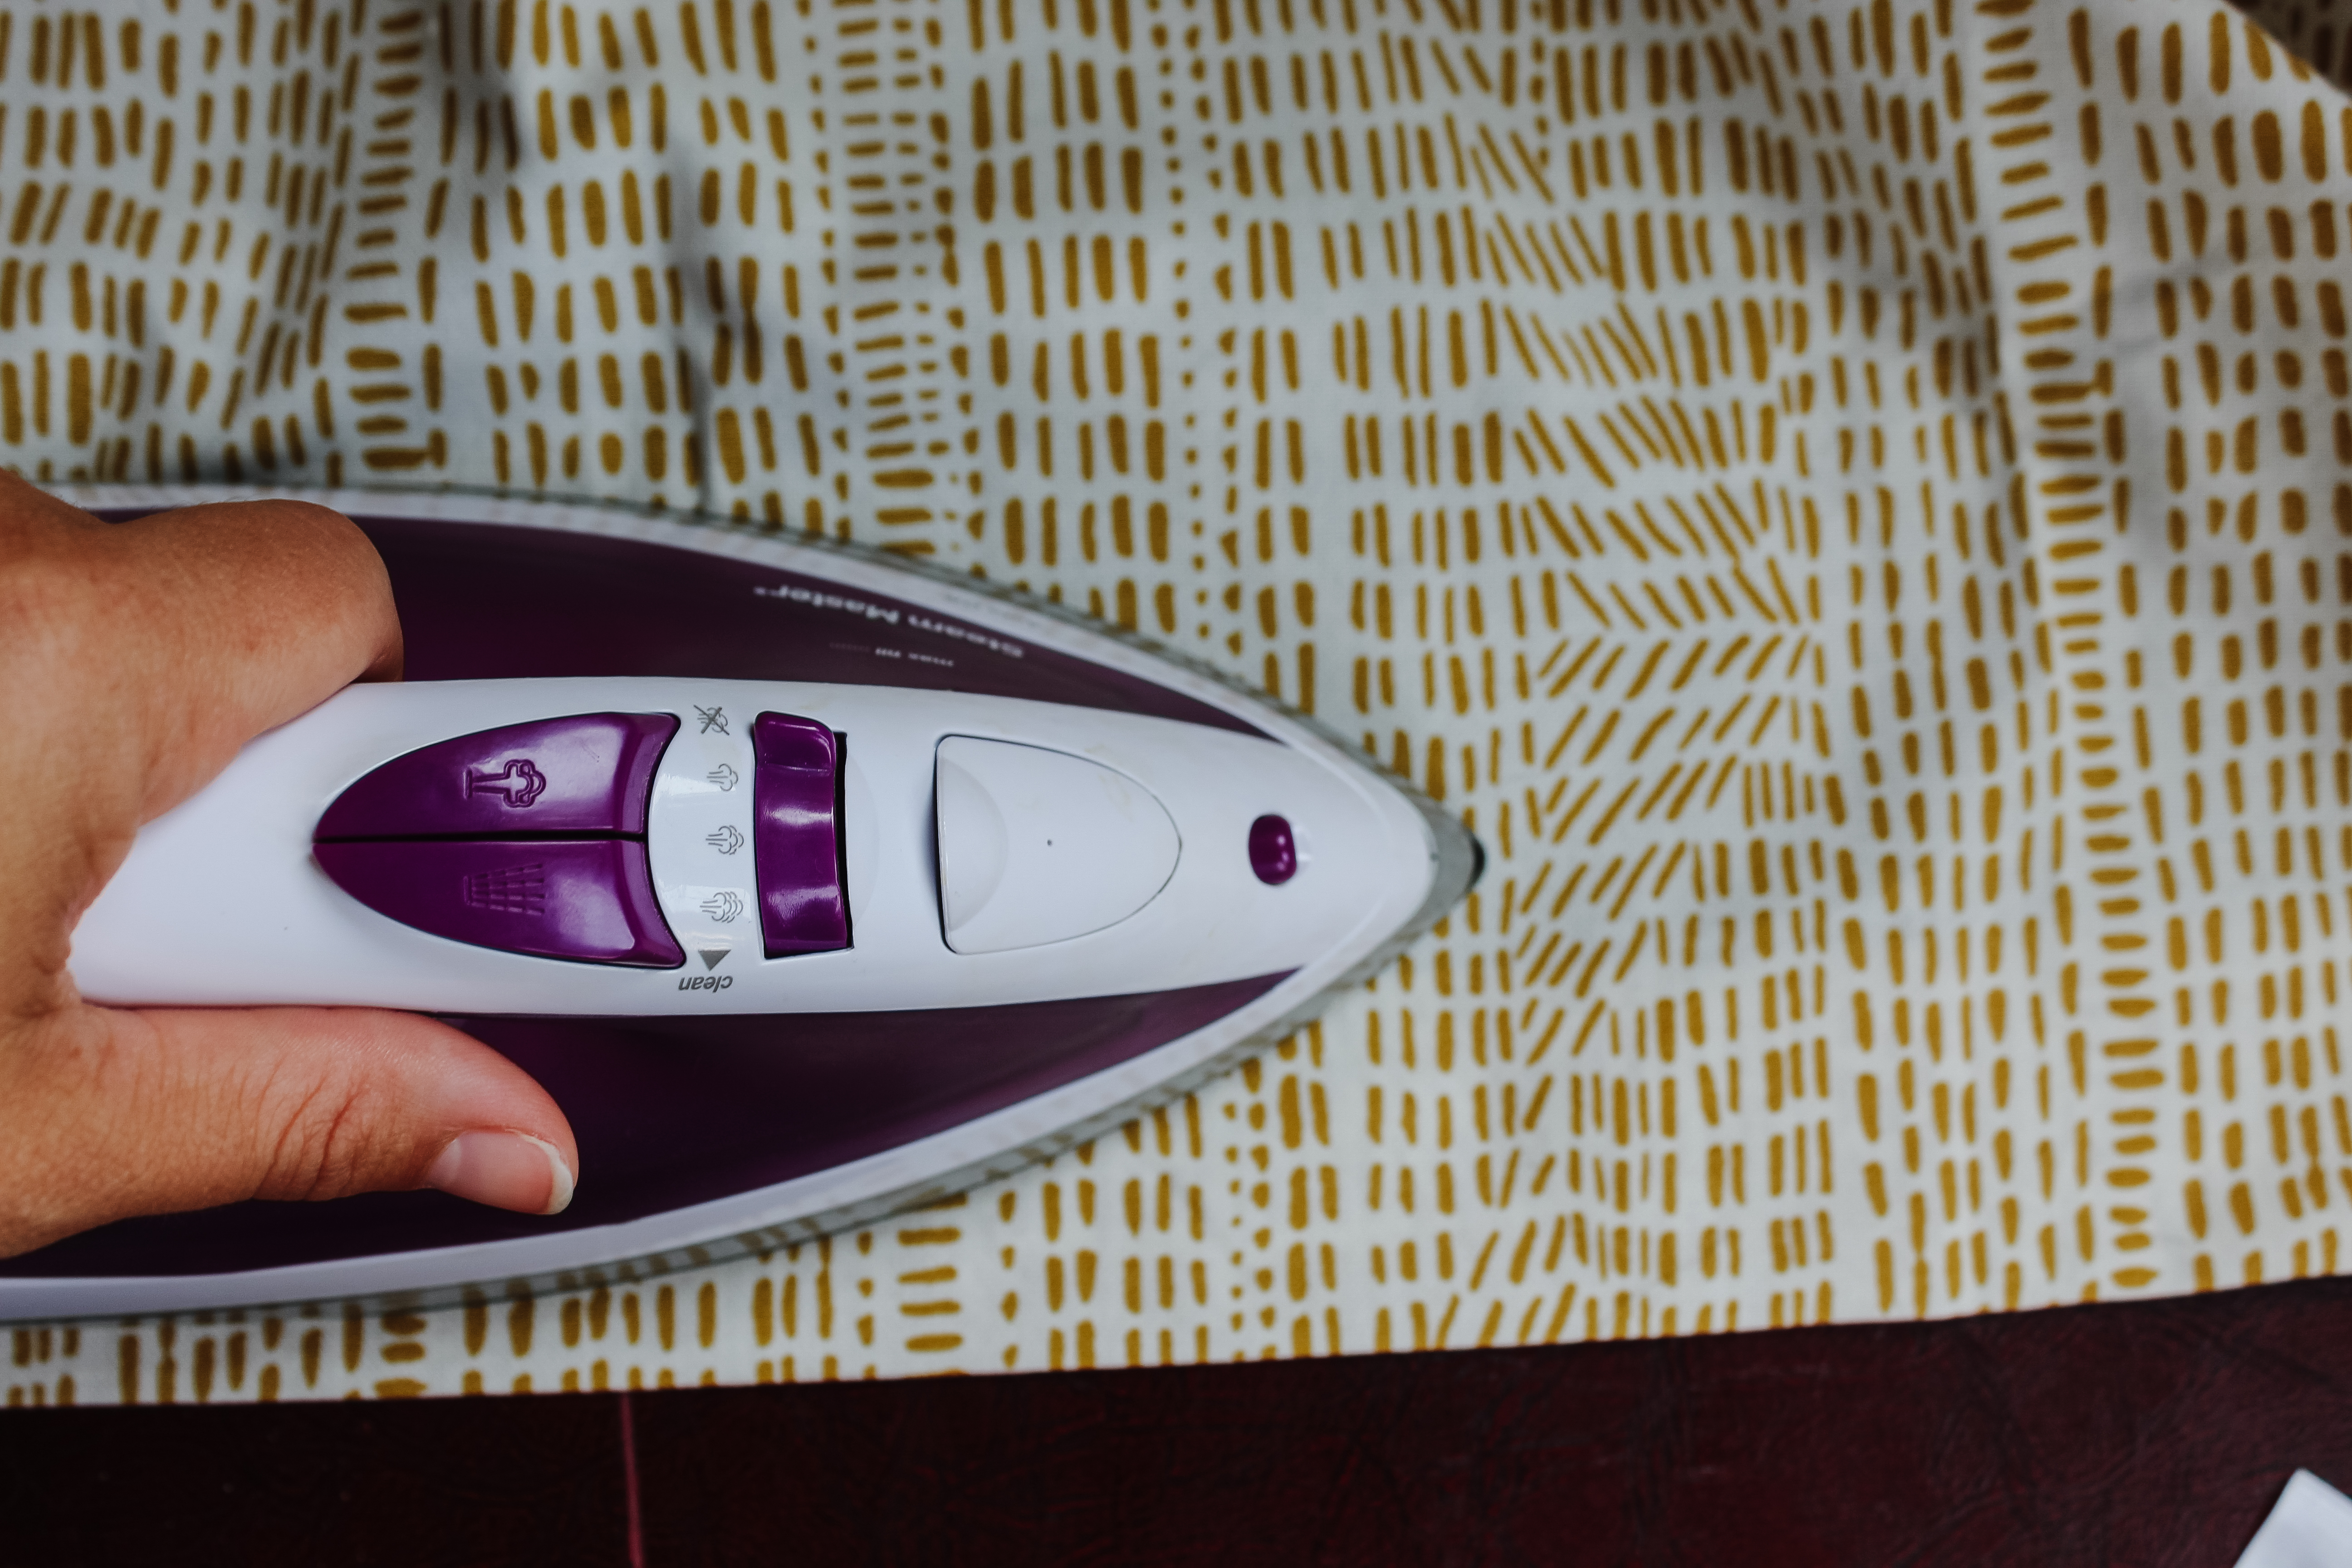
10- Learn how to use at least two new tools. I have not used any new-to-me tools yet but I have become a lot more confident with the tools I previously used. I especially feel much more confident with the miter saw and nail gun after replacing all the primary bedroom window trim myself! I’m counting that as a great first step for this goal.

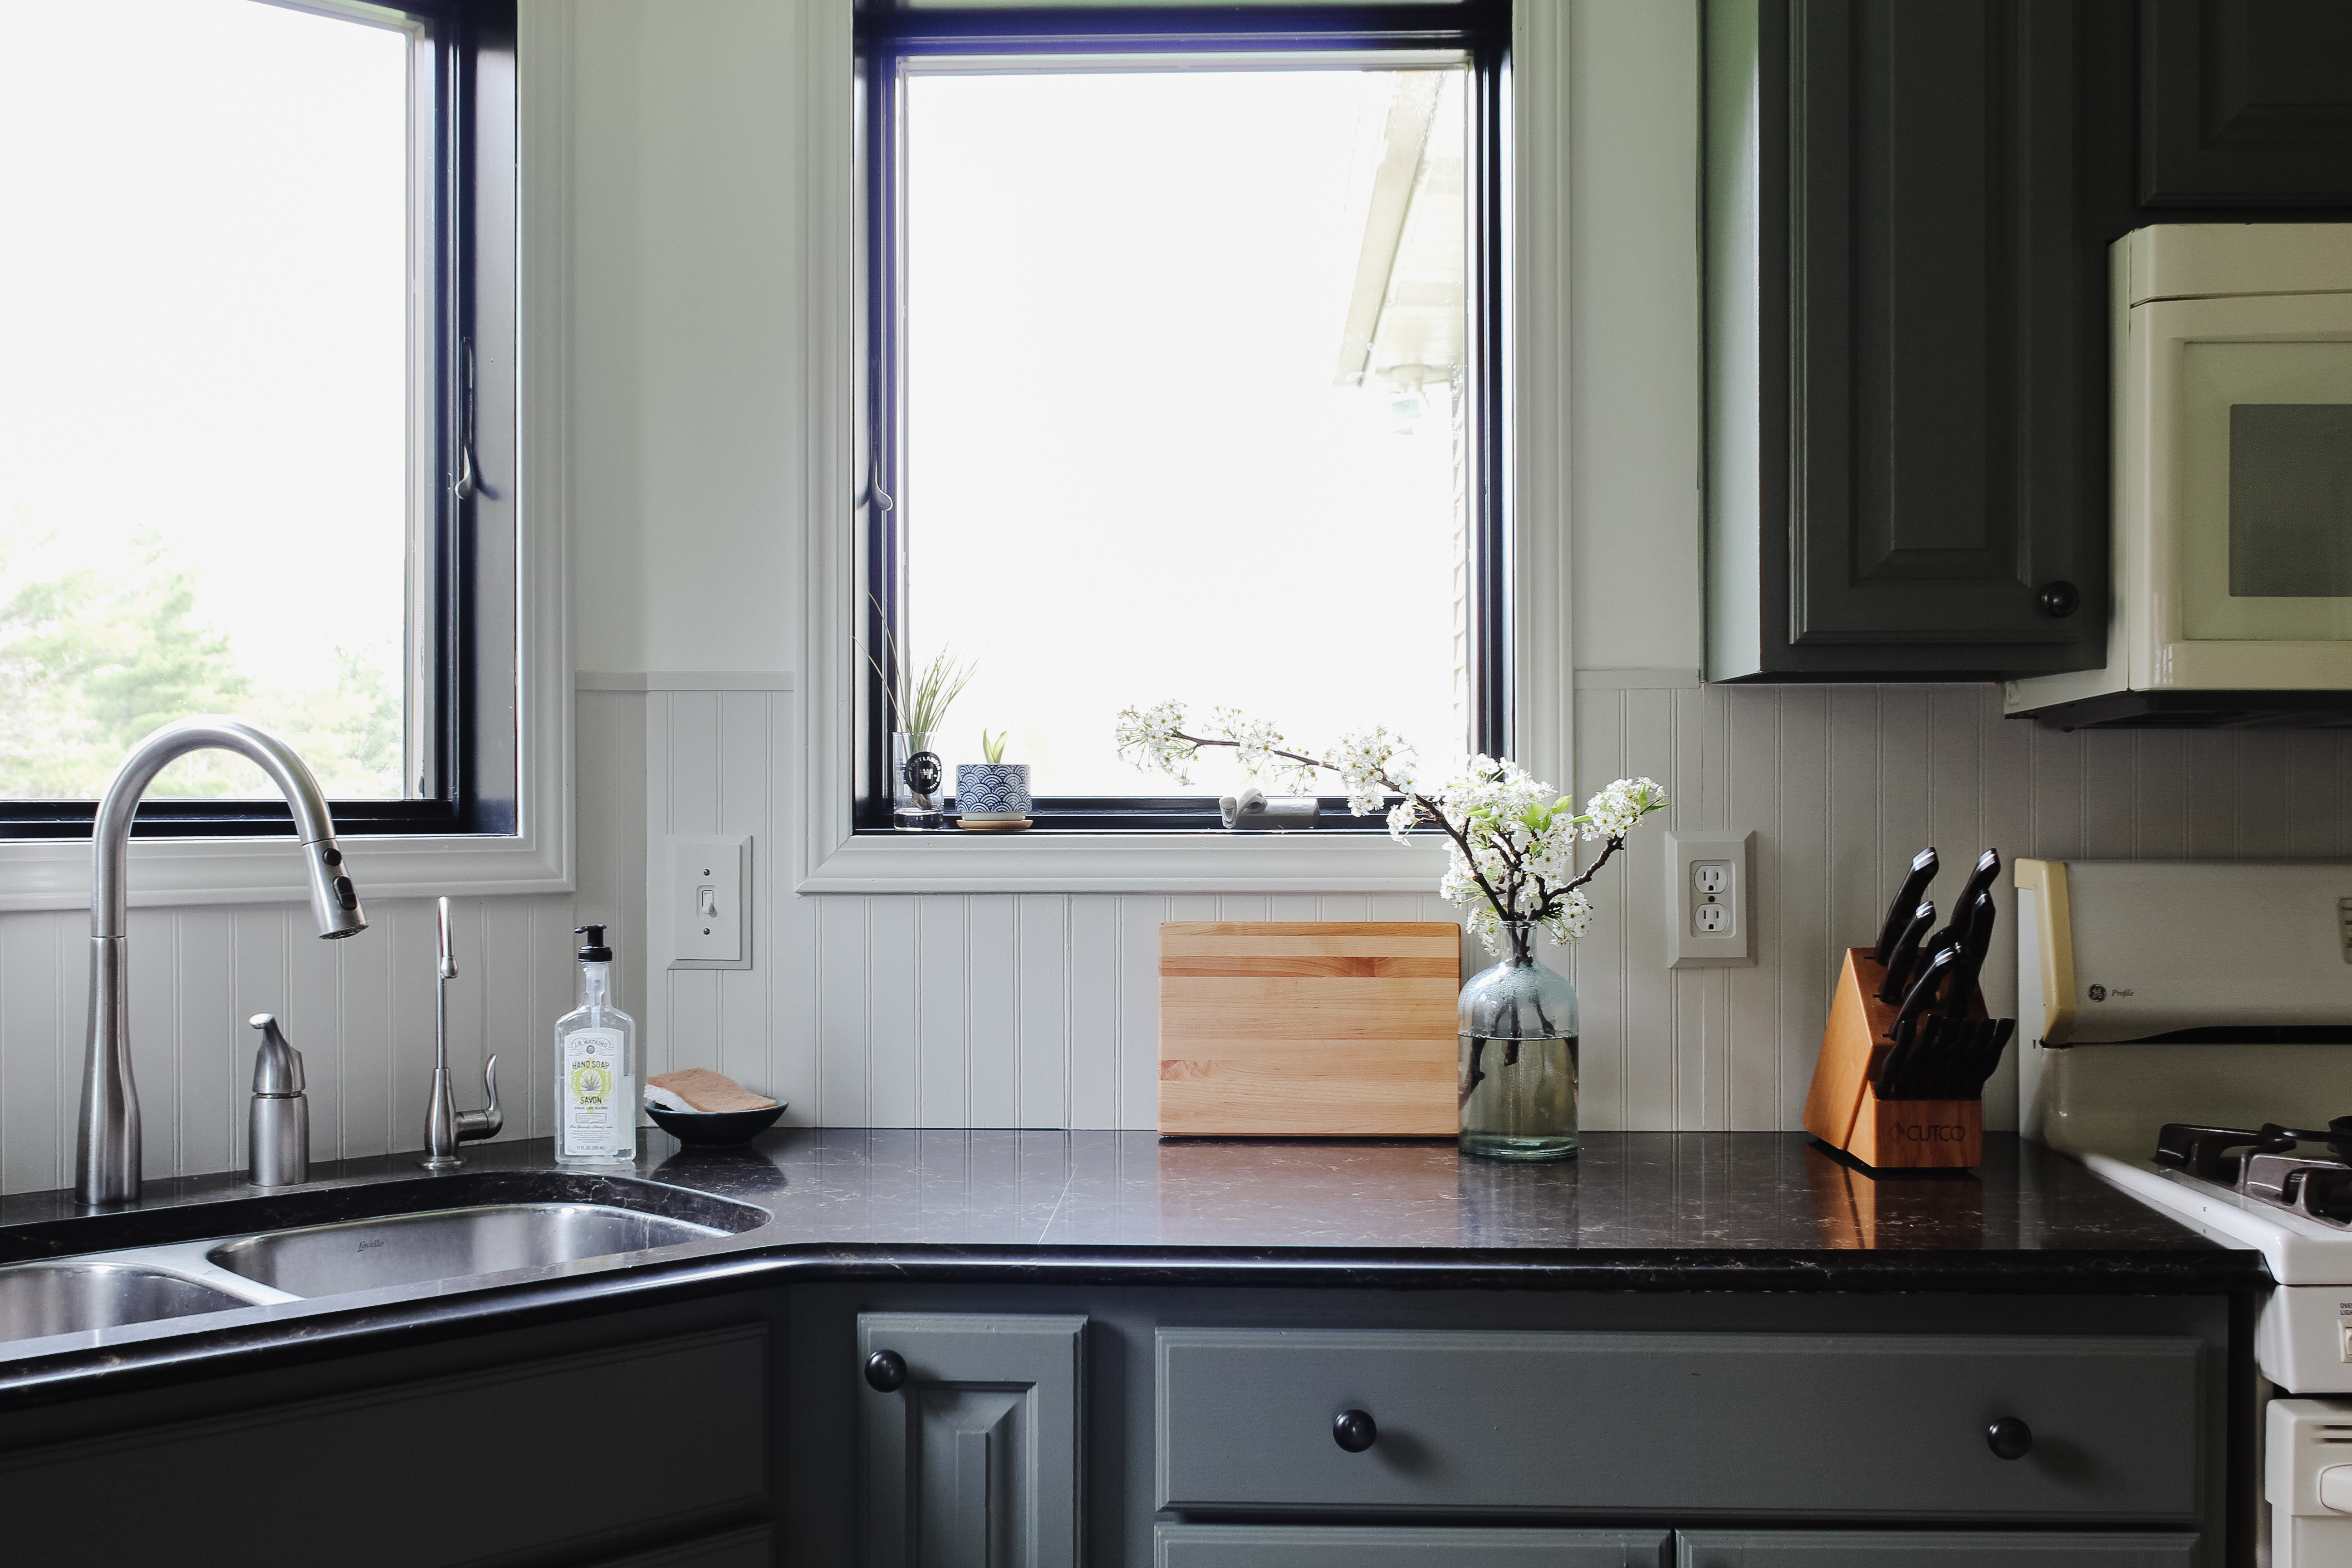
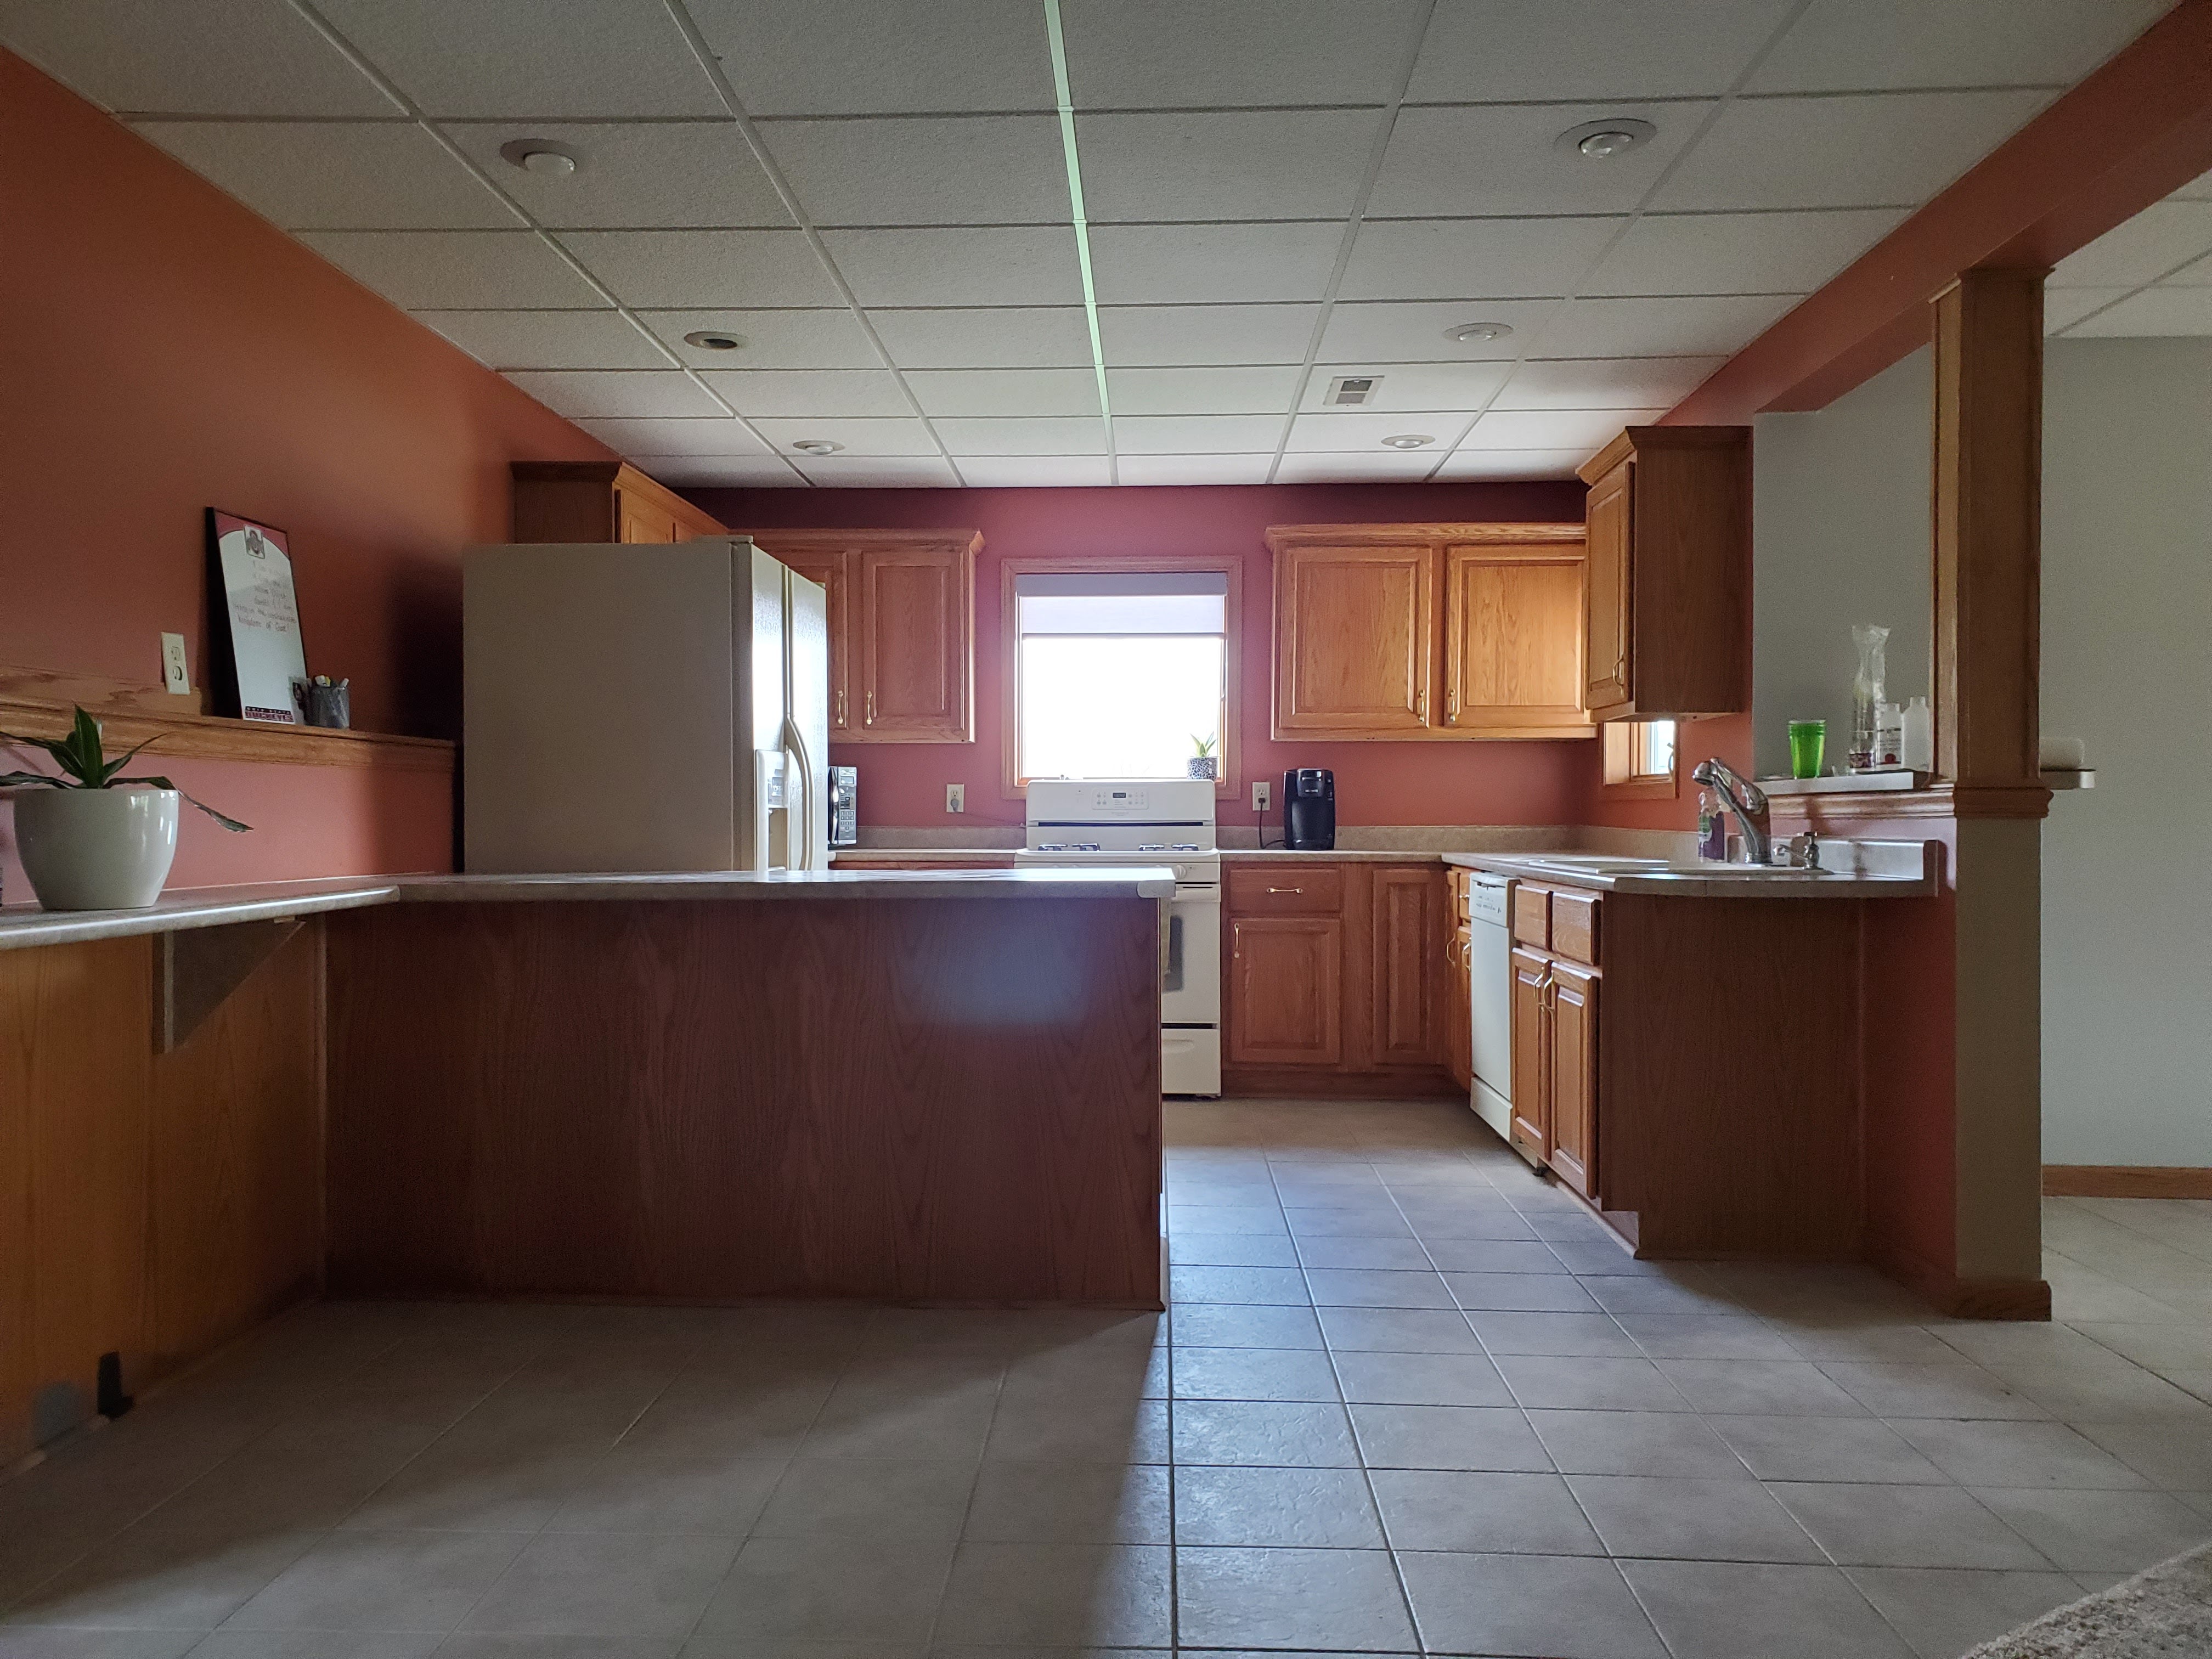
11- Paint the main floor of our house. I would say this goal is about 75% done. I’ve painted the kitchen, dining room, and bottom half of our two-story foyer and still need to address our living room and the top half of the foyer and staircase. We’re slowly getting there!

12-Invest in a good night cream and eye cream. I still need to find a good eye cream but I have switched up my night cream and so far I’m liking the new one, although I’ll wait to truly review it until the end of the year.

13- Explore three new-to-us places in our surrounding area. Justin and I had a day date exploring a small town about 20 minutes outside our city and it was so fun to spend the day doing whatever we wanted: shopping, enjoying a bourbon and wine bar, dinner out, and splurging at a candy store haha. We’re hoping to find two other new-to-us places to visit, and ideally we’d like for at least one of those places to be somewhere we enjoy with the kids!

14- Build planter boxes for our patio. Well, we’re already halfway through summer and haven’t even started this project so I’m not sure it’s going to happen this year. Who knows though, maybe we’ll get inspired for enjoying planter boxes in the second half of the summer?

15- Create/enjoy a new family tradition. Last year we poured some hot chocolate and drove around to look at lights – I can definitely see that becoming a yearly tradition! This year, LJ was in soccer and we started having a weekly ice cream treat afterwards. Justin and I also recently had a day date where he took LJ to golf and I took Vi to the zoo; it was so fun to have special one-on-one time to bond! We plan to try to do this once a month, switching who takes who each time. I love small things like this that continue to build a strong foundation for our family.

16- Organize our utility room. I have taken one batch of things from this room to the local ReStore, but honestly, I need to commit a full Saturday to completely clearing this room out and re-organizing. It needs some serious attention!

17- Replace the boob lights in our house. Playroom, check! Dining room, check! I only have three more to go (two in our laundry room, one in our guest room).

18- Wake up before kids to have quiet time to start the day. I haven’t been as consistent with this as I’d like, but every morning that I do this, my day seems to go (or at least start) much more smoothly! I’m continuing to try to make this a regular habit.

19-Swap out our living room throw pillow cases. Thanks to a spontaneous decision at Ikea, I’ve swapped out half of the pillow cases so far. To be honest, I’m not sure the new ones will be staying super long term but the old pillow cases were in such rough shape (they’ve had large holes in them since Macie was a puppy seven. years. ago.) that I snagged a couple cheap cases at Ikea and they make the couch look so much better!

20- Support small businesses as much as possible. On our day date to a local small town I purchased a maple cutting board, linen napkins, and books for the kids from different small businesses. For our bedroom upgrade, I bought two gorgeous sconces from a small business in Texas called Illuminate Vintage. I’ve bought greeting cards from a vendor at our farmer’s market, small decor from a fair-trade business in my parent’s hometown, birthday gifts from our local children’s boutique…this is an ongoing goal that I’m going to continue to prioritize as I make future purchases.

21-Set aside one date night each week. We have been pretty good with this, although sometimes “date” is very loosely defined haha. Sometimes we play a board game, other times we go out to dinner, other times we watch a show together (we love This is Us and we’ve also really gotten into an older show called The Killing). Wednesday nights have become our night to set aside for time together and we’ve been able to stick to it almost every week so far.

Overall, I’m pretty pleased with all the progress I’ve made so far this year and I’m looking forward to the second half of the year!

No-Sew Method for Hemming Curtains

For as much as I love DIY, sewing is one skill I haven’t grown to love that much. I do love the look of curtains though, and they rarely come in the correct length for what I need. When I bought the 96″ curtains for our primary bedroom, I knew I would need to hem them. I like a slight pool of fabric at the bottom, but these curtains were still a couple inches too long for my taste. Today I thought I’d share a little tutorial for my method for hemming curtains – no needle and thread in sight.

This no-hem method is a low-cost, quick, and simple project that is perfect for beginner DIYs!

Materials

HeatnBond hem tape

-Iron

-Paper clips (or pin of your choice)

-Scissors

-Ironing Board (or other heat-safe surface)

Ideally you would use an ironing board but I didn’t have one so I improvised with two folding chairs and an old table protector pad. Before beginning, I recommend cutting off the curtain tag at the bottom (if there is one). I found that the hem tape did not adhere as well to the tag. Once the tags were removed, I folded the bottom of the curtain to create the new desired length.

For me, this was easy because the width of the existing hem was the amount that I wanted taken off overall length, so I could just fold the curtain over on the existing hem. I chose to secure them with paper clips because they’re easy for me to slip on and off and safer than sharp pins if I accidentally dropped or lost one and a child or pet found it.

Once I had secured the entire bottom of the curtain, I ran the iron lightly over of the new folded seam to create a nice crisp seam on the bottom.

Next came the hem tape. At first I accidentally bought super weight (it’s supposed to be for heavier fabrics) but it worked fine for my cotton curtains. I did run out and have to buy a second roll so I bought regular weight that time and honestly didn’t notice a difference in how they worked for my fabric.

I chose to work in smaller sections and ripped off roughly 8-10 inches of hem tape at a time. I placed it underneath the folded fabric and ran the iron across to activate the adhesive. (Note: the curtain edge is peeled back in the picture below to show you where I placed the tape, but make sure it is lying completely flat when you run the iron across)

I found that it worked best to hold the iron over each section for a good five seconds before moving it down the line, and I overlapped the iron each time for additional heat. If I spent less time on each section, the adhesive didn’t get hot enough to work. My iron was on the cotton heat setting since the curtains were cotton.

When I came to the end of the curtain, in addition to the hem tape running parallel to the old hem, I ran a small piece of hem tape along the outside edge to keep the fold secure.

To finish the seam, I flipped the curtain over and ran the iron once more over the hem tape from the other side, spending about 1-2 seconds on each small section.

That’s it! Once the fabric cools down, the glue dries and creates a nice new hem. This project cost less than $8 and took roughly 10 minutes per curtain. Quick, easy, and inexpensive! The perfect little DIY 🙂

Sources

Wall Color: Sherwin Williams Foggy Day

Curtain Rods

Curtains (out of stock – similar here)

Basket

Vanity + Chair are vintage

One Year Later: How has the Basement Kitchen held up?

My Google Photos sends me a lot of “one year ago” flashbacks and lately, all the pictures have been flashbacks to our basement kitchen renovation. It’s hard to believe it’s been a year since this transformation!

This project was a great example of the power of paint, as paint was the biggest tool I used to transform the space. Painted walls, painted counters, painted cabinets, painted floors . . . lots and lots and lots of paint went into this renovation! I thought it would be fun today to take a look at the kitchen one year later and see how everything has held up so far. There’s also a few small changes since the initial reveal – see if you can spot them!

Cabinets

I’m still in love with the cabinet color (Rock Bottom by HGTV by Sherwin Williams). I chose this paint brand and I have to say I’m very impressed with how it has held up. This kitchen doesn’t get normal everyday use, but now that our kids play in the basement so much we use it for snacks frequently and the kids even play in the kitchen sometimes. We also use it as a hosting kitchen whenever we’re entertaining, which we’ve finally started to do more of now. There is not one scratch in the paint on the cabinets and it doesn’t need a single touch up!

Countertops

I also am really glad I chose to paint the countertops instead of replace them. You can read all about that process here. Even though it’s not perfect (there are about 3 places where I didn’t get the epoxy quite thick enough so there’s a small hole in the top layer), it was a super cost-effective way to get a new look. When guests come over, no one can believe it’s paint!

I will say, the counters do show some very slight scratching from use, but it’s hard to see unless the lighting is just right. It’s so minor that I think it’s one of those things that no one else notices except for me because I know to be aware of it. Would I recommend painted counters as an update? YES! I think this is a perfect way to inexpensively elevate a kitchen and it’s a fairly easy DIY. I do think that it’s probably a better “short-term” fix (like 5-10 years) and not necessarily a good permanent solution for counters you plan to use for 25 years, particularly in a kitchen that gets heavy everyday use. I just think it would likely show more wear and not hold up quite as well for that long. But it’s a great solution for counters that you hate but can’t afford or don’t want to replace yet!

And speaking of counters, the butcherblock is also holding up very well. This gets the most use: it’s where my kids eat snacks, where we prepare food for guests, where we set out food when we’re entertaining, and where we first drop things off when they come into the kitchen. The butcherblock is easy to clean and still looks great after a year of use!

Floors

The only painted surface that I am not very thrilled with one year later is the floor. The picture below is a realistic glimpse at how it often looks after a light sweep of the floors.

Painting the tile was again, an inexpensive way to transform the look of the floors. And the paint kit I chose (you can read the whole process here) was a great decision, as the actual paint itself has held up well. The floor gets heavy use from kids playing and guests walking in and out; I’ve had to scrape food off the floor and even when I have to use my nail, no paint scratches off. The quality of paint is great! I just wish I had chosen a different color.

White on floors is a horrible decision in a kitchen. I wish I had chosen a darker base color or a different pattern (or at least much larger triangles) so not as much white was showing. It’s just so hard to keep them looking clean! They show so much dirt and almost always look like they could use a good scrubbing. I’m someone who doesn’t actually scrub the floors super often – I want them looking clean with a light sweep and then an occasional deep clean. I typically don’t see dirt on the gray triangles, just on the white, but there is a lot of white!

We had to buy a new fridge when the old one died a few months ago, and the new one a little smaller so some of the old tile now shows at the bottom. I’m seriously debating whether I should continue the pattern under the new fridge or use this as an opportunity to re-paint the entire floor in a darker color. . . hmmm.

Overall, I’m still really happy with this space and I’m so glad I decided to invest a lot of time and effort into making it shine without breaking the bank (this whole reno was under $1500!) This is a space I know we will be enjoying for years to come!

For all sources, you can check out the bottom of this post.

June 2021 Book Reviews: Part Two

On Wednesday of this week, I reviewed the seven physical books I read in June and today, I’m reviewing the ones I read on my Kindle!

I don’t use my Kindle all that often in everyday life, but it is so nice to take on vacation so I don’t have 8 books packed in my luggage. I loved having it handy at the pool and on our plane rides!

The Trouble with Hating You by Sajni Patel

The Trouble with Hating You by [Sajni Patel]

Liya’s reputation has made it hard for her parents to find a man willing to marry her. When she realizes that the most recent “dinner” her parents invite her to is actually a set up with a new potential suitor and his mother, she quickly bolts. Unfortunately for her, the man in question, Jay, also shows up at her workplace as the new lawyer trying to save her failing company. Now Liya is forced to see Jay often and after a while, she realizes that maybe he’s different from all the others in her past.

The premise of this novel sounded like a great beach read but the overall story kind of had me feeling . . . meh. The writing isn’t that great and the story felt a bit forced. I don’t know how to exactly describe it other than to say it didn’t make me feel very invested in Liya or Jay or their relationship. I did enjoy reading a romance within Hindu culture and seeing the dynamics at play in Liya and Jay’s community, mandir (temple), and families, but the actual story was just an okay read. I buzzed through this quickly on the plane ride and it was a nice distraction but nothing groundbreaking for sure. I’d consider this a mid-range rom com at best.

The Last Train to Key West by Chanel Cleeton

It’s 1935 in the Florida Keys and three women’s lives are about to change. First there’s Helen, nine months pregnant, struggling to make ends meet, and dreaming of escaping her abusive marriage. Then there’s Mirta, newly married to a man she barely knows (but suspects has nefarious business dealings) and on her way to New York from her home in Cuba. Lastly there’s Elizabeth, on a desperate search of the veteran work camps to find her last remining hope for a different future than the one she bargained for. As a powerful hurricane barrels towards the unsuspecting Keys, all three women’s stories start to intertwine and nothing will be the same after a fateful Labor Day weekend.

We vacationed with another couple in June and my friend suggested we read the same book, this one, while we were there. I loved the idea and it was so fun to get to discuss what was going on and where we thought things were headed in real time with one another. I really enjoyed all the vivacious female characters, and the book had a great supporting cast. I also love reading historical fiction novels about places/people/events I hadn’t previously heard of and this was no exception. There really was a 1935 Labor Day hurricane that devastated the Keys and there really were veteran work camps there at the time. I would say this was more of a character-driven novel but there’s some drama, some mystery, and some surprises along the way. I was interested in all three women’s different storylines and enjoyed seeing their lives intertwine. There were some connections that I predicted, but others I was totally surprised by. This was an enjoyable read that I definitely recommend!

Leave the World Behind by Rumaan Alam

Leave the World Behind: A Novel by [Rumaan Alam]

I suggested this book for book club after seeing Kate Baer give a review on Instagram where she said this was the perfect book to read and them emergency text your friend to read it too so you could discuss. She also suggested going in blind so that’s what I did . . . and it was 100% the right call! So I’m doing the same now. Ha! I’m not going to talk about this other than to say, I’ve never said “whaaaaat” more often while reading a book. This book makes an excellent choice to buddy read or choose for a book club. My friend and I were texting back and forth while reading at the same time – it’s one you’ll definitely want to discuss with someone!

If I Never Met You by Mhairi McFarlane

If I Never Met You: A Novel by [Mhairi McFarlane]

After 18 years together, a shared home, and future dreams of having children soon, Laurie feels confident in her relationship with Dan. That is, until he dumps her and moves on in the blink of an eye. To make matters worse, Laurie and Dan work at the same law firm so there’s no escaping him, or all the gossip about his new life. Enter Jamie, a fellow lawyer whose ladies’ man reputation is holding him back from his dreams of making partner. In a fateful elevator ride, Laurie and Jamie share their woes and realize a perfect solution for their dilemmas is to form a fake relationship. Except, you guessed it, pretty soon fake dating starts to feel pretty real.

This book is very British, which means there’s quite a bit of sarcasm and cheekier humor, but I found it to be enjoyable and decently cute. I liked Jamie and Laurie and their dynamic, I liked watching their relationship unfold, I liked the British setting, I liked how funny and charming the supporting characters were. I do feel like too much time was spent on Laurie and her reaction to the breakup; it took so long to even get to the part where Jamie really came into play. I guess that makes it more of a slow burn? And as far as steaminess goes, I’d say it’s around PG-13 and there isn’t anything graphic, which can be hard to find in a modern rom com so if that’s your preference you may enjoy this one. It was a solid vacation read – not a slam dunk rom com but cute and fun and I enjoyed it!

Whew – that concludes the eleven books I read this month! I do have another trip planned in July, but my kids will be along for that one so I’m not sure I’ll have quite sure I’ll have as much time to relax and read. 😉 I’m still looking forward to diving into a few good ones!

ORC Week Eight: Primary Bedroom Reveal(ish)

After several weeks of work, our primary bedroom is . . . halfway done!

Yep, you read that right. I’m only finished with half of the room so far, but my oh my do I love this half!

Here’s a reminder of where the space started at the beginning of the One Room Challenge:

Throughout the past nine weeks, I painted the walls, baseboards, ceiling and windows. I also replaced the window casing with chunkier trim and updated the outlet and switch covers with wooden covers painted the same color as the wall. Justin and I hung new curtain rods and curtains, new smoke and carbon monoxide alarm, installed sconces, swapped our nightstands with the ones from our guest room, and of course, upgraded our bed, bedding, and rug.

I have realized something important about myself in this process. I understand the value of planning out a renovation ahead of time. The mood board I created at the beginning of the project was such a helpful guide for me in making decisions early on and to gather all my thoughts in one place. That being said, I realized that I also really like slow, thoughtful design decisions. I like to solidify a choice, see it in my space, and then finalize the next choice from there. This room started with the bed. I knew I wanted a platform bed in a deep, solid color. Once I had the bed in place, I could gather bedding ideas and a rug that would all coordinate well, and once I sat with those choices for a couple weeks, I found the curtains that worked perfectly to complete the look.

Looking back at my mood board, I stuck with a lot of materials and products that I first envisioned, but I’m glad I didn’t jump the gun and order everything at once in the beginning. Take the curtains for example – I originally envisioned a solid mustard color. As the renovation went on and everything came together, I realized with solid color walls (I did not do limewash as I originally planned), a solid color bedframe, and a solid color throw blanket, I needed more pattern! I wanted a subtle graphic pattern to balance out the bolder, more intricate pattern in the rug and I really wanted to stick with a mustard color. It was actually very hard to find affordable, in-stock, 96″ length curtains in a small, mustard-colored, graphic pattern that I actually liked, and I searched for weeks before finding these beauties (snagged on sale for under $50 a pair!)

I’m very glad I didn’t let the pressure of a “deadline” with the ORC rush my decision because I’m so so happy with the end result!

My goal when starting out with this space was to create a colorful, moody retreat. I wanted a place that felt relaxing for Justin and I – a little haven just for us away from the chaos of sharing a house with two toddlers and two dogs. The bedroom before was a functional, but boring blank slate. We are both so happy with how it feels now: a restful, soothing space just right for us.

Now that I’m finished with the “bed half,” I am ready to focus my energies on the other half of the room: the half that currently looks like this.

I have an Ikea dresser I plan to hack for this space, as well as add a little vanity table, more curtains, and possibly a different mirror. Again, I’m taking things a little slower and honing my vision one decision at a time! I can’t wait to see how it all comes together!

Sources

Wall Color: Sherwin Williams Foggy Day

Ceiling Color: Sherwin Williams Alabaster

Upholstered Bed

Nightstands

Cream Pillows

Green Pillows

Lumbar Pillow

Quilt

Floral Sheets + Throw, both from Target (no link available)

Rug

Eucalyptus Stems

Wall Sconce

Curtain Rods

Elbow Connectors (used to make the rods work for a bay window)

Curtains (out of stock – similar here)

Dog Bed

Be sure to check out all the other One Room Challenge reveals here!