
Last night, we celebrated LJ’s sixth birthday! This was the first year we did a big party with friends and he invited six buddies to come celebrate with him. There were many fun parts of the evening, but one of the highlights was this last-minute pinata!

I don’t typically lean hard into a themed birthday party and prefer to get decorations and supplies I can reuse over and over again in future years, but I do usually have a themed dessert based on the child’s interests. This year, LJ surprised my by requesting a monster truck ice cream cake. Even he admitted he’s not typically interested in monster trucks, but that’s what he wanted on his cake so we rolled with it. Then the night before the party, I was picking up a few last minute supplies and I stumbled across this.
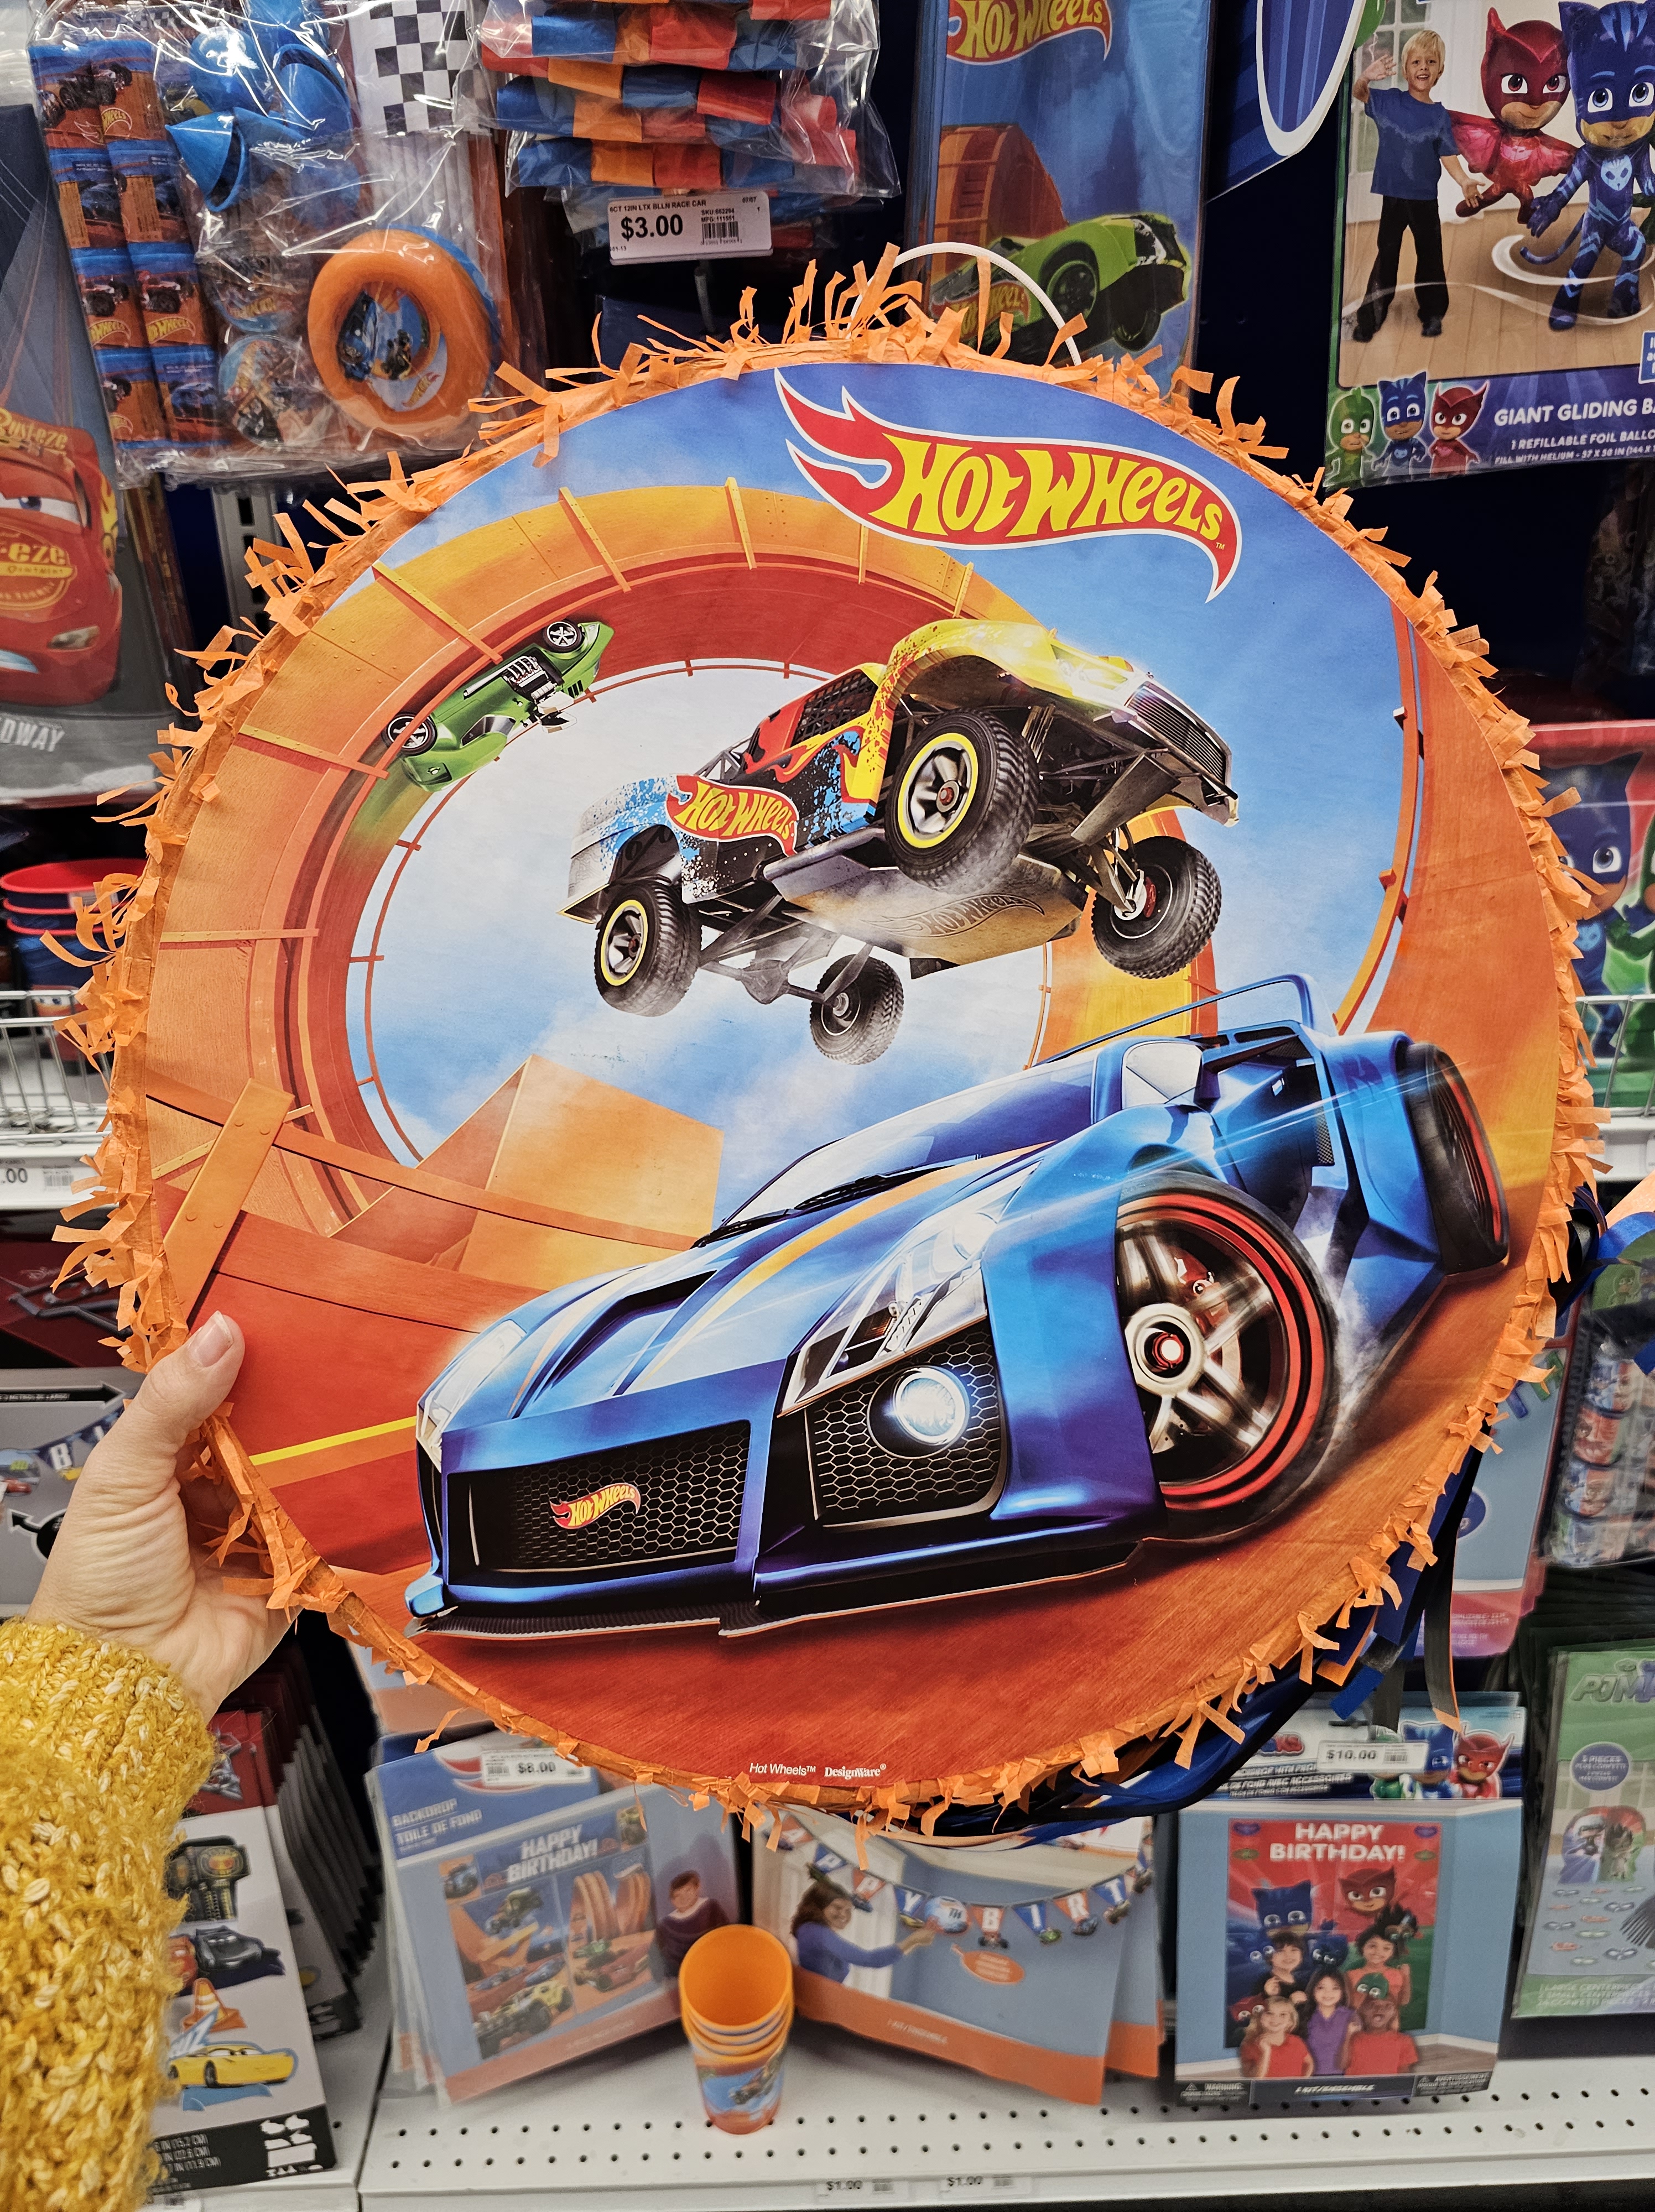
I immediately thought how fun a pinata would be at the party, and that it’d be fun to surprise LJ with a monster truck one. I did not love the $20 price tag of this one though, so I got a burst of inspiration to try making my own DIY version of a pinata. It turned out great so I thought I’d share the tutorial today – I had most of the supplies on hand so it ended up costing me just over $5 and took about an hour of active work time.
Supplies
-thick cardboard (I used a diaper box)
-thin cardboard (I used a cereal box)
-painter’s tape (masking tape would work too)
-tissue paper
-scissors
-pen
-glue stick
-candy to fill it!
I decided to keep the shape simple so I used a round fruit bowl to trace two circles onto the diaper box cardboard. The edges weren’t perfectly smooth after cutting but I knew tape would be going over top so I didn’t worry about it.

I cut the two narrow sides off the Cheerios box, and when I realized that wouldn’t quite be enough to go all around the large circles I used one as a template to cut one more strip off the box.
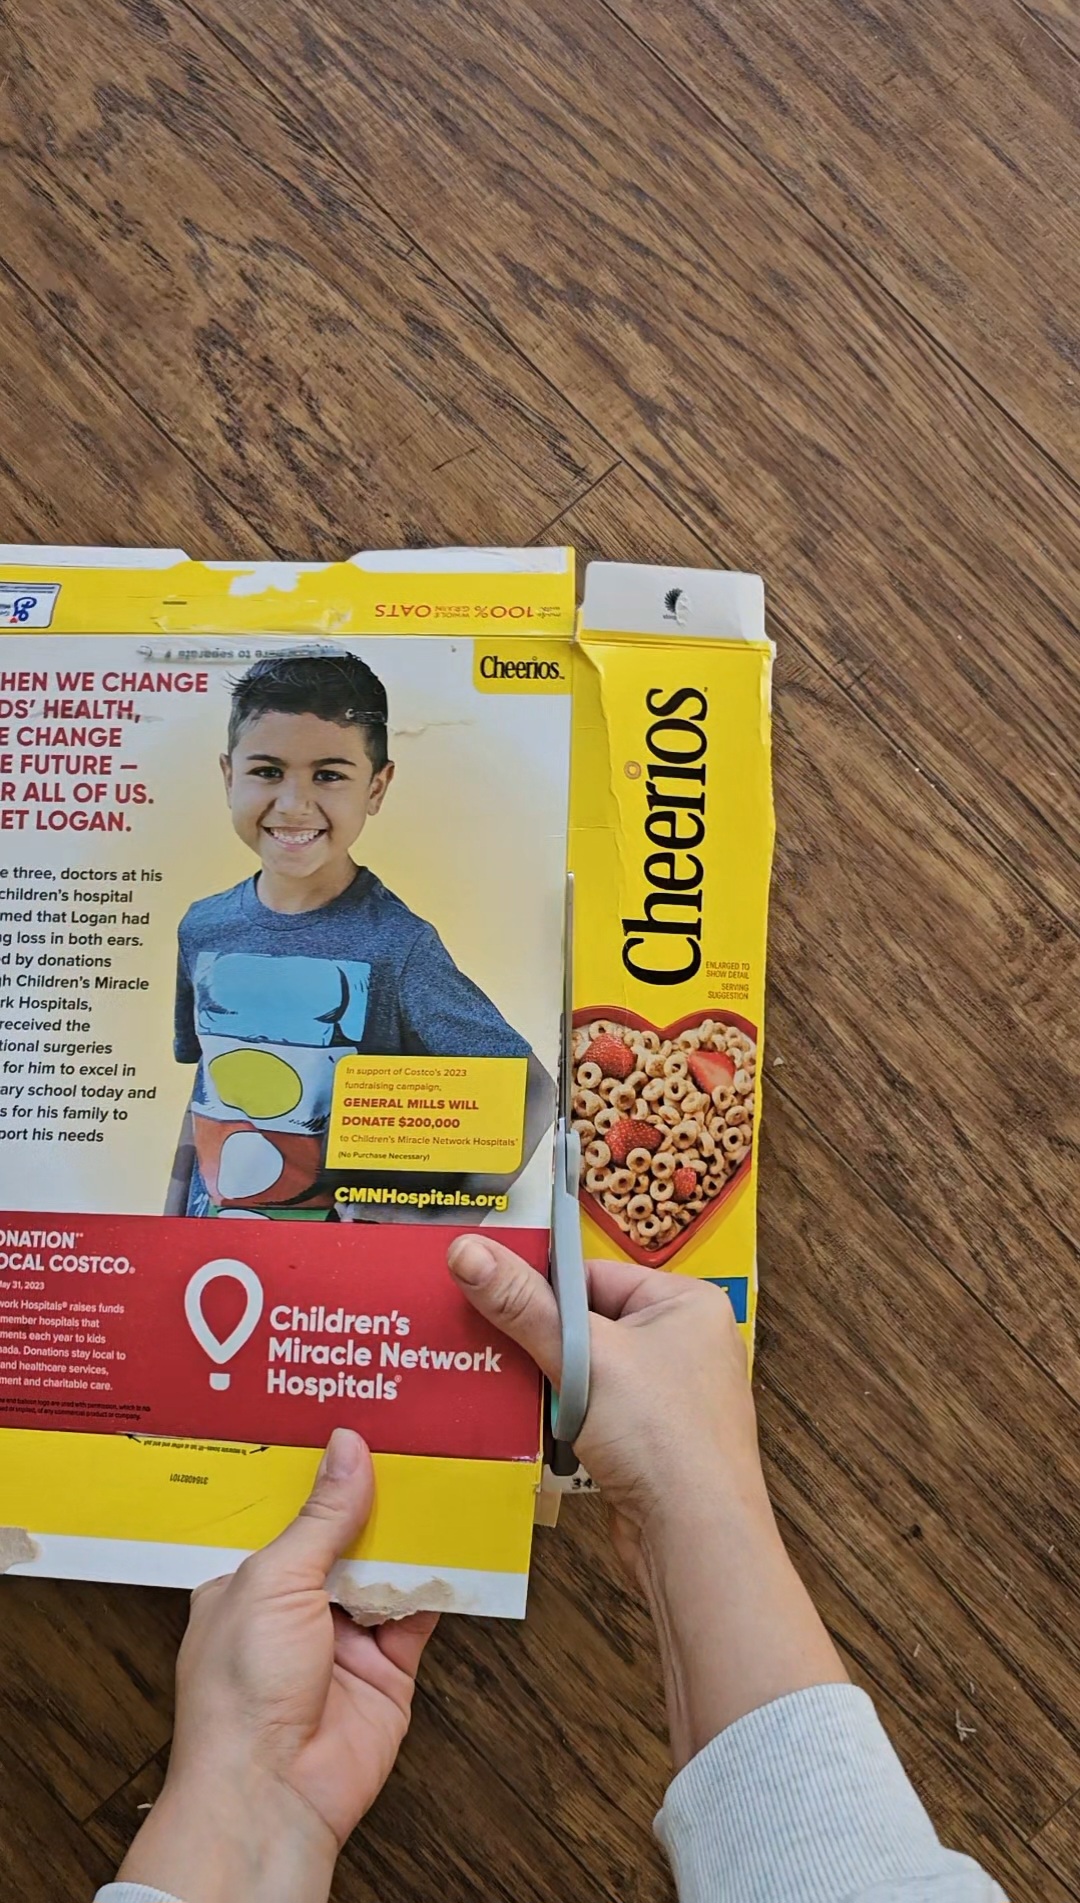
I used painter’s tape to attach the Cheerios strip to one large round circle, then the other. I left one little flap un-taped so there would be a slot to add candy.

Once the structure was finished, it was time for the tissue paper. I stacked a few sheets of tissue paper and cut them into roughly two inch strips.

I stacked the strips and then cut the fringe about halfway into the strip. I didn’t worry about perfection – the strips and fringe were all a little different!

I swiped a glue stick in a line across the bottom and stuck the first piece of tissue paper on. Right above the top of the tissue paper, I swiped another line of glue and stuck another piece on. I repeated this process from the bottom to the top and then cut the excess tissue paper around the edge of the pinata.

I flipped the pinata over and repeated the process on the other large round side, then did the same thing on the narrow side. There was a little adjusting here and there as I glued the edges and trimmed off excess. I did put tissue paper over the candy flap, but did not close it yet.
Just one quick note: The fringe was irregular, but since the tissue paper was all one color it didn’t matter to me. If I was doing a multicolored pinata I would probably have wanted to keep things a little more consistent so the stripes would look more cohesive.
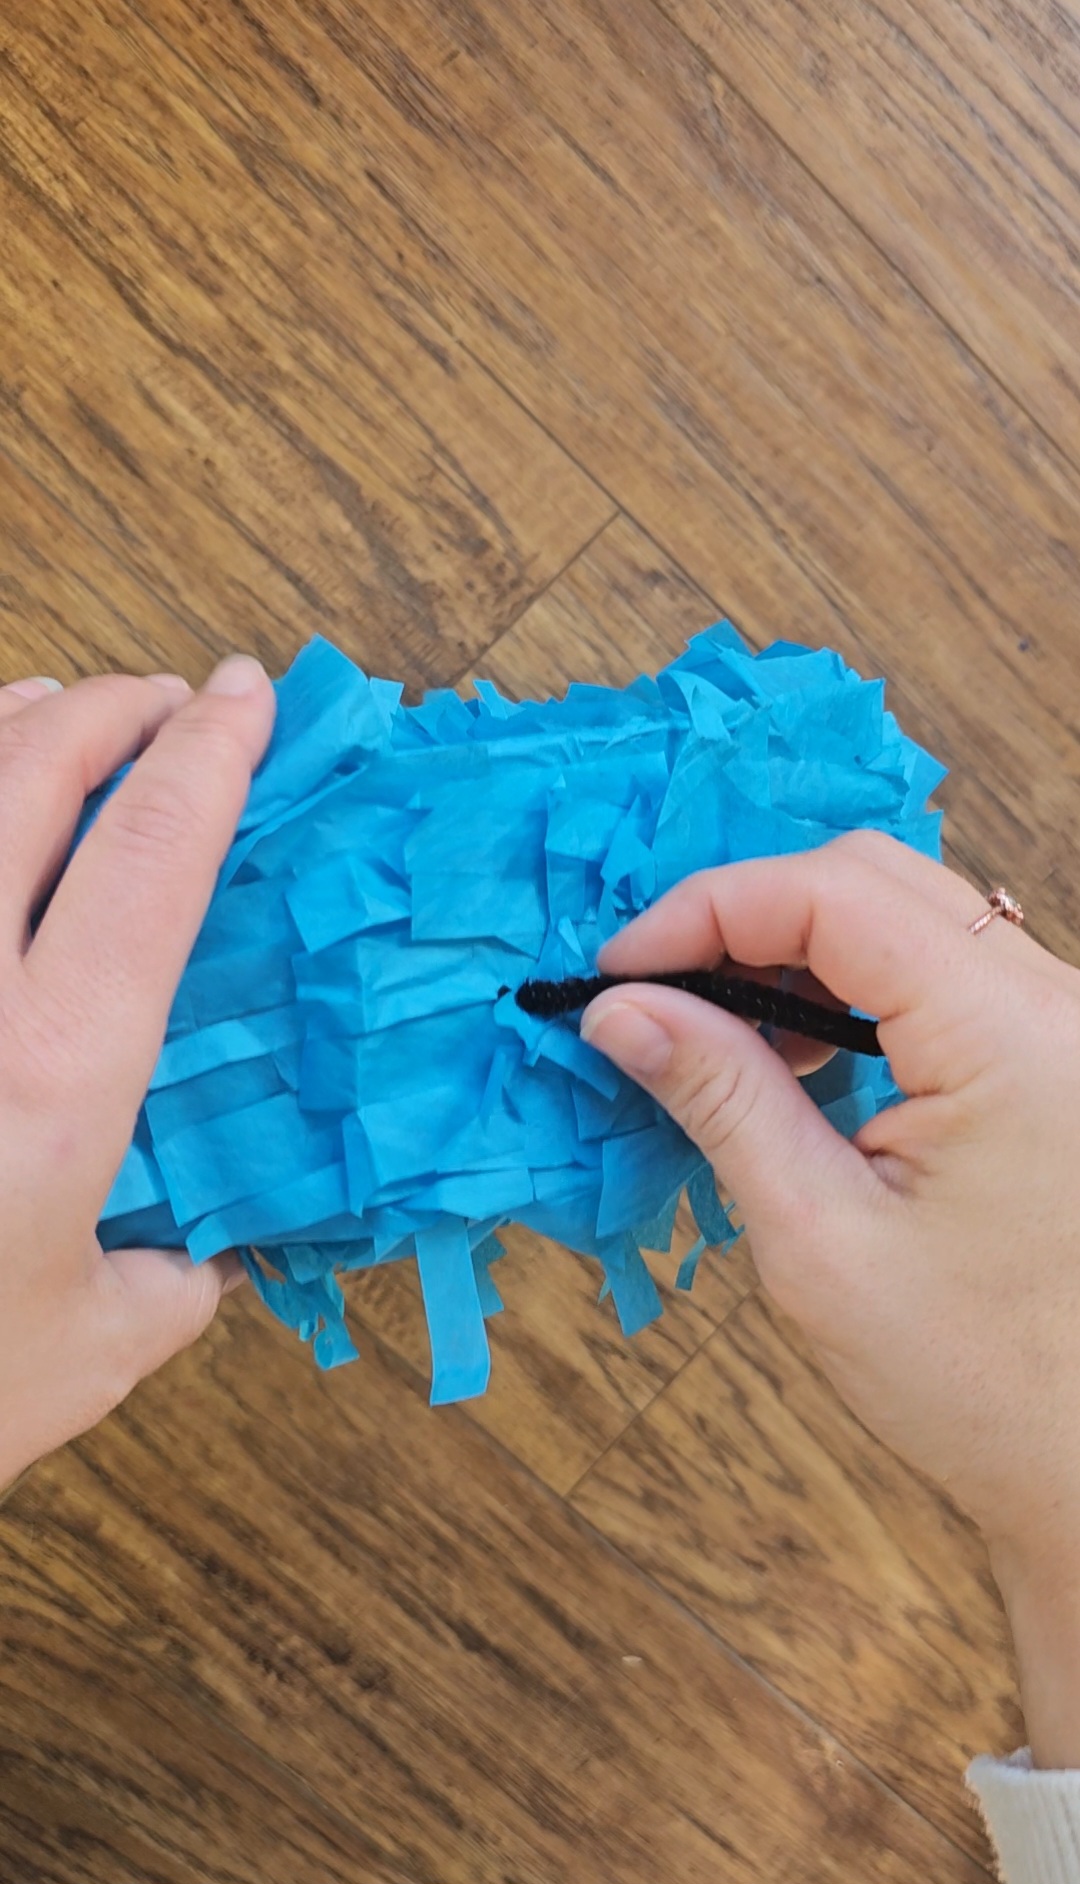
For hanging the pinata, I took a piece of black pipe cleaner and poked two small holes in the top. It was too hard to document this, but I stuck my hand through the candy slot to twist the ends together inside, then I used painter’s tape to stick the twisted ends to the top of the pinata. This felt sturdy enough to withstand a beating from six year old boys!
Lastly, I filled it with candy, and carefully stuck painter’s tape inside the candy slot, adhesive side sticking to the sides and covering the hole as best I could, so that I could press down the flap onto the tape. (In hindsight, I should have taped the flap from the outside and then covered it up again with fringe to give better durability).
I bought a monster truck digital download on Etsy and had it printed at my local FedEx on cardstock. I cut a circle around the truck, glued it to the front, and voila! A monster truck pinata for a total of $5.18.

We used rope to hang it from a broomstick, which Justin held. It was a hit with the boys and lasted about 12 solid hits before bursting open, which was good enough for me (but it burst from the candy flap side and I think if I had taped that closed just a little bit better it would’ve lasted a little longer). LJ loved it and told me I was “the best maker birthday mom ever” which I will take! 😉


