It’s been two years since we first moved into this house. On one hand, I can’t believe it’s been that long. On the other, it feels like so much longer! Last year I posted a tour of every single room to document our progress one year in (to see last year’s tour, click here). Today, I’m once again sharing every single room in our house, now two years in to living here. Something interesting I noticed after the fact is that last year, I titled the post “house tour” and this year, I titled it “home tour.” I think this subconscious decision speaks to the fact that we have been working really hard to turn this house into our home and with each little change it feels more and more like us.
This post is inevitably a long one but I tried not to make it even longer with a lot of words, so anytime the italicized room name has a hyperlink, that will take you back to the renovation post. If you want to read more about how that room was transformed, click the link and you can see before and afters! The rooms that haven’t been addressed don’t have hyperlinks but I’ll share a few thoughts about what the room has been through so far and what still needs to happen.
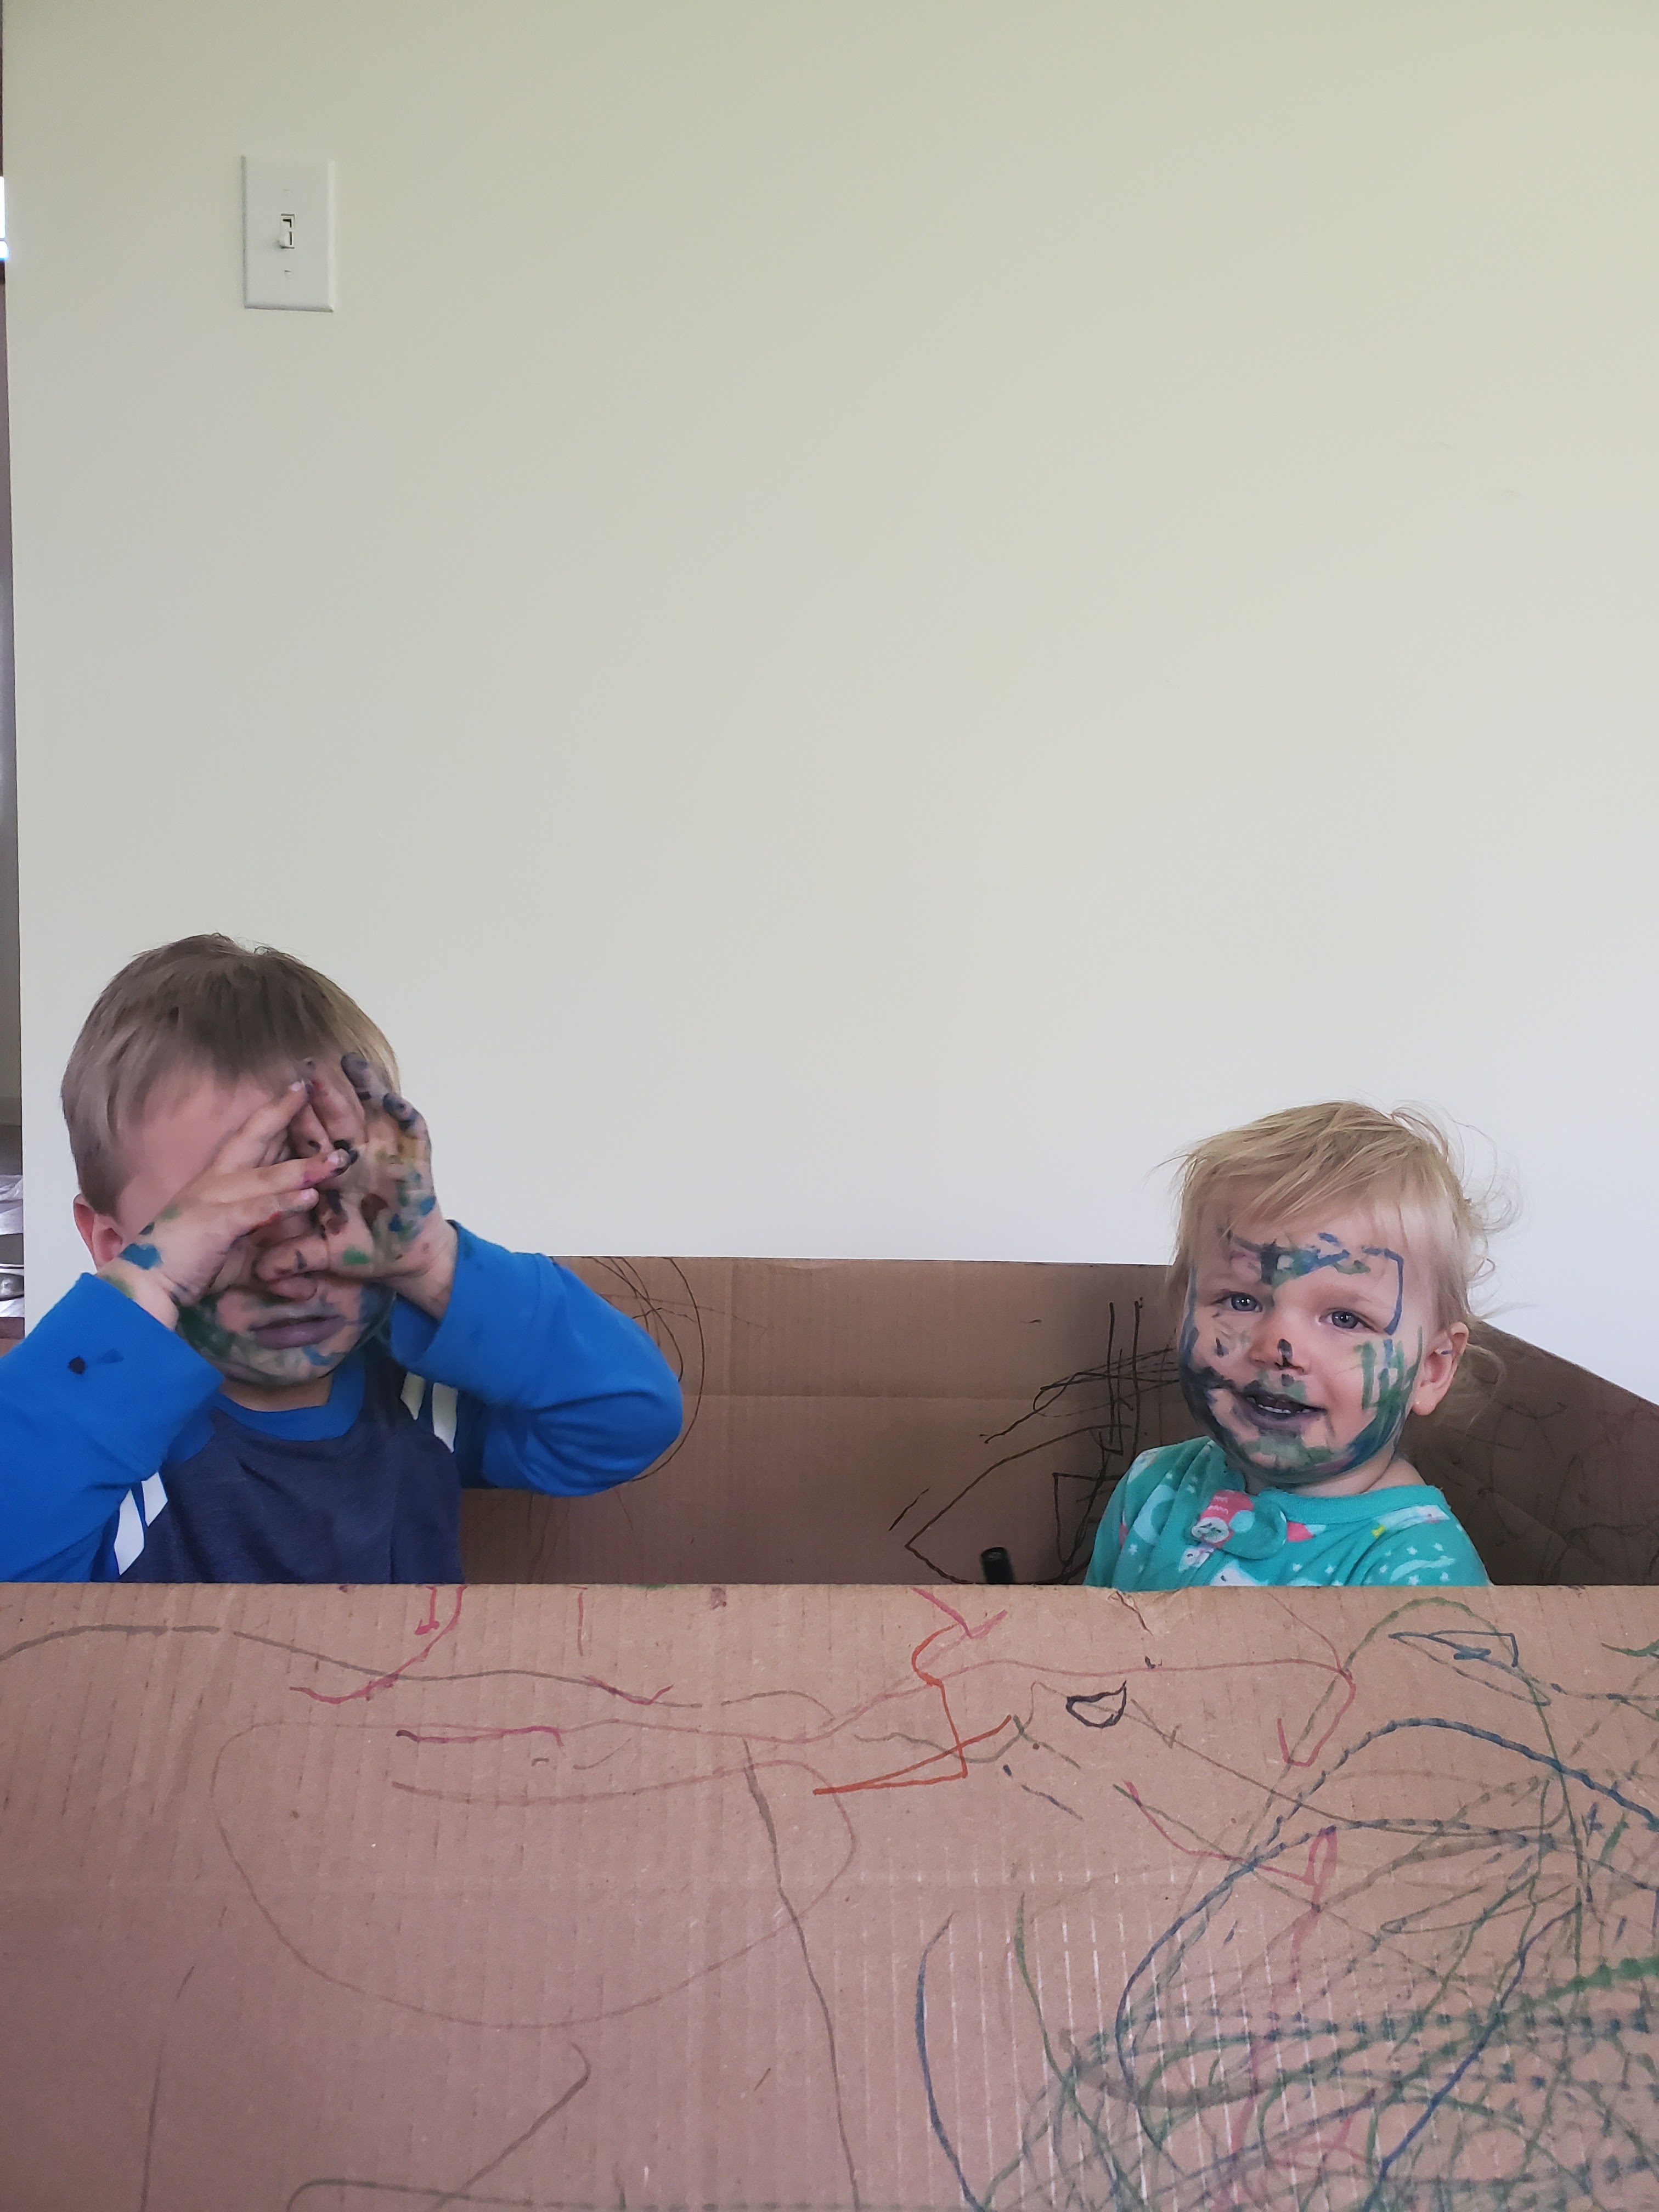
These tours are fun to look back on because not only does it show all the changes this house undergoes, but it also shows the changes in our family (cribs to toddler beds, stuffed animals now to older choices later, etc). For that reason, I didn’t really shift around much for these pictures. Obviously I cleaned so it’s looking its best 😉 but I still wanted this to look like us. I didn’t suddenly style a coffee table that normally we keep empty due to toddlers or didn’t take down LJ’s creations on our fridge or move our exercise bike (even though I wanted to!) or anything like that. In one case I didn’t even pick up LJ’s toys. This is just our home in 2021.
Basement
Guest Bedroom
I would still like to go back and add wallpaper to this room at some point!
Guest Bathroom
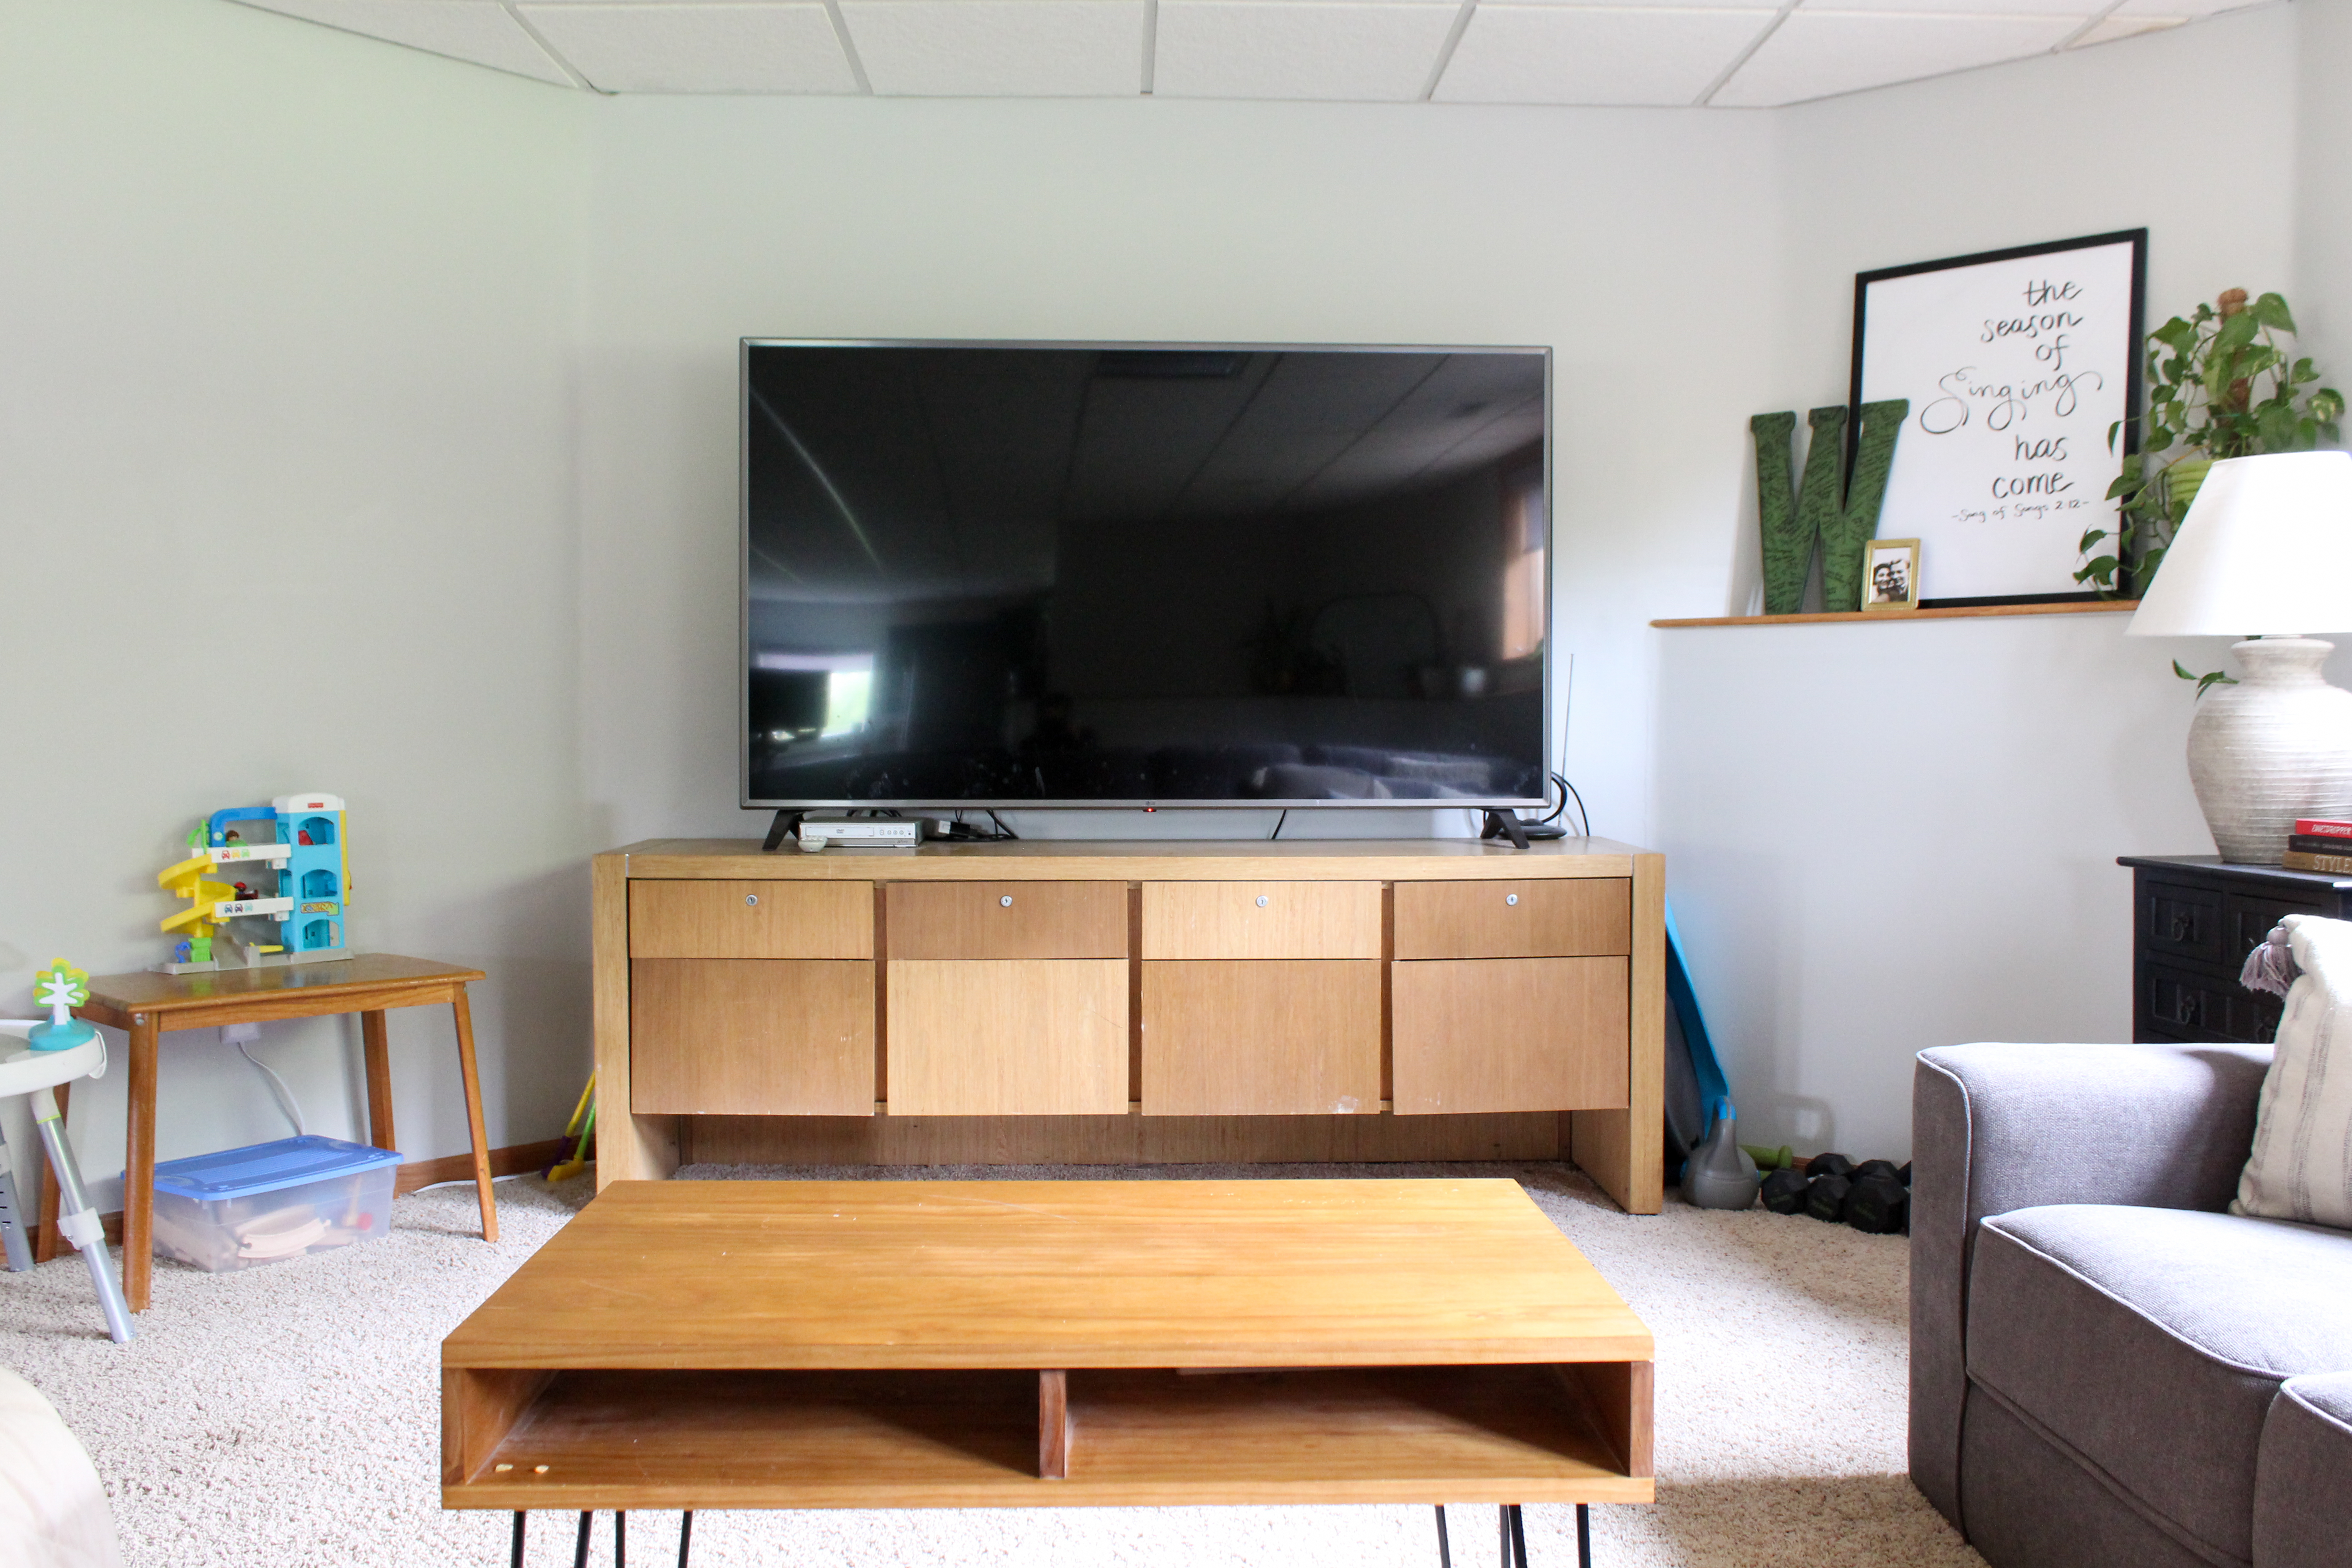
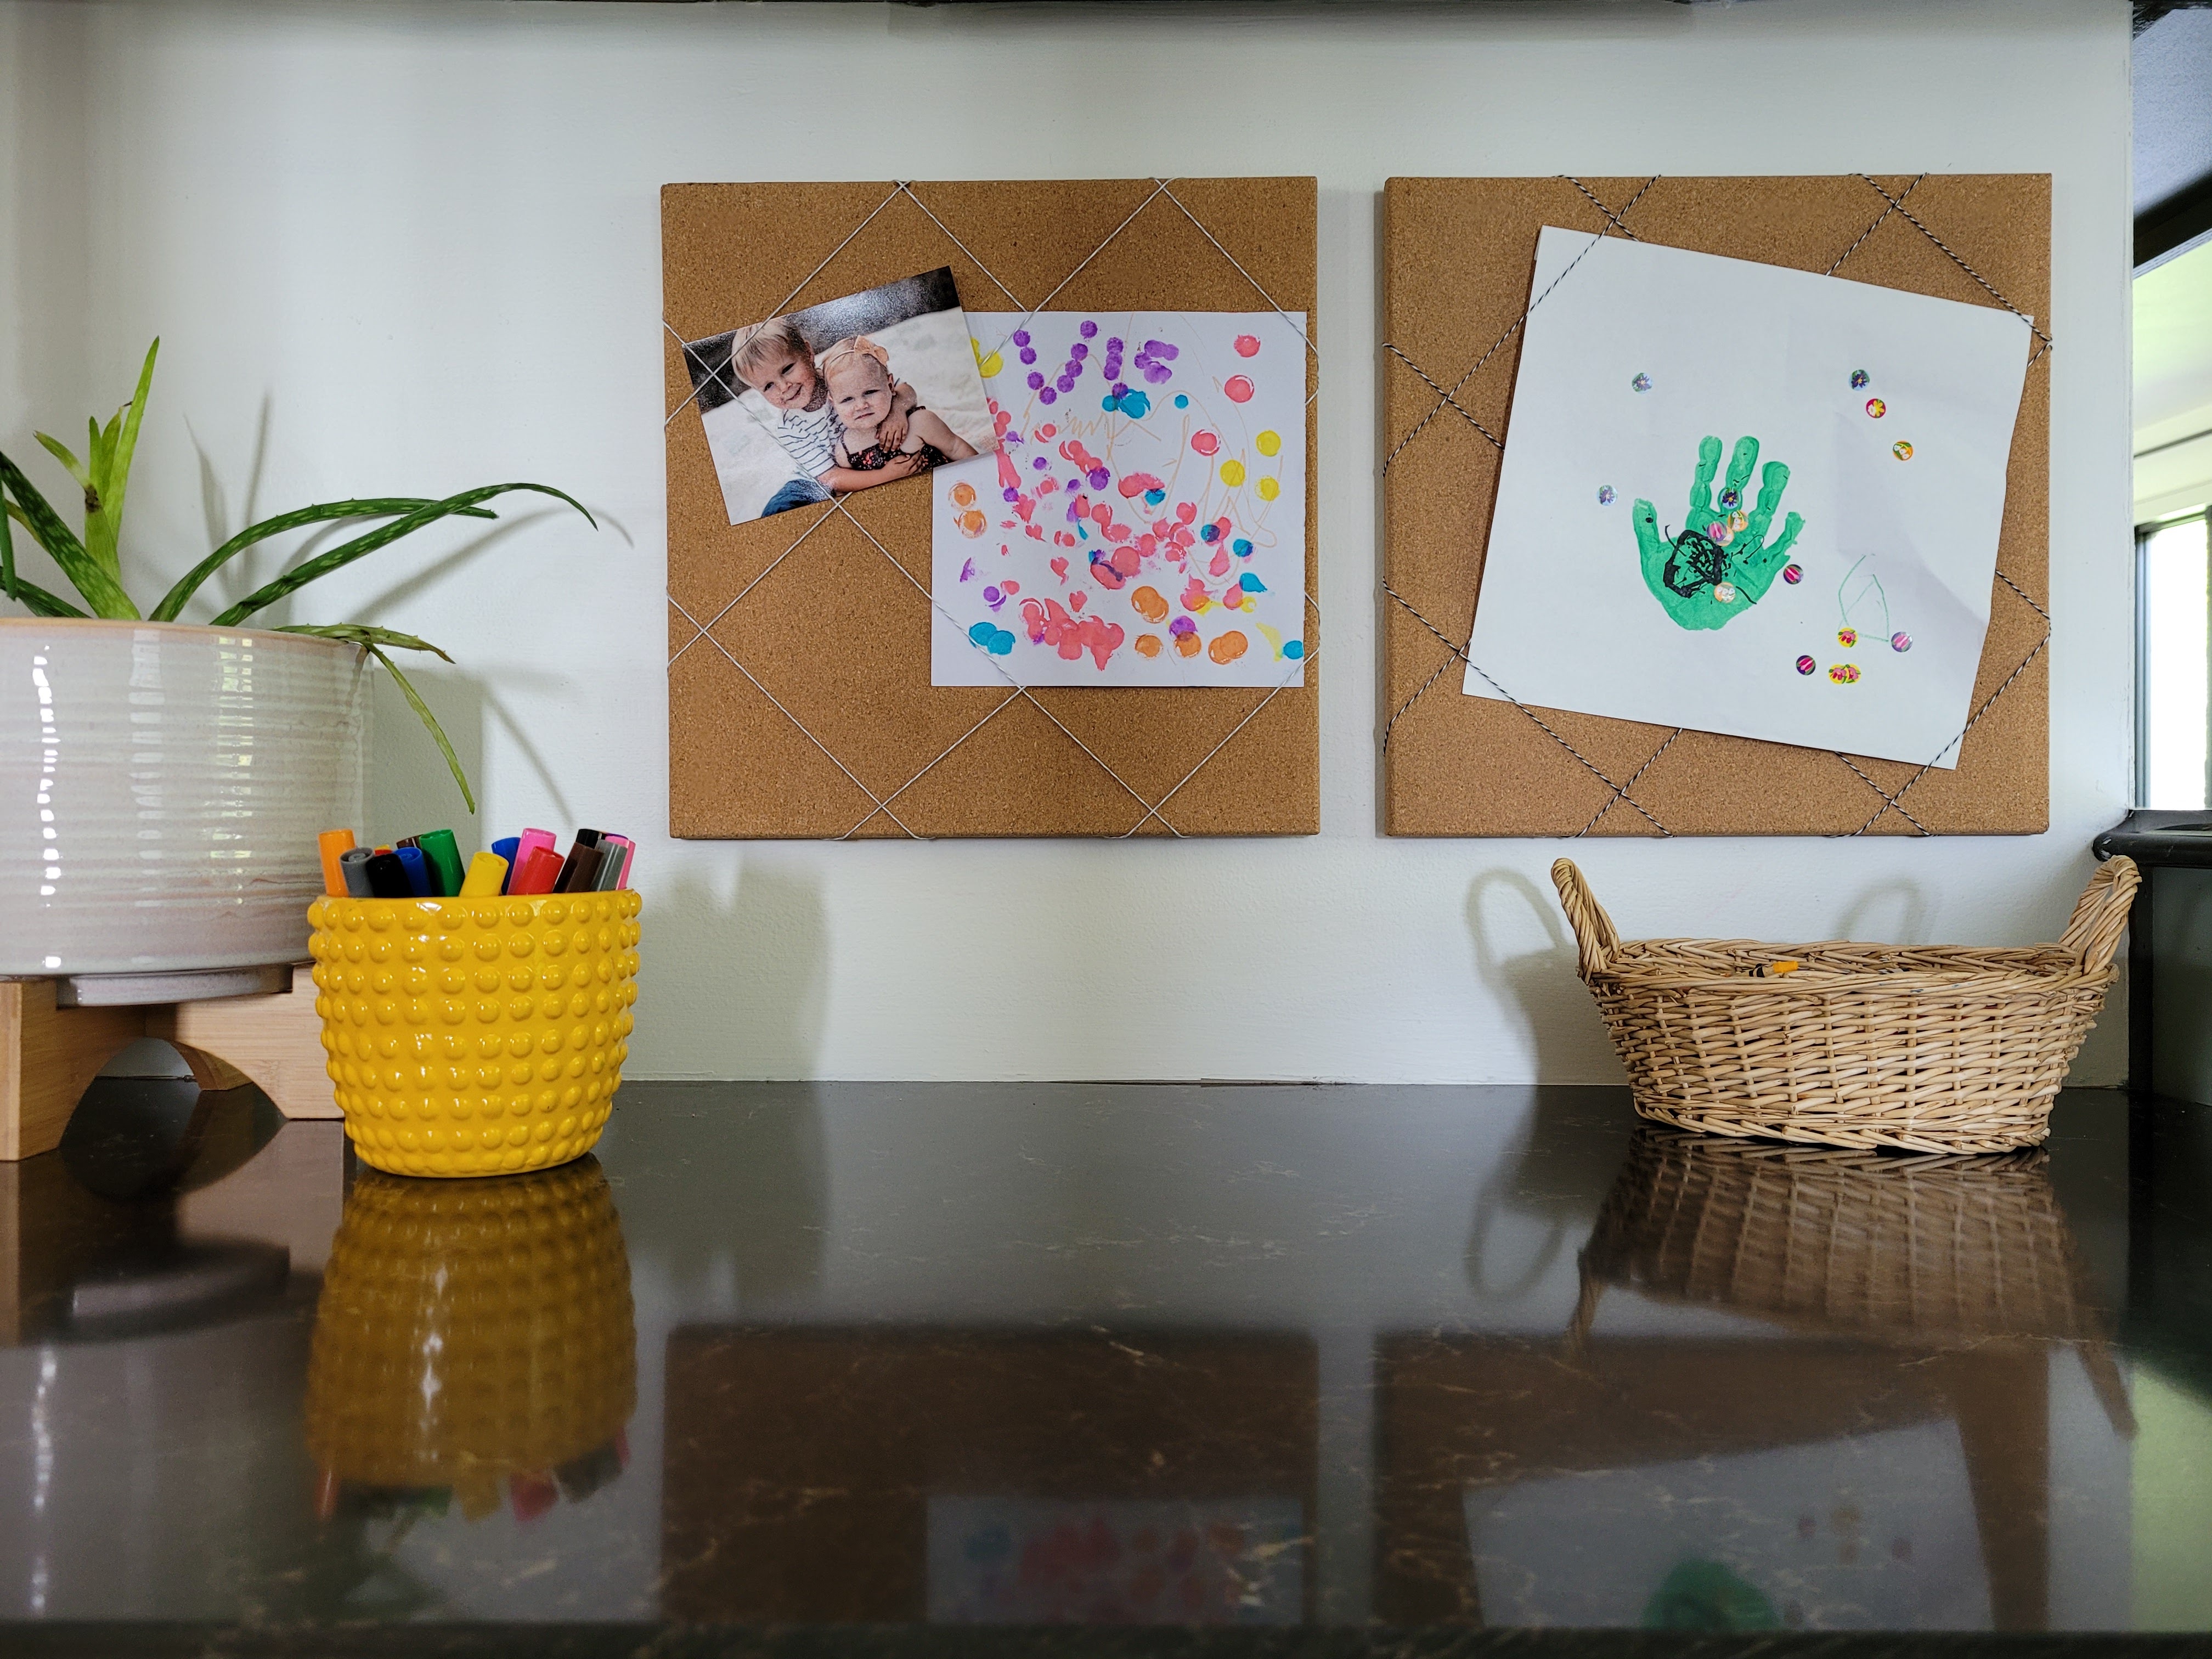
Entertaining Space
This is a space that’s been added to and adjusted in bits and pieces over the time we’ve lived here. I’m constantly rearranging all the plants on that shelf as we collect more or they grow and get re-potted so this space is always evolving. I still want to swap out the old window trim and paint the windows at some point, which I think will make a big difference!
I found this huge piece of furniture on Marketplace and I have some ideas in mind to really transform its look but for now, I’m just glad we have something other than a bent folding table to hold our TV!
Behind the couch is the dining table Justin made from scrap wood paired with chairs I found on Marketplace for $2 a piece. Right now, that space is also occupied by our exercise bike (Quarantine Splurge #1). I’d really rather that be somewhere else but Justin prefers to have it there so he can ride and watch TV at the same time. Did you also see all the weights and yoga mat to the right of the entertainment center in the picture above? We really need a dedicated home gym space . . . more on that in a minute.
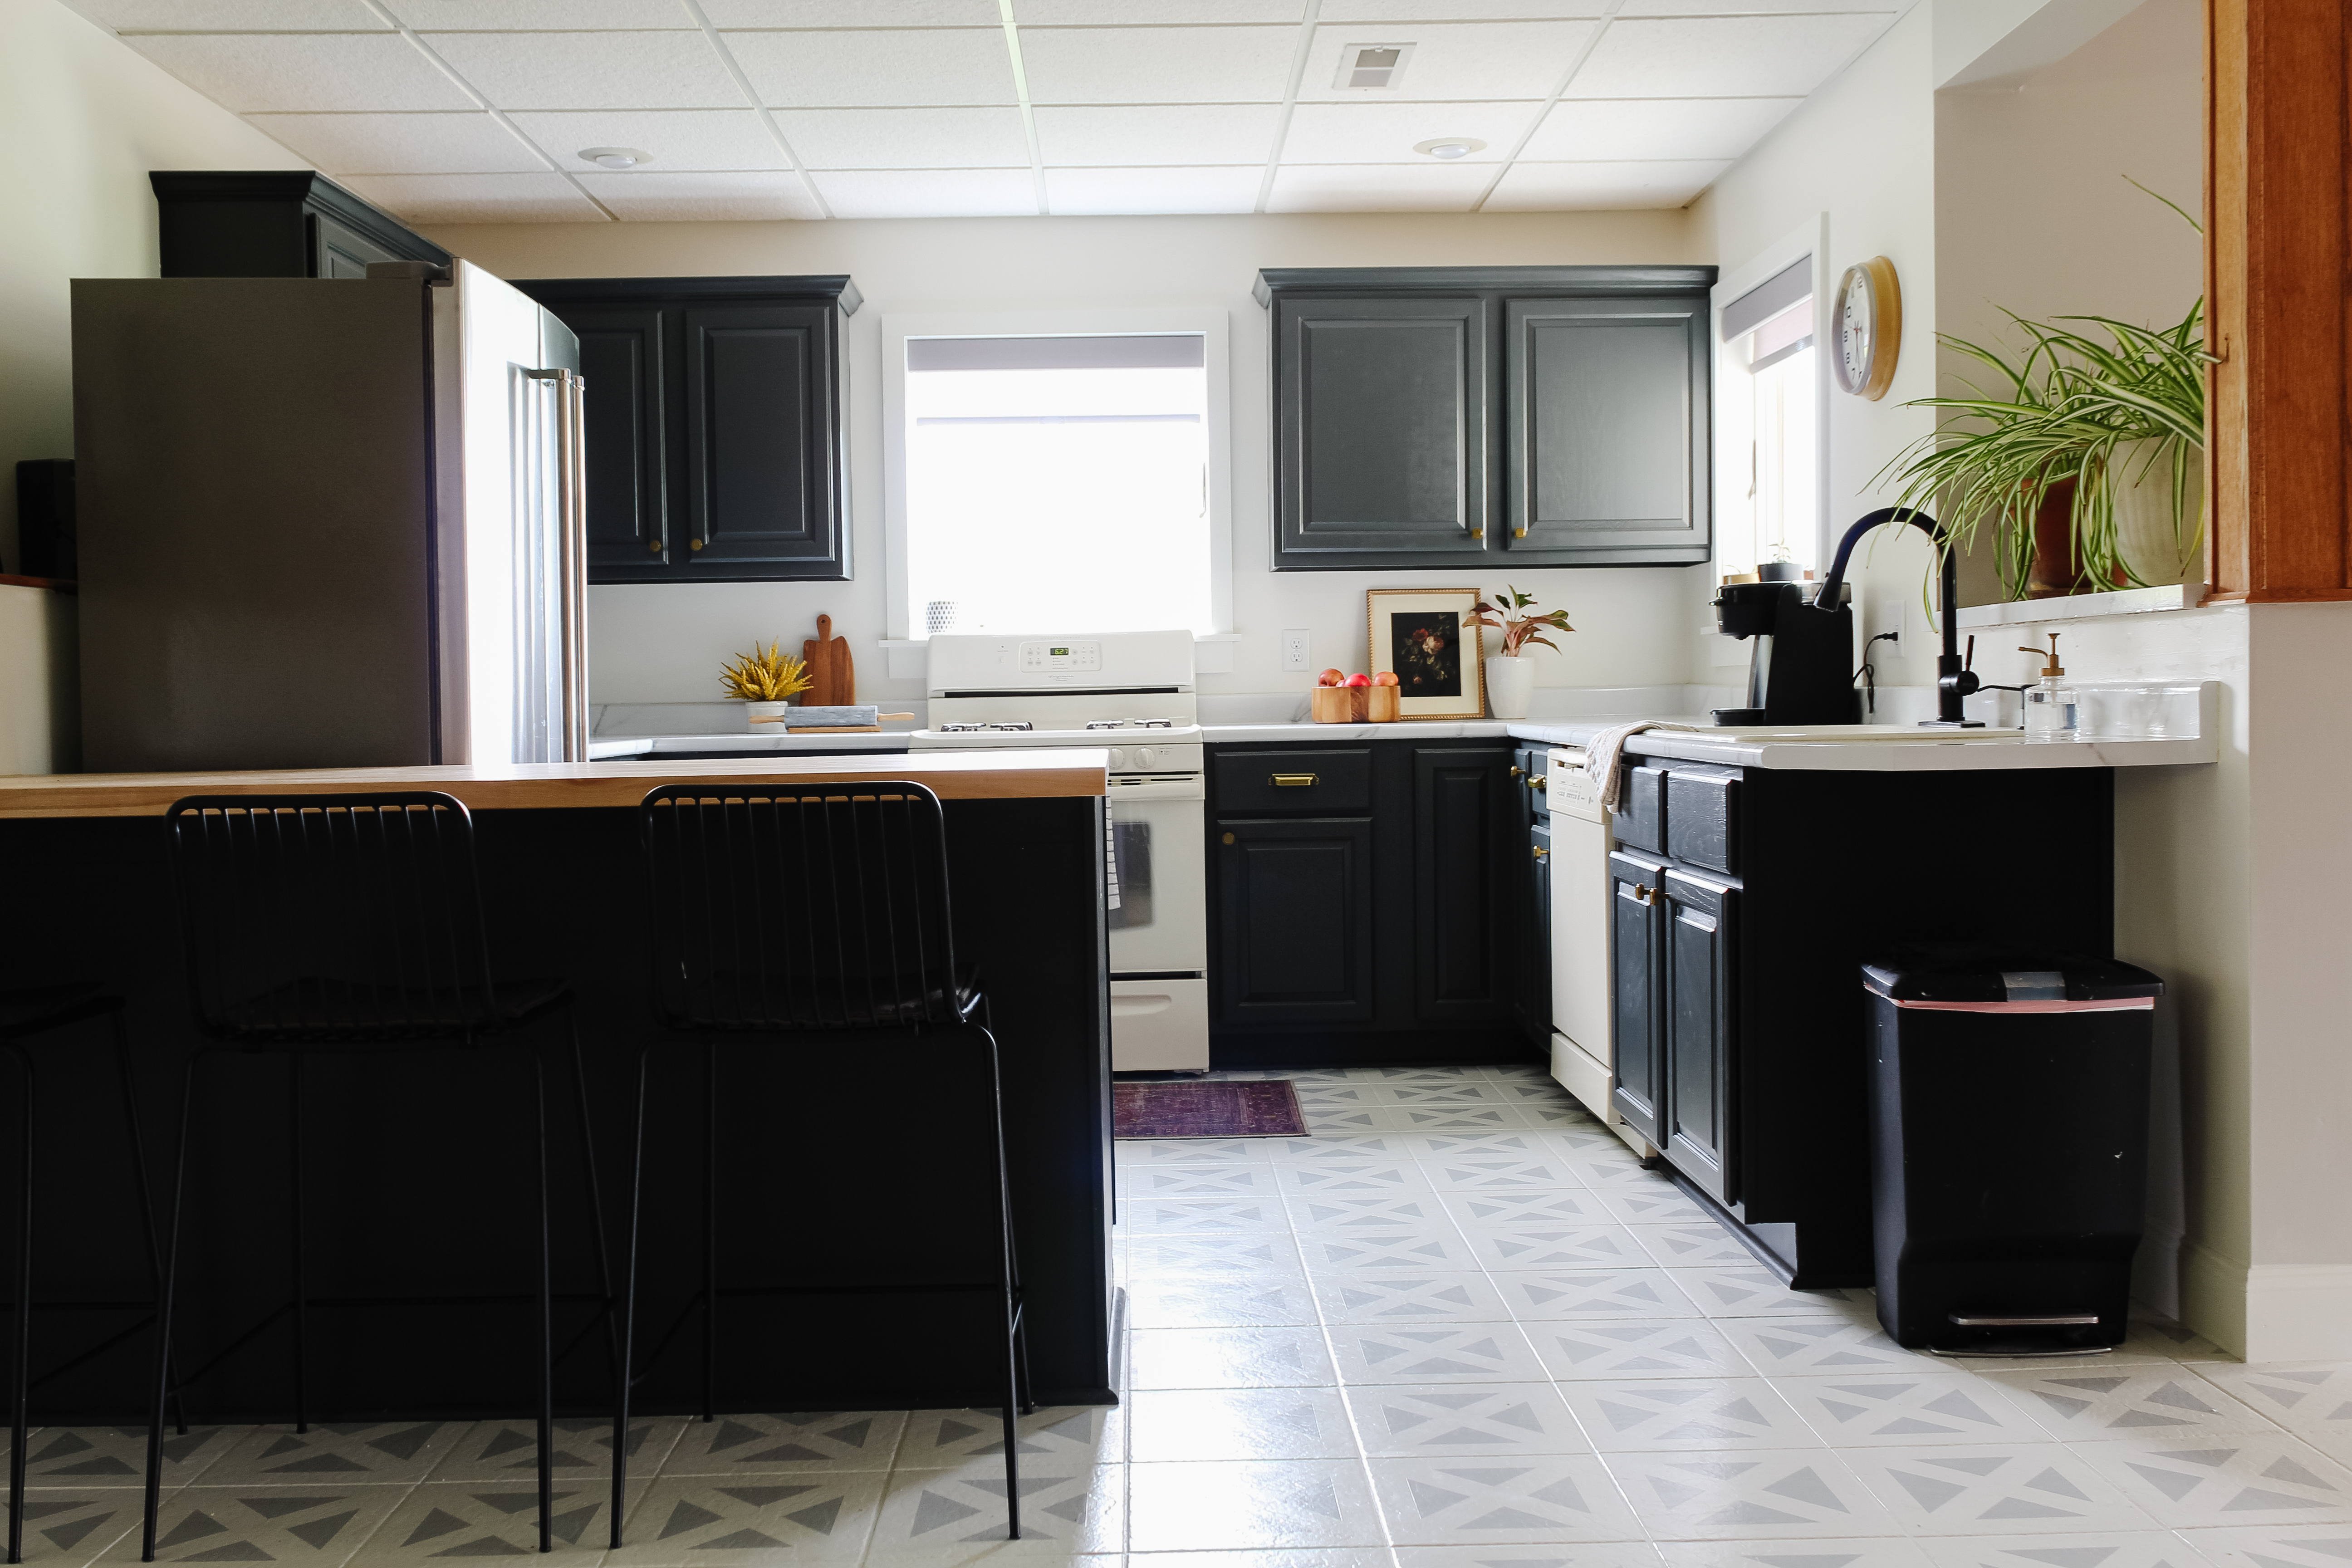
Perhaps my favorite part of the basement is the kitchen I renovated last year!
On the other side of the basement is a wide open space that wasn’t really utilized until Quarantine Splurge #2 entered the picture. This bounce house was purchased over the winter and was a total game changer for life at home with two toddlers who can’t go anywhere. Even now that the weather has warmed up and we go outside more, this still gets used almost daily and is so great for getting energy out!
There’s also a treadmill that we never use that just needs to be sold to get out of the house and a lot of wide open space for the kids to play. I decided to leave LJ’s toys out instead of clean them up for the picture because he is obsessed with tractors and loves to line up his toys and I know I’ll miss these sweet little lineups some day.
Mudroom
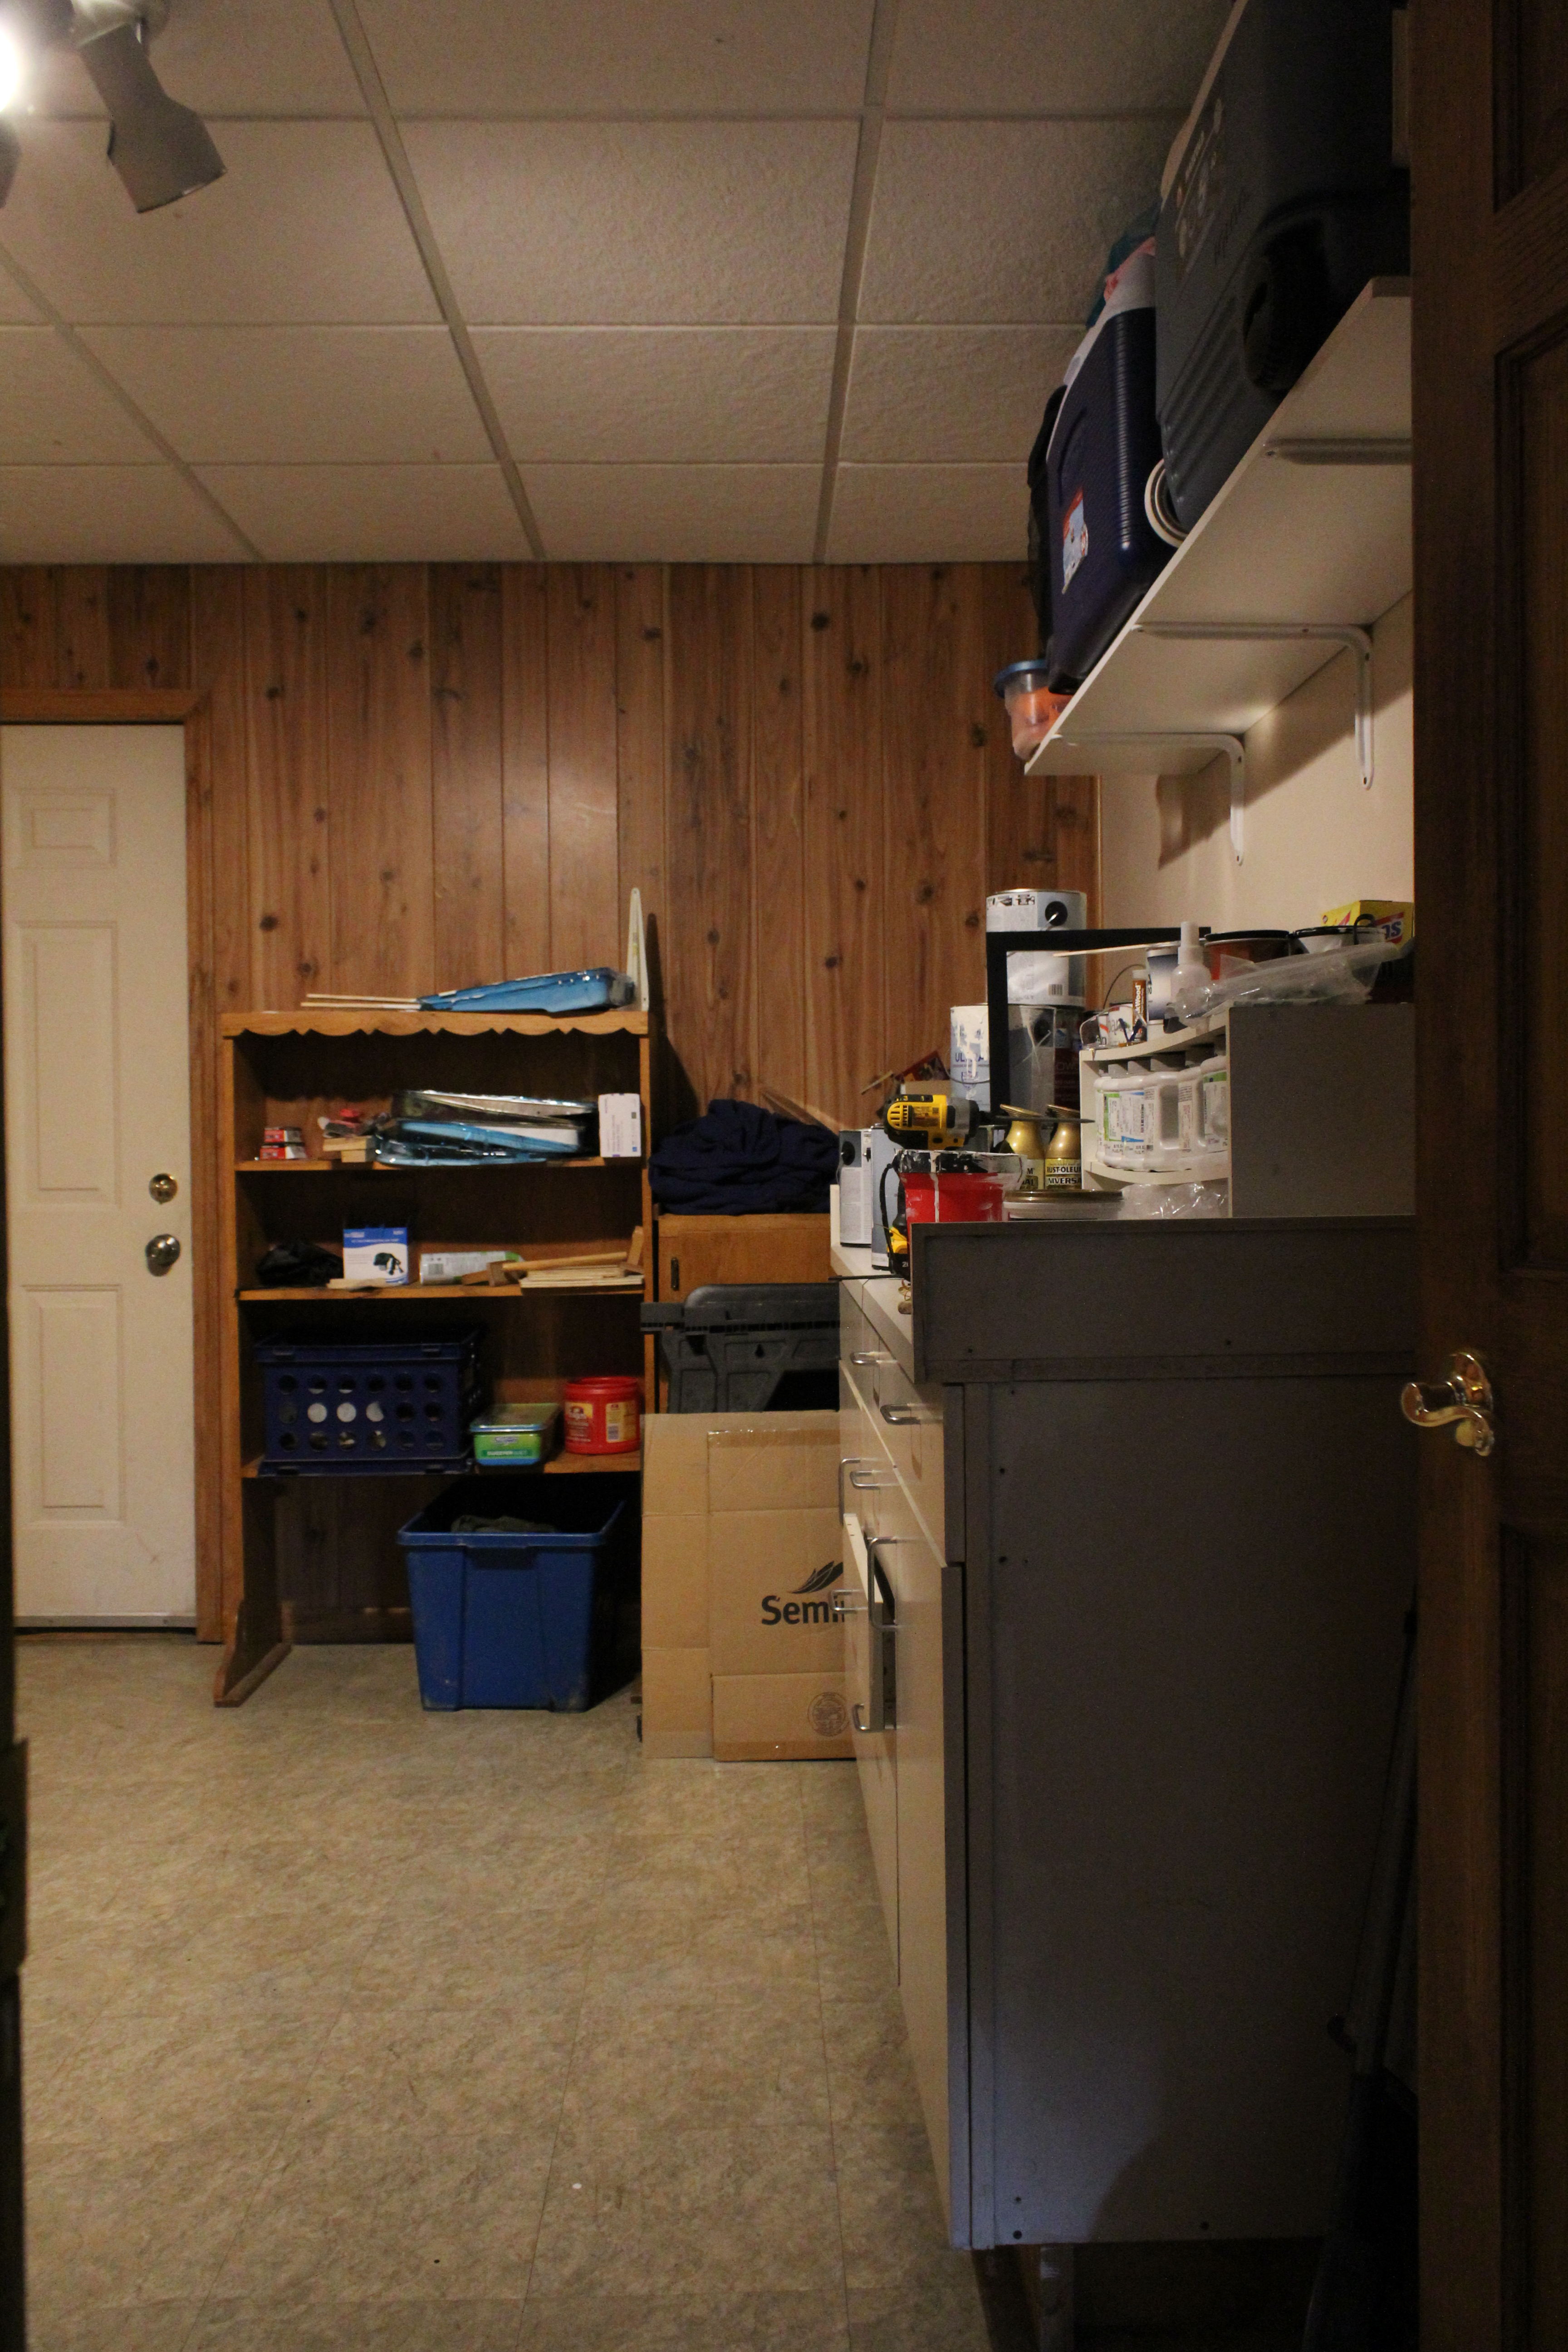
The last room in the basement is by far the worst room in our home. It’s my Monica closet for all you Friends fans. I’m cringing just looking at it! It’s been used for storage but it’s cluttered and unorganized and so badly needs attention. I actually want to totally re-work this space and use it as a workout room for all the exercise equipment taking up space in the basement so that may be a project one day!
Now we head up the spiral stairs to the main floor of the house!
Main Floor
Laundry Room
This room has been pretty much untouched since we moved in but I have big plans to address it this year!
Full Bathroom
I did a zero dollar update to this bathroom off the laundry room last summer and still love how it turned out!
Powder Room
This room has been untouched so far and it low on our priority list right now. Someday, my friend.
Office
By far my favorite project to date!
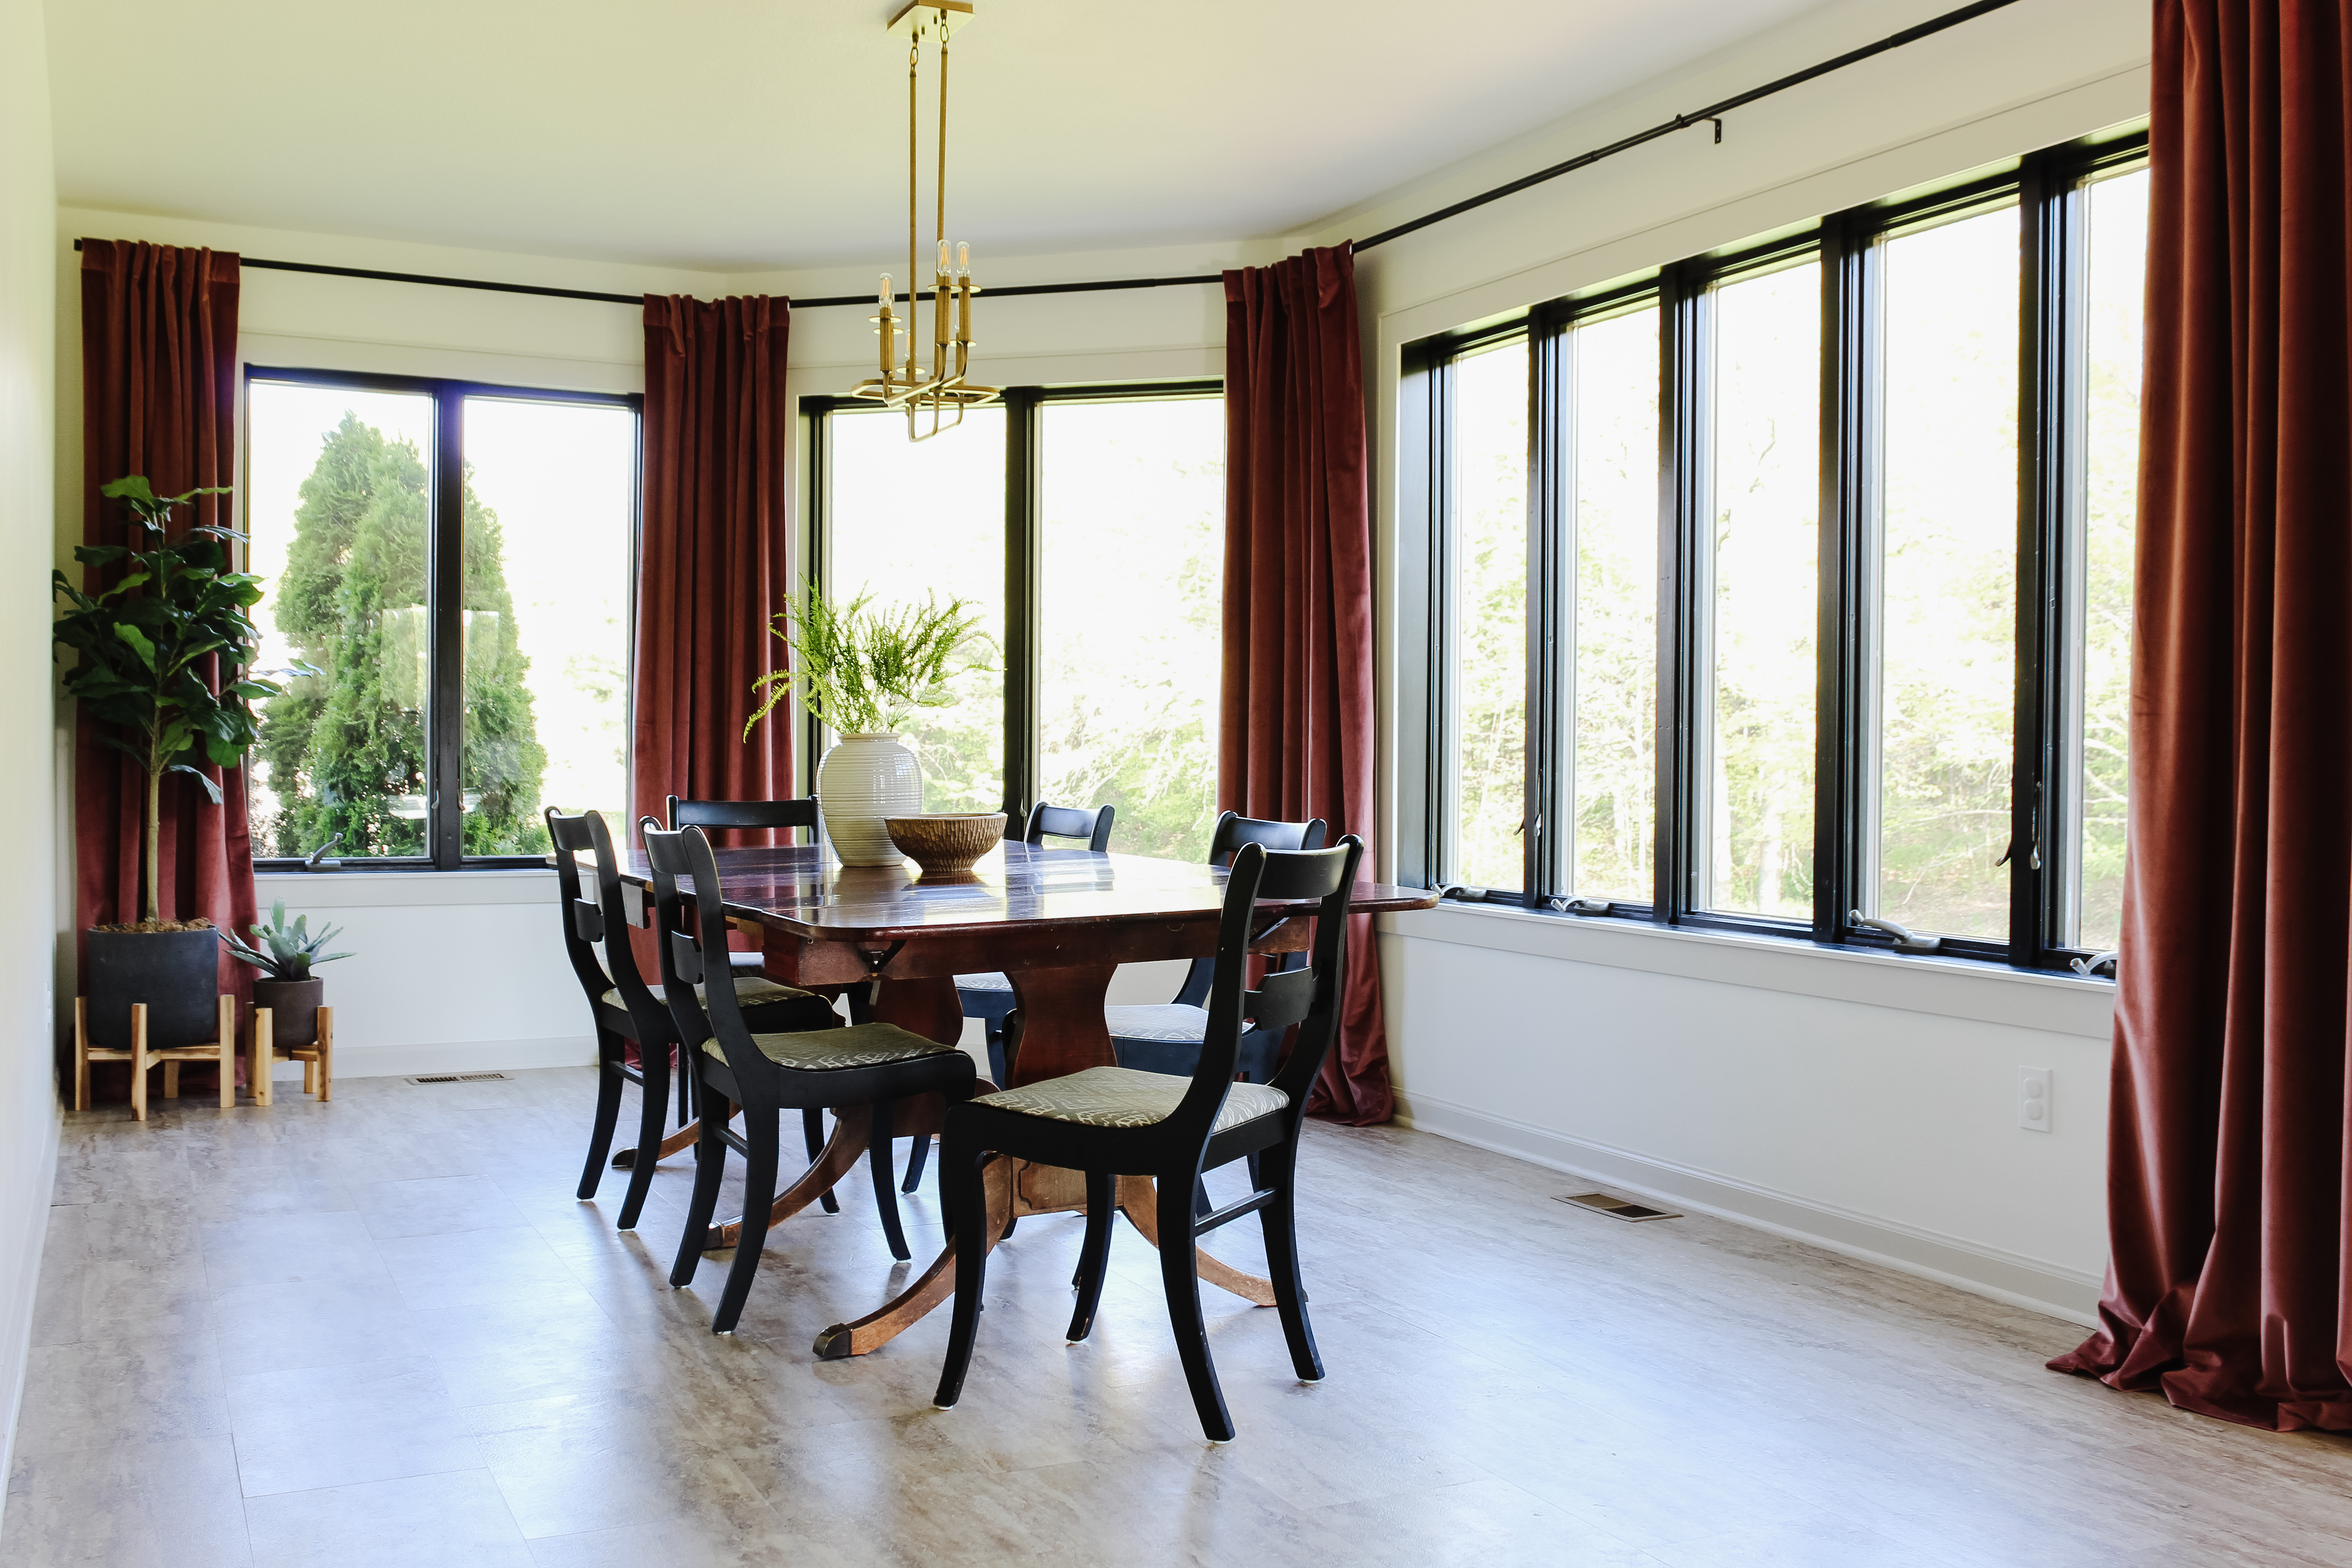
Dining Room
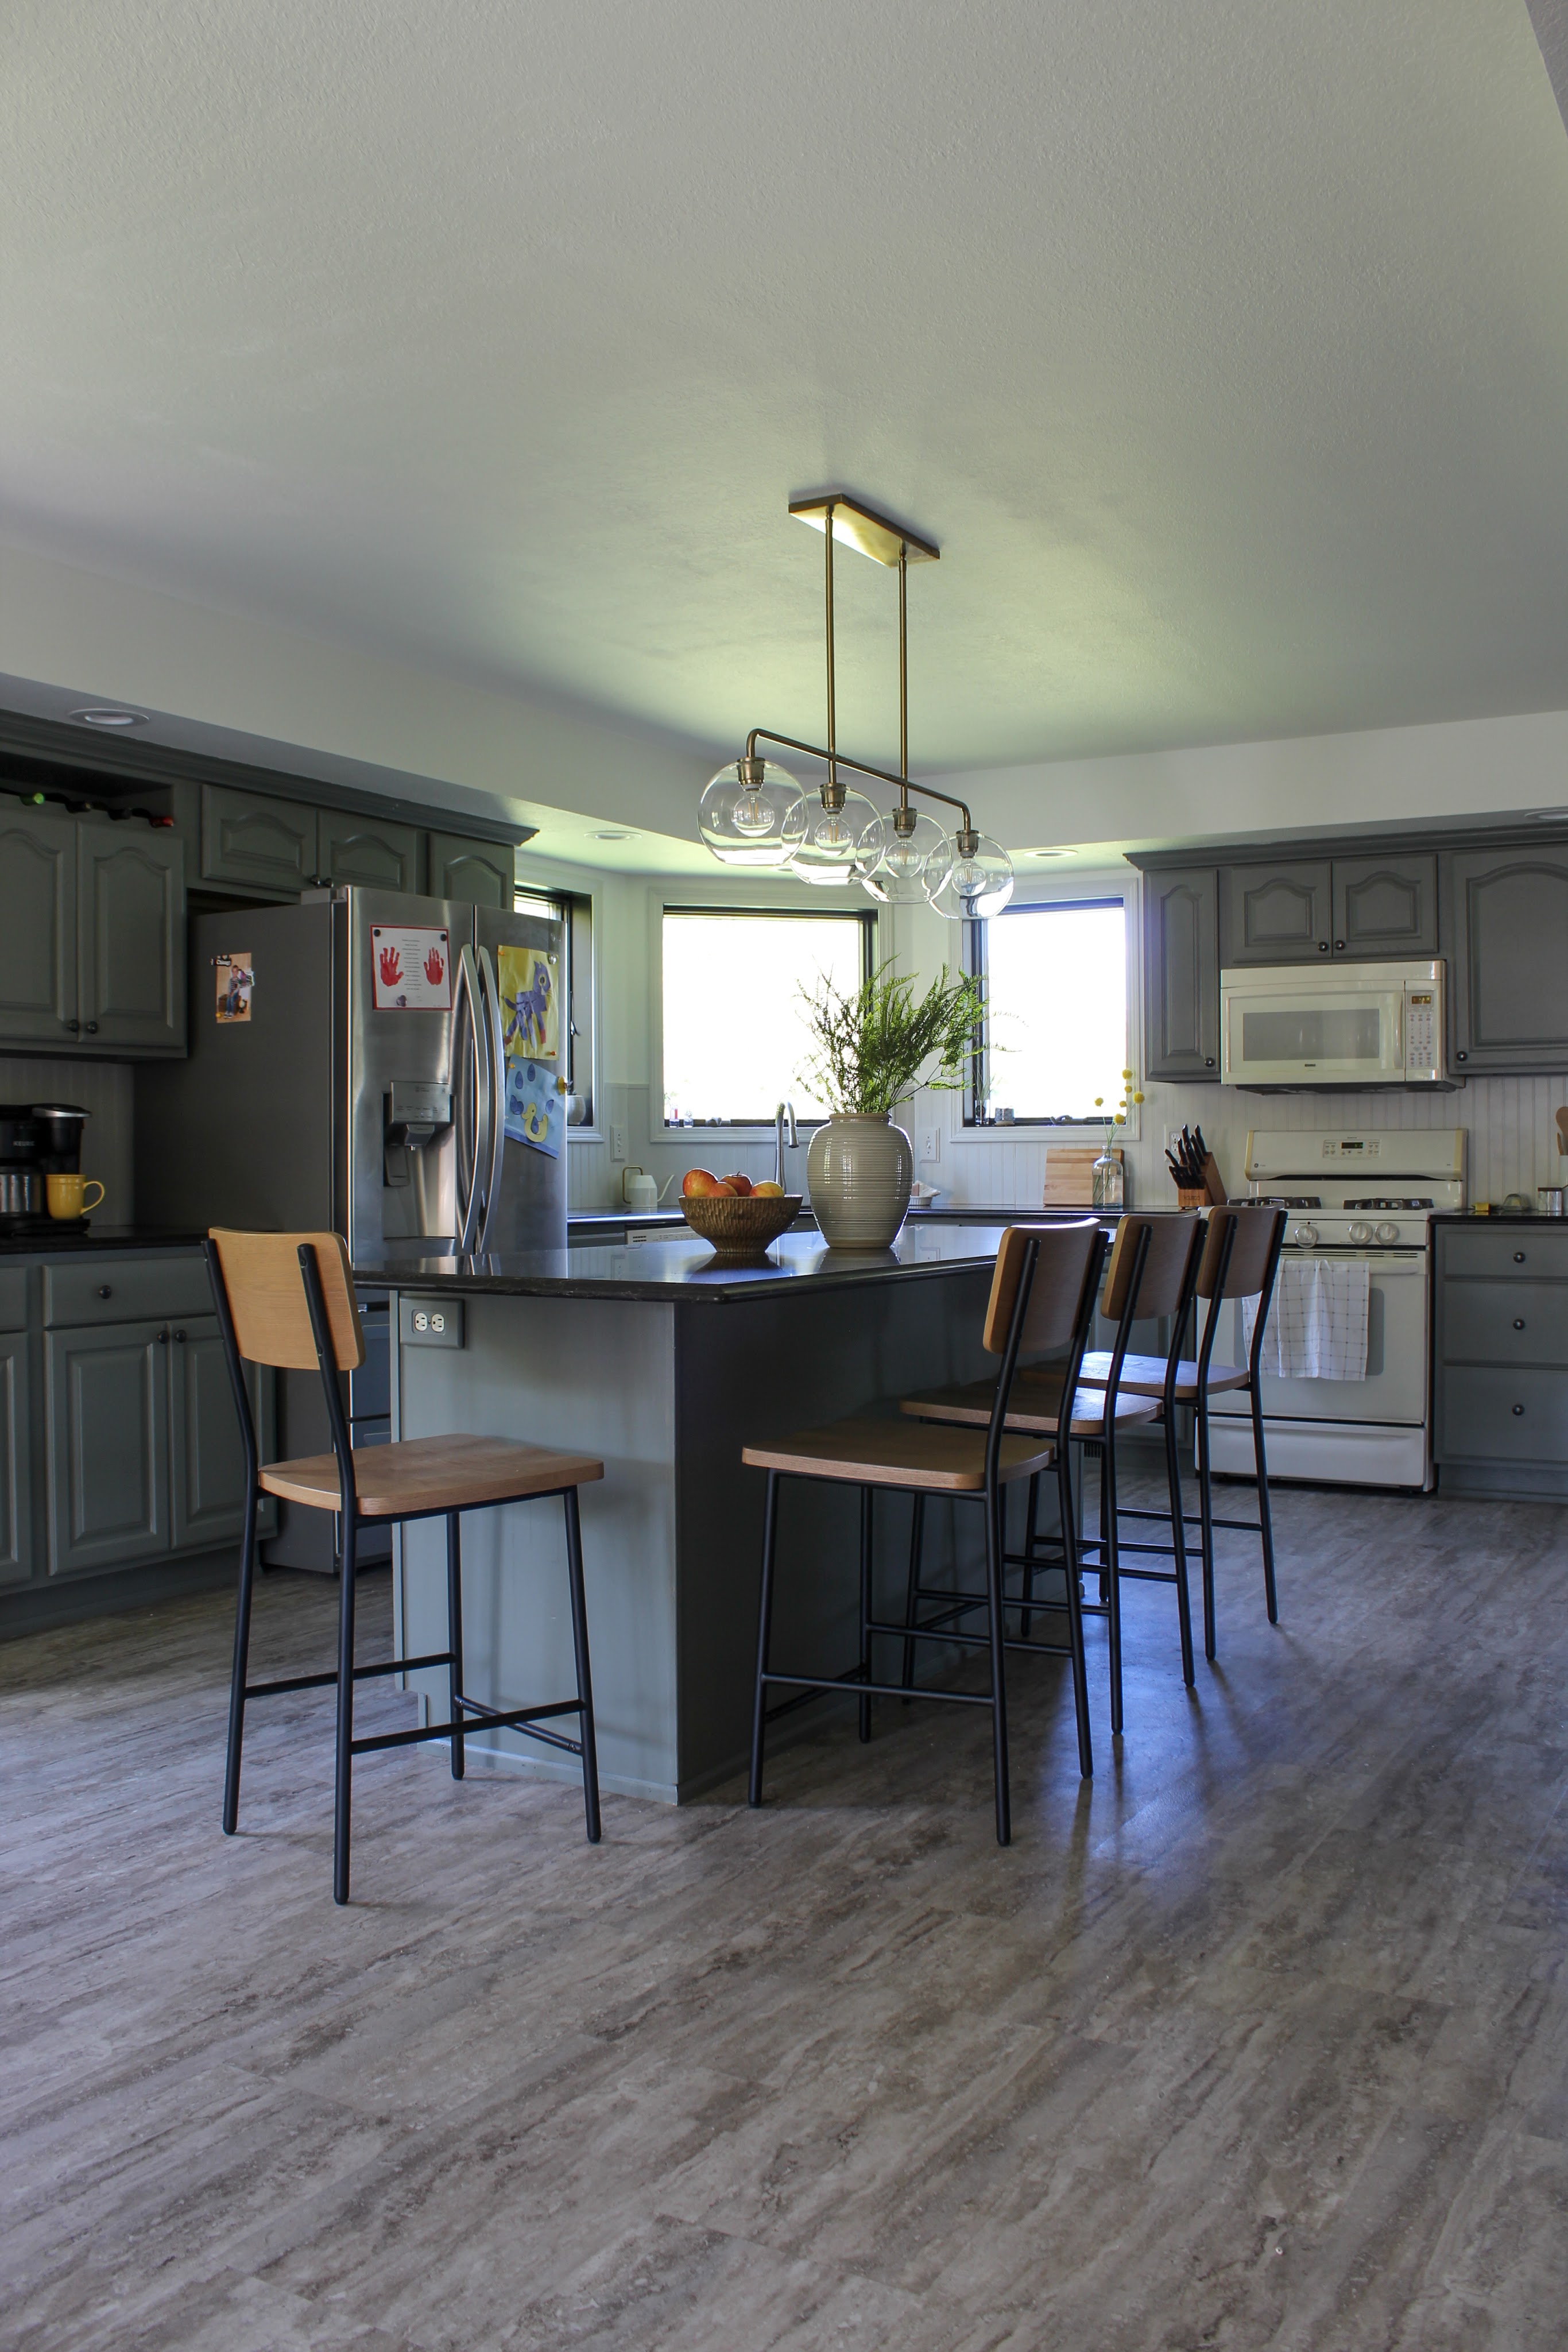
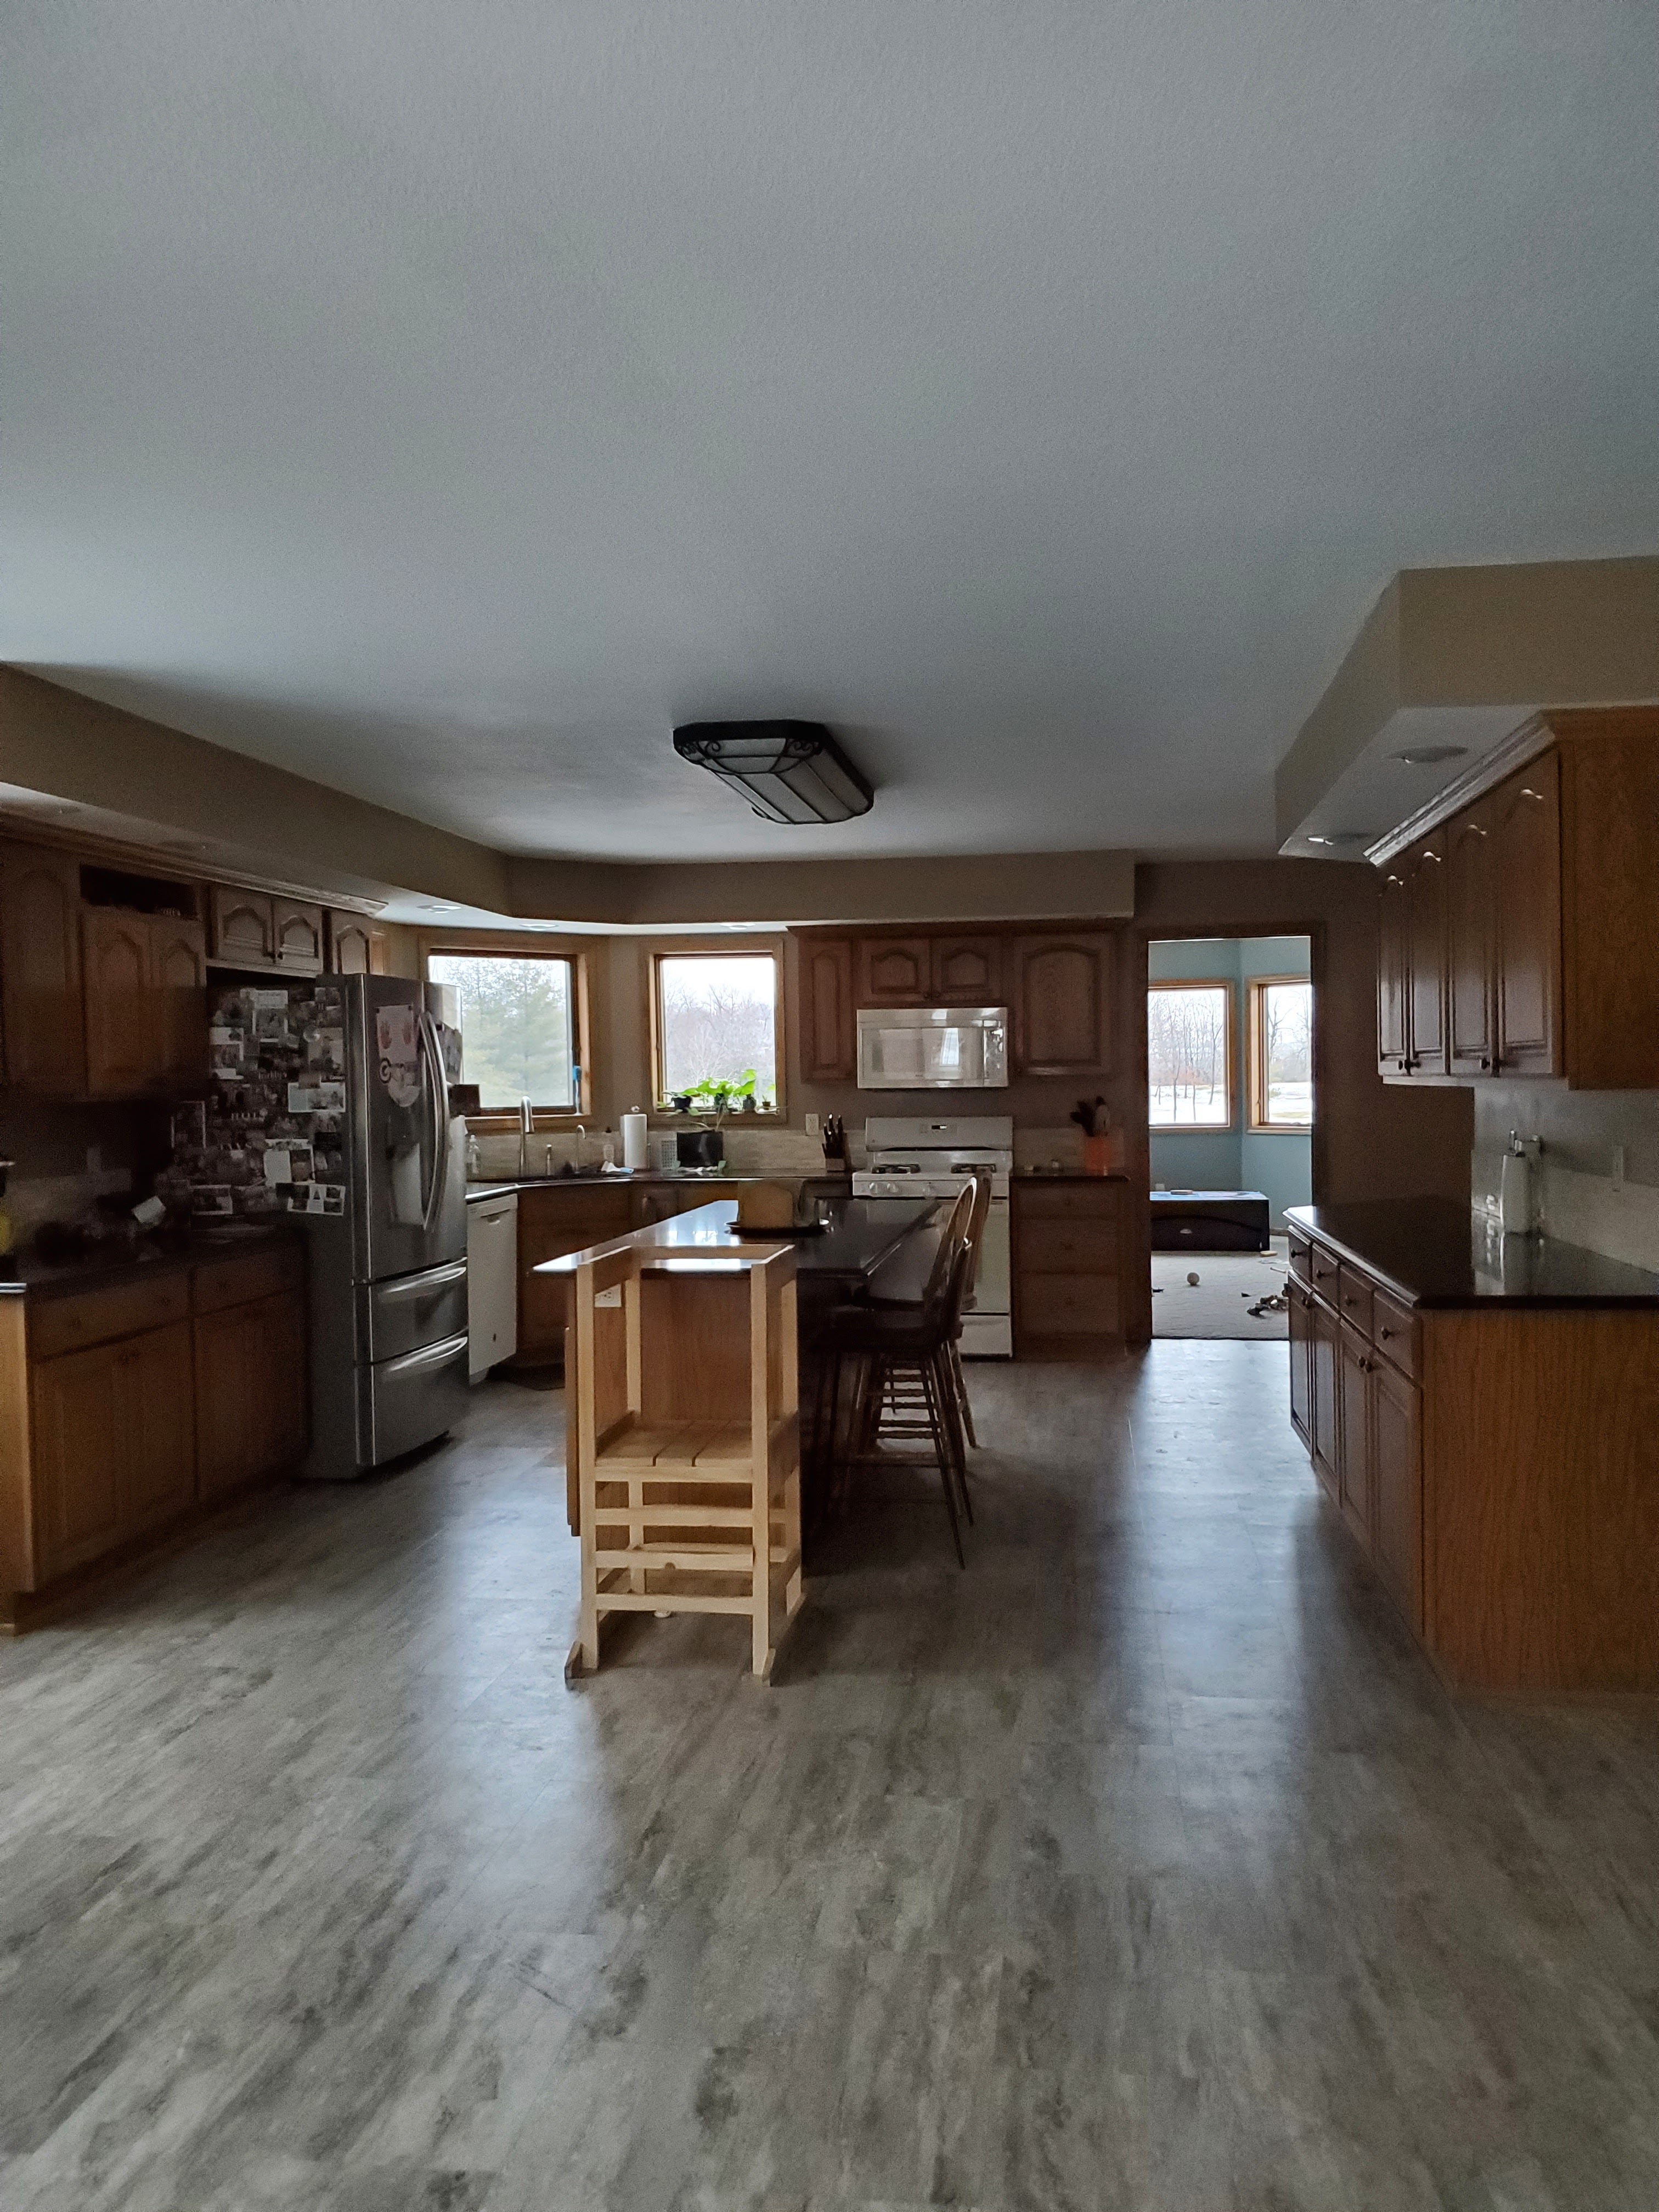
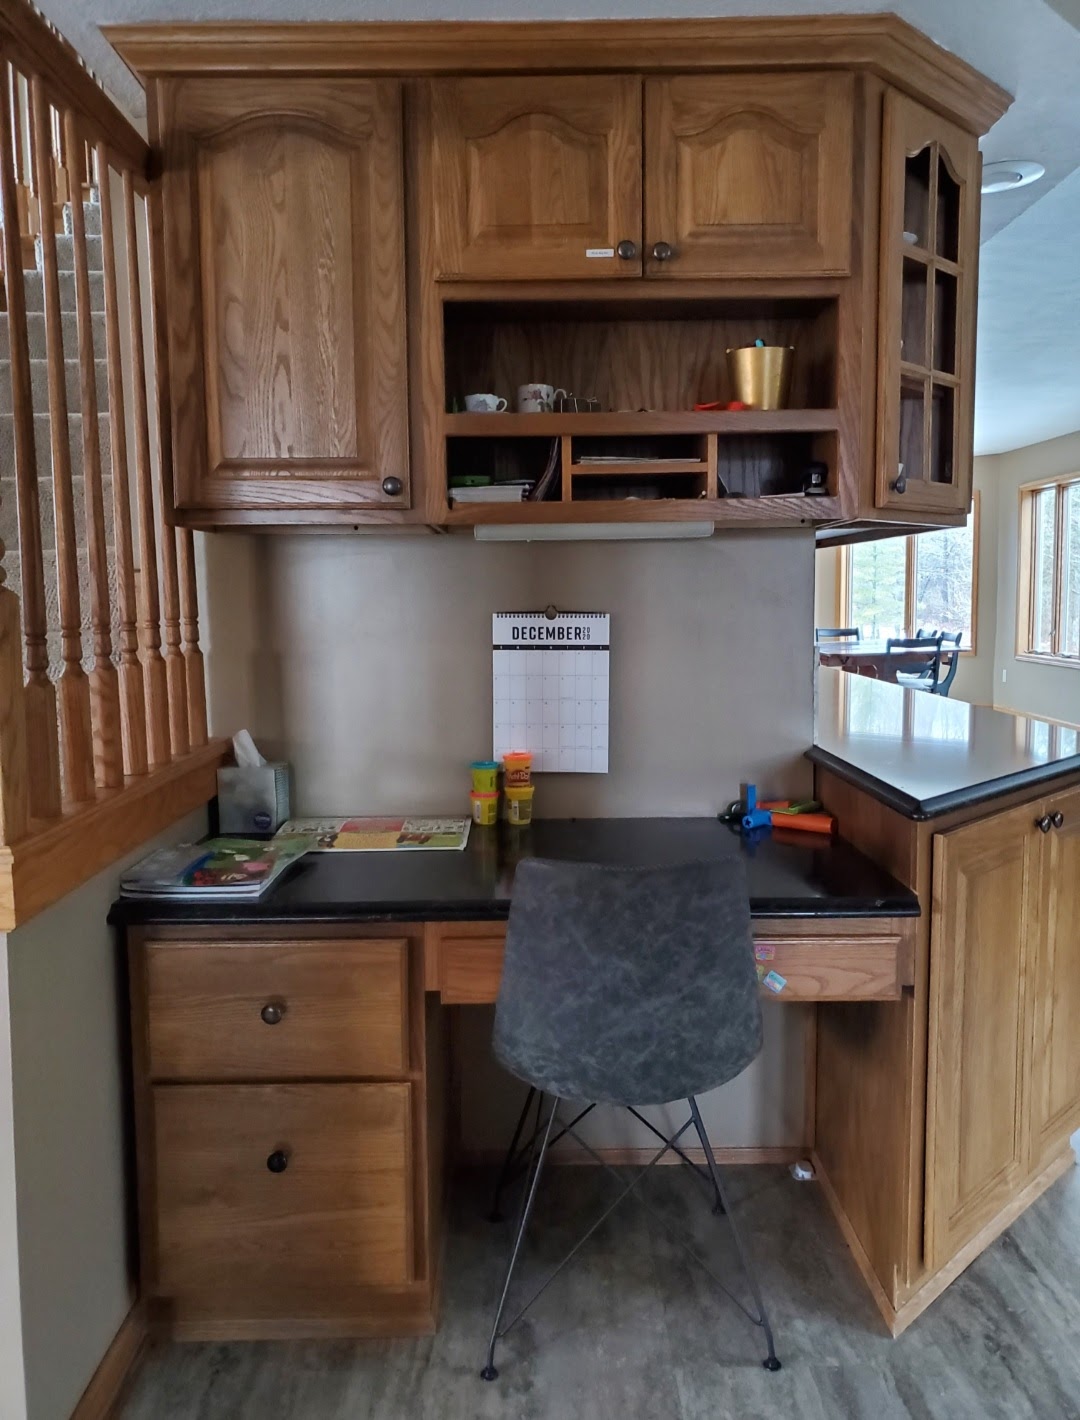
Kitchen
This was our most recent renovation and I’m still pinching myself over how different it looks in here now!
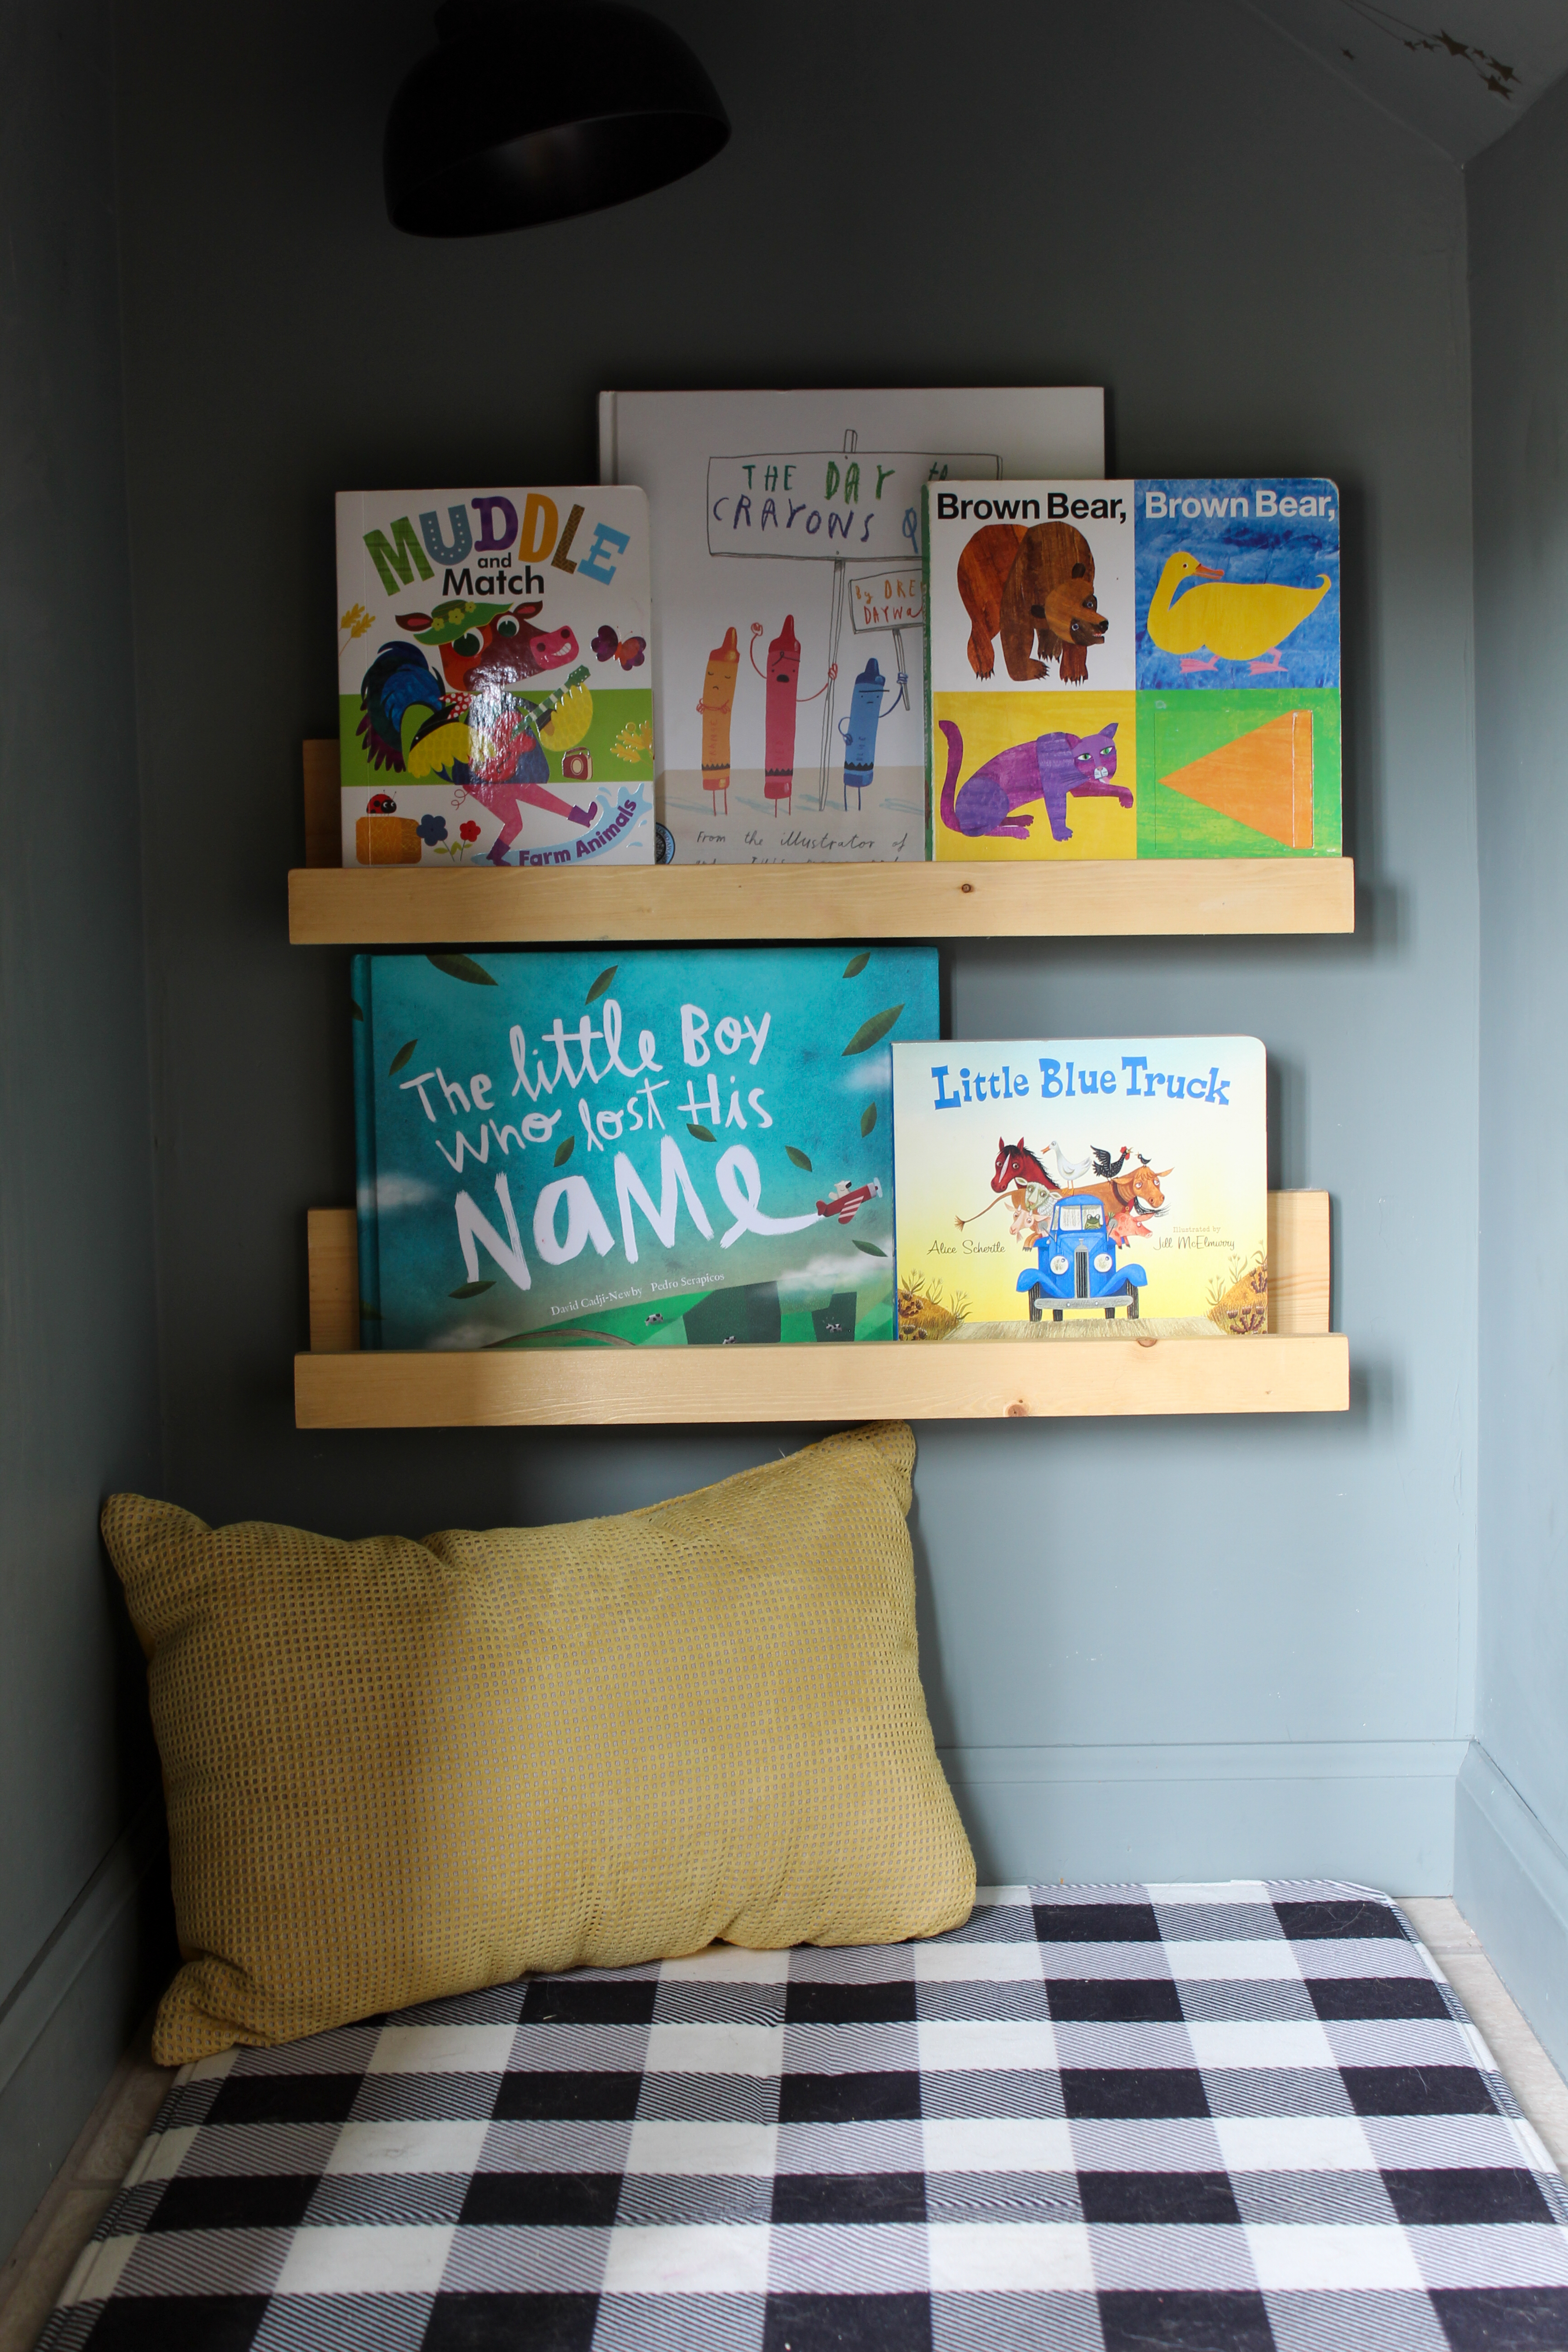
Playroom
We renovated this room back in 2019 but this past year we did give it a few updates like new window trim and a light and a DIY play kitchen!
Living Room
Another untouched room with tons of potential, but life with toddlers has made this a very low priority over the past two years. It’s functional and kid-friendly and that’s what we need right now!
Foyer
This has been . . . somewhat addressed. Ha! We need to hire a painter to complete the top half of the walls. We also have plans to eventually knock out that little closet, replace the front doors, update the railing, replace the light, the list goes on! I think this could be a showstopper someday.
“Secret” Nook
Top Floor
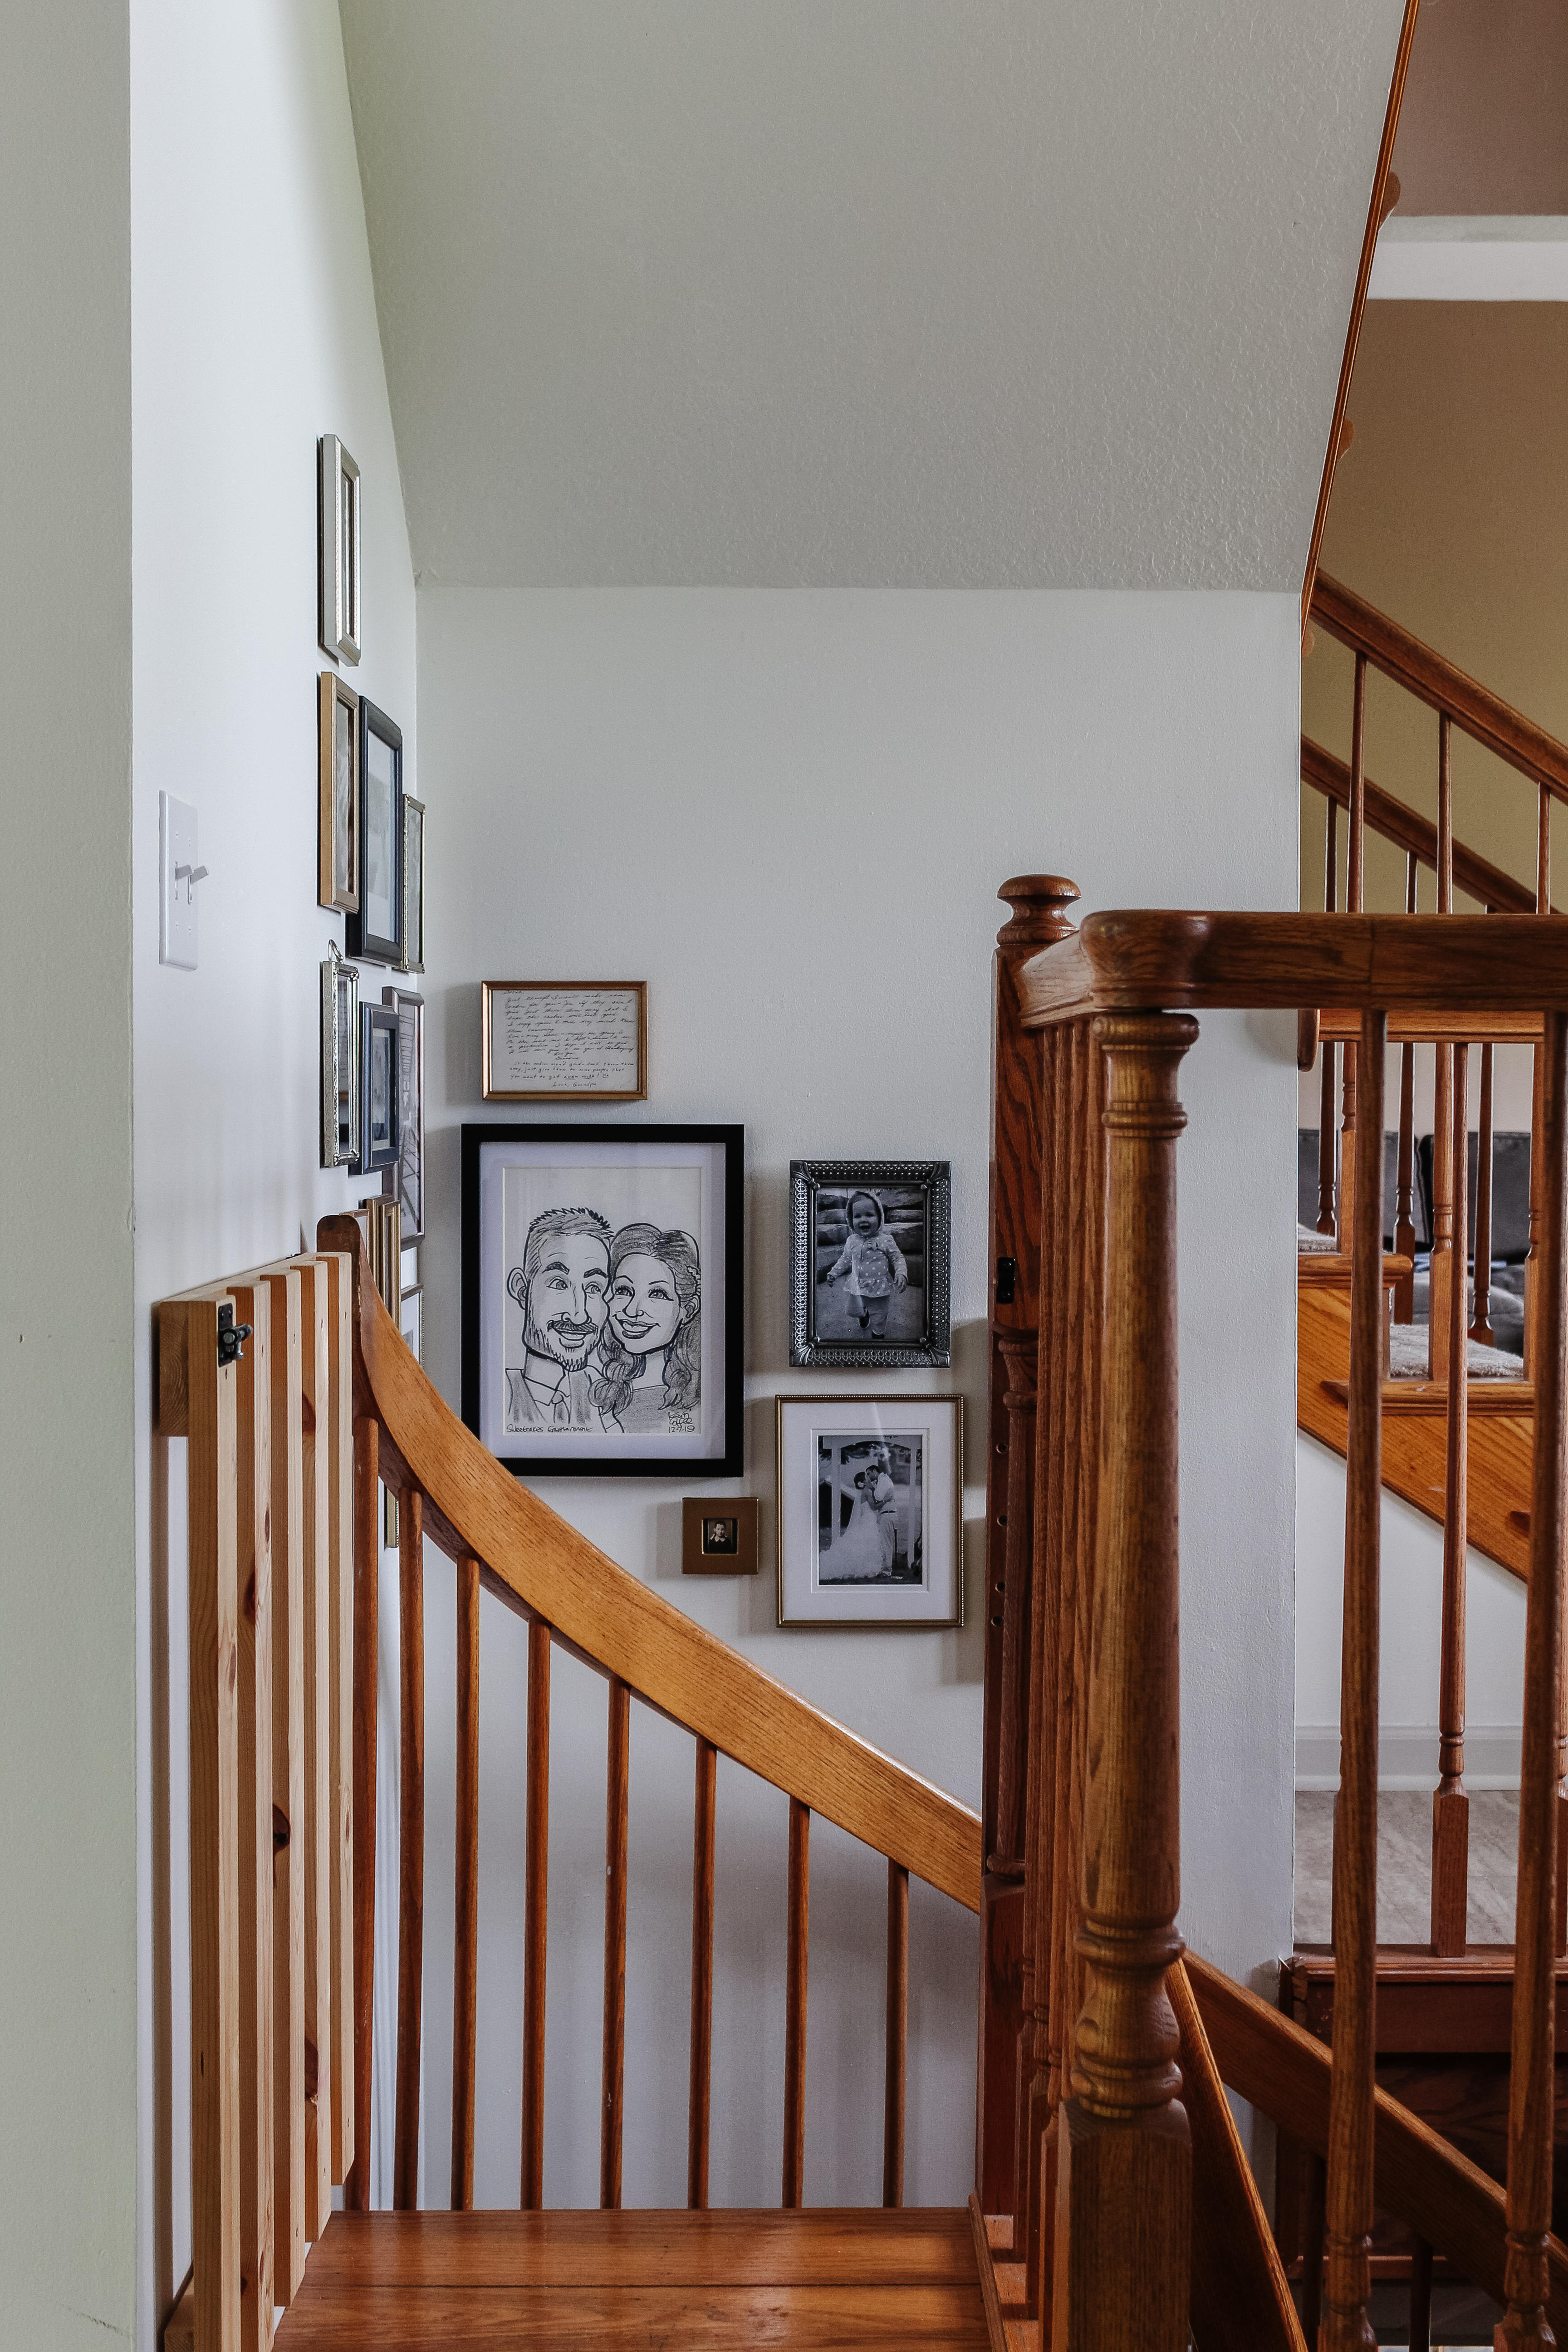
Landing
Notice LJ’s ever-changing artwork – it looks like a Q but I think it’s a person!
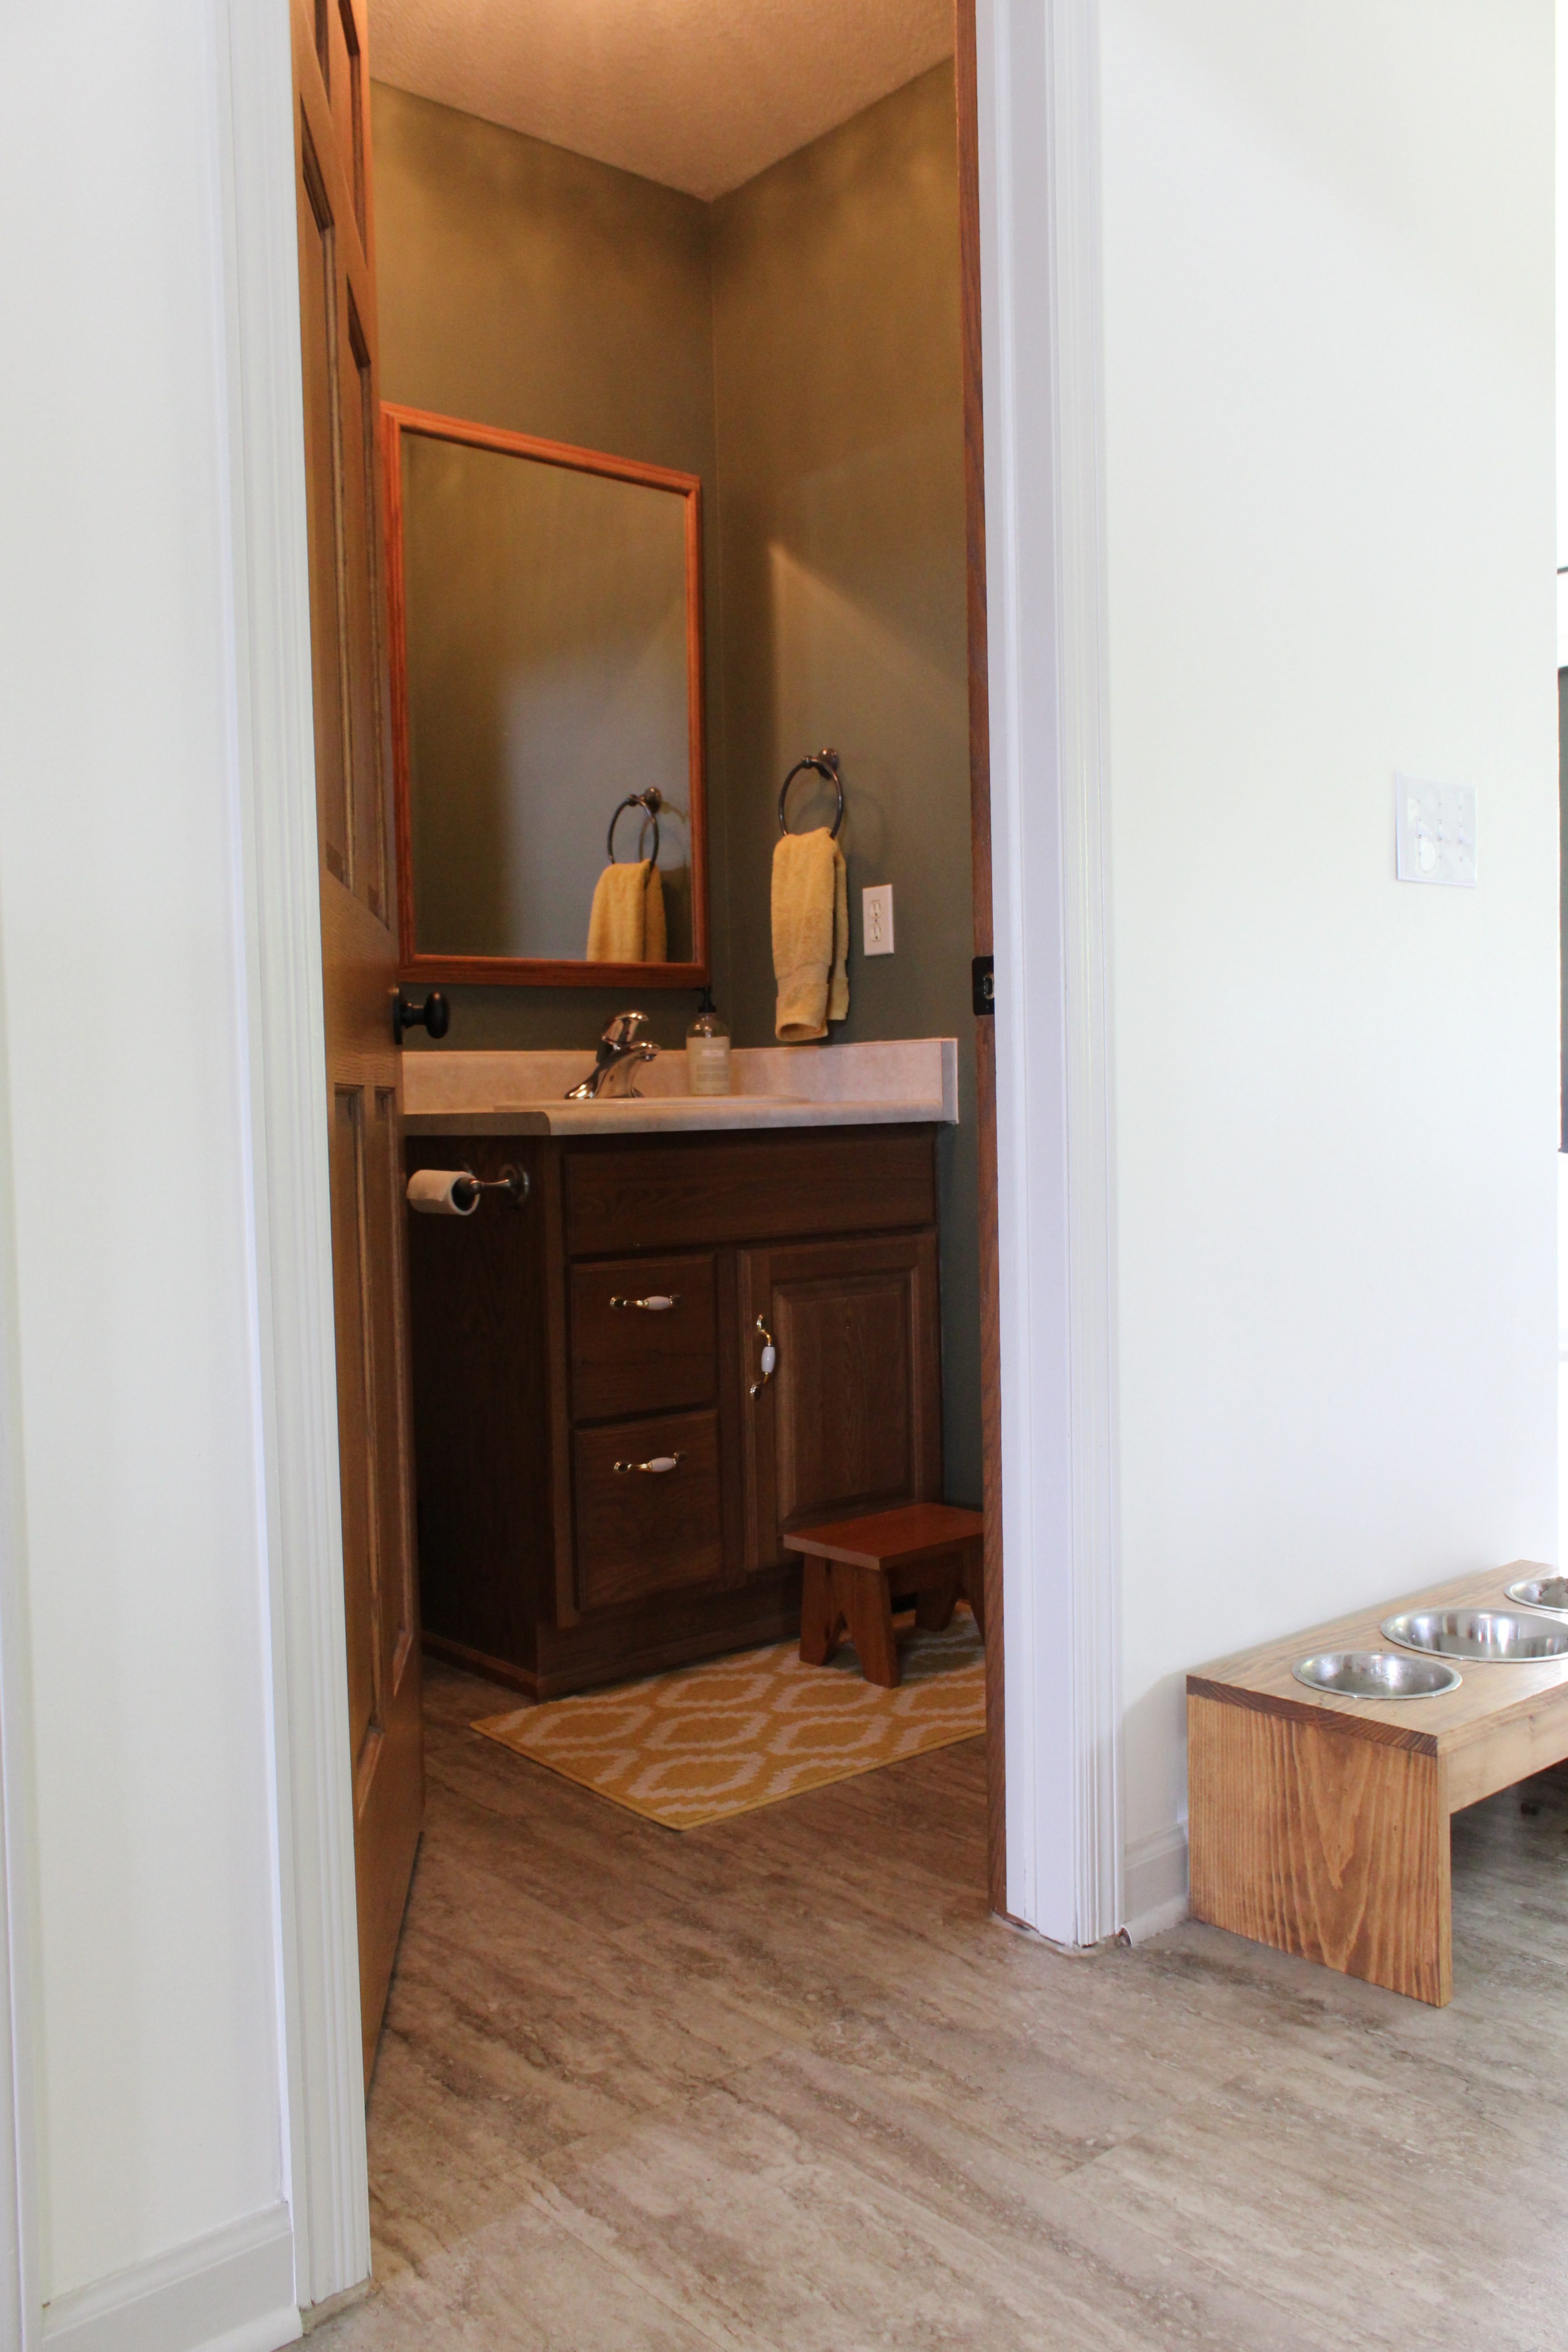
Kids Bathroom
LJ’s Bedroom (complete with Scout!)
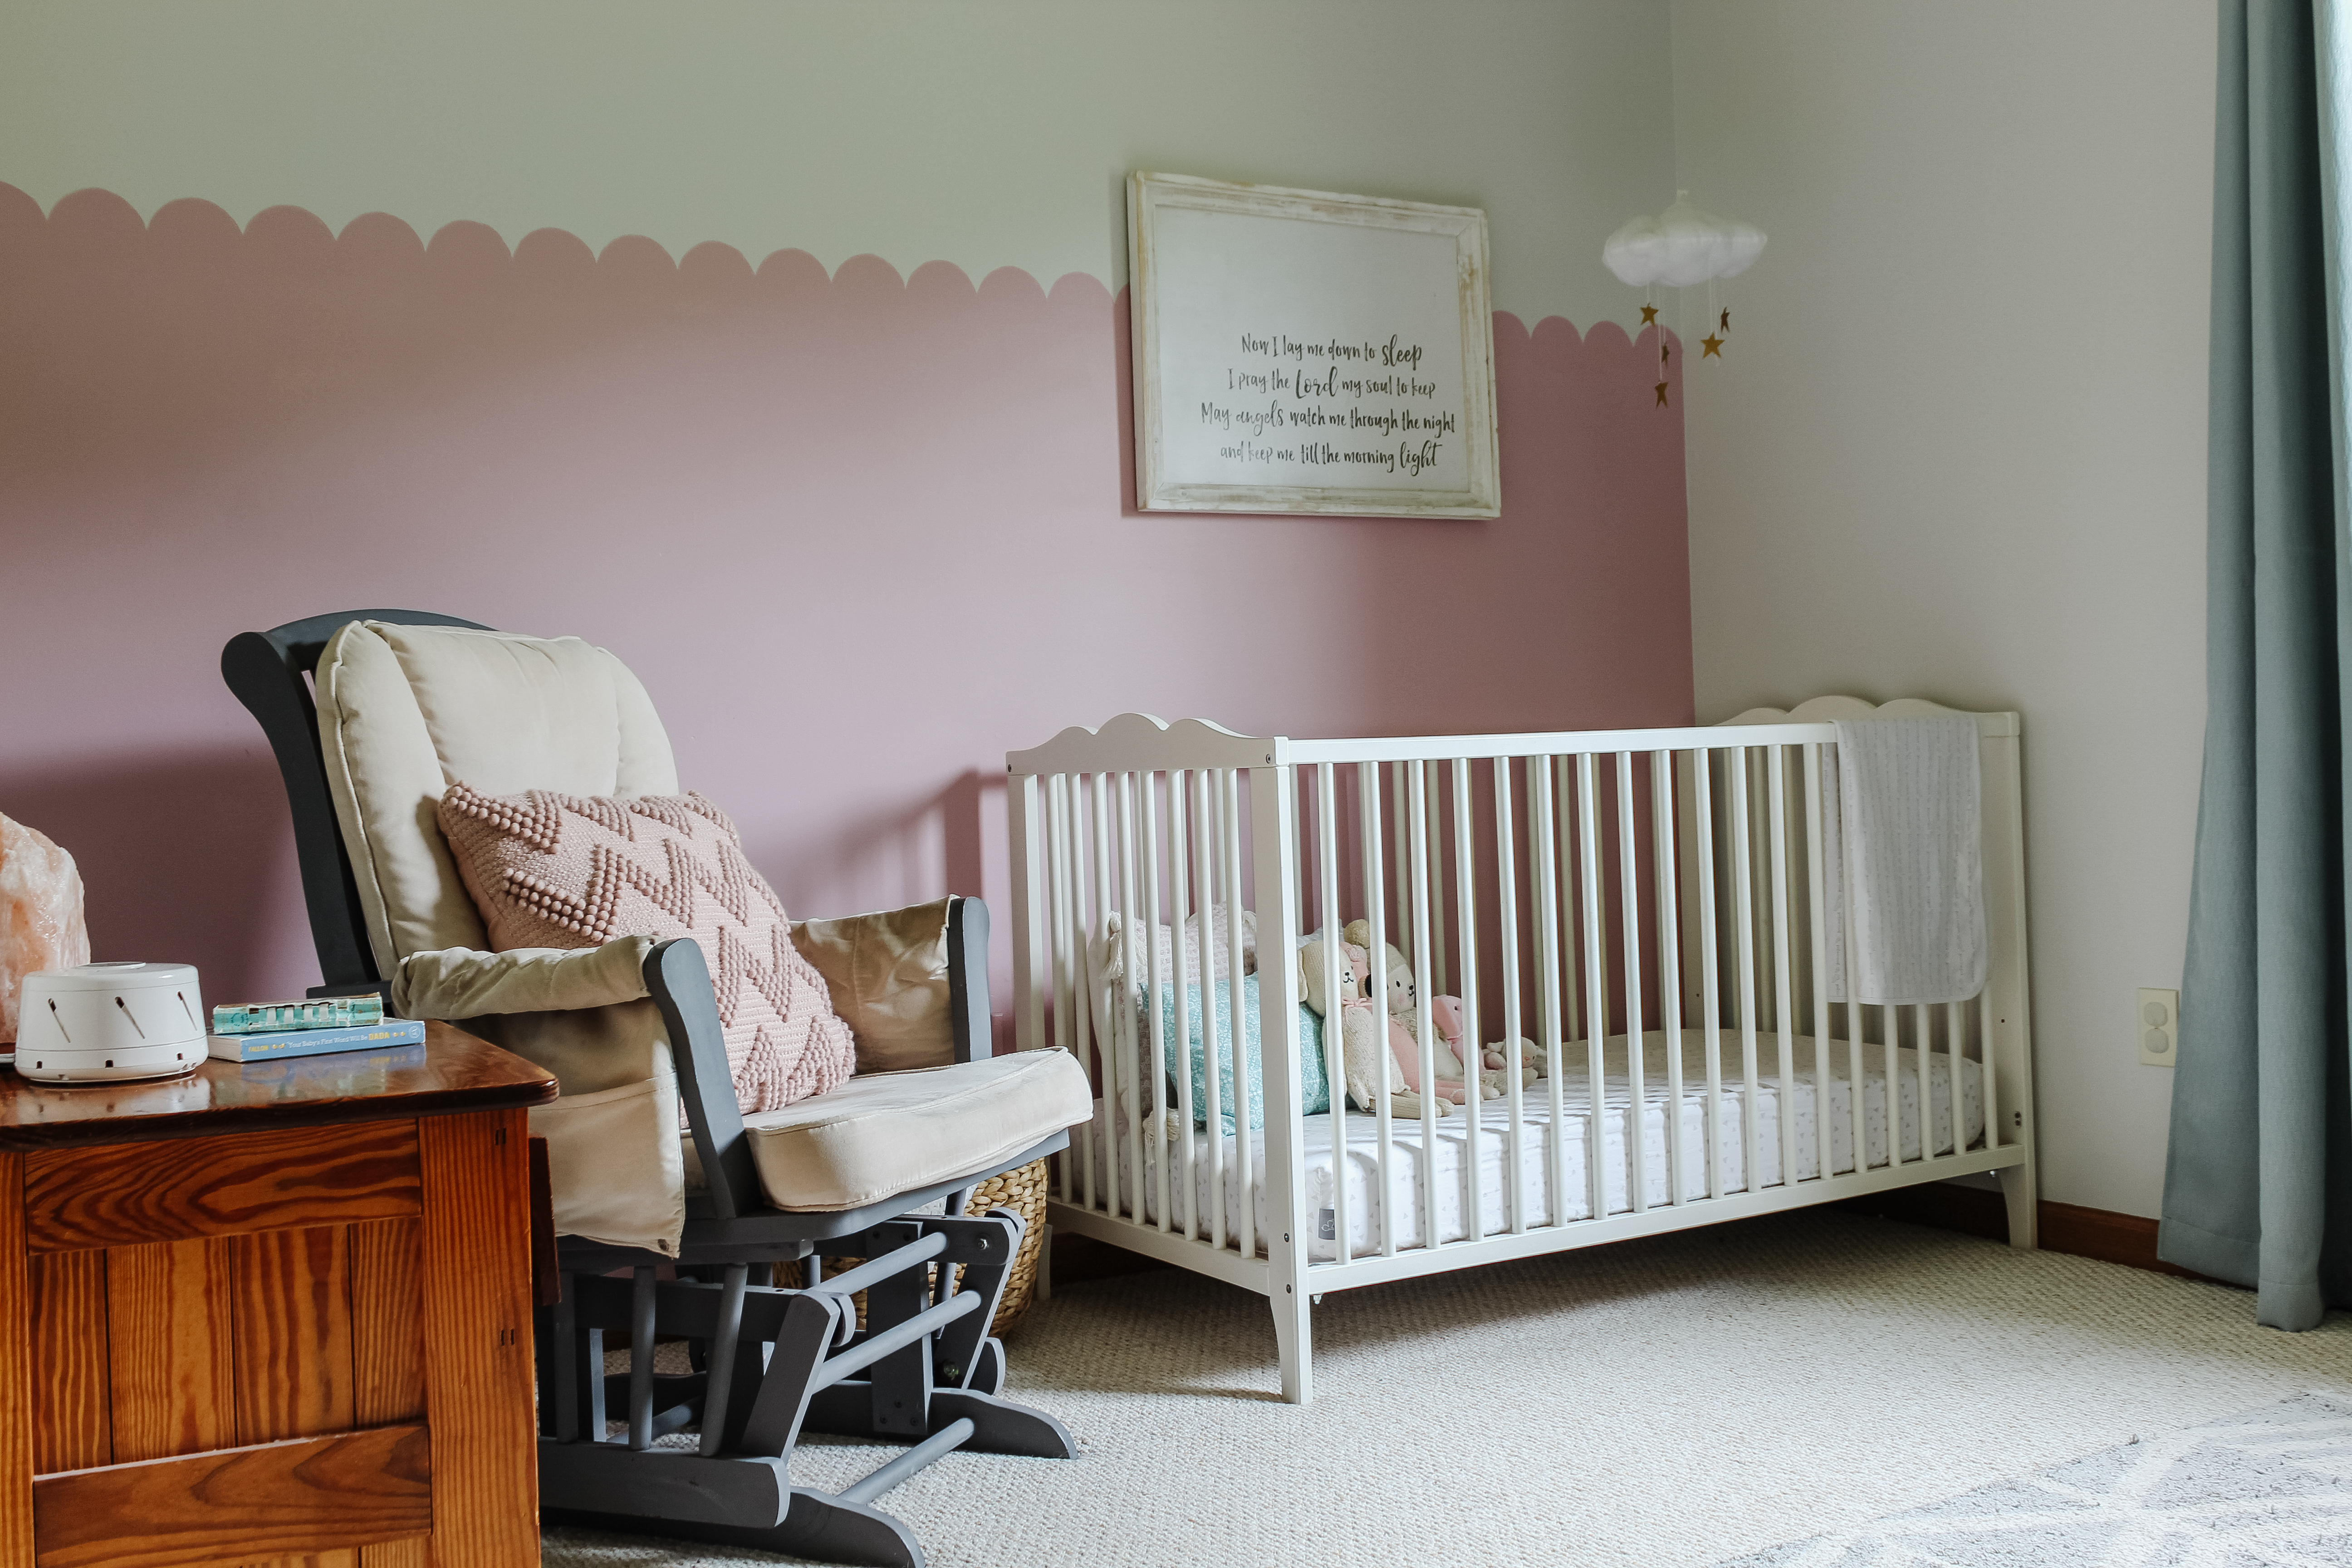
Vi’s Bedroom
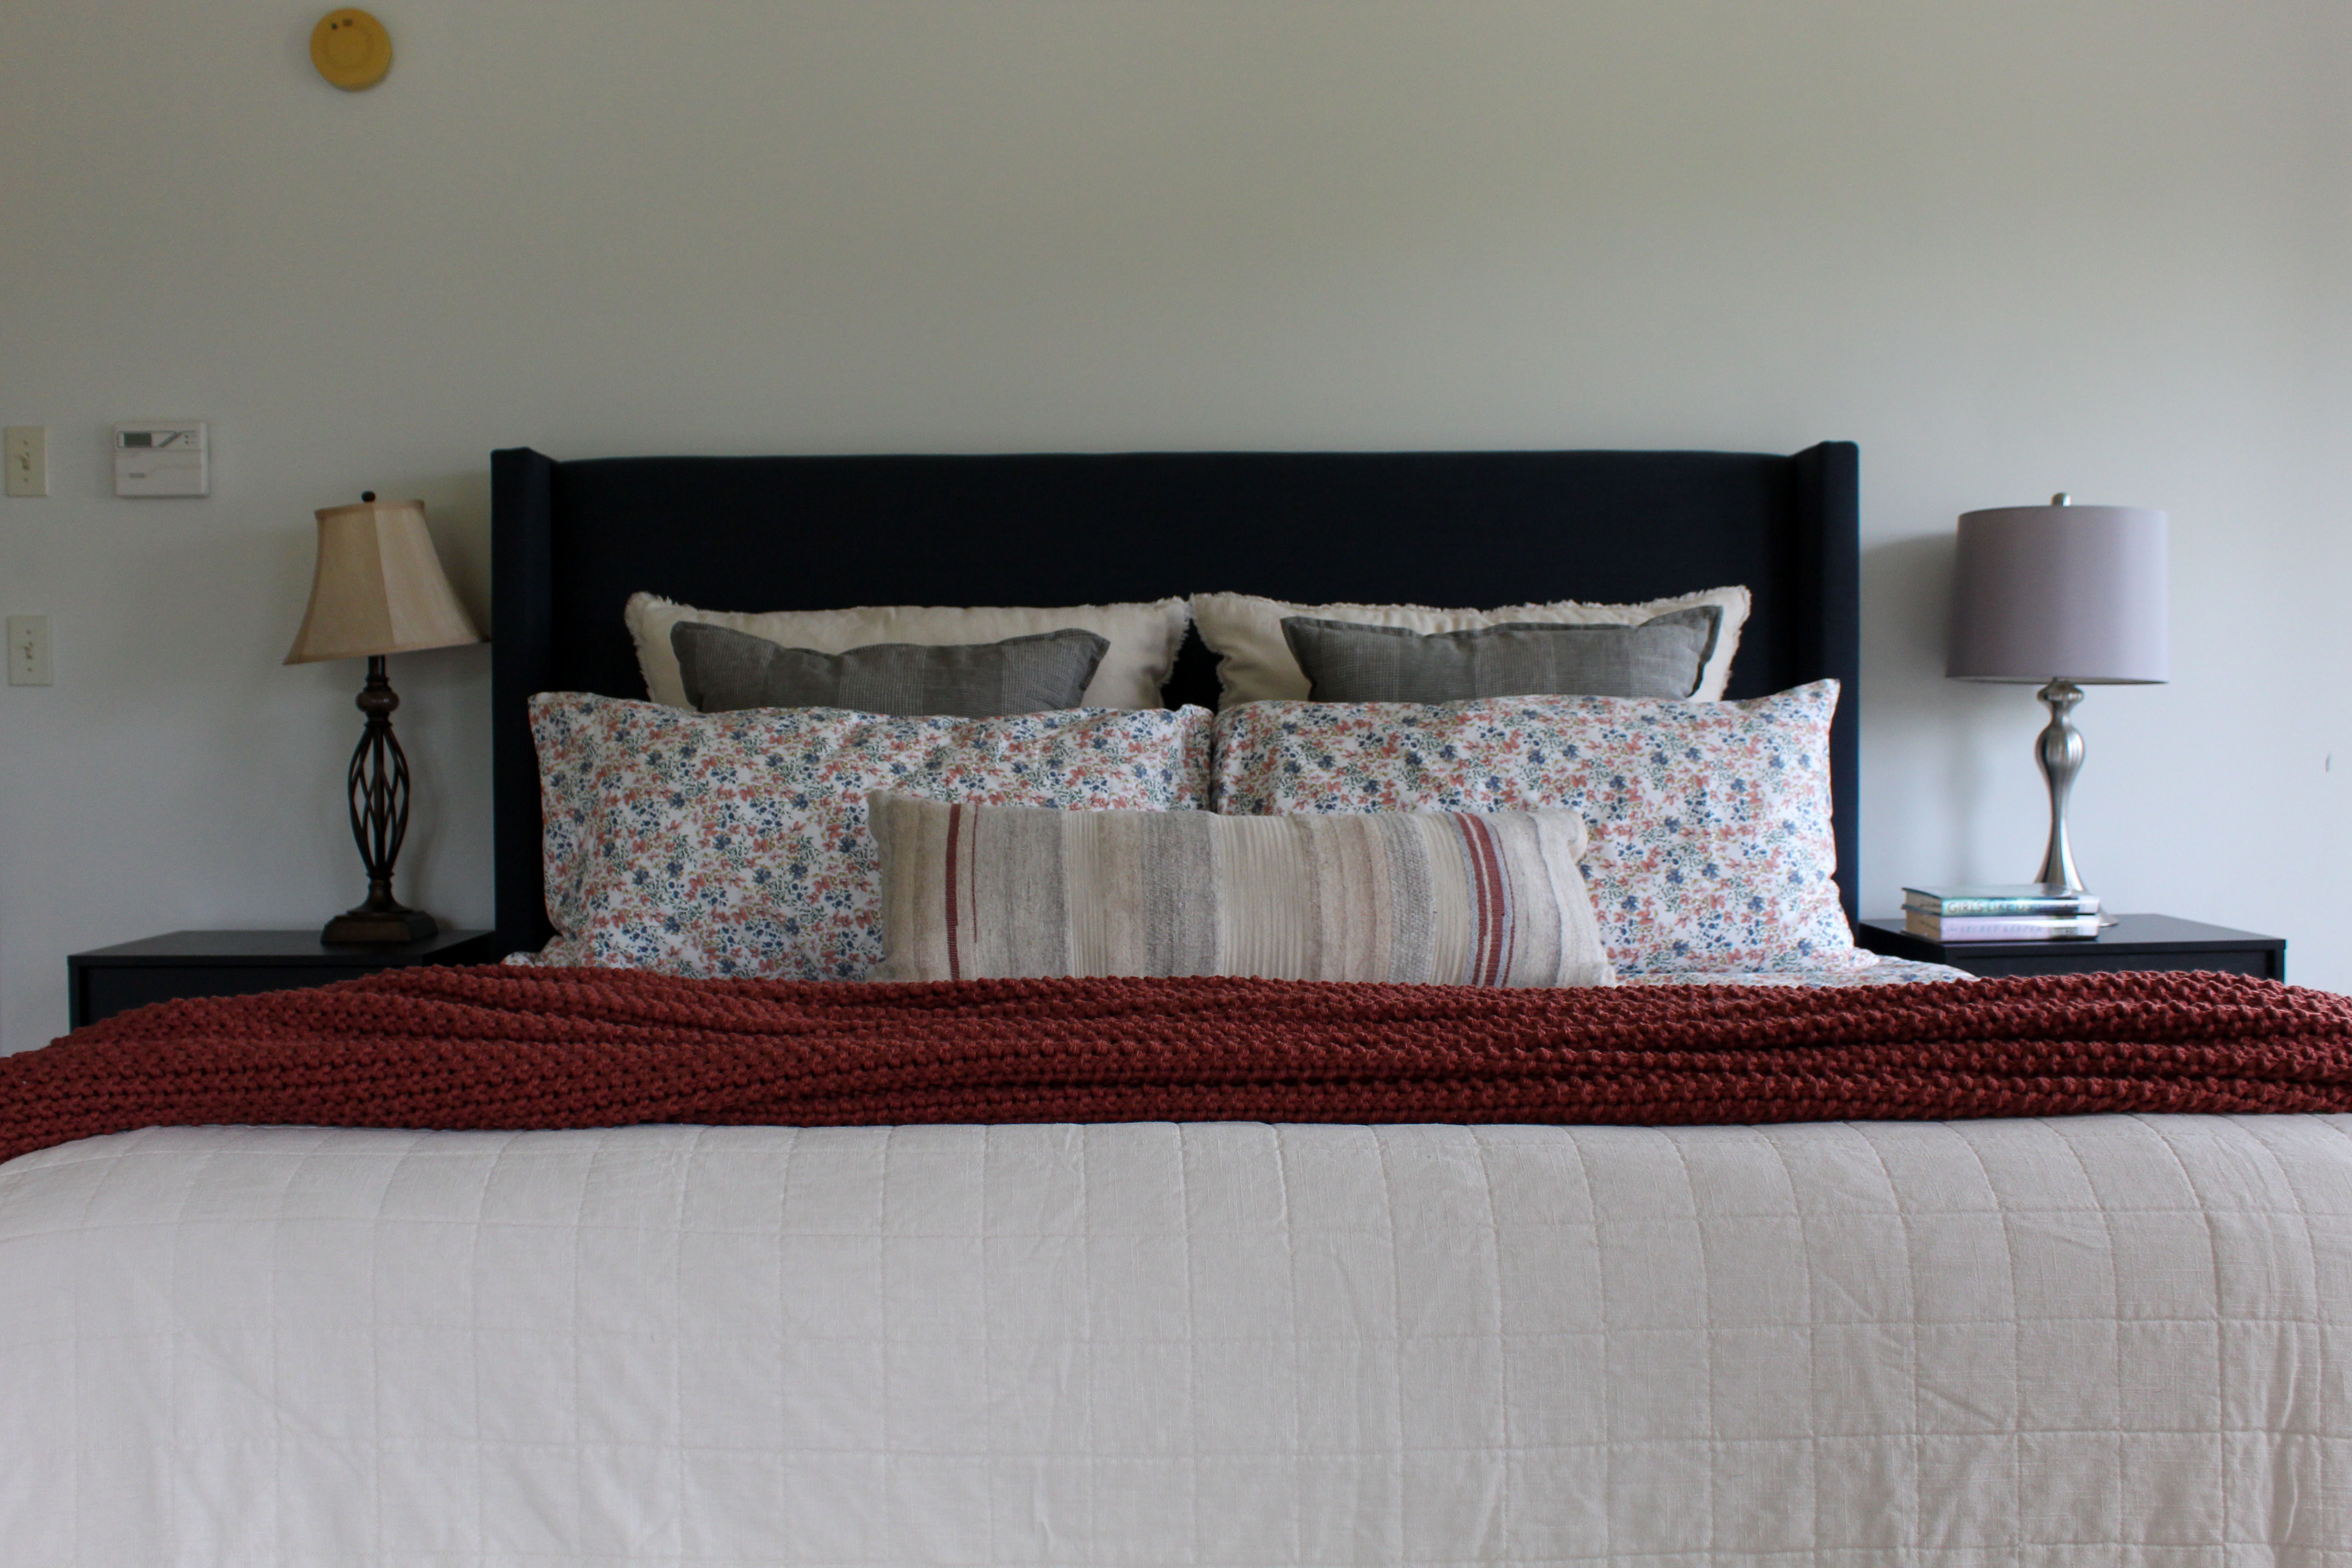
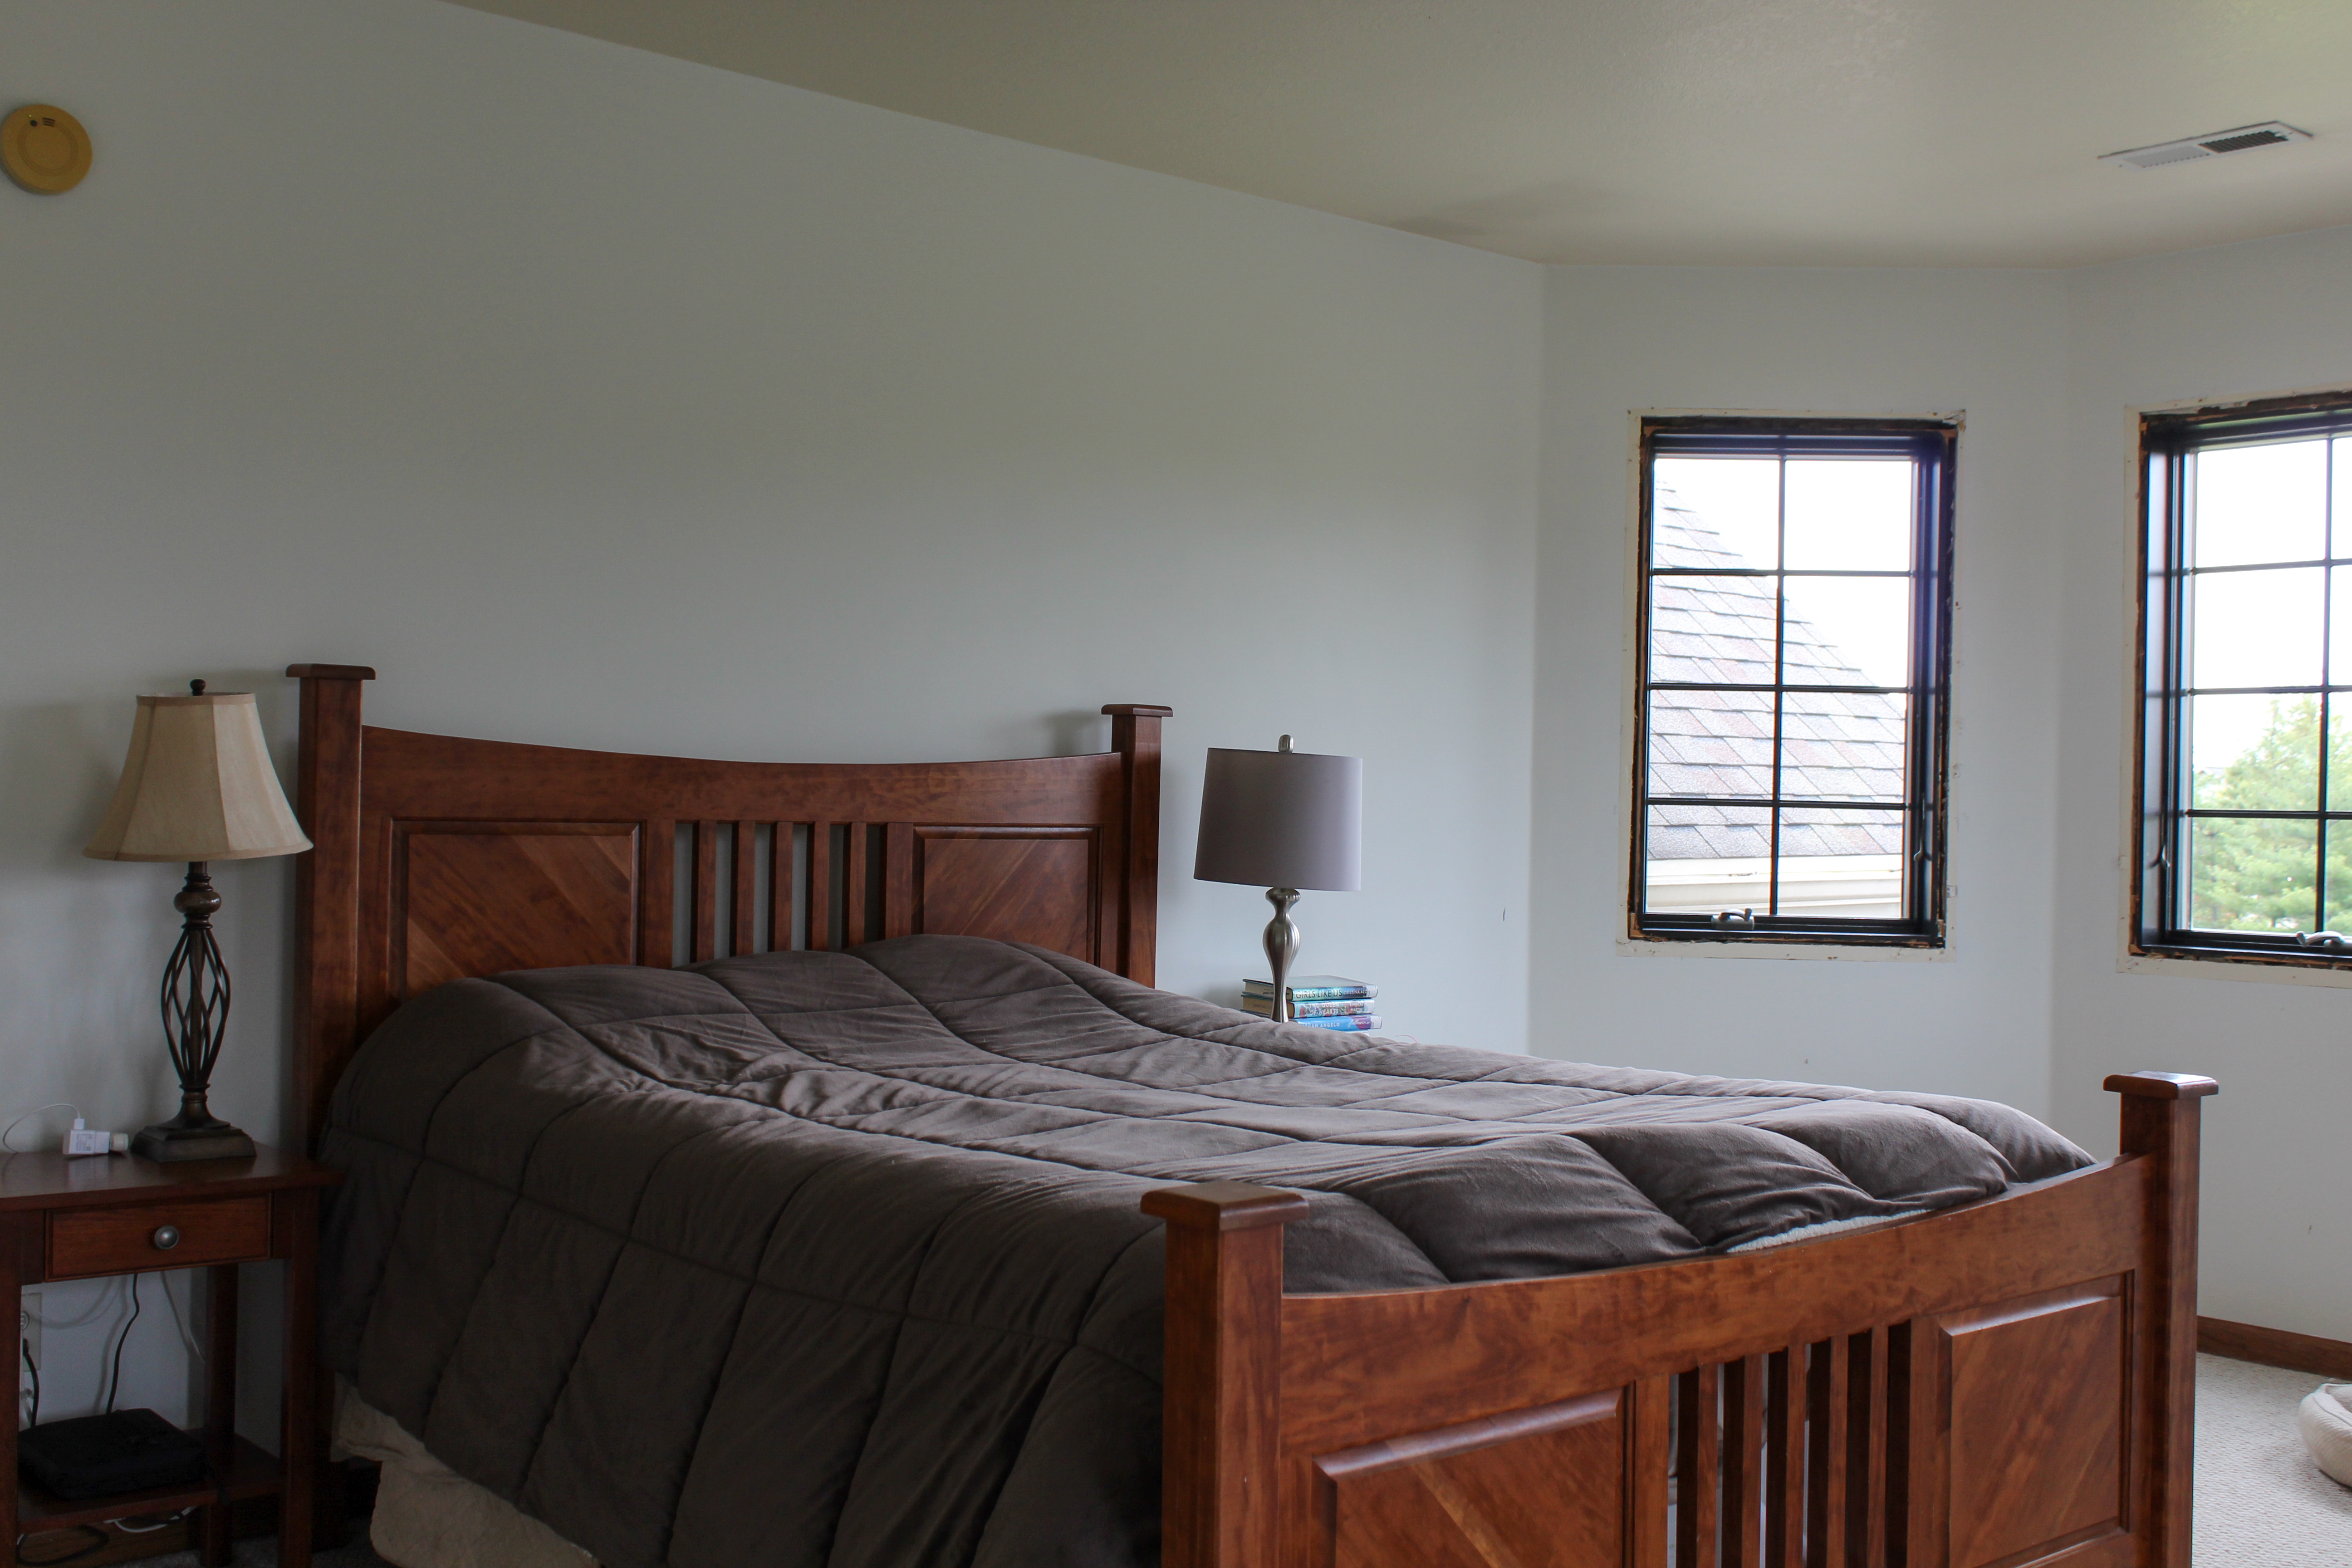
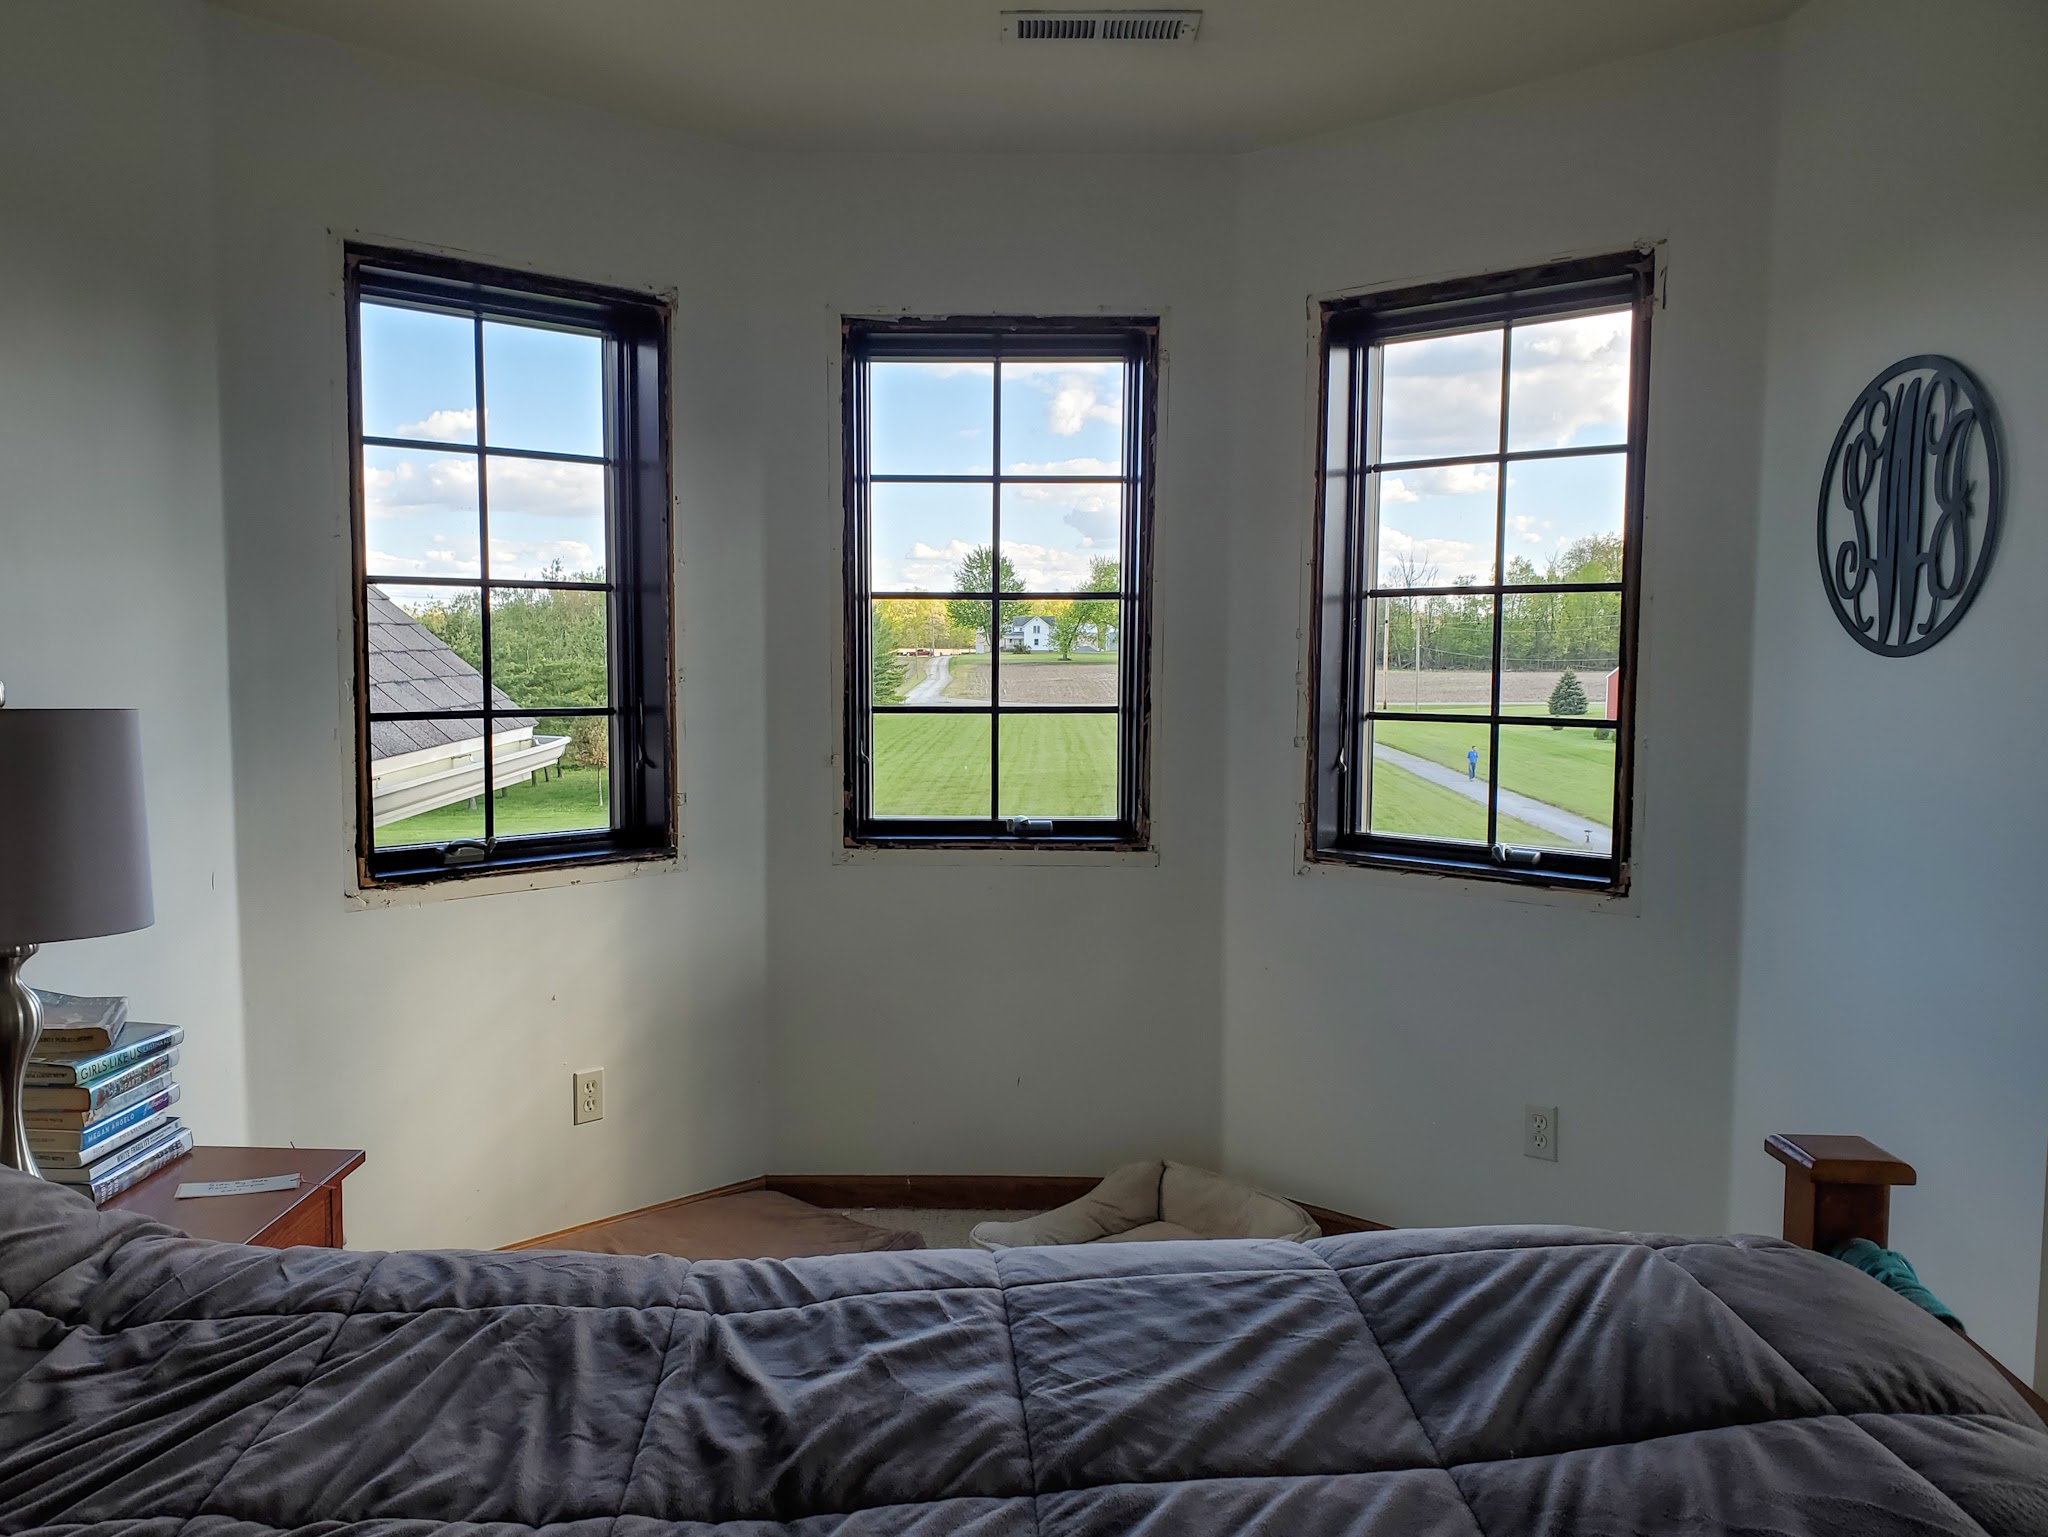
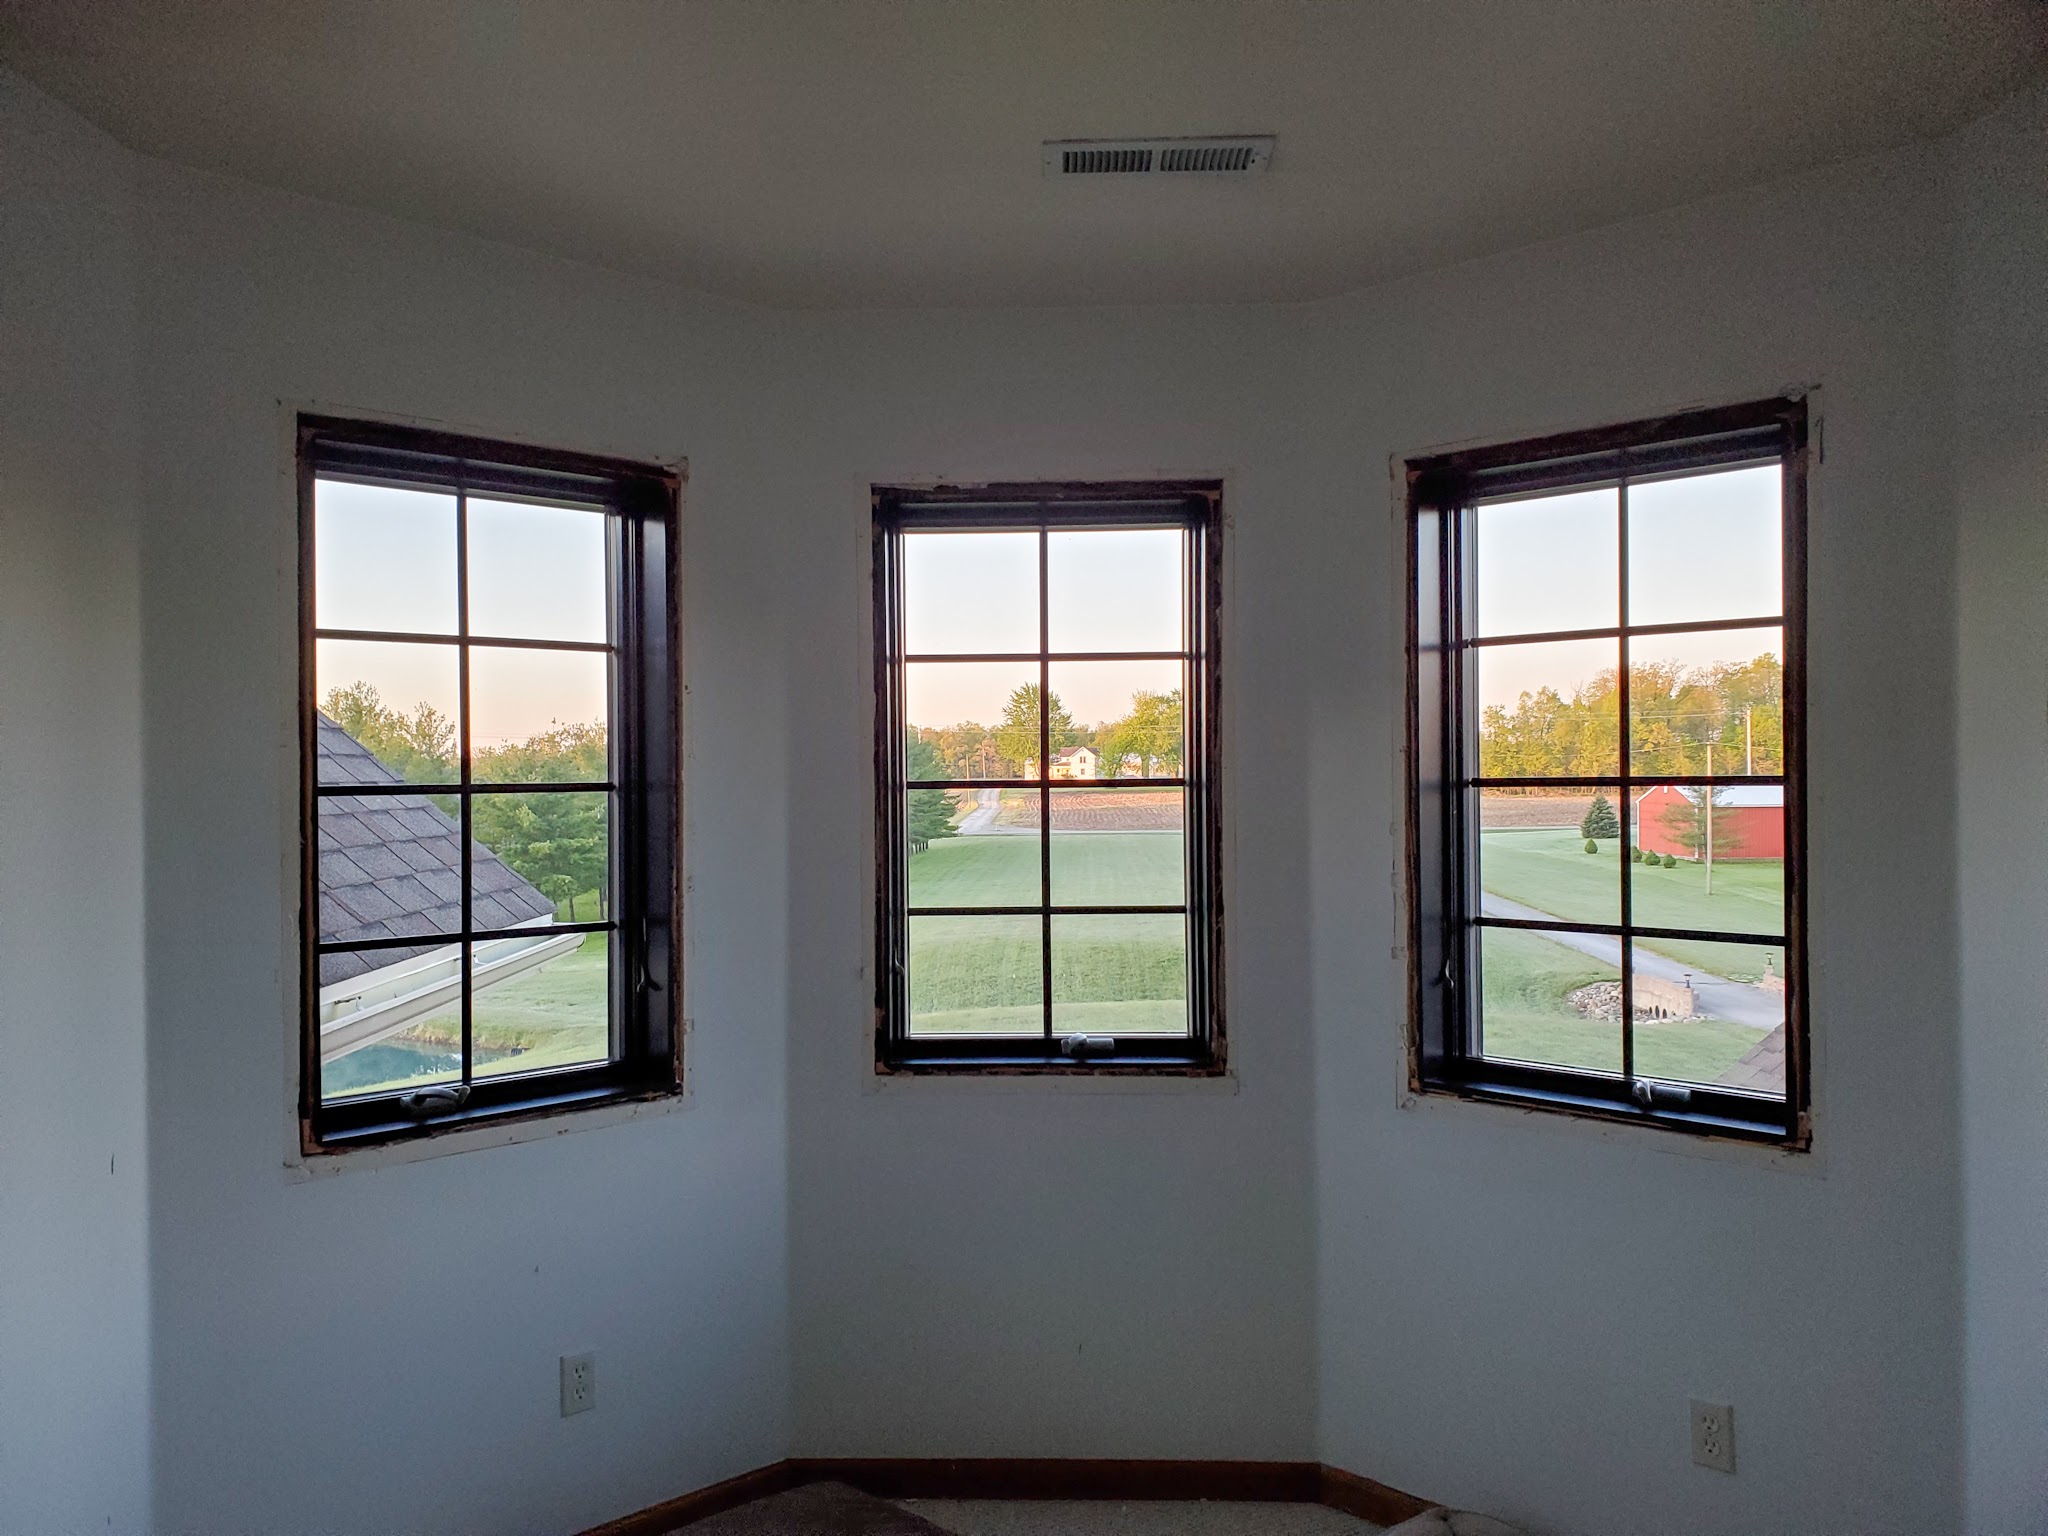
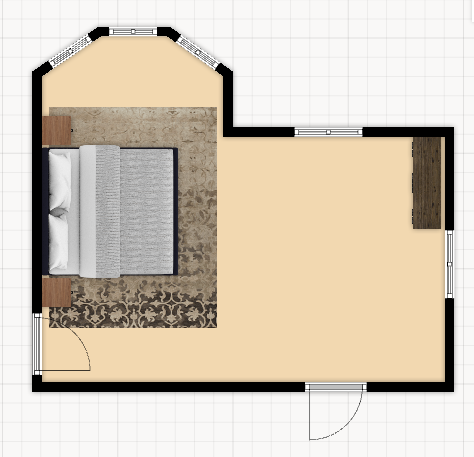
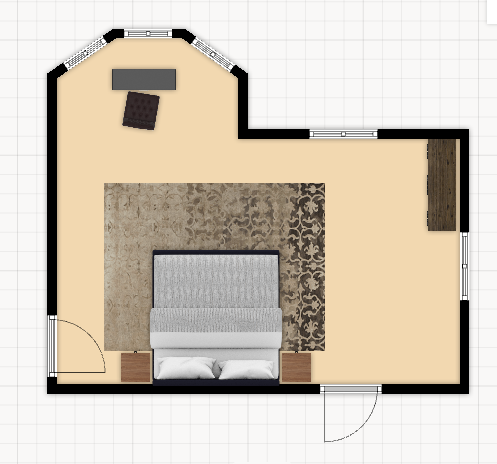
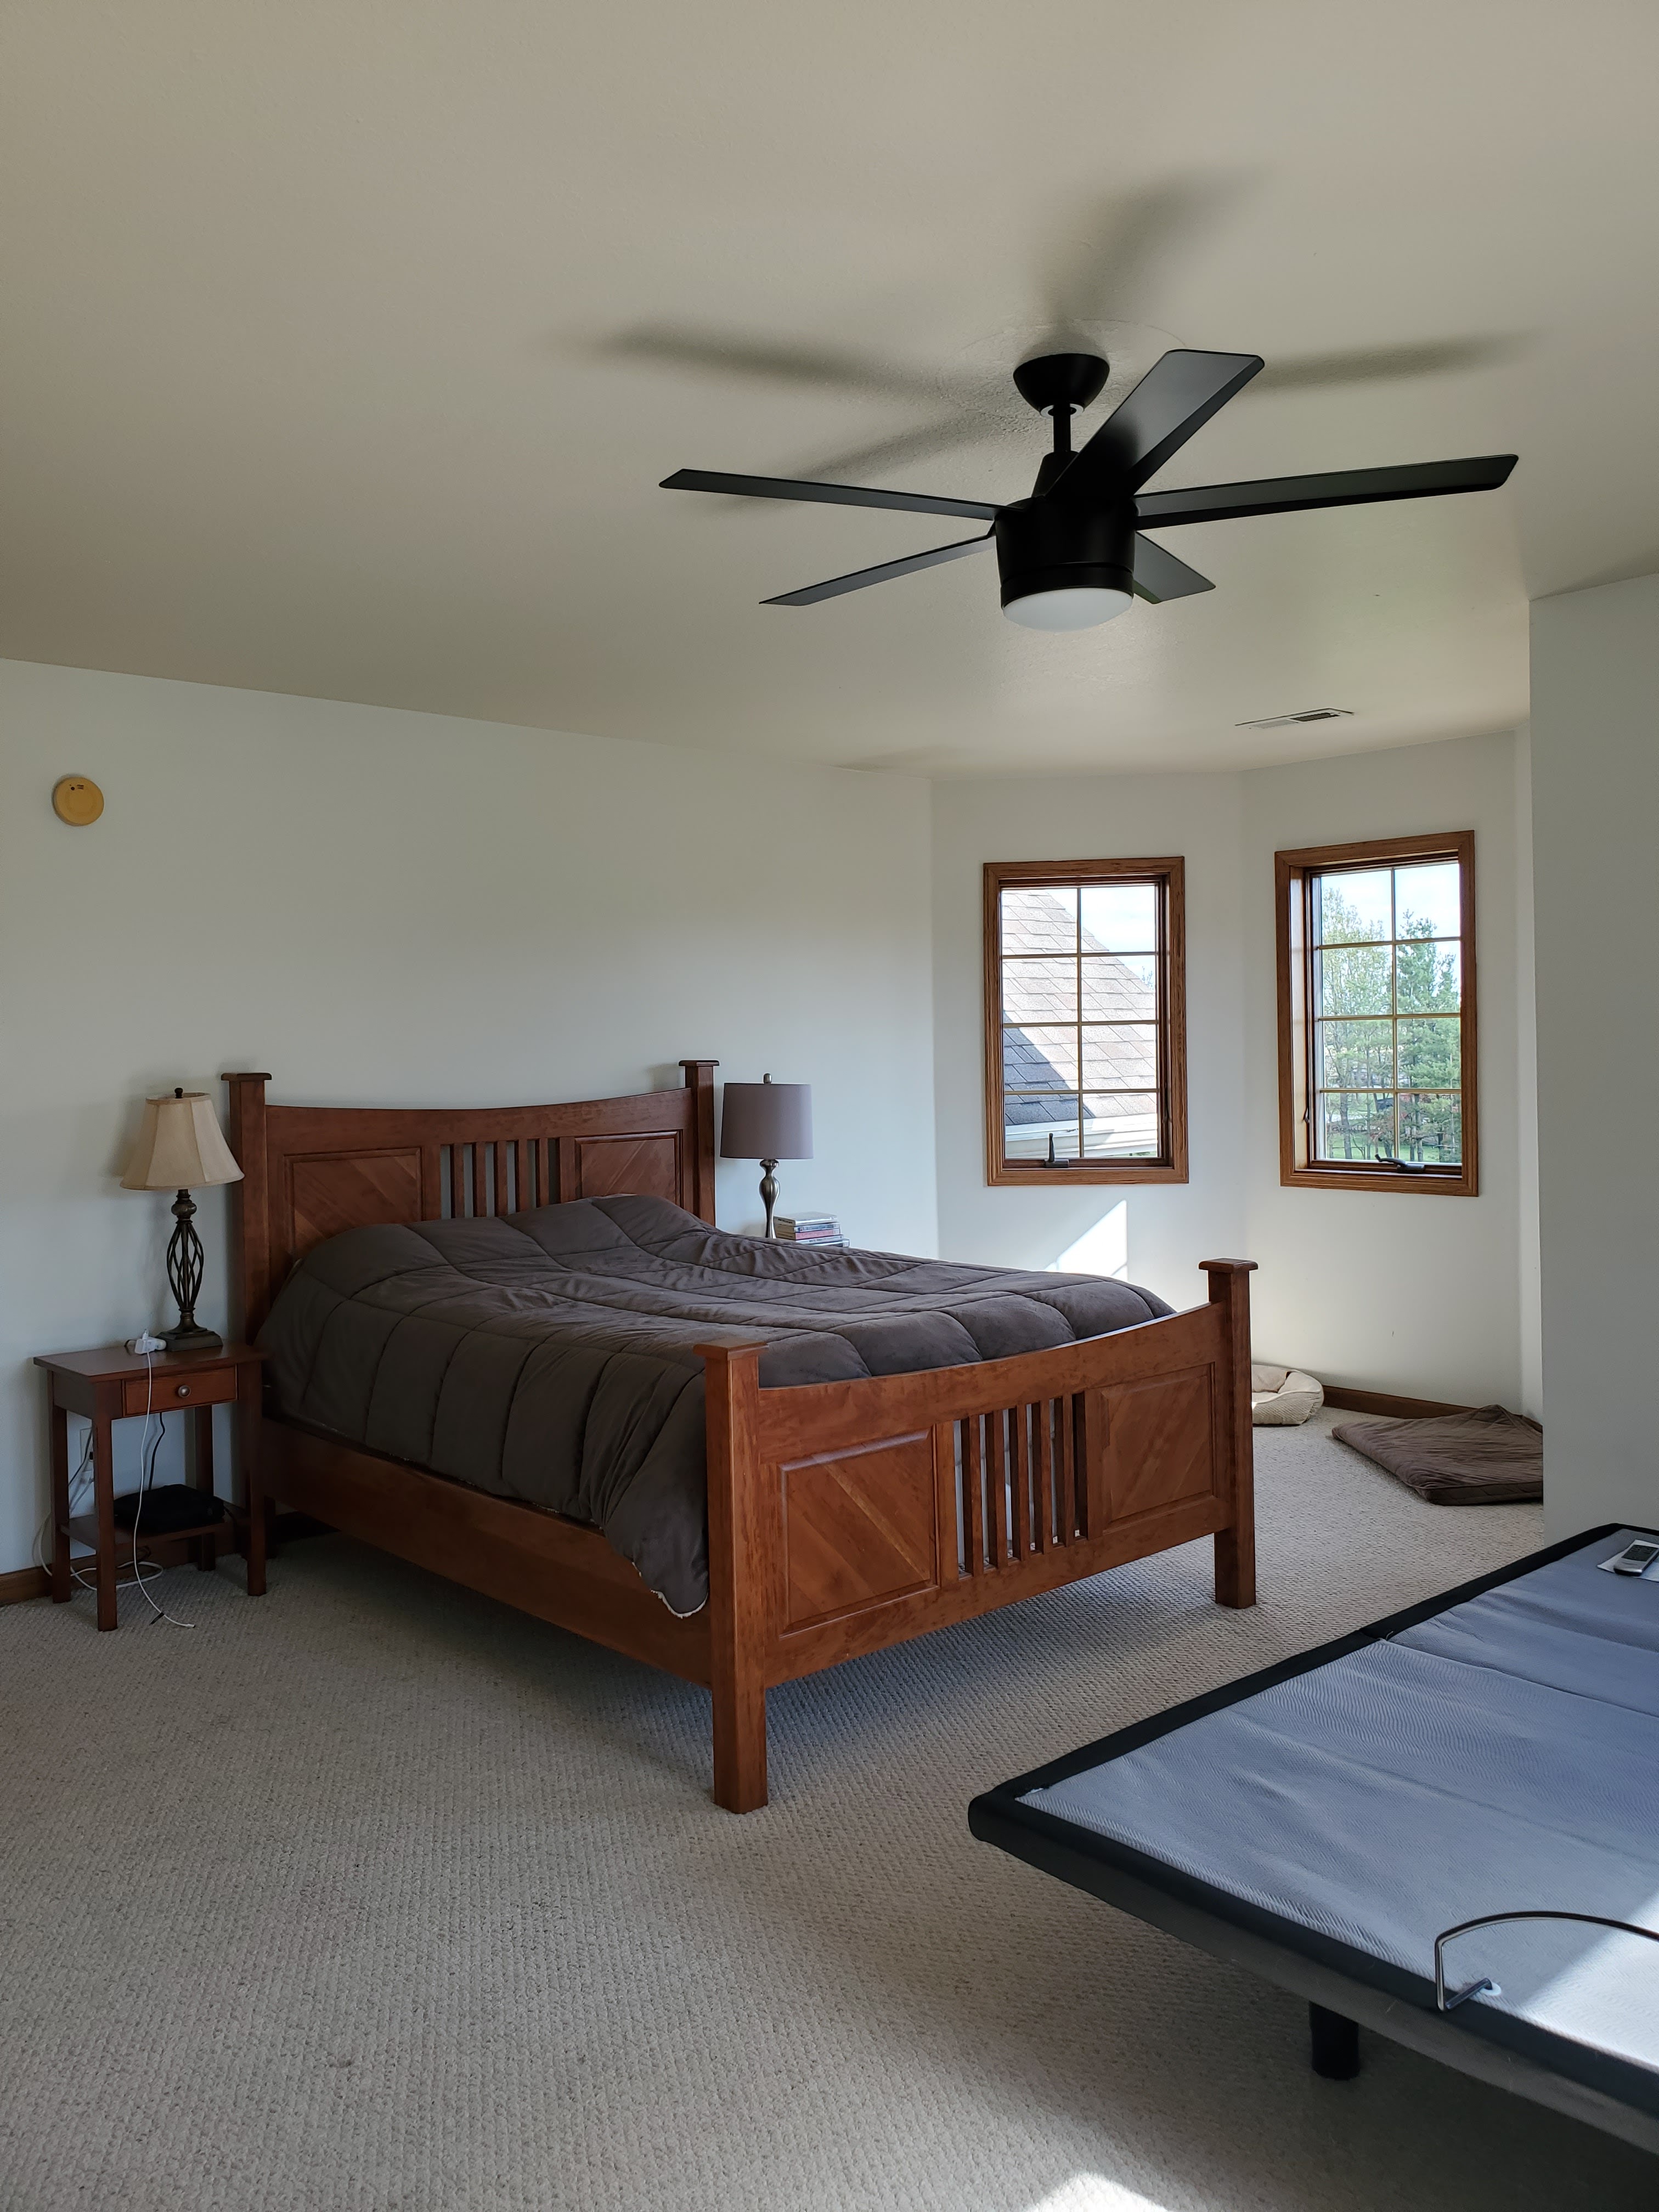
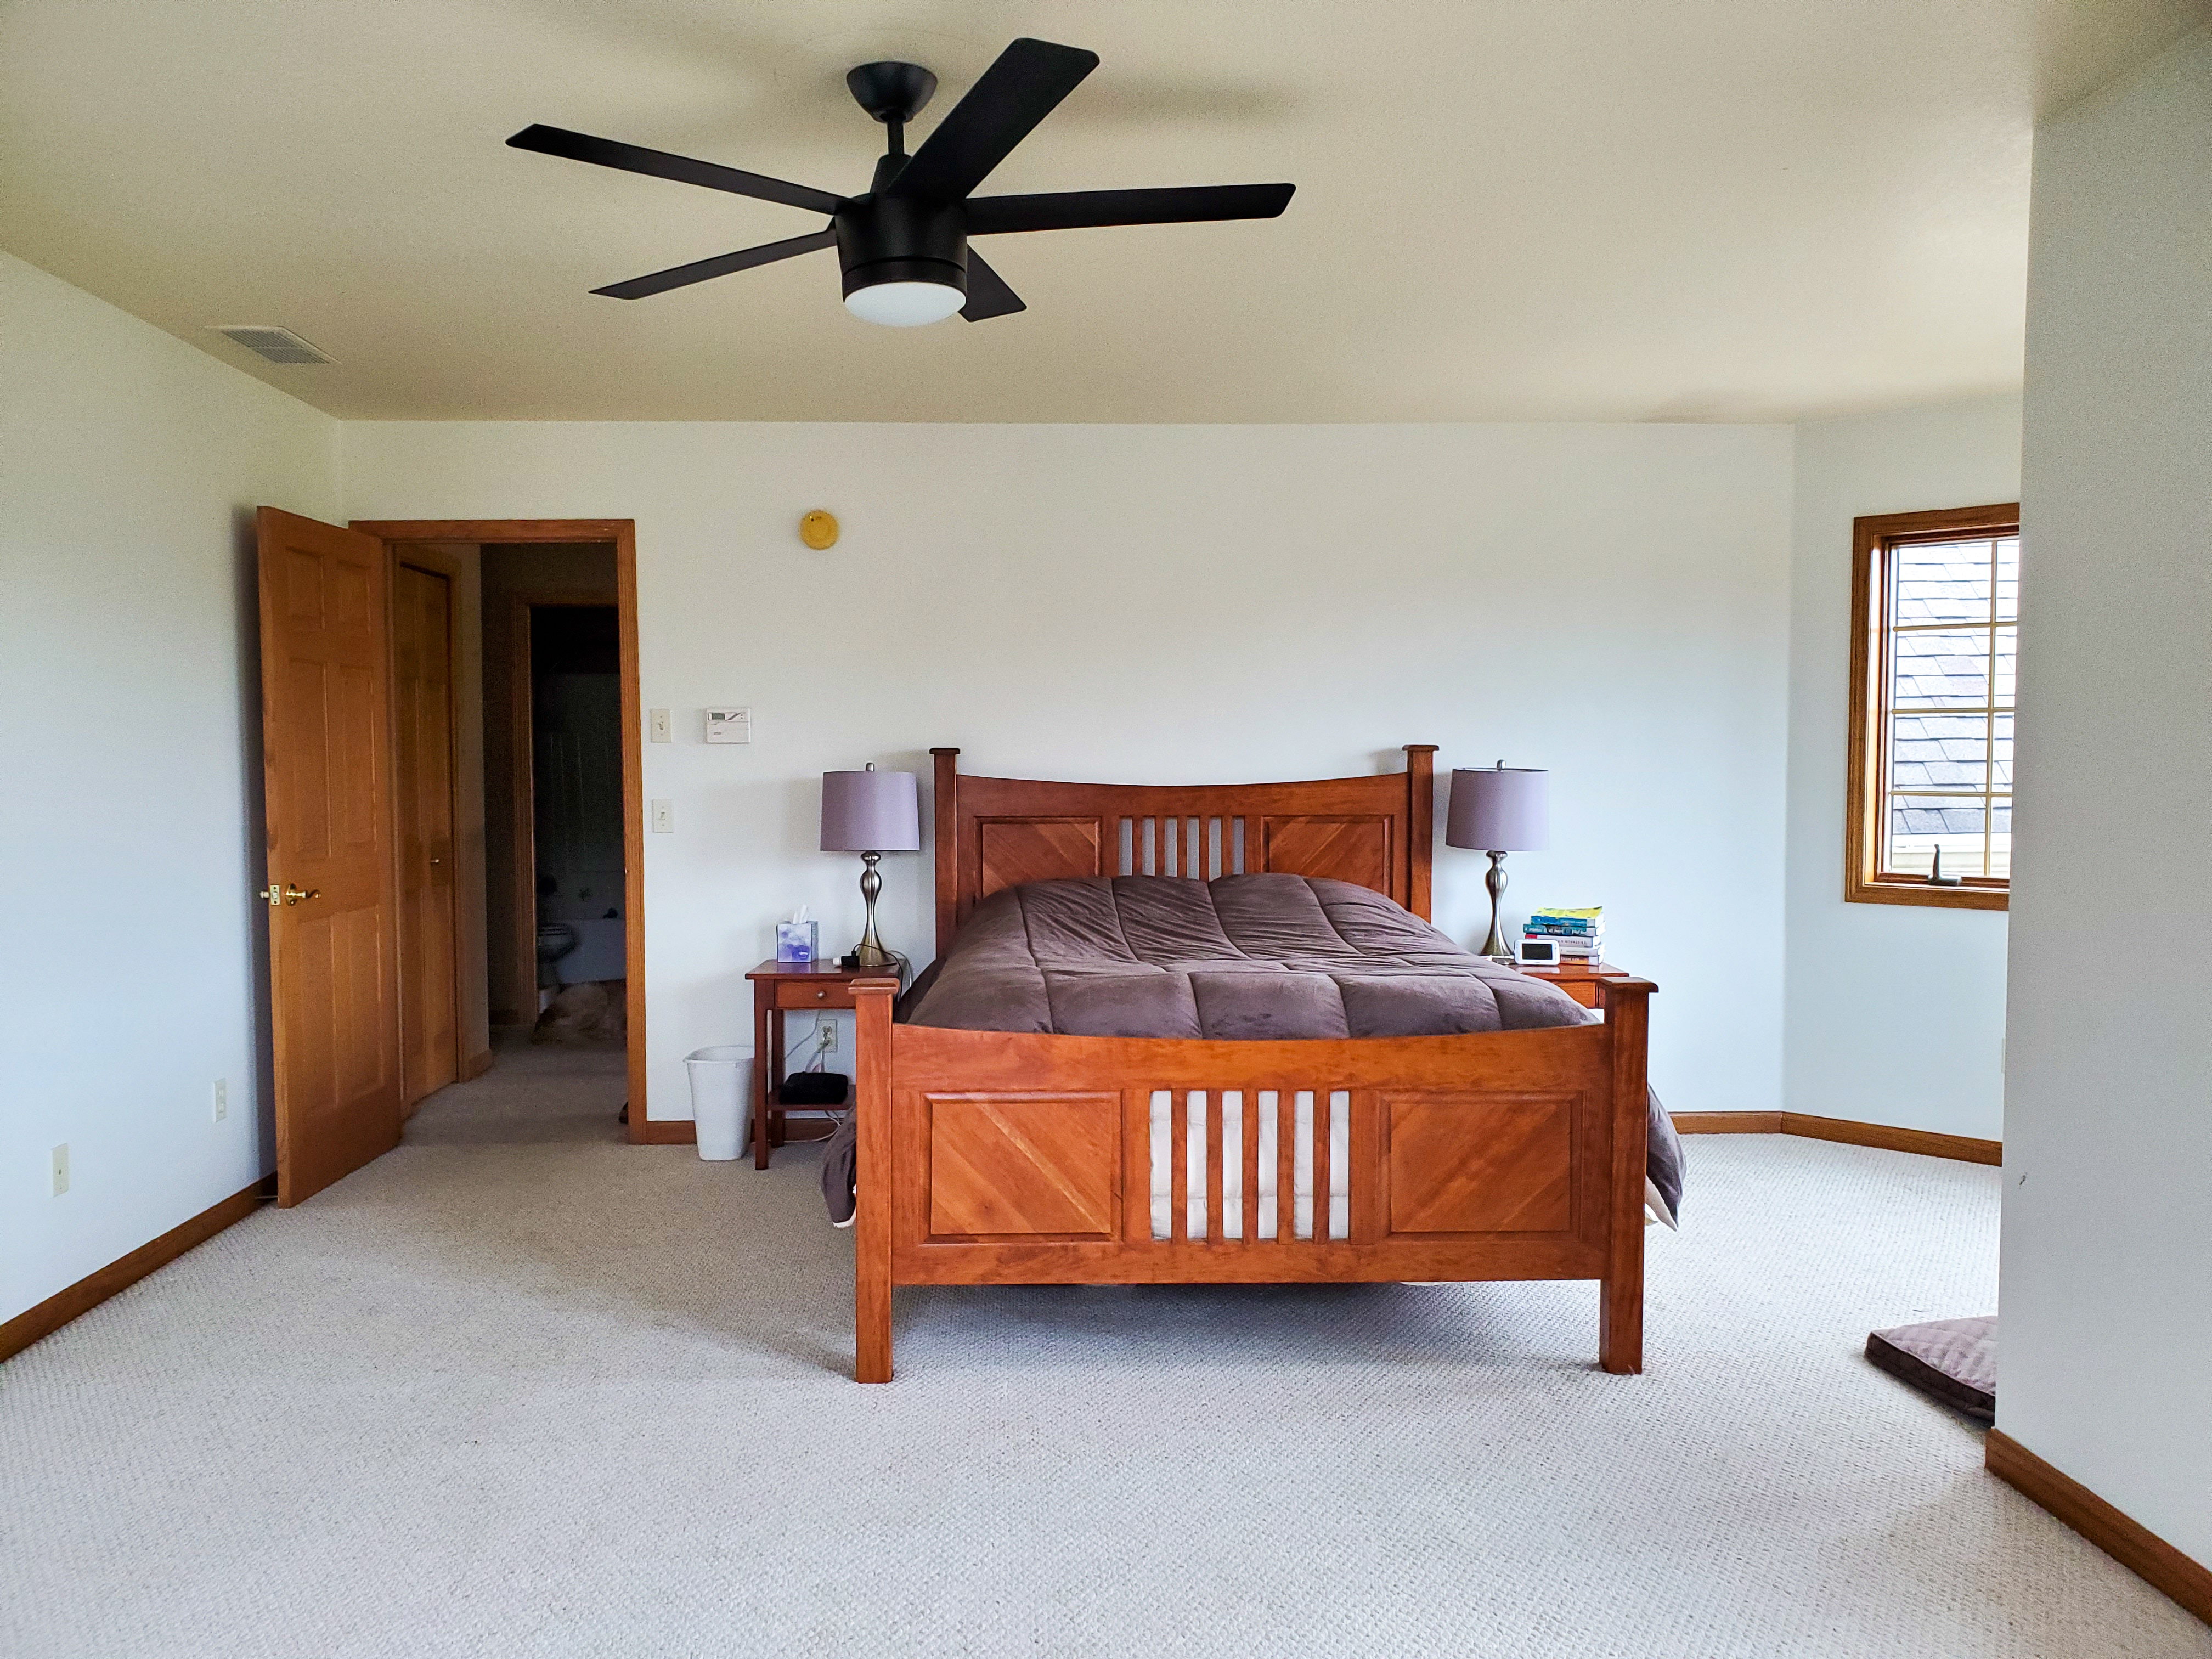
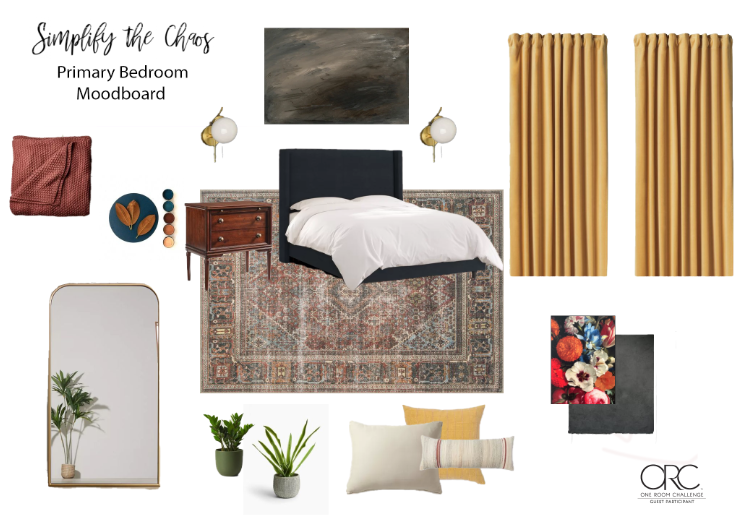
Primary Bedroom
This room is our current project, although all we’ve been able to address so far are the windows. And our new adjustable bed base is just hanging out in the middle of the room as we wait for the mattress. I can’t wait to see it all come together soon!
Primary Bathroom
A gut renovation will still happen someday, but I’m still so glad we did a phase one update back in 2019!
Whew! That’s a wrap on the house! We’ve still got a lot to do but it’s come a long way and I’m glad to have a minute to sit back and just enjoy all the progress we’ve made so far. And I’ve got to end on this picture – LJ and Vi ran in from playing outside with Justin as I was photographing and insisted on being in a picture. The lighting is off and it’s blurry but I love it so much. My two little kids cheesing after a fun day outside – this is what it’s all about. This is why I work so hard on this house. It’s for our family and our life together. It’s the safe space for our family, the place we gather with our loved ones. This home is the backdrop for all our sweetest memories and I love finding all its hidden potential.