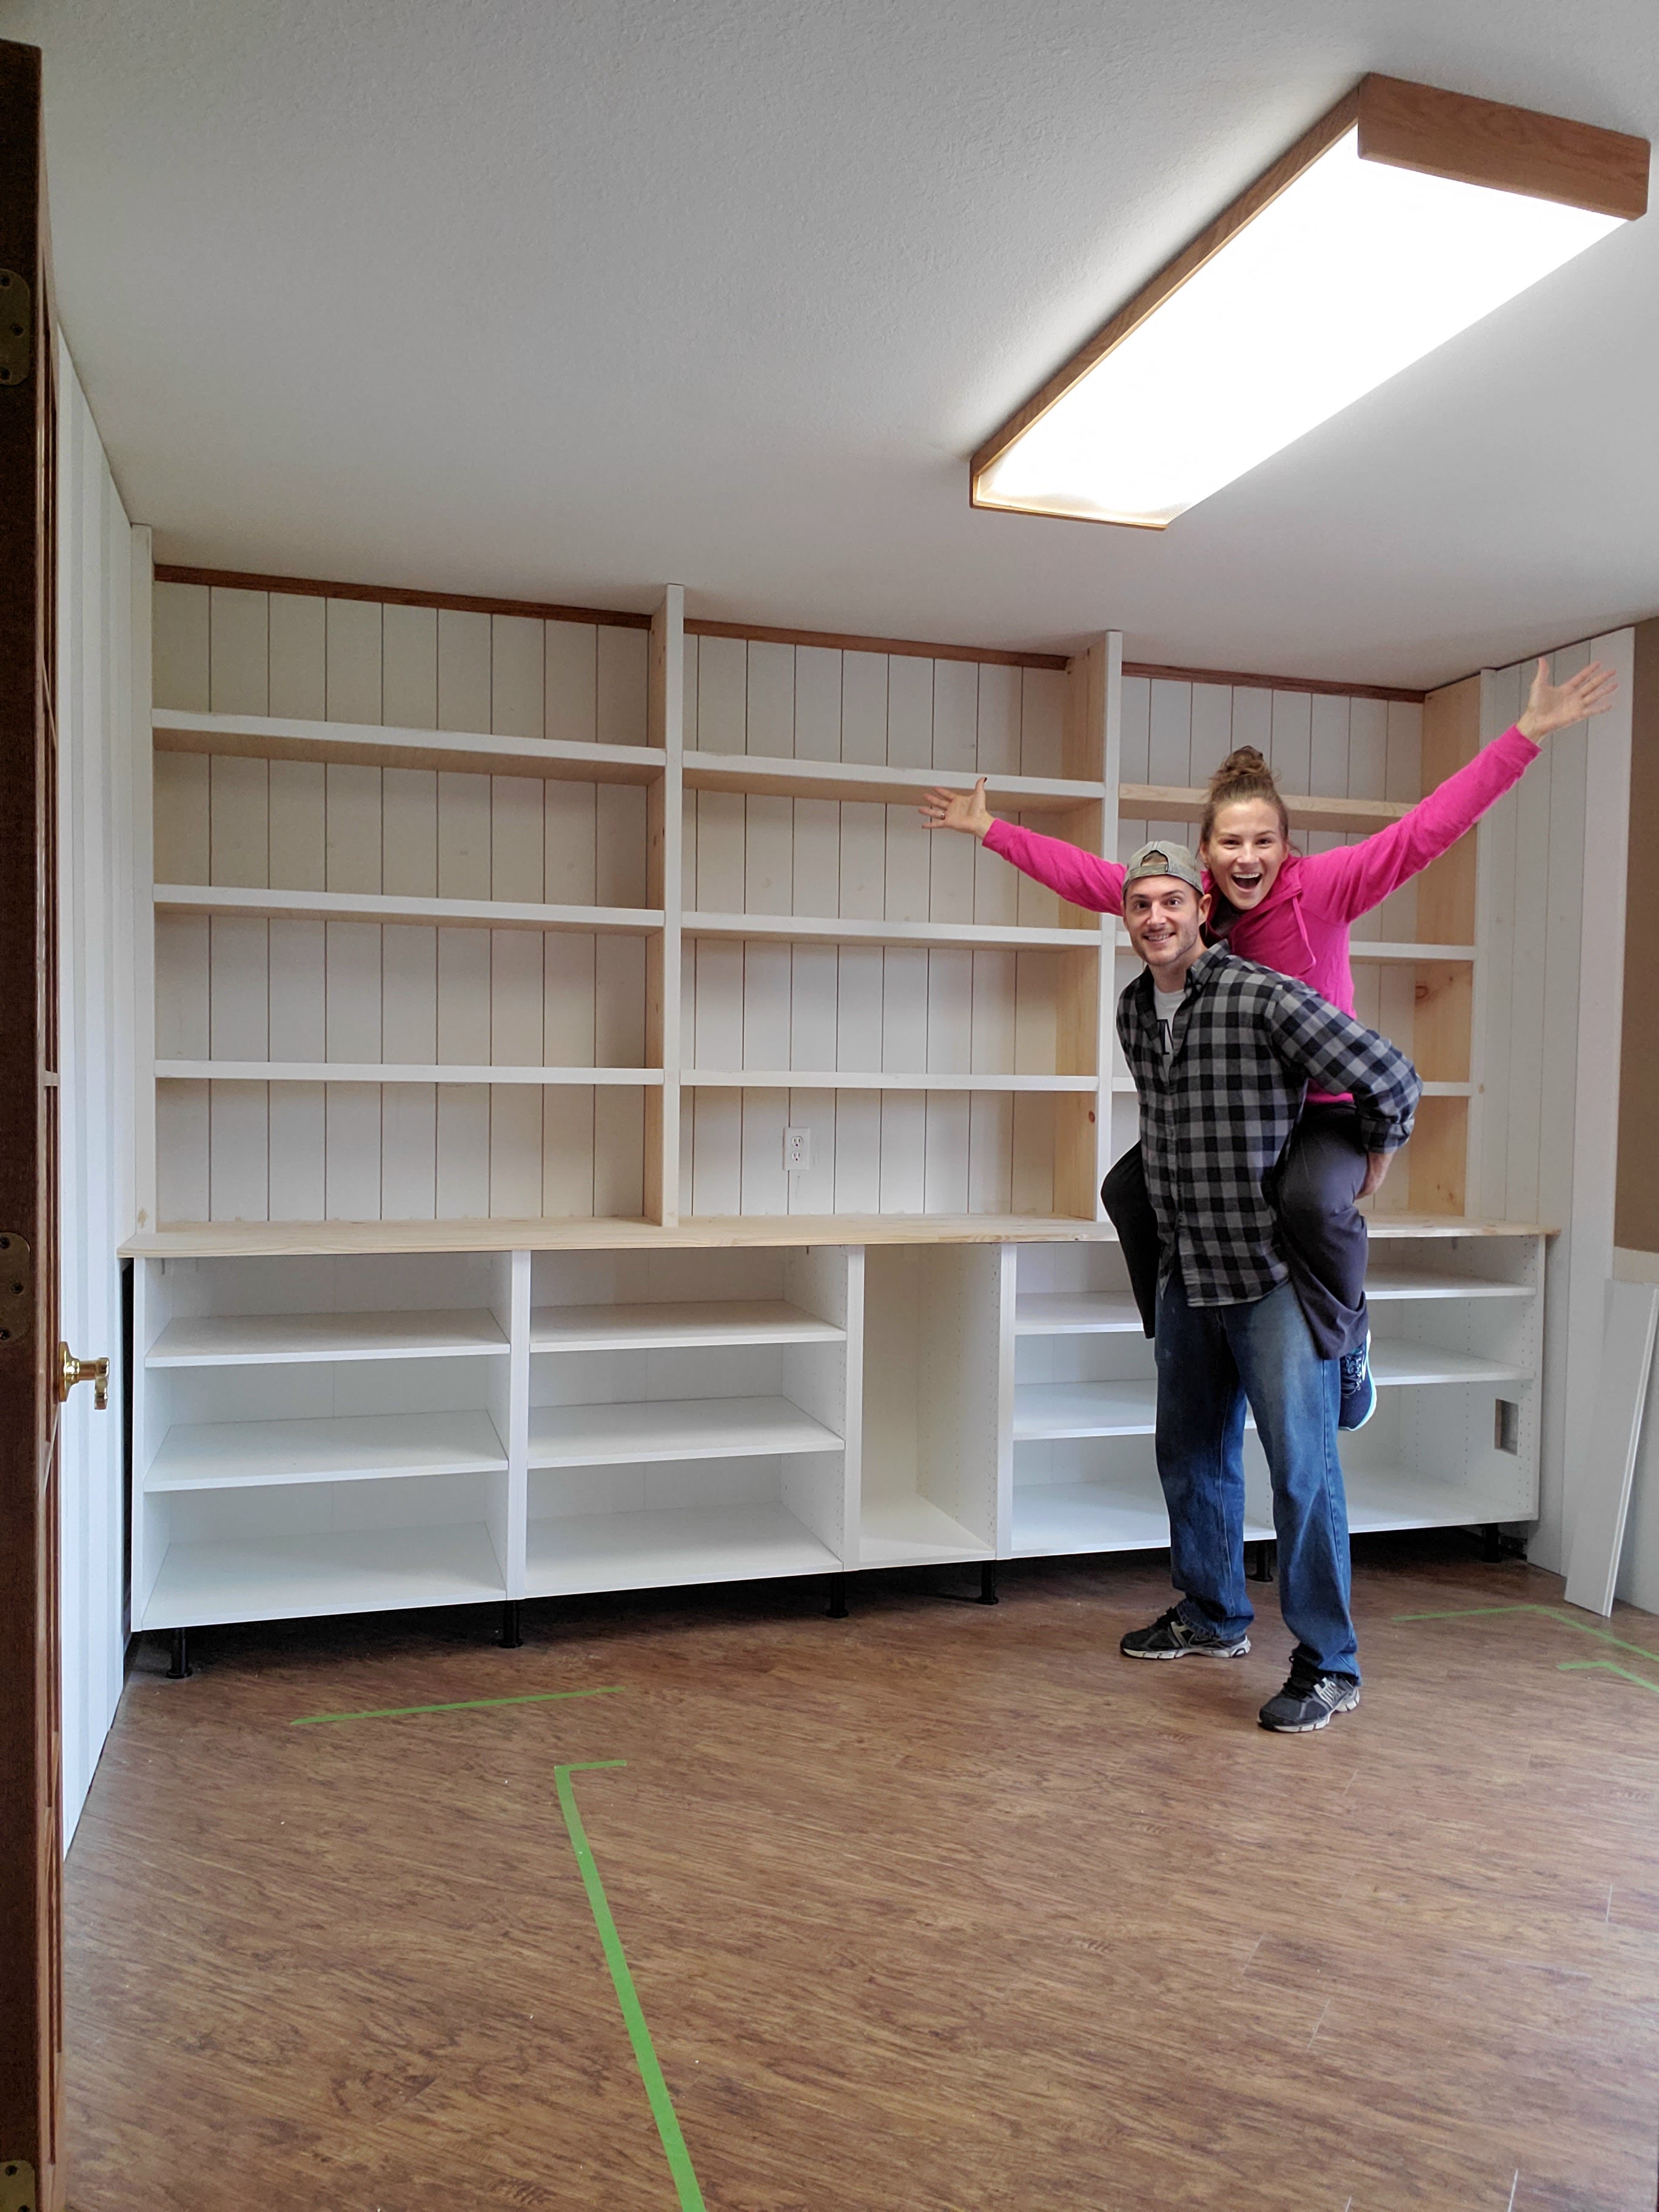
We are four weeks into the One Room Challenge and have finally met a big milestone: all of the shiplap is finished!!

This has been a huge project and the shiplap needed to get finished before we could move on to other things like baseboards, crown molding, and final window trim so it was an important thing to check off our list!
Today I’m going to share about the process we used to install shiplap on all the walls and ceilings – it’s the first time we did something like this and we’re really happy with how it turned out!
Items Needed:
–Shiplap (we used 8 foot pieces for the walls and 12 foot pieces for the ceiling)
-Nail Gun (we used 1 1/2″ nails for walls and 2″ nails for the ceiling)
-Level
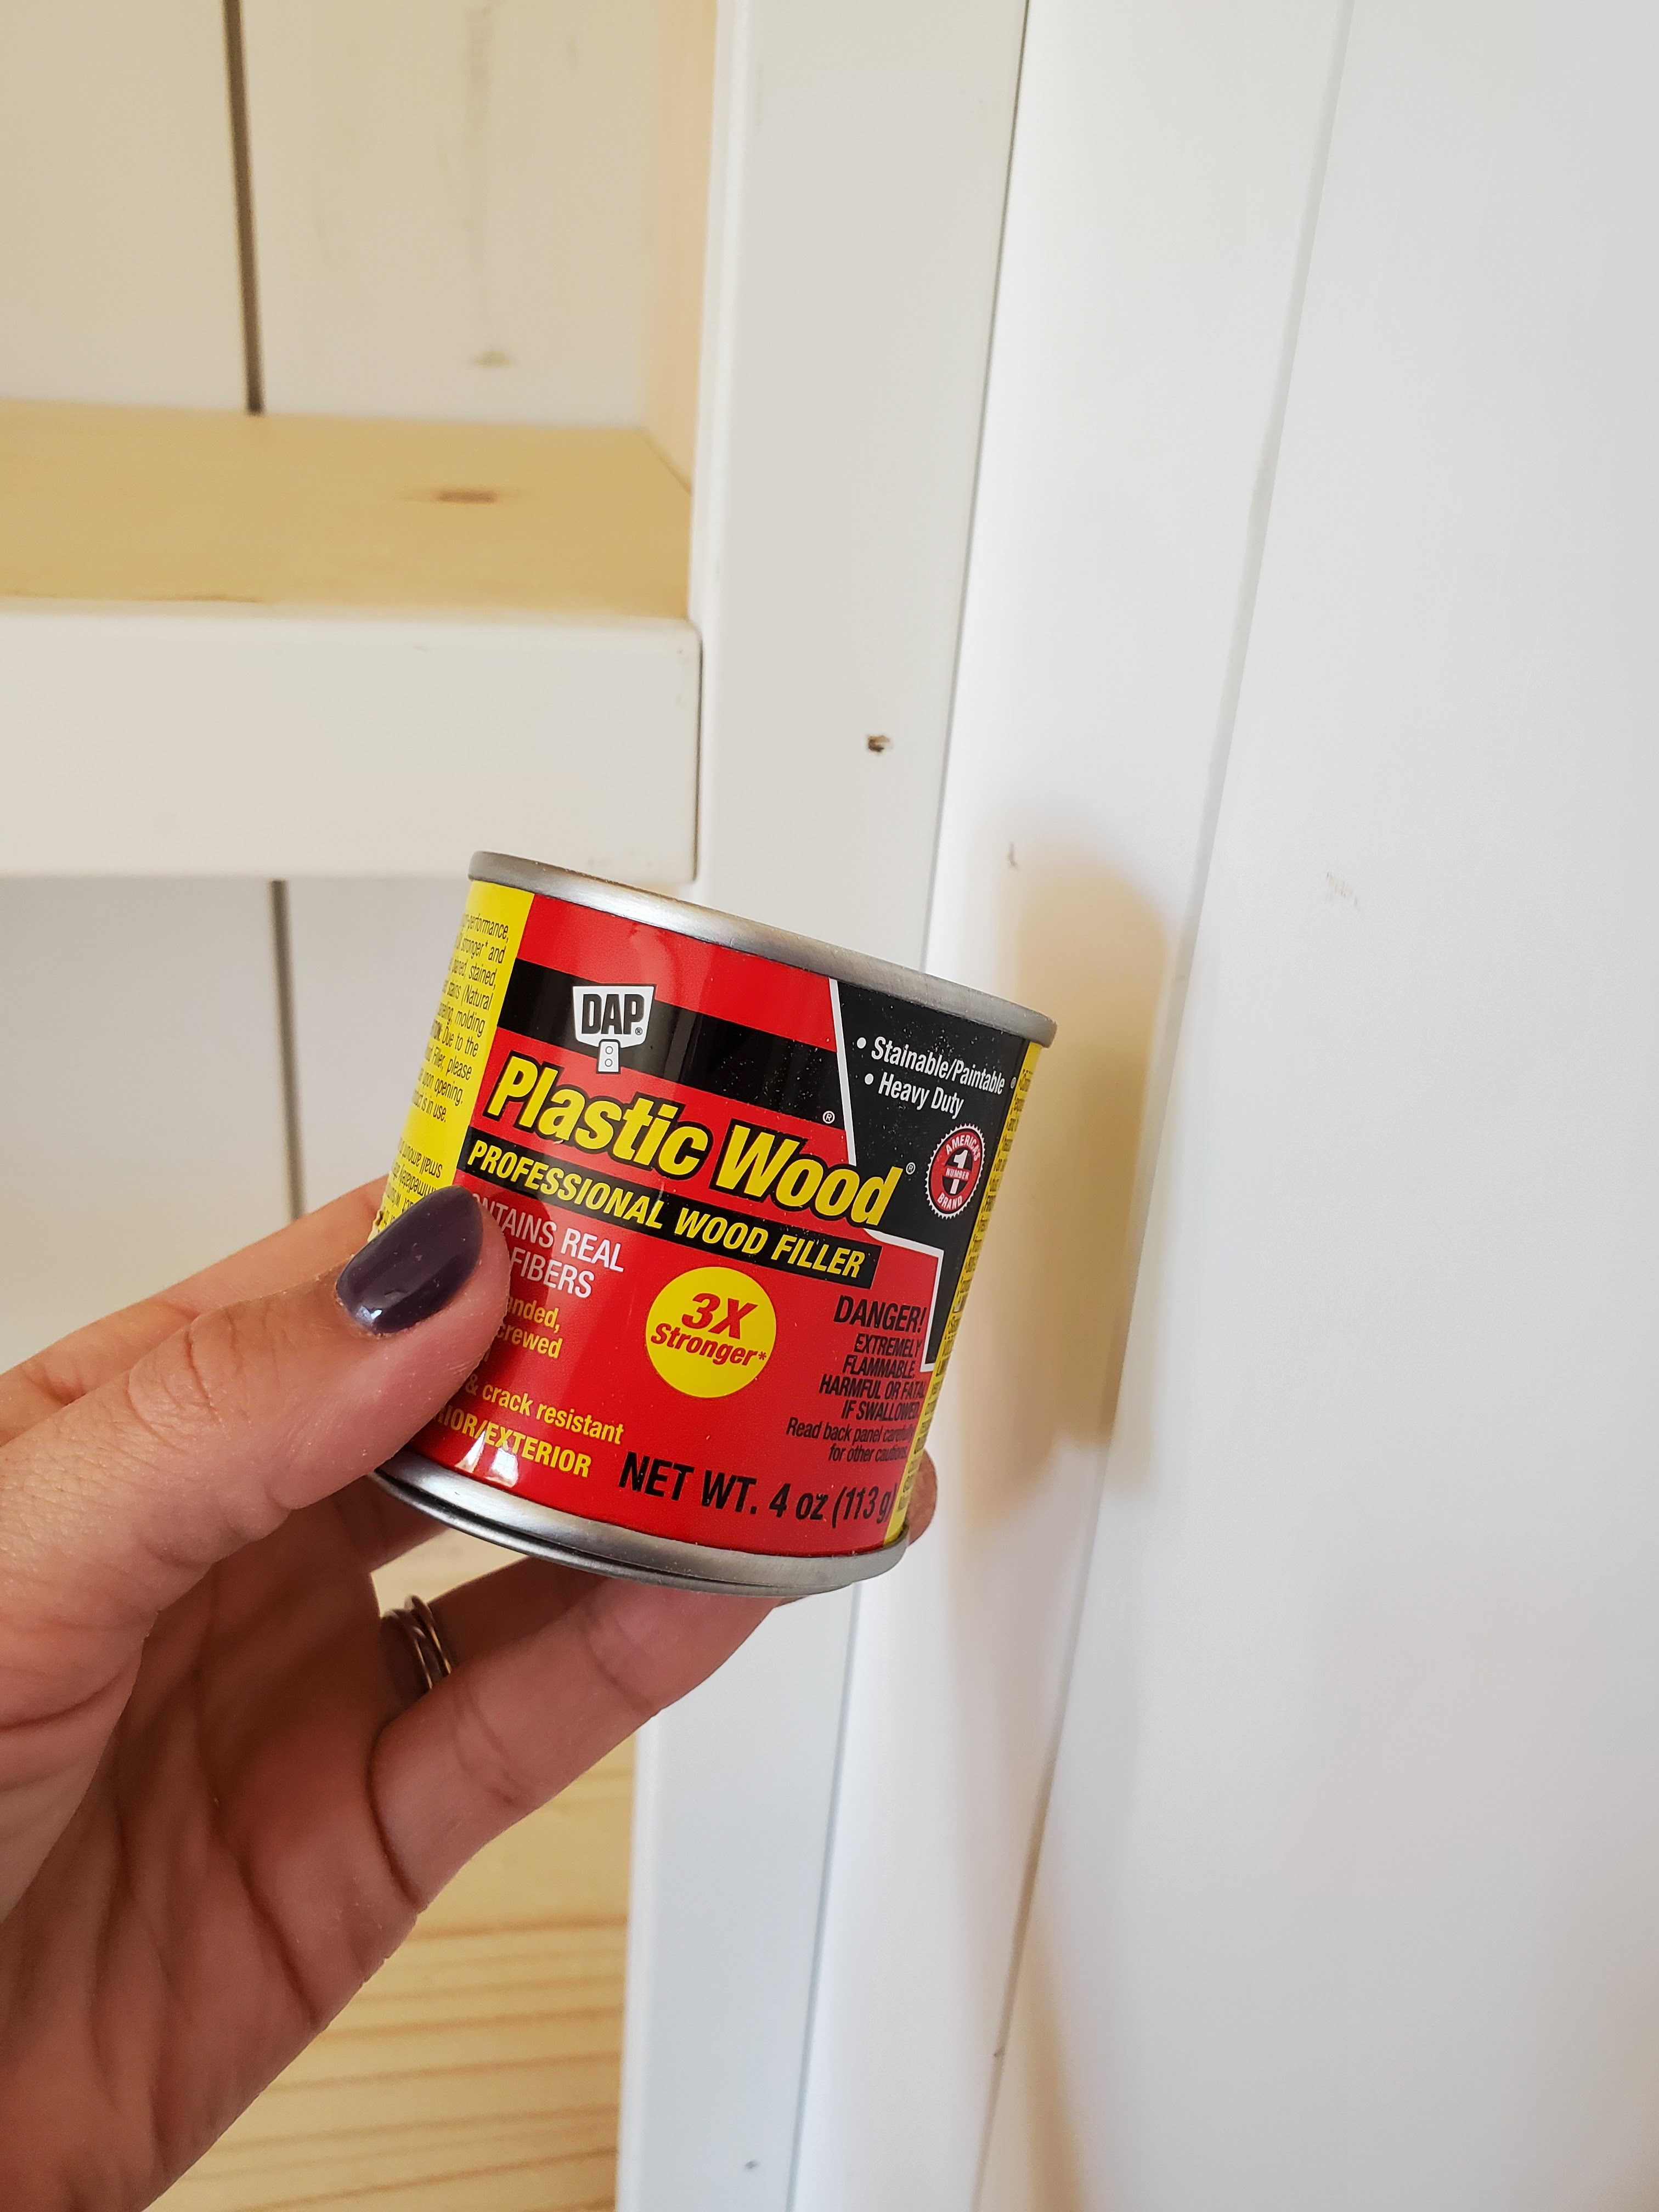
–DryDex Spackling and Nail Hole Filler
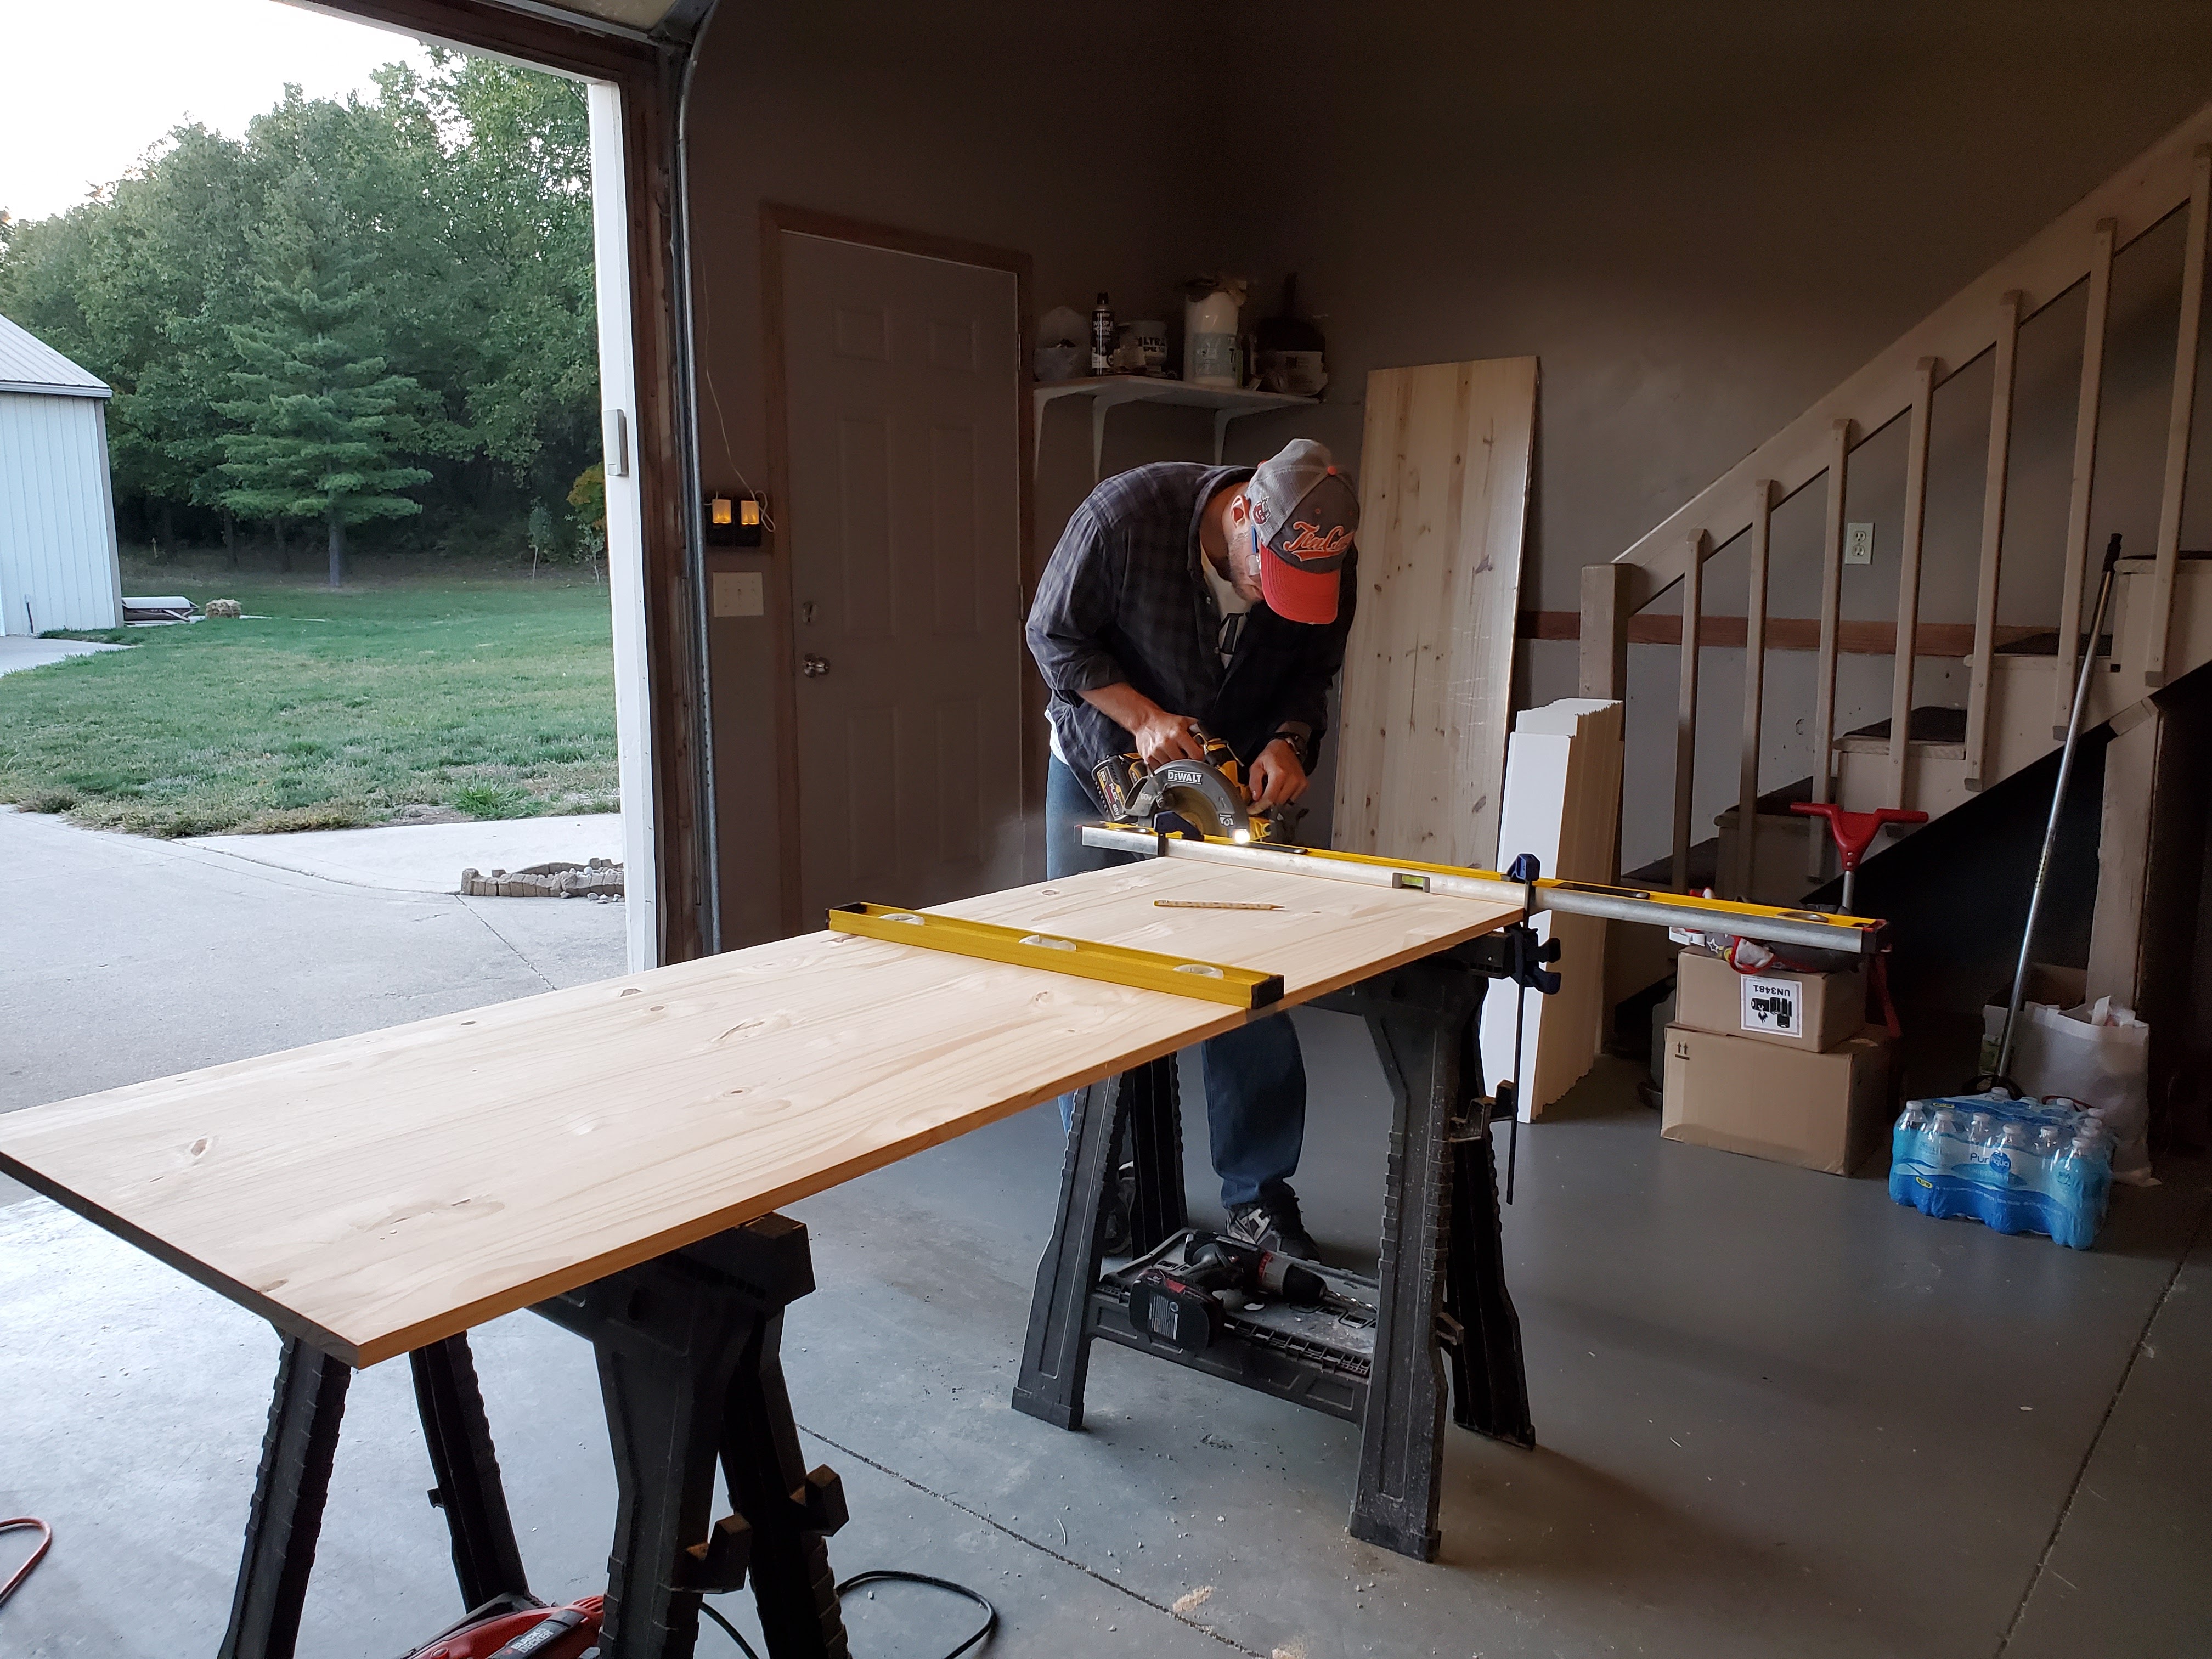
Justin also used his miter saw (to cut boards to length), jigsaw (to cut notches for outlets and window trim), and table saw (to rip boards to smaller widths when needed).
Installation:
It made the most sense for us to start in the middle of the wall rather than in a corner because every wall in this room is wonky. Our walls are a touch over 8 feet high, which was nice because there was no need to cut the shiplap for just a plain stretch of wall. We used our liquid nails and caulk gun to run adhesive along the back of the shiplap.
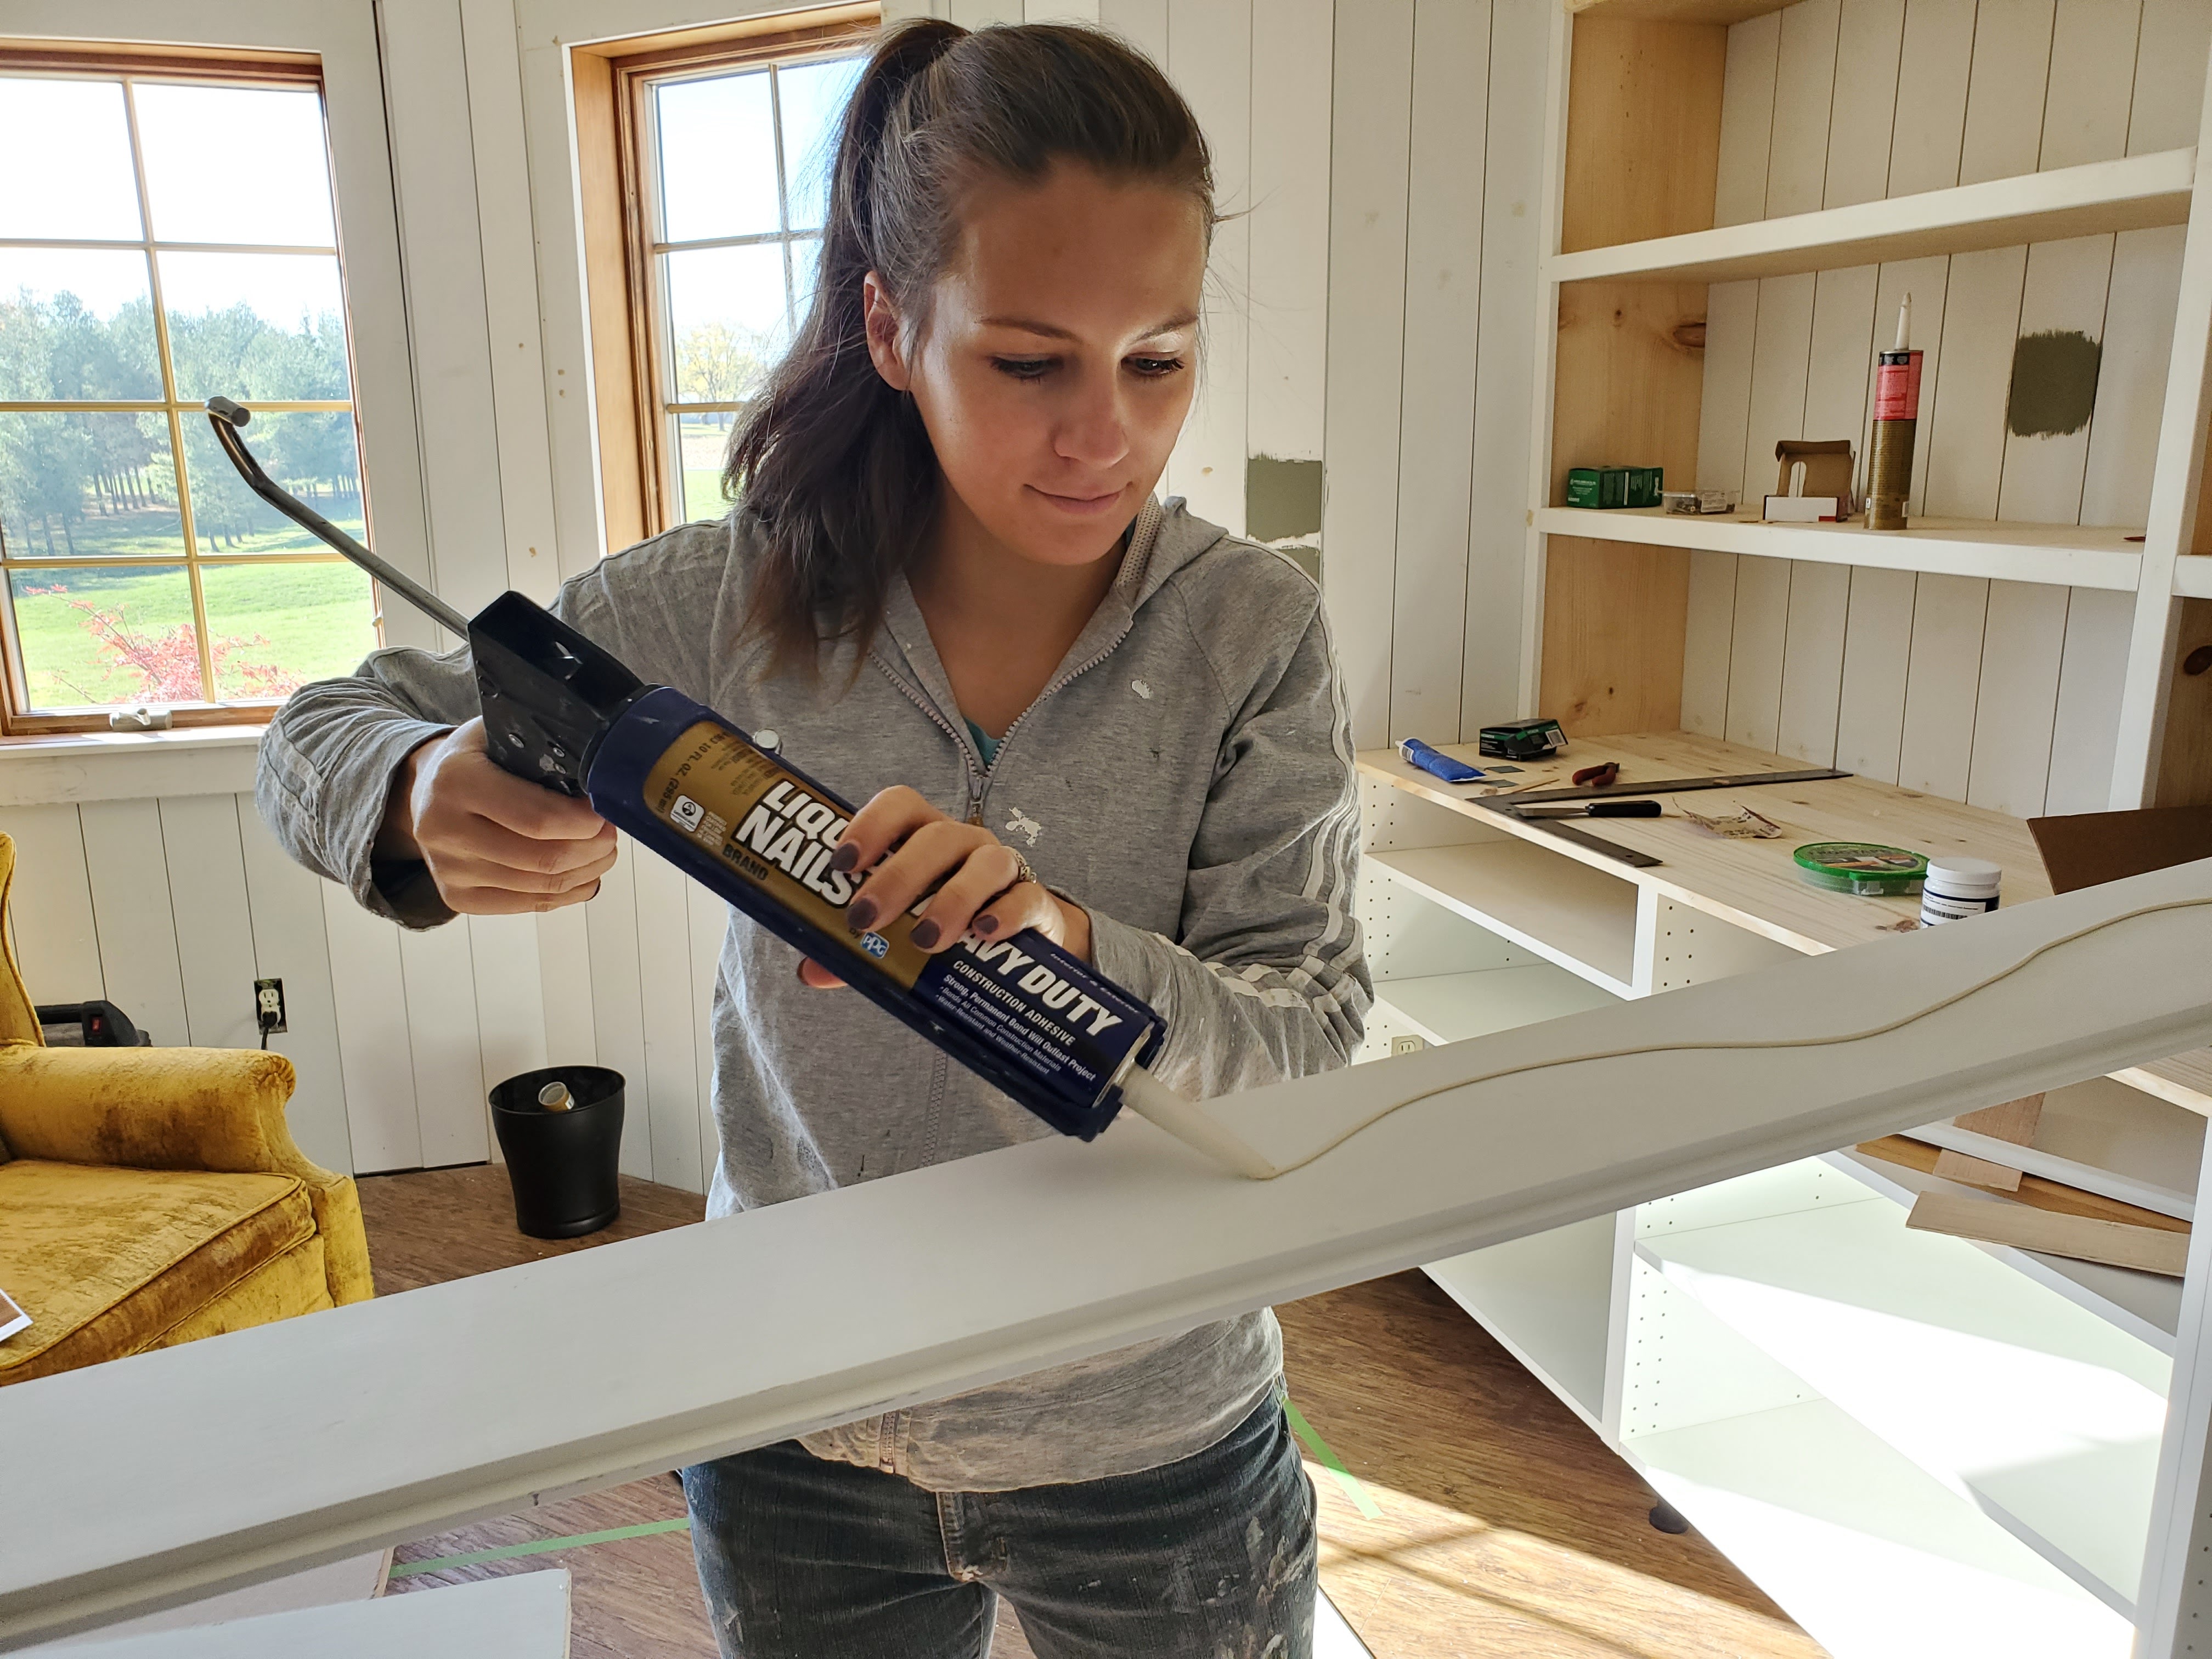
For shiplap on the walls, we used this liquid nails but for the ceiling, we used the heavy duty one since the ceiling boards would be pulled down more by gravity.
This shiplap is super easy to work with because it interlocks and automatically creates the perfect gap between boards.

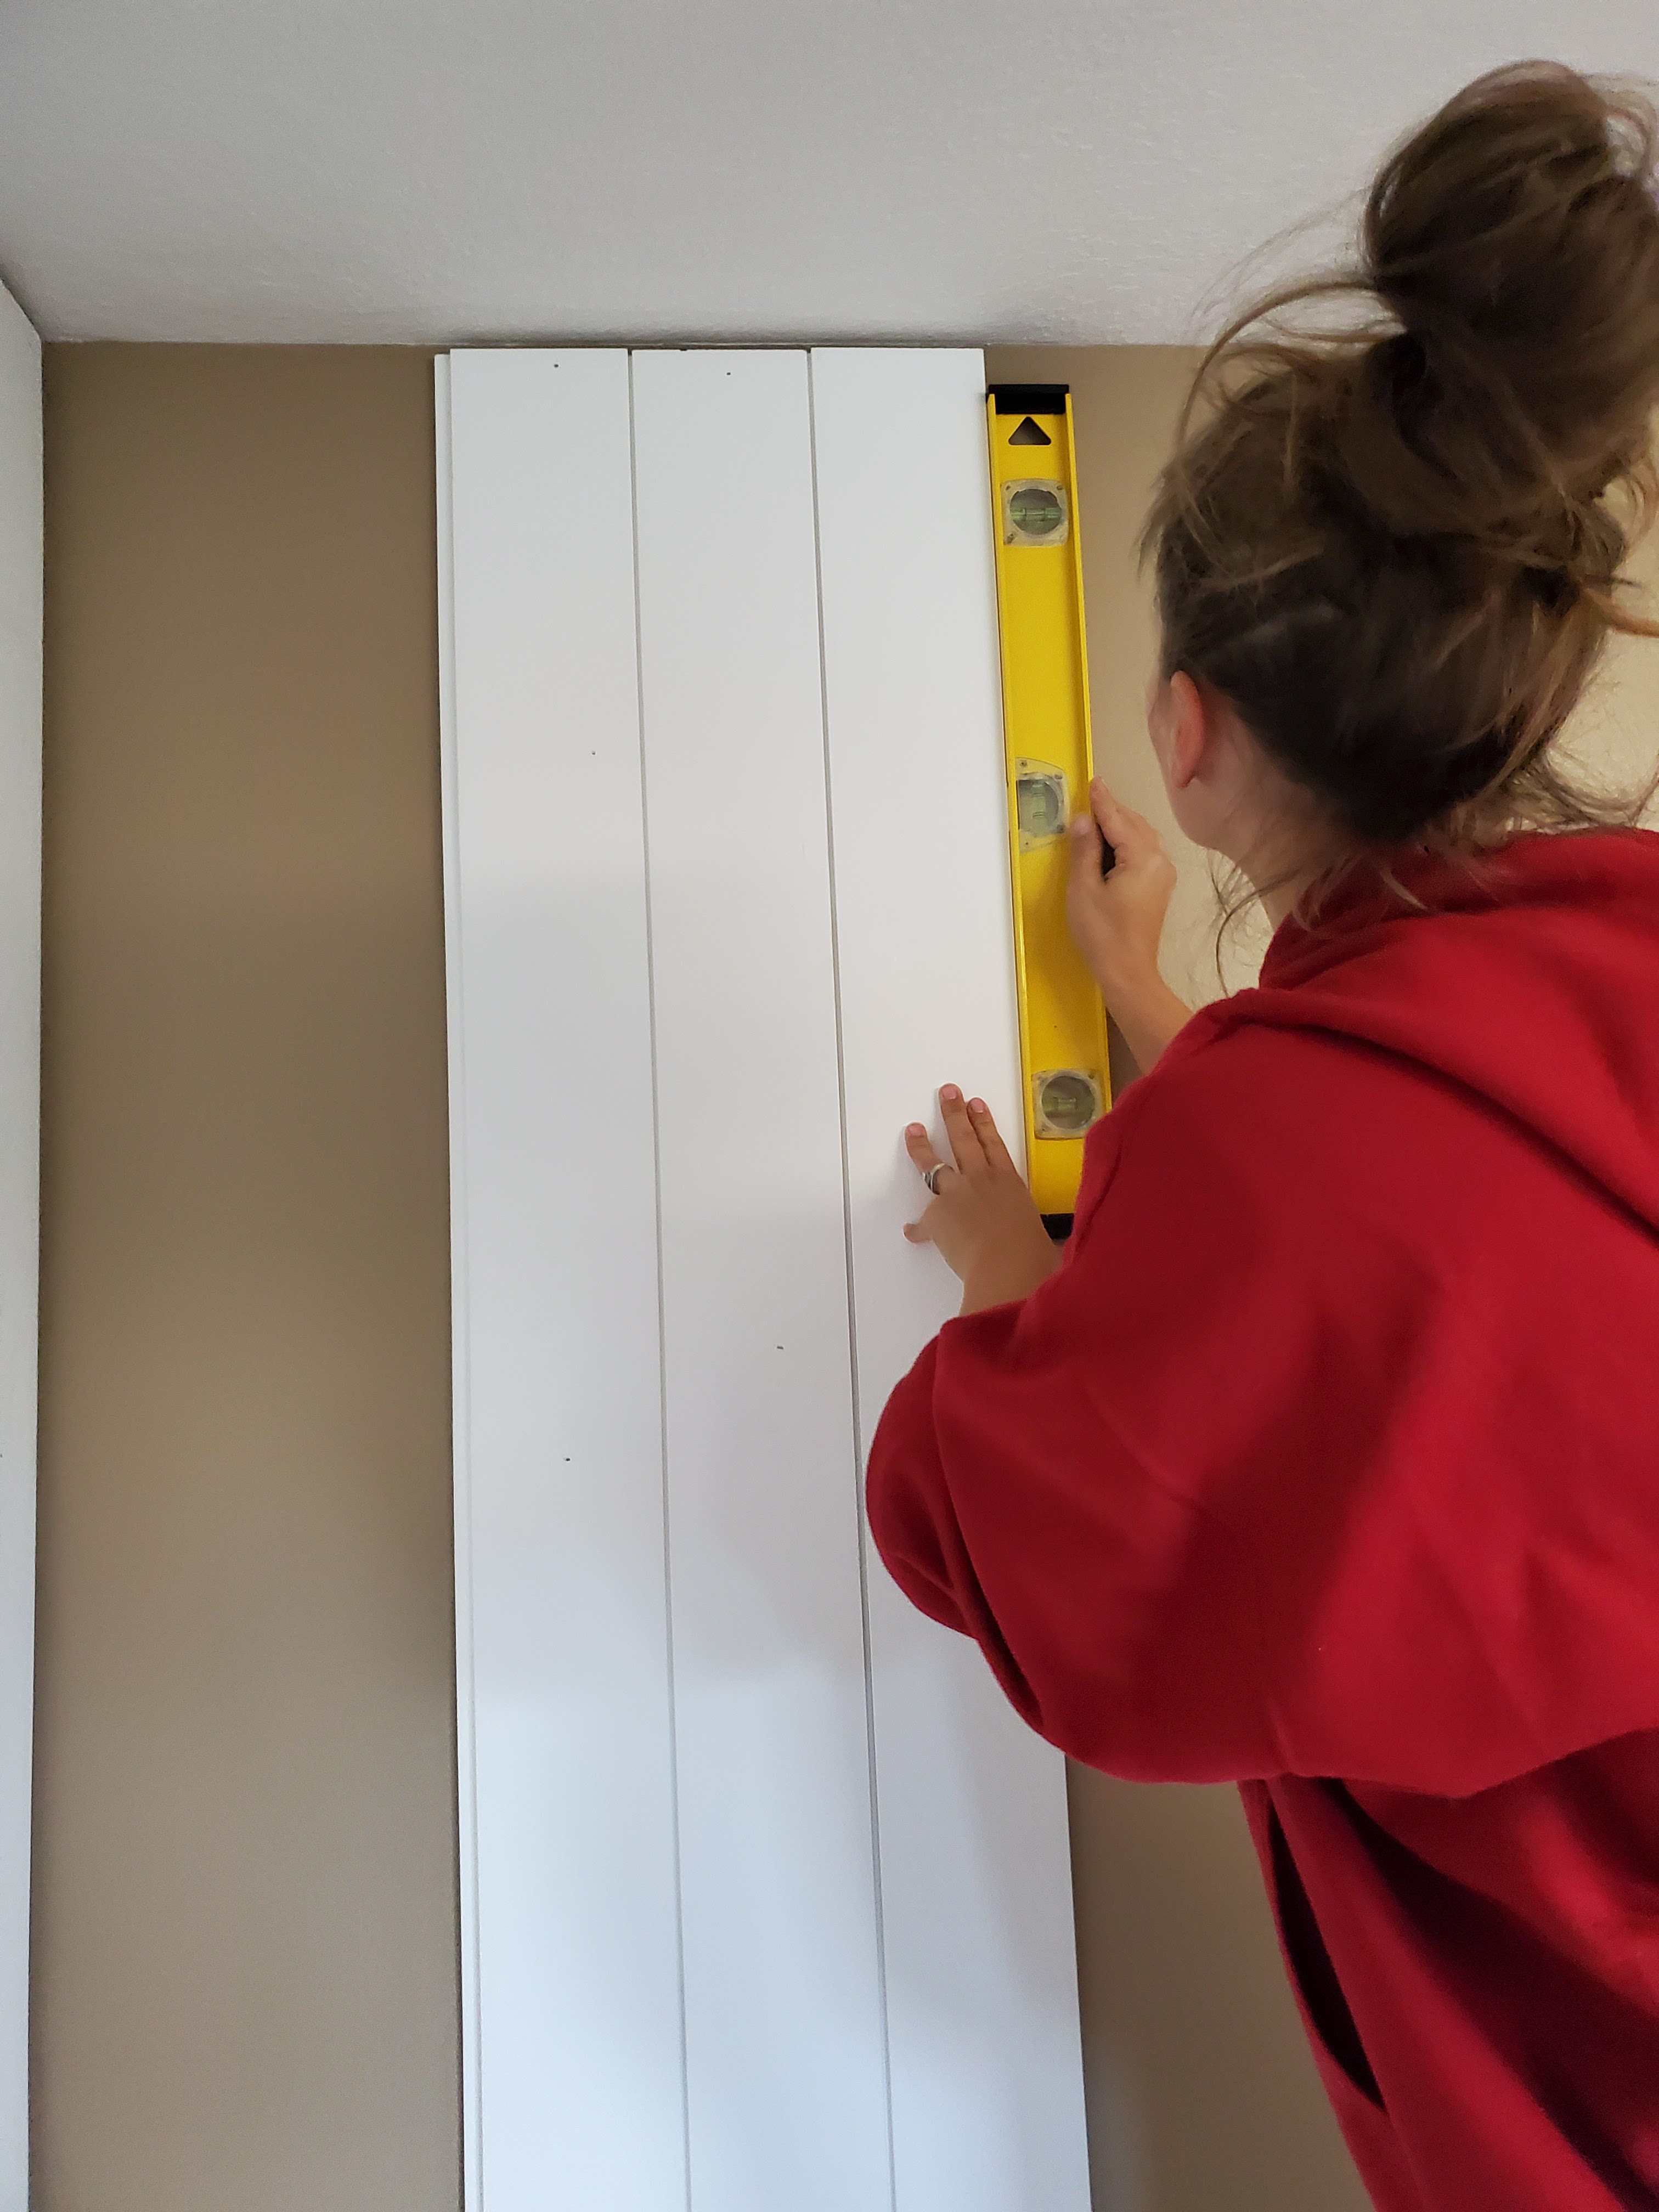
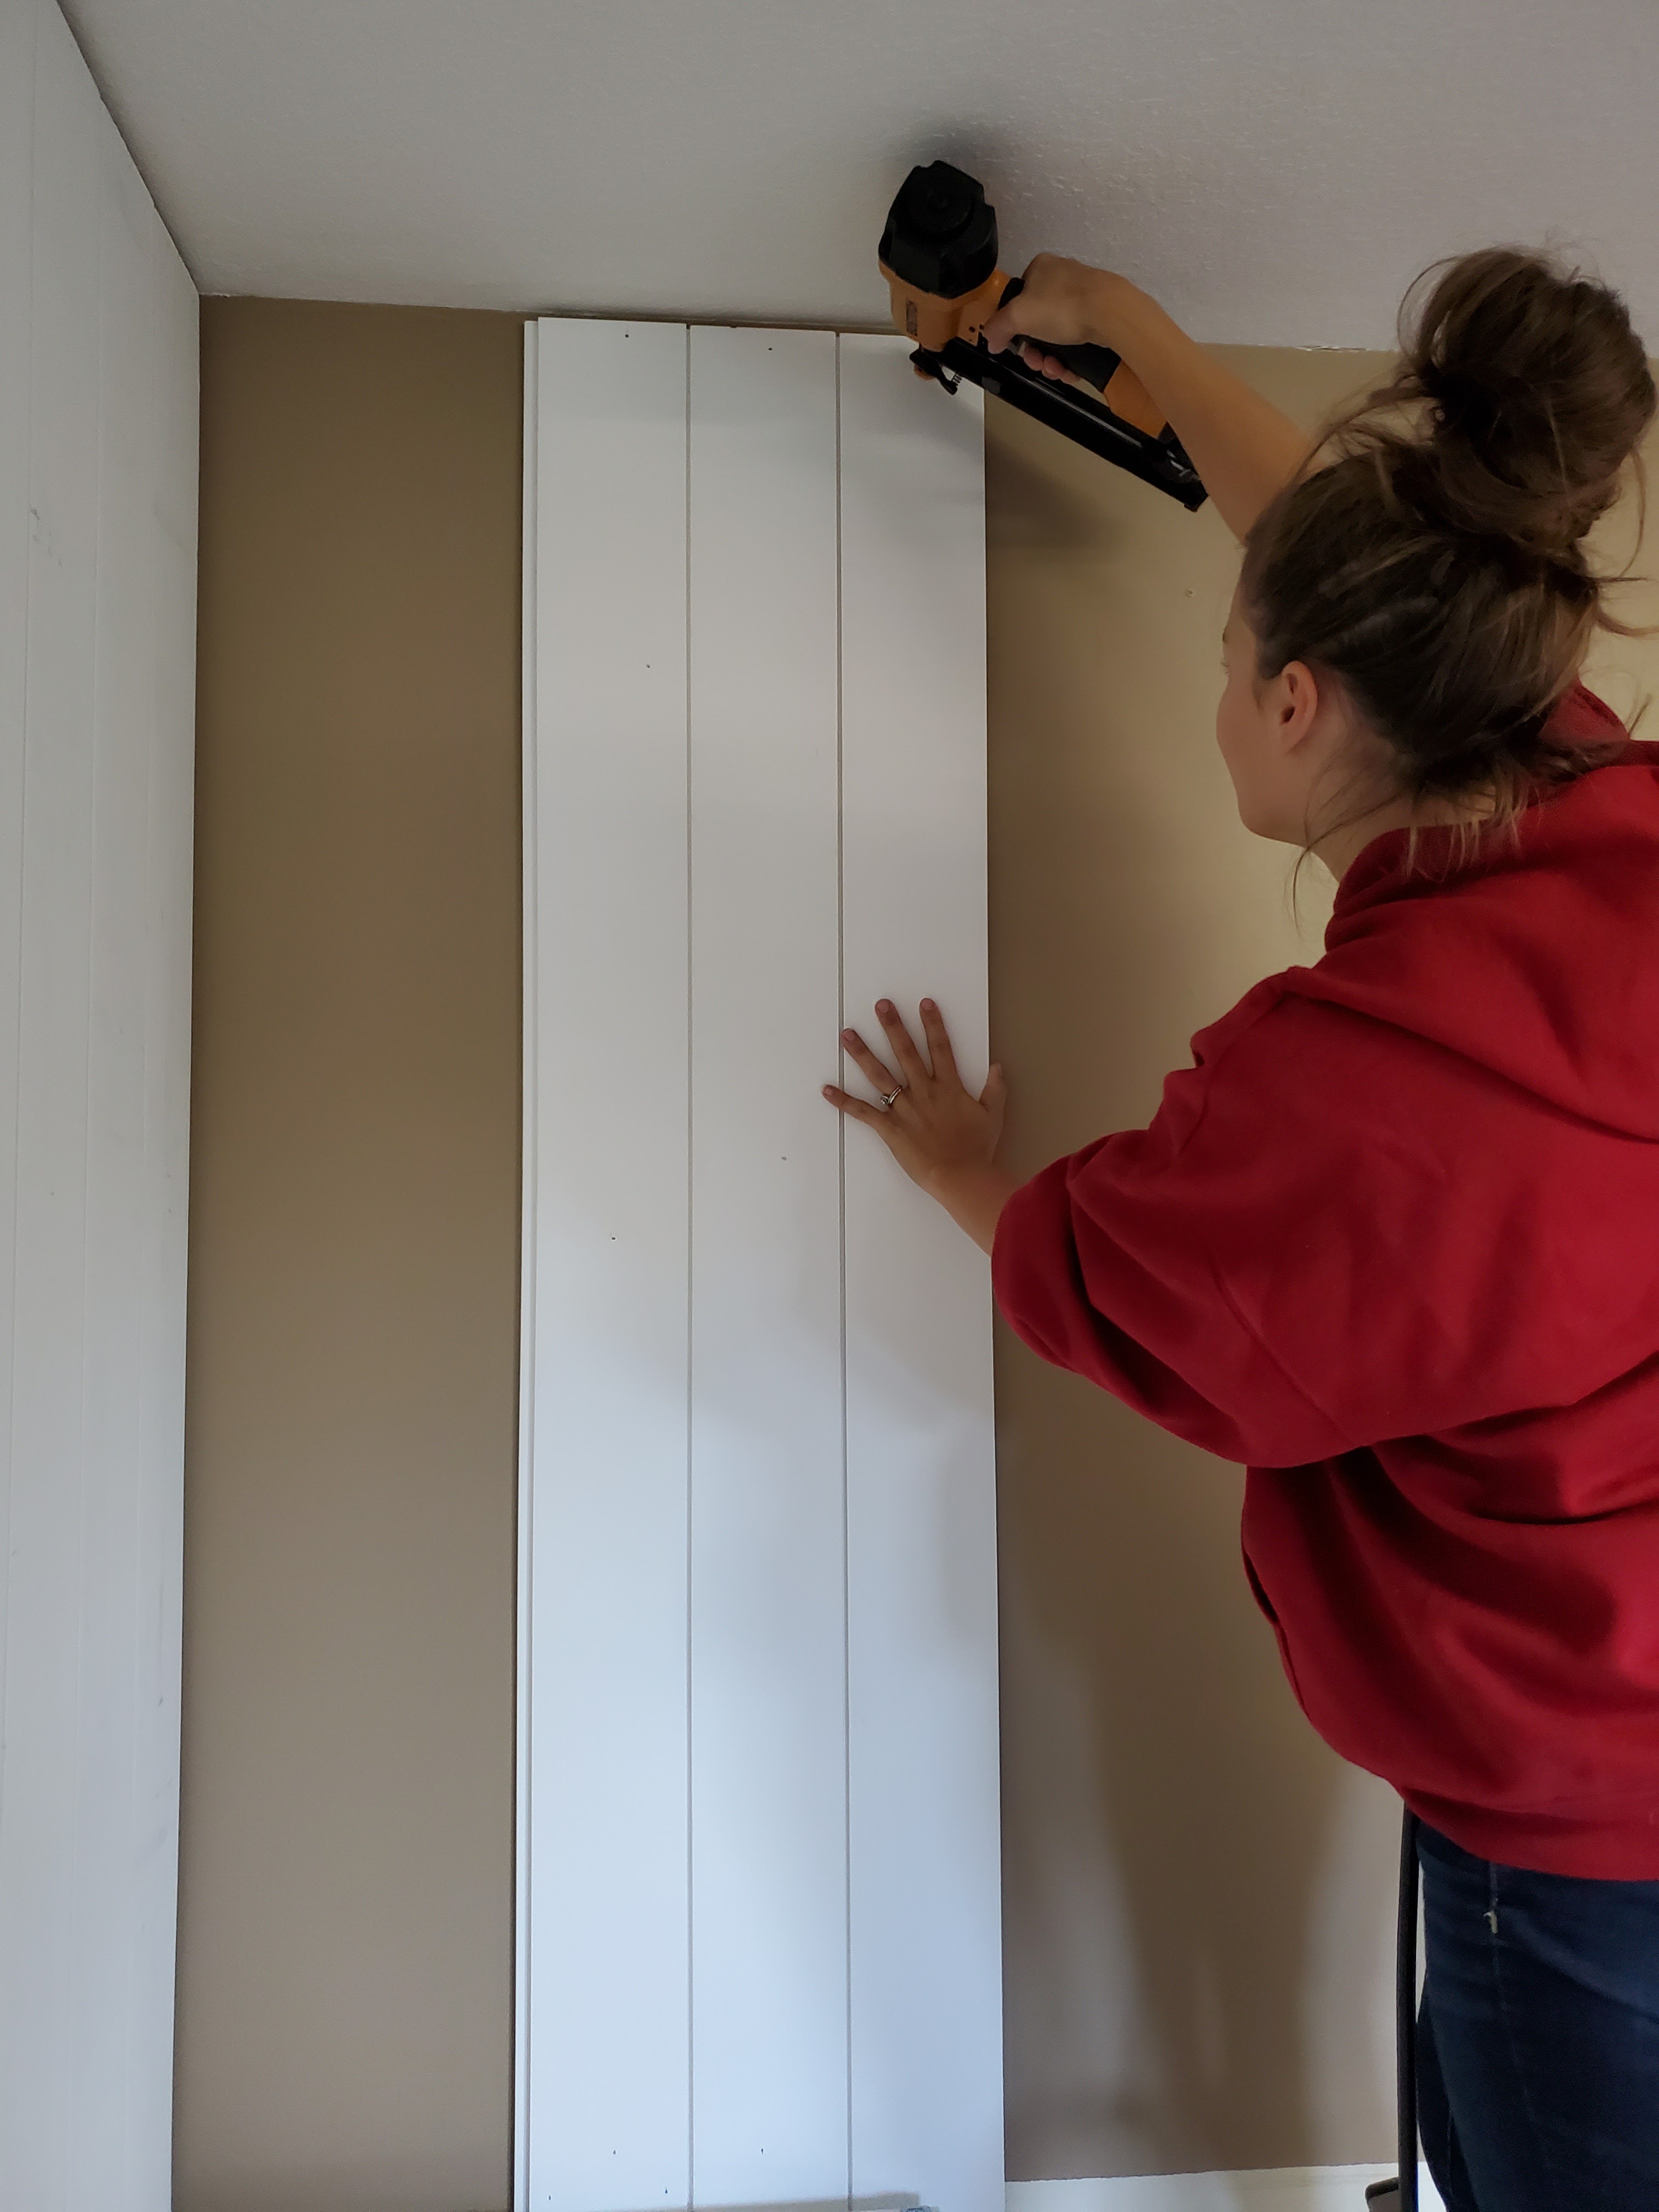
We also didn’t need to repair any of the walls first (old nail holes, glue from the beadboard we ripped out, etc). All we needed to do was slide in each piece! Since we have those wonky walls, we used a level to ensure each board was running straight up and down.
Then we used a nail gun to attach each board solidly in place.
When we got to outlets, Justin just measured and cut out a notch to fit around the box. We then used receptacle spacers to bring the outlet out from the wall to be flush with the shiplap.


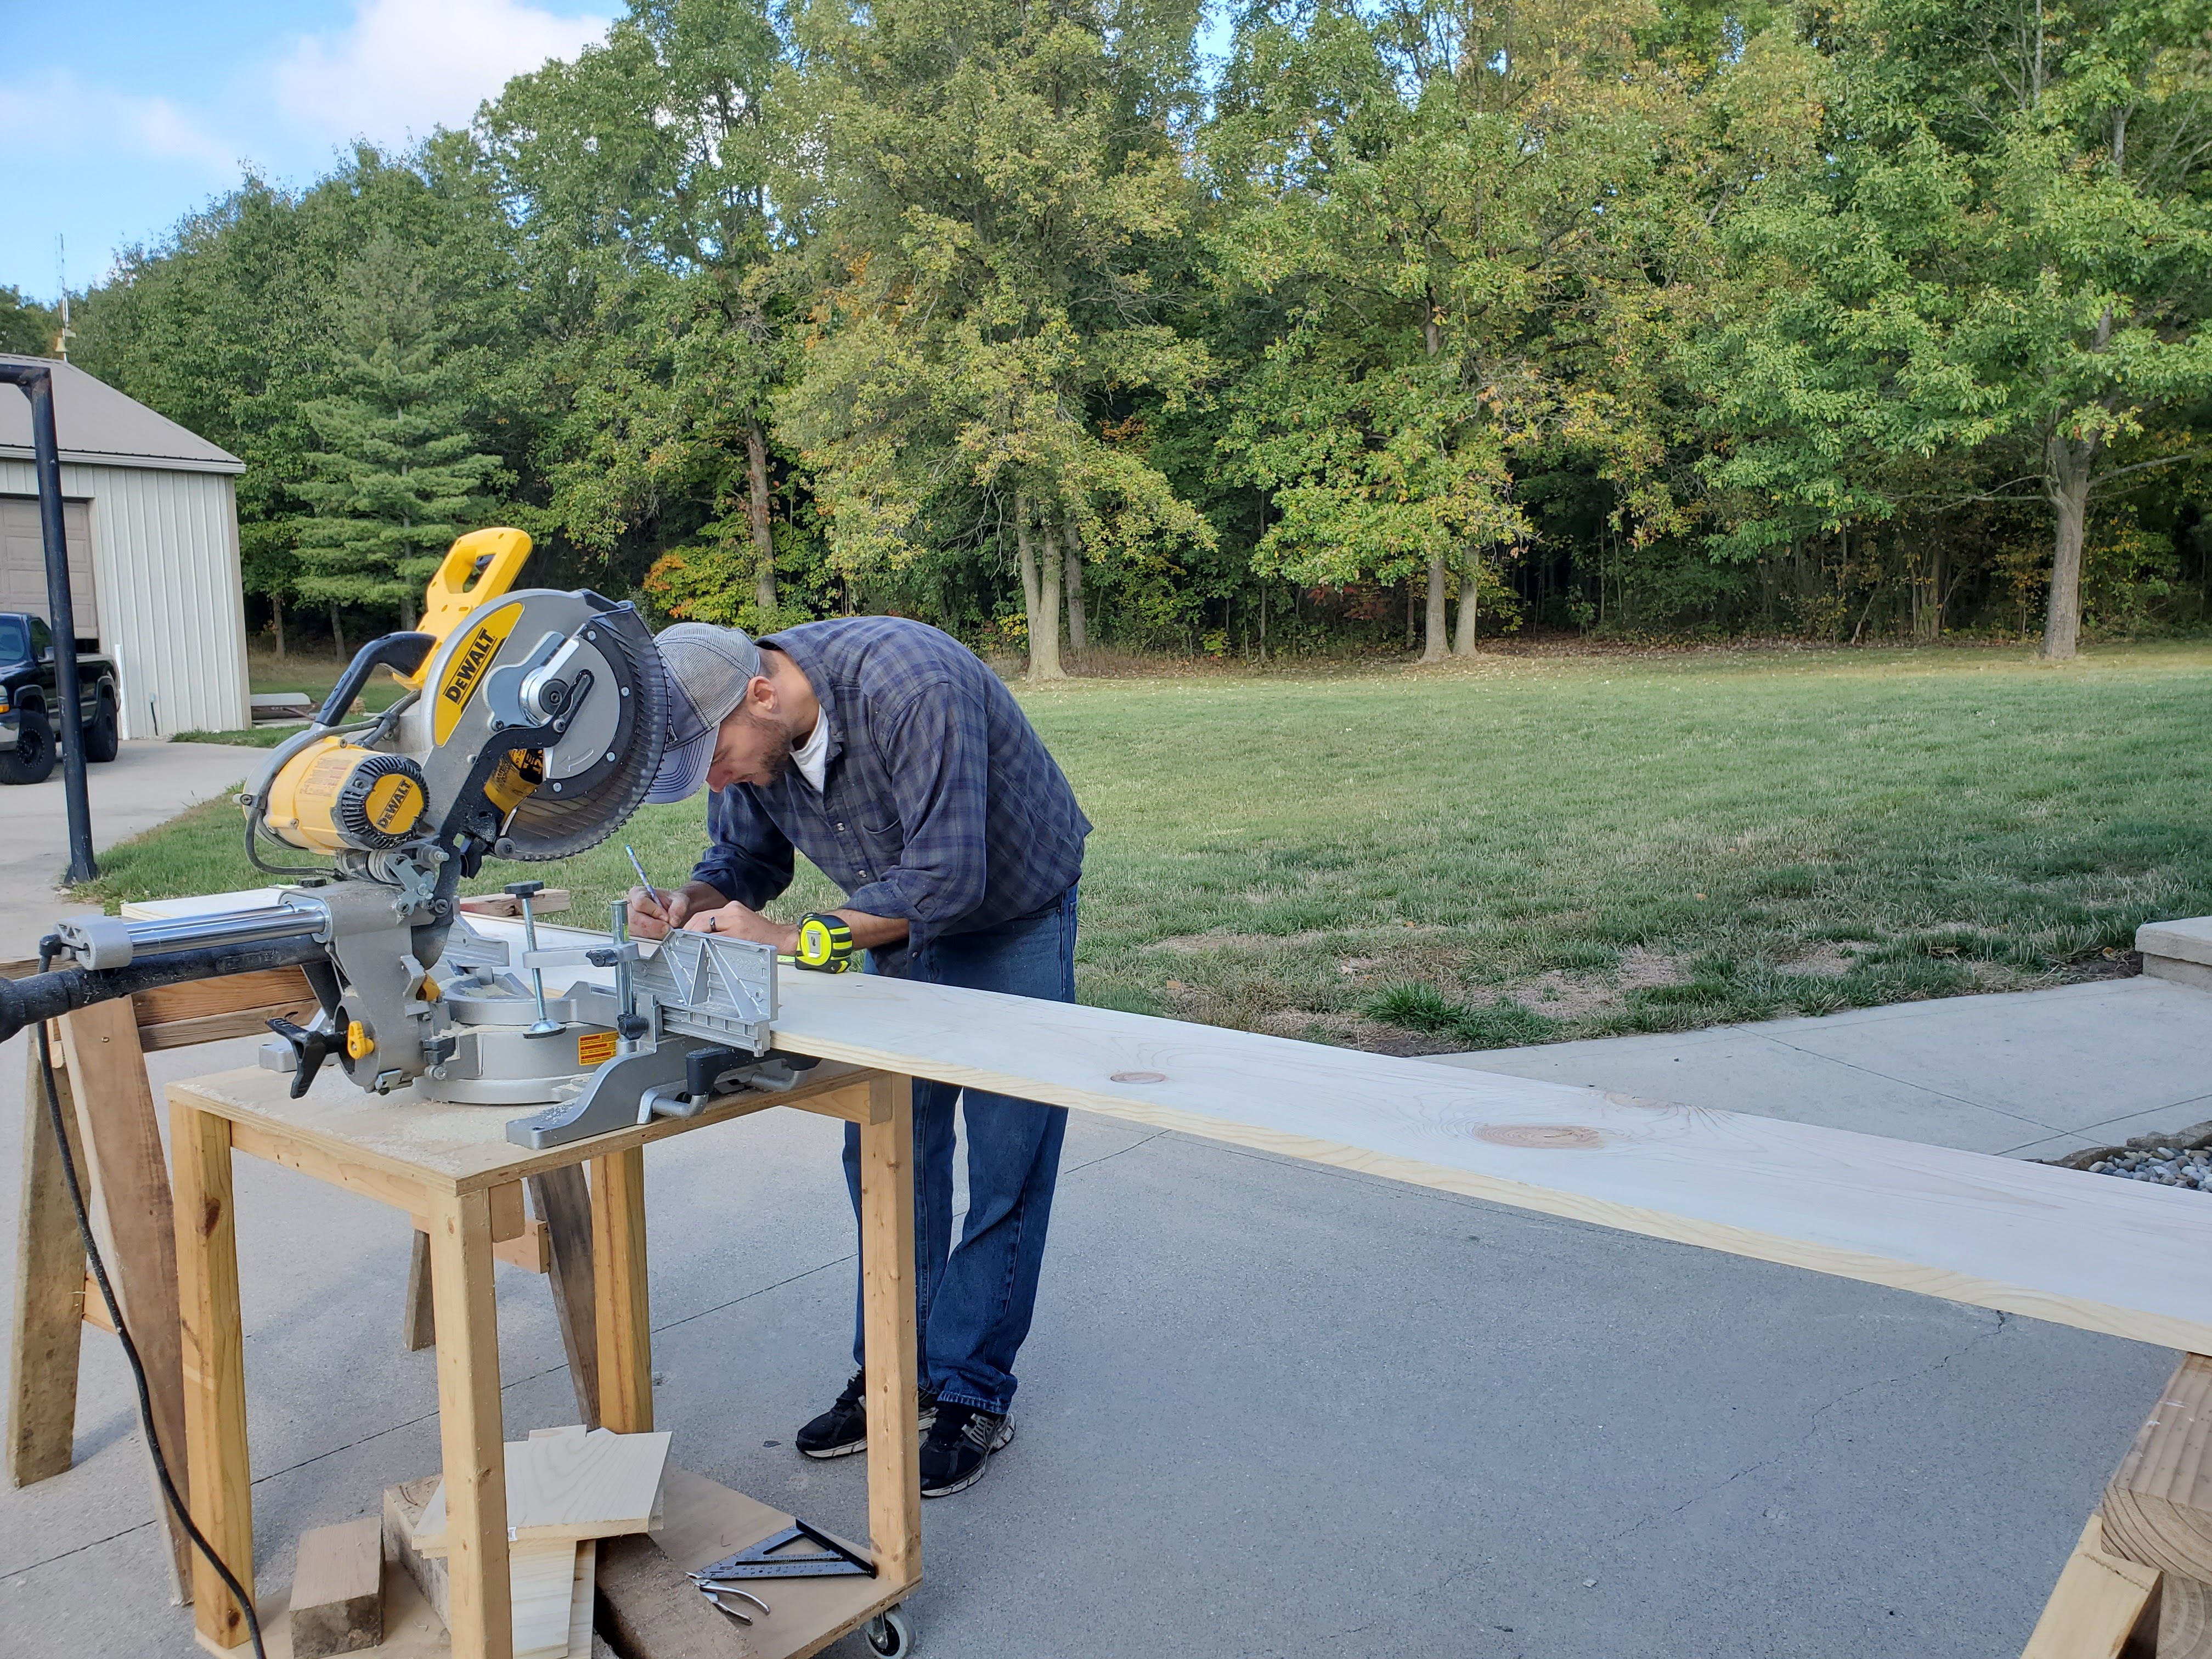
I’d love to say the process was “easy as that” and truly, it is easy to work with this shiplap. If your room is a square, it would be fairly simple to just click each board into place and move around the wall pretty quickly. Our room is not at all that straightforward since we had a bay window and a slanted entry wall to contend with. We also decided to put the window and door trim up first to avoid gaps from the window/door frame and the trim. This meant having to be very meticulous with measuring. We dealt with a lot of funky angles and crazy cuts like this:
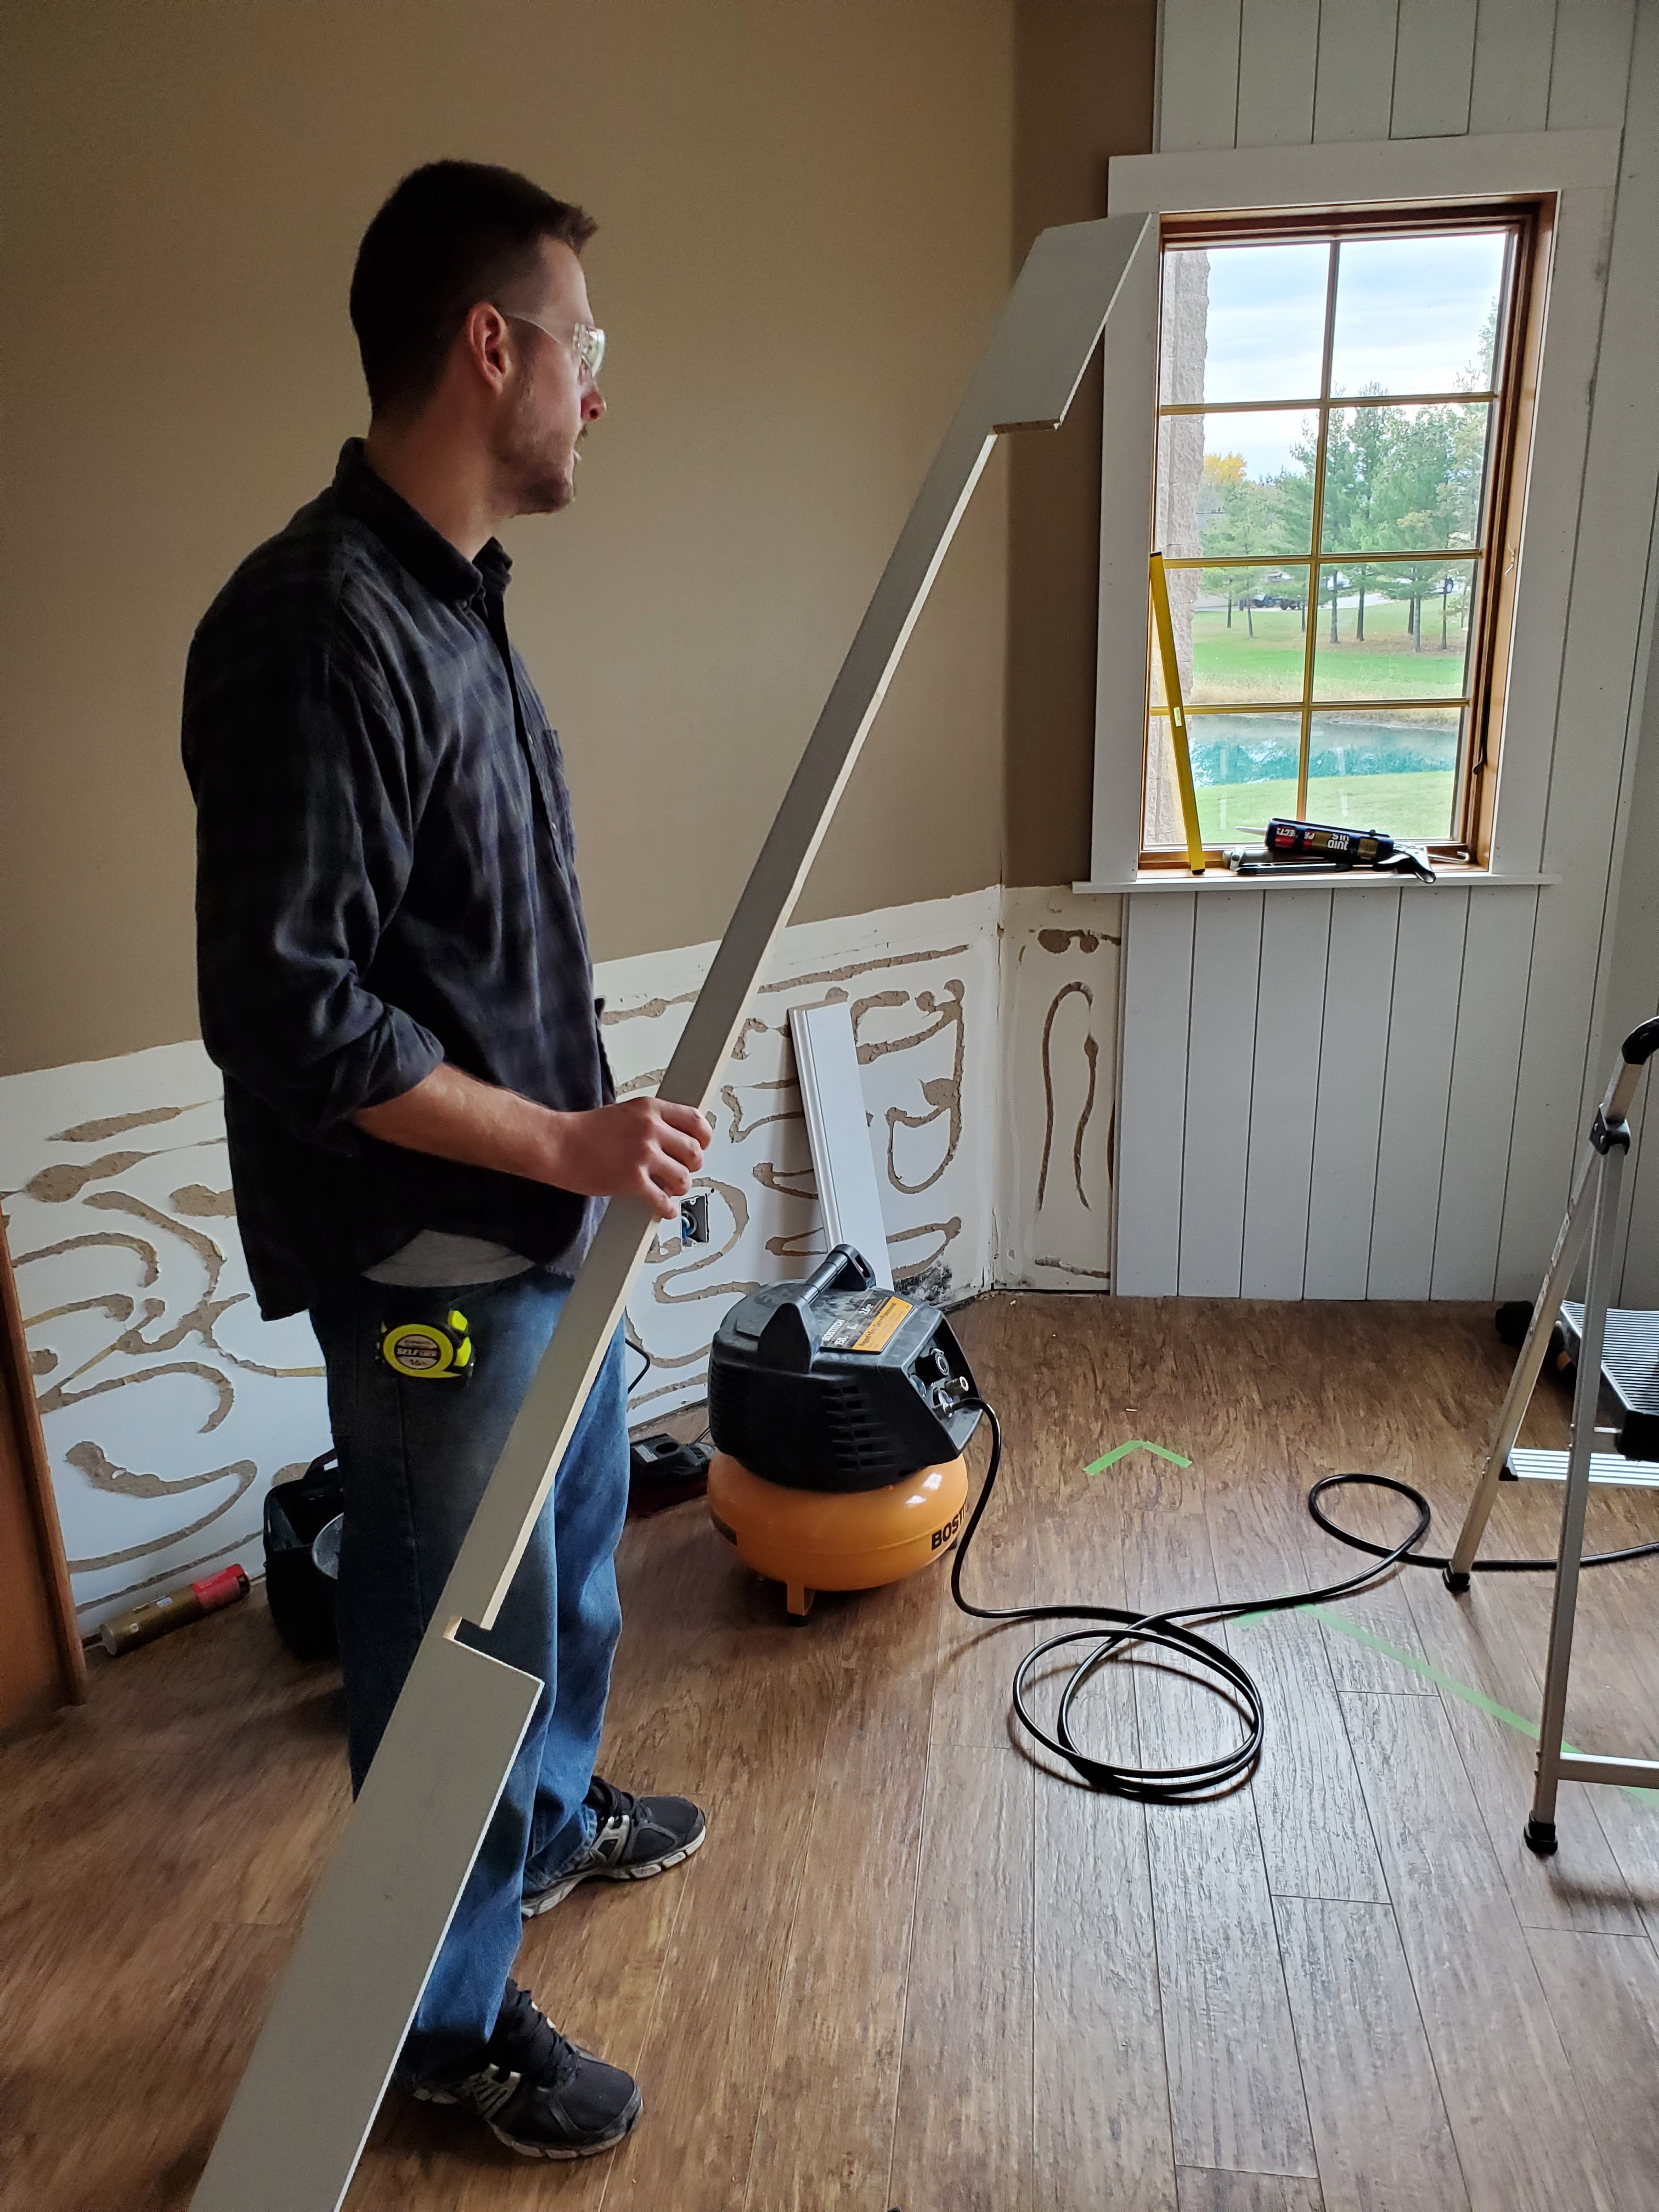
It took many hours and a lot of double and triple-checking all our measurements, but I’m incredibly proud of how Justin managed to work with all the crazy angles to make everything fit so perfectly!

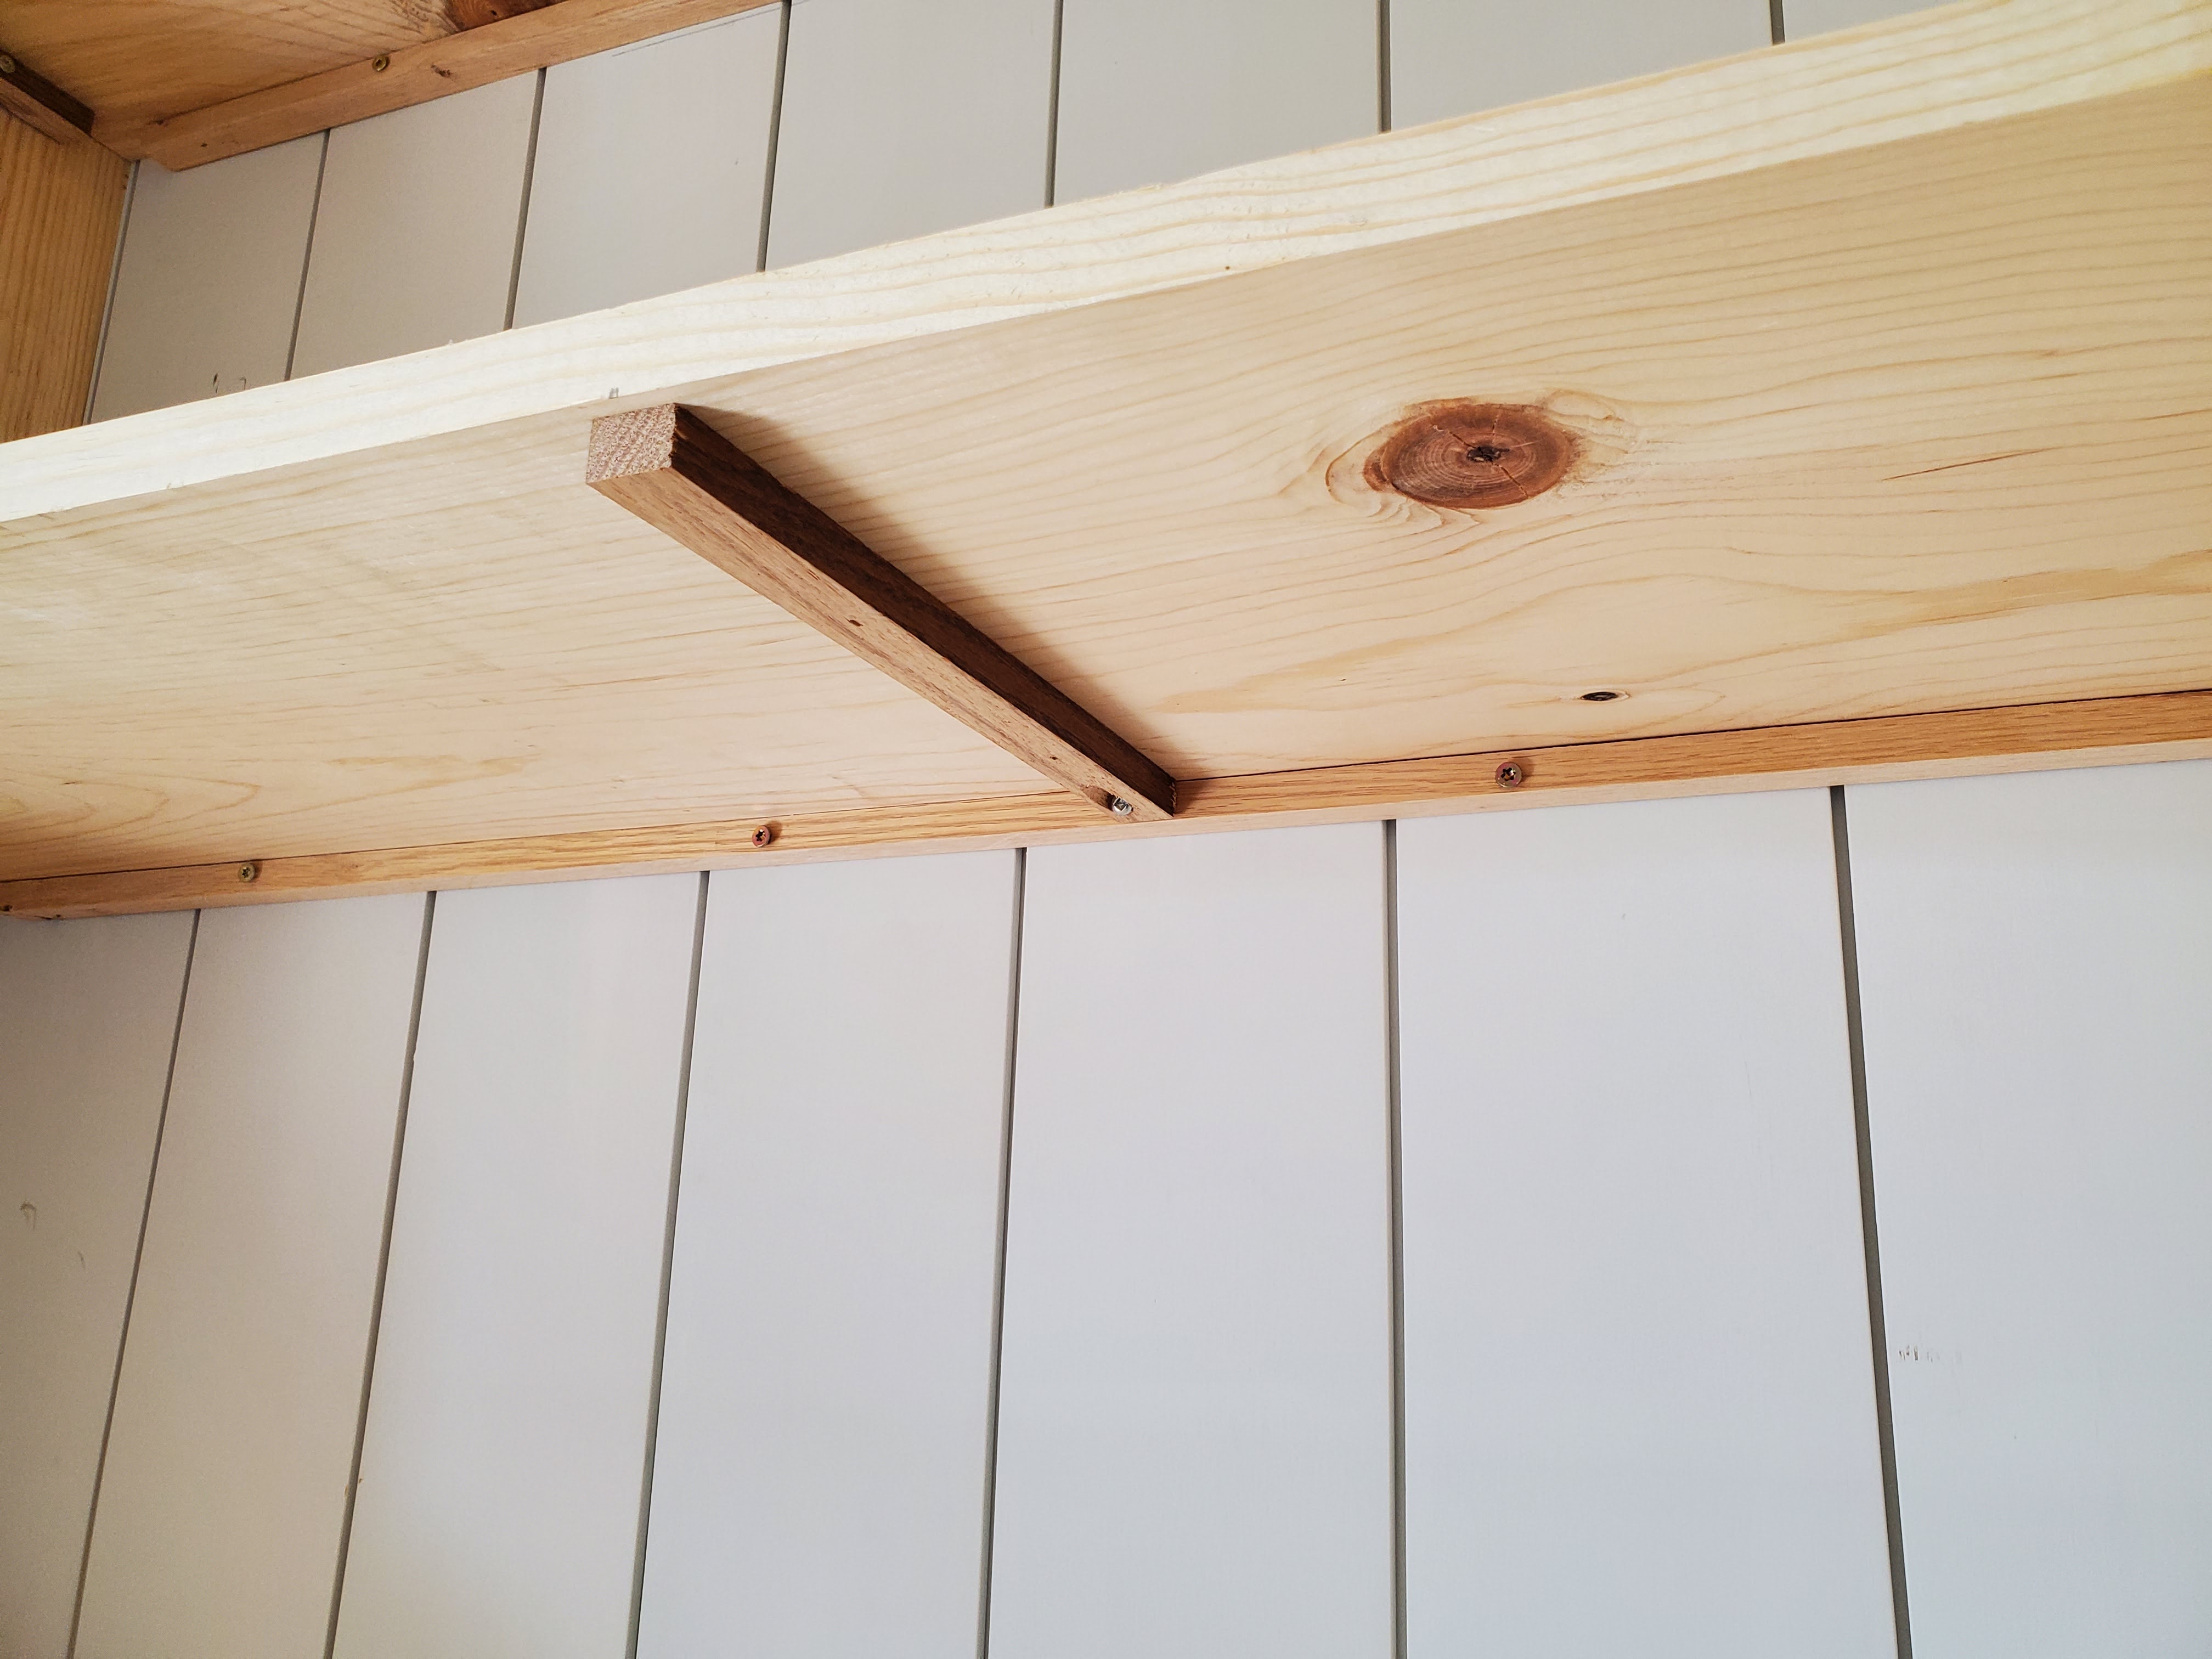
When it came to the ceiling, it was a true team effort. We had to use 12 foot boards and each stand on a ladder to get the board in place. Justin used a stud finder to locate all the ceiling joists which was helpful because we could nail directly into the joists for an extra secure hold.

One of us held the board in place while the other nailed and this kept it from sagging before the liquid nails started to dry.

The ceiling was a little more straightforward than the walls. We did have to deal with the angled walls again but knowing that crown molding would cover the gaps between the shiplap and the wall allowed us to have some flexibility with our cuts. The only cut we had to make was for the light in the center of the room, which was much easier than cutting around multiple outlets.
Once the walls were done, it was time to fill the hundreds of nail holes. I tried a different process and I’m really happy with how it worked!
I started out with this spackling and nail hole filler:

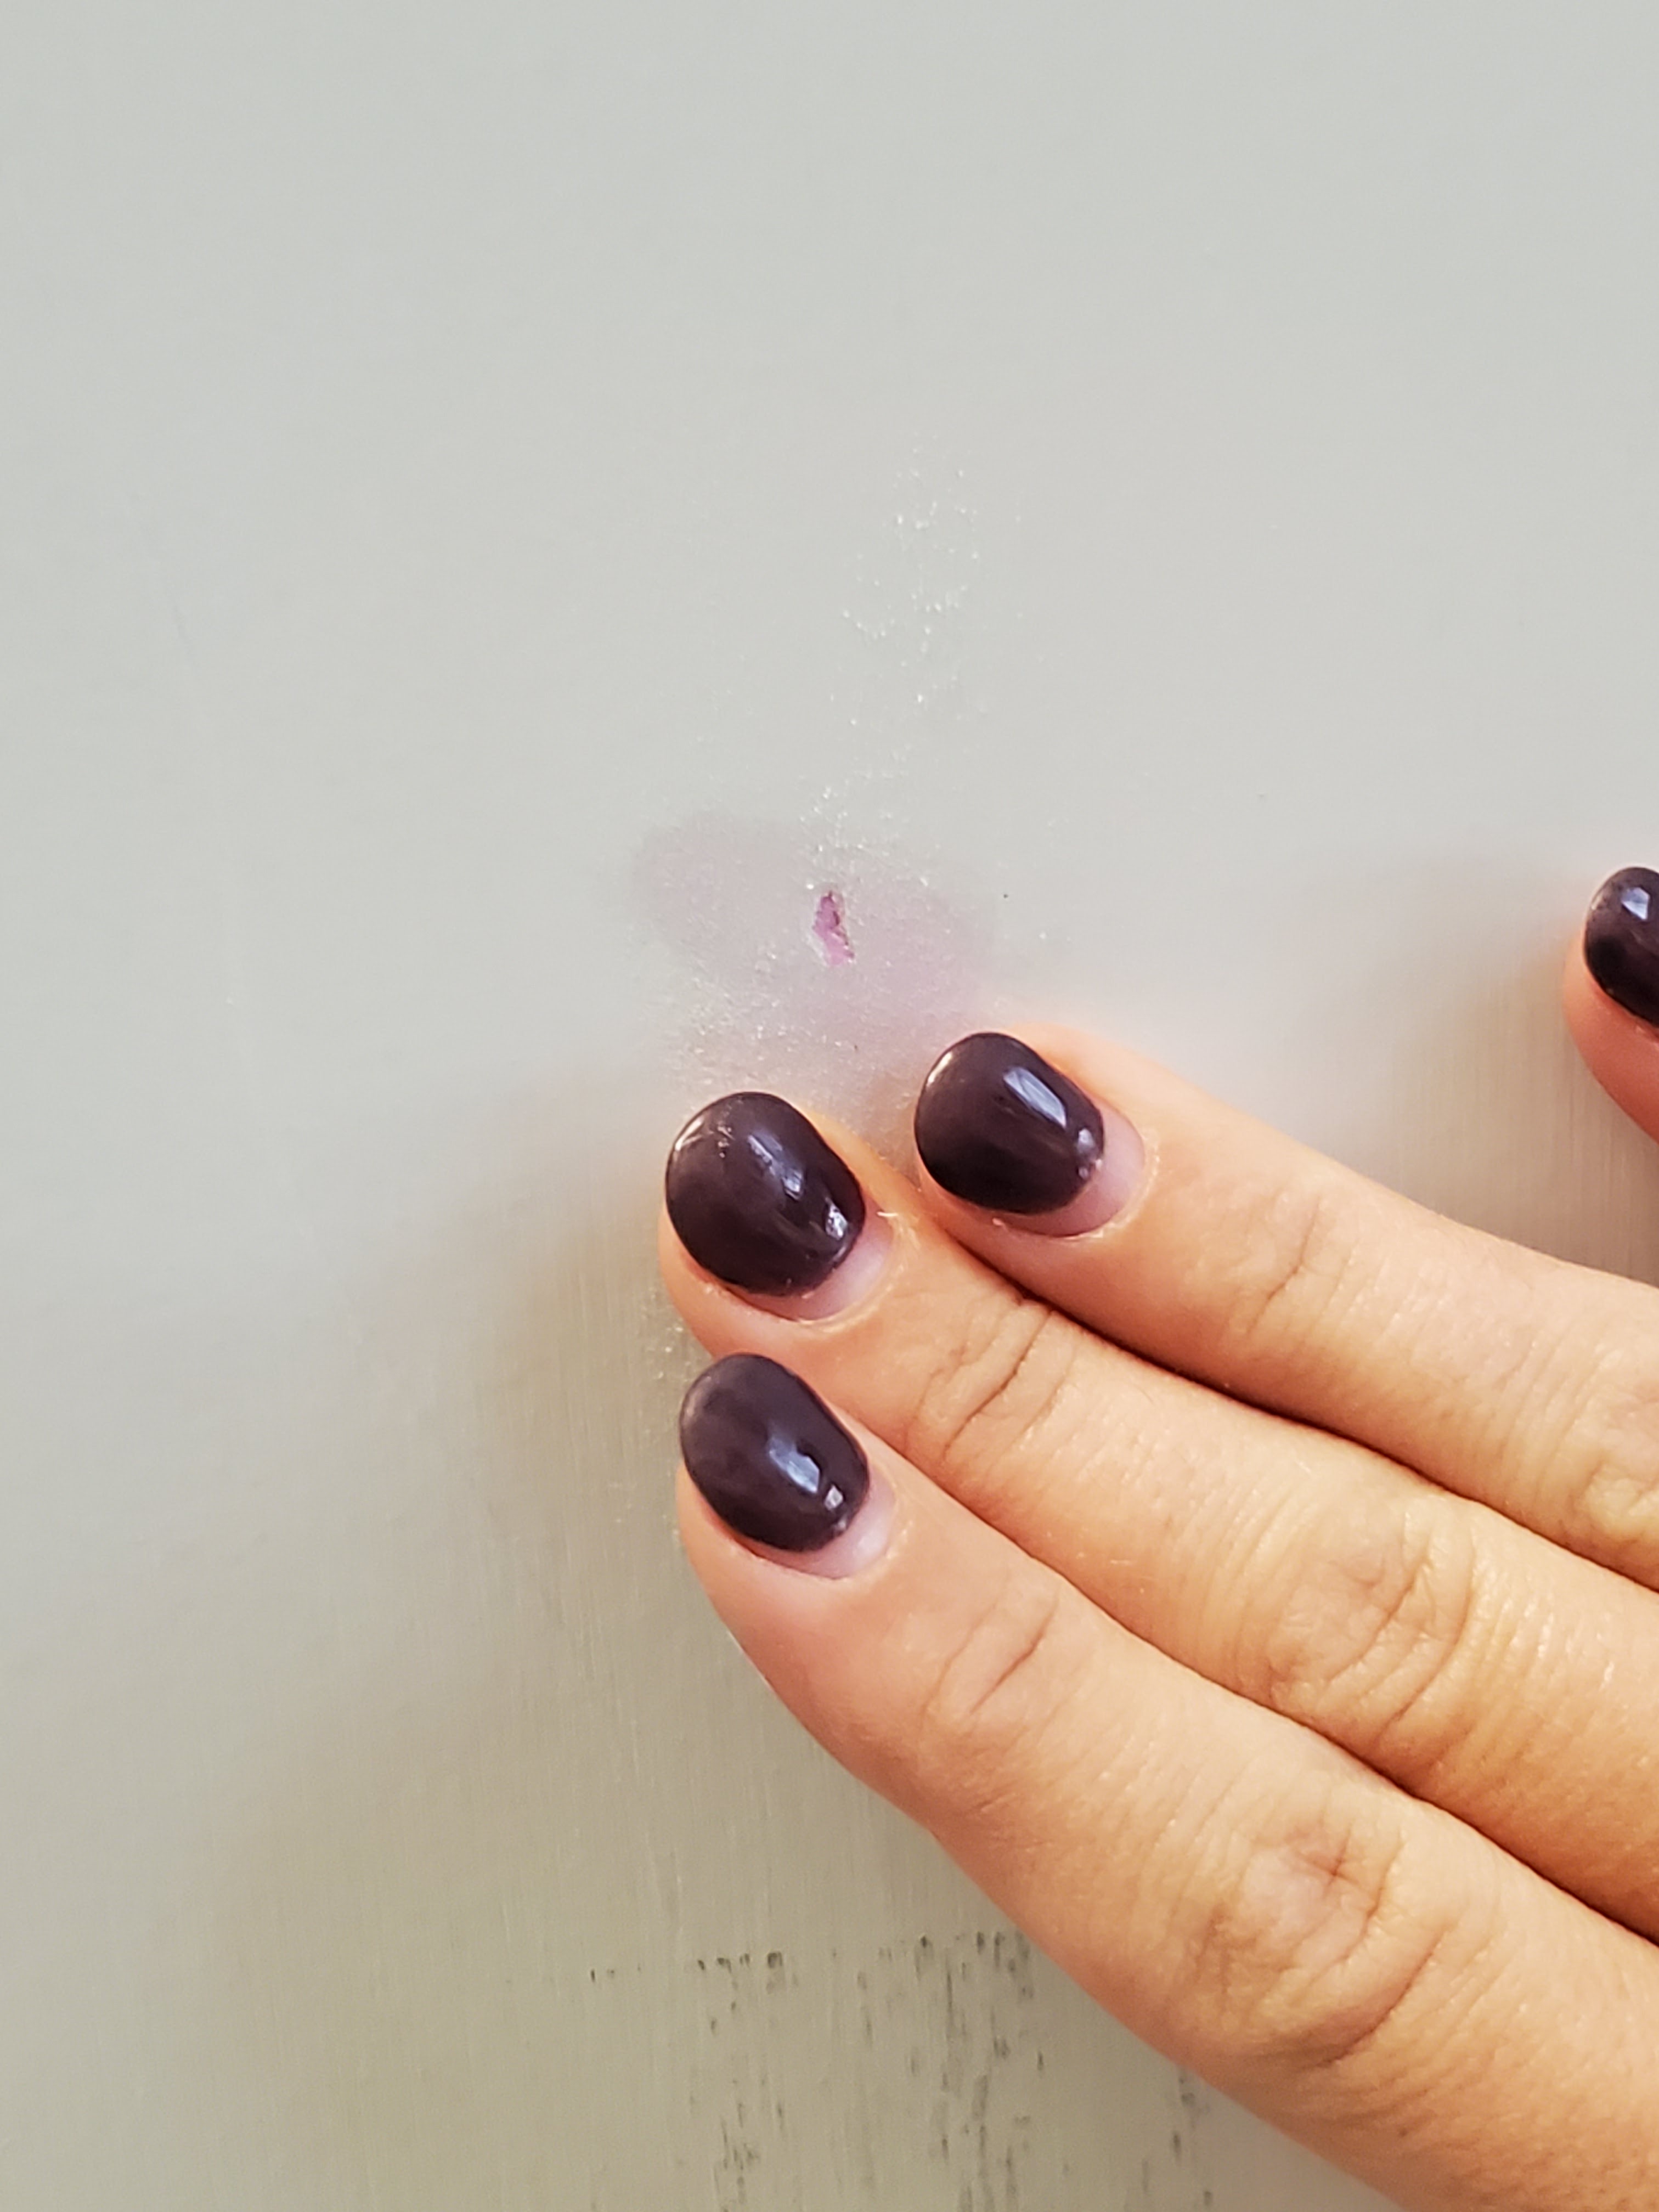
I squeezed just a small dab of spackling on my finger
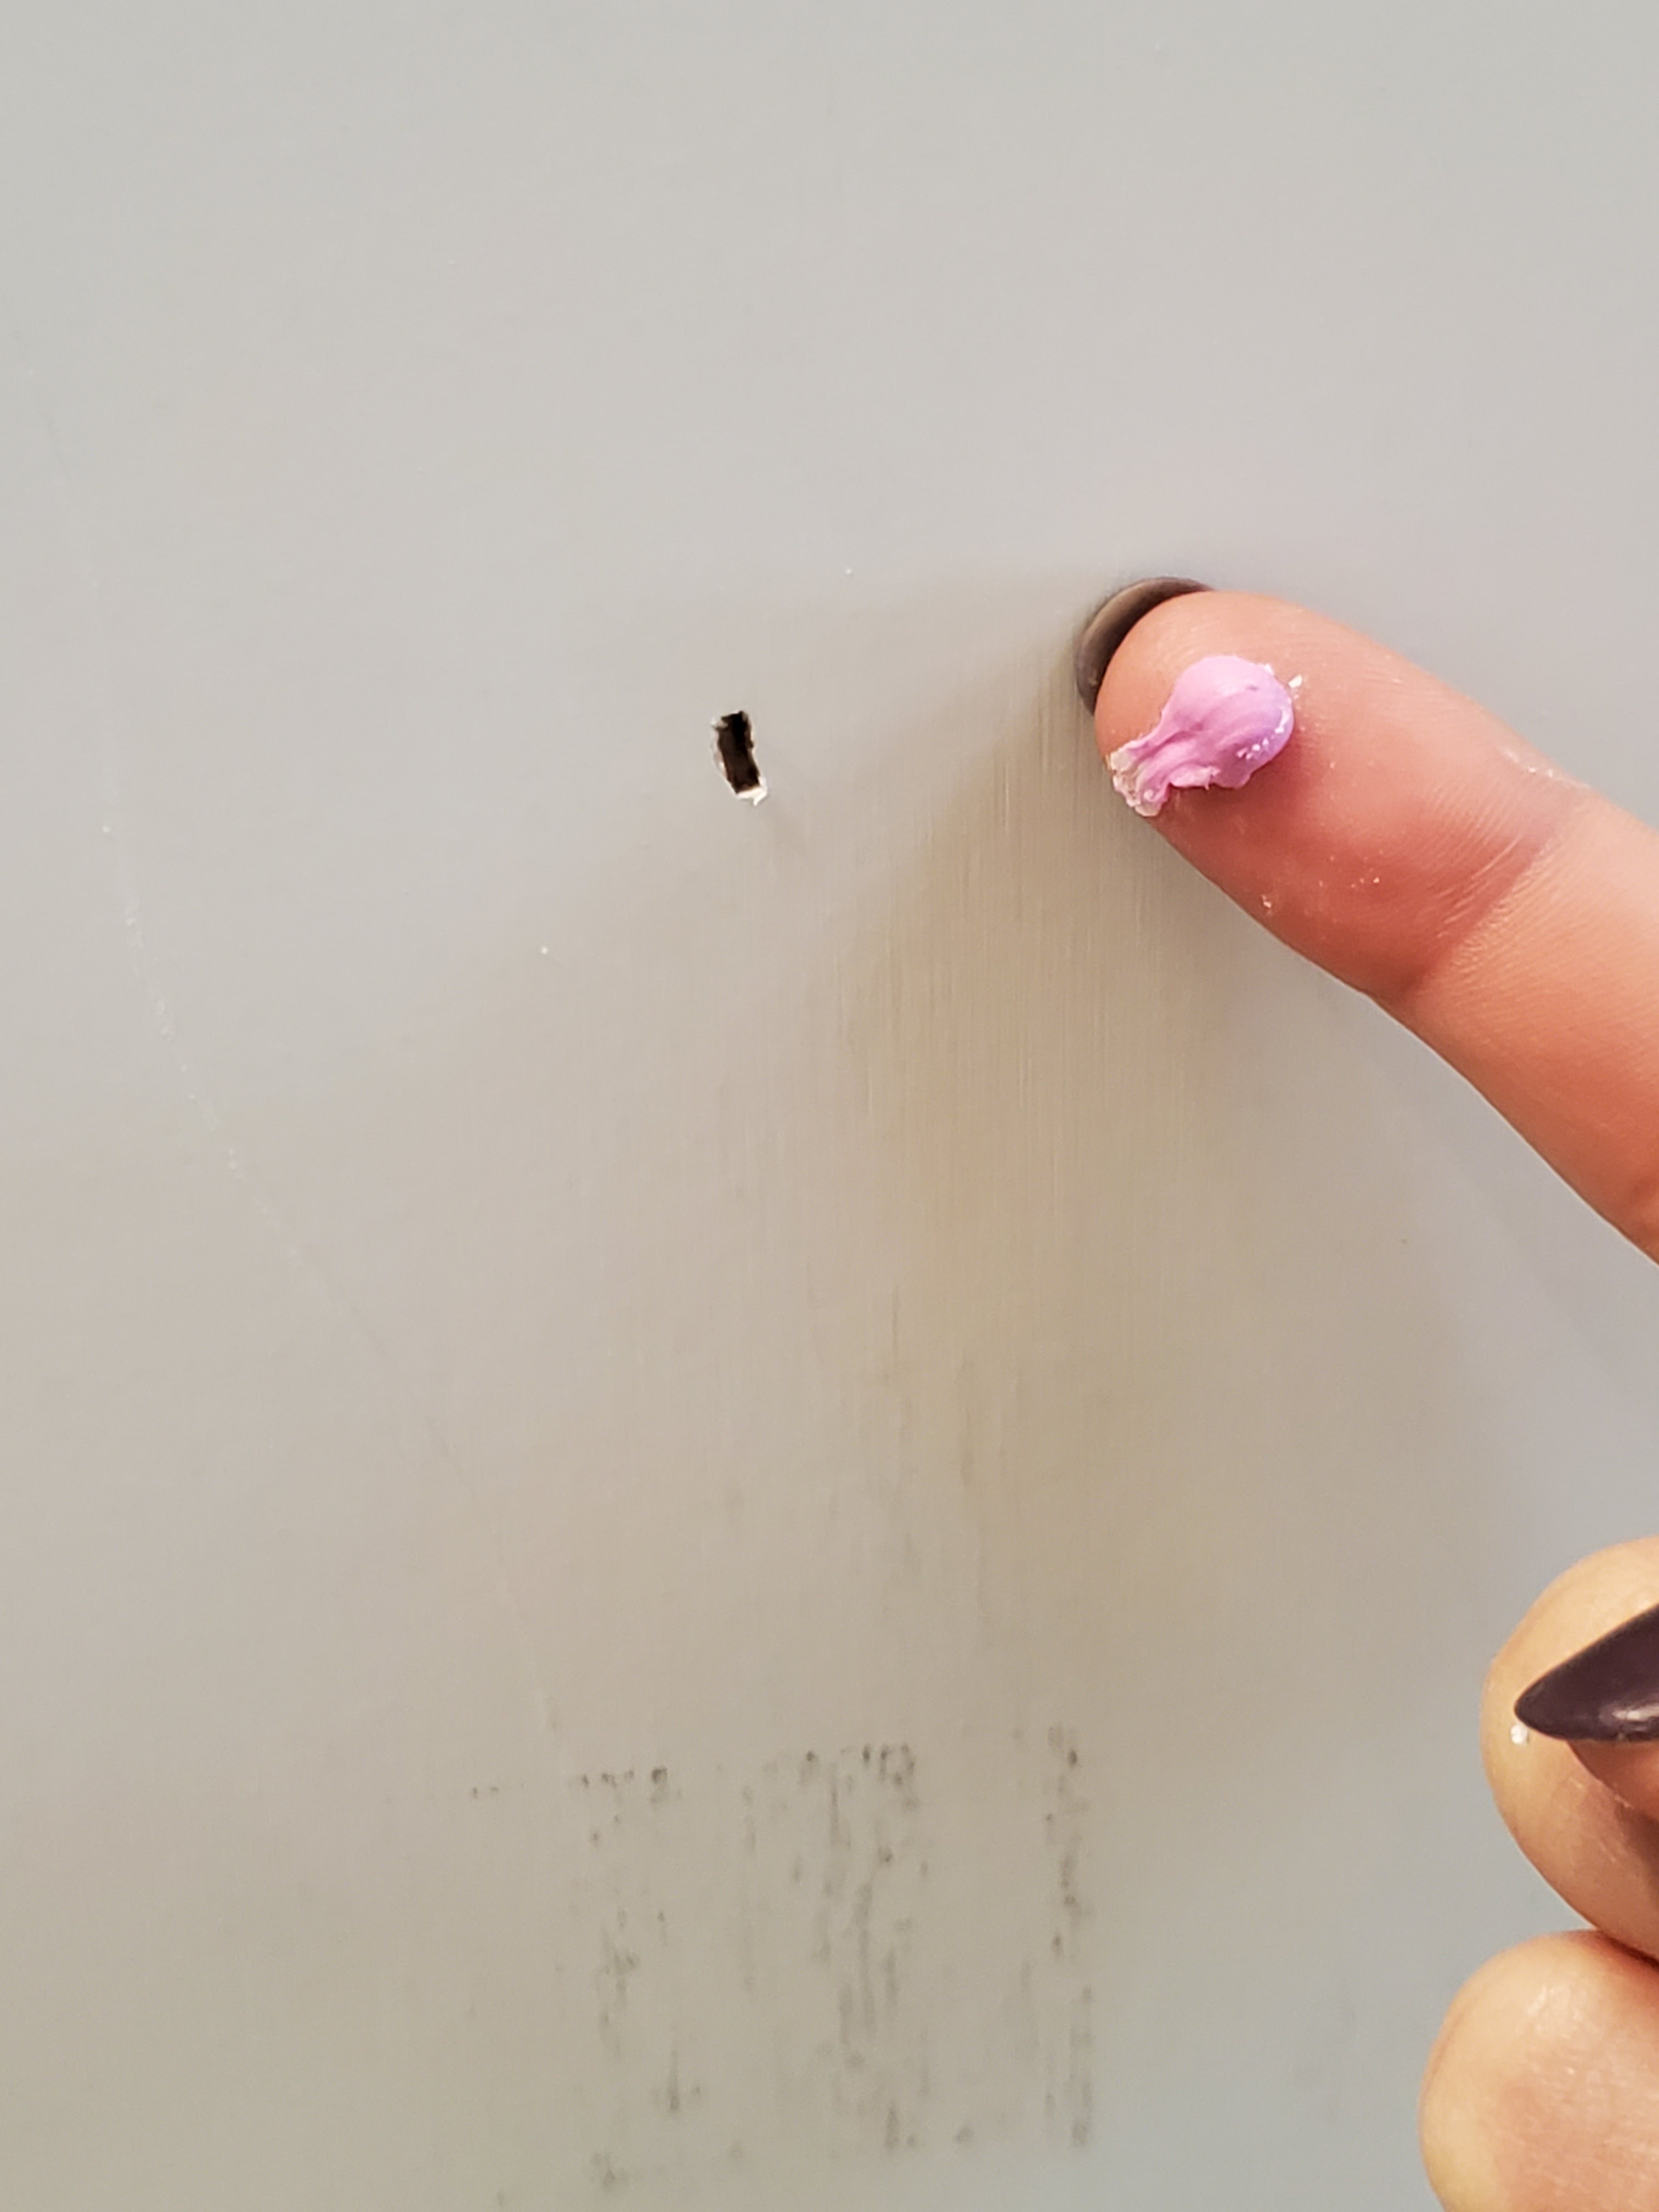
and pressed it into the nail hole.
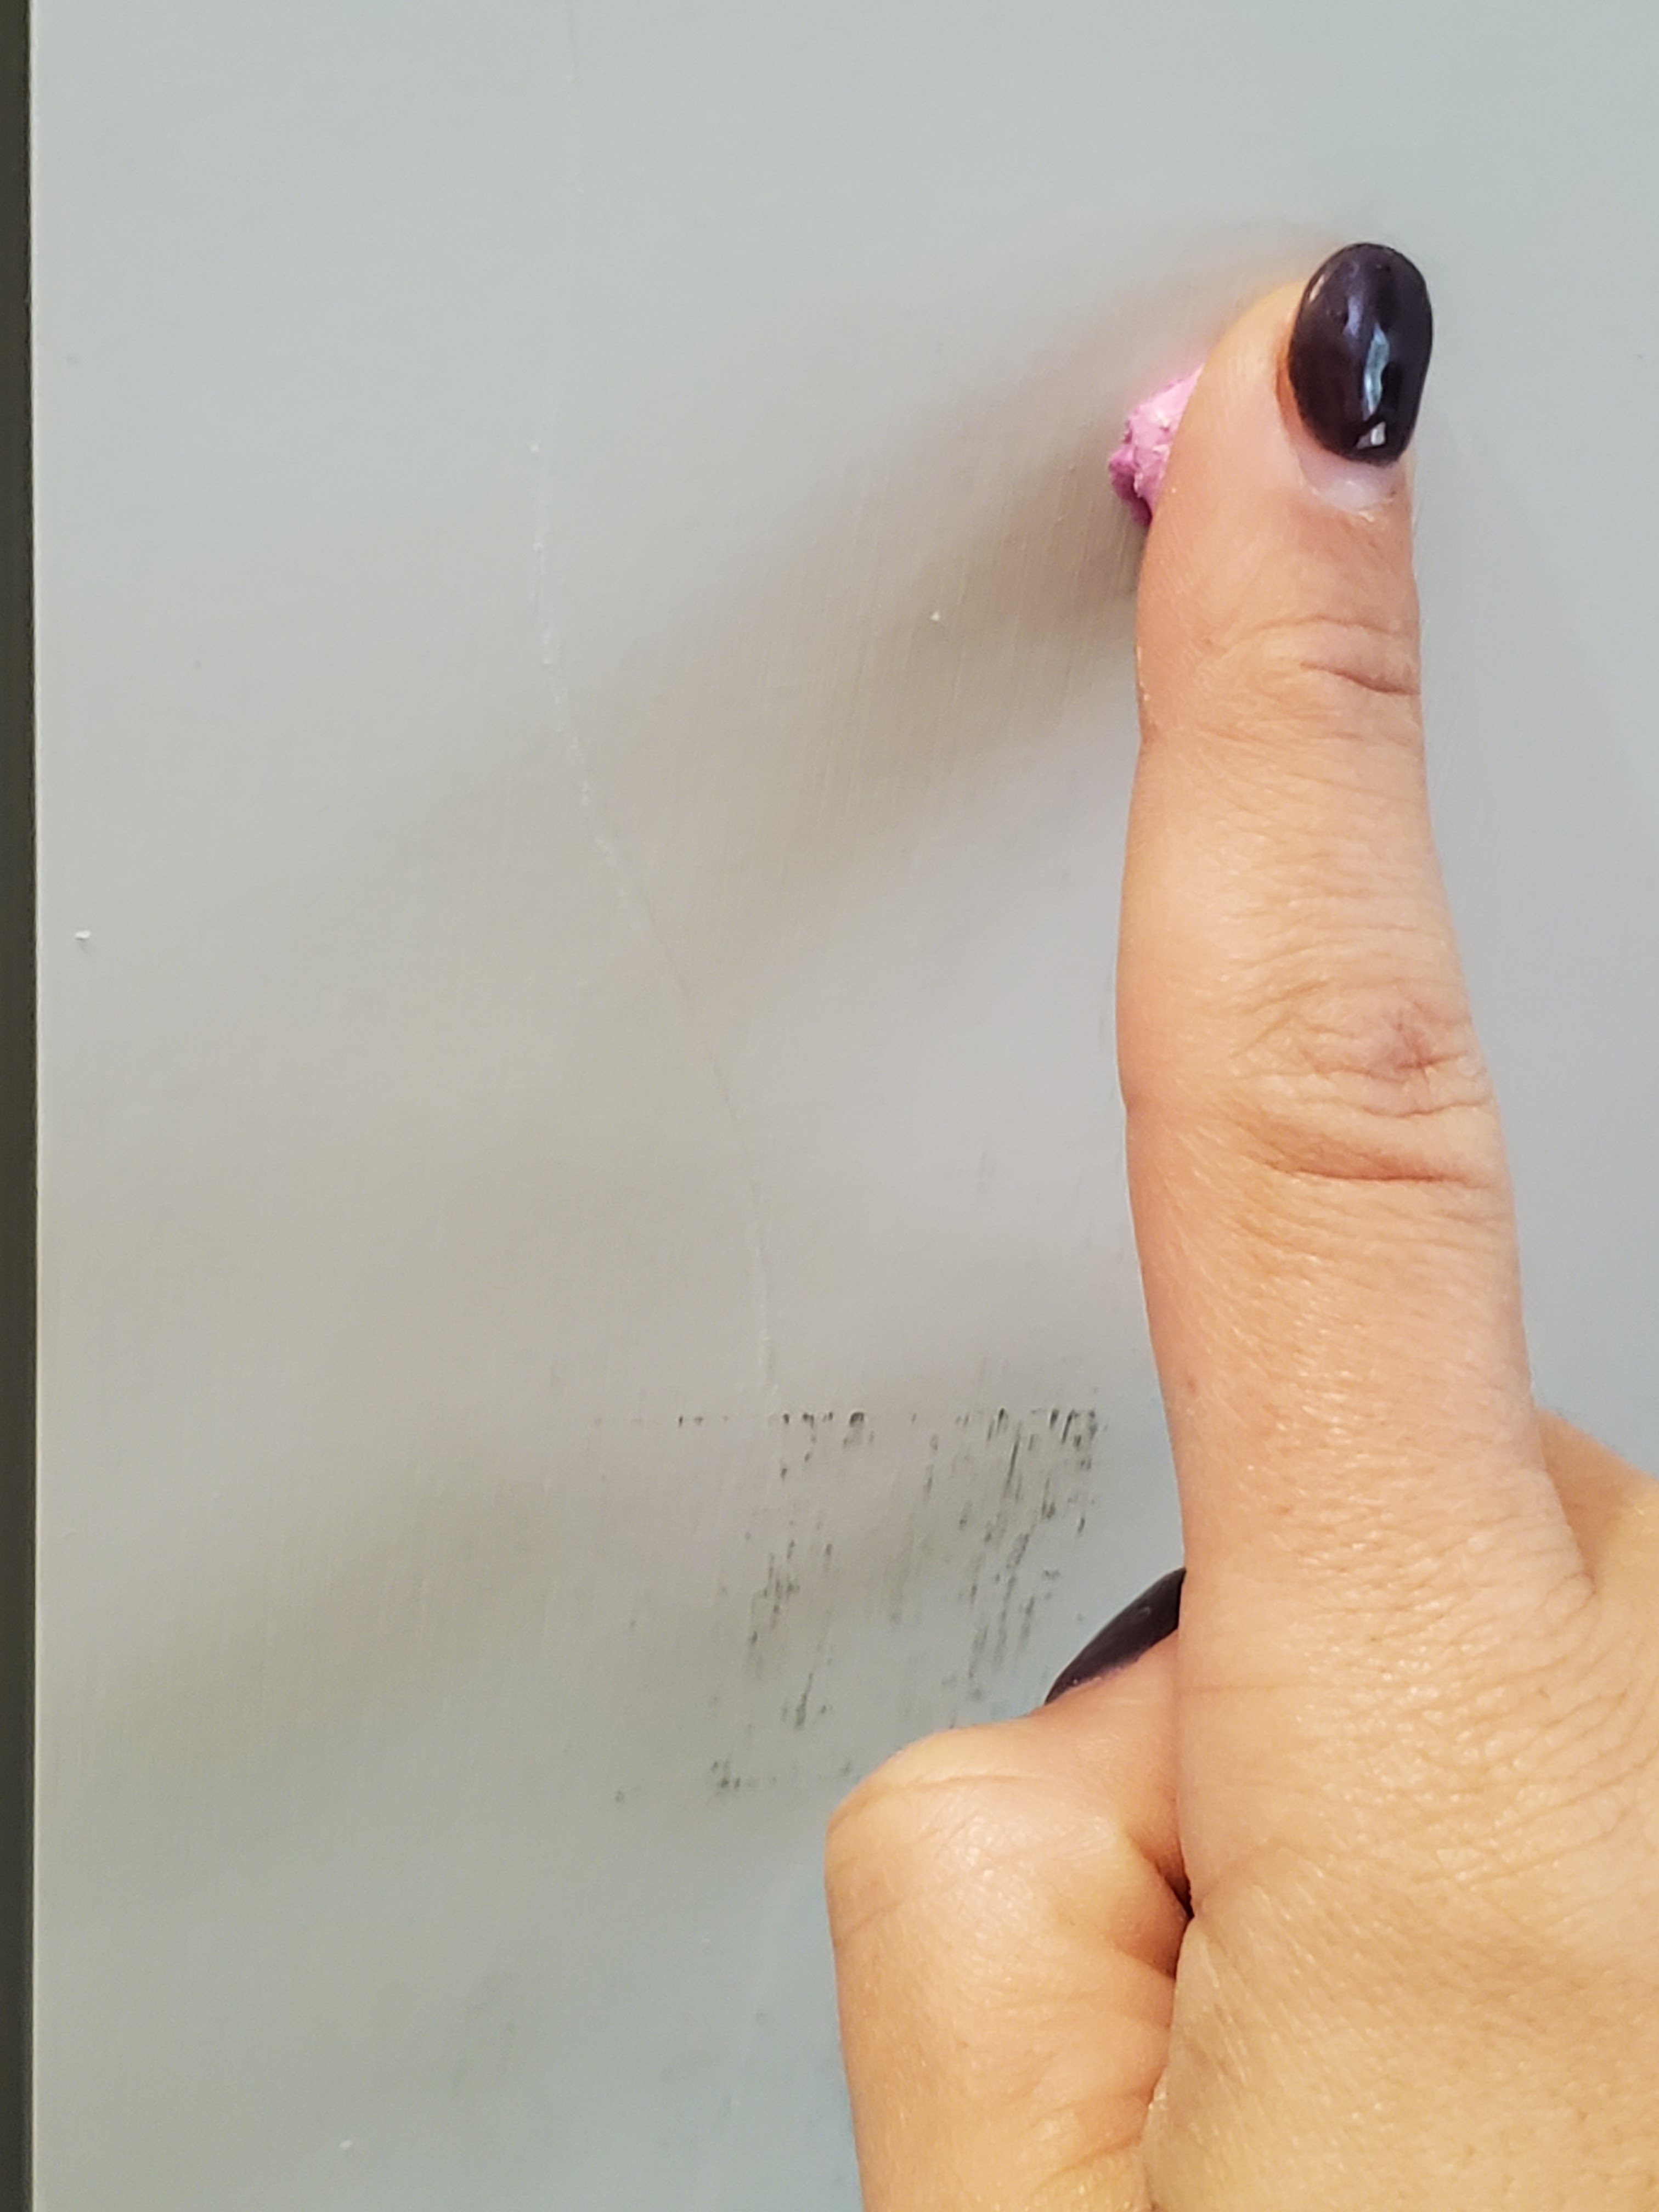
After making sure the hole was filled, I just swiped it a bit to cover the area.
I waited just a few minutes until it had started to dry a bit, the gently sanded off the excess with my fingers until it was smooth.


The spackling dries white within a few hours and then it’s ready to paint!
I chose the color Treron from Farrow and Ball and got it color matched at Lowe’s. It’s just the perfect olive color: not too deep, not too green, not too brown, and it brings a touch of moodiness and character to the room. If you look really closely, you can see a few of the nail holes but for the most part, it looks great!

Now that the shiplap is done, the project is going to start moving quick! We have two weeks left of the One Room Challenge and lots to do! Stay tuned for more updates!