
We’re currently in the process of giving our kitchen a budget-friendly facelift. While we’re still working on a few more projects for the space, we’ve finished one step that has already made a huge difference: painting the kitchen cabinets!

New cabinets were not an option, and the floor and countertops are also staying. With so many things staying, painting the cabinets was an easy and cost-effective way to still make a major impact! Today I’m sharing the process I used for this transformation – it took me about three days of actively working on it (while my parents watched our kids) to get the whole kitchen finished so it’s a good project to tackle over a long weekend.
Materials
-lint-free cloth
-paint
-foam roller
-angled brush
-painters tape
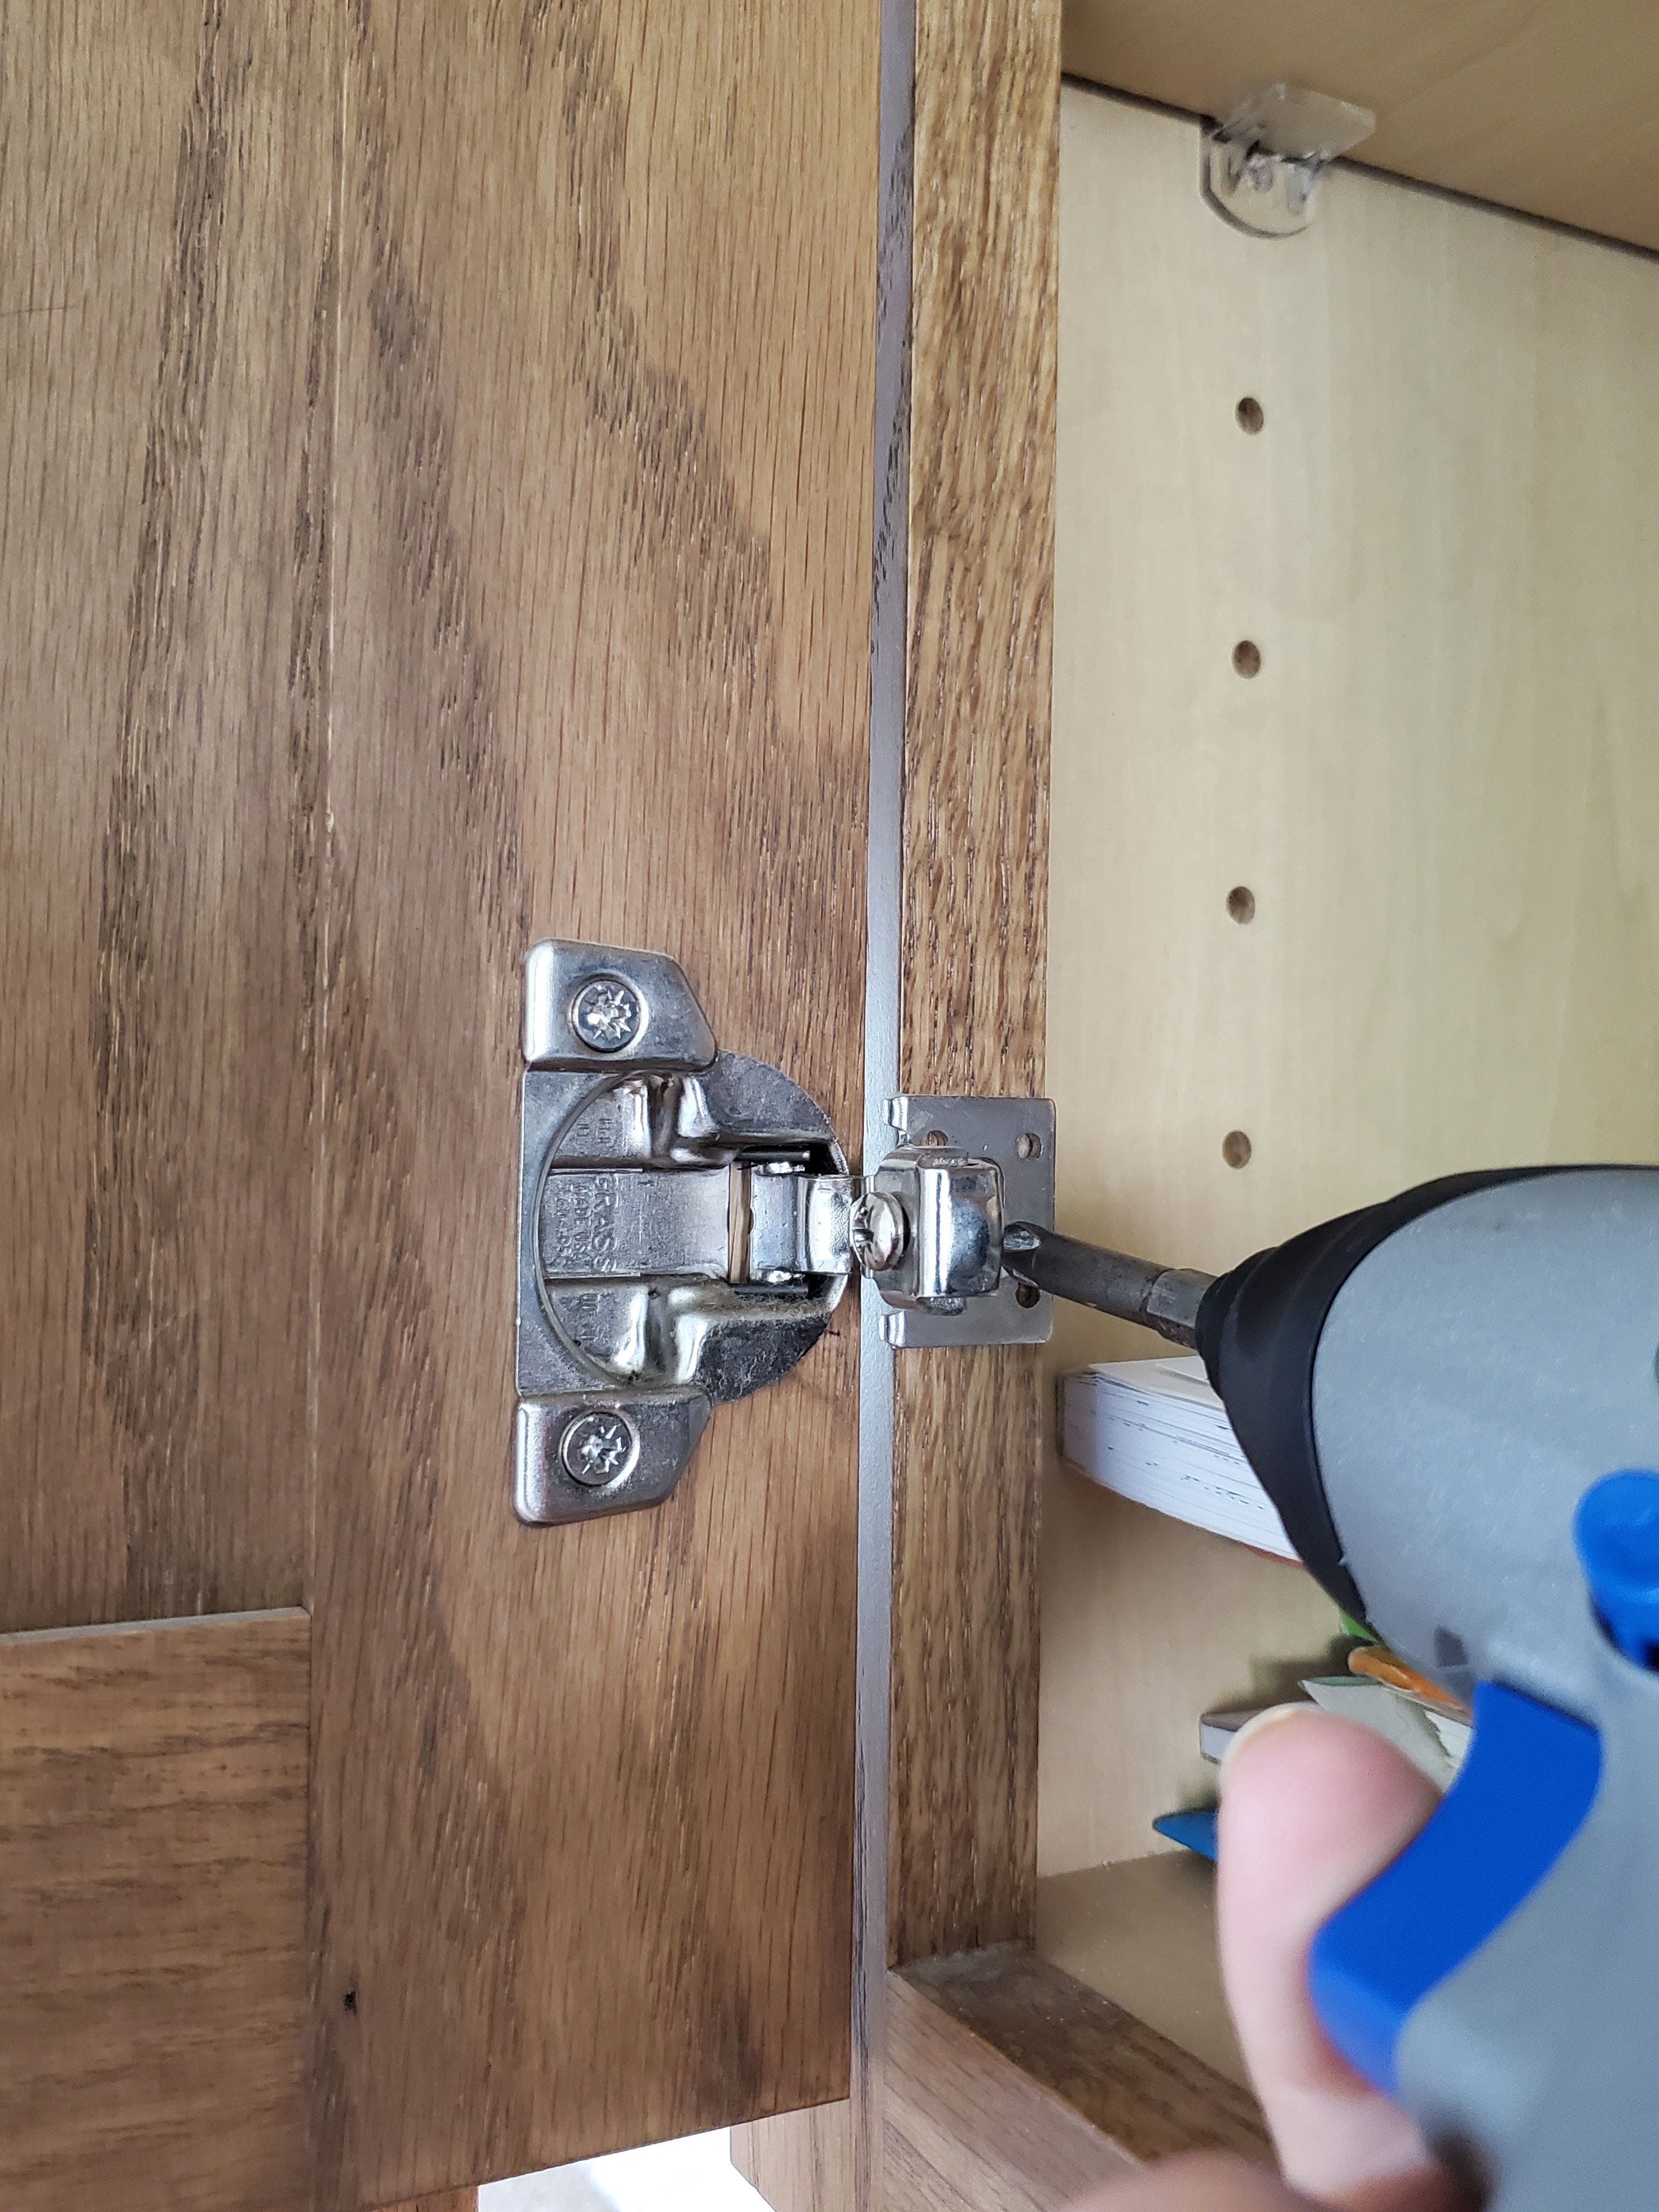
The first step was to remove all the cabinet doors. We have a little electric screwdriver that makes quick work of this step, but a regular screwdriver would work too.
Ideally, we would have removed the drawer fronts as well; however, when I started trying to unscrew one, I realized that the previous owners had used screws and a nail gun to attach the fronts. I have no idea why they did both, but we would have had to pry all the fronts off – a laborious process that possibly would’ve caused some damage to the drawers. We chose to leave them attached to the drawers and just painted the fronts and sides and left the backs as is since they’re rarely visible. Assuming your drawer fronts aren’t nailed on, I would absolutely recommend removing them as well and following the same process as with the door fronts.
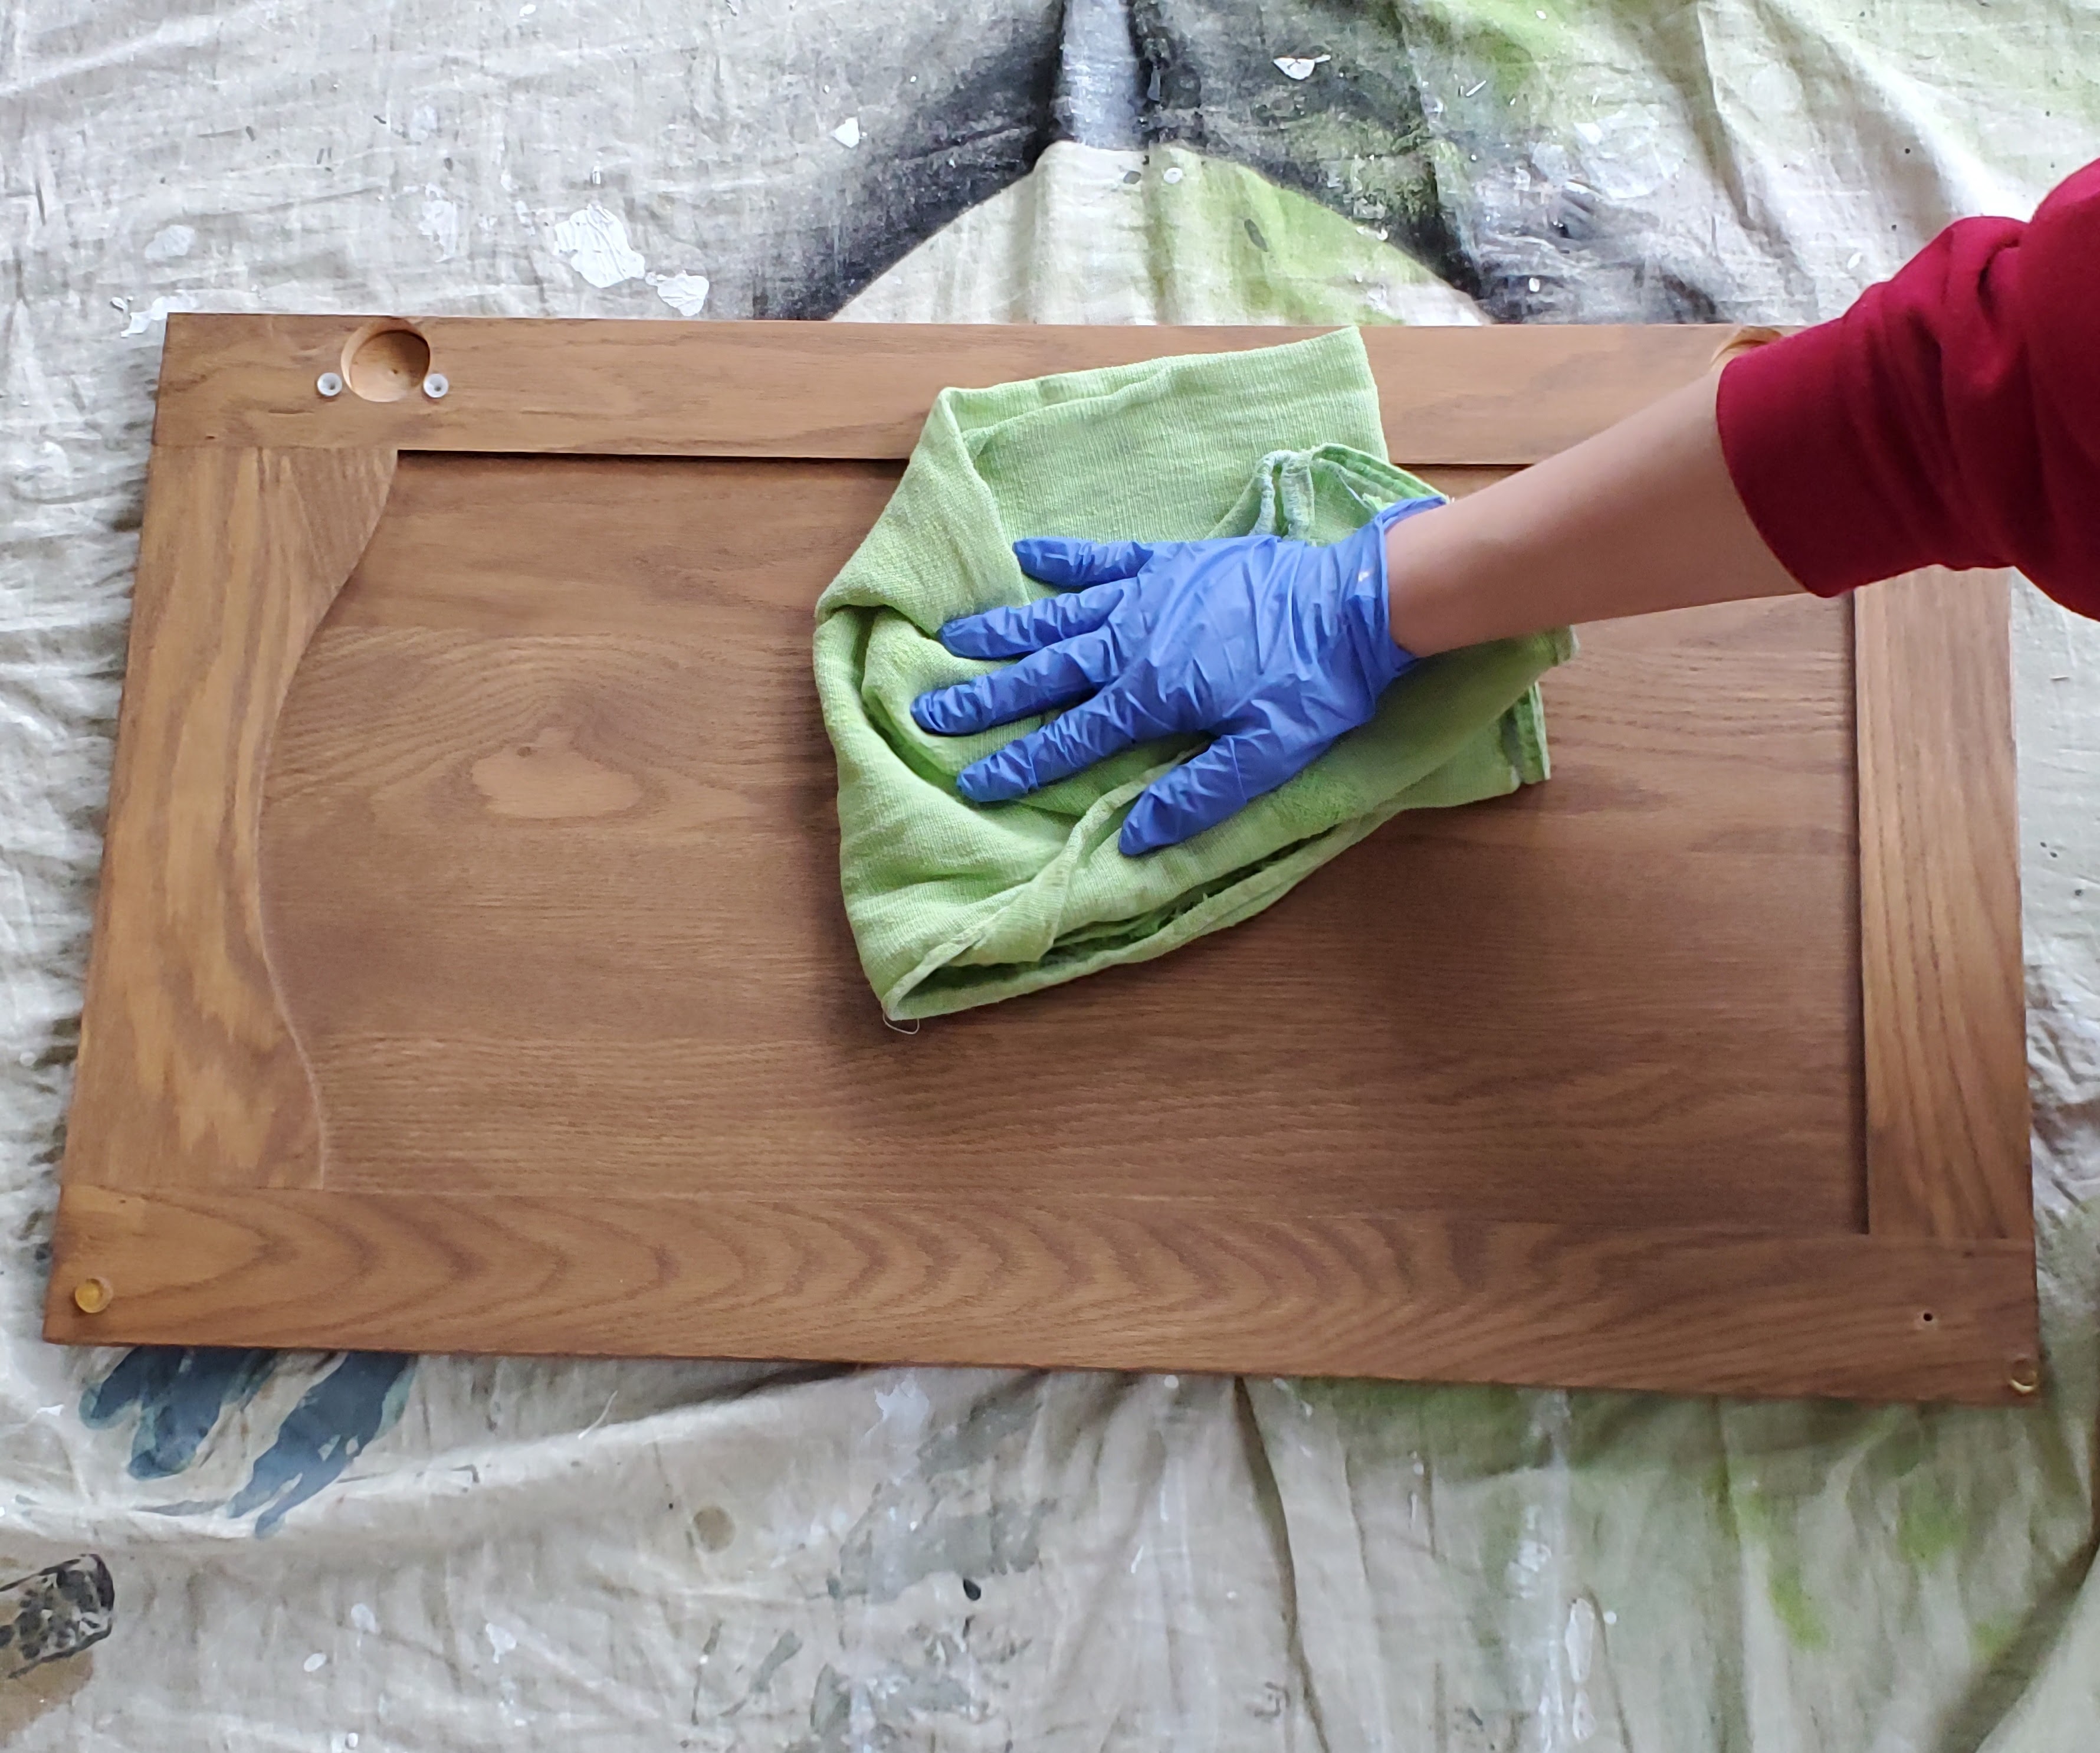
After unscrewing the door from the cabinet, I removed all hardware (hinges and knob). While wearing a latex glove, I poured some liquid deglosser onto a clean cloth and rubbed it all over the surface of the front and back of the doors. This process is a substitute for sanding and prepares the previously stained wood so that paint will adhere better to it. It saves so much time compared to sanding!

Once the deglosser is dry, the doors were ready to be primed. I buy Kilz 2 primer in bulk because I use it so often and it worked well for this project. I recommend starting with the back of the cabinet doors so that once you flip them over, the front will be finished last. The painted wood has the potential to get a nick or scuff when it’s flipped over and I much prefer that if that happens, it happens to the back side
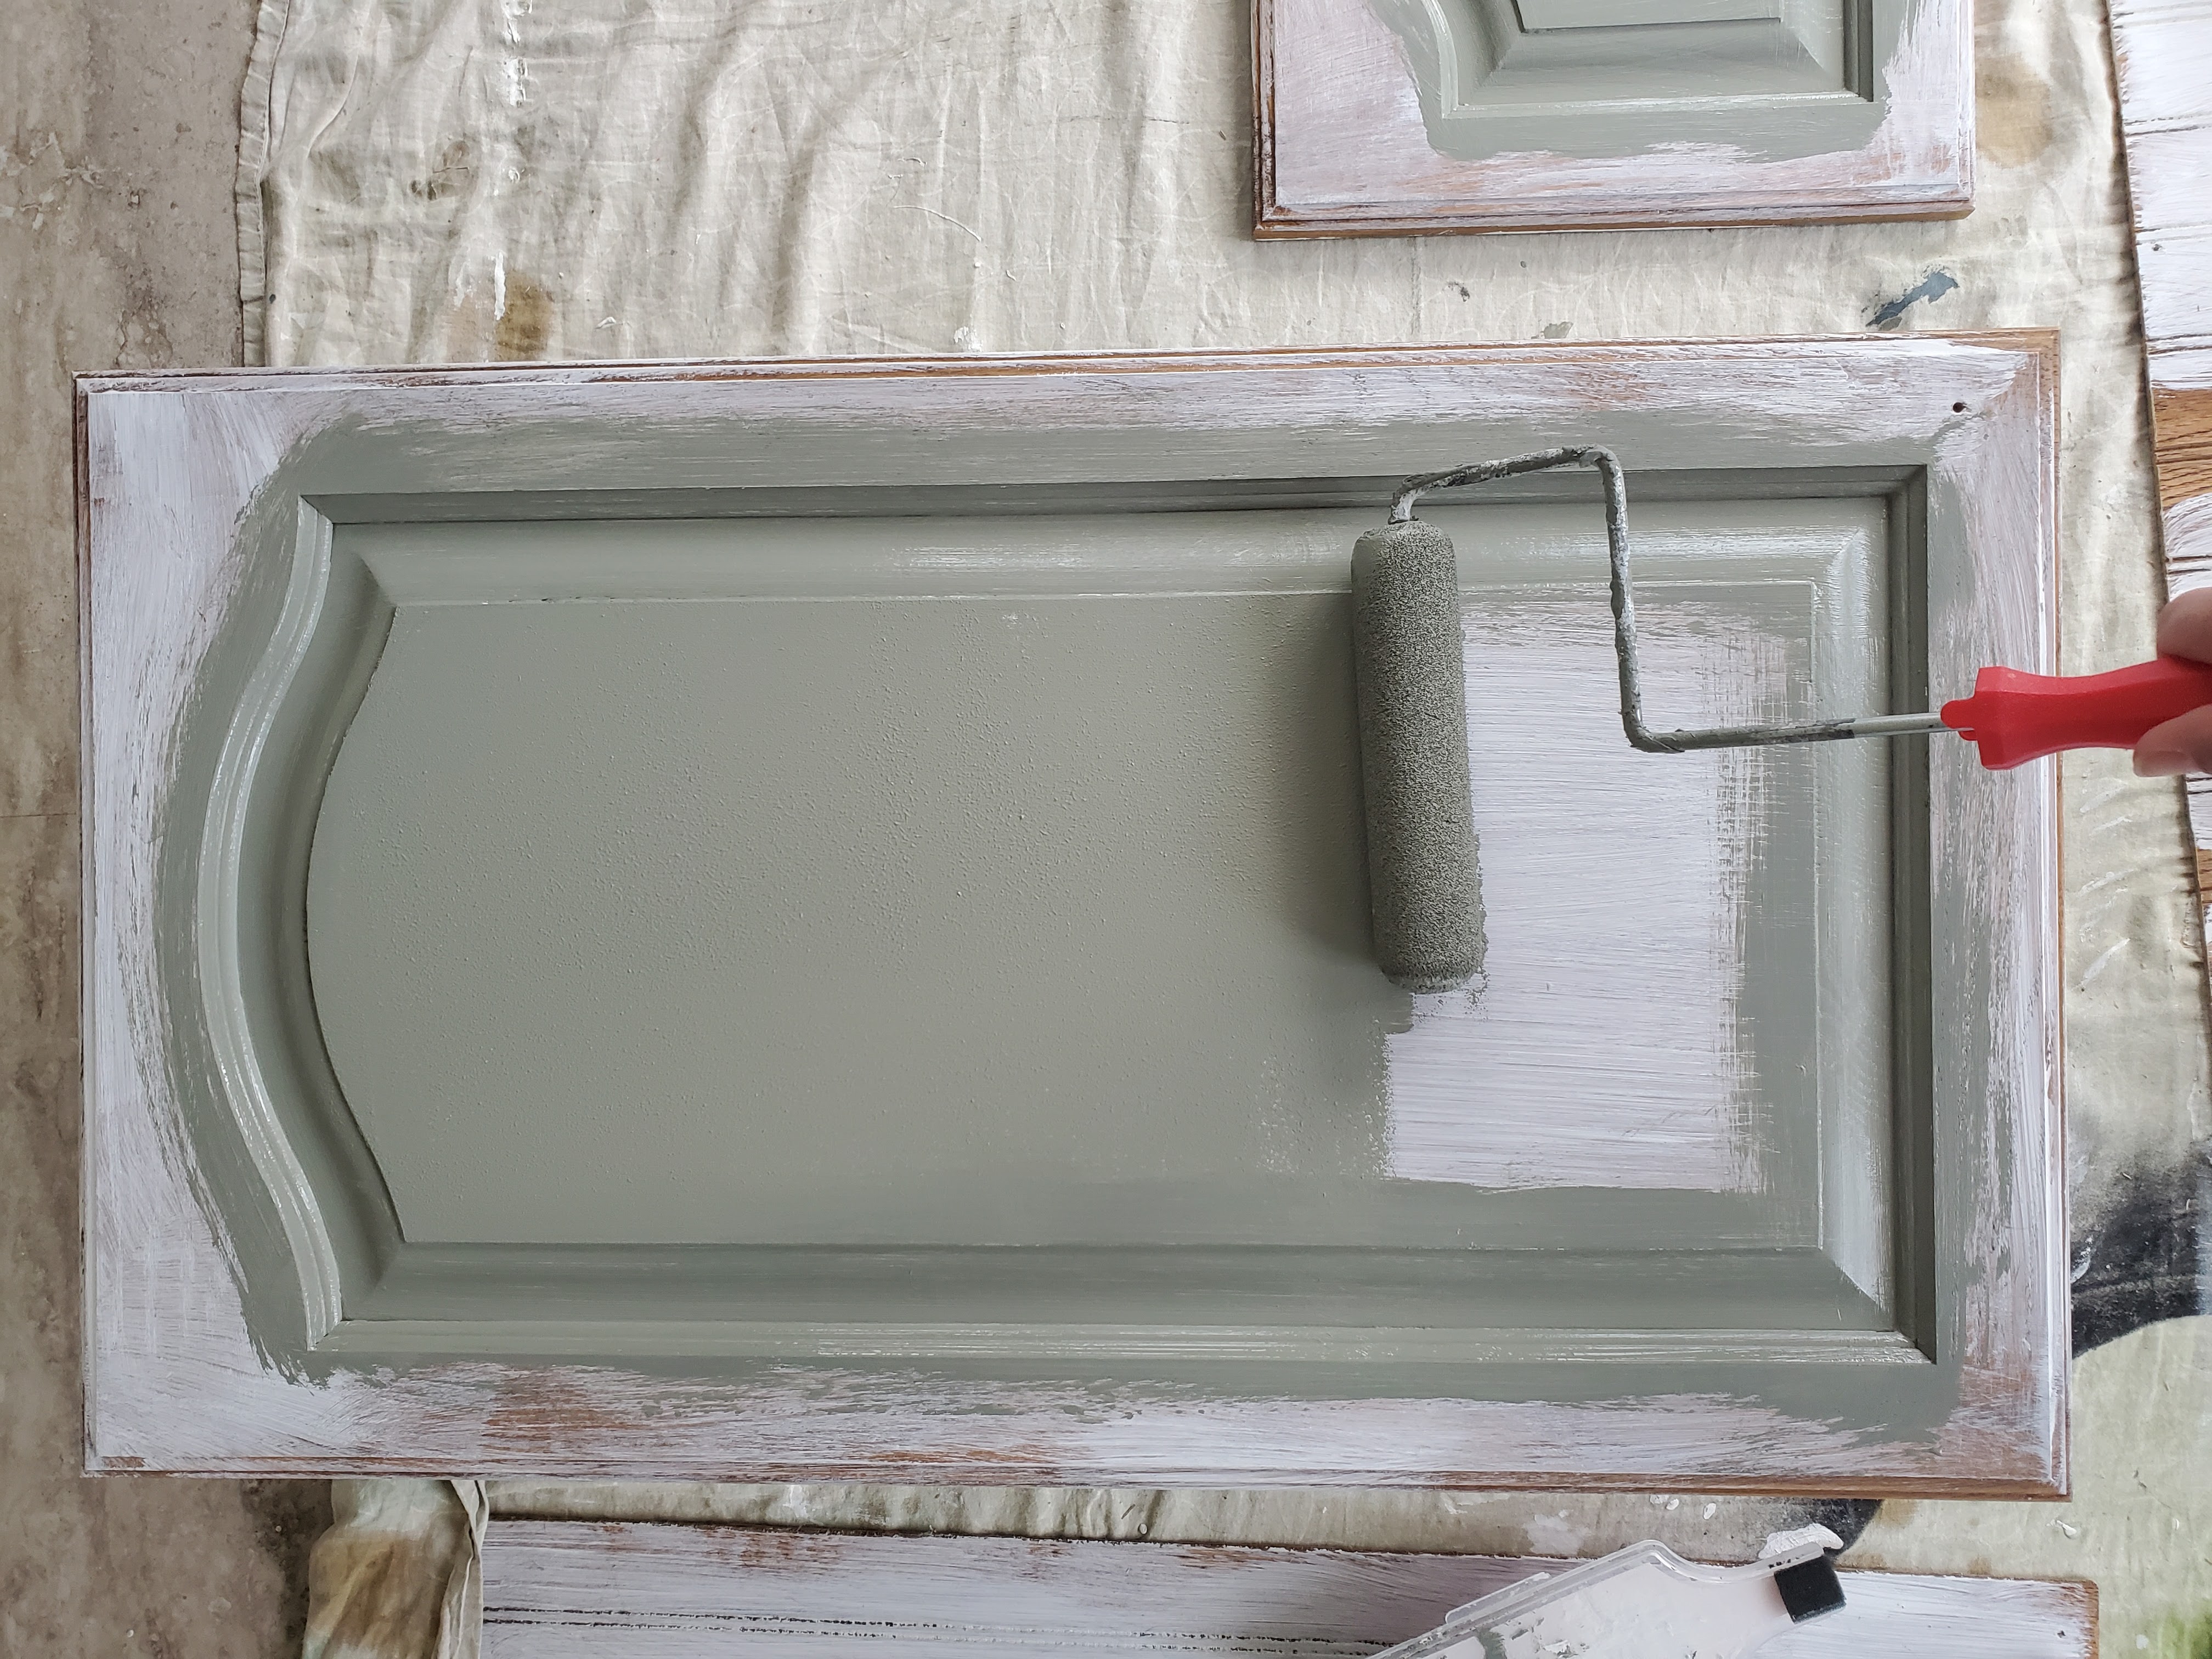
After the primer has dried, it’s time to paint! After a lot of deliberation, I landed on Sherwin Williams Link Gray – a nice warm grayish-green that coordinates well with all the brown and gold tones in our kitchen countertop. I recommend getting a higher-quality paint for the cabinets because they’ll get a lot of use. I chose the HGTV Showcase line from Lowe’s (in a satin finish). There are brands out there that specifically have paint for cabinets but I used this brand when I painted our basement kitchen cabinets last year and they still look perfect!
I used an angled brush to paint the inset edge first . . .

. . . then I used a six inch foam roller to cover the rest of the door.

This paint boasts “one coat coverage” and that may be true for walls, but I found that the first coat didn’t quite get everything and a second coat was needed. That being said, I chose not to do a second coat on the backs of the doors since the coverage was really pretty good and the backs aren’t often visible. This allowed me to also do the entire kitchen with just one gallon of paint!
I waited about four hours and then flipped the doors over to repeat the same process of primer + paint on the fronts. Again, I used a brush to paint the inset first and then used the foam roller for everything else.
When painting the fronts, I like to set them on top of paint cans or other small items where they can be lifted off the ground so I can roll the edges as well.

After letting the fronts dry for at least two hours, I applied a second coat.
For painting the cabinet boxes, I followed the same process of deglosser + primer + two coats of paint. I used painter’s tape to protect the floors and underside of the countertop. Personally, I like a smoother finish on cabinets so I used the foam roller for as many surfaces as I could and saved the brush for edges and corners that the roller couldn’t reach.
I recommend letting the cabinets and fronts cure for at least 24 hours before reattaching the fronts. I have two little kids around and couldn’t leave my fronts off that long, so I reattached them sooner but after the kids went to bed, I opened up all the doors and drawers so they could continue to cure without touching (if the paint isn’t fully cured and a door front rests on the cabinet, it could lead to the paint sticking).
I wish I had a better “before” picture of this angle, but all I have is this crummy screenshot so it will have to do.

And now here’s that same stretch of cabinets:

I honestly can’t believe what a big difference paint made. Same floors, same knobs, same countertop, same backsplash (for now), yet the kitchen looks completely different! And since I could do the whole cabinet with one gallon of paint, this transformation cost me around $50. Well worth it!
I wish I had more “after” pictures to show you, but we’re already well underway with the next step of updating all the backsplash. So stay tuned for more of this kitchen transformation soon!

4 thoughts on “DIY Painted Kitchen Cabinets”