
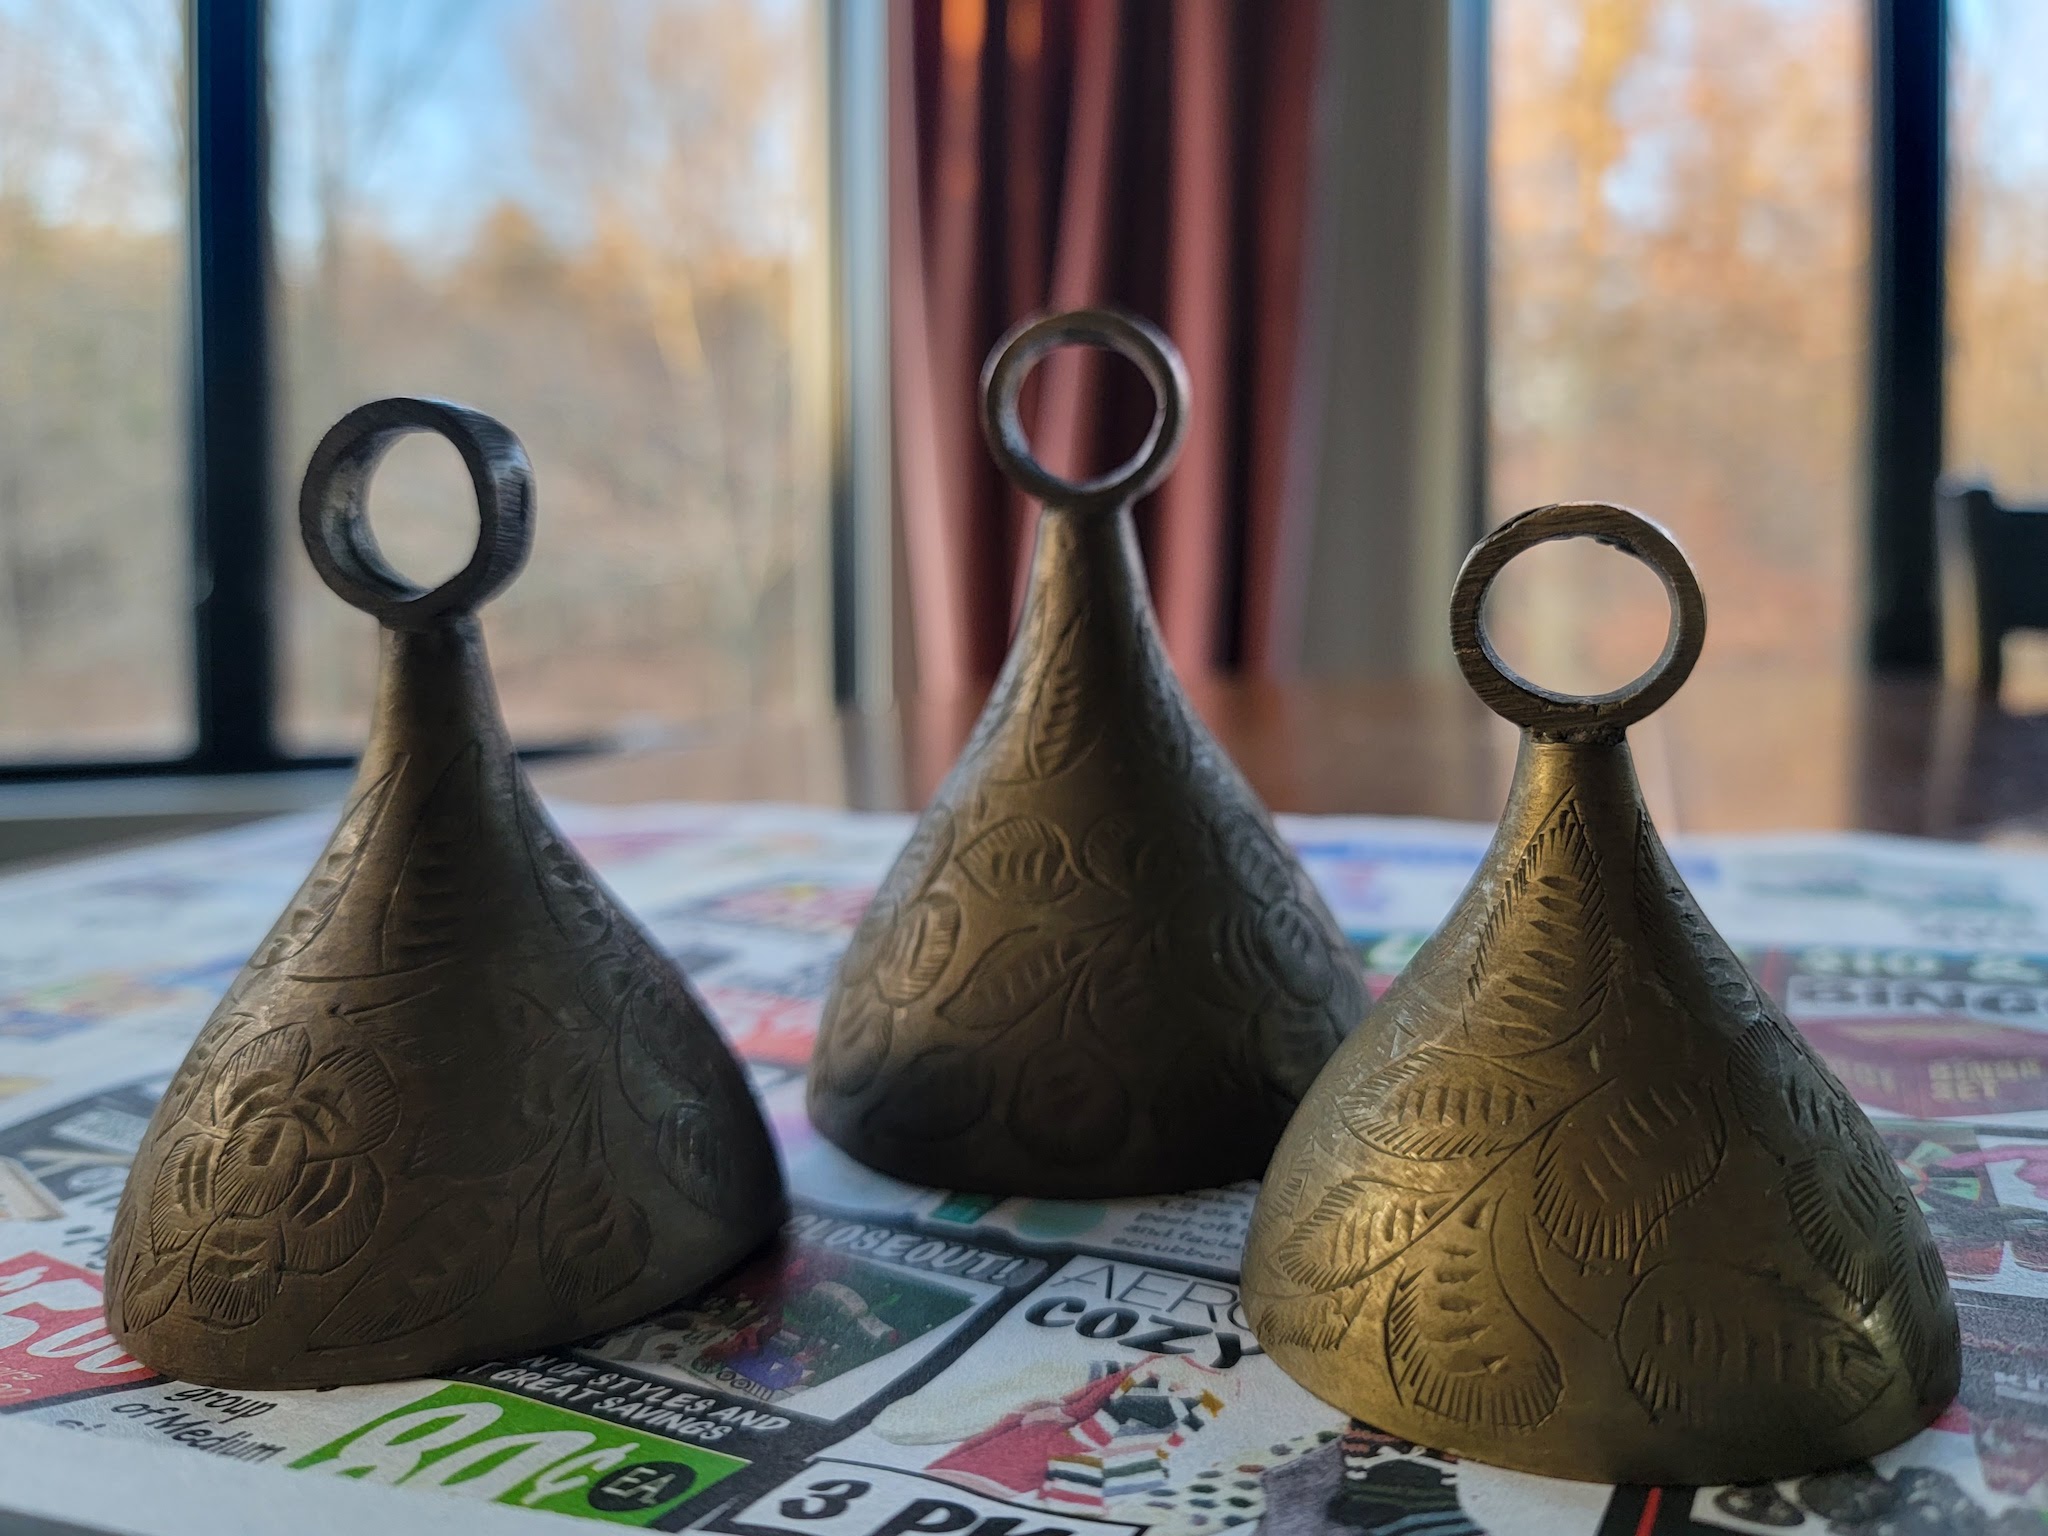
I recently went to a local vintage sale and scored two different sets of three bells as well as a larger, wall-mounted dinner bell. Typically with vintage pieces, I like to keep the patina (the green or brown tarnished look that happens over time), as I think it adds character and charm. For some of the bells, however, the thing I loved most was the intricate etching and I felt like the high level of patina actually hid a lot of the beautiful detail. Much as I loved the warmth of age, I made the decision to polish them so they could (literally and figuratively) shine again.
I first learned about Brasso last year when I installed raw brass sconces in our primary bedroom. It’s a polish that can clean stainless steel, chrome, aluminum, pewter, bronze, copper, and of course, brass. A quick side note: I have been slowly switching my cleaning products over to nontoxic options when possible, and there are ways to clean brass more naturally (this article has a variety of ideas). That being said, in the past, I have attempted to clean thrifted metal items like brass and copper with things like lemon or ketchup – with mixed results. Since my bedroom sconces were new, raw, and not exactly inexpensive, I chose to forgo a homemade paste and follow the manufacturer’s recommendation to use Brasso instead. I was pleased with the result and am personally fine keeping it in my cleaning product stash, particularly given its infrequent use, so that’s what I chose to stick with here.
The process of polishing is actually very easy, so today I thought I’d share what I did in case anyone else has a piece they want to try shining up!
Materials
-newspaper (or something to protect your work surface)
-latex gloves
-two clean cloths
First up, make sure your workspace is prepped with a few layers of newspaper or something else to protect the surface. You’ll want to be in a well-ventilated area and make sure to wear gloves!
Shake the Brasso and squeeze a dollop out onto a clean cloth.

Using a circular motion, rub the Brasso all over the surface of the item, applying more as needed.
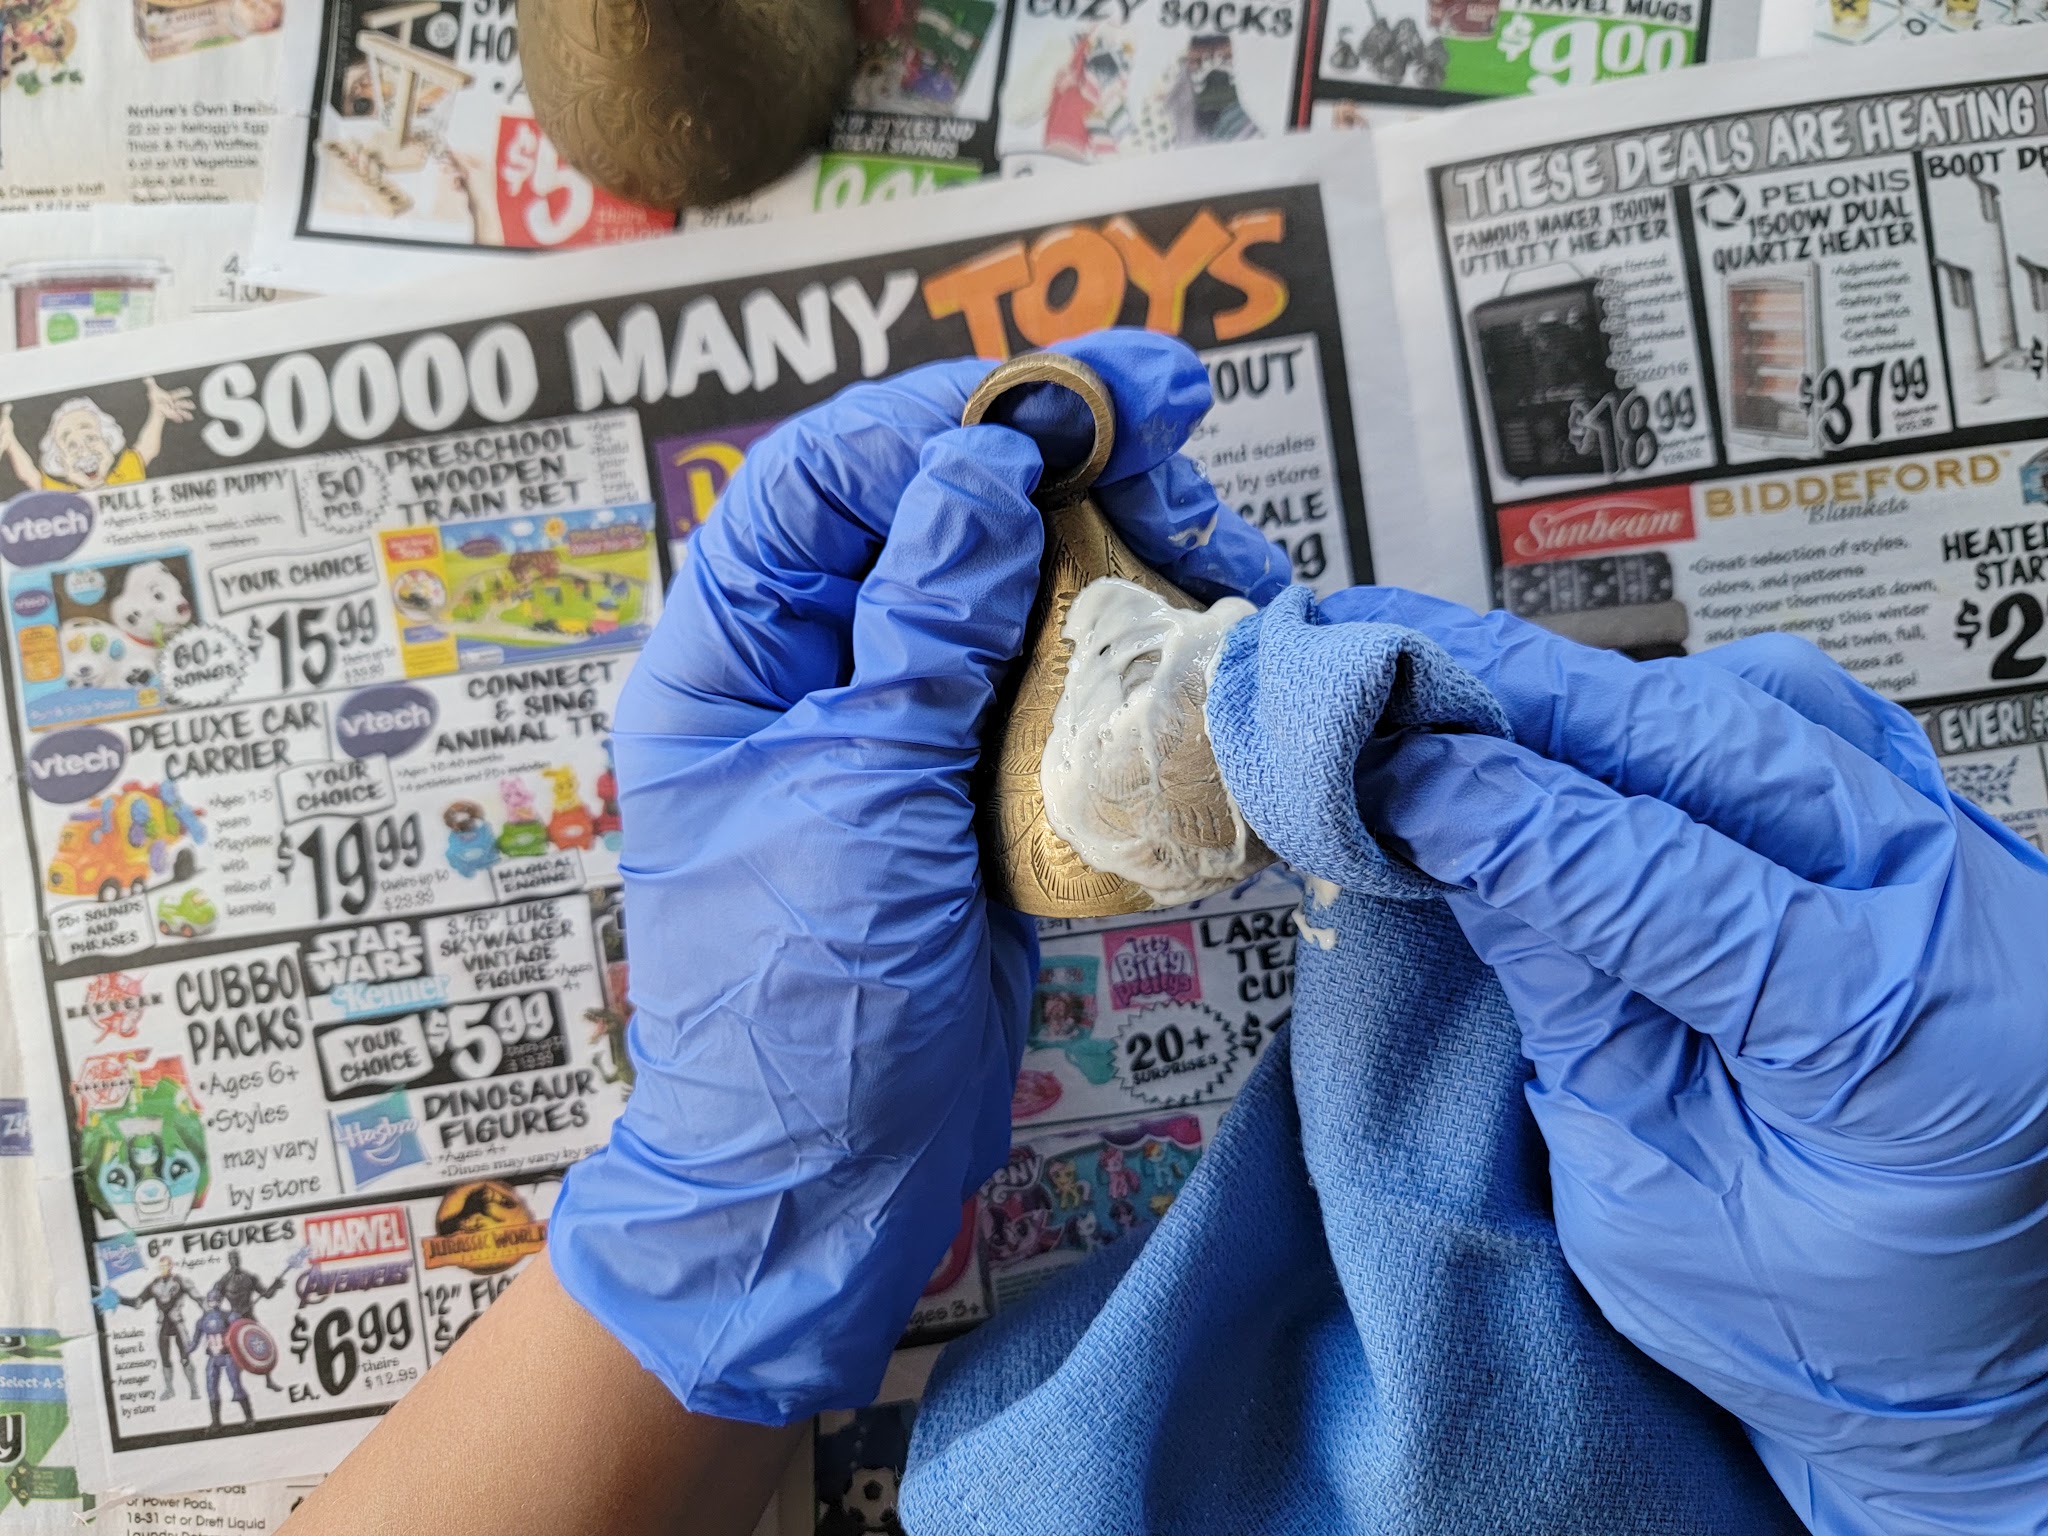
I suggest starting with a light pressure until you see how the metal is shining up, and then adjust as needed depending on how much patina you want to keep. For these bells, I didn’t want them to end up too shiny and new-looking, so I kept a light pressure the entire time.

Once you have applied cleaner all over your item, use a clean, soft cloth to buff the surface.

That’s it! Easy Peasy. It only took me about five minutes to polish each bell and reveal the unique, beautiful details.

I’m sure there are people who would argue that all vintage pieces should be left alone and might feel I made the wrong decision here. As I said earlier, I’m usually on Team Patina = Character! But I do think there’s a time and a place to work on a piece and I honestly have no regrets about polishing these. I’m all about cultivating a home that feels collected, cozy, and comfortable, with items that make me and my family happy. The details on these bells are now so vivid and eye-catching in person and I know I will appreciate them for years to come. And as the years go by, I’ll get to enjoy watching the slow process of the patina coming back 🙂
Now I’m curious – are you team polish or team leave as-is?
