
My Google Photos sends me a lot of “one year ago” flashbacks and lately, all the pictures have been flashbacks to our basement kitchen renovation. It’s hard to believe it’s been a year since this transformation!

This project was a great example of the power of paint, as paint was the biggest tool I used to transform the space. Painted walls, painted counters, painted cabinets, painted floors . . . lots and lots and lots of paint went into this renovation! I thought it would be fun today to take a look at the kitchen one year later and see how everything has held up so far. There’s also a few small changes since the initial reveal – see if you can spot them!
Cabinets

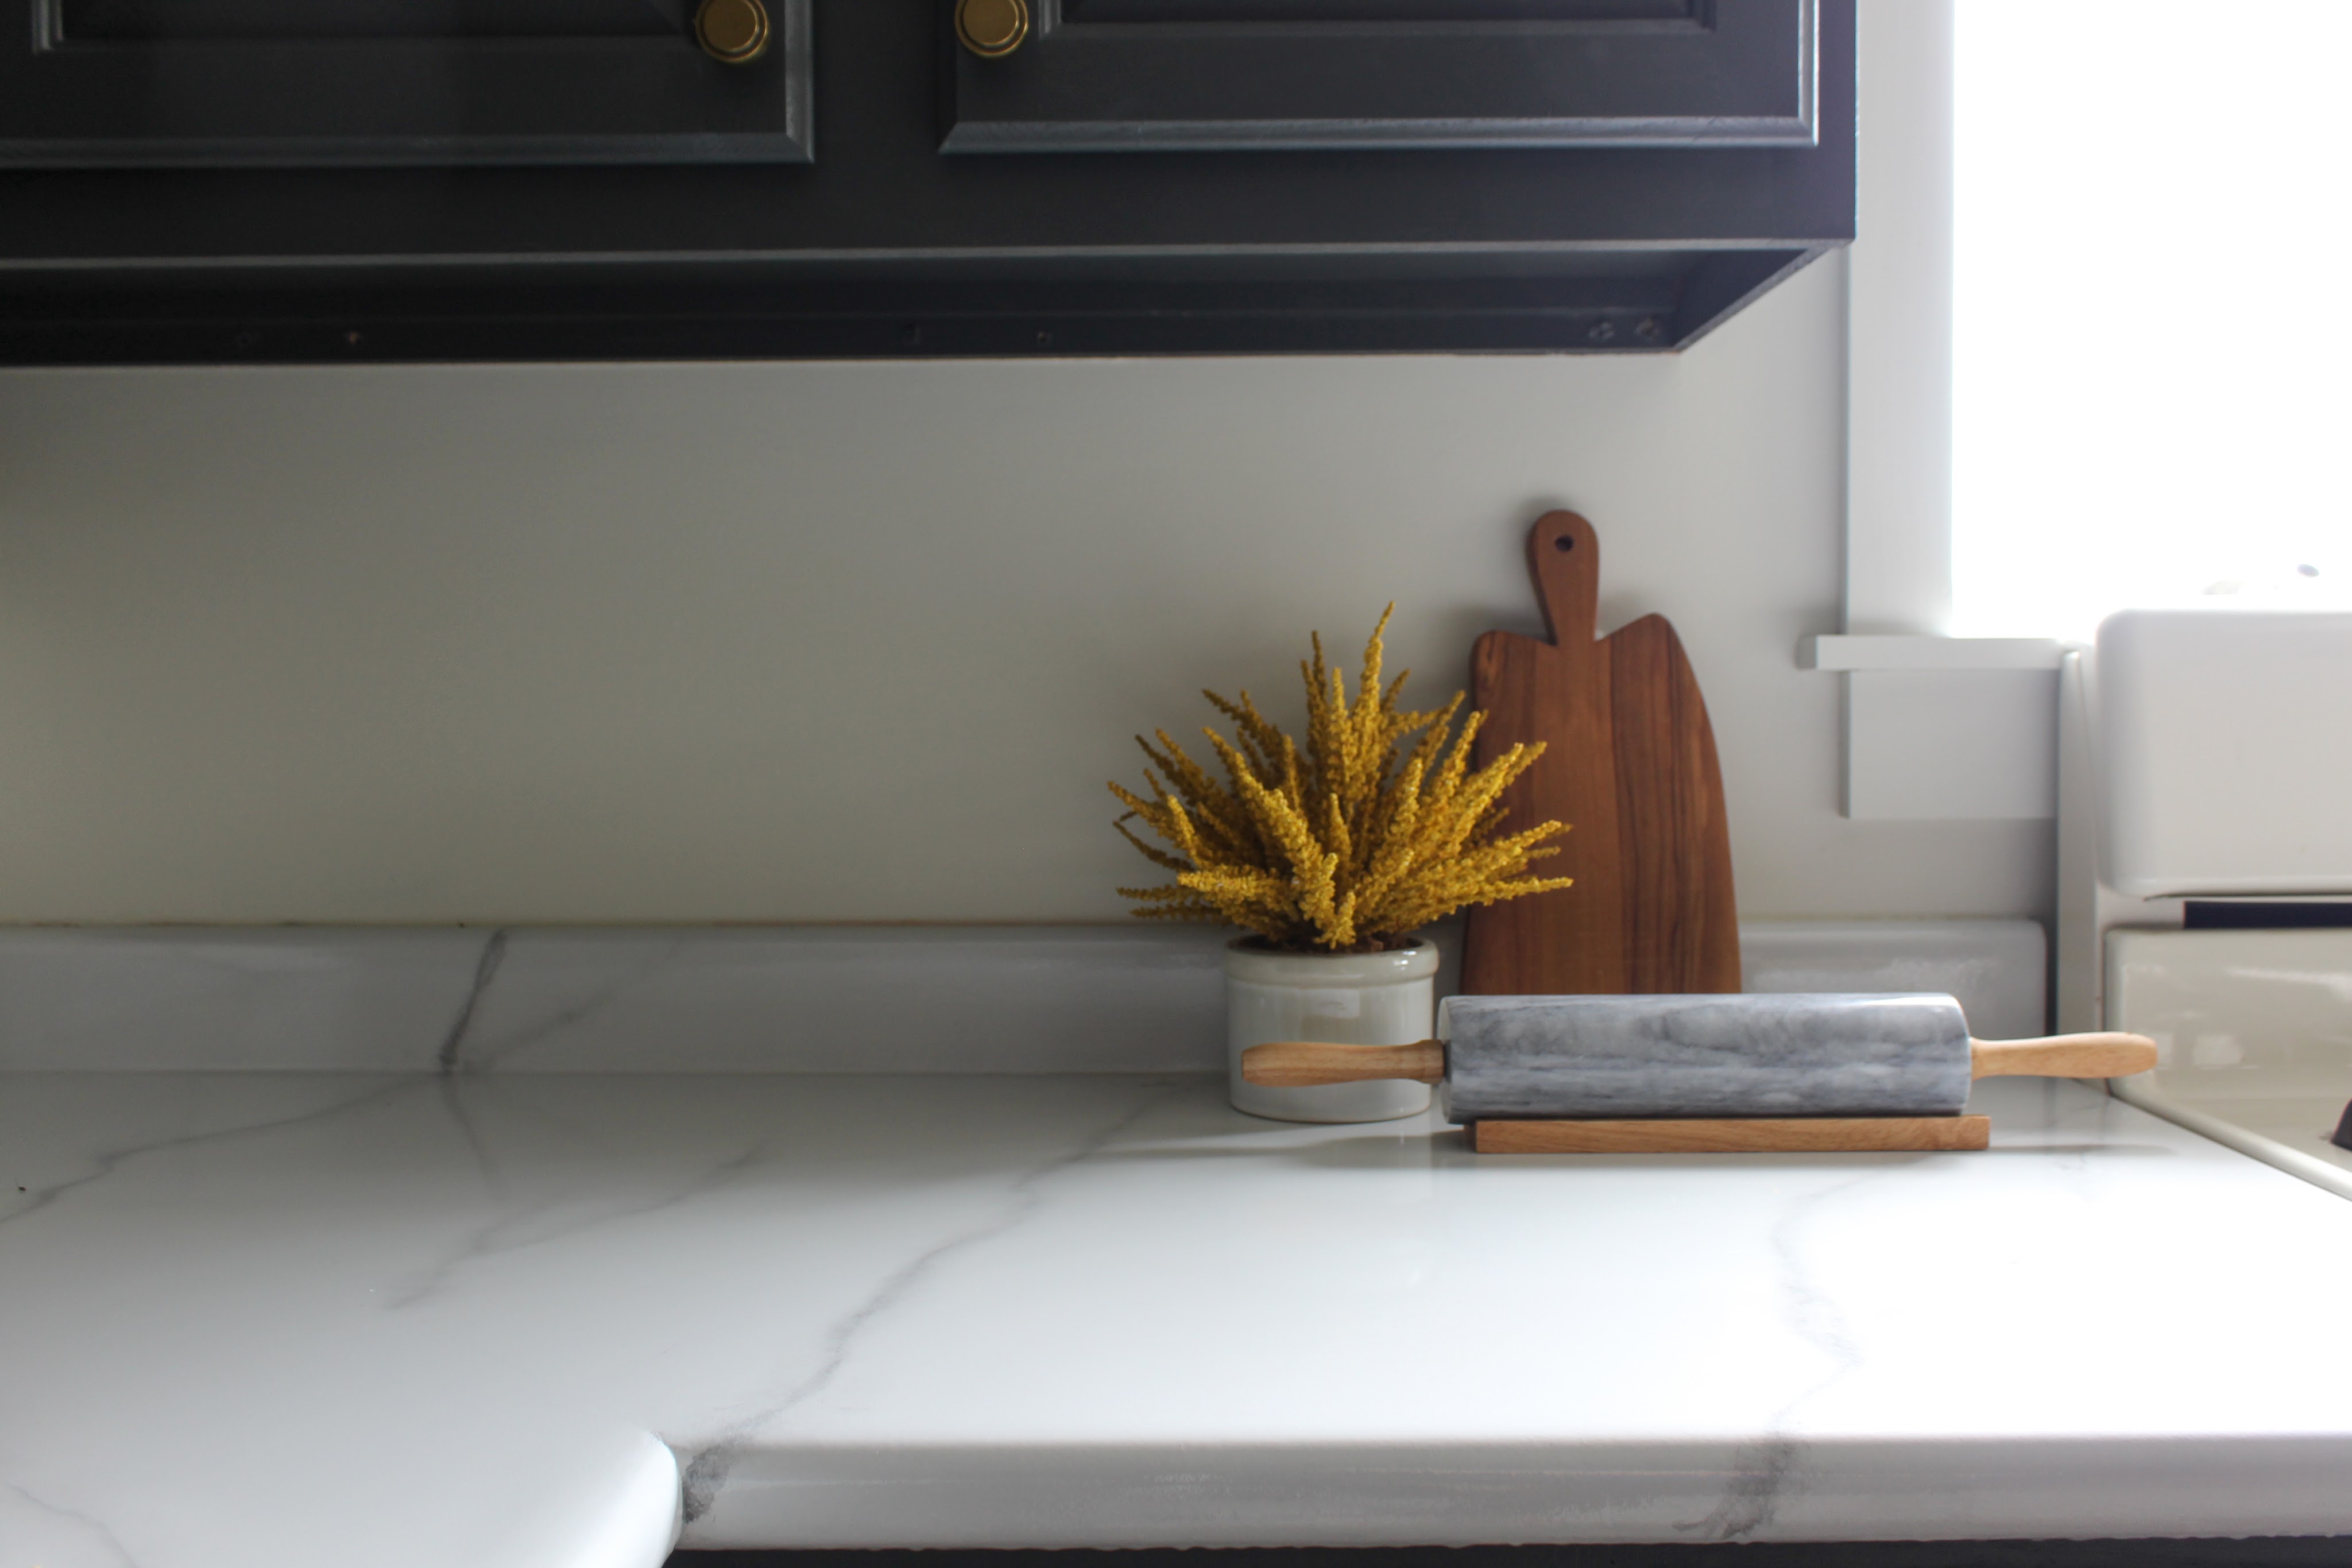
I’m still in love with the cabinet color (Rock Bottom by HGTV by Sherwin Williams). I chose this paint brand and I have to say I’m very impressed with how it has held up. This kitchen doesn’t get normal everyday use, but now that our kids play in the basement so much we use it for snacks frequently and the kids even play in the kitchen sometimes. We also use it as a hosting kitchen whenever we’re entertaining, which we’ve finally started to do more of now. There is not one scratch in the paint on the cabinets and it doesn’t need a single touch up!
Countertops

I also am really glad I chose to paint the countertops instead of replace them. You can read all about that process here. Even though it’s not perfect (there are about 3 places where I didn’t get the epoxy quite thick enough so there’s a small hole in the top layer), it was a super cost-effective way to get a new look. When guests come over, no one can believe it’s paint!
I will say, the counters do show some very slight scratching from use, but it’s hard to see unless the lighting is just right. It’s so minor that I think it’s one of those things that no one else notices except for me because I know to be aware of it. Would I recommend painted counters as an update? YES! I think this is a perfect way to inexpensively elevate a kitchen and it’s a fairly easy DIY. I do think that it’s probably a better “short-term” fix (like 5-10 years) and not necessarily a good permanent solution for counters you plan to use for 25 years, particularly in a kitchen that gets heavy everyday use. I just think it would likely show more wear and not hold up quite as well for that long. But it’s a great solution for counters that you hate but can’t afford or don’t want to replace yet!
And speaking of counters, the butcherblock is also holding up very well. This gets the most use: it’s where my kids eat snacks, where we prepare food for guests, where we set out food when we’re entertaining, and where we first drop things off when they come into the kitchen. The butcherblock is easy to clean and still looks great after a year of use!

Floors
The only painted surface that I am not very thrilled with one year later is the floor. The picture below is a realistic glimpse at how it often looks after a light sweep of the floors.

Painting the tile was again, an inexpensive way to transform the look of the floors. And the paint kit I chose (you can read the whole process here) was a great decision, as the actual paint itself has held up well. The floor gets heavy use from kids playing and guests walking in and out; I’ve had to scrape food off the floor and even when I have to use my nail, no paint scratches off. The quality of paint is great! I just wish I had chosen a different color.
White on floors is a horrible decision in a kitchen. I wish I had chosen a darker base color or a different pattern (or at least much larger triangles) so not as much white was showing. It’s just so hard to keep them looking clean! They show so much dirt and almost always look like they could use a good scrubbing. I’m someone who doesn’t actually scrub the floors super often – I want them looking clean with a light sweep and then an occasional deep clean. I typically don’t see dirt on the gray triangles, just on the white, but there is a lot of white!
We had to buy a new fridge when the old one died a few months ago, and the new one a little smaller so some of the old tile now shows at the bottom. I’m seriously debating whether I should continue the pattern under the new fridge or use this as an opportunity to re-paint the entire floor in a darker color. . . hmmm.
Overall, I’m still really happy with this space and I’m so glad I decided to invest a lot of time and effort into making it shine without breaking the bank (this whole reno was under $1500!) This is a space I know we will be enjoying for years to come!

For all sources, you can check out the bottom of this post.

One thought on “One Year Later: How has the Basement Kitchen held up?”