
For as much as I love DIY, sewing is one skill I haven’t grown to love that much. I do love the look of curtains though, and they rarely come in the correct length for what I need. When I bought the 96″ curtains for our primary bedroom, I knew I would need to hem them. I like a slight pool of fabric at the bottom, but these curtains were still a couple inches too long for my taste. Today I thought I’d share a little tutorial for my method for hemming curtains – no needle and thread in sight.

This no-hem method is a low-cost, quick, and simple project that is perfect for beginner DIYs!
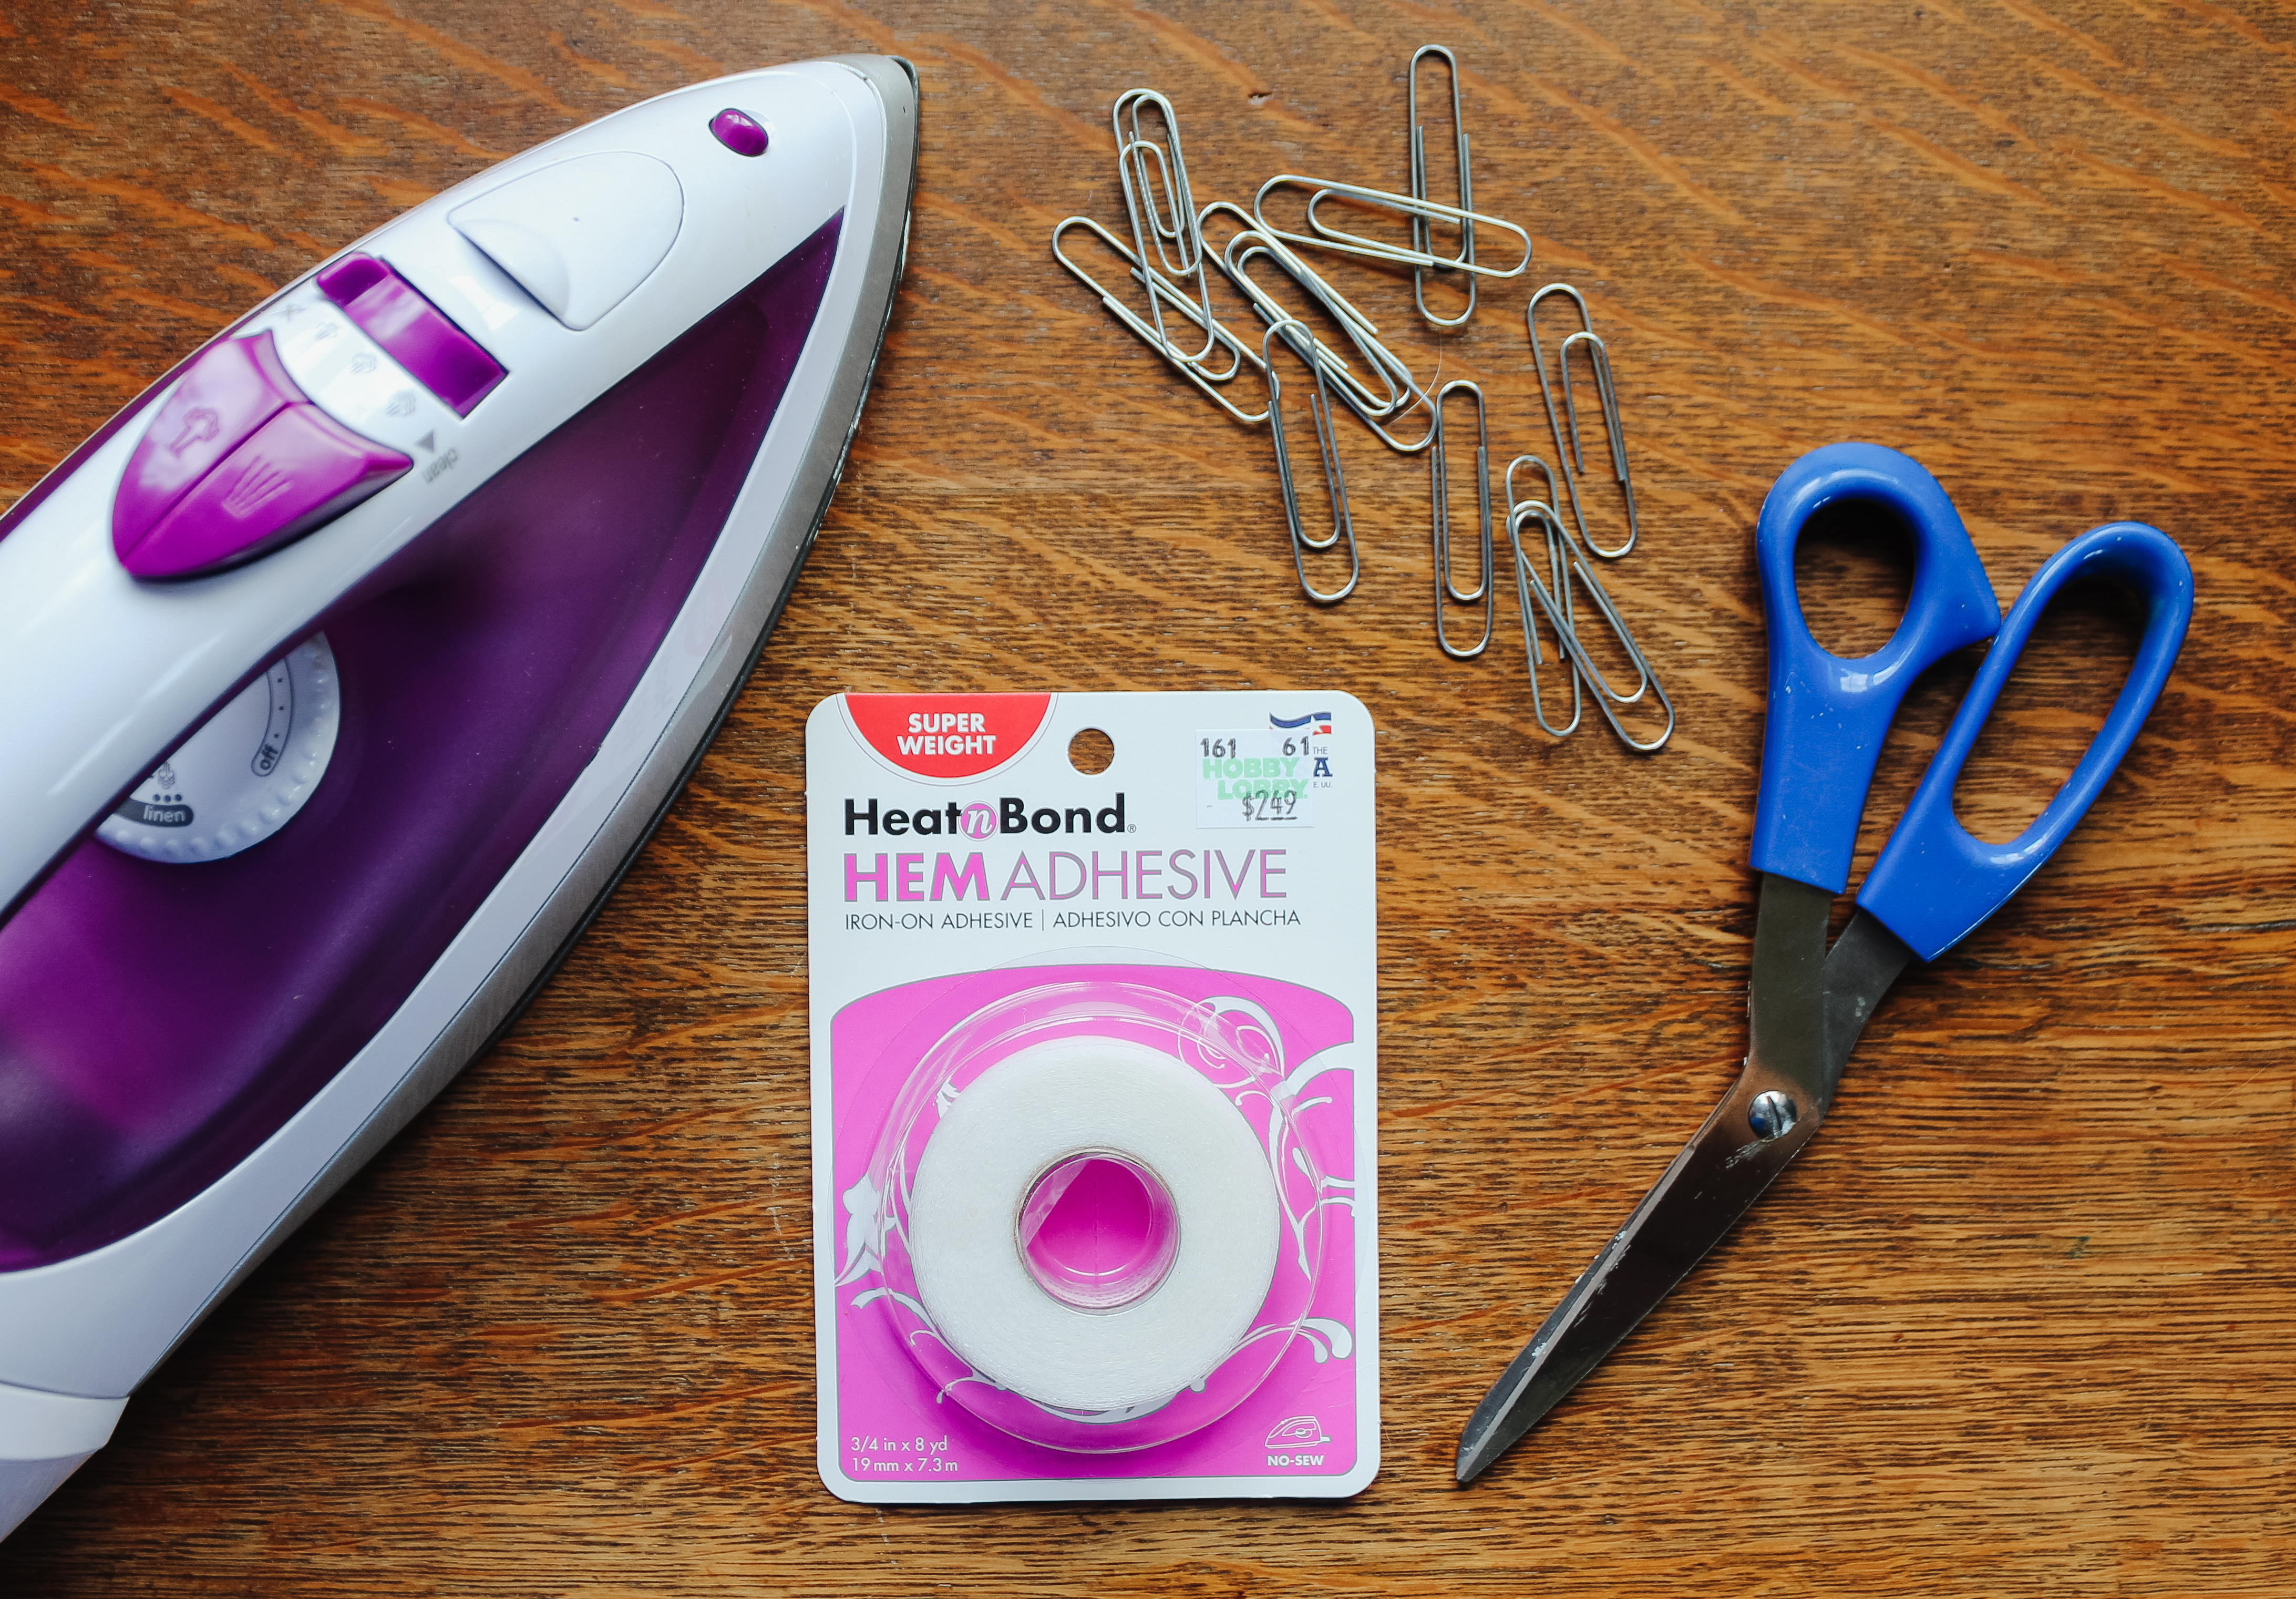
Materials
-Iron
-Paper clips (or pin of your choice)
-Scissors
-Ironing Board (or other heat-safe surface)
Ideally you would use an ironing board but I didn’t have one so I improvised with two folding chairs and an old table protector pad. Before beginning, I recommend cutting off the curtain tag at the bottom (if there is one). I found that the hem tape did not adhere as well to the tag. Once the tags were removed, I folded the bottom of the curtain to create the new desired length.

For me, this was easy because the width of the existing hem was the amount that I wanted taken off overall length, so I could just fold the curtain over on the existing hem. I chose to secure them with paper clips because they’re easy for me to slip on and off and safer than sharp pins if I accidentally dropped or lost one and a child or pet found it.
Once I had secured the entire bottom of the curtain, I ran the iron lightly over of the new folded seam to create a nice crisp seam on the bottom.
Next came the hem tape. At first I accidentally bought super weight (it’s supposed to be for heavier fabrics) but it worked fine for my cotton curtains. I did run out and have to buy a second roll so I bought regular weight that time and honestly didn’t notice a difference in how they worked for my fabric.
I chose to work in smaller sections and ripped off roughly 8-10 inches of hem tape at a time. I placed it underneath the folded fabric and ran the iron across to activate the adhesive. (Note: the curtain edge is peeled back in the picture below to show you where I placed the tape, but make sure it is lying completely flat when you run the iron across)

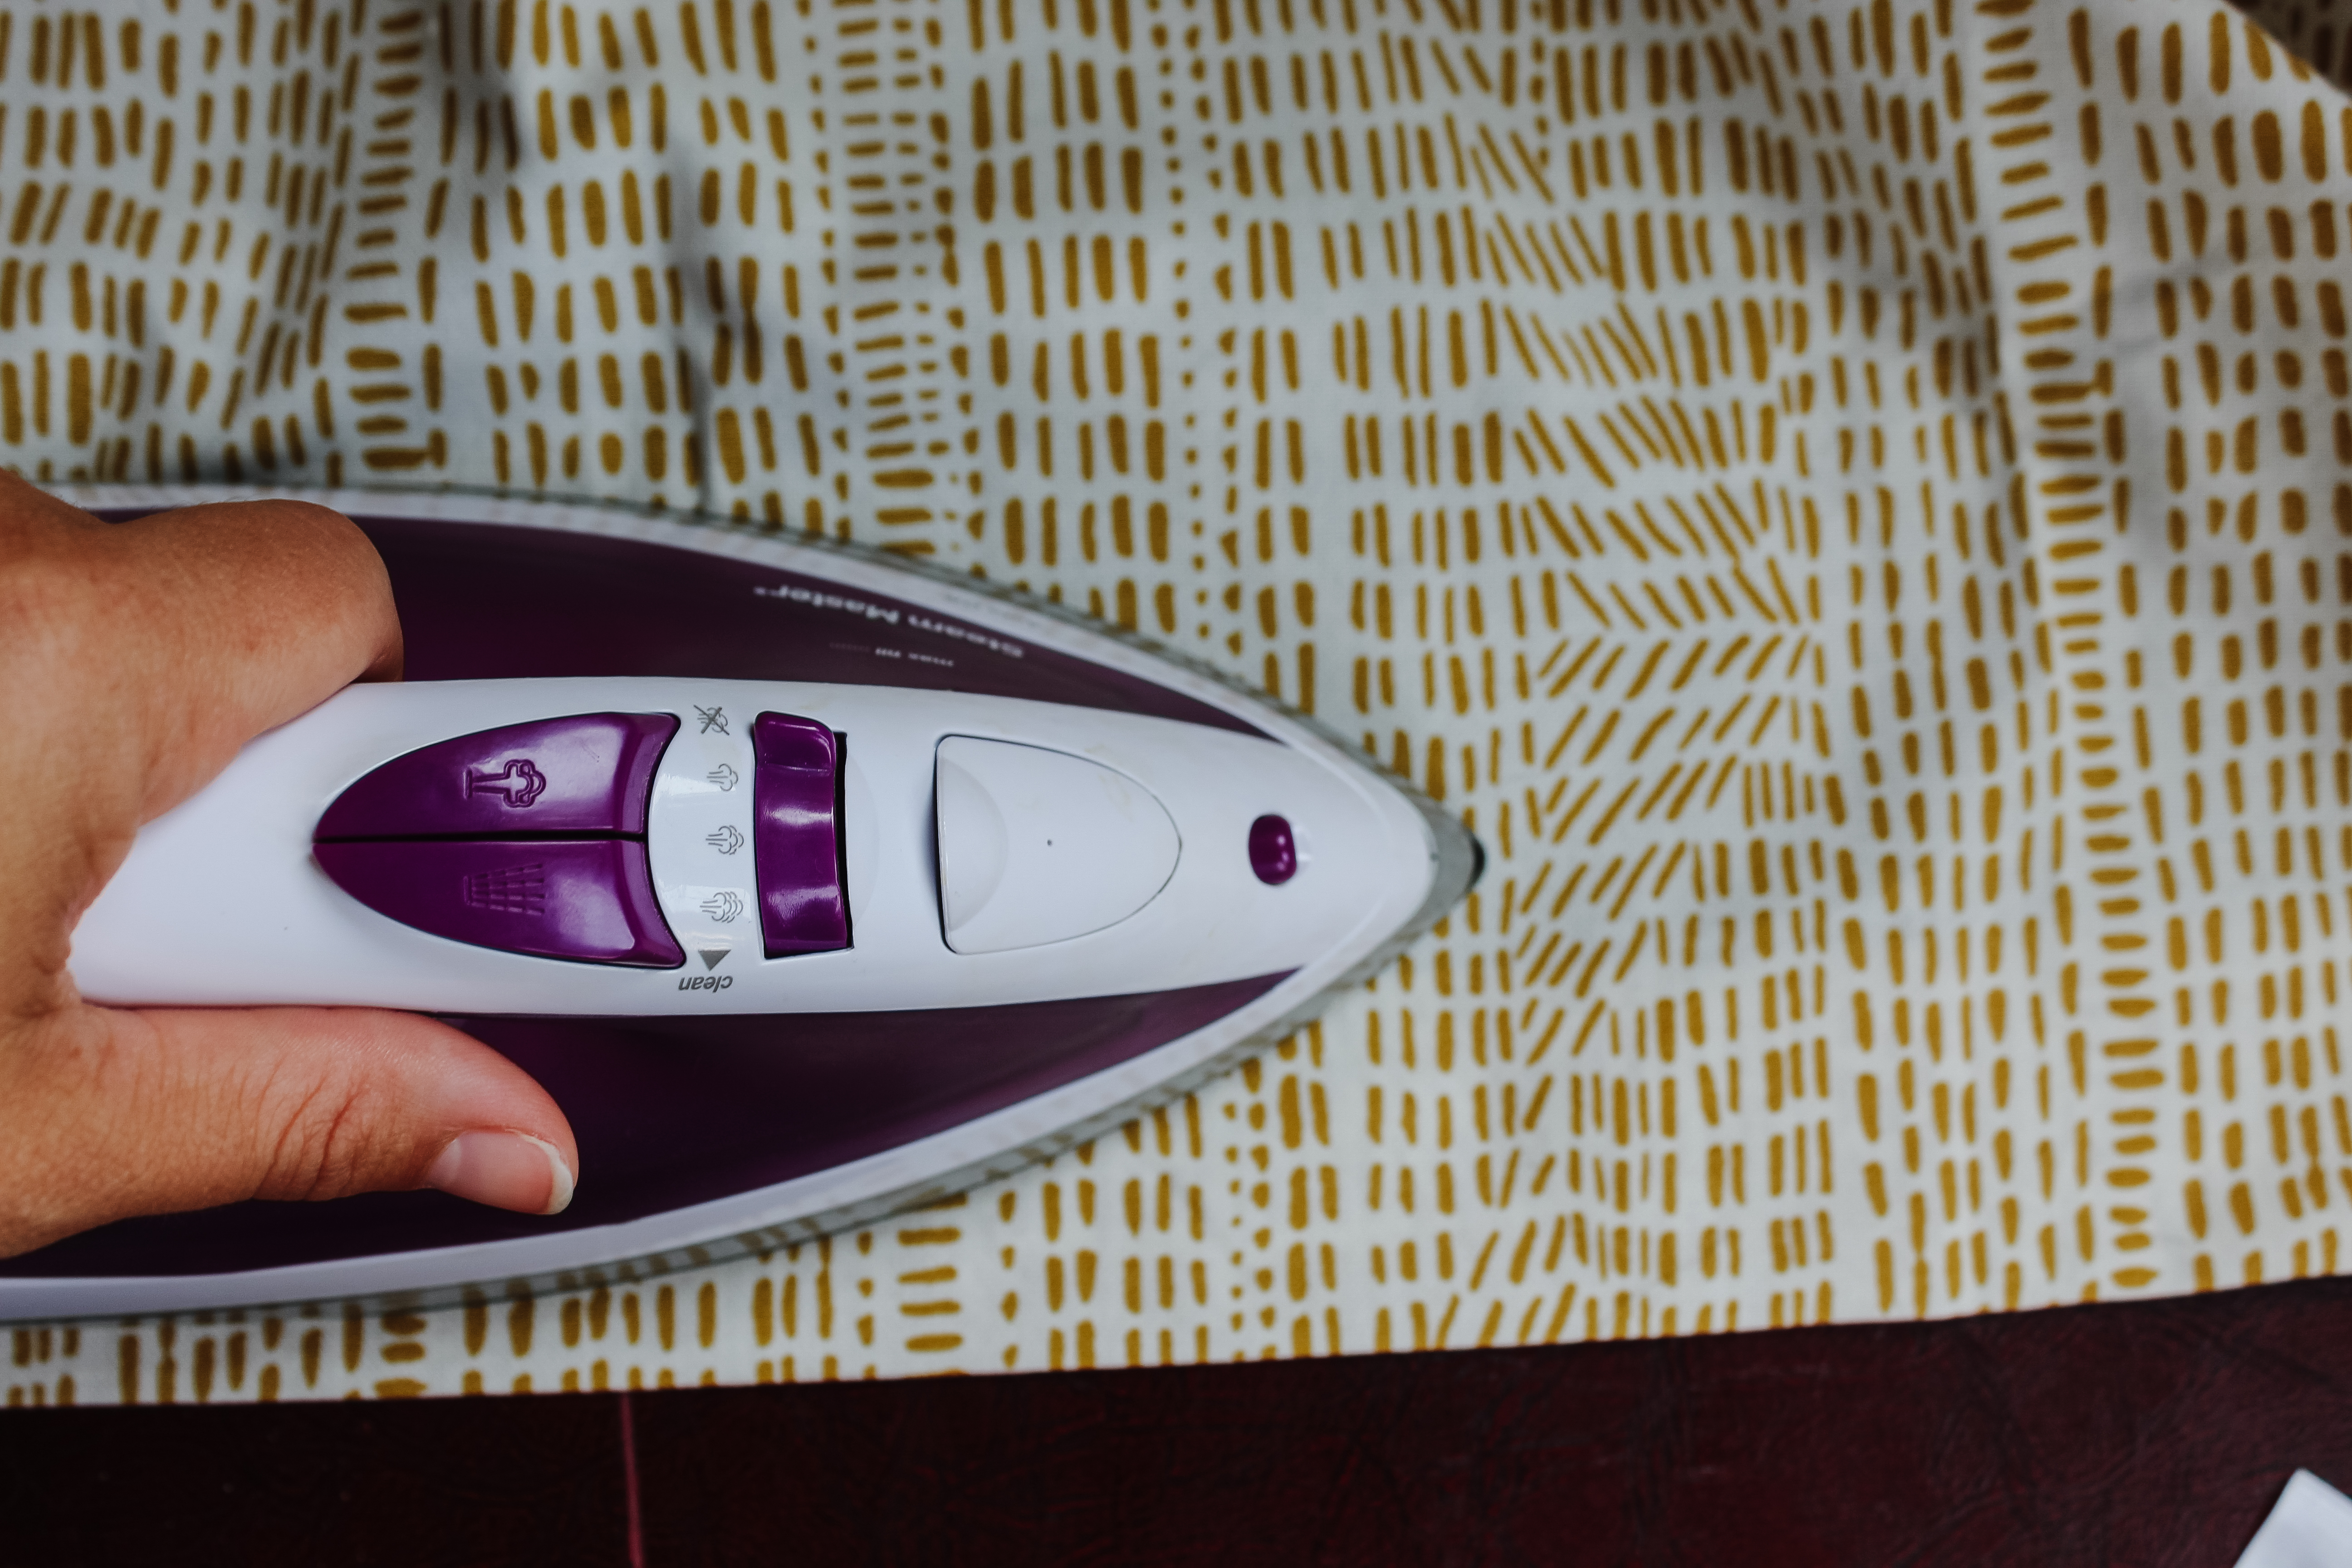
I found that it worked best to hold the iron over each section for a good five seconds before moving it down the line, and I overlapped the iron each time for additional heat. If I spent less time on each section, the adhesive didn’t get hot enough to work. My iron was on the cotton heat setting since the curtains were cotton.
When I came to the end of the curtain, in addition to the hem tape running parallel to the old hem, I ran a small piece of hem tape along the outside edge to keep the fold secure.

To finish the seam, I flipped the curtain over and ran the iron once more over the hem tape from the other side, spending about 1-2 seconds on each small section.
That’s it! Once the fabric cools down, the glue dries and creates a nice new hem. This project cost less than $8 and took roughly 10 minutes per curtain. Quick, easy, and inexpensive! The perfect little DIY 🙂

Sources
Wall Color: Sherwin Williams Foggy Day
Curtains (out of stock – similar here)
Vanity + Chair are vintage
