
Our bedroom dresser is finally finished! And can you believe it’s Ikea!?

It took me a long time to find a style of dresser that felt right for the room, and then I came across this one and fell in love . . . with everything except the price tag.

I decided to try to recreate this look using a much less expensive Ikea Hemnes dresser. Last week I shared how I sanded off the old gray stain and re-stained it in black (read all about that process here). Although the Hemnes does come in a brown-black stain, my Ikea didn’t have it in stock. This ended up being a blessing because it would’ve been too hard to try to fill the drawer pull holes and stain those as an exact match to the original black stain so my only choice would have been paint (and I am so glad I still have a stained wood look!)
I searched and searched for leather pulls to attach to the top of the drawer fronts and stumbled upon these beauties on Etsy. I chose brass nails and cognac leather.
When the pulls arrived, I realized that there wasn’t quite enough space for them to sit on top of the drawer front without catching the dresser frame so I asked Justin if he could cut small notches at the top of each drawer front to create space. This ended up being a slow, laborious process and we’ve spent our evenings working on through it. We set up shop in our basement, turned on the TV, and tackled each drawer pull one by one.
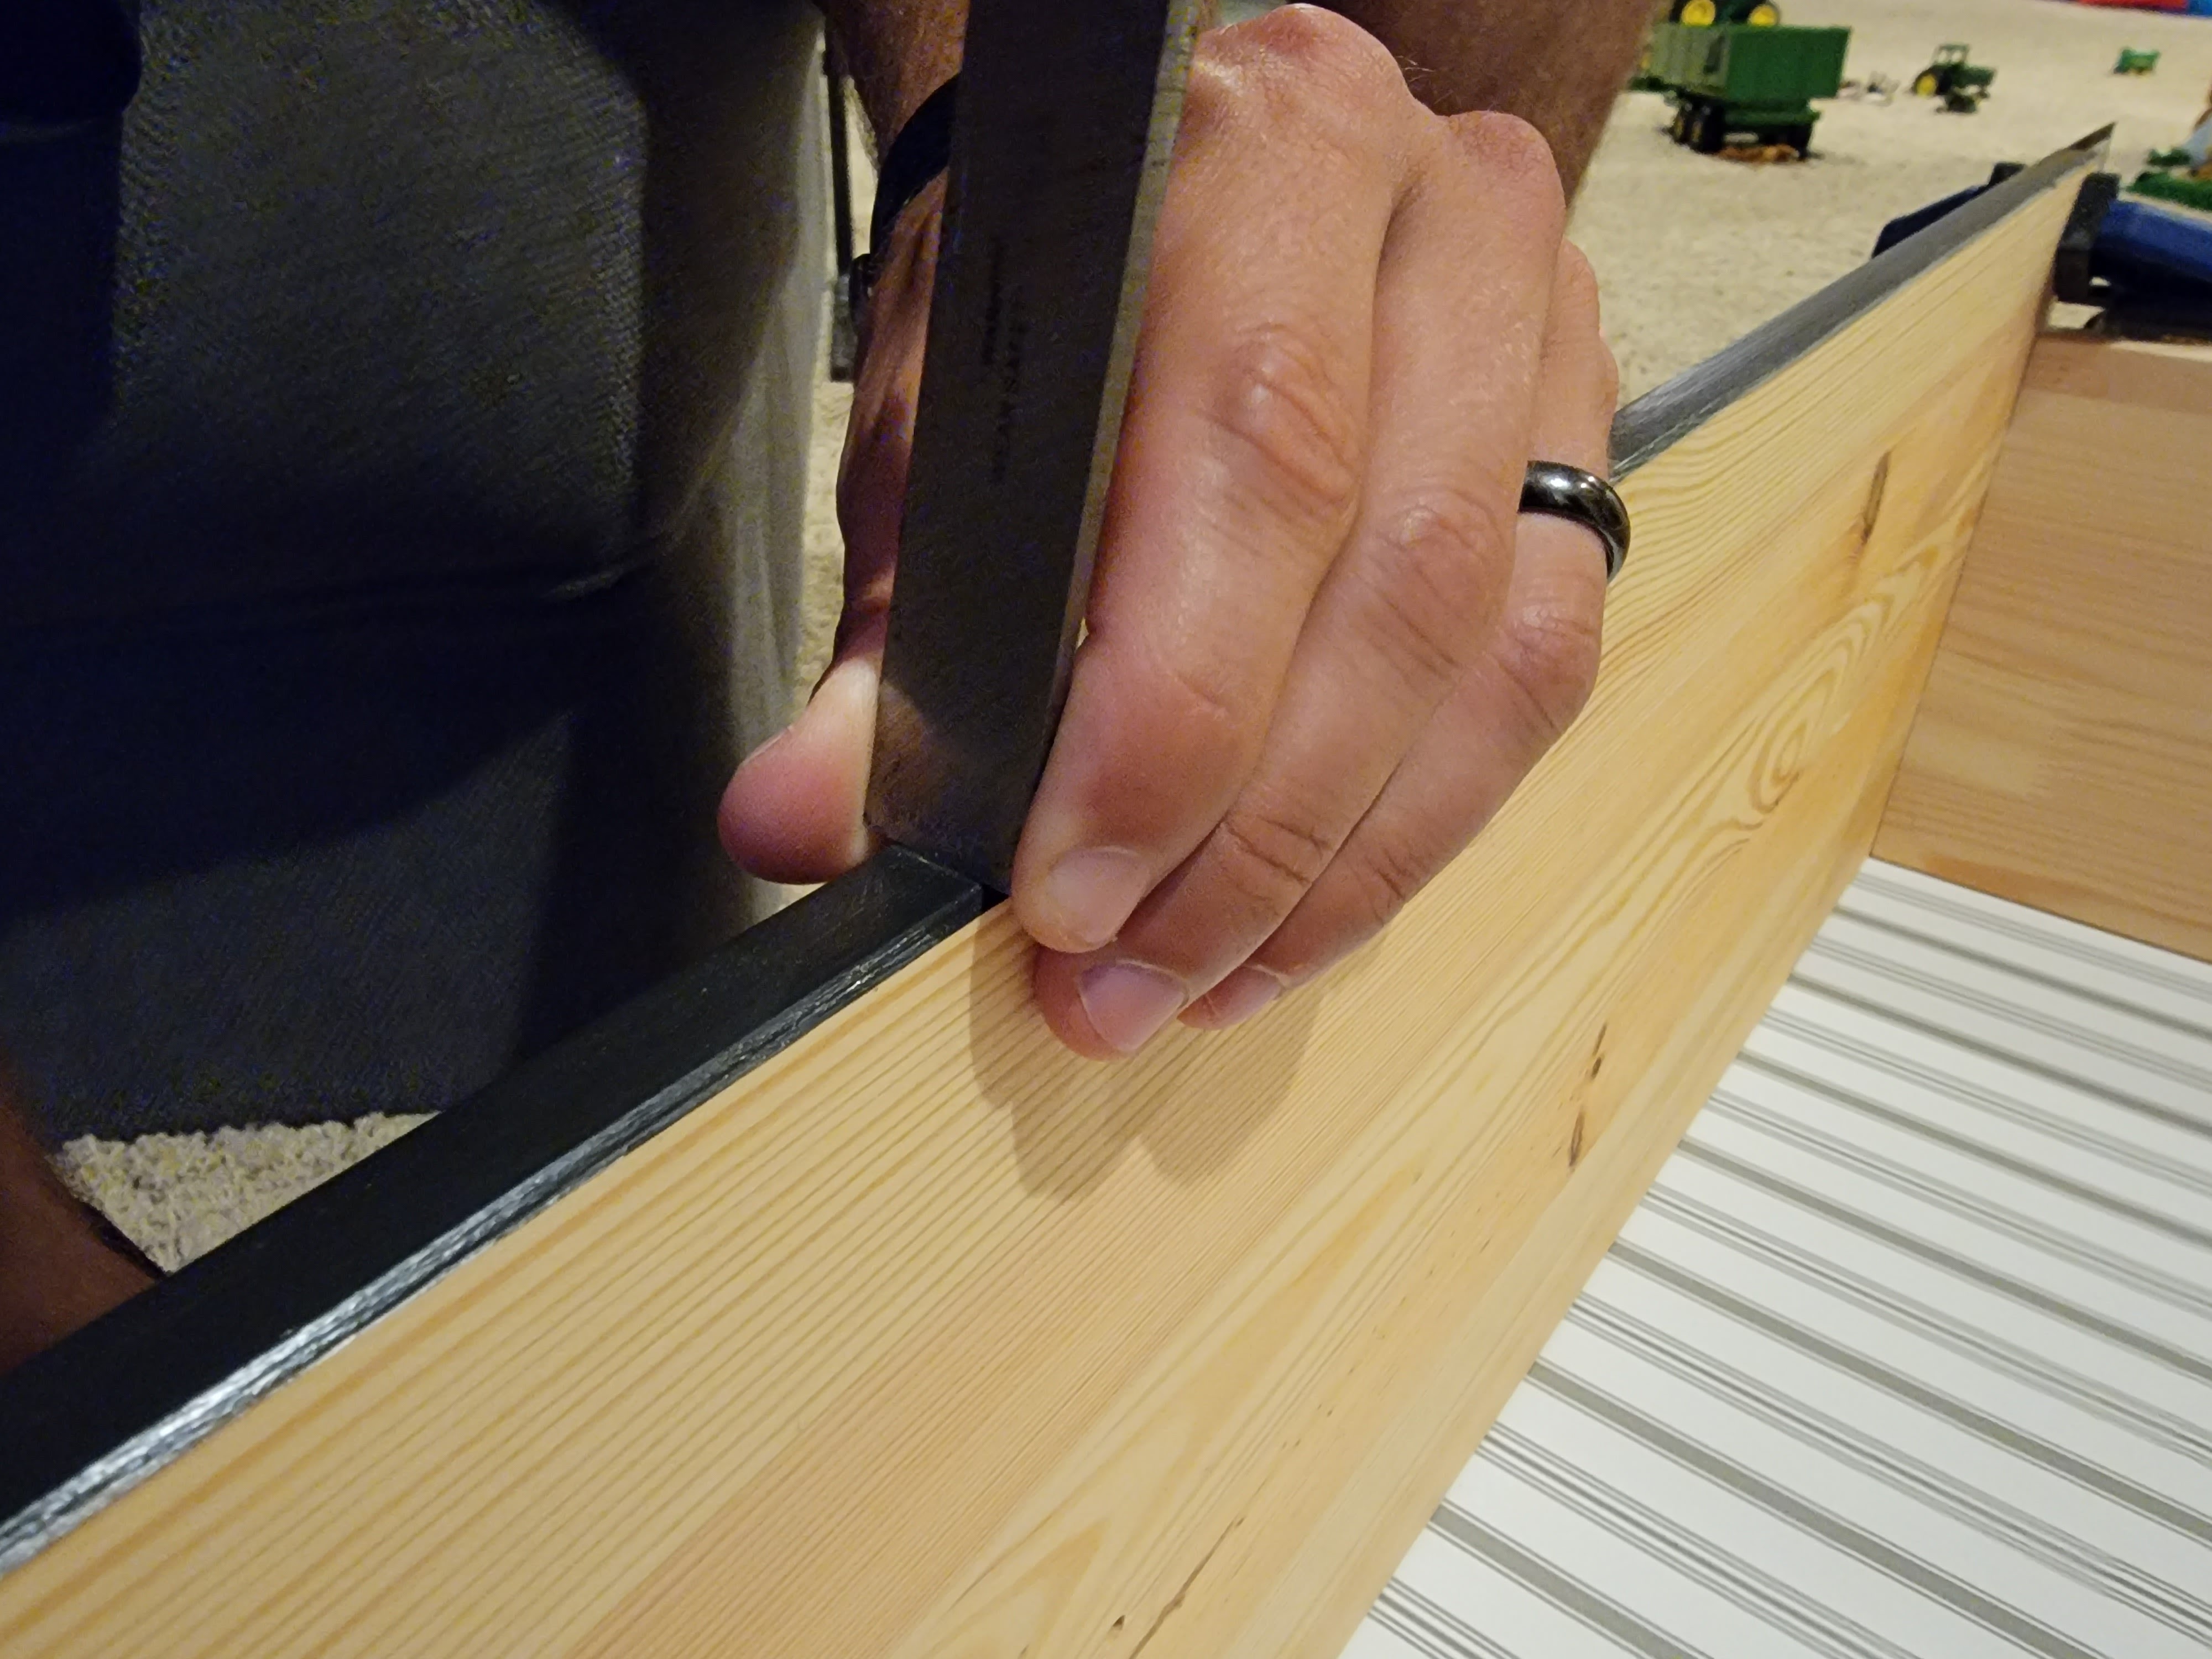
First, I measured exactly where I wanted each drawer pull to be (it ended up being just shy of 5 5/8″ from the end of each drawer front). Once I had the pull in place, I marked it on each side with a pencil.

Then Justin clamped down a straight edge to create a guide marking the bottom depth of where he wanted the notch to be. He took a hand saw and sawed over the lines I had marked until his saw hit the depth of the straight edge.

He then took a chisel and started chipping away in between the two saw lines.
By far, the chiseling took the longest! He had to try to be as precise as possible so that he wouldn’t chip away too much that the drawer pull wouldn’t cover it.


Once the notches were finished, I took over the rest of the process.
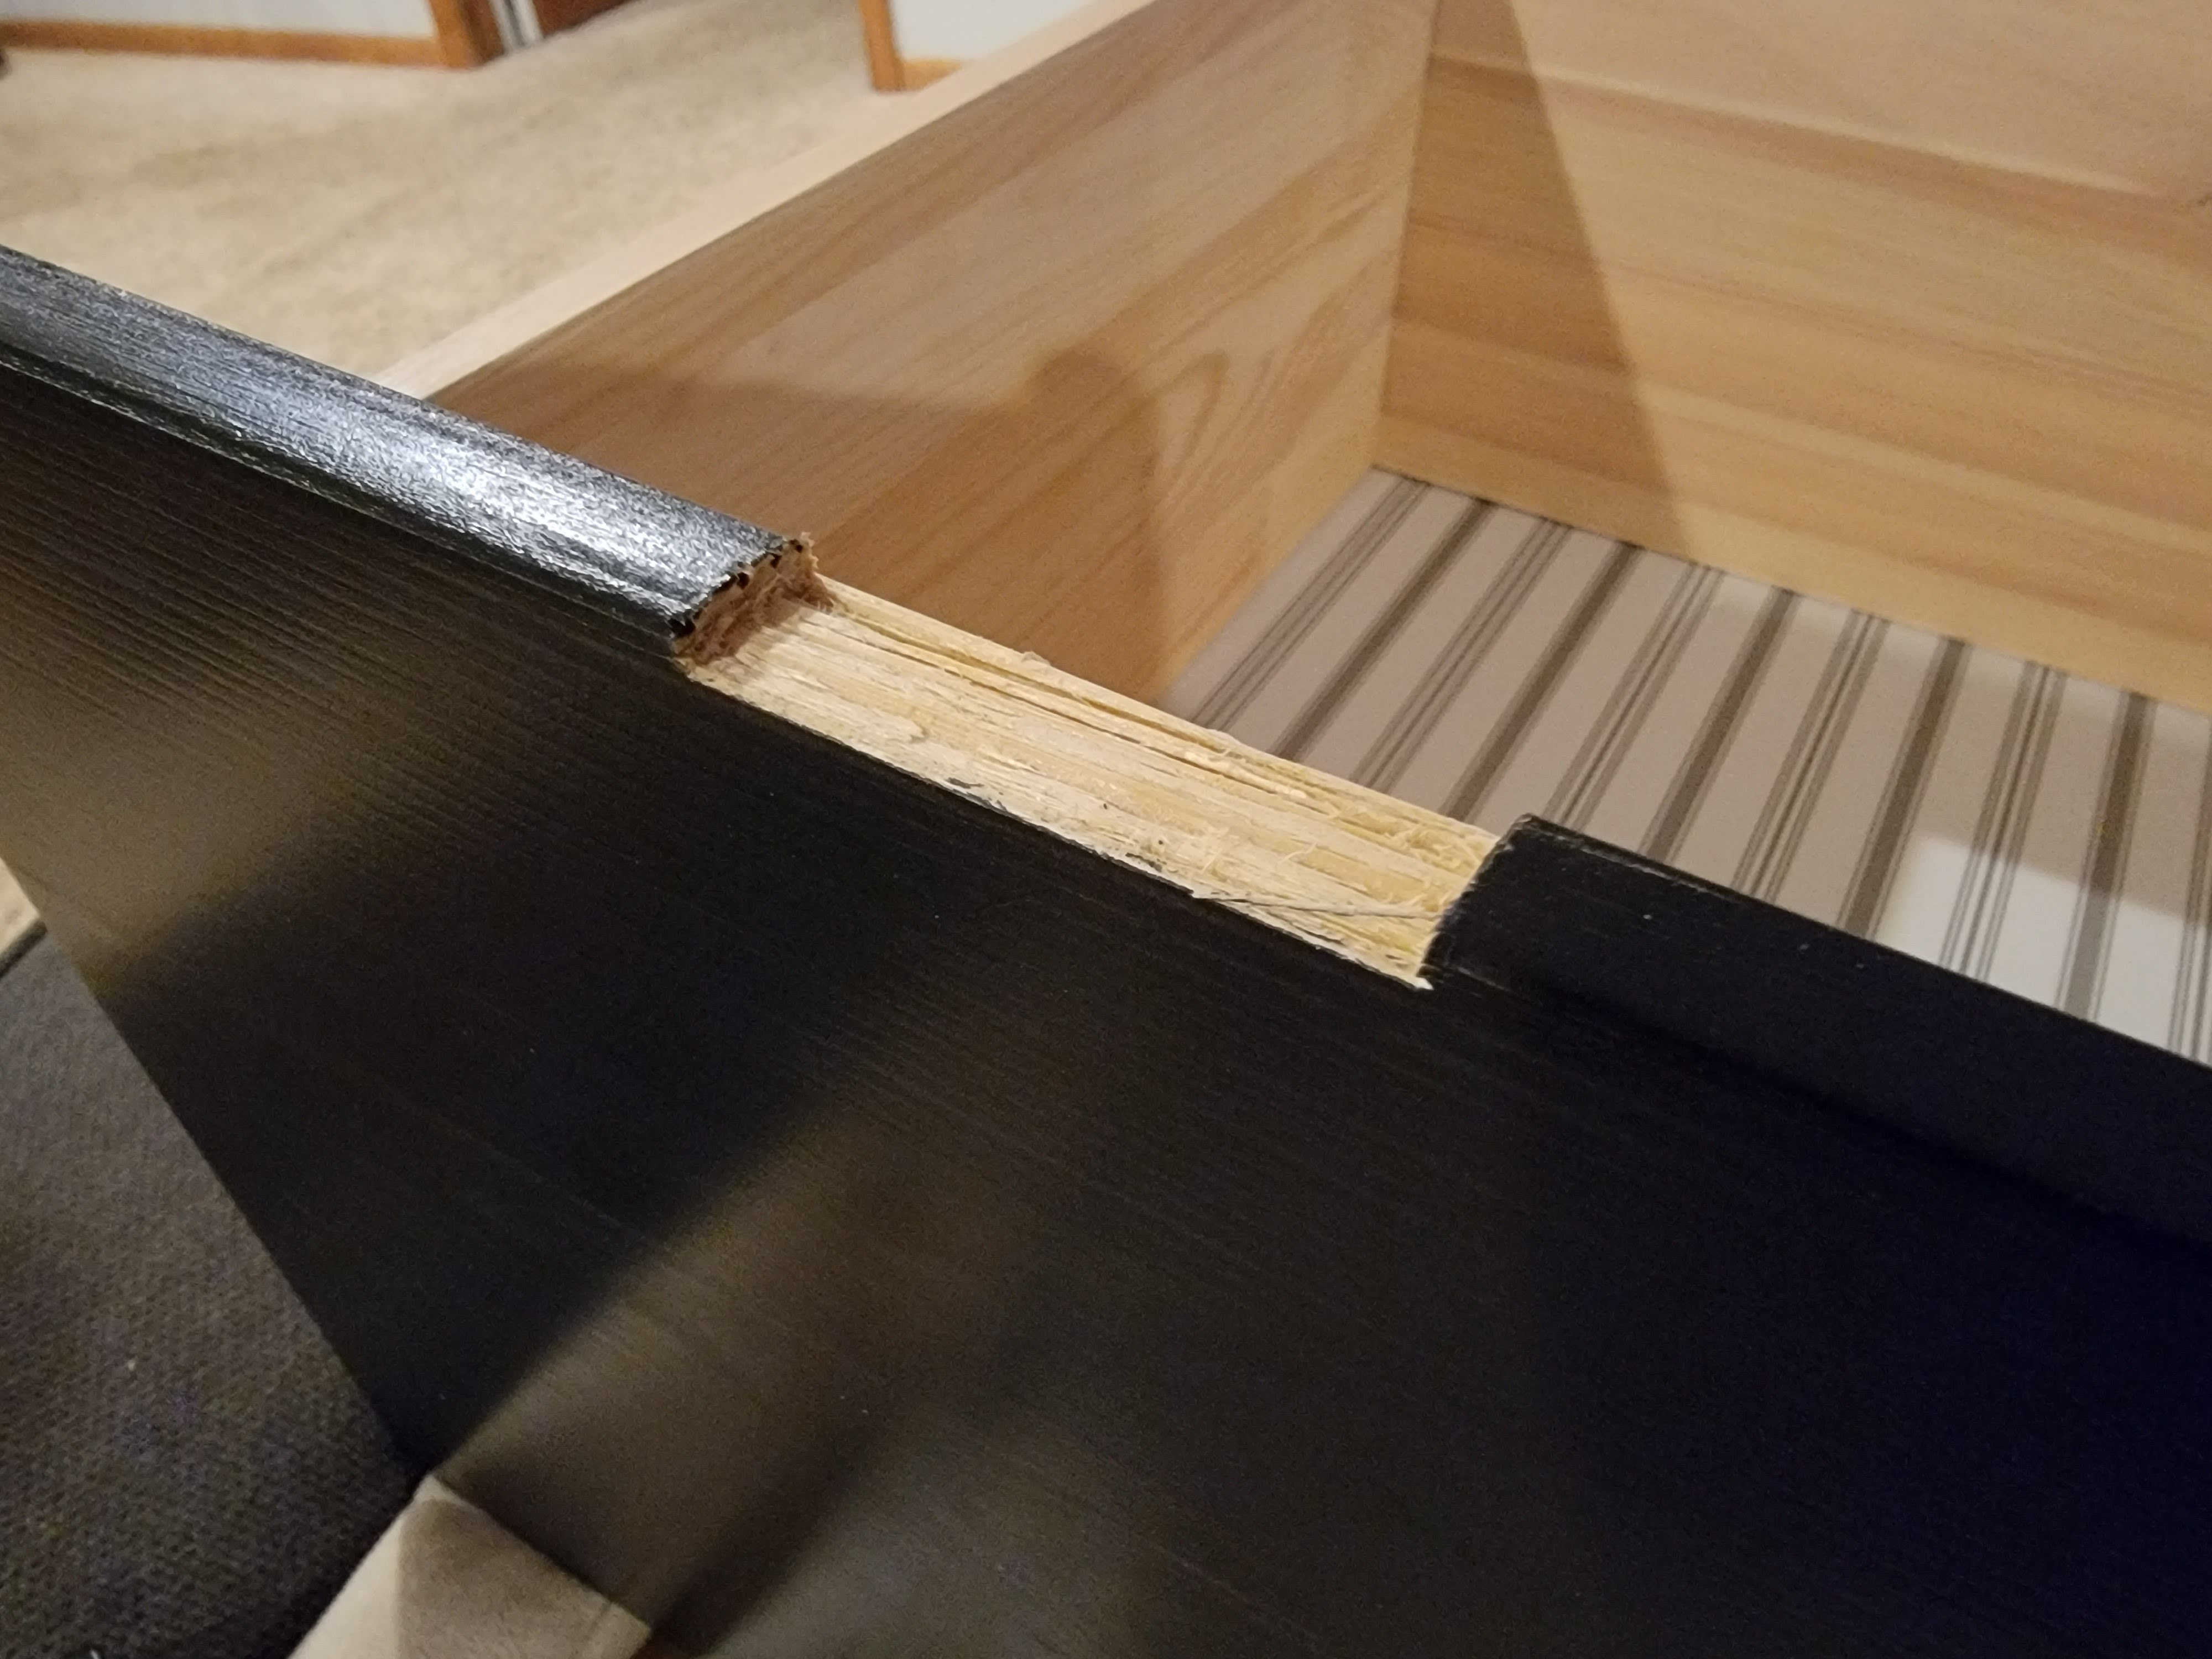
The notches often had the tiniest of chips on the edges, but I took a black permanent marker and colored them in and they became invisible! This would have actually been easier with a fine-tip marker, but I worked with what I had.

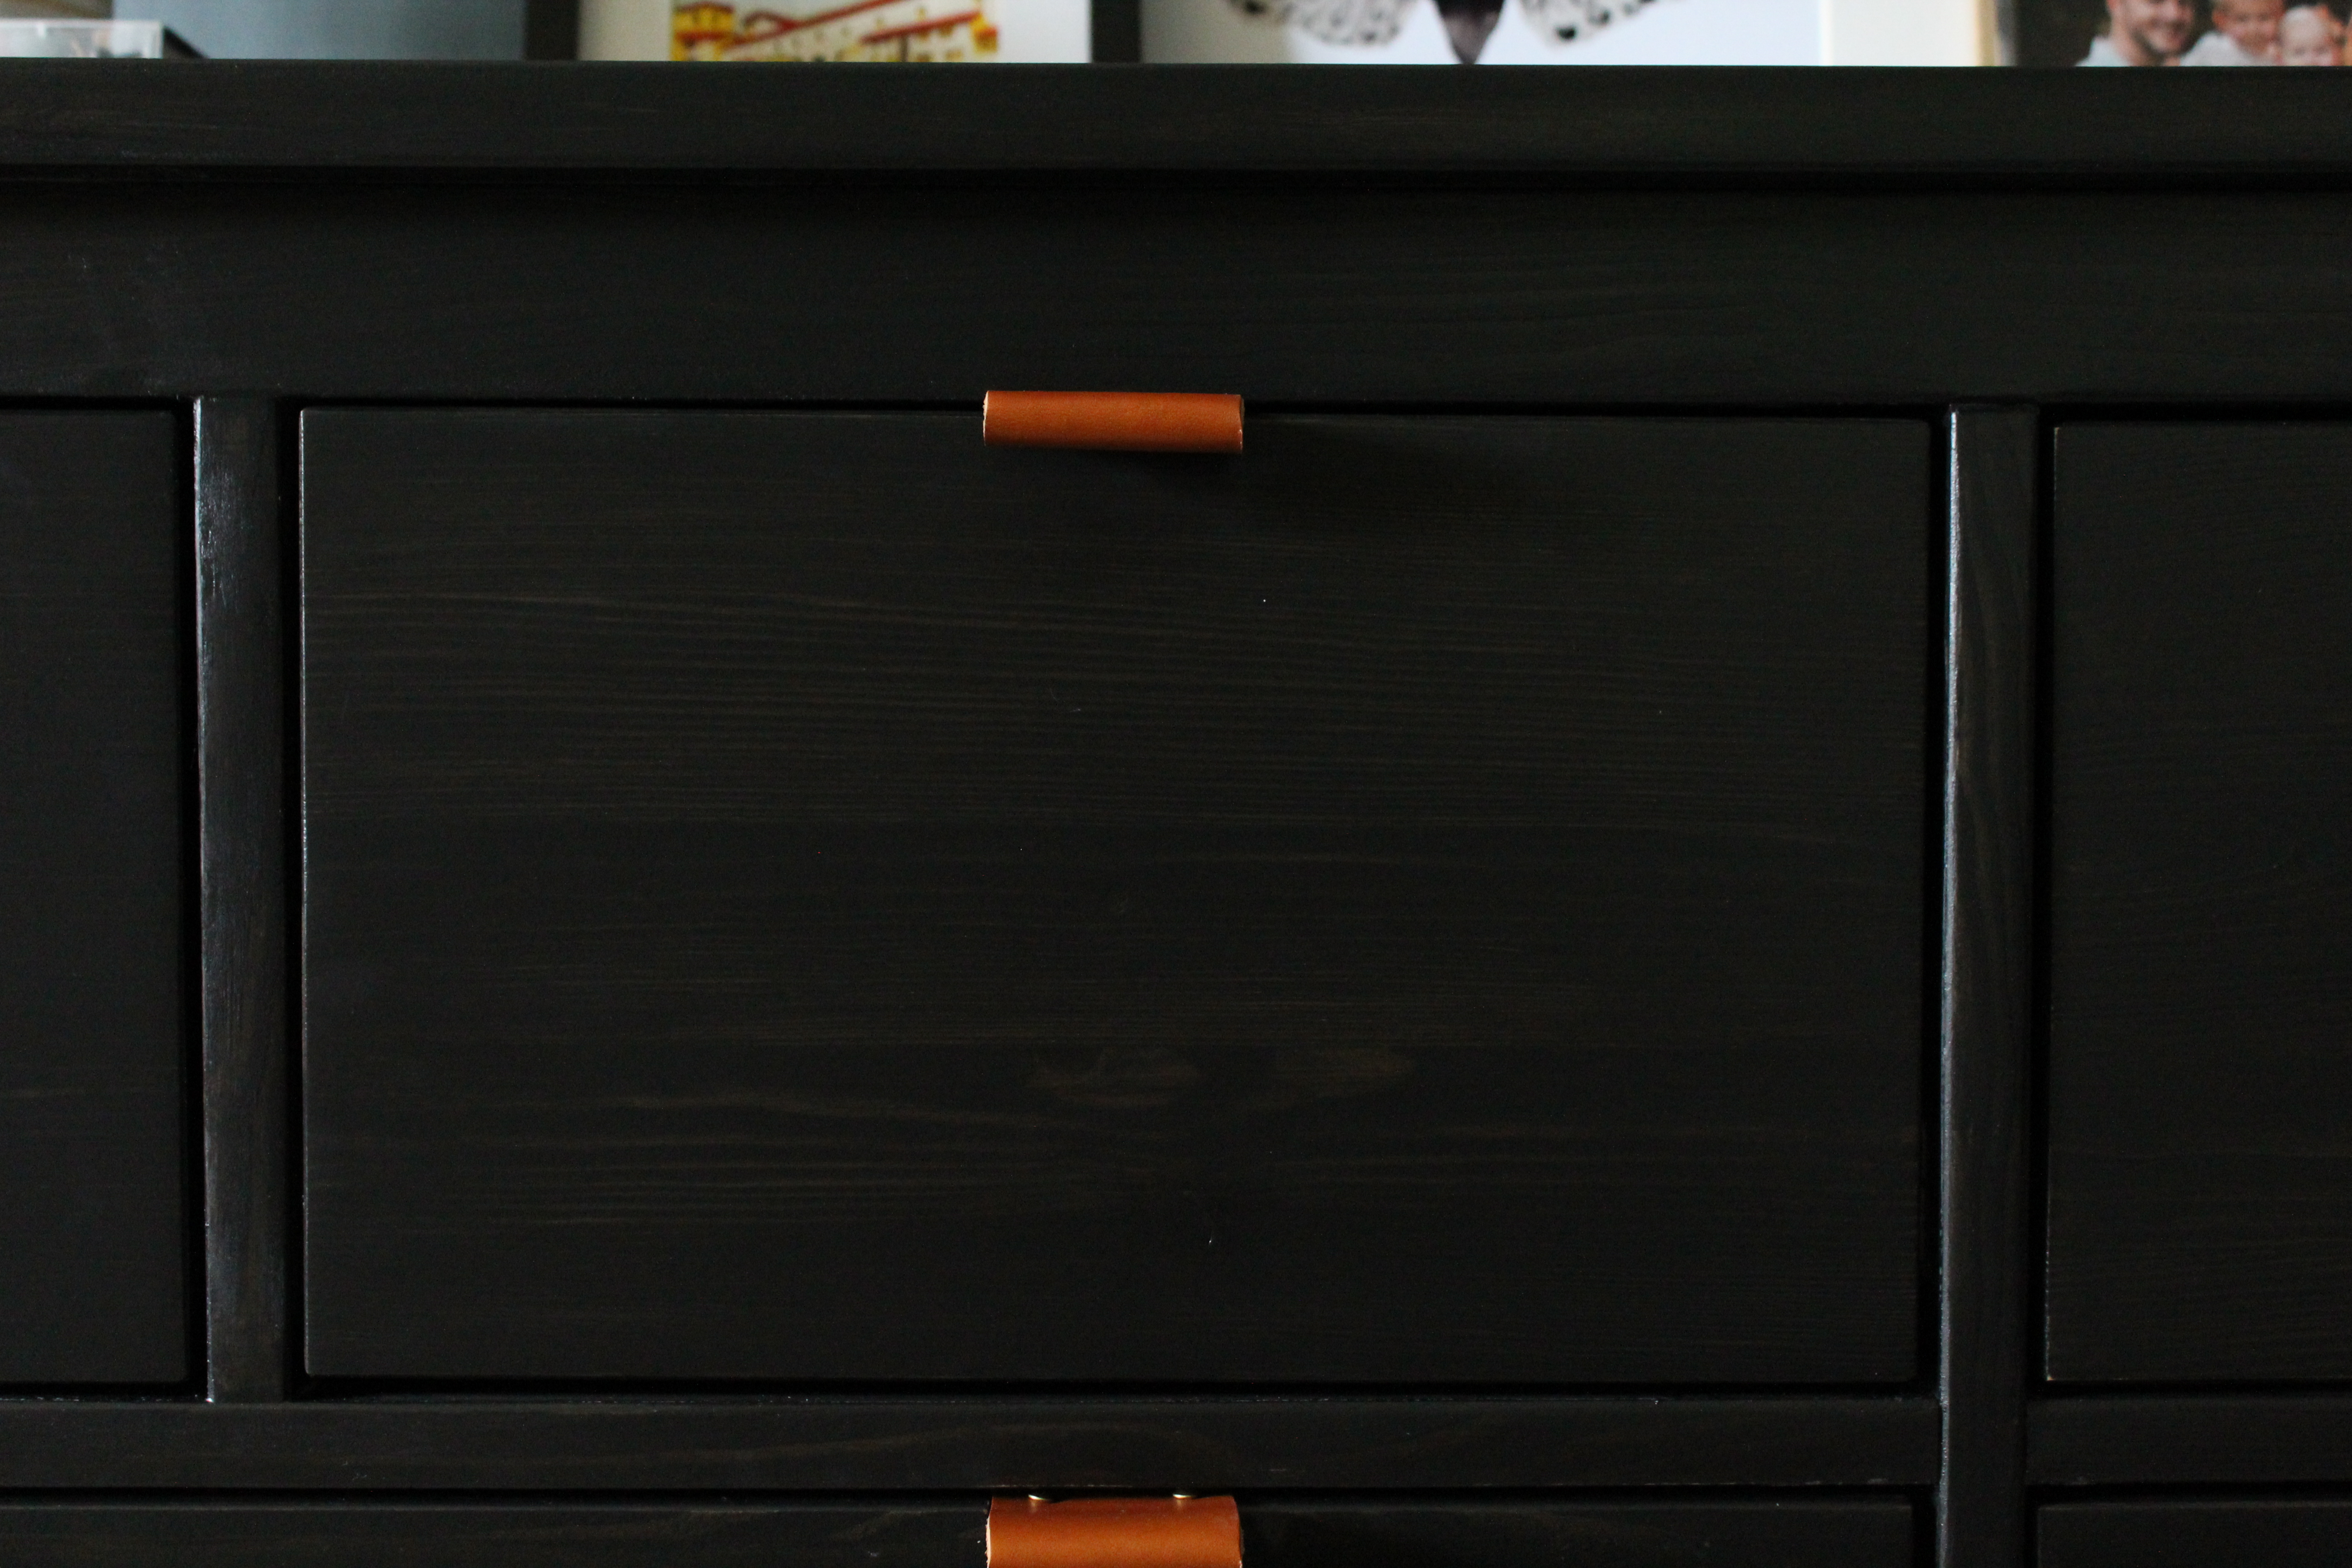
Once the edges were colored in, I set the drawer pull inside and hammered it in using the brass nails that came with the pulls.

Repeat twelve times and you have yourself a fully functional dresser! I am really happy with how these drawer pulls turned out. It looks like they were always meant to be inset like that!

I knew I loved it before, but once everything was in place in our bedroom, I couldn’t even contain my excitement. It is PERFECT for the space and I love that we spent the extra time and effort to really make it shine.


I still plan to create a large gallery wall above the dresser and I’ve been slowly gathering things to include – I think that will be the perfect finishing touch to this part of our bedroom!

Dresser Budget Breakdown
Ikea Hemnes Dresser: $298.53
Black Stain: $13.32
Polyurethane: $17.09
Synthetic Bristle Brush: $7.60
Leather Drawer Pulls: $101.61
Total Cost: $438.15 – much much better than my inspiration dresser’s $1800!!

Nice!
Sent from my iPhone
>