
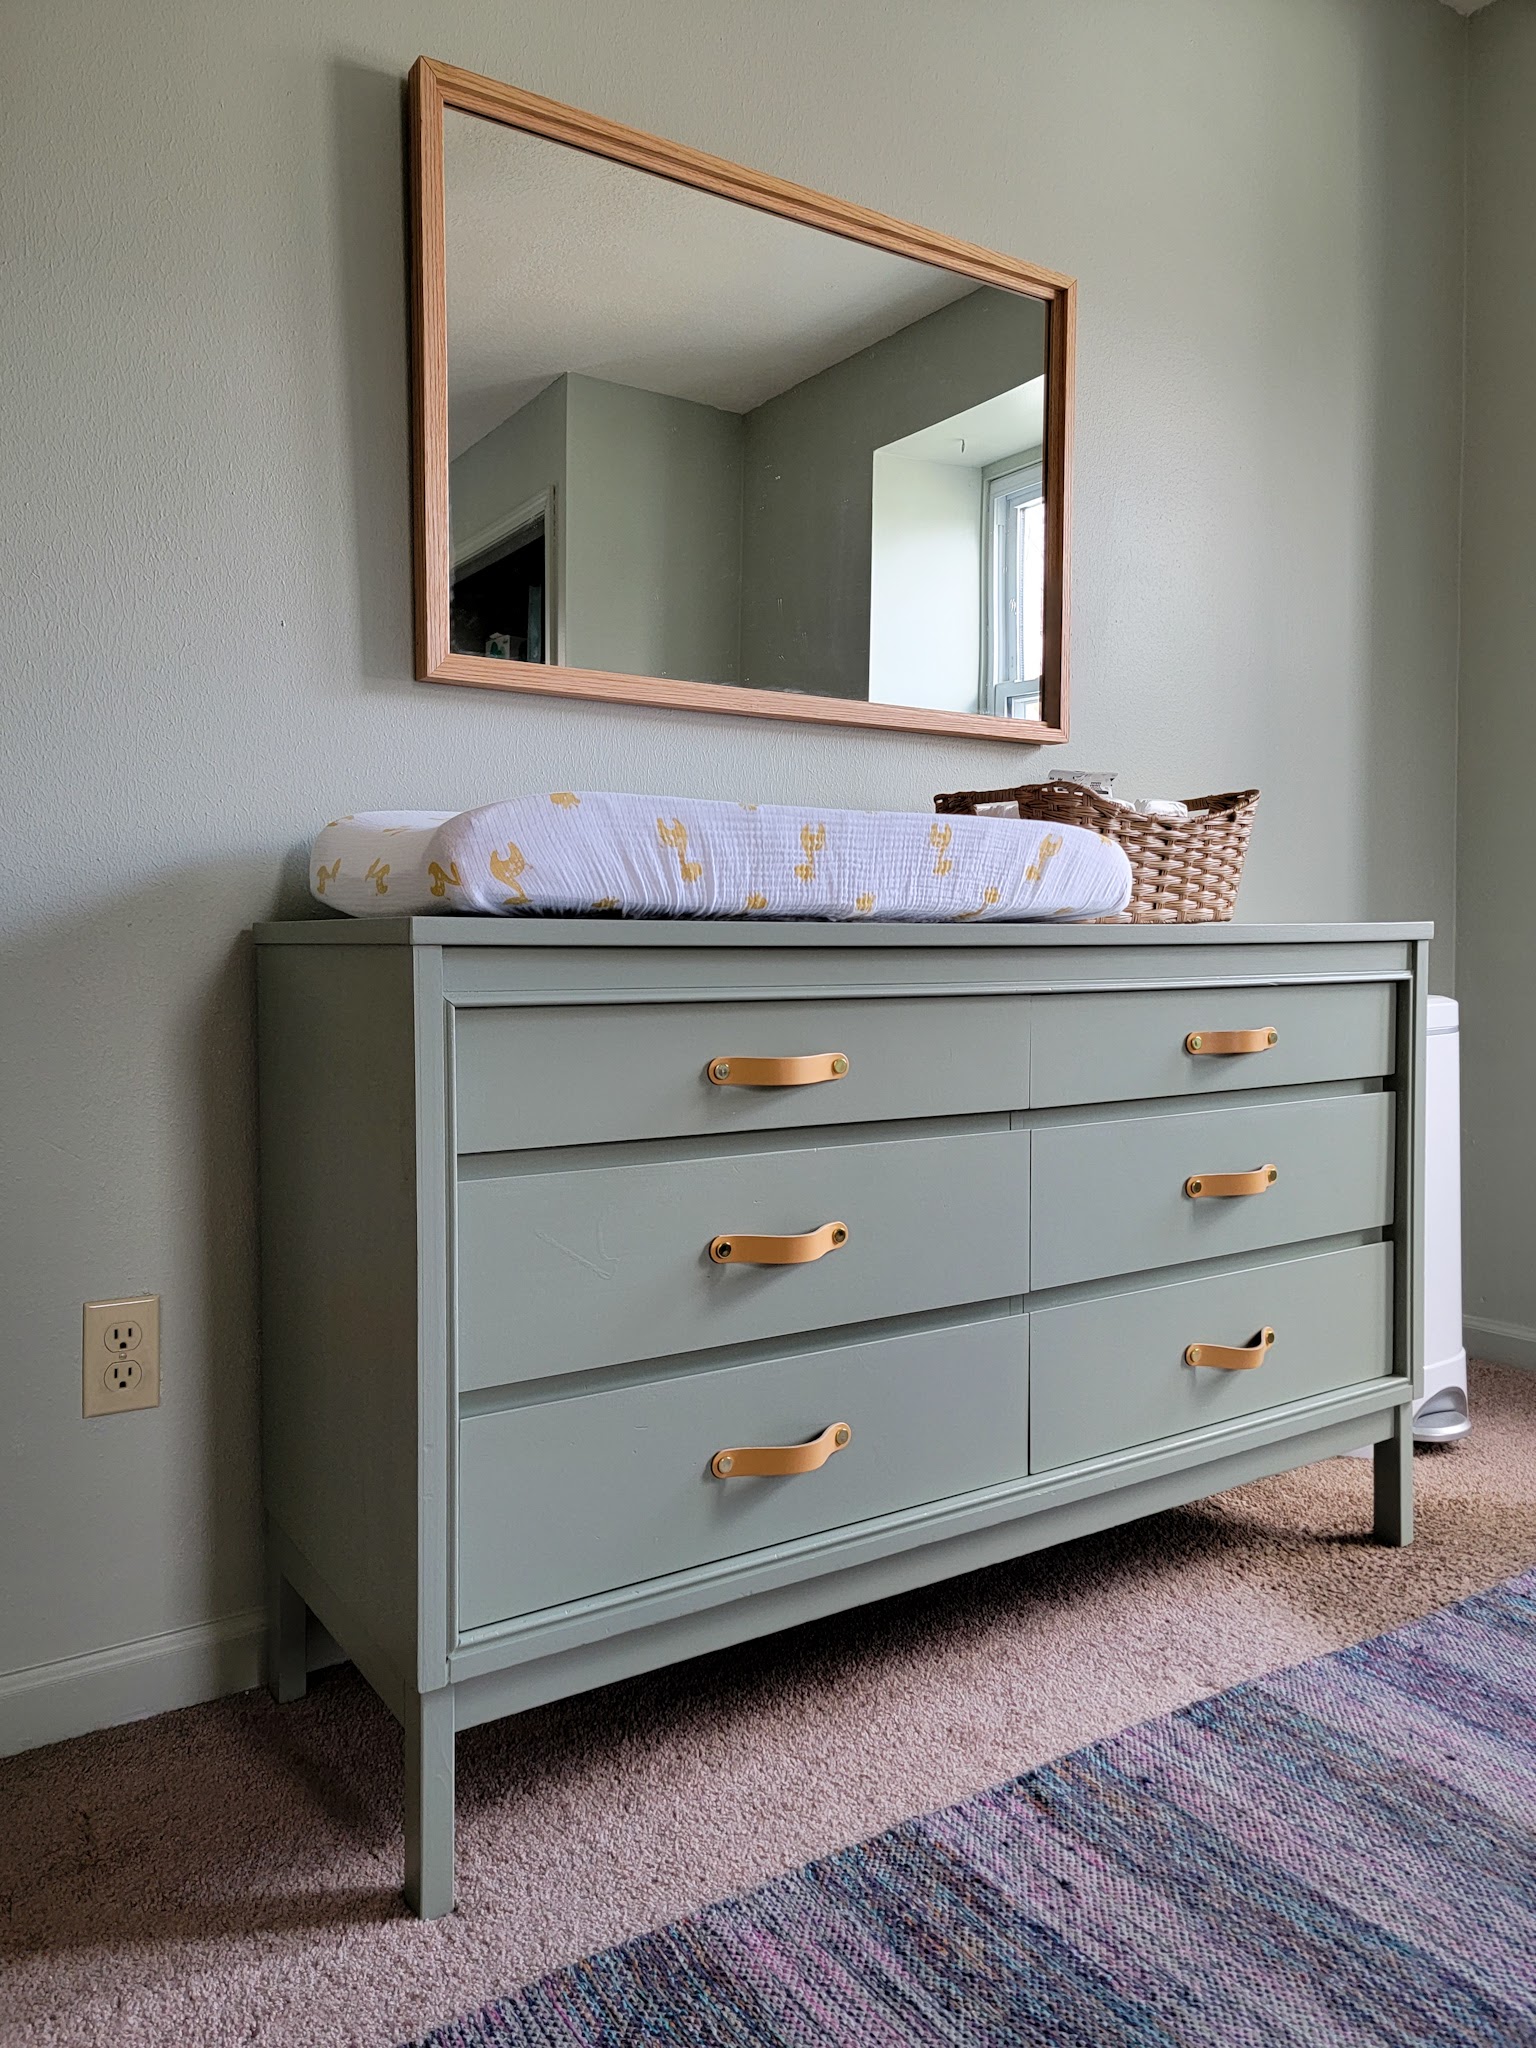
A couple weeks ago, I shared the $20 goodwill dresser that I fixed up for my sister’s baby’s nursery. While I am so proud of that DIY transformation, I’m equally proud of another DIY transformation: the mirror that hangs above it!

Way back in 2019 when we renovated our guest bathroom, we took out the 2′ x 3′ frameless builder-grade mirror the previous owners had hanging. (Also, enjoy this little flashback of the deer-themed wallpaper!)

I originally tried to donate it to our local ReStore, but they don’t accept frameless glass for safety reasons so it’s just been sitting in our garage ever since. Once I saw Tiffany’s awesome upgrade to her mirror, inspiration immediately struck and I knew it would be the perfect surprise to gift my sister along with her nursery dresser.
This ended up being a fairly simple DIY project, so I wrote up a tutorial for anyone who wants to give this a try. We added a few extra things from Tiffany’s original inspiration video and that’s one of the great things about creating a frame from scratch – it allows you to customize to fit your exact needs!
Materials
-Sheet of 1/2″ thick plywood
-1″ x 2″ boards
-1/4″ x 3/4″ trim (optional; only needed if you’re doing the inner piece of trim)
–heavy duty liquid nails adhesive
-clamps; various sizes
-nail gun + 1 1/2″ inch nails
-circular saw
-miter saw
-long level (optional)
-table saw (optional; only needed if you’re doing the inner piece of trim)
–gorilla glue (optional; only needed if you’re doing the inner piece of trim)
-foam brush
-paint or stain
–picture hanging kit (if hanging the mirror)
Step One: Trace the mirror onto plywood
We laid the mirror on top of the sheet of plywood, lining up two sides with the edges of the plywood, and traced the outline of the other two sides with a pencil.

Step Two: Cut the plywood on the traced lines
I used a circular saw to cut on the lines we marked.

Optional Step: For an extra precise straight cut, we clamped a long level to the plywood to use as a guide. This did require careful checking and re-checking before starting the cut to make sure that the placement of the level would correctly align the blade of the saw with the line we had traced, but it was worth the effort. I held the saw in place against the level while running the saw and it ensured that the cut was perfectly straight all the way across.
Step Three: Attach the mirror to the plywood
Once the plywood was cut to the same size as the mirror, I used the caulk gun to apply the heavy duty liquid nails adhesive all over one side of the plywood.
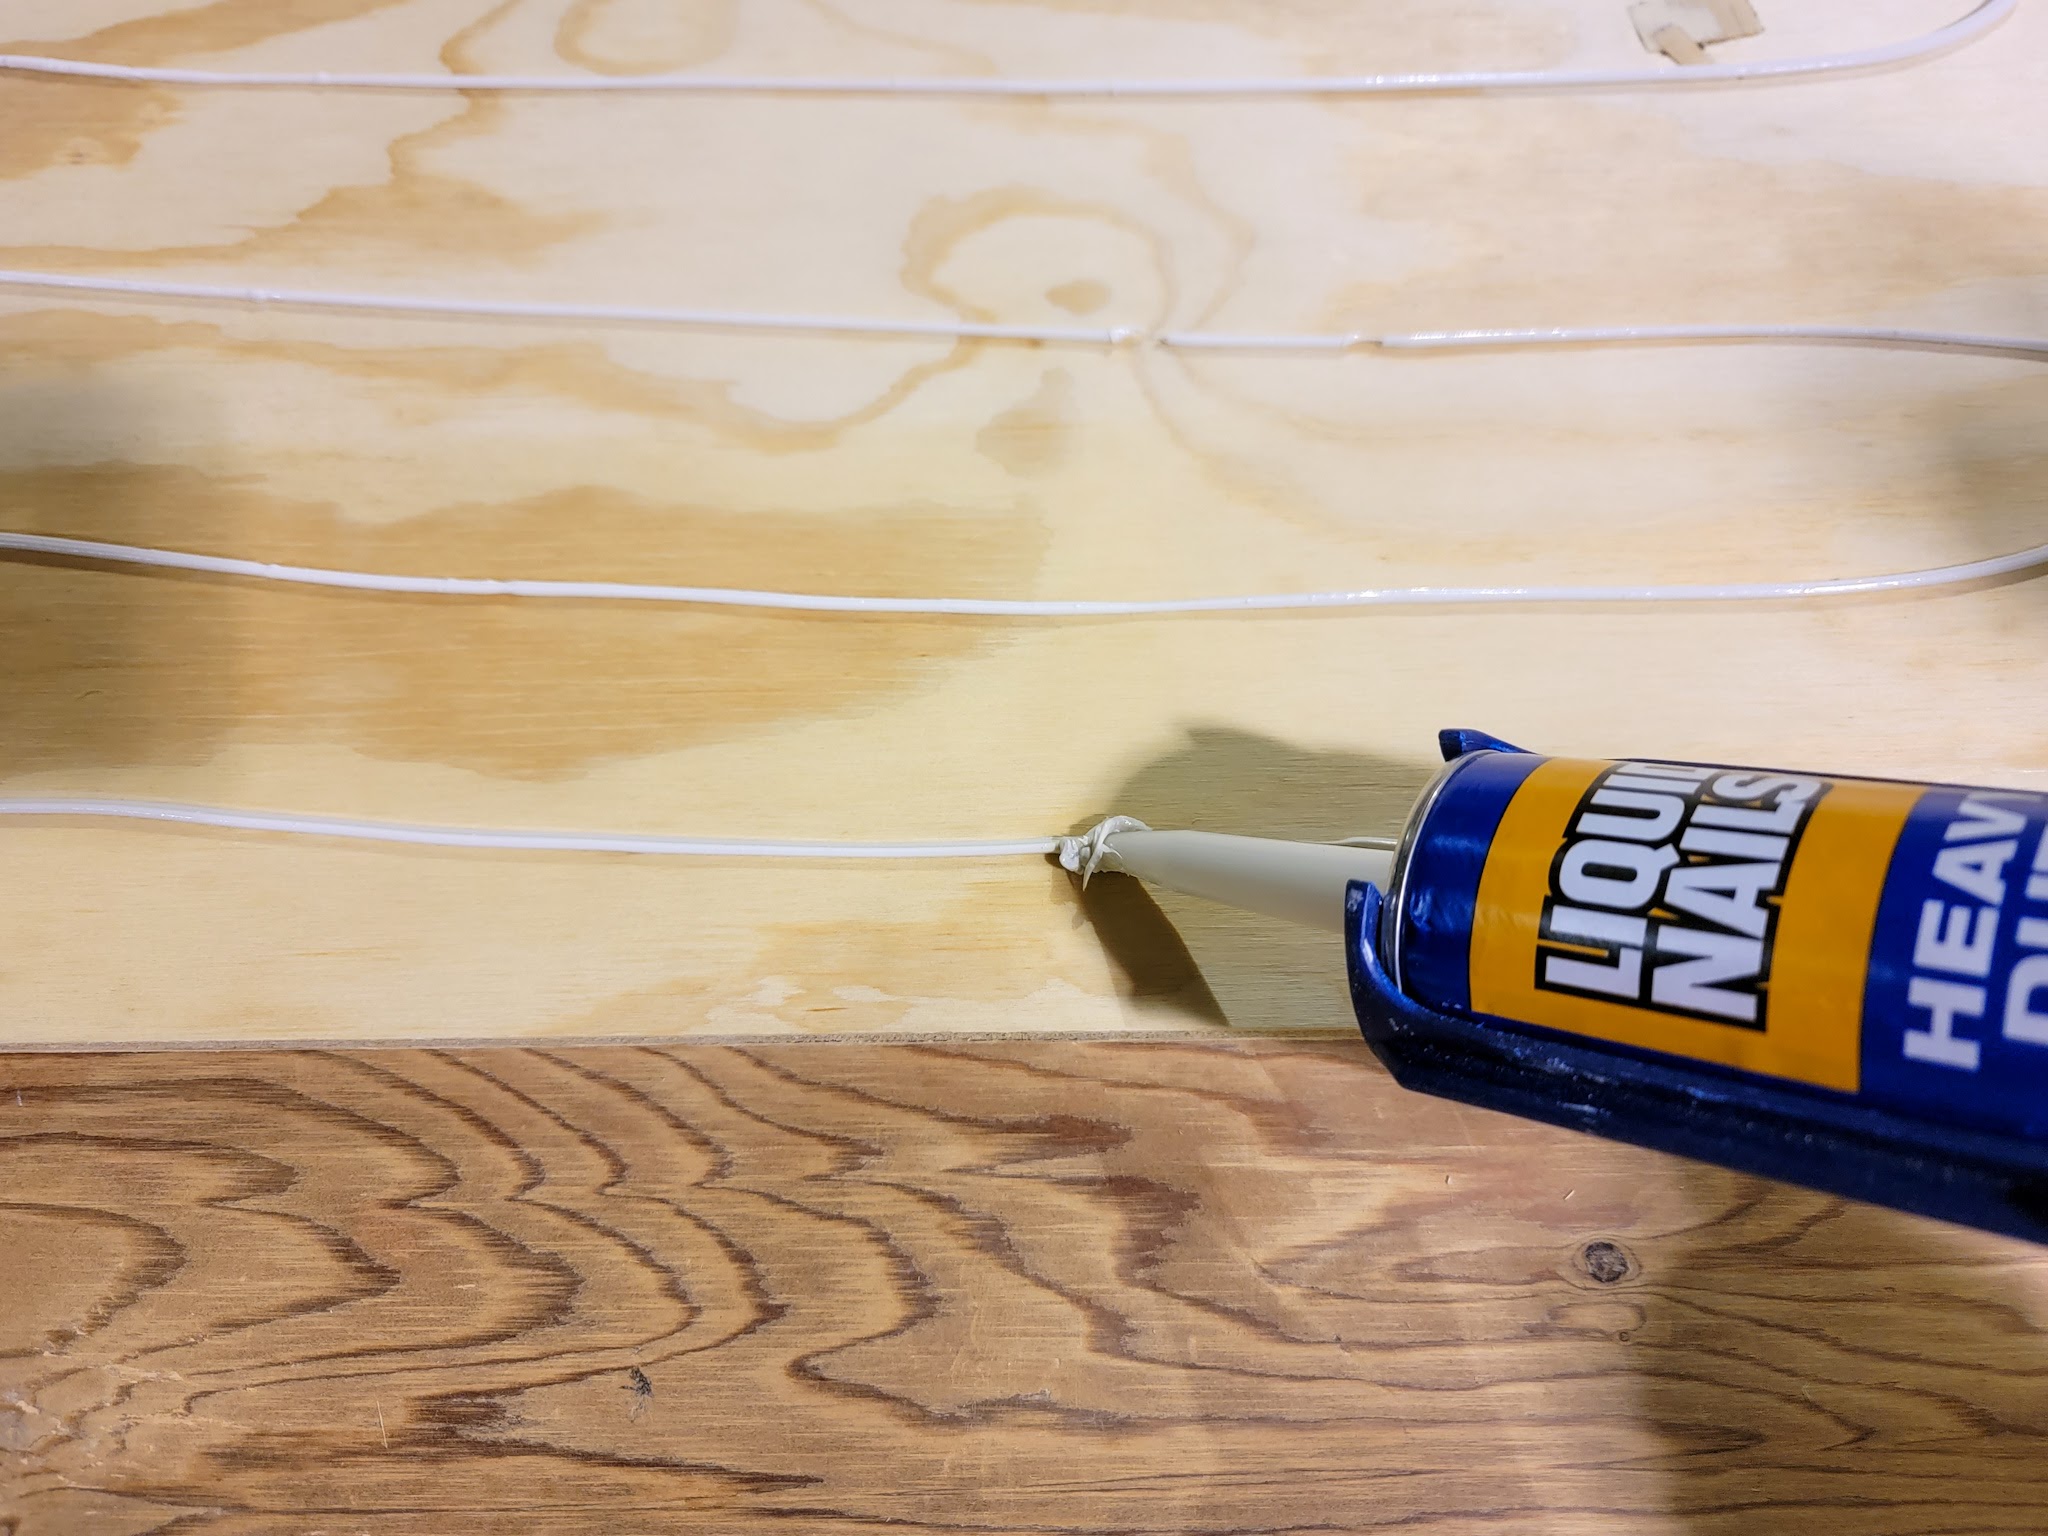
We set the mirror down on top of the glue and made sure all the edges were lined up with the plywood.
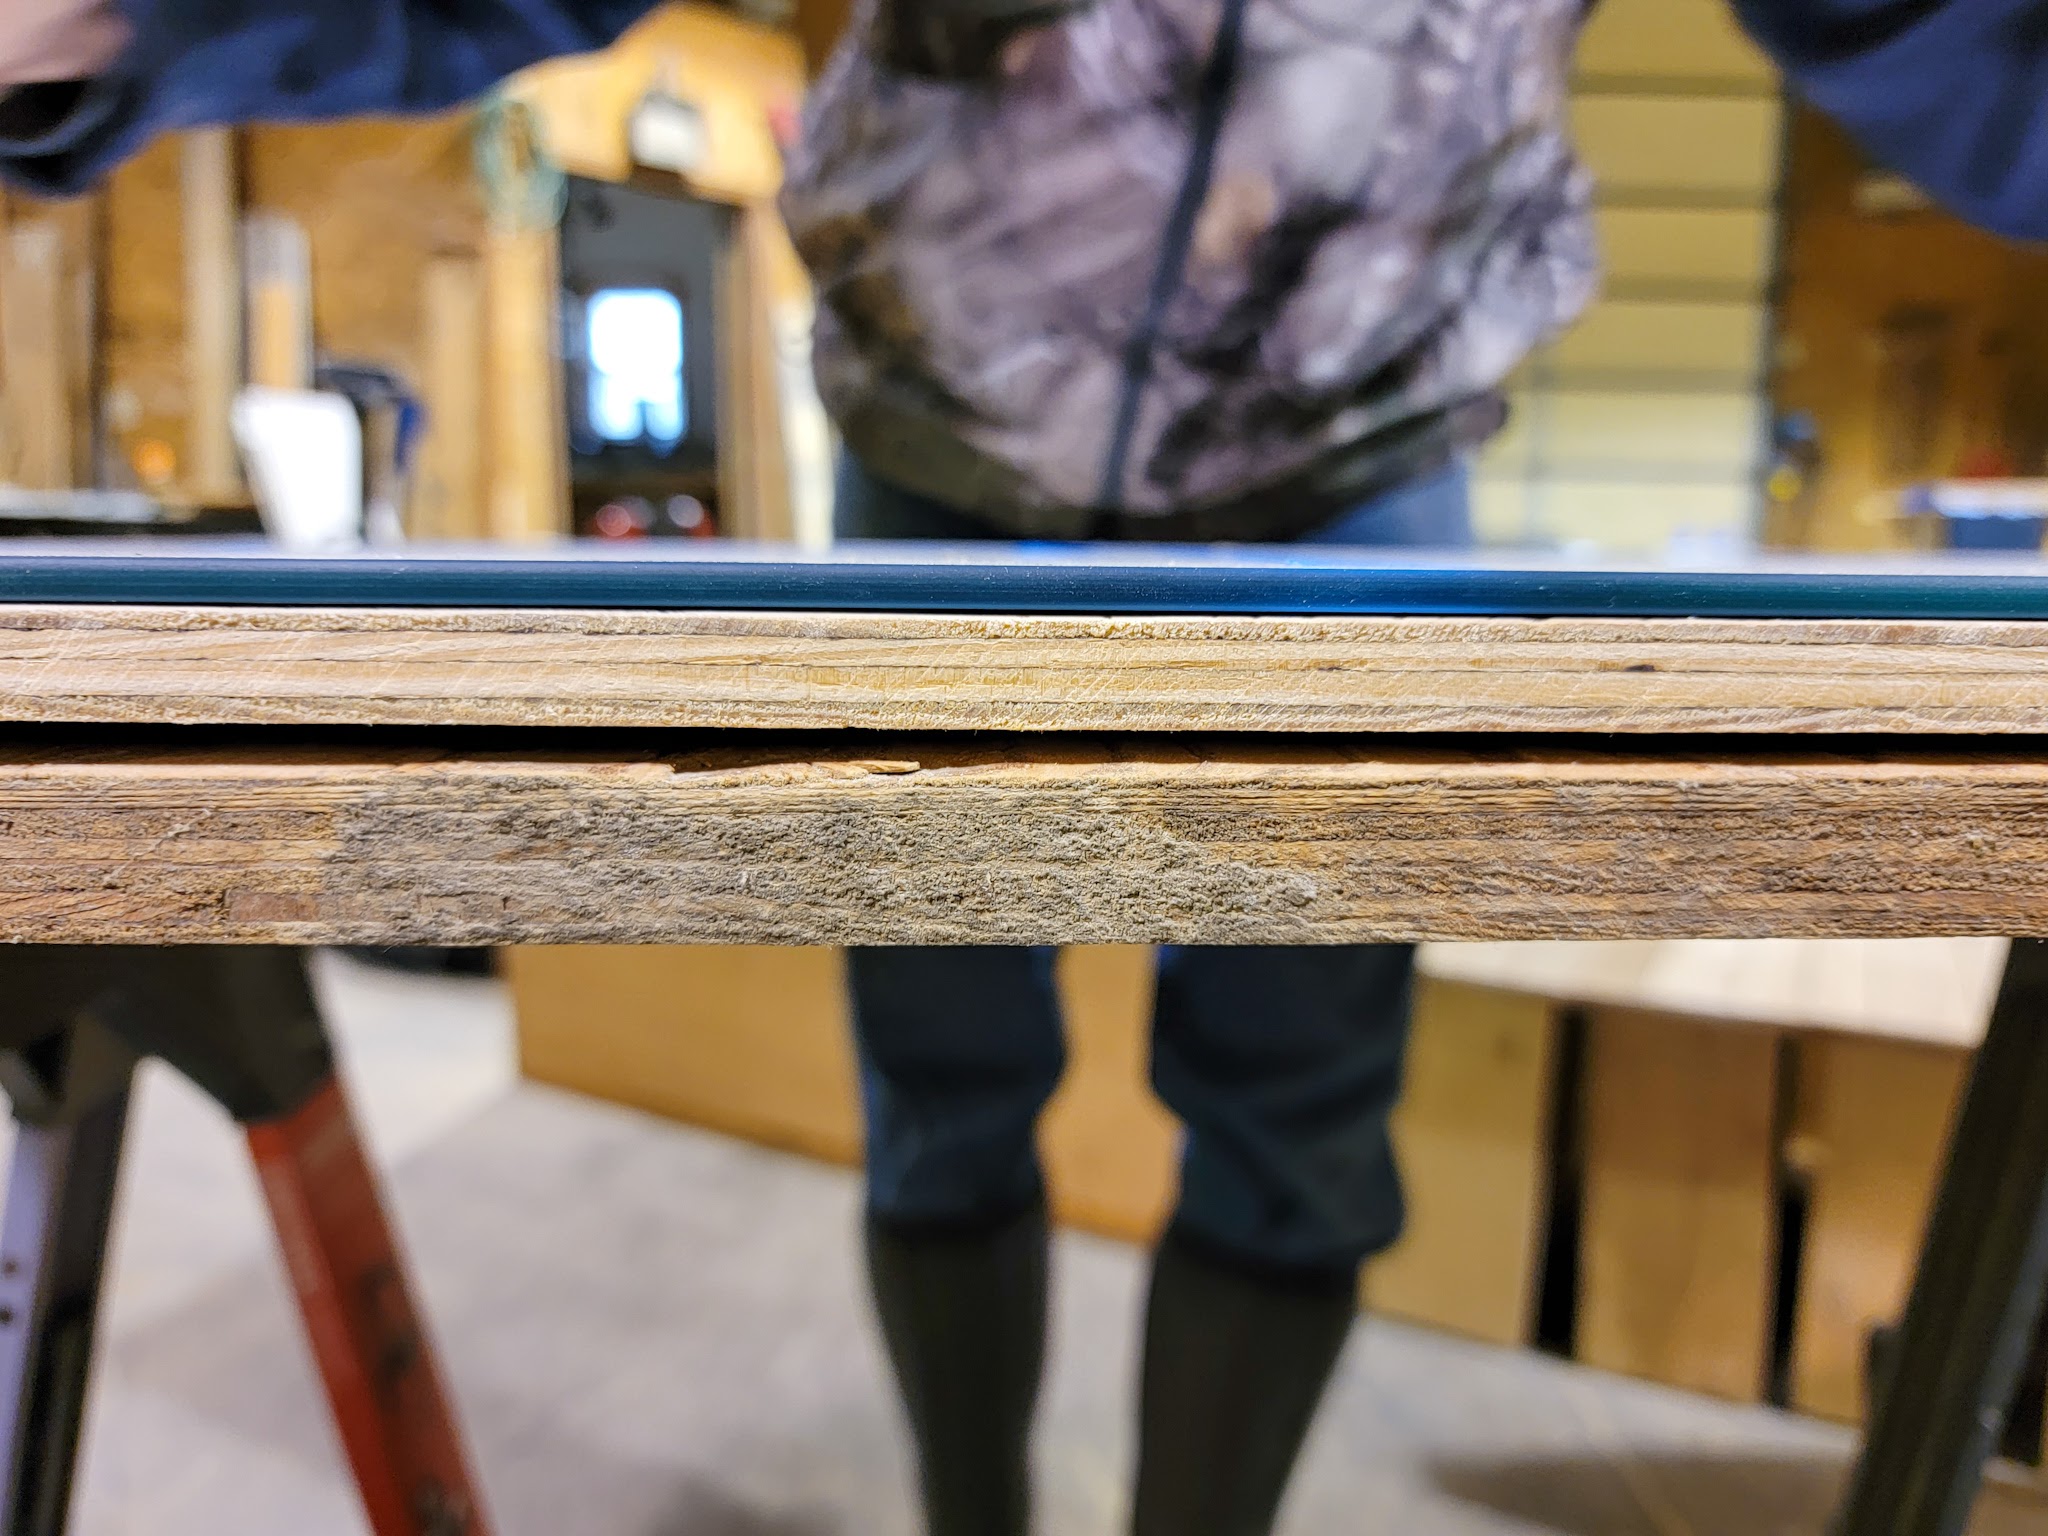
Our plywood was old and slightly warped, so we used some scrap wood and clamps to tightly seal the mirror to the plywood and let it set overnight.

Step Four: Cut the wood for the frame
Once the mirror was fastened to the plywood, Justin used the miter saw to cut the 1″ x 2″ boards to size for each side of the frame. We considered two options for fit: straight cut corners or 45 degree corners.
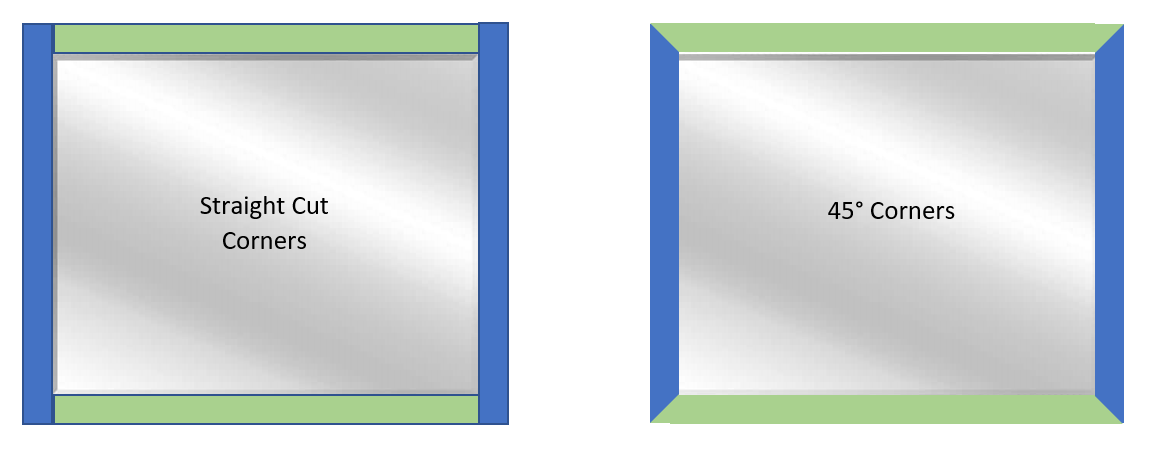
We chose to cut each corner at a 45 degree angle rather than straight cuts. It did require a little extra thinking through and measuring before cutting, but again, it was worth for us to get the look we wanted.

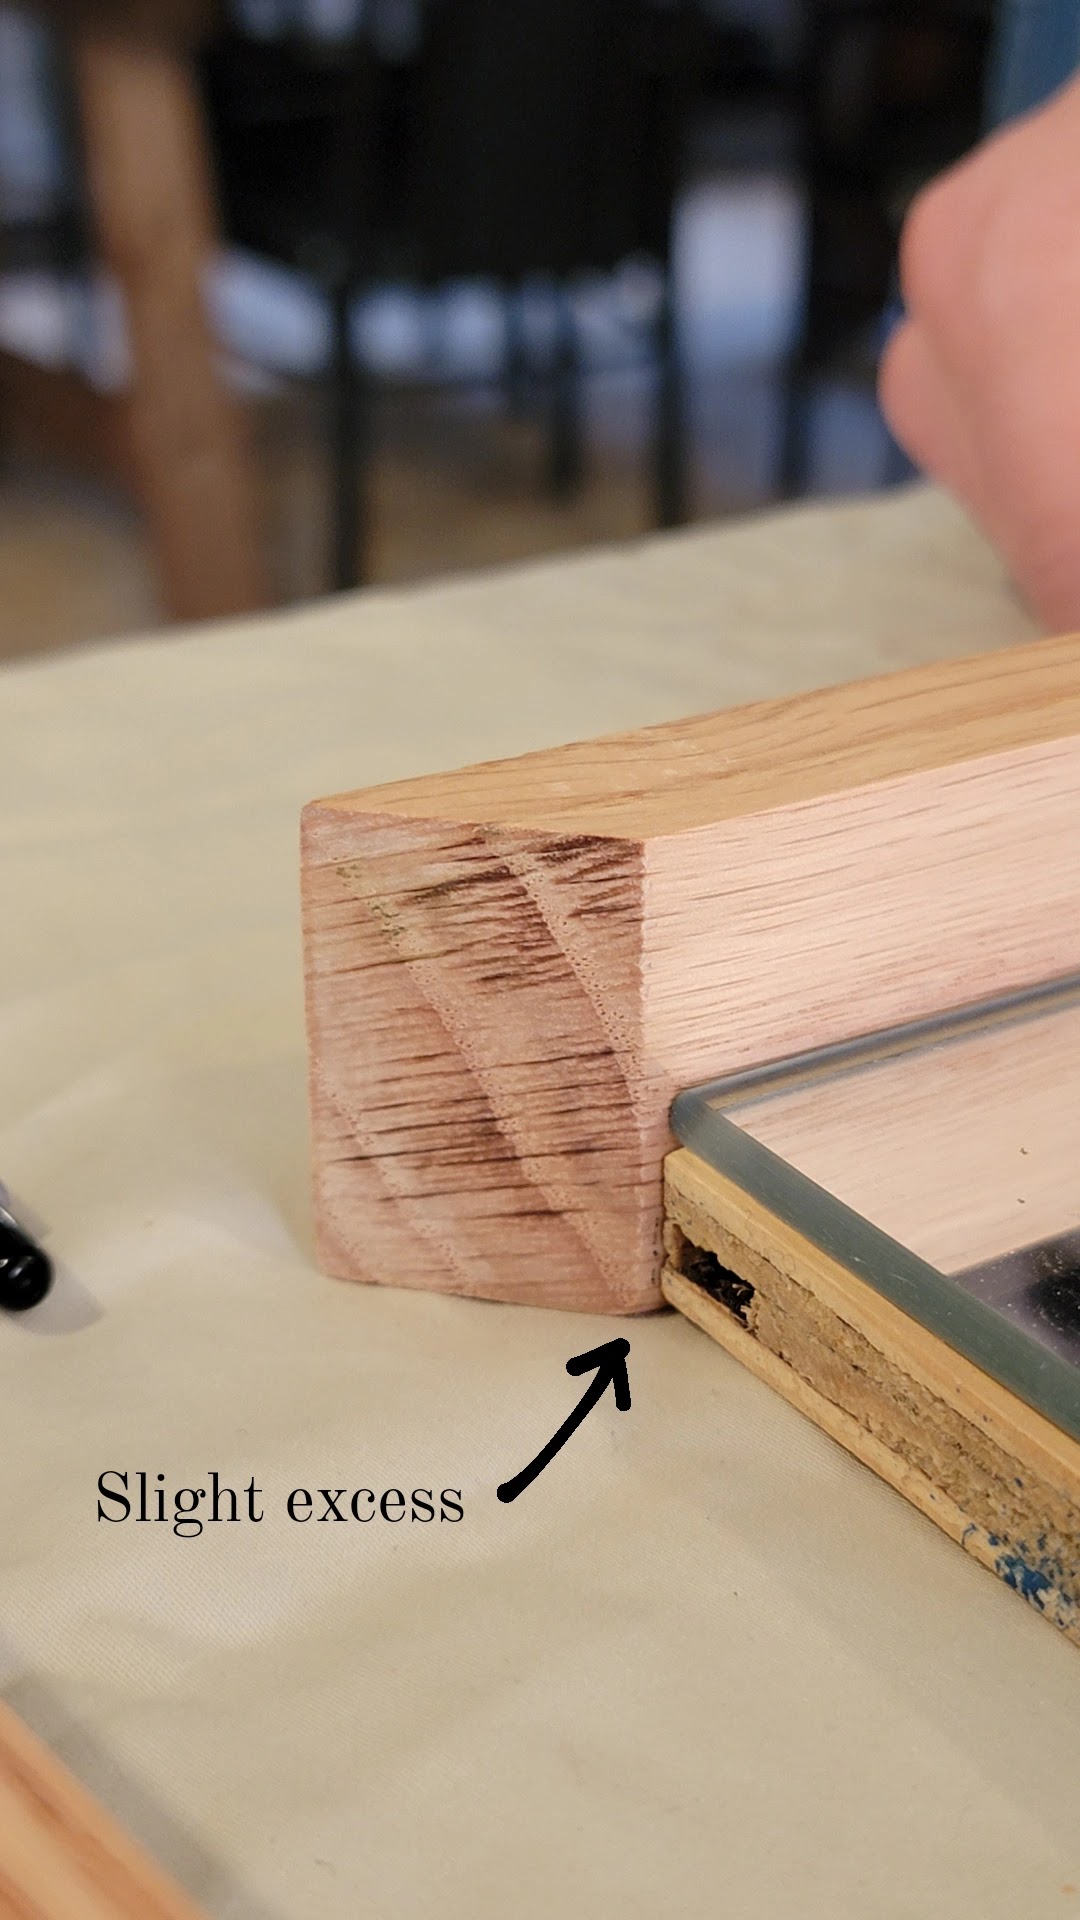
It was very important to make sure the corner of the each cut was exactly lined up with the corner of the plywood. If it was a little too long, there would be a gap between the wood and the mirror. If it was a little too short, there would be a gap where the frame corners didn’t quite meet. In the picture below, the wood was cut a little too long – see how there is a small overhang of the side piece? We marked where the end of the plywood hit the side and Justin cut to that line to make sure the corner exactly lined up.
Step Five: Paint or Stain the Wood
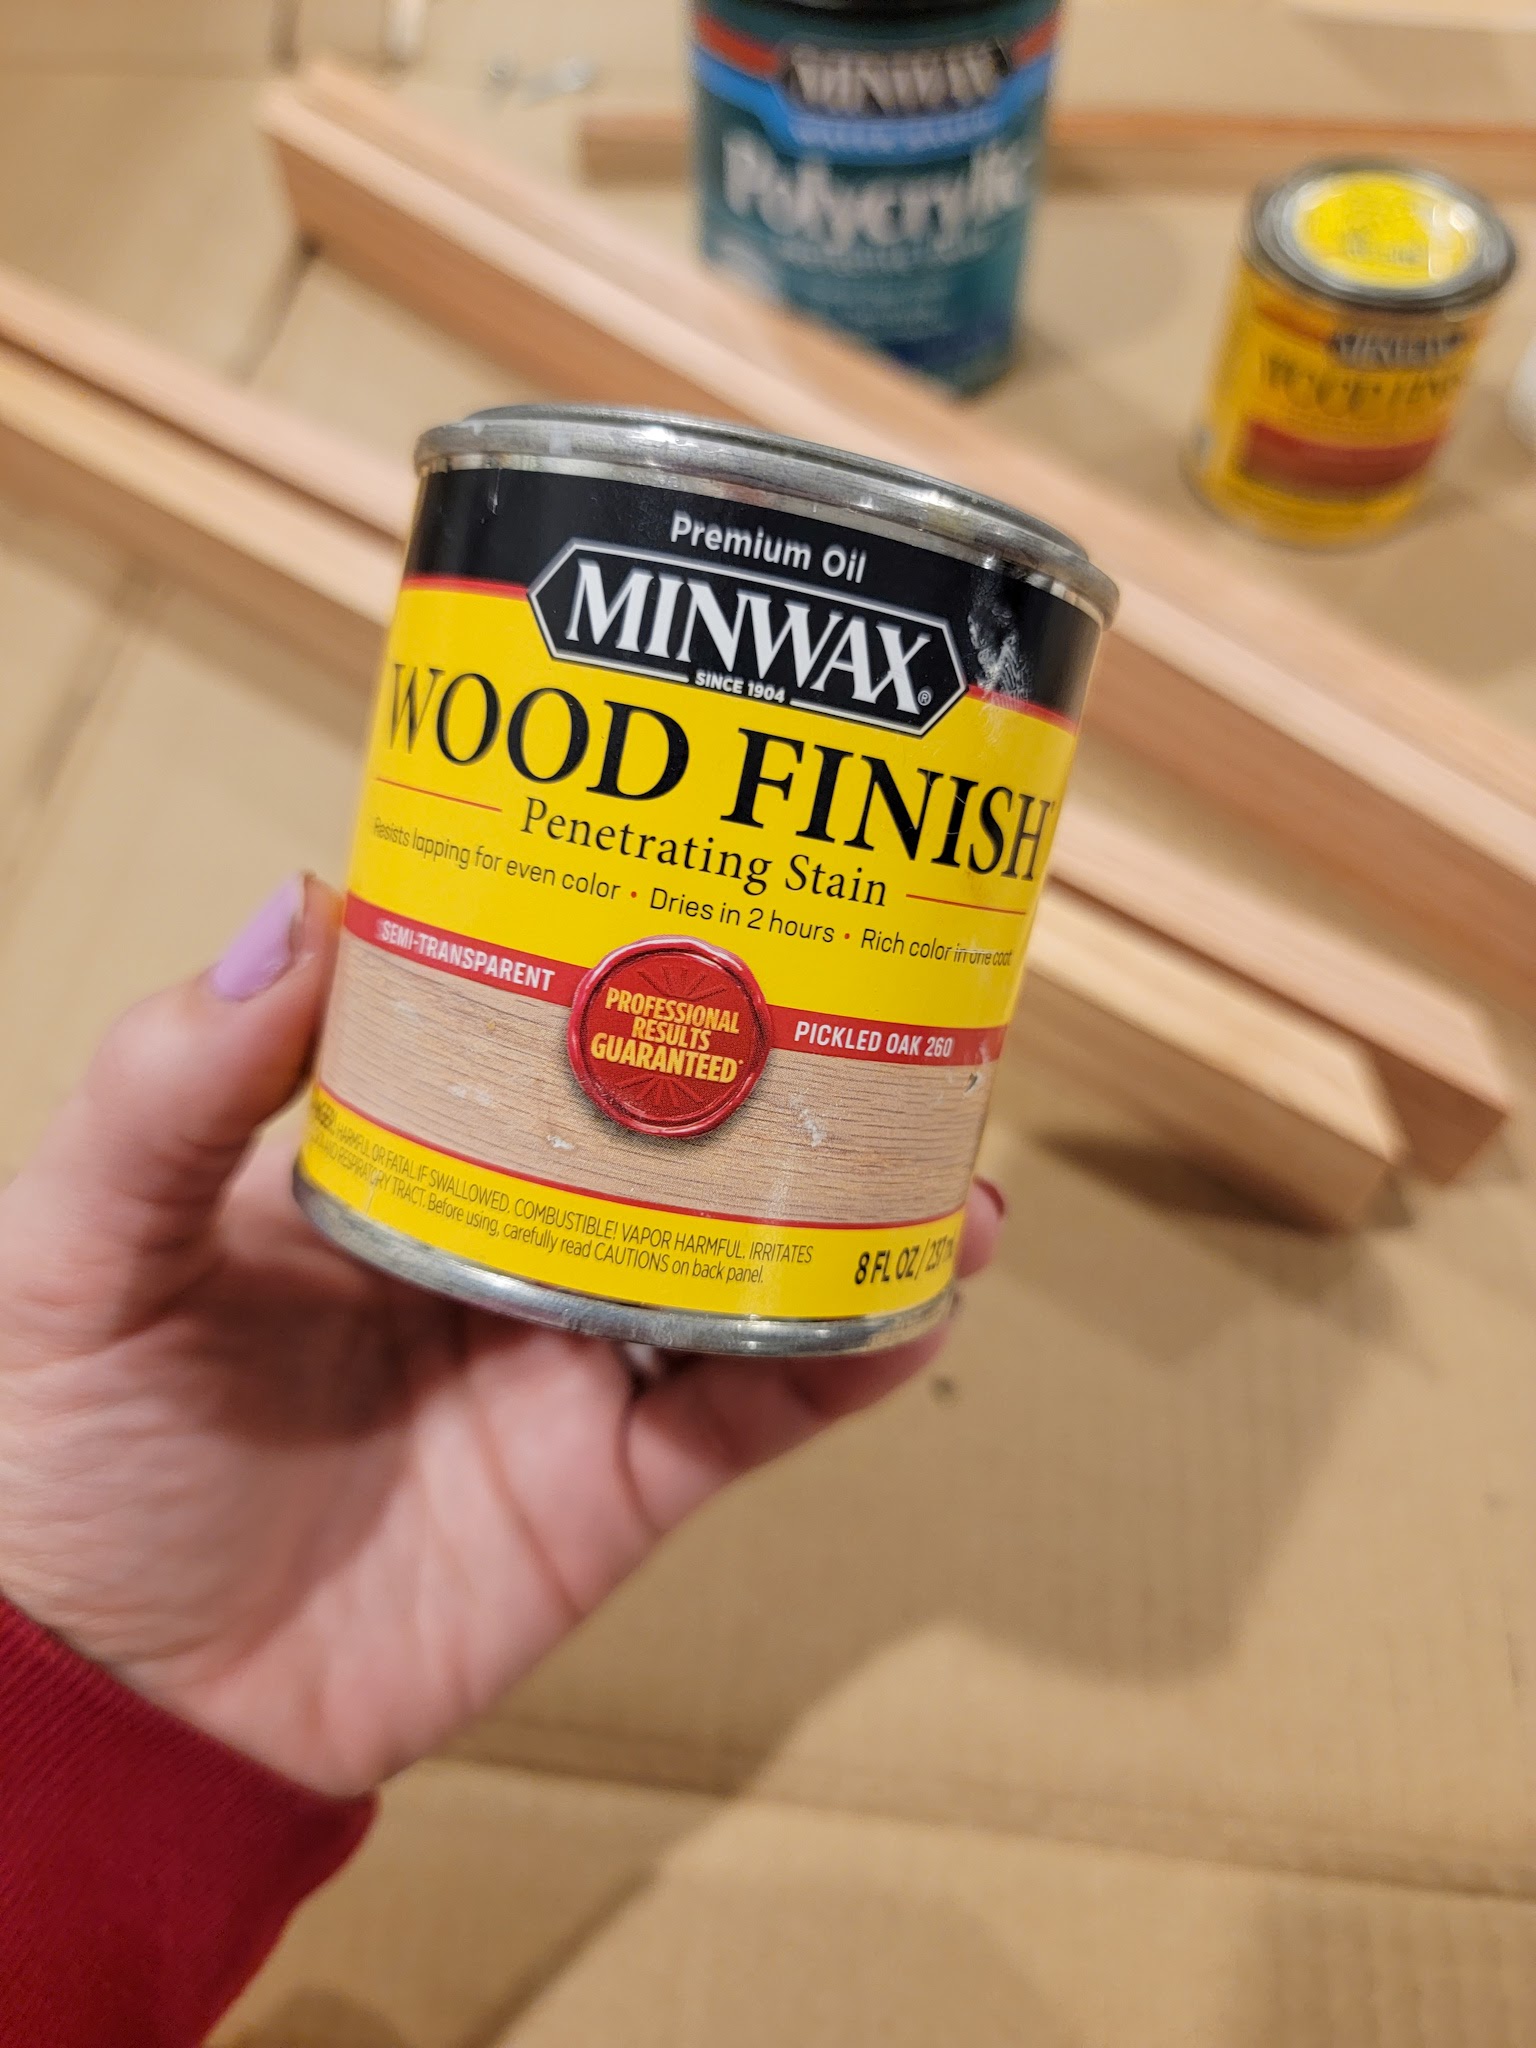
Before securing any of the wood in place, I used a foam brush to apply everything with a light coat of stain to the wood. I decided to stain instead of paint because my sister chose a natural wood crib so I knew it would tie in nicely, plus the light wood color coordinated well with the color I chose for the leather dresser drawer handles.
Note: This step could definitely happen after all the wood is installed. I chose to do it in this step to avoid having to try to stain in corners and potentially have uneven coverage or get it on the glass. Just my personal preference!
Step Six: Attach the sides of the frame to the plywood
We did a dry fit to make sure the sides all lined up perfectly (they did!) and then applied a small bead of wood glue to the bottom of each piece where it would meet the plywood.
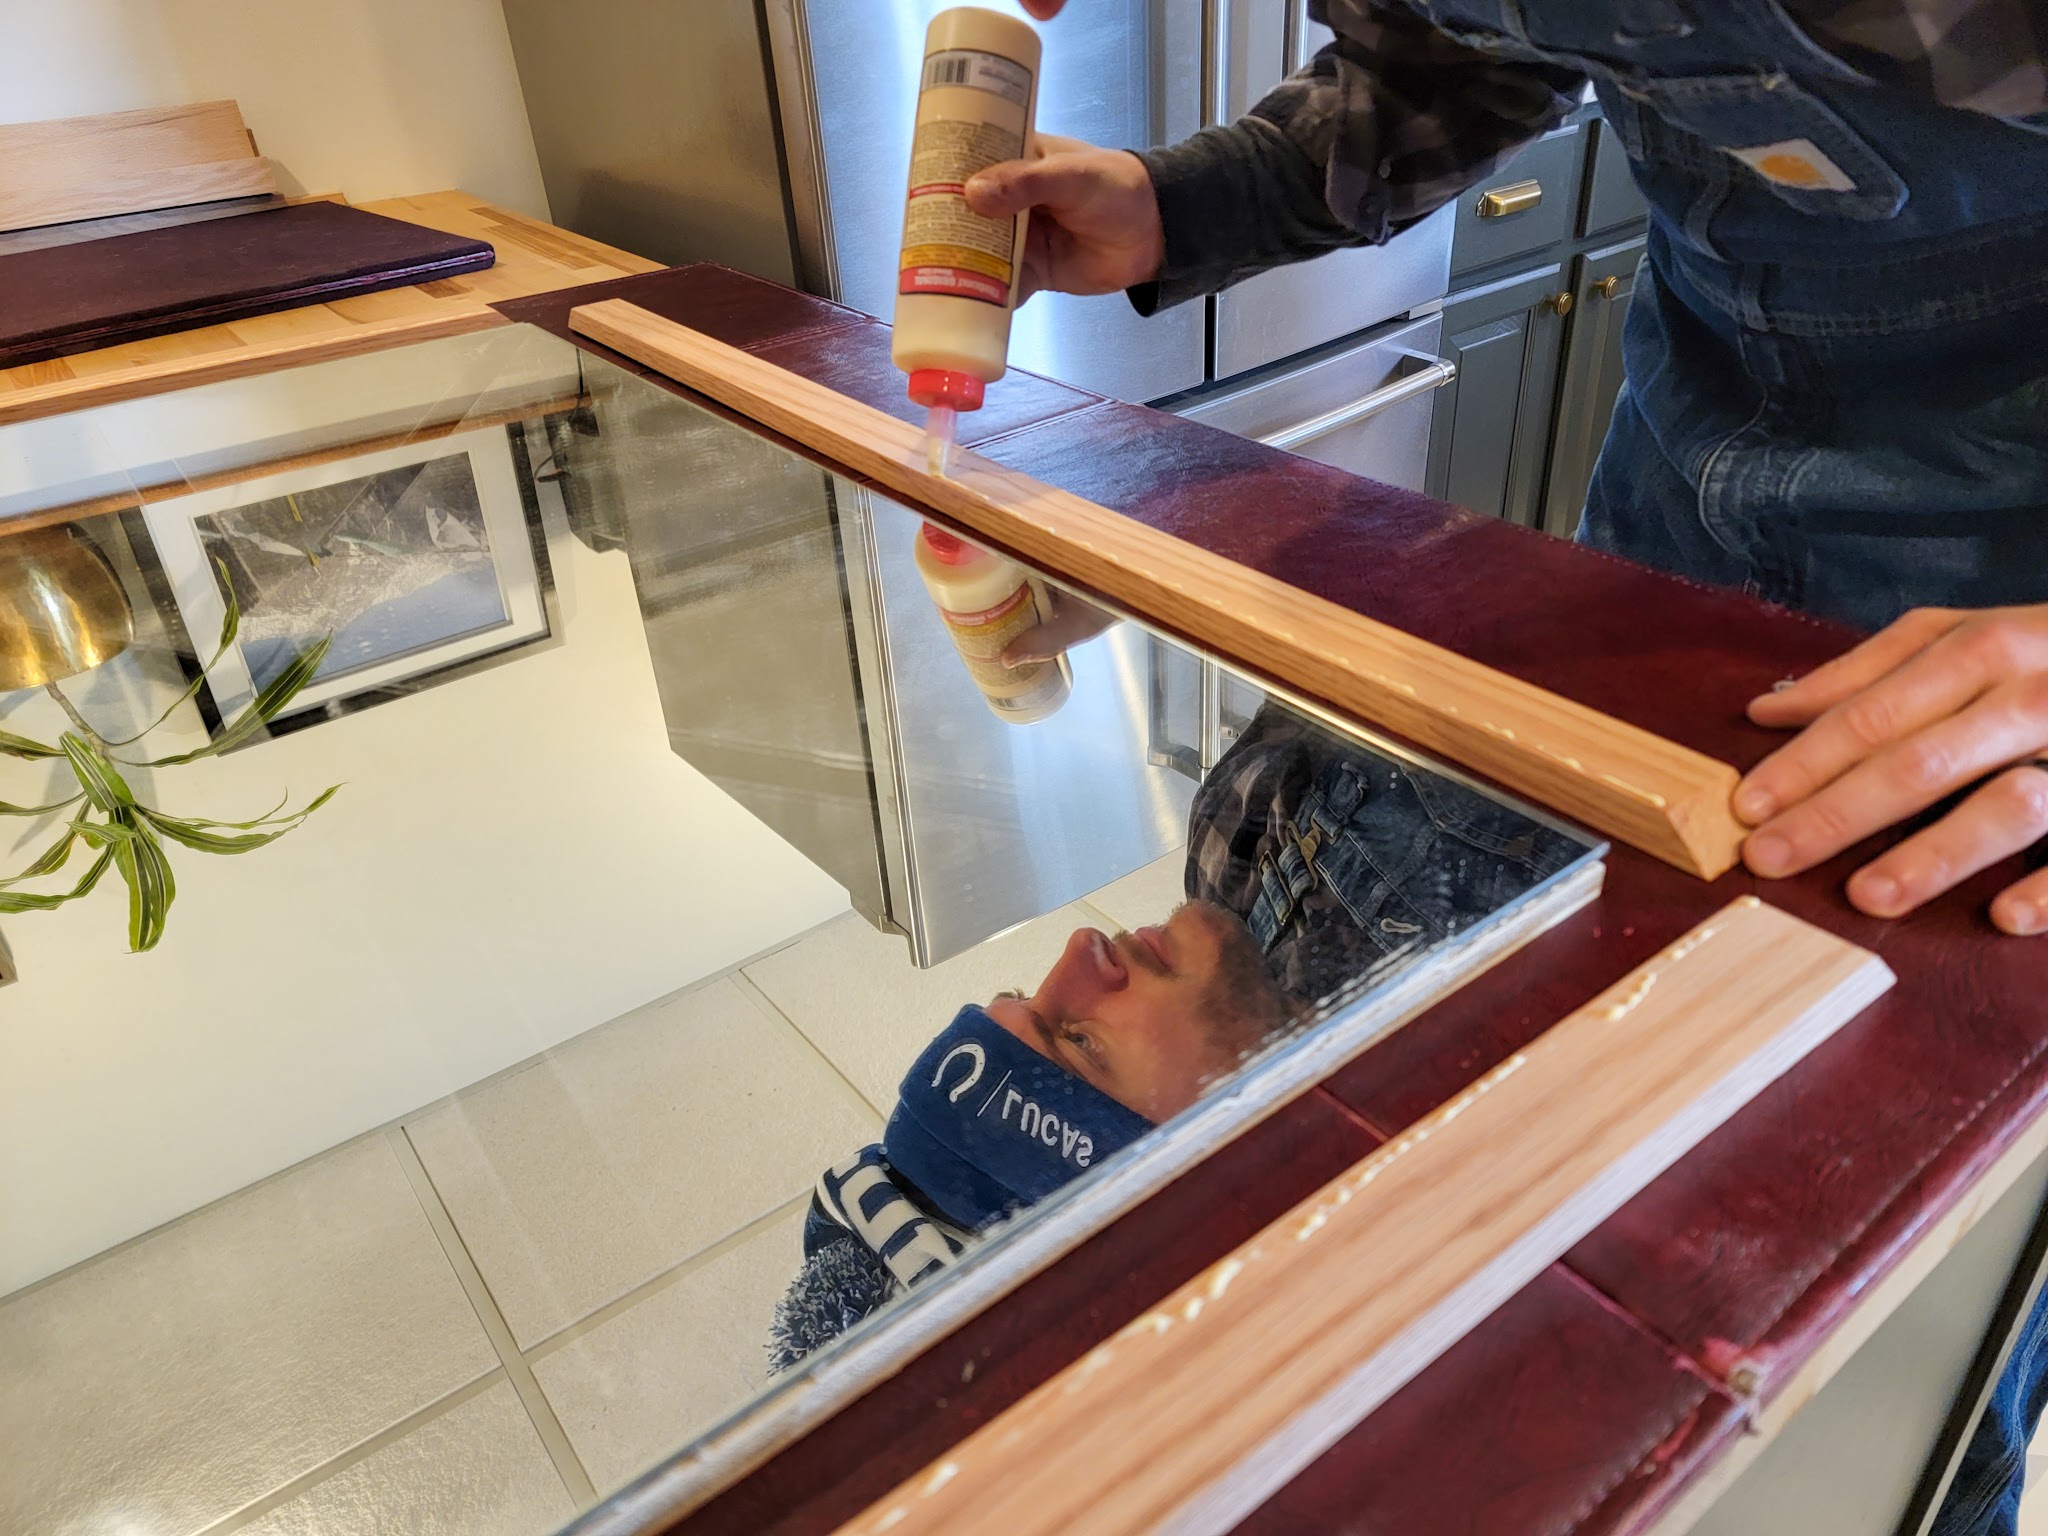
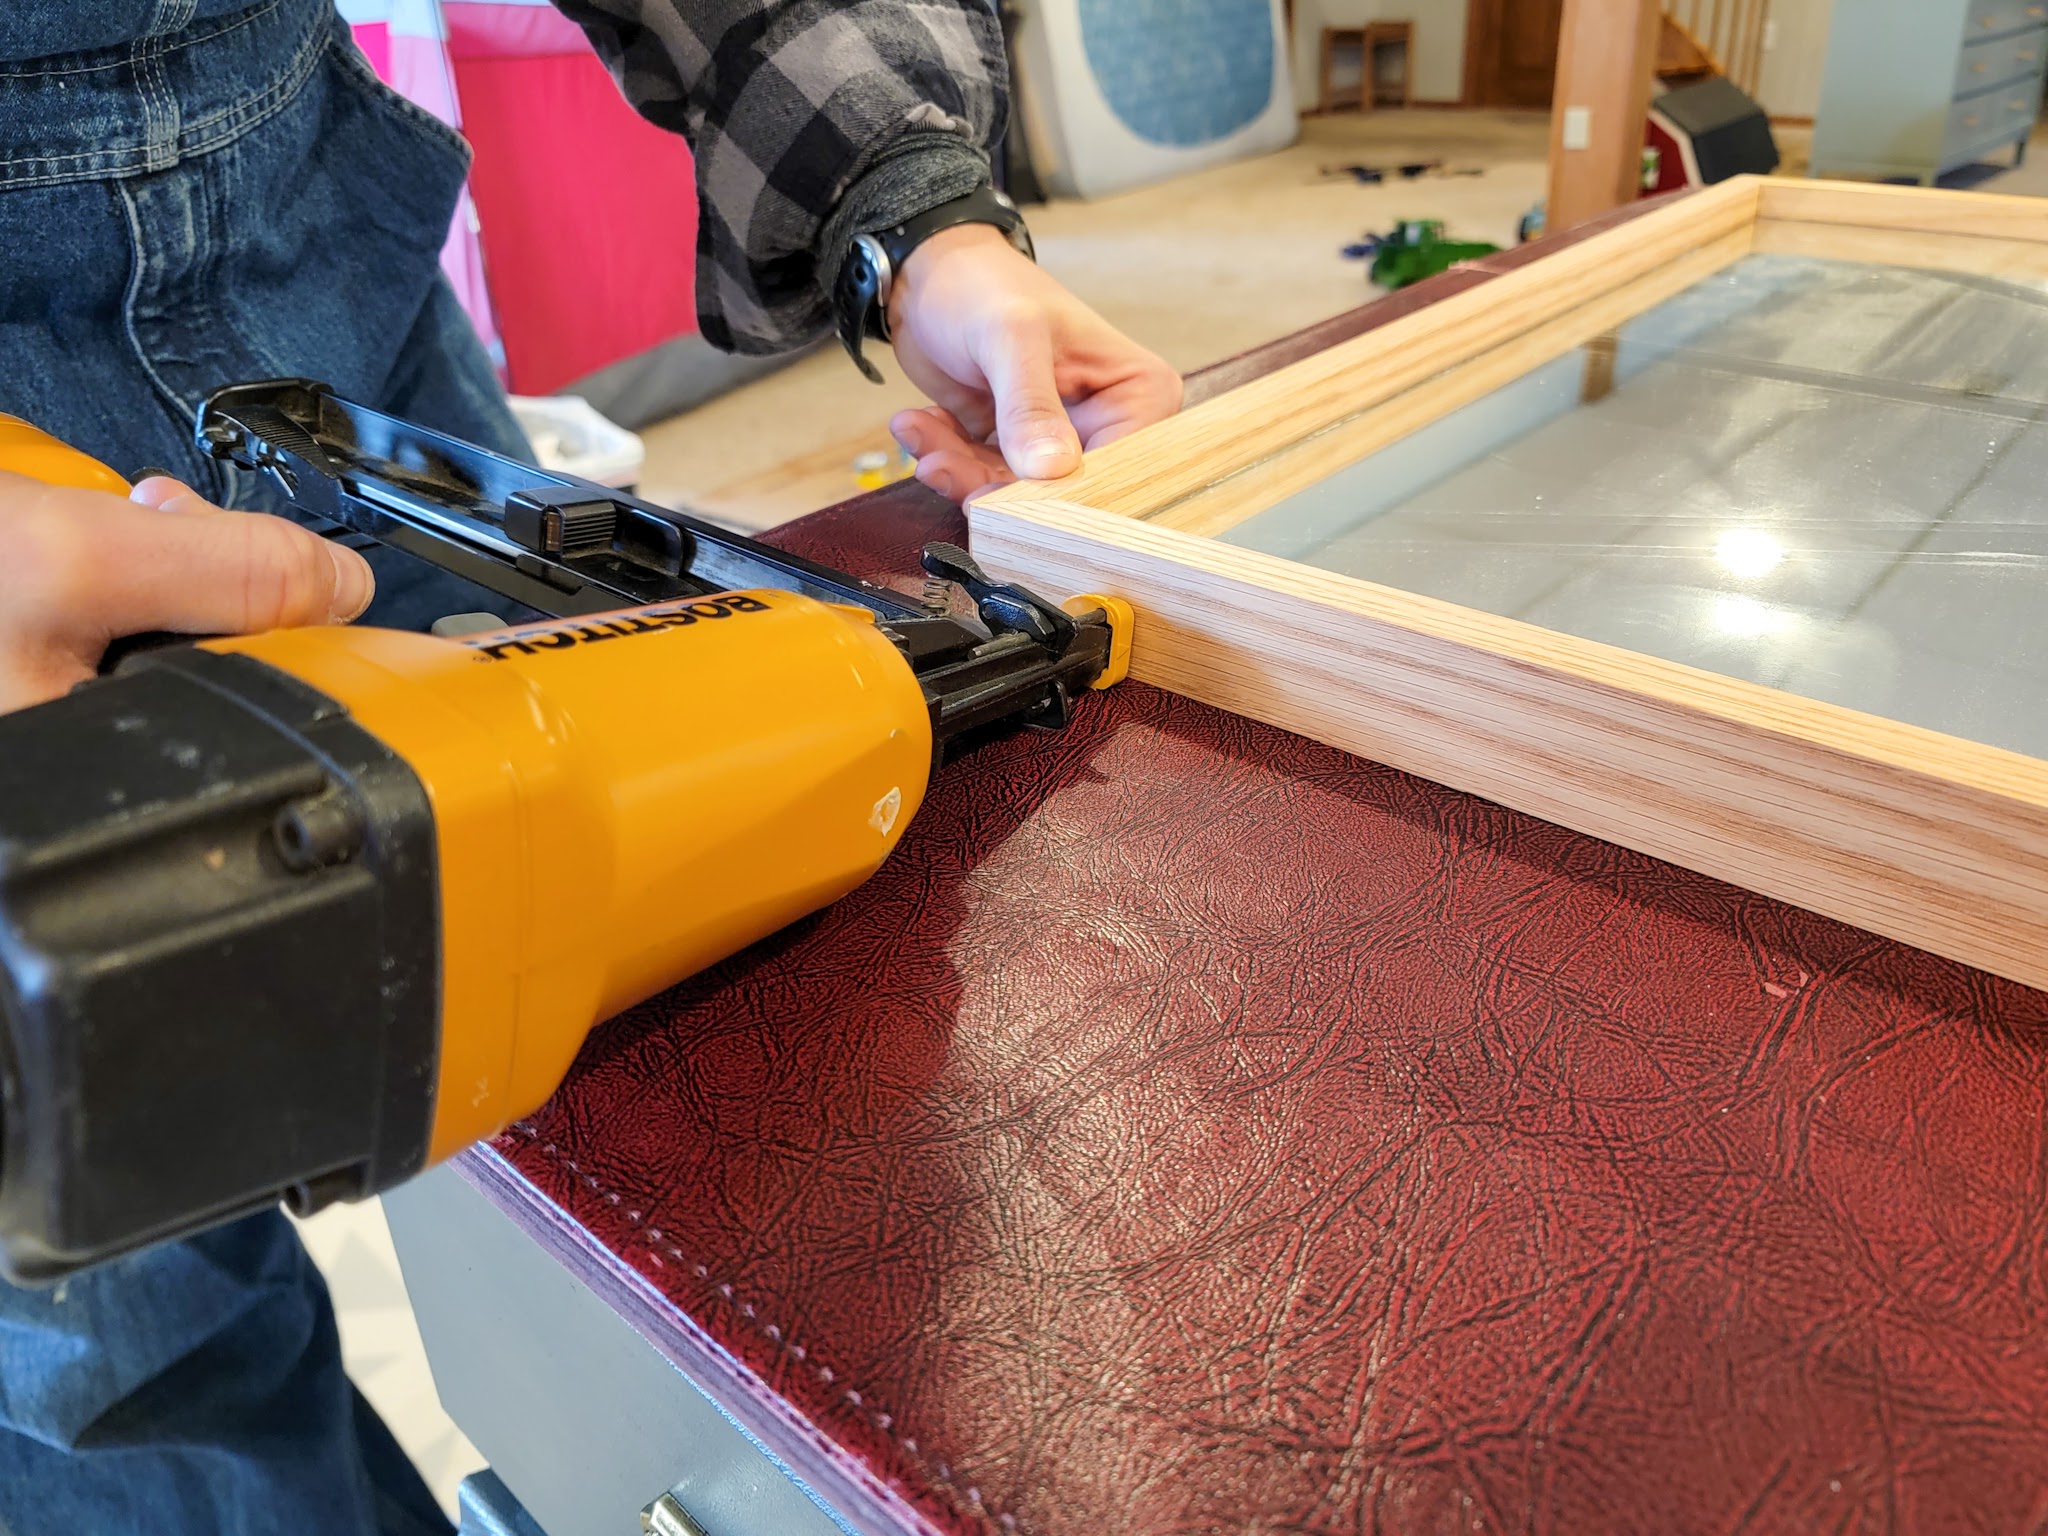
We fit each piece in place, then used the nail gun to add a couple 1 1/2″ inch nails to each side, making sure to aim low enough to hit plywood and not glass. I did not want a lot of nail holes, but we also wanted to make sure things were super secure, so the combination of wood glue + nails worked for us.
We used clamps to keep things in place while the wood glue dried (this was probably unnecessary but it gave us peace of mind that things would dry tightly in place).

(Optional) Step Seven: Cut wood for inner trim
We could have stopped at this point and probably would have under normal circumstances. This looked great! Except for one thing . . . our mirror had sustained a bit of damage in the garage and was missing a small corner. We decided to fix this by adding one more trim piece directly on top of the glass to hide the damage.

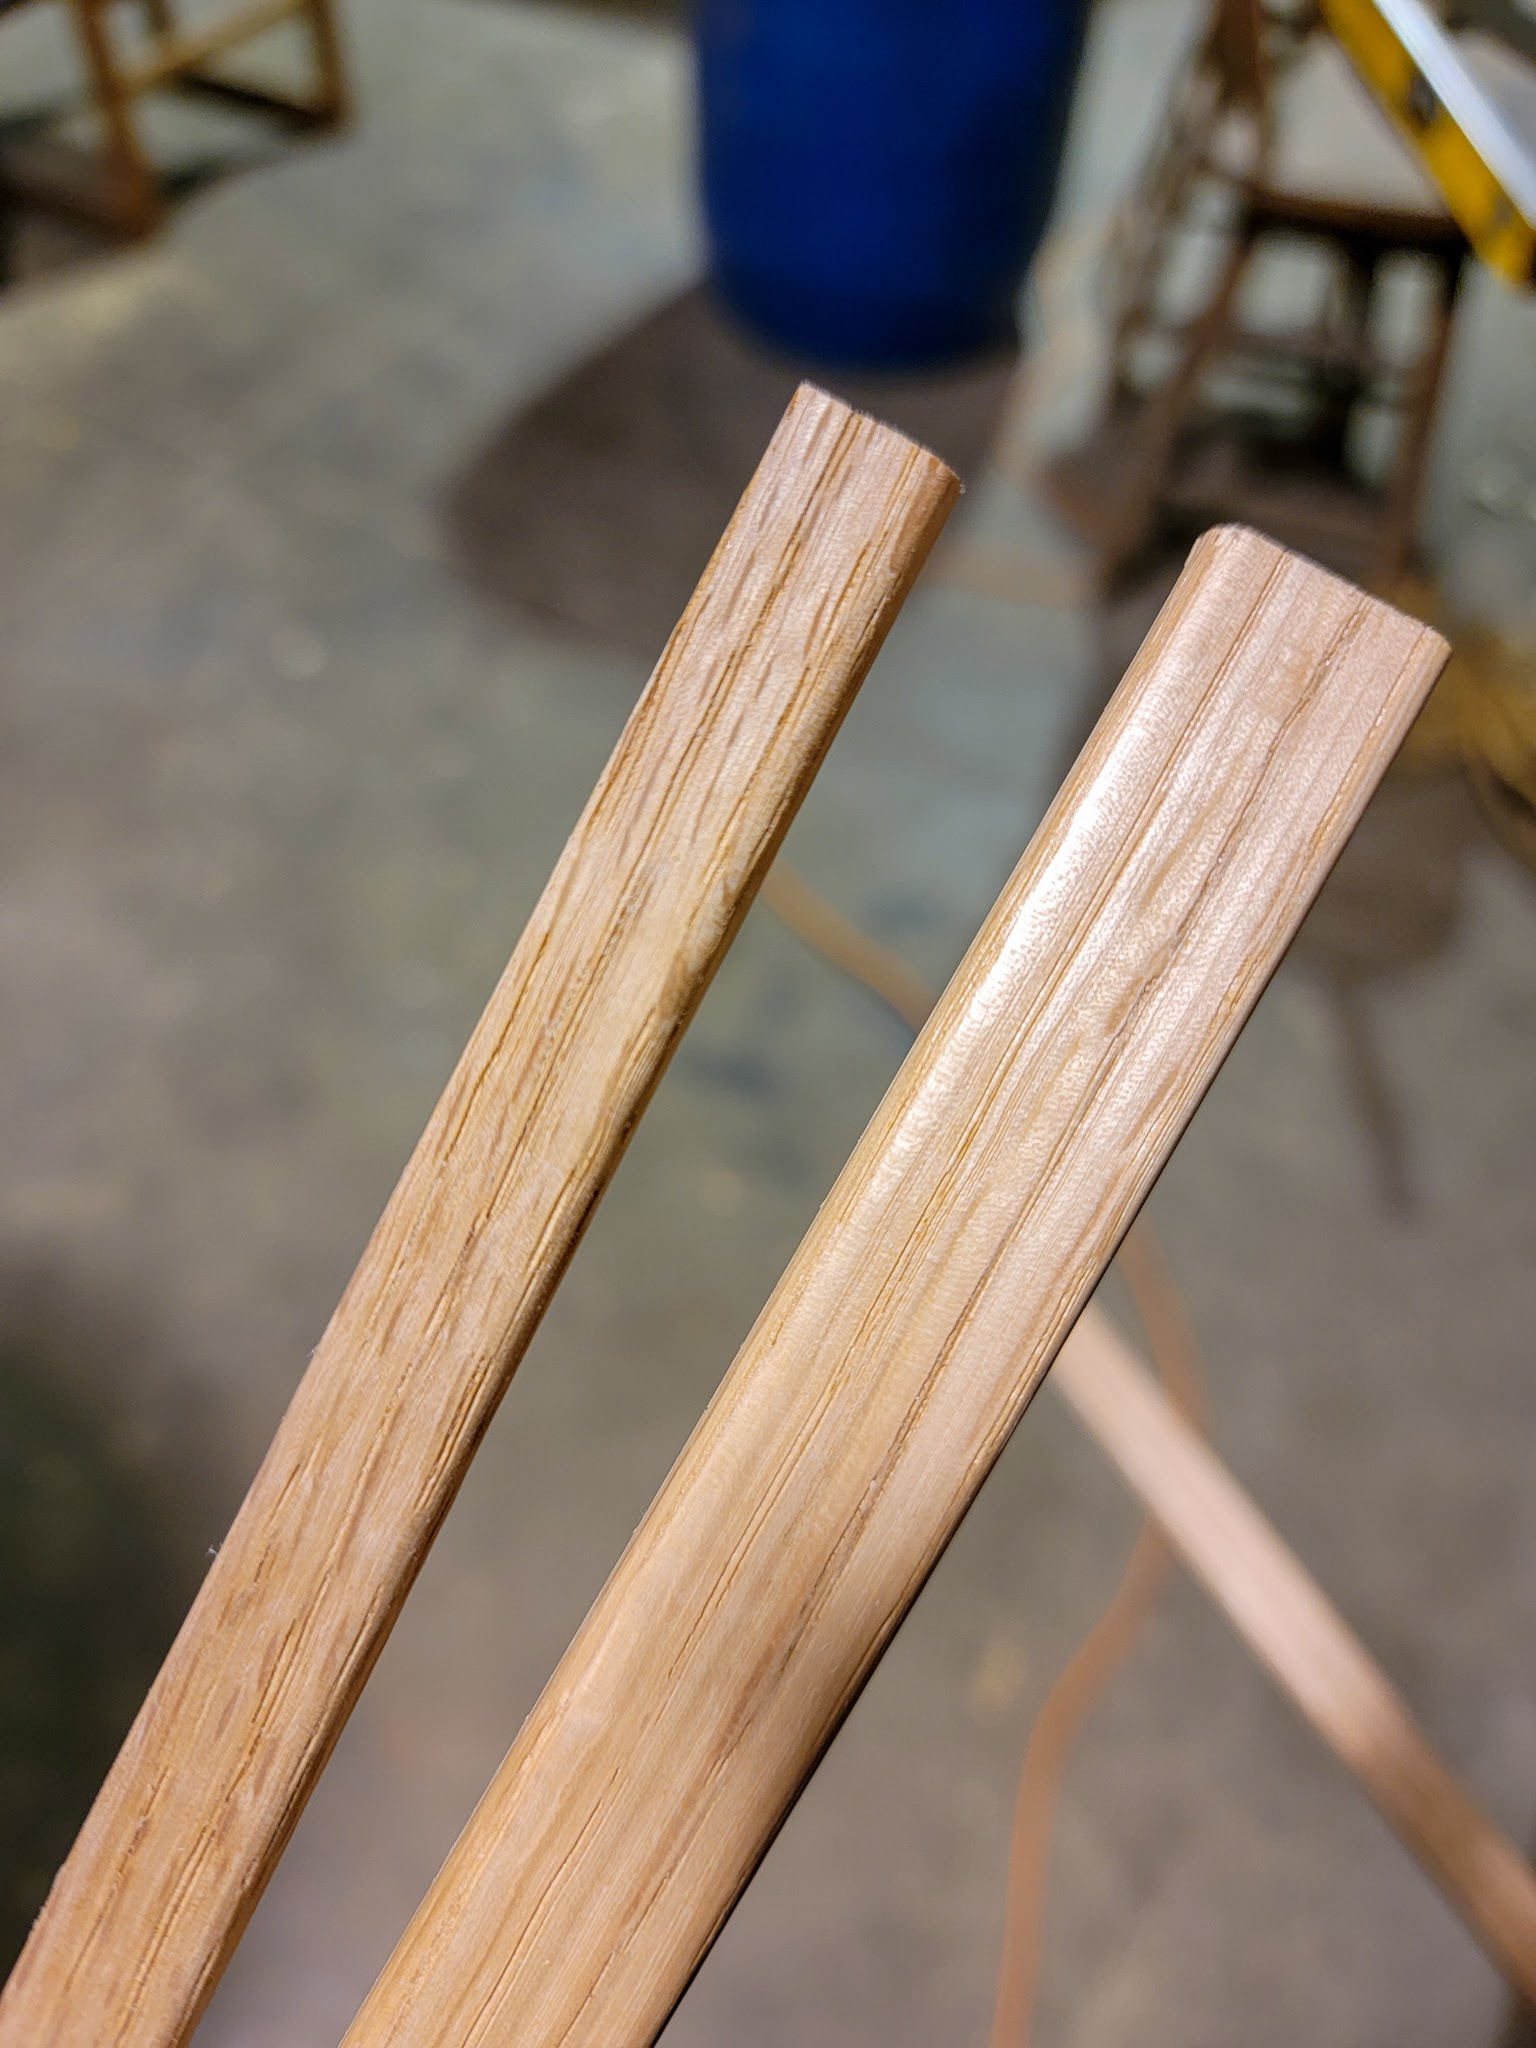
We bought 1/4″ x 3/4″ strips of wood. They were originally a little wider than I wanted (right one in the picture below), so we used the table saw to rip each piece down to 1/2″ wide (left one in the picture below).
Justin used the miter saw to cut each side to size (with 45 degree angles on each end) and after checking placement with a dry fit all around, we used a bead of gorilla glue on the back to secure each piece directly onto the glass.

(Optional) Step Eight: Attach hanging hardware
We gave everything time to dry and then Justin used heavy duty wire and d-hooks from a picture-hanging kit we have (here is a similar kit). We used an online reference guide to help us decide exactly where to place the d-hooks for best hanging. If you choose to hang your mirror, it is very important to weigh the mirror first and make sure the hanging materials you’re using can support the weight of the mirror safely!

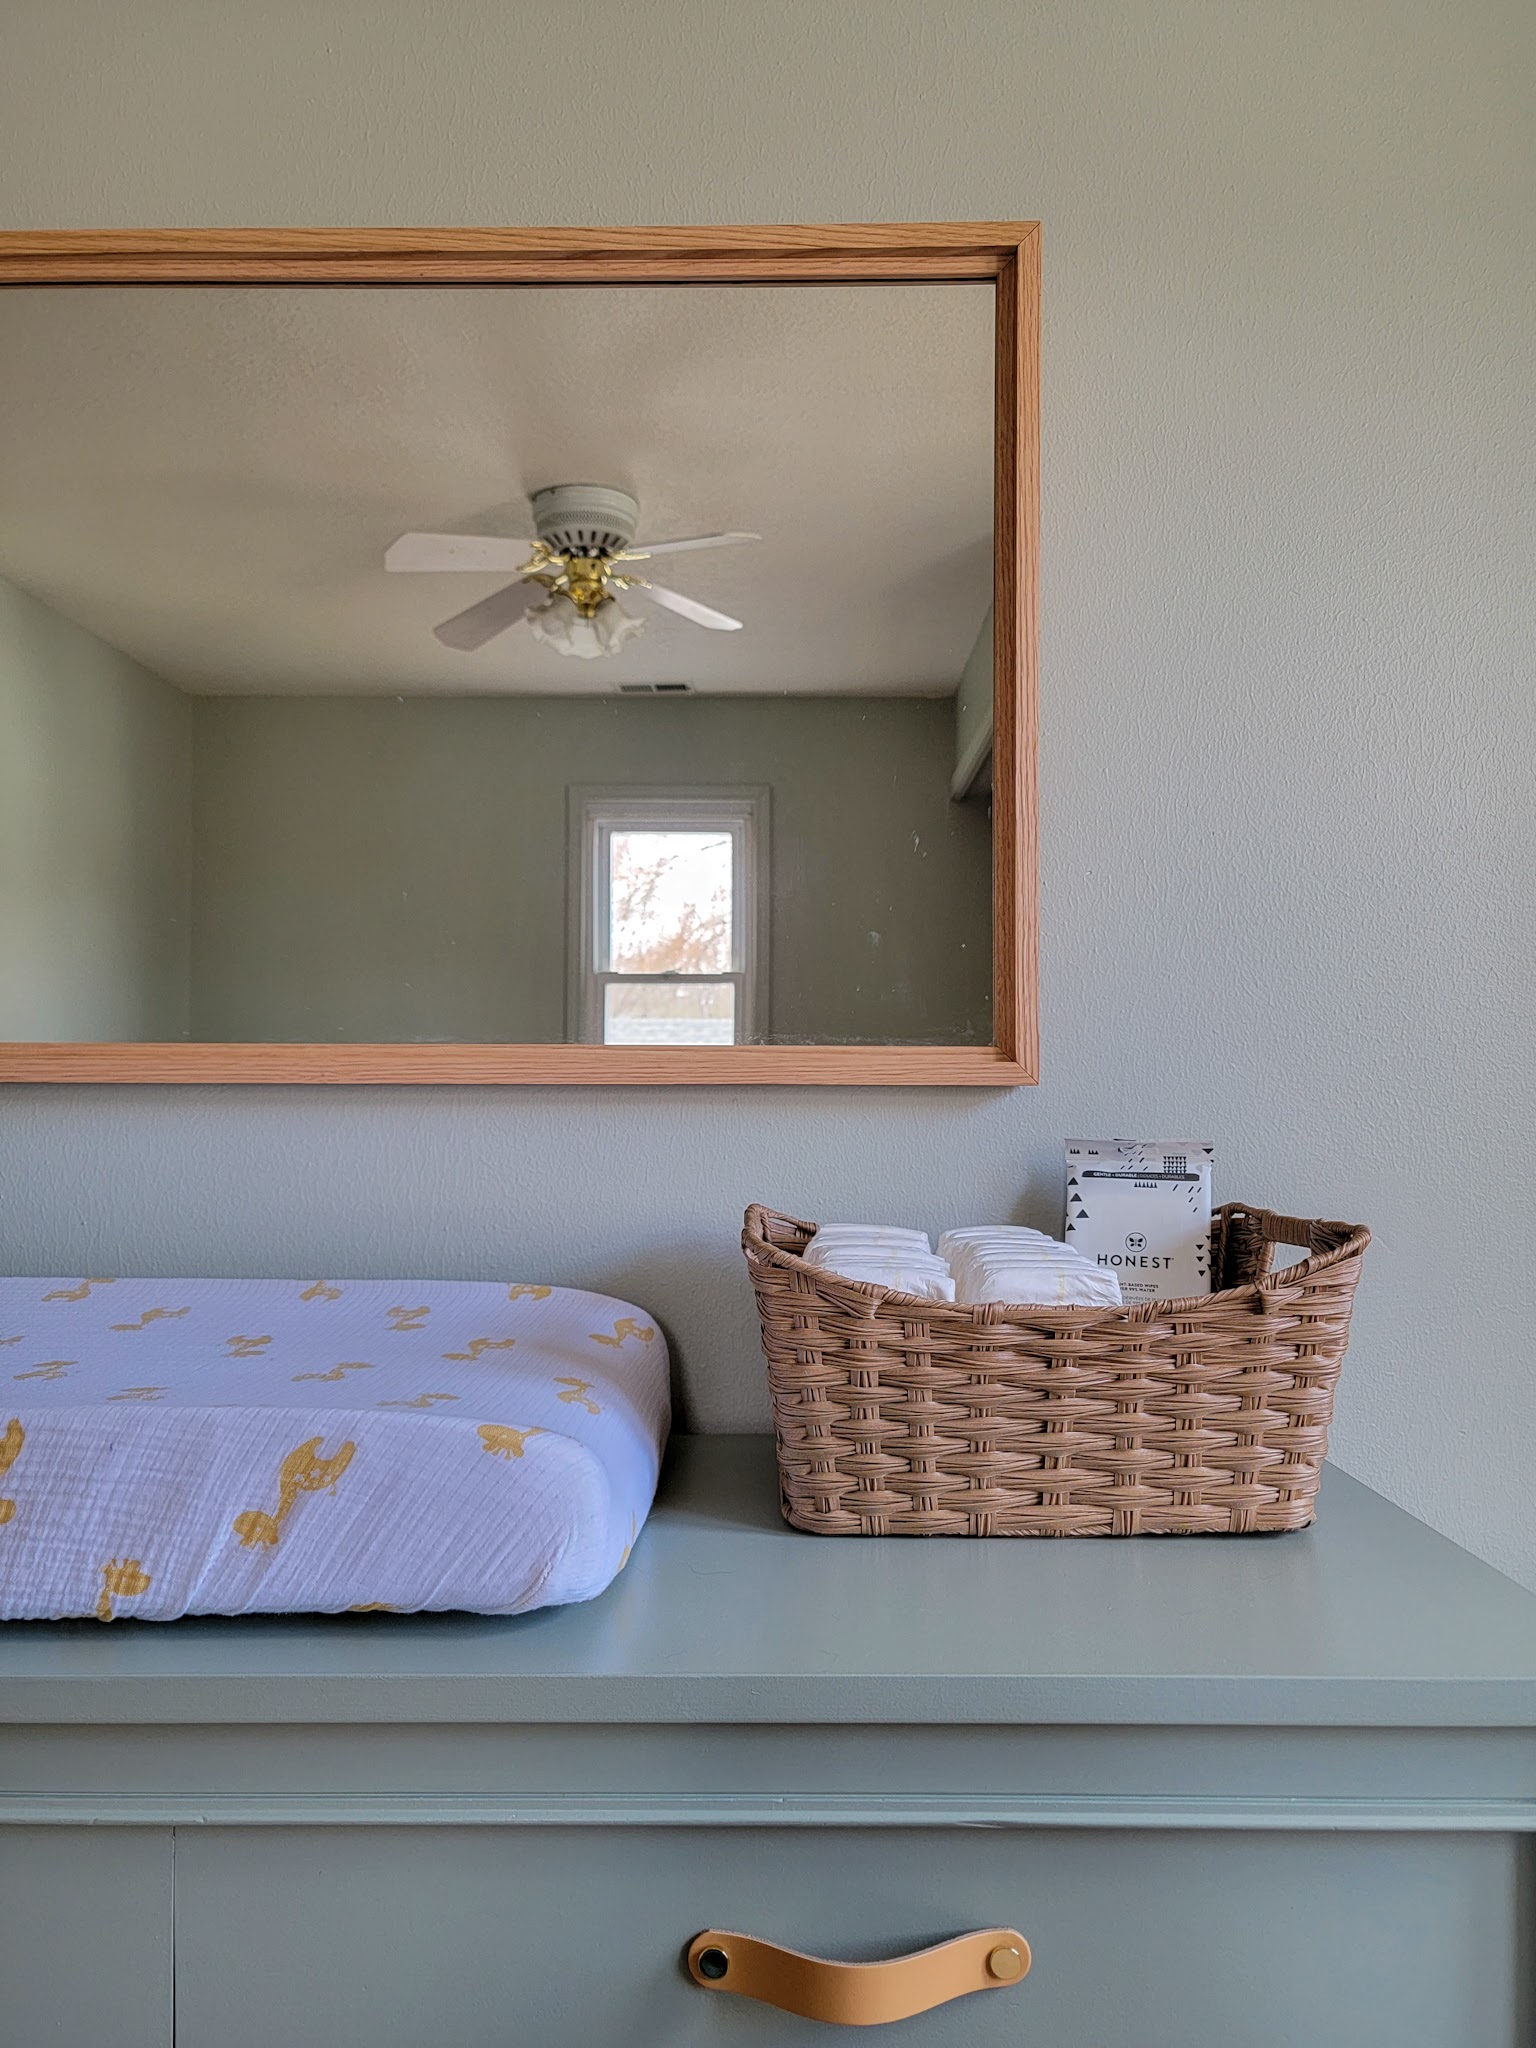
I absolutely love how this mirror turned out. I was so excited to surprise my sister with it – it’s the perfect complement to the nursery dresser and fits the room so well. She loved it!


The cost of this project will vary depending on the type of wood you use and how many materials you have to buy vs. what you already have on hand. I used oak boards, which are a little more expensive than other types, but I already had the plywood and all other materials, so that kept cost down for me. Large mirrors can be expensive, and I’m so glad I was able to take a mirror I already had and give it a completely fresh look that was considerably less than the cost of a brand new mirror.
What do you think? Are you ready to try this DIY yourself?

2 thoughts on “How to Upgrade a Frameless Mirror with a DIY Frame”