I just love a good DIY date. Last week, I shared plans and inspiration for making a Lego table for our kids and over the weekend Justin and I worked together to create our own. It was so fun to work on this together and I love how it turned out!
We decided to keep things simple with a basic table that could corral tons of Legos and provide a big workspace for creations. I also wanted it to have a top that would not only act as a lid for keeping all the Legos stored away but would create a regular table for other activities when needed. Today I’m sharing exactly what we did, including a few mistakes we made along the way, in case you’re interested in making one too.
Materials
-large piece of pine plywood for the table base (we got pre-sanded)
-large piece of oak plywood for the table top (we got pre-sanded)
-pine 1×6 (we needed two)
-oak board (we ripped down a scrap piece, similar in size to a 1×2)
-wood glue
-1 3/4″ wood screws
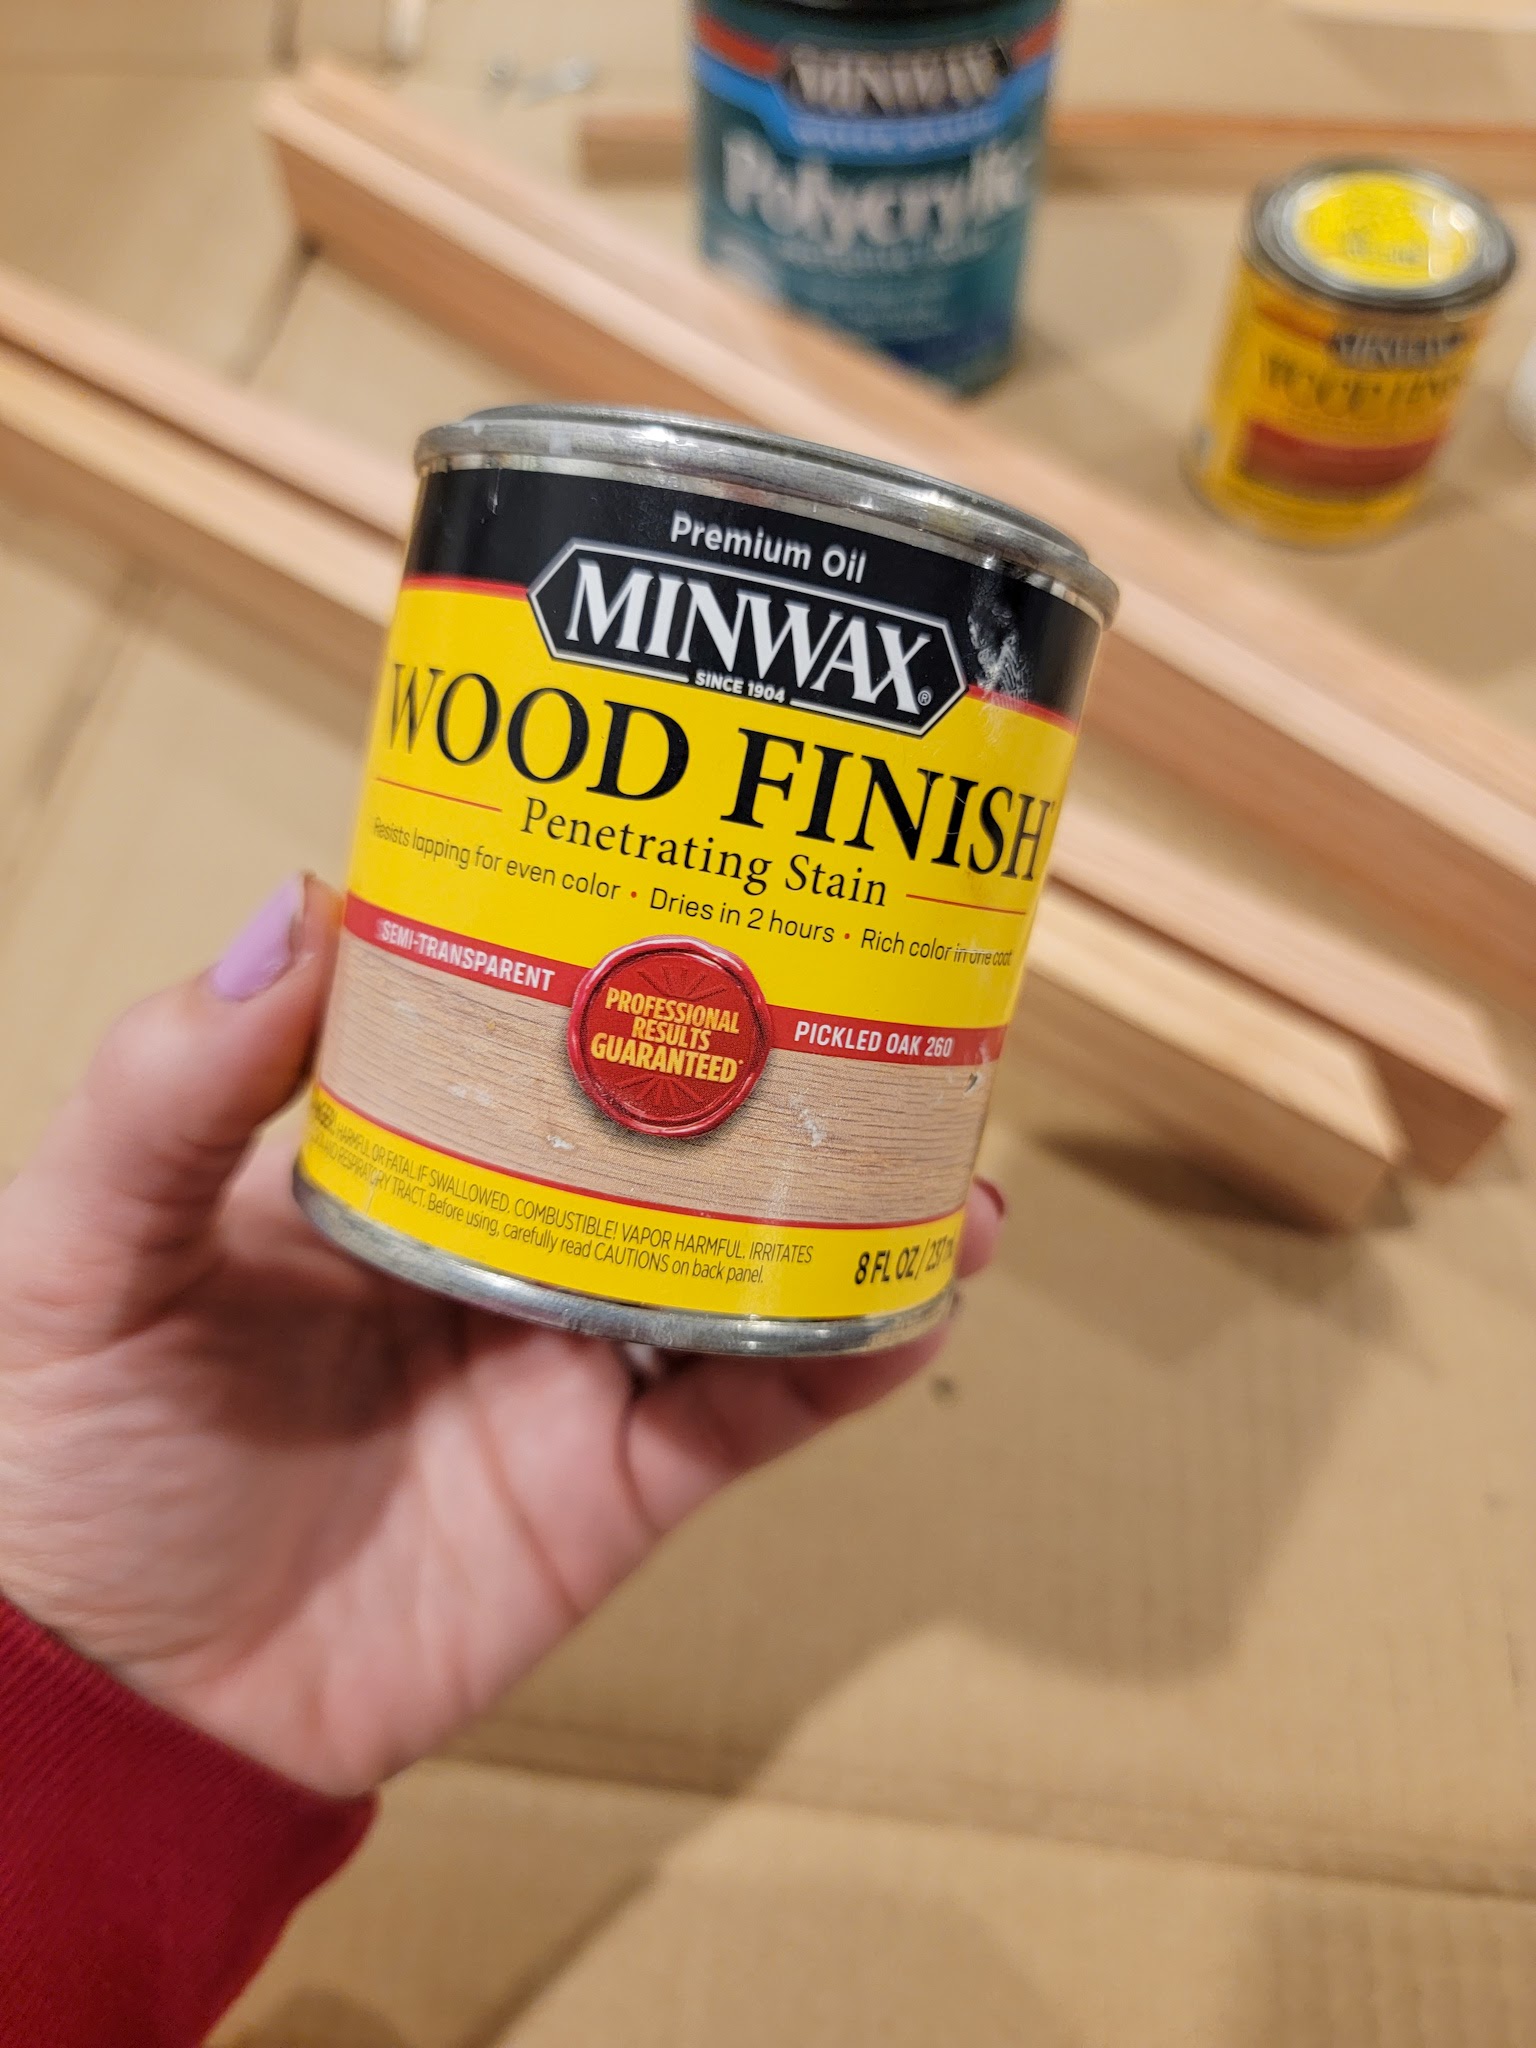
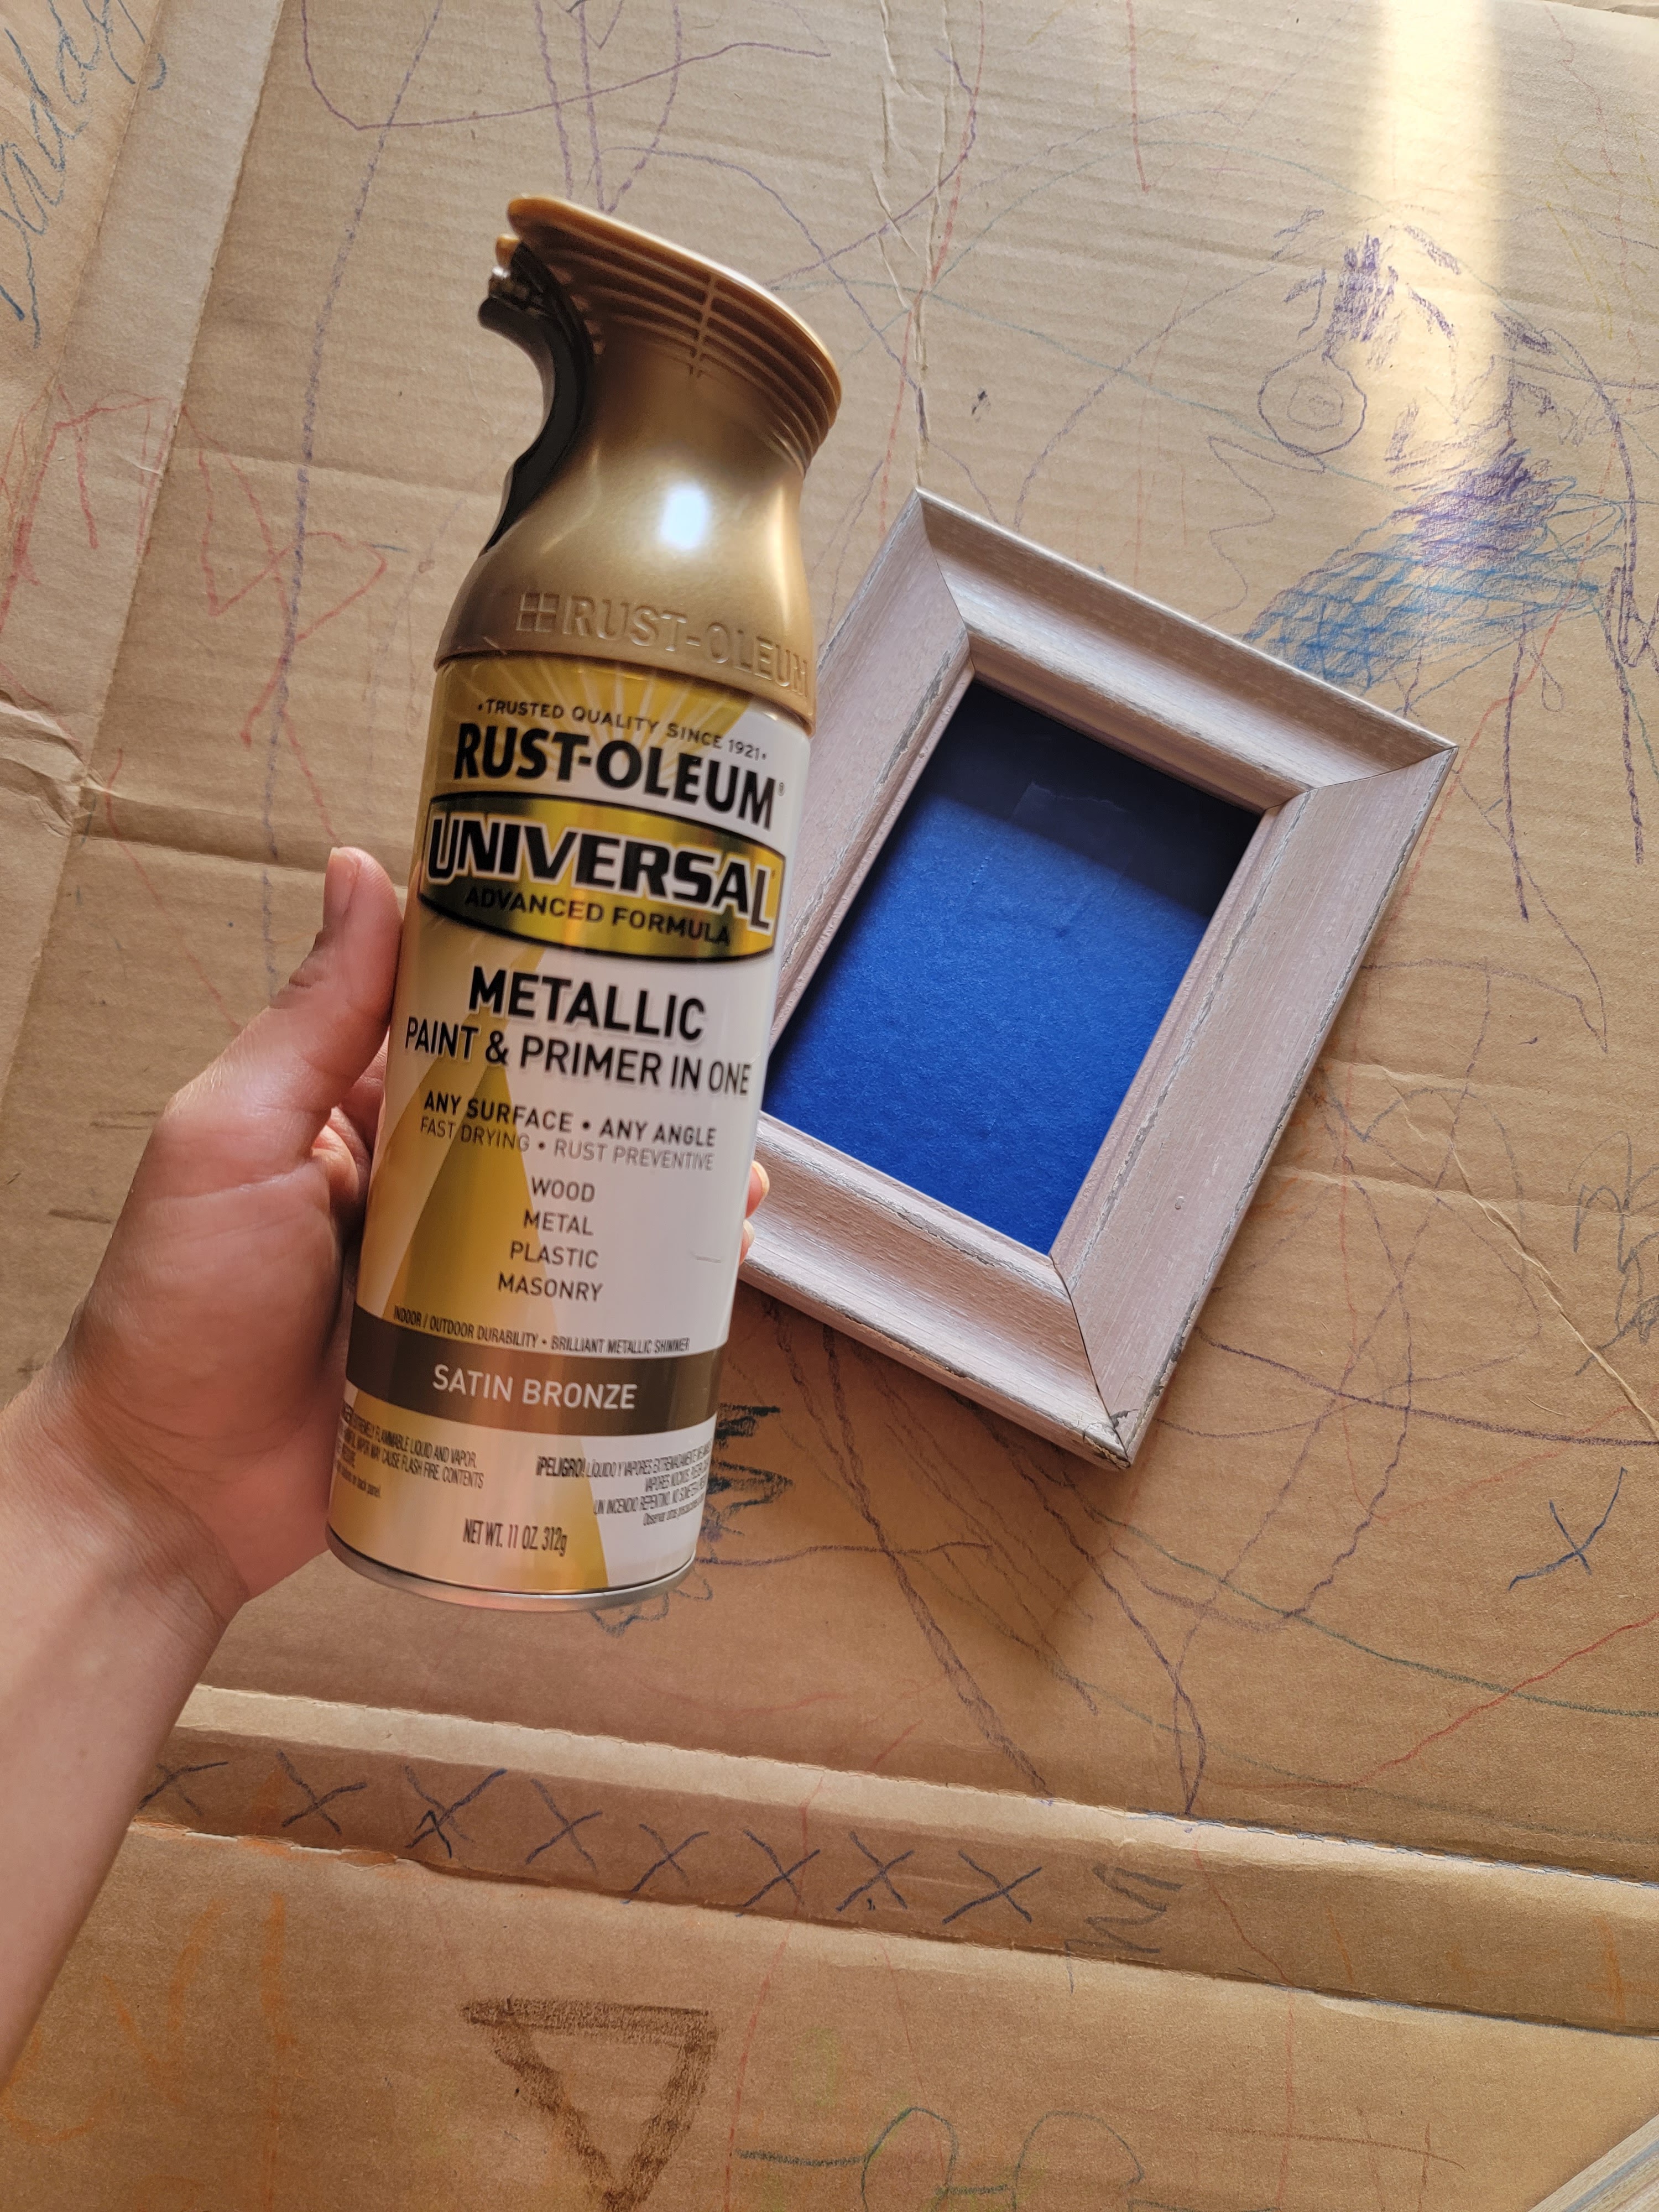
-wood stain (we used this one)
-black stain (we used this one)
-polyurethane
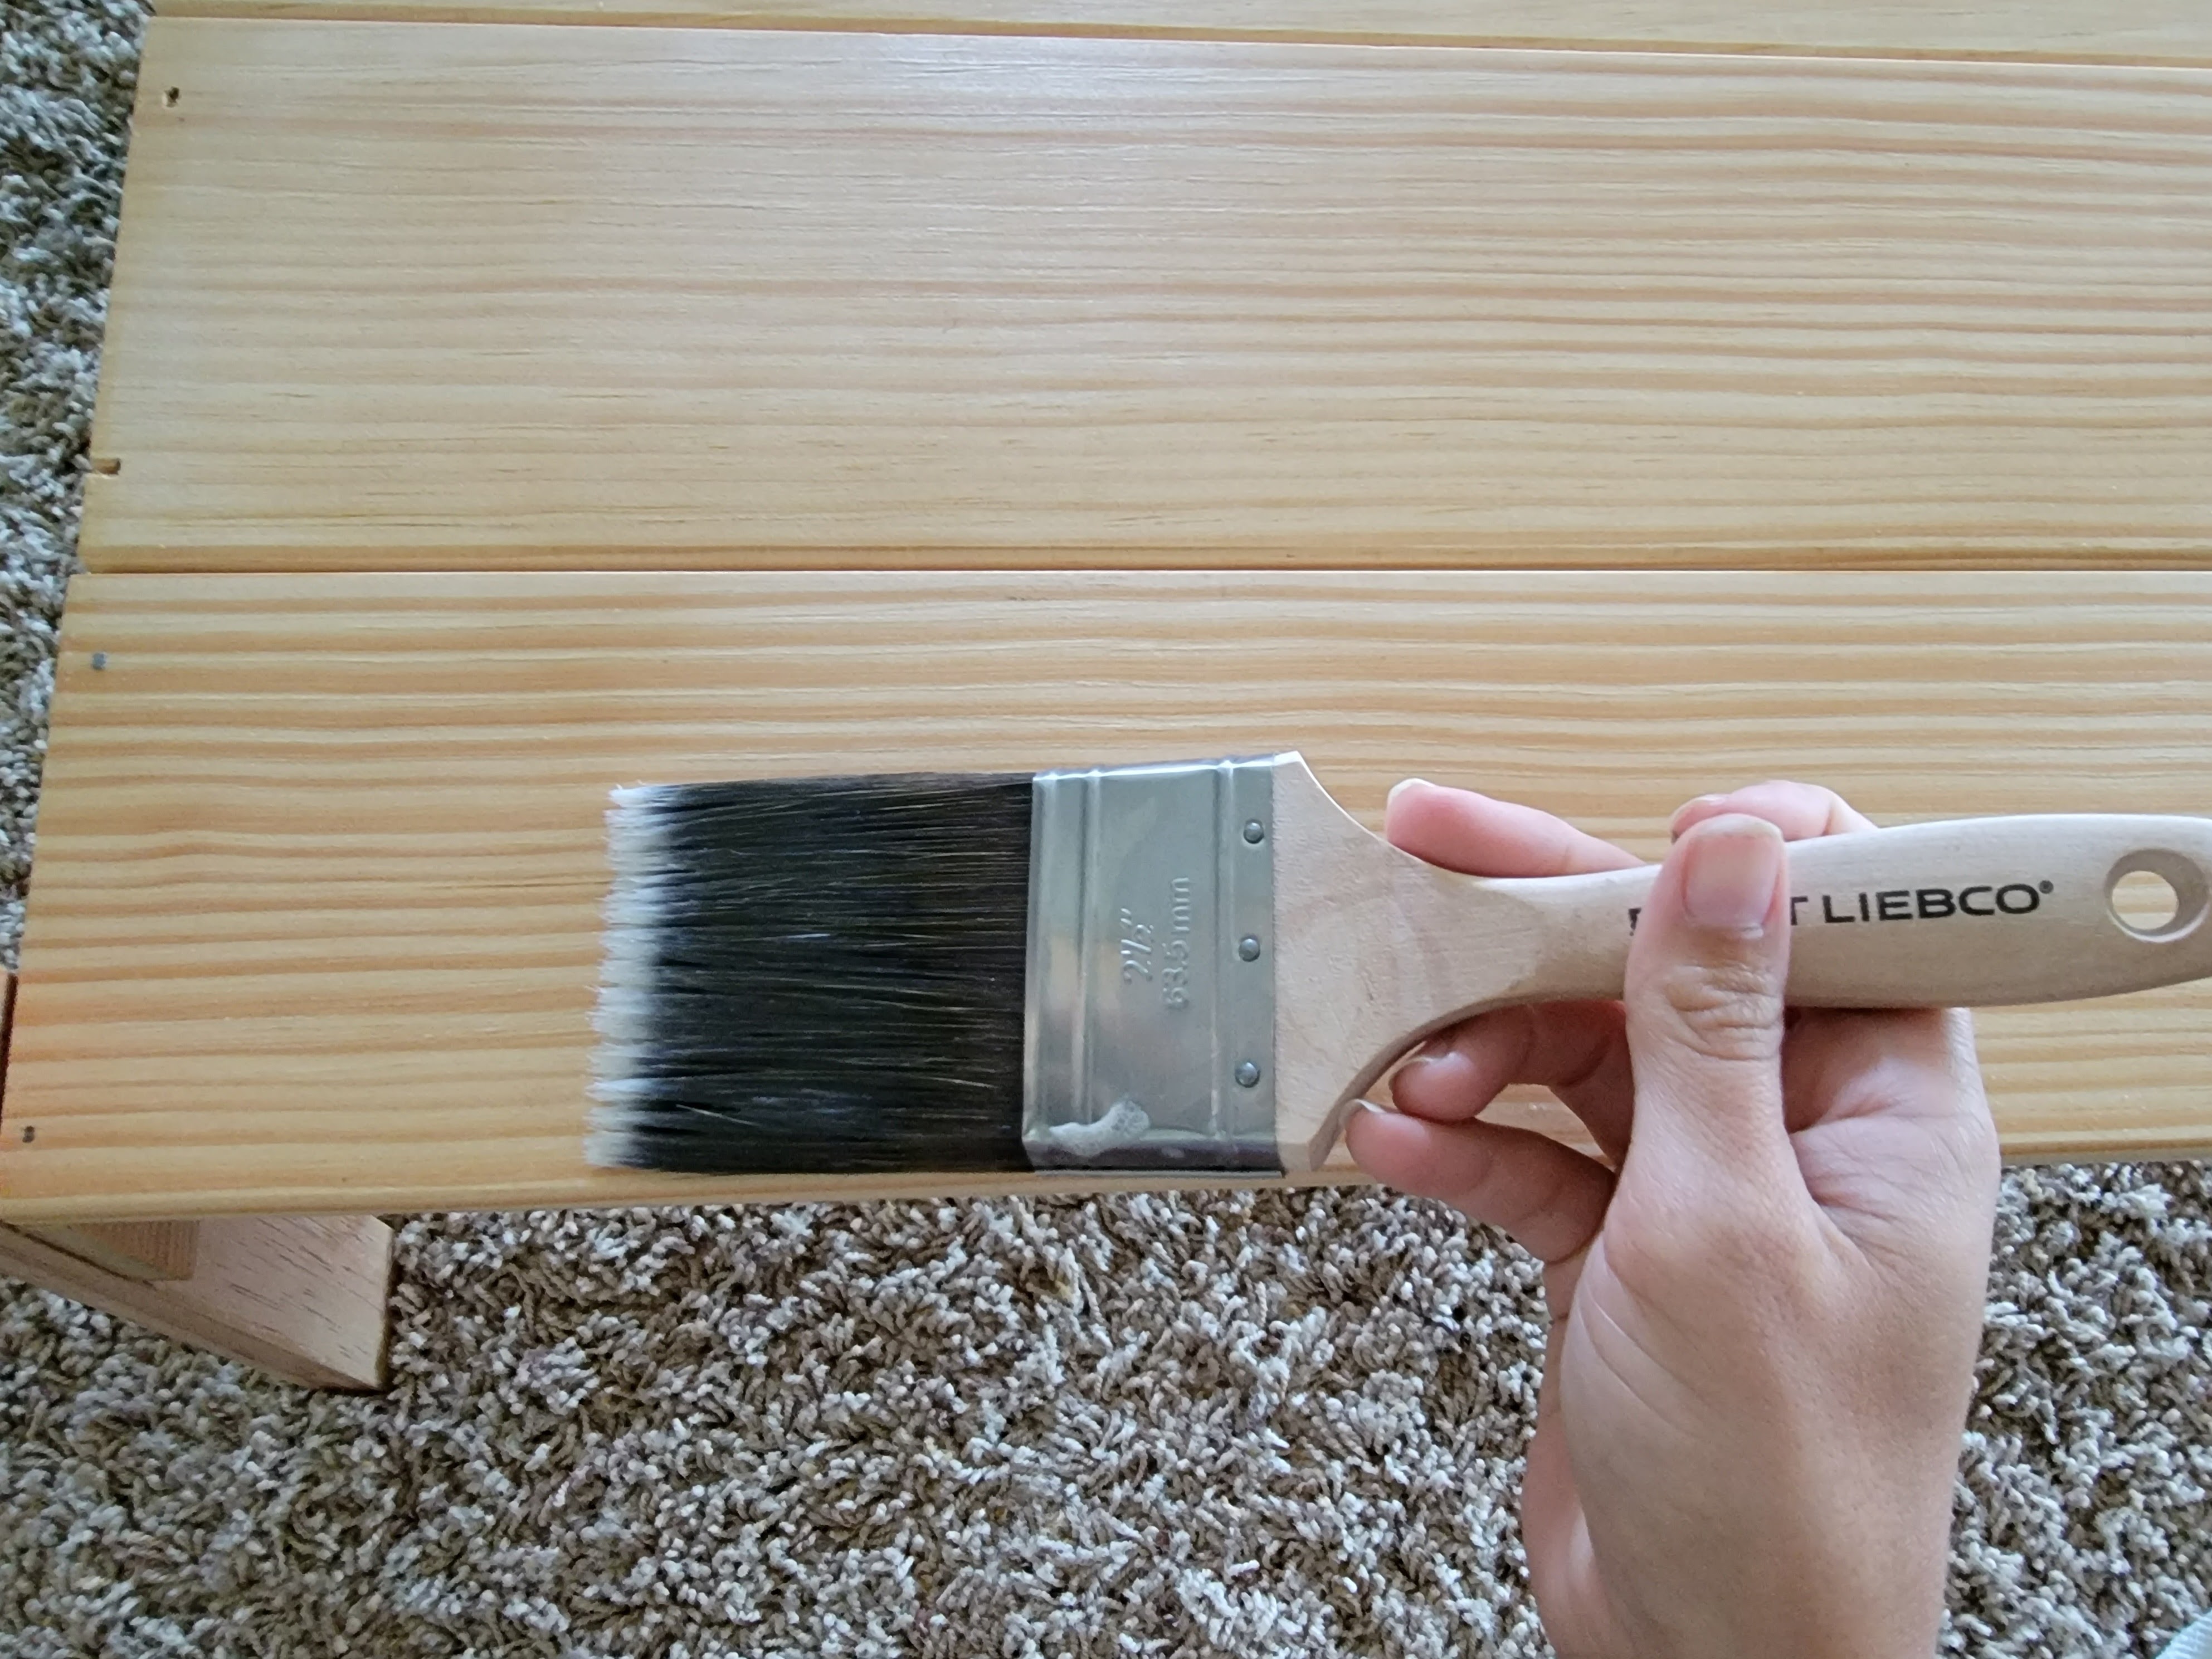
-foam brushes, latex gloves, and fabric rags for stain application
-220-grit sandpaper
-tools used: tape measure, clamps, miter saw, drill, impact driver, circular saw, nail gun, orbital sander, table saw (only used to rip down our repurposed wood)
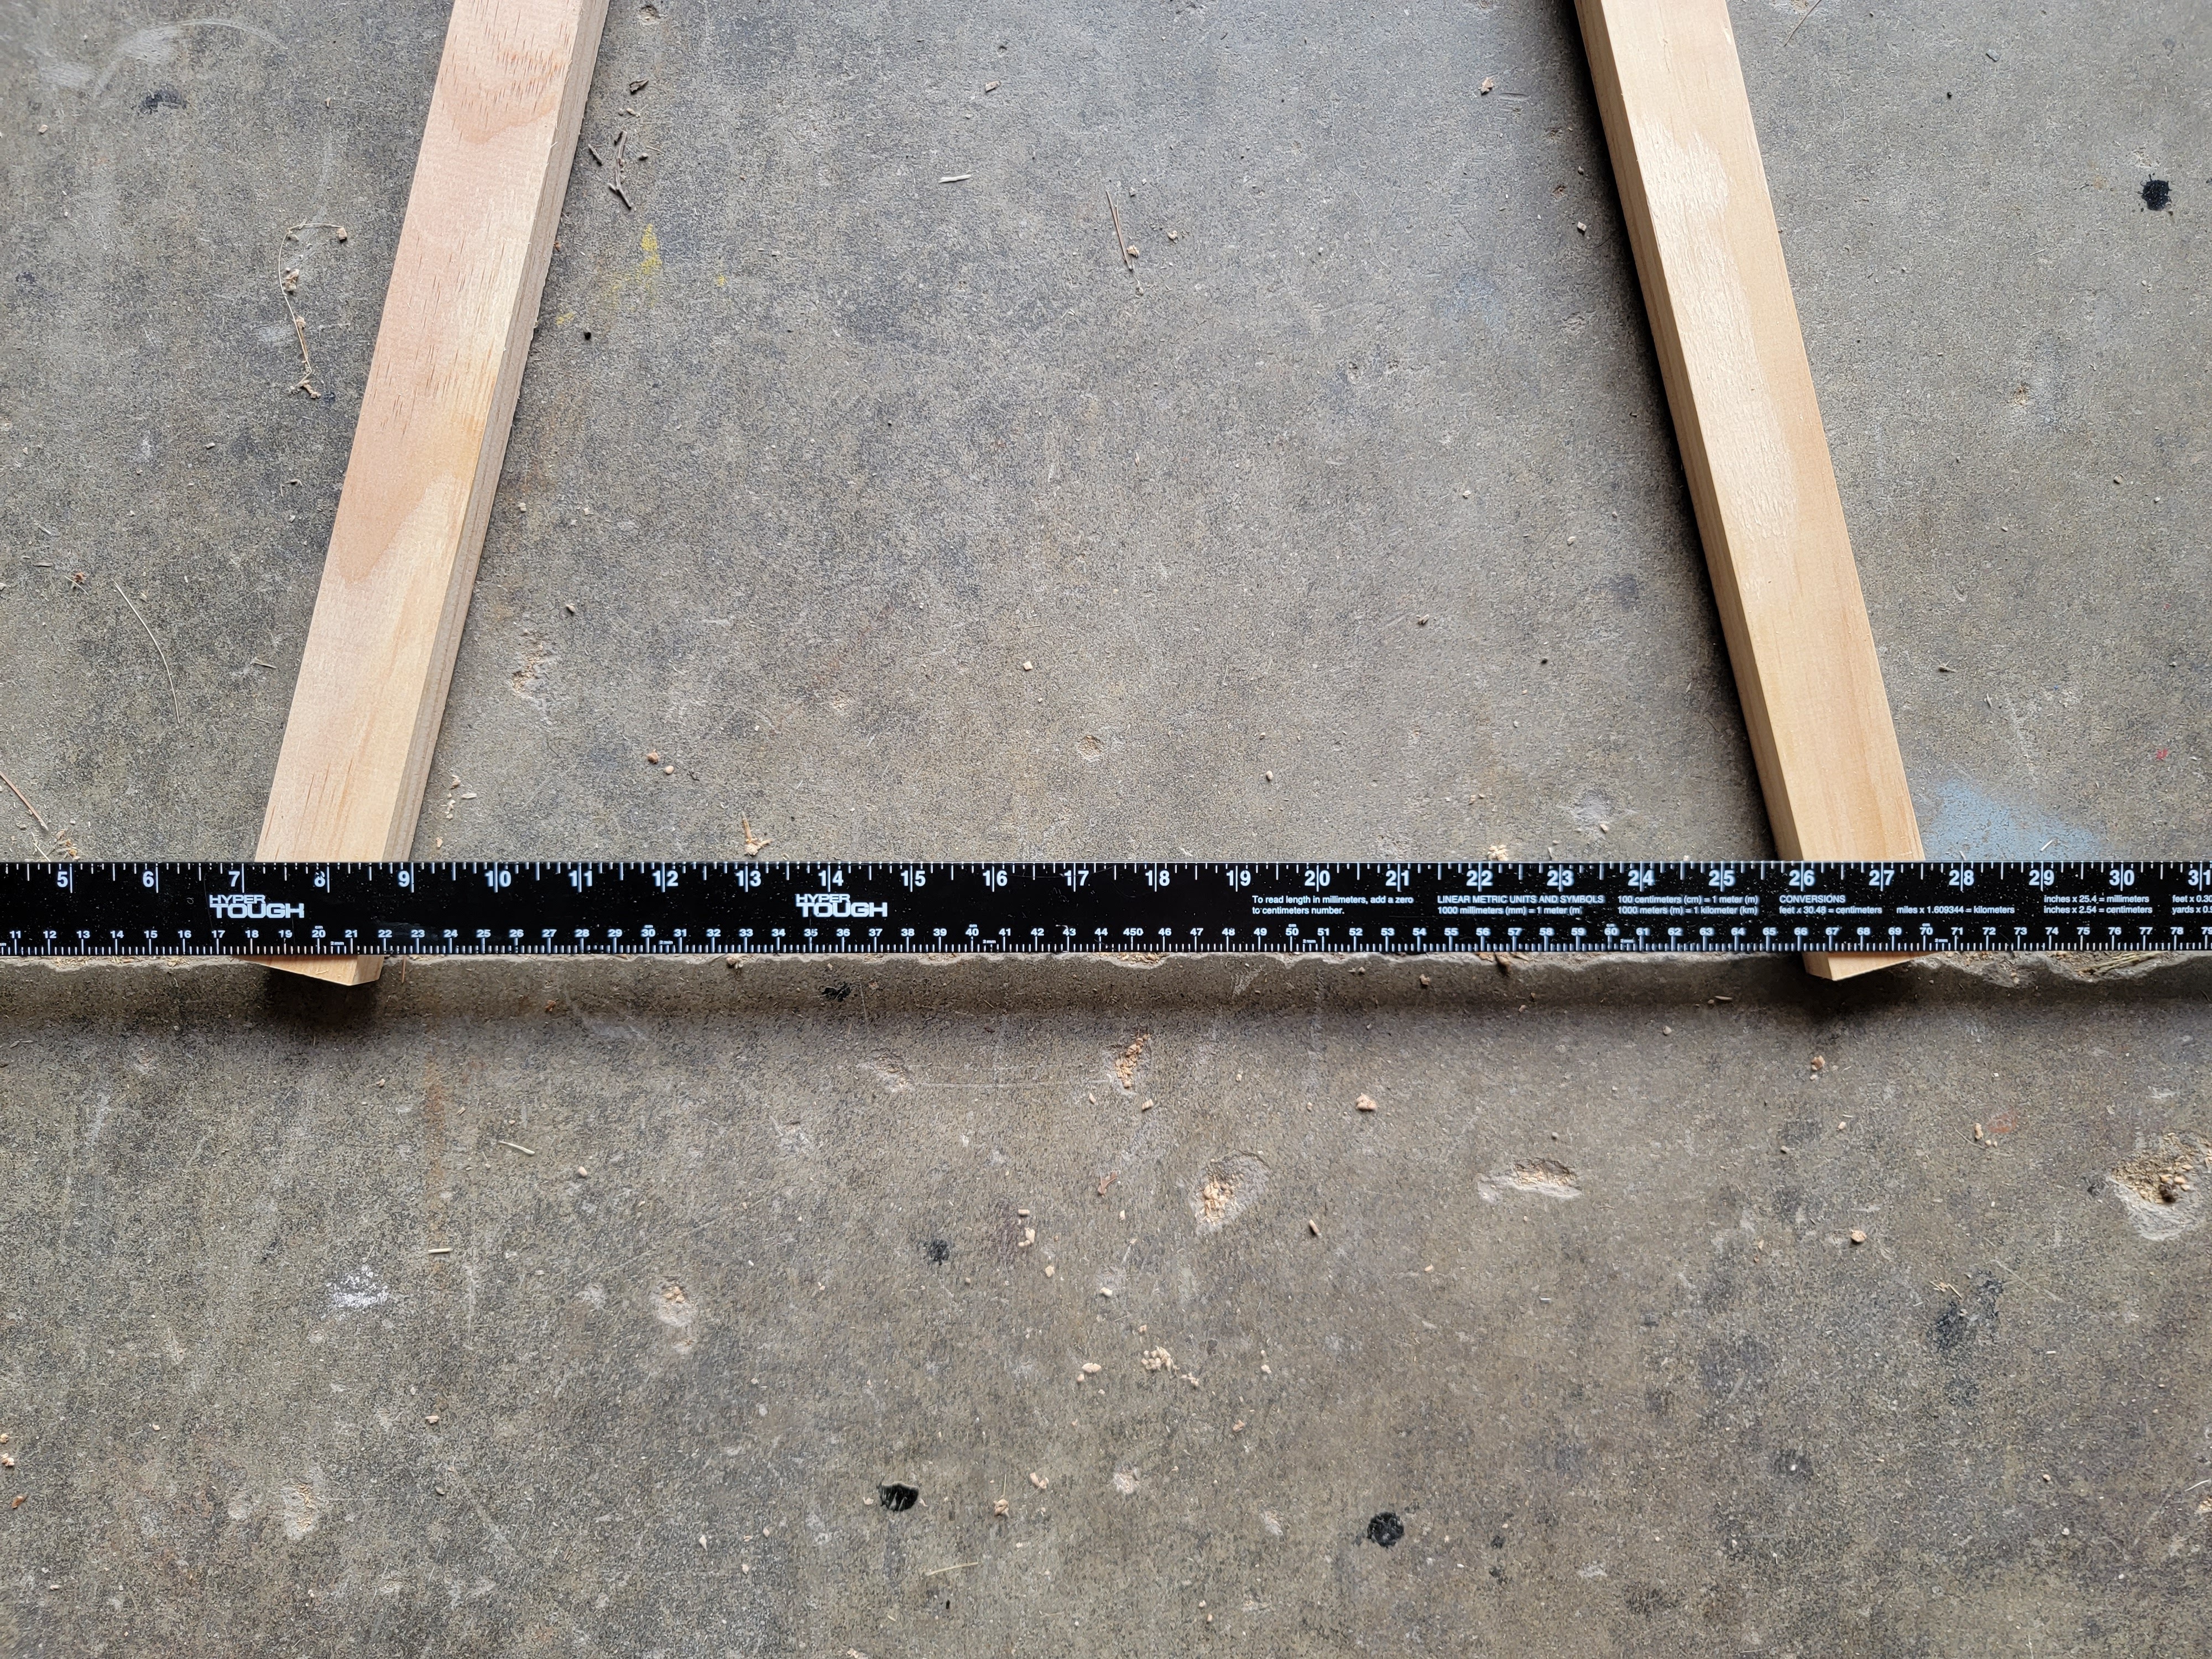
The first thing we did was determine the size of the table. I wanted the table to comfortably fit Lego baseplates so we chose dimensions based on how many baseplates we wanted to be in use. (Note: I made two mistakes here. I measured the baseplates quickly and said “oh, they’re 10x10s!” and went off that, when they are in fact 10 1/32″. I was close, but learned the hard way that being a tiny bit off can cause issues. Also, I did not realize that when you actually click Legos in across baseplates, it separates the plates a teeny bit. Nothing too significant, but again, enough to make a difference in measurement. Make sure to take this into account when determining size! More on these mistakes later.)
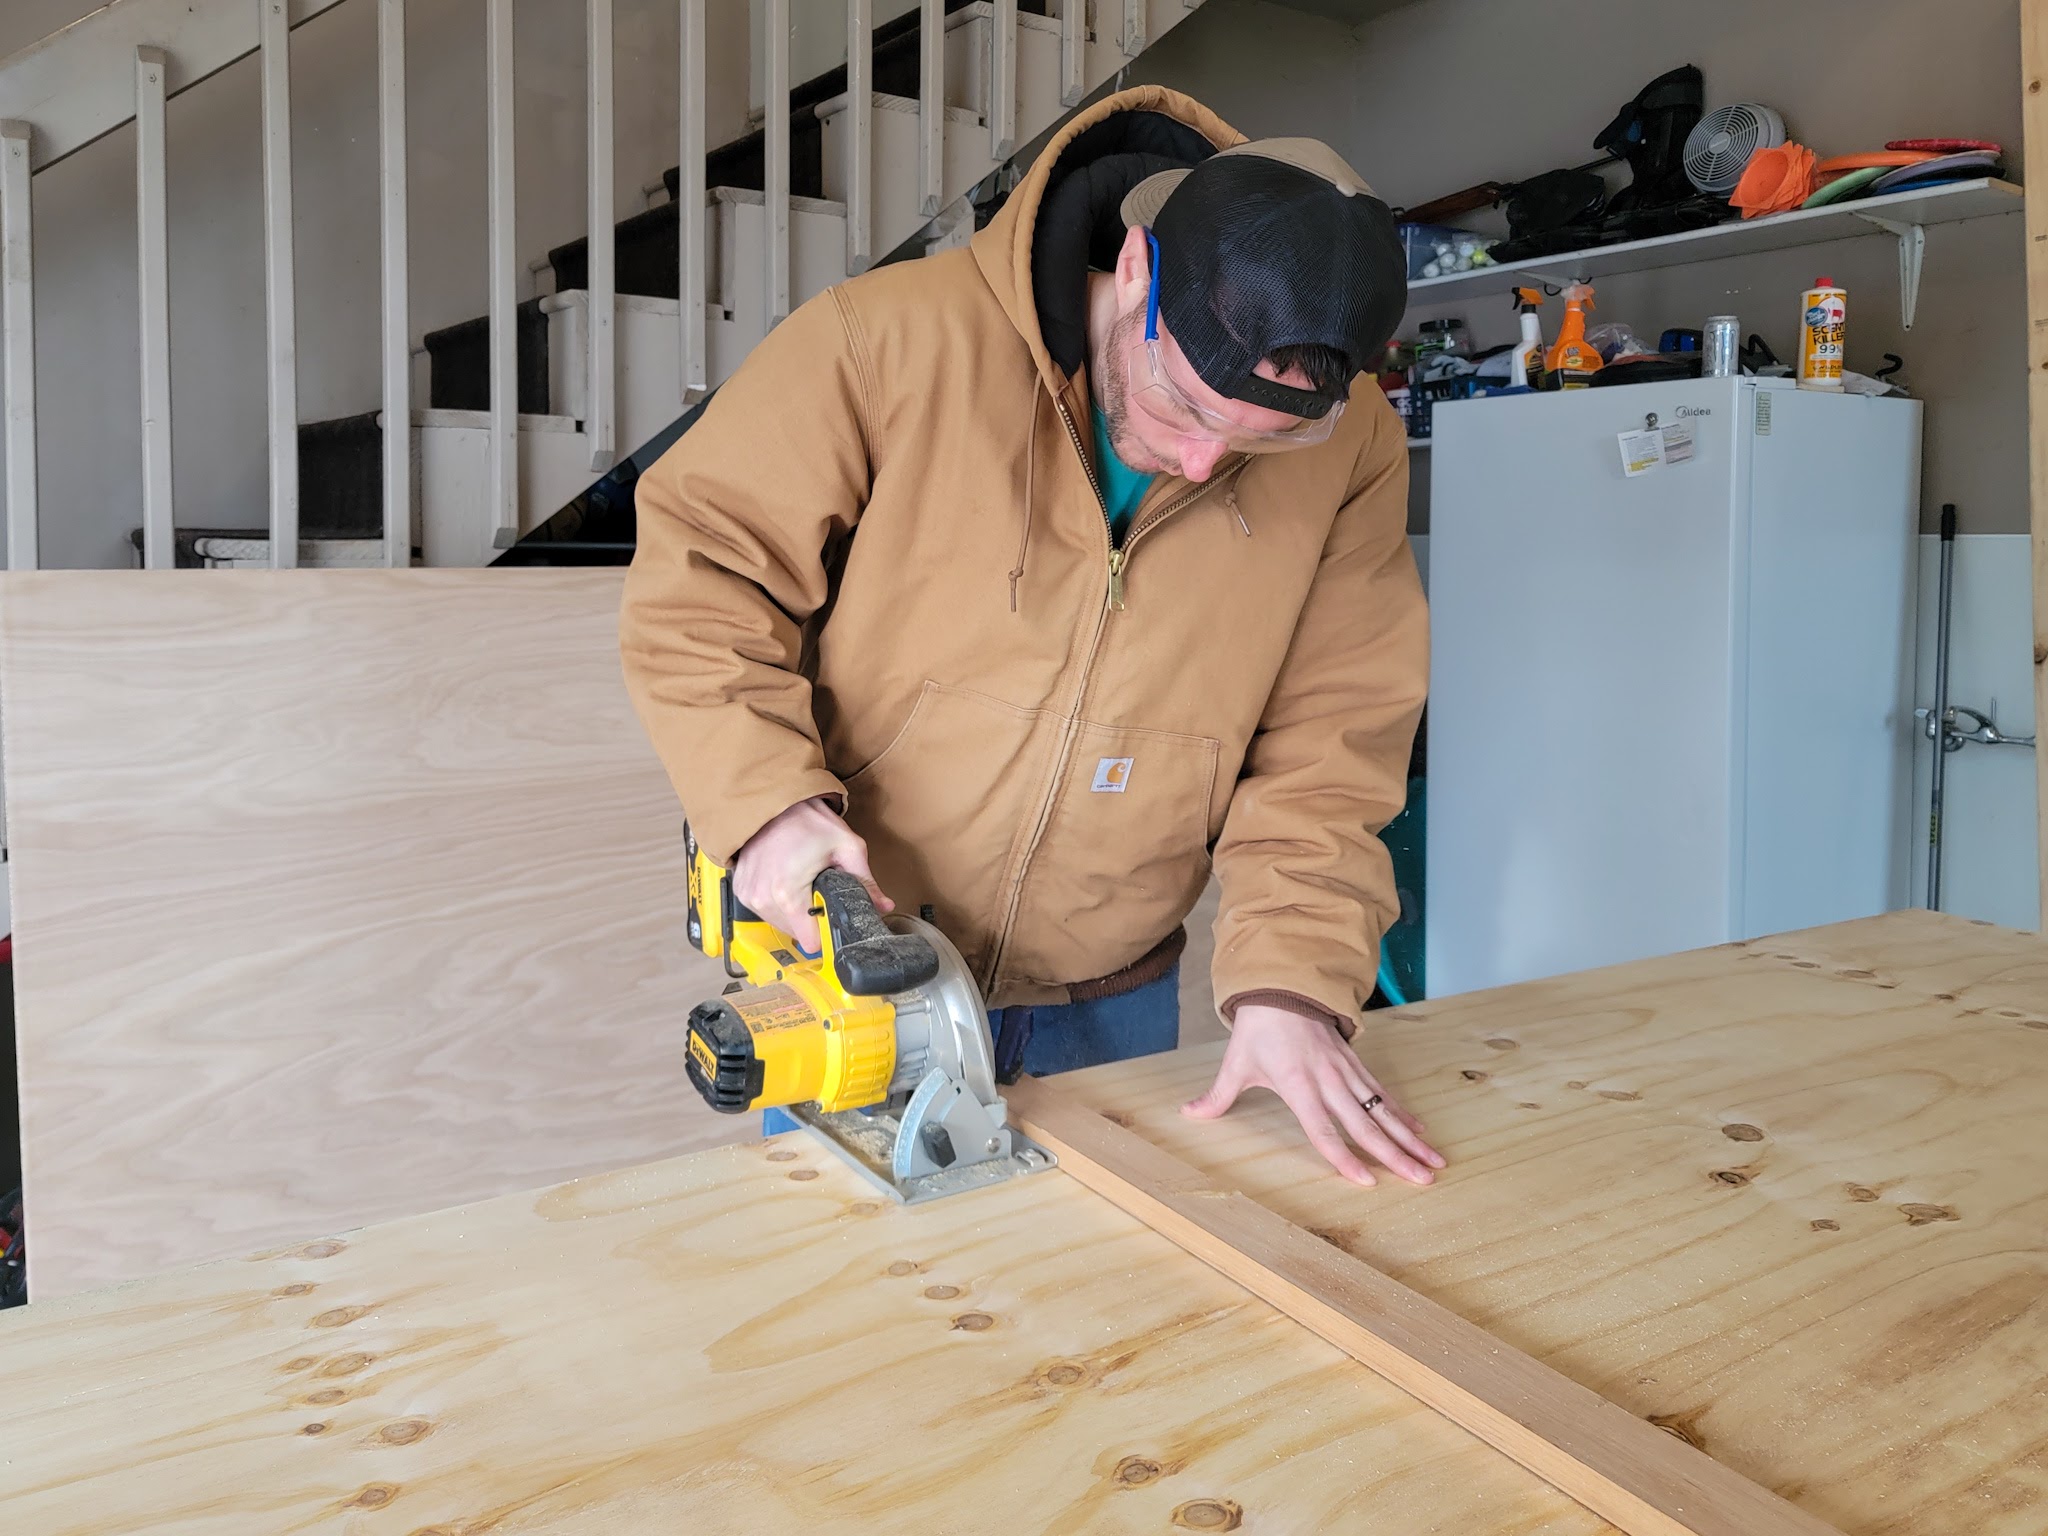
We measured and marked the desired length and width onto the pine plywood. We accounted for 1/8″ wiggle room and Justin used clamps and a long piece of scrap pine to serve as a guide to keep the cut straight. He used his circular saw to cut both sides; the saw will cause a bit of splinting on whatever side is facing up, so have the nicer side facing down! I lightly sanded the edges with a piece of 220-grit sandpaper to remove the splints.
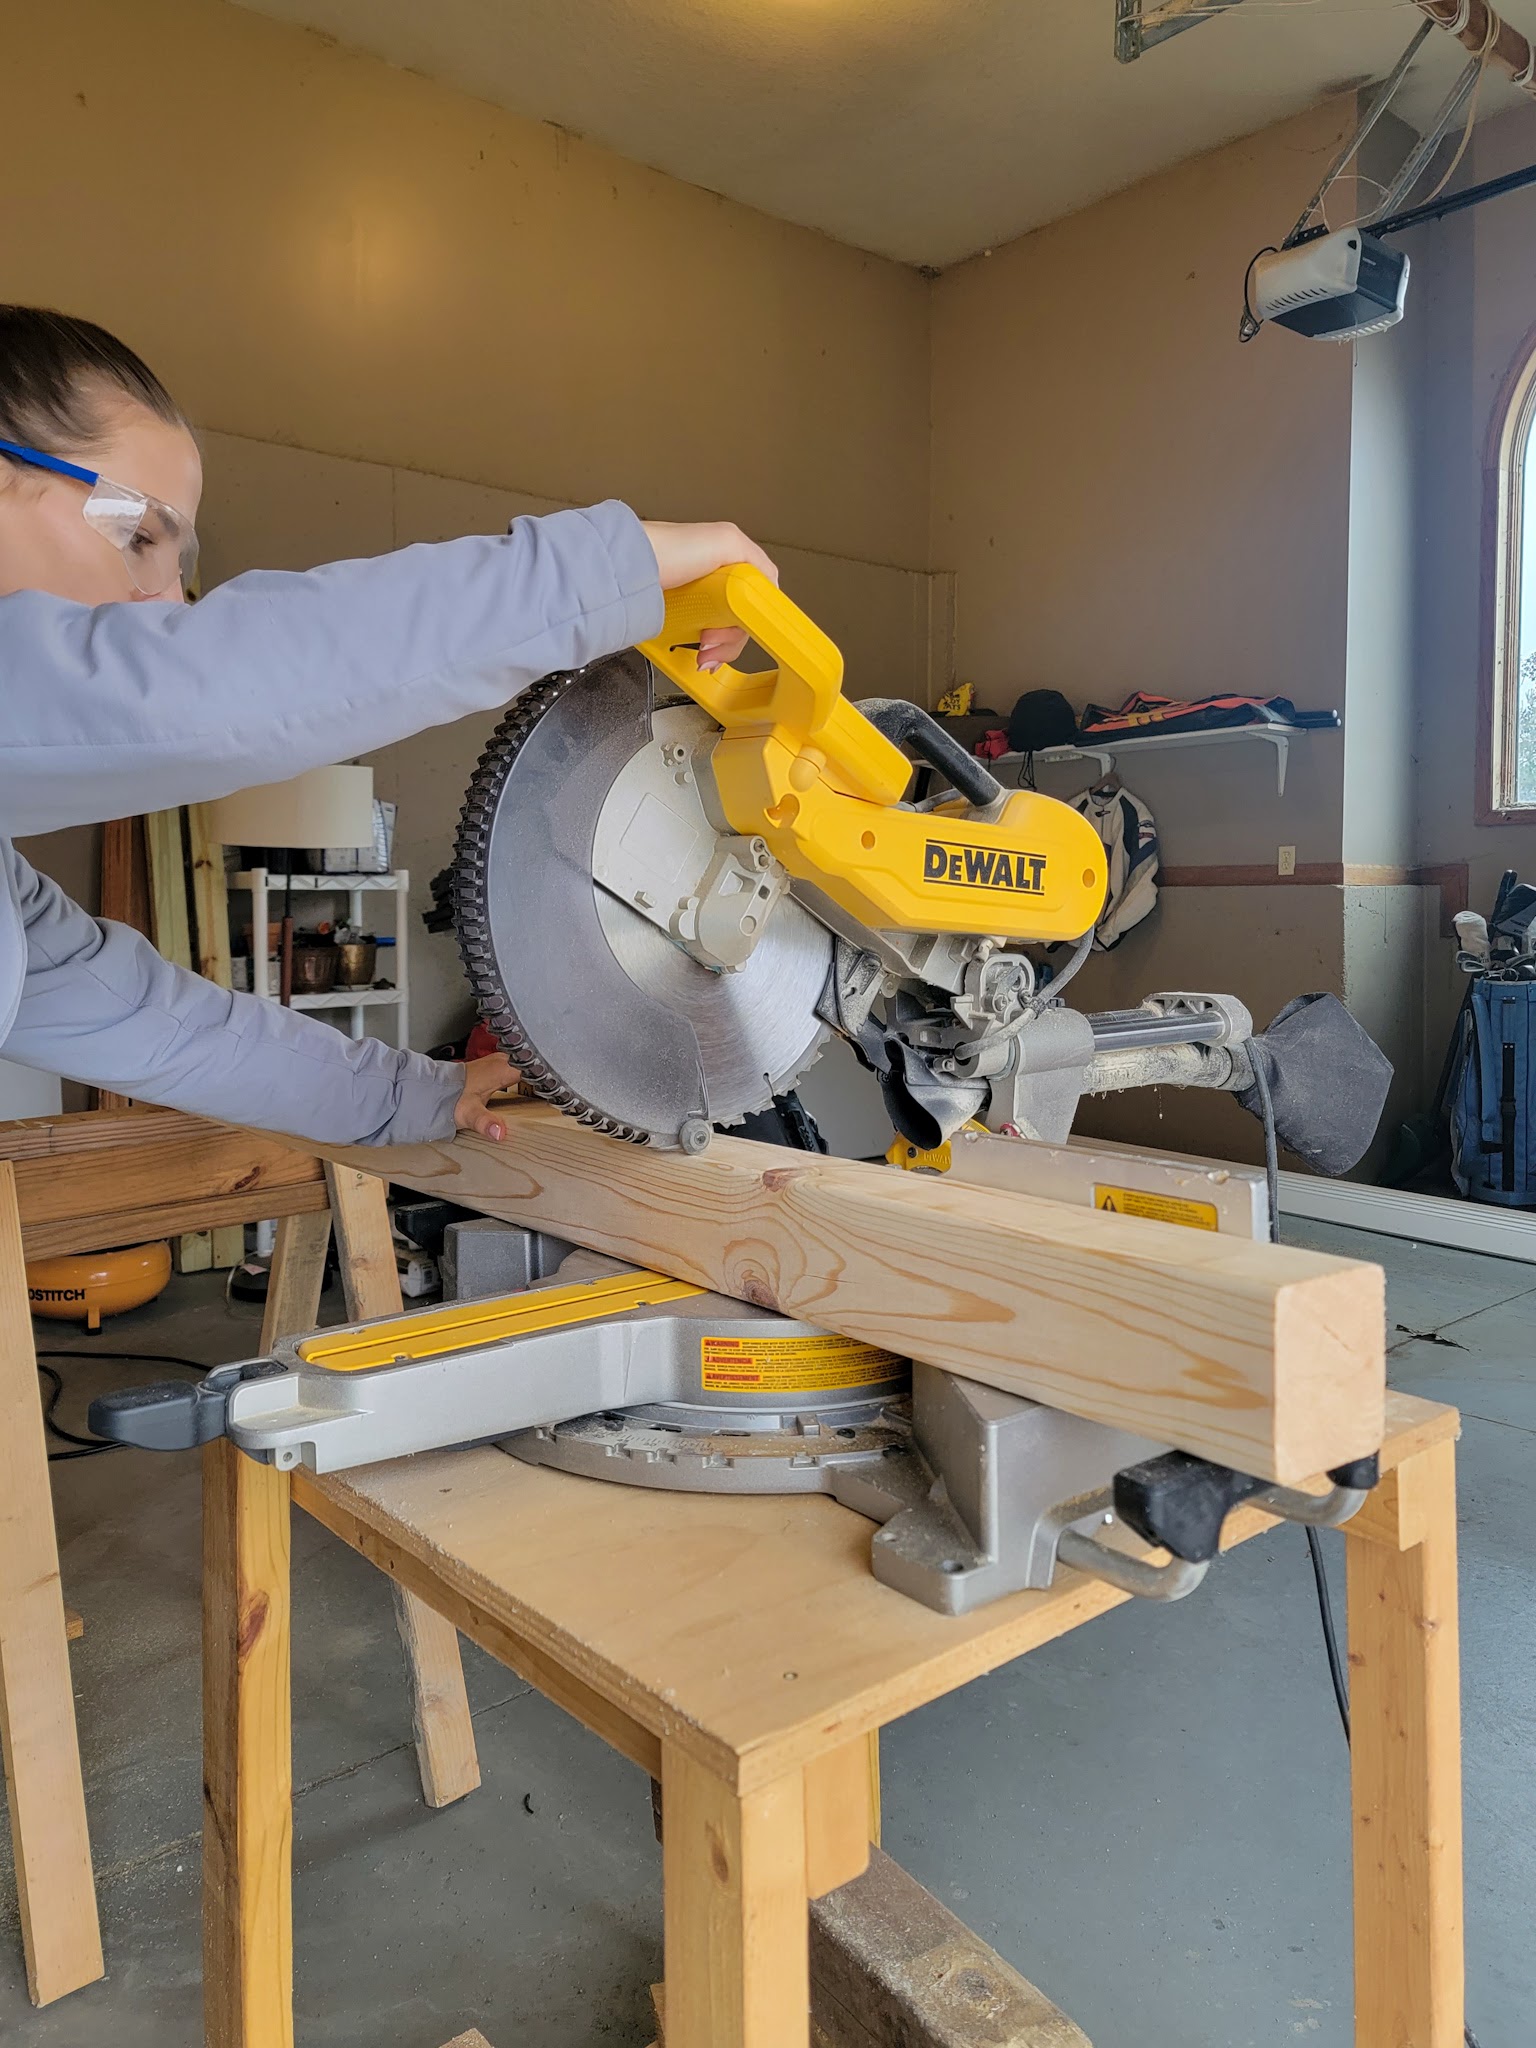
We determined the height we wanted based on a combination of factors – we wanted it a little higher than our train table but a little lower than our play kitchen. We determined 19 1/4″ for the legs (so with the 3/4″ plywood on top, we’d be at a 20″ table height) and I used the miter saw to cut them all to size.
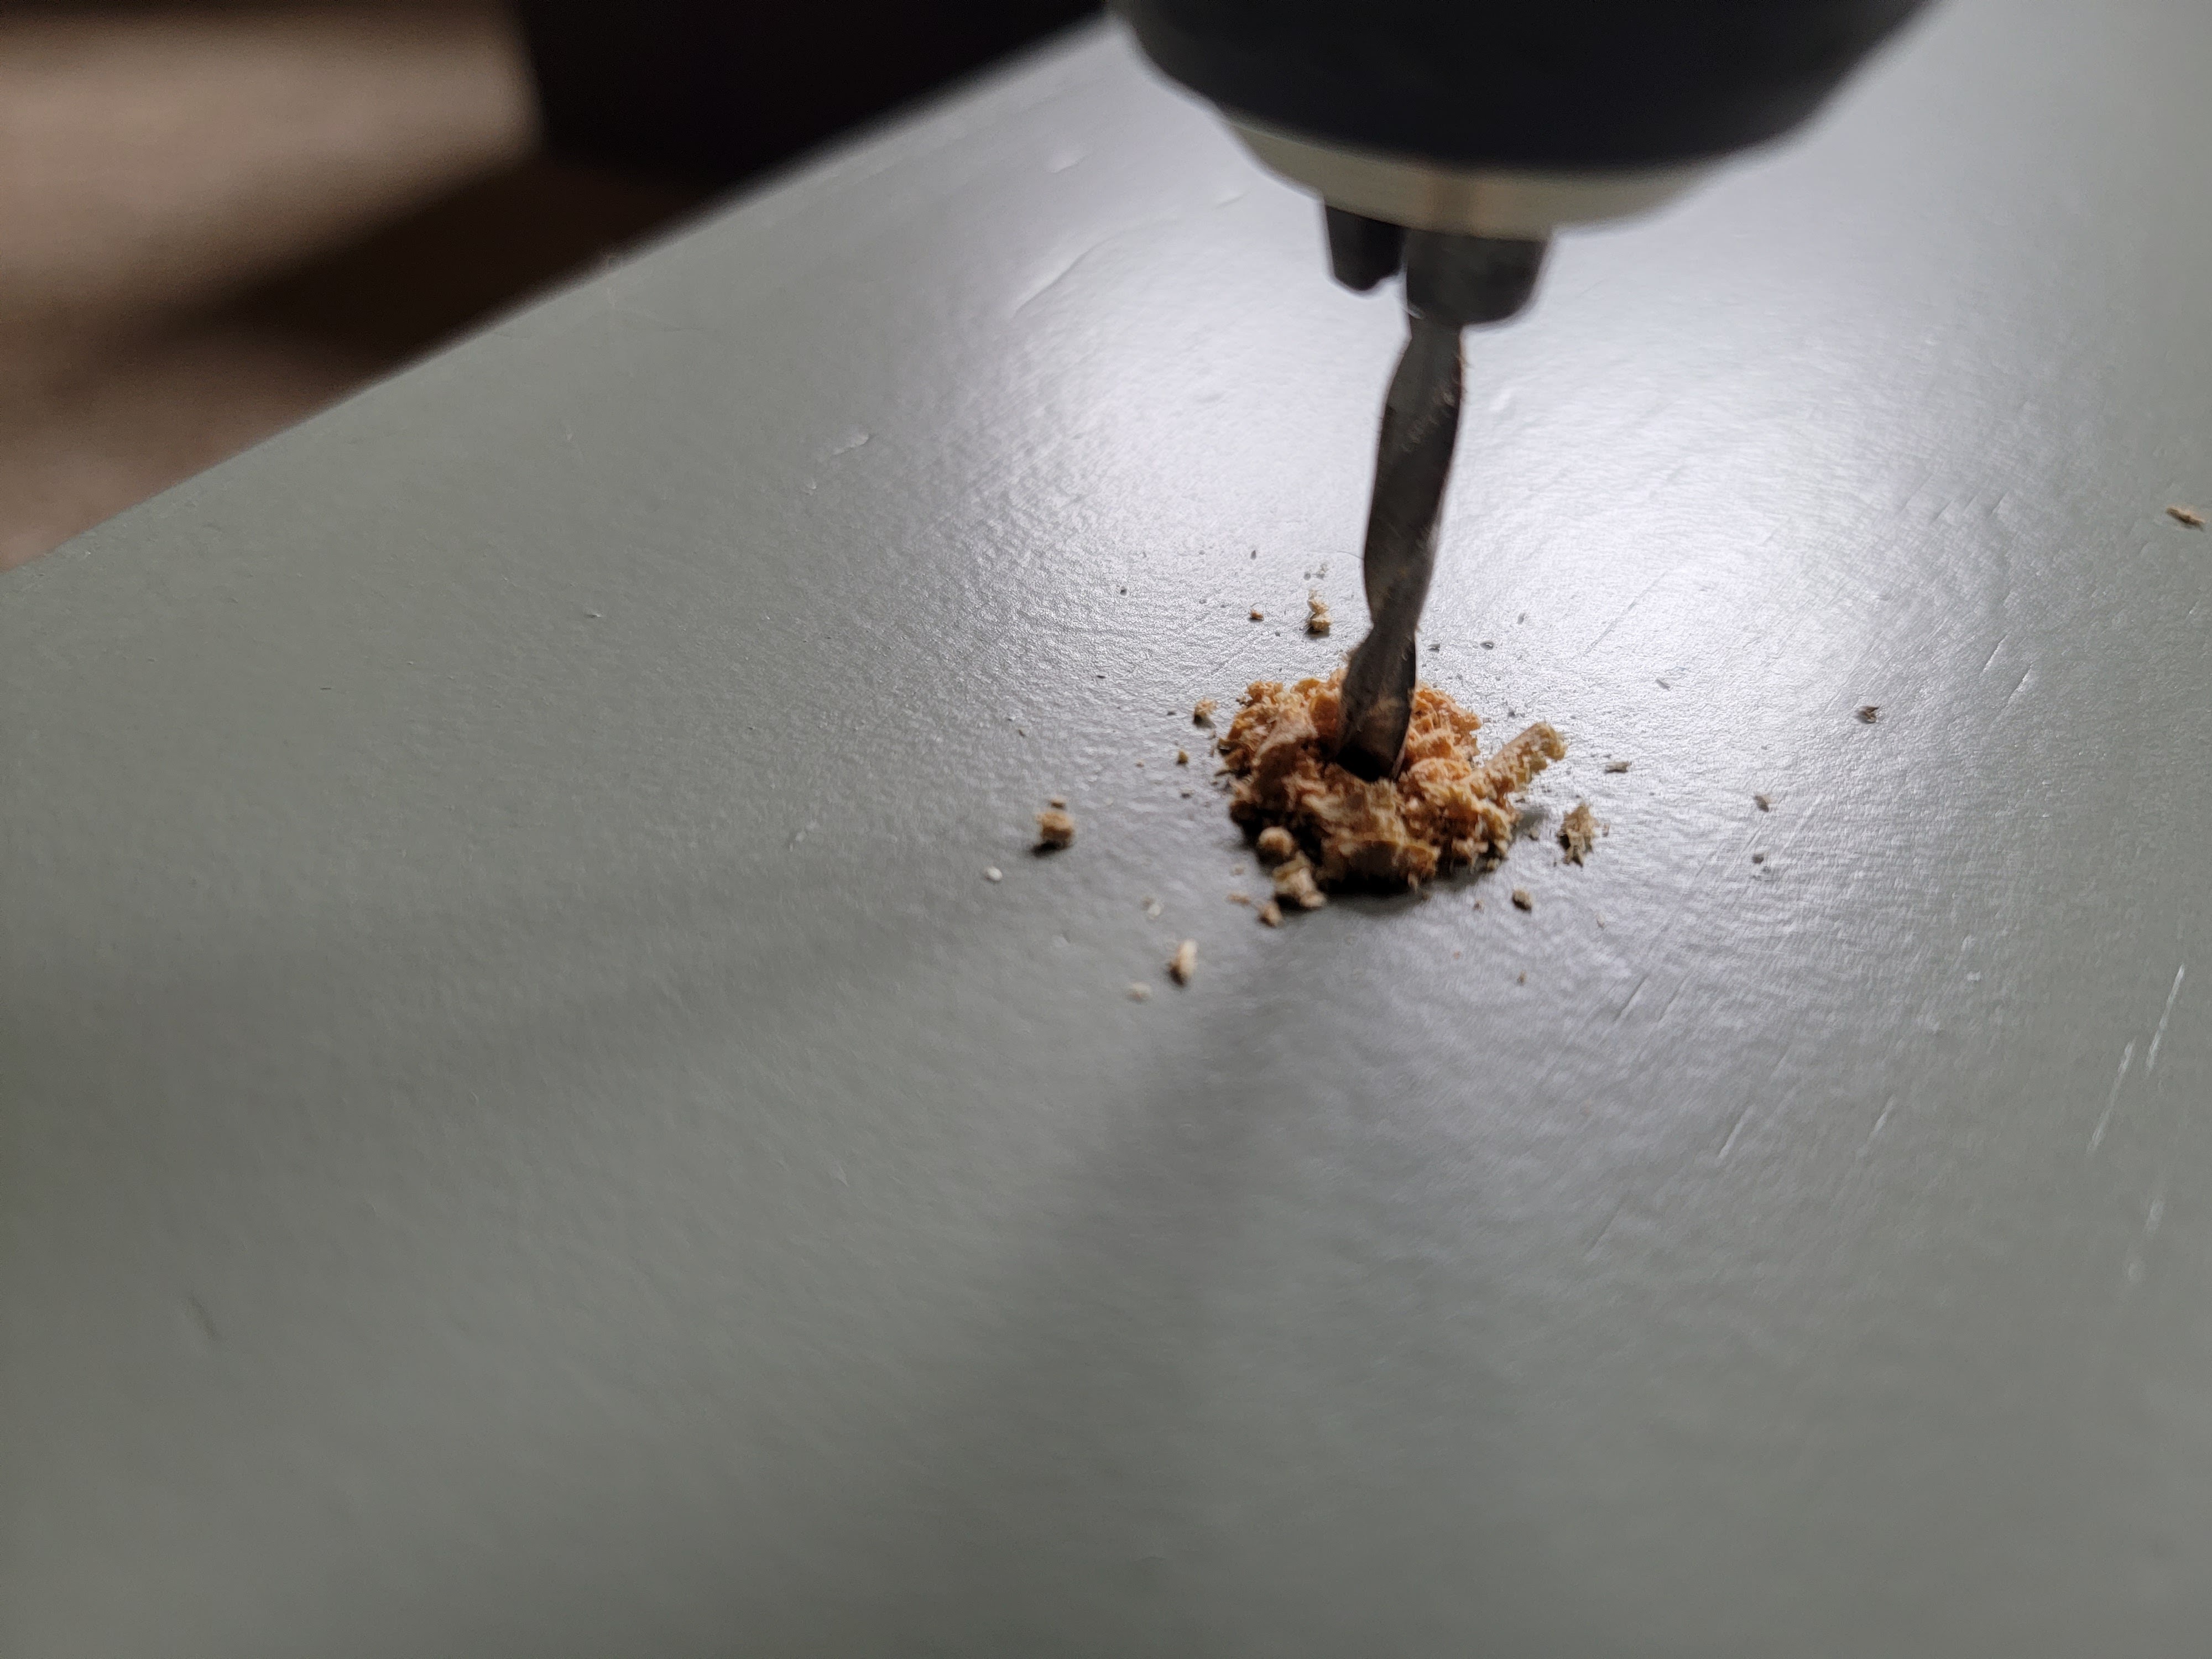
We installed the legs using two 1 3/4″ inch wood screws from the plywood down into each leg. We highly recommend drilling pilot holes first!
Also, make sure you’re thinking about how you’re going to be installing the table sides and place the screws going down away from where you’re going to need to screw in from the side.
To create sides, we used pine 1x6s. I started with the short ends first and measured the precise lengths of the plywood (measure each side individually in case they’re not perfectly the same). I cut the 1×6 down to size using the miter saw. We played around a bit with the placement to determine how high of a “fence” we wanted around the table. We wanted something tall enough to corral all Legos and allow for creations to remain in place once the lid was on, but something short enough for little arms to reach over and access the middle of the table easily.
We settled on a placement that created a 3 1/4″ fence around the table. Justin came up with the idea to clamp a level to use as a guide to rest the 1×6 on to make sure the wood was installed straight (we did not use the level itself to determine “levelness” since the floor might not be level, but instead measured from the plywood down on both sides to make sure placement was consistent).
We ran a bead of wood glue across the edge of the plywood and used a wood screw on each end to drill into the legs (this is where it was important before to make sure to space out the screws going down into the legs!) We also ran a wood screw into the plywood in between the two legs for extra security.
The hardest side to install was the second short side – it needed to be exactly the same placement on the table as the opposite side but wasn’t being installed flush against an existing side, so we had to measure very carefully to ensure we placed it at the correct height. Double and triple check this before installing!
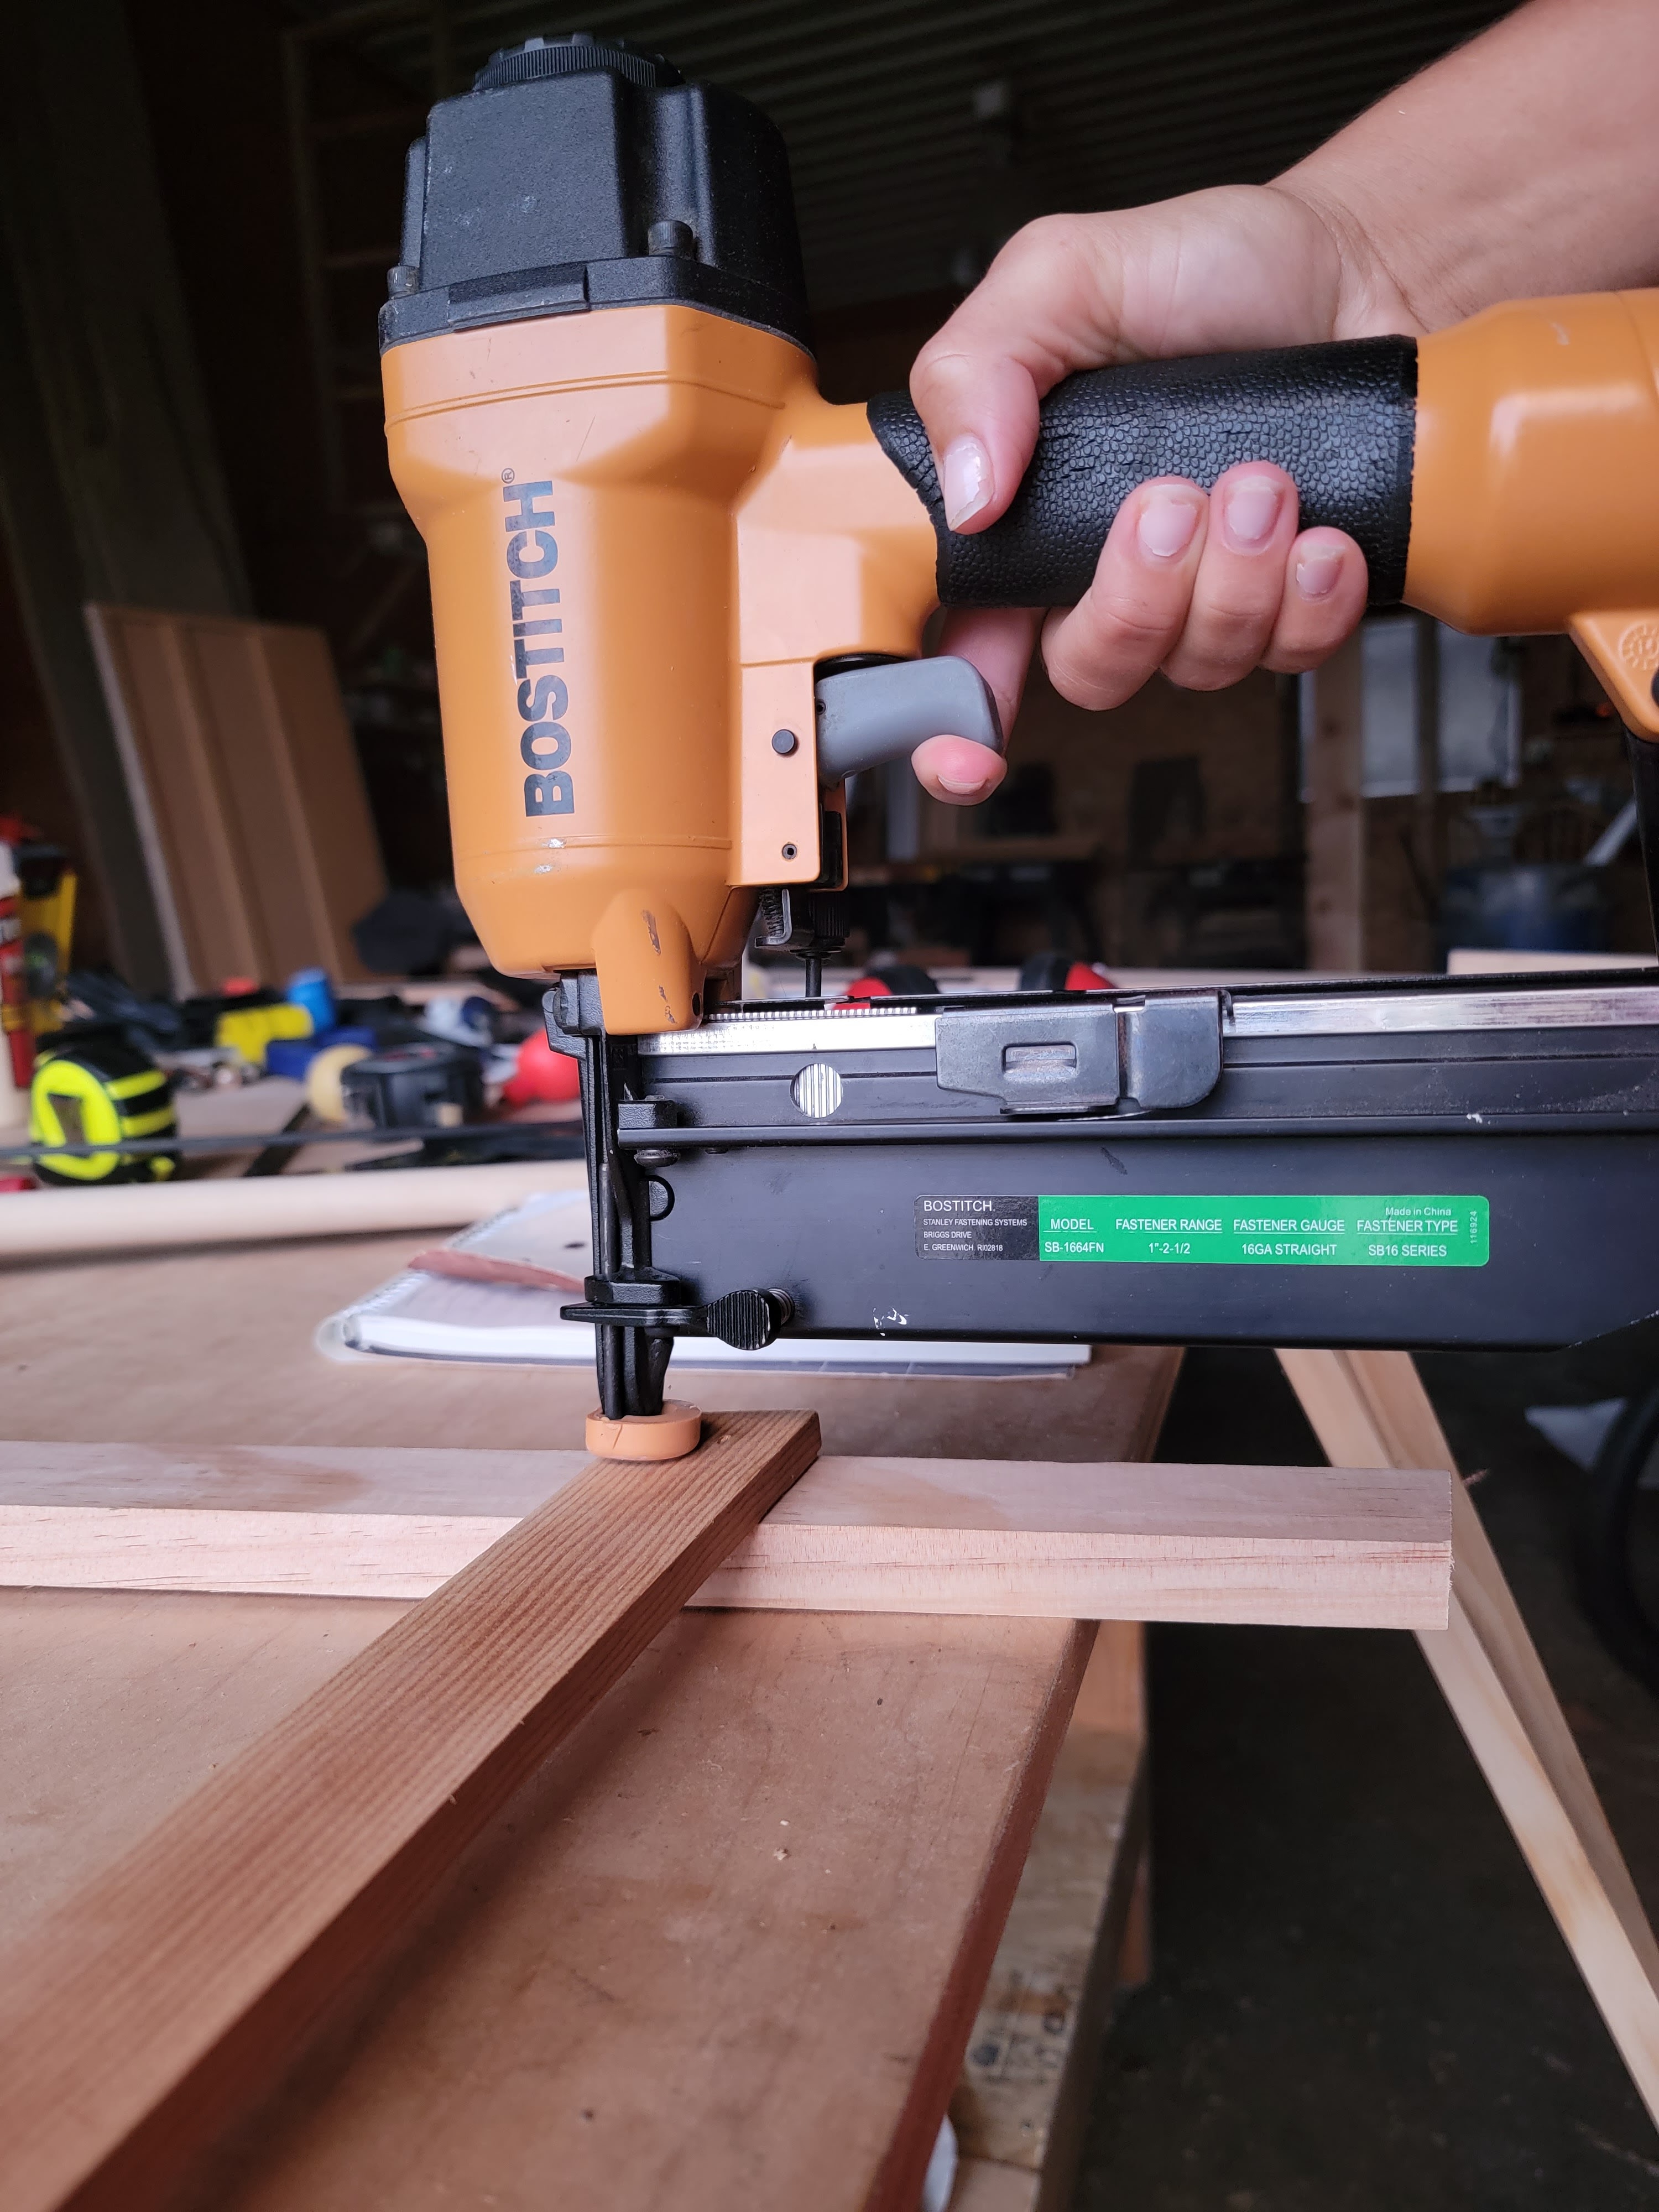
We followed the same process for the long sides, making sure to line up placement with the short sides. On these sides, we used four wood screws per side – one in each leg and two spaced out in between. We also used a nail gun to attach the long side edges into the short side ends.
At this point, the base was complete! I filled the nail holes with wood putty and gave all surfaces a light sand with 220-grit sandpaper before staining. (Note: We specifically chose pre-sanded wood to give ourselves a break on sanding, but I still recommend going over everything at least once to ensure no splinters!) I chose this black stain color and gave the table two coats of coverage. I chose to leave the inside base of the table natural since it would be covered by baseplates.
For the top, we measured the dimensions of the installed table sides and cut down the oak plywood to size using the circular saw and guide again, adding on a half each each way for some wiggle room. I went ahead and stained the bottom side of the table in this stain color.
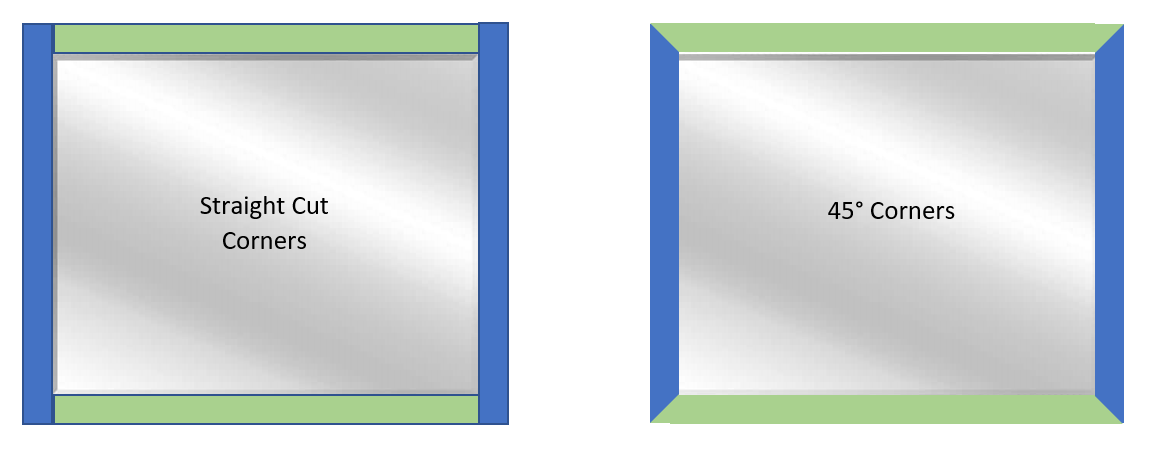
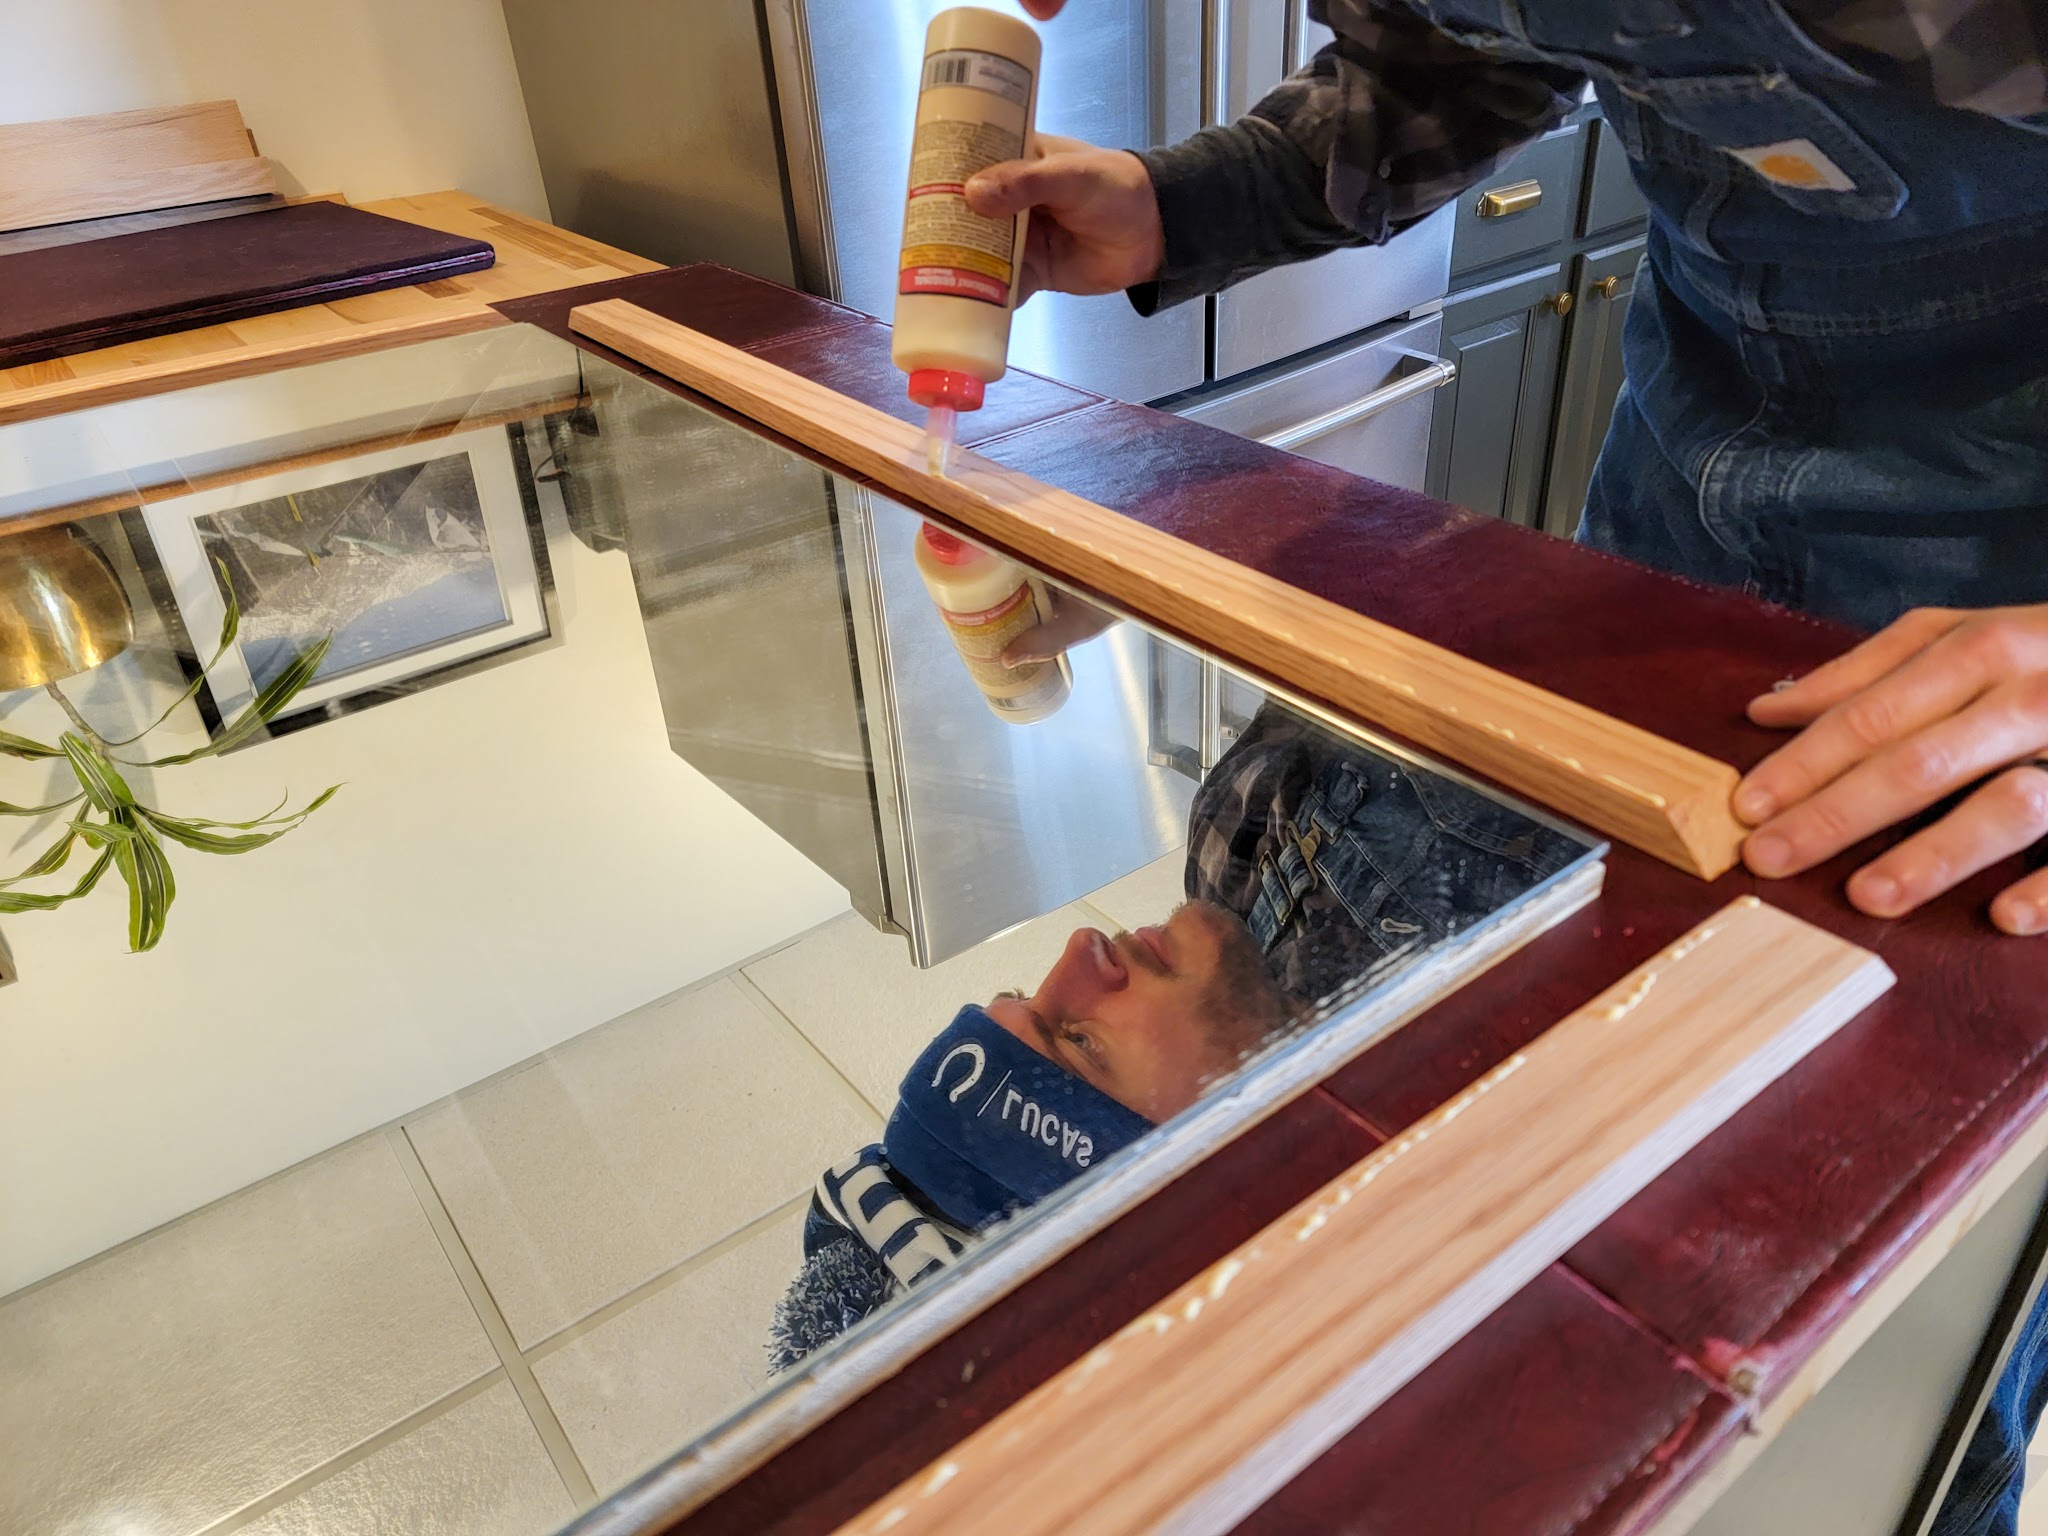
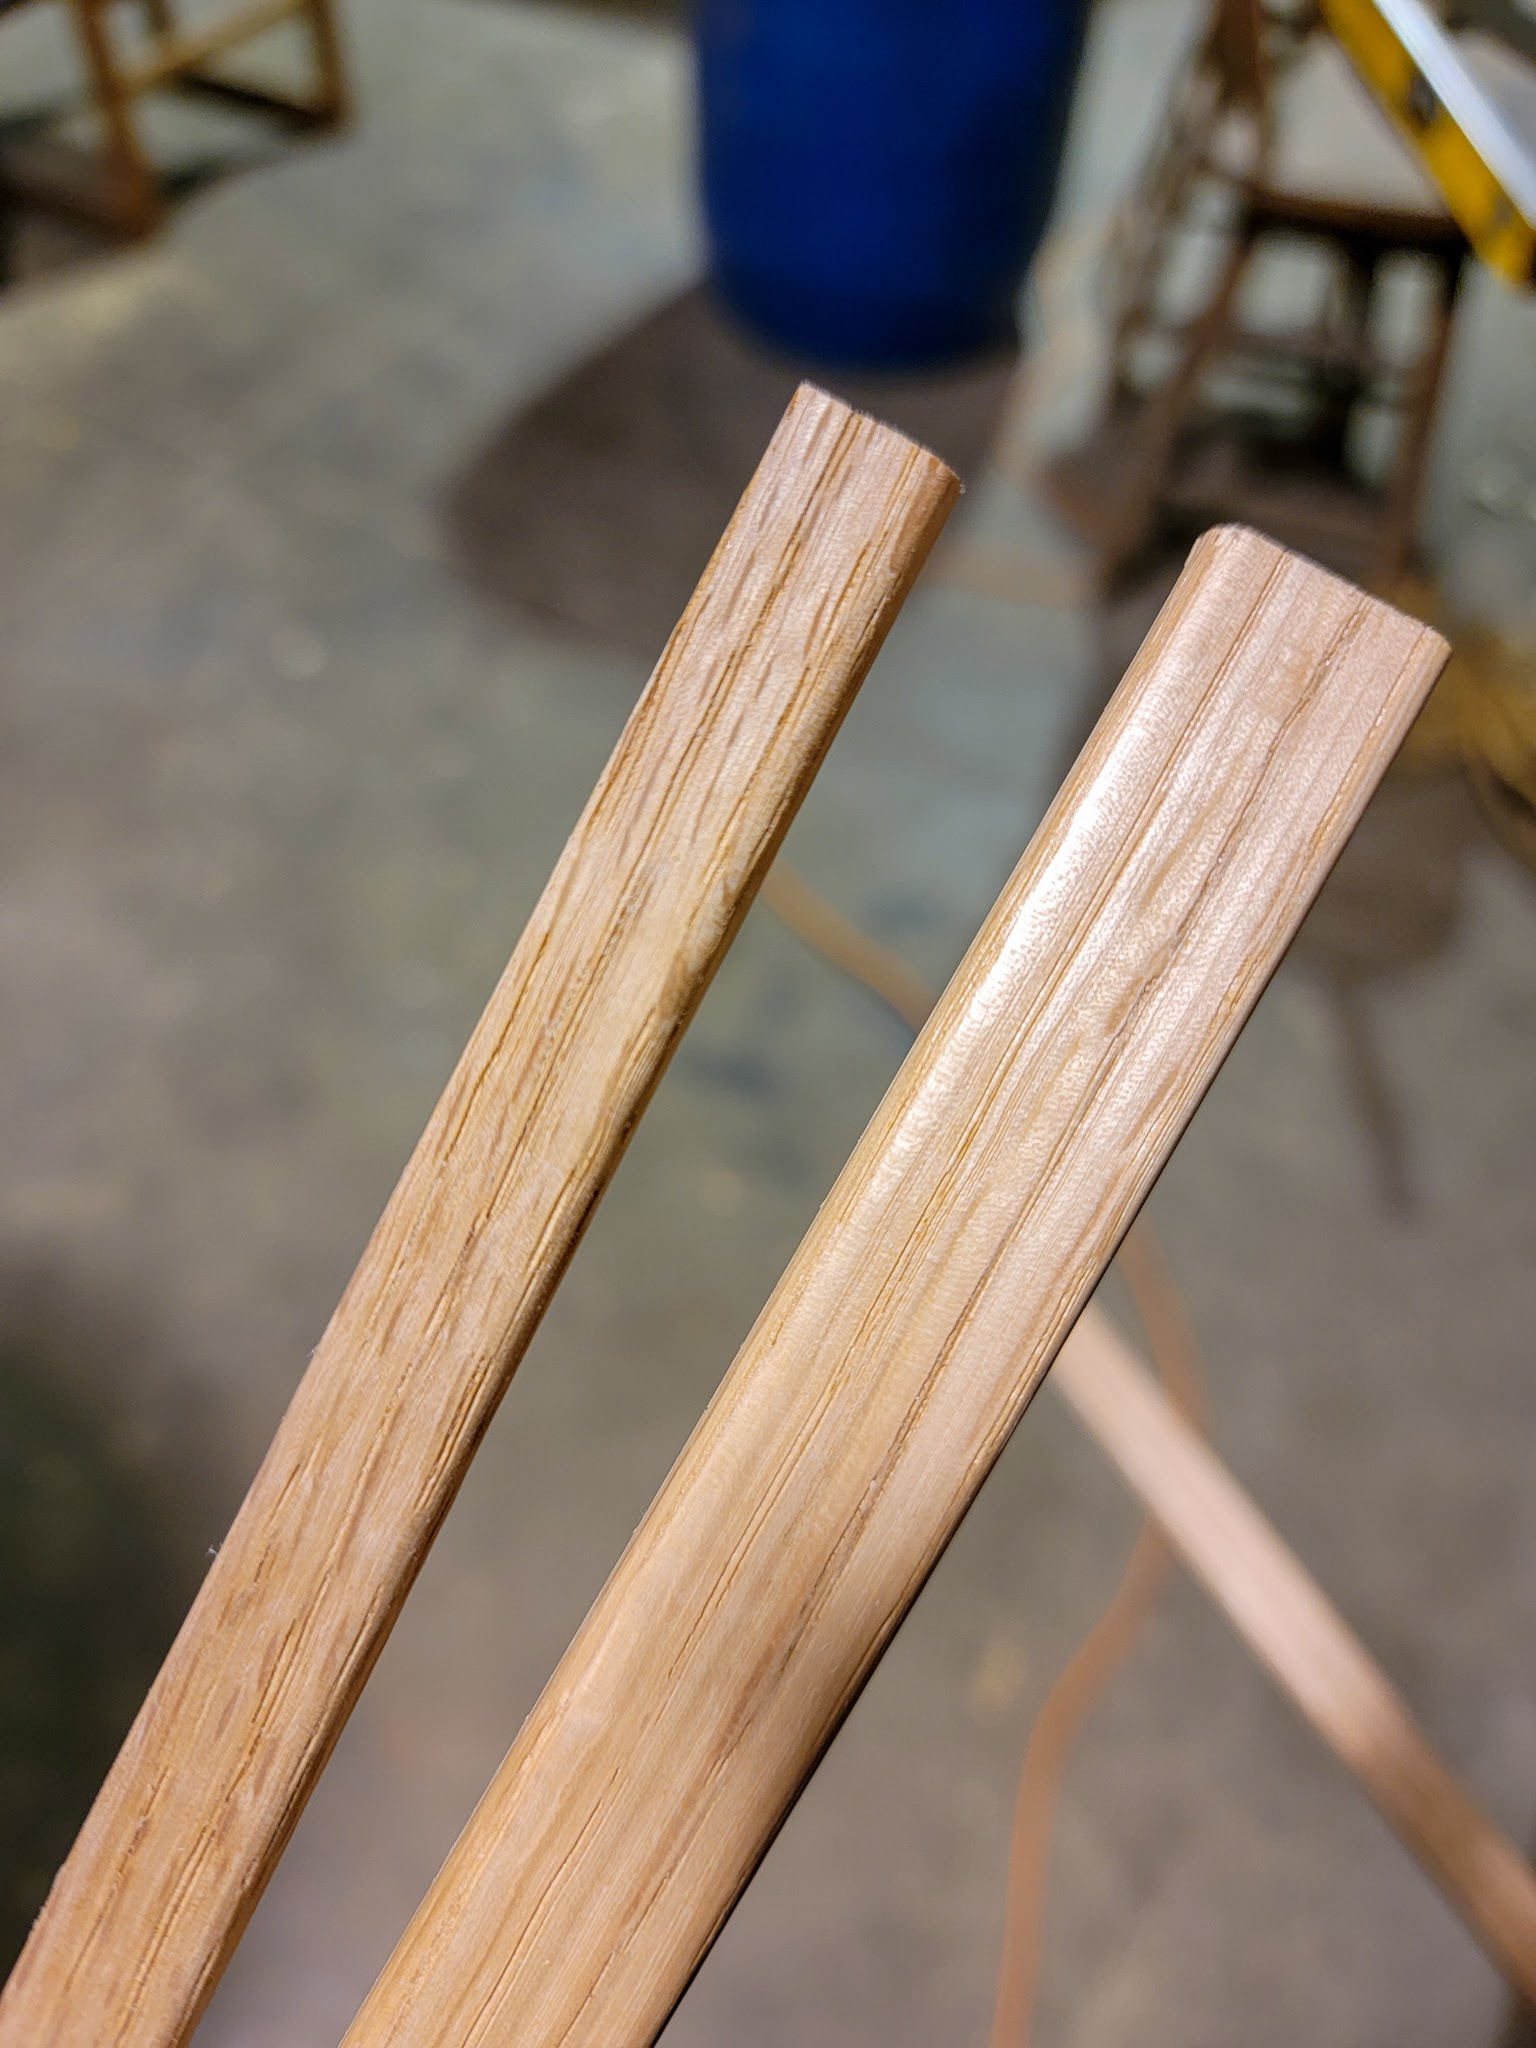
For the lip of the table, we repurposed an oak board we had removed from our guest room during that renovation. Justin planed it down to remove the old stain and ripped it into strips of 2″ width. I used a miter saw to cut the sides to length, once again starting on the short sides, and I stained the “inner” side before installing.
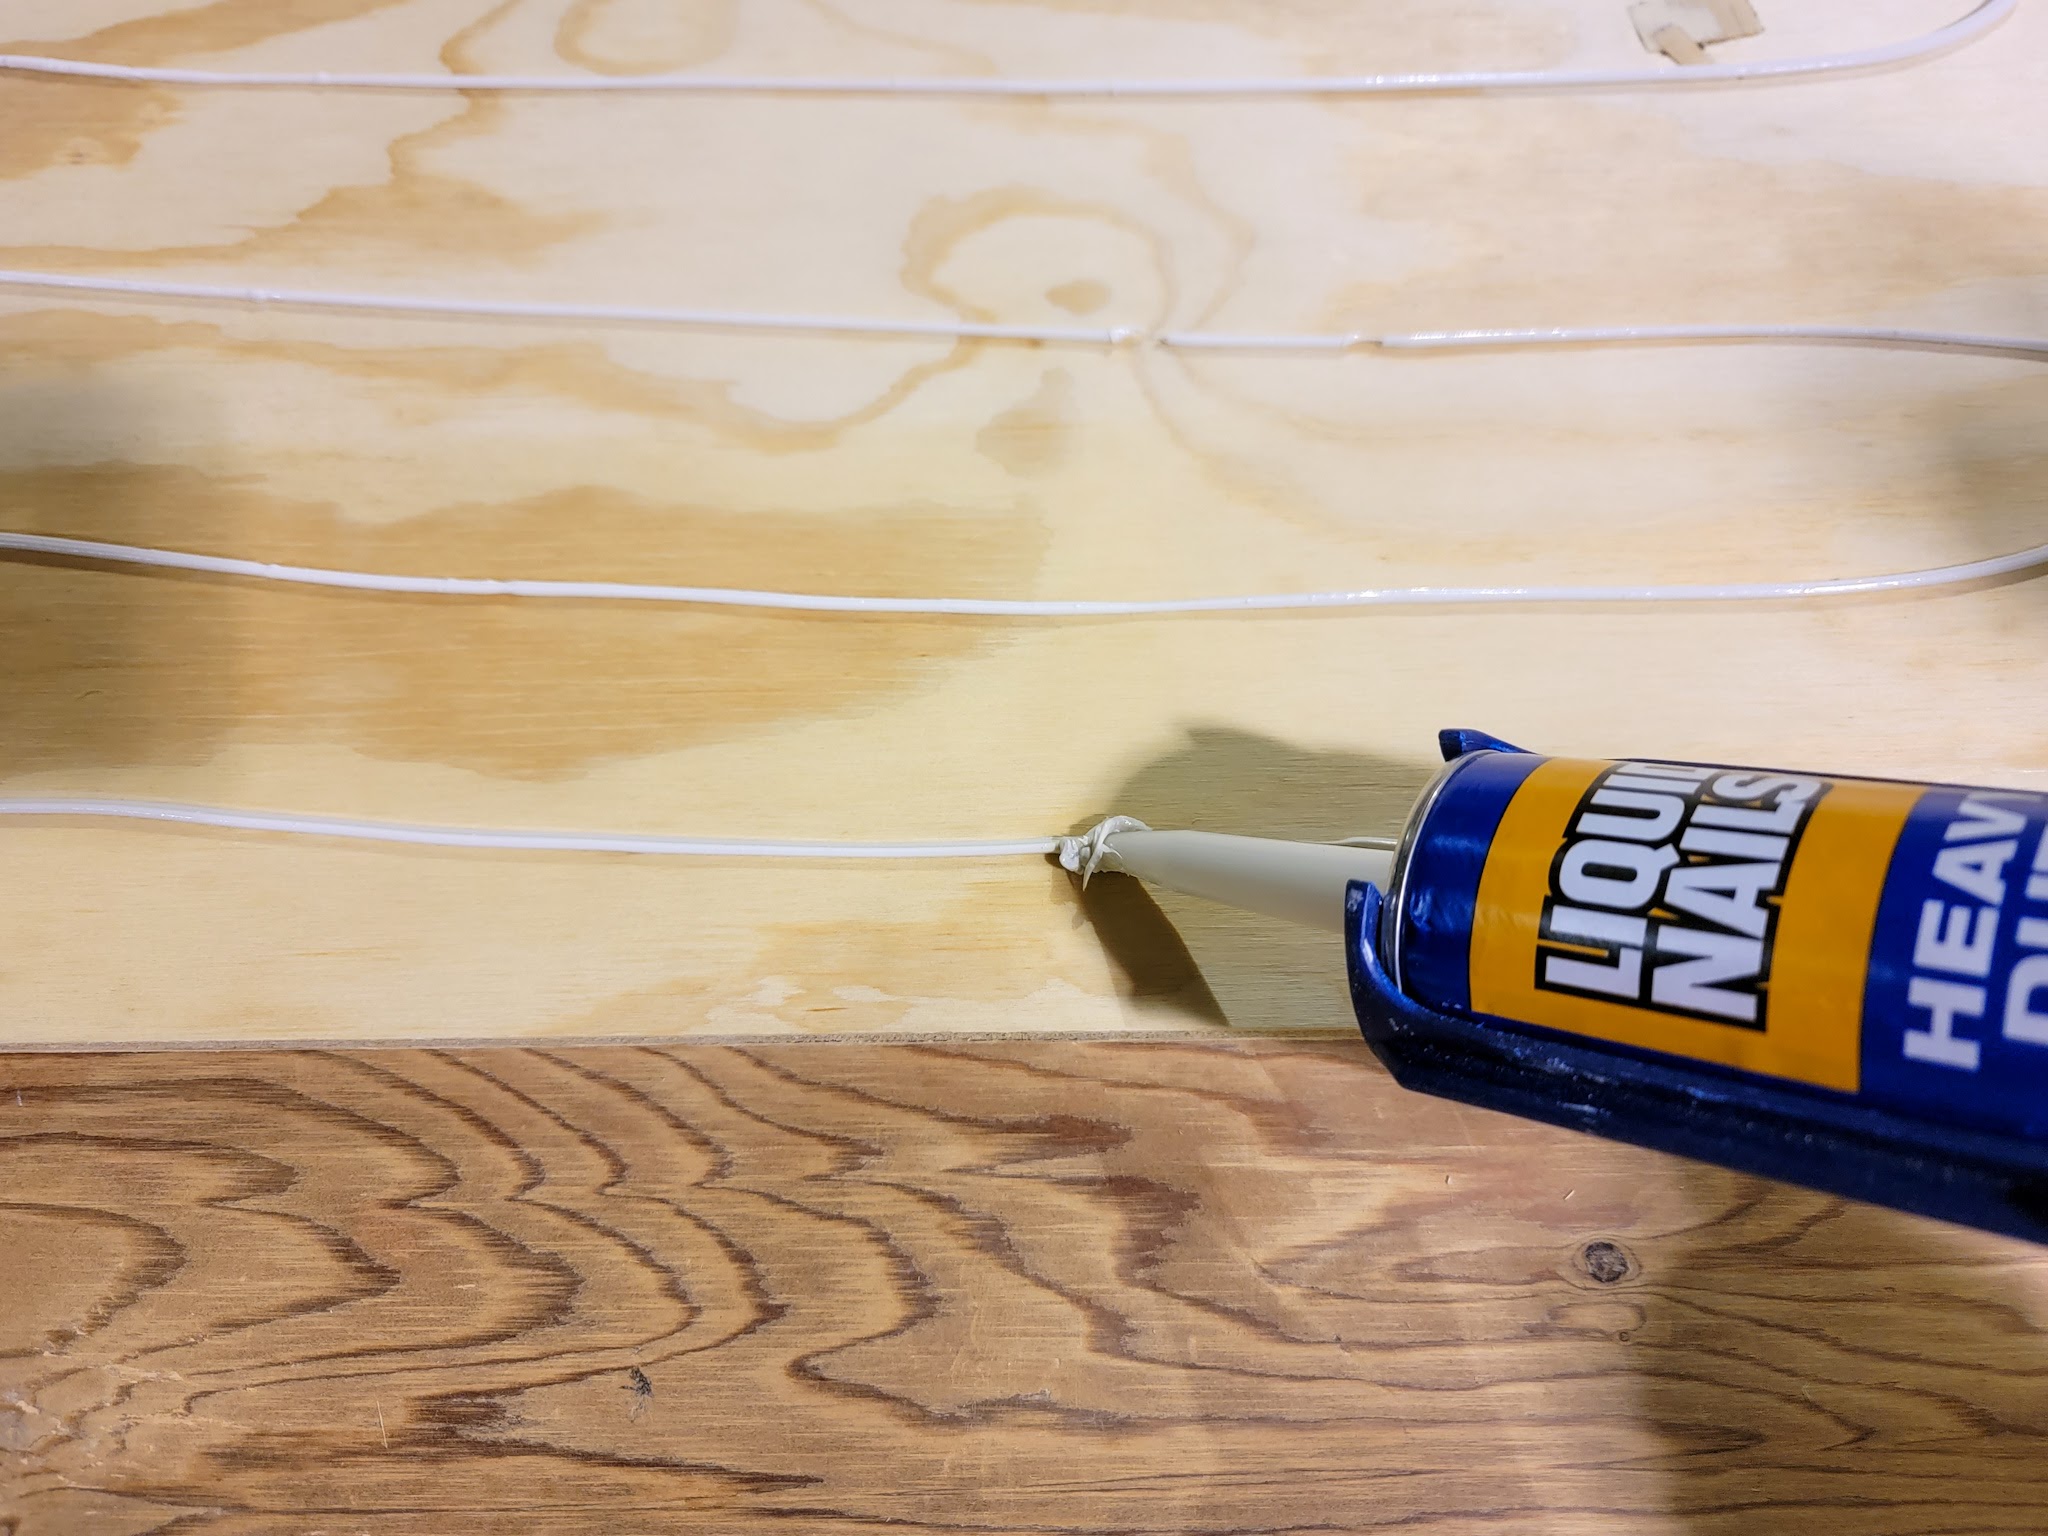
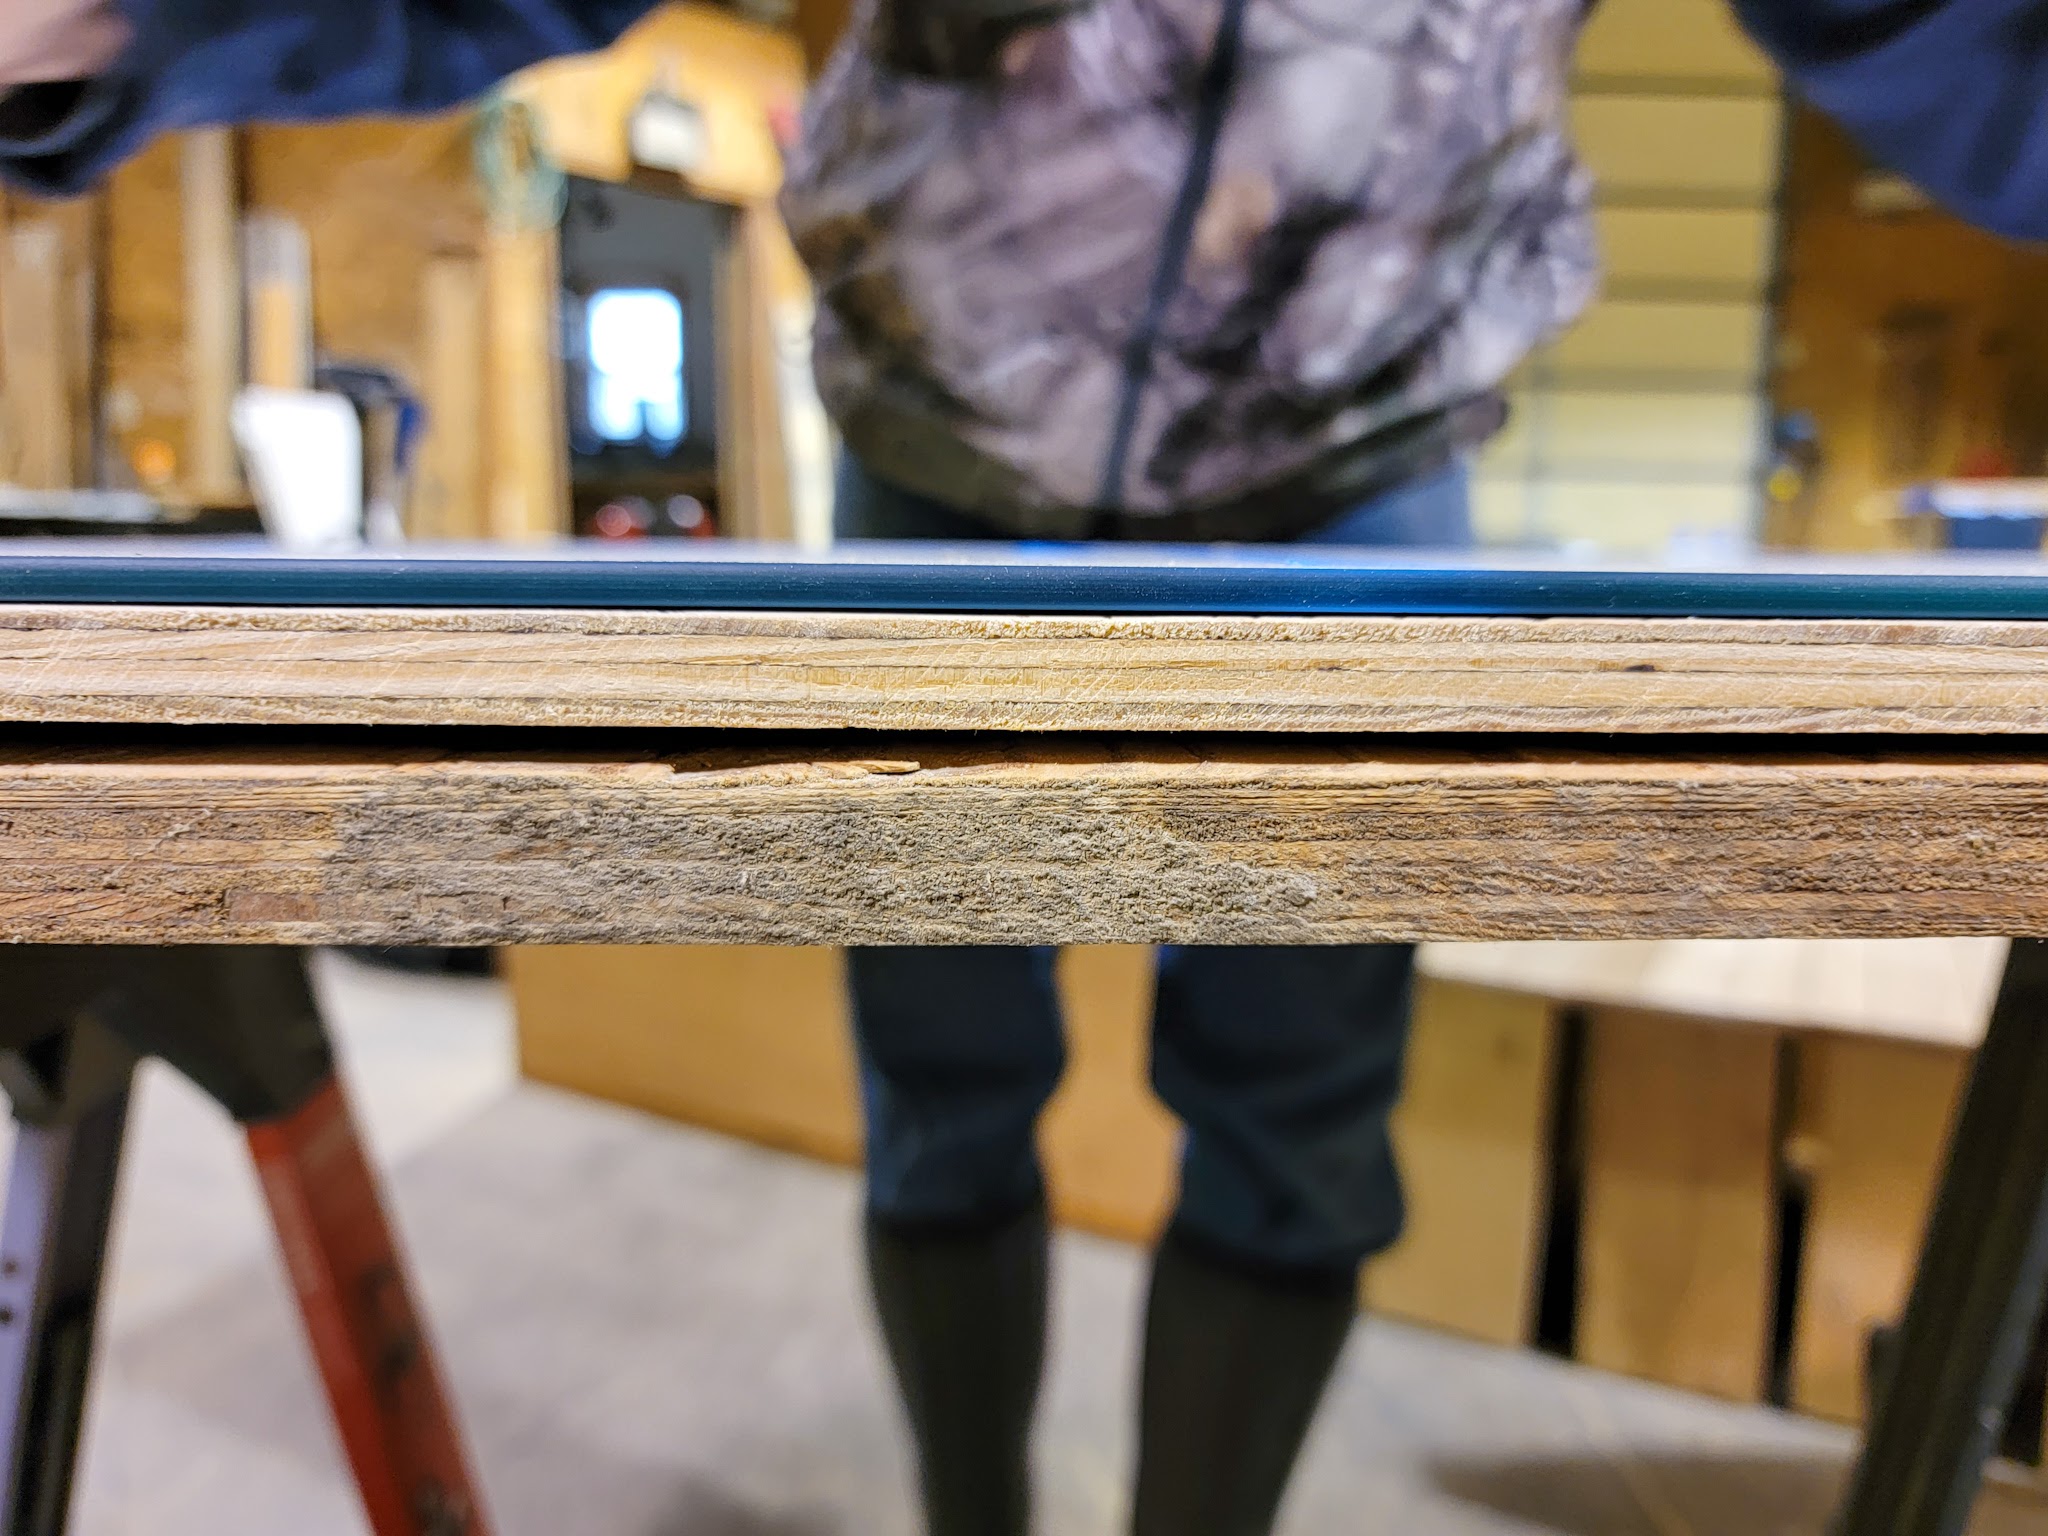
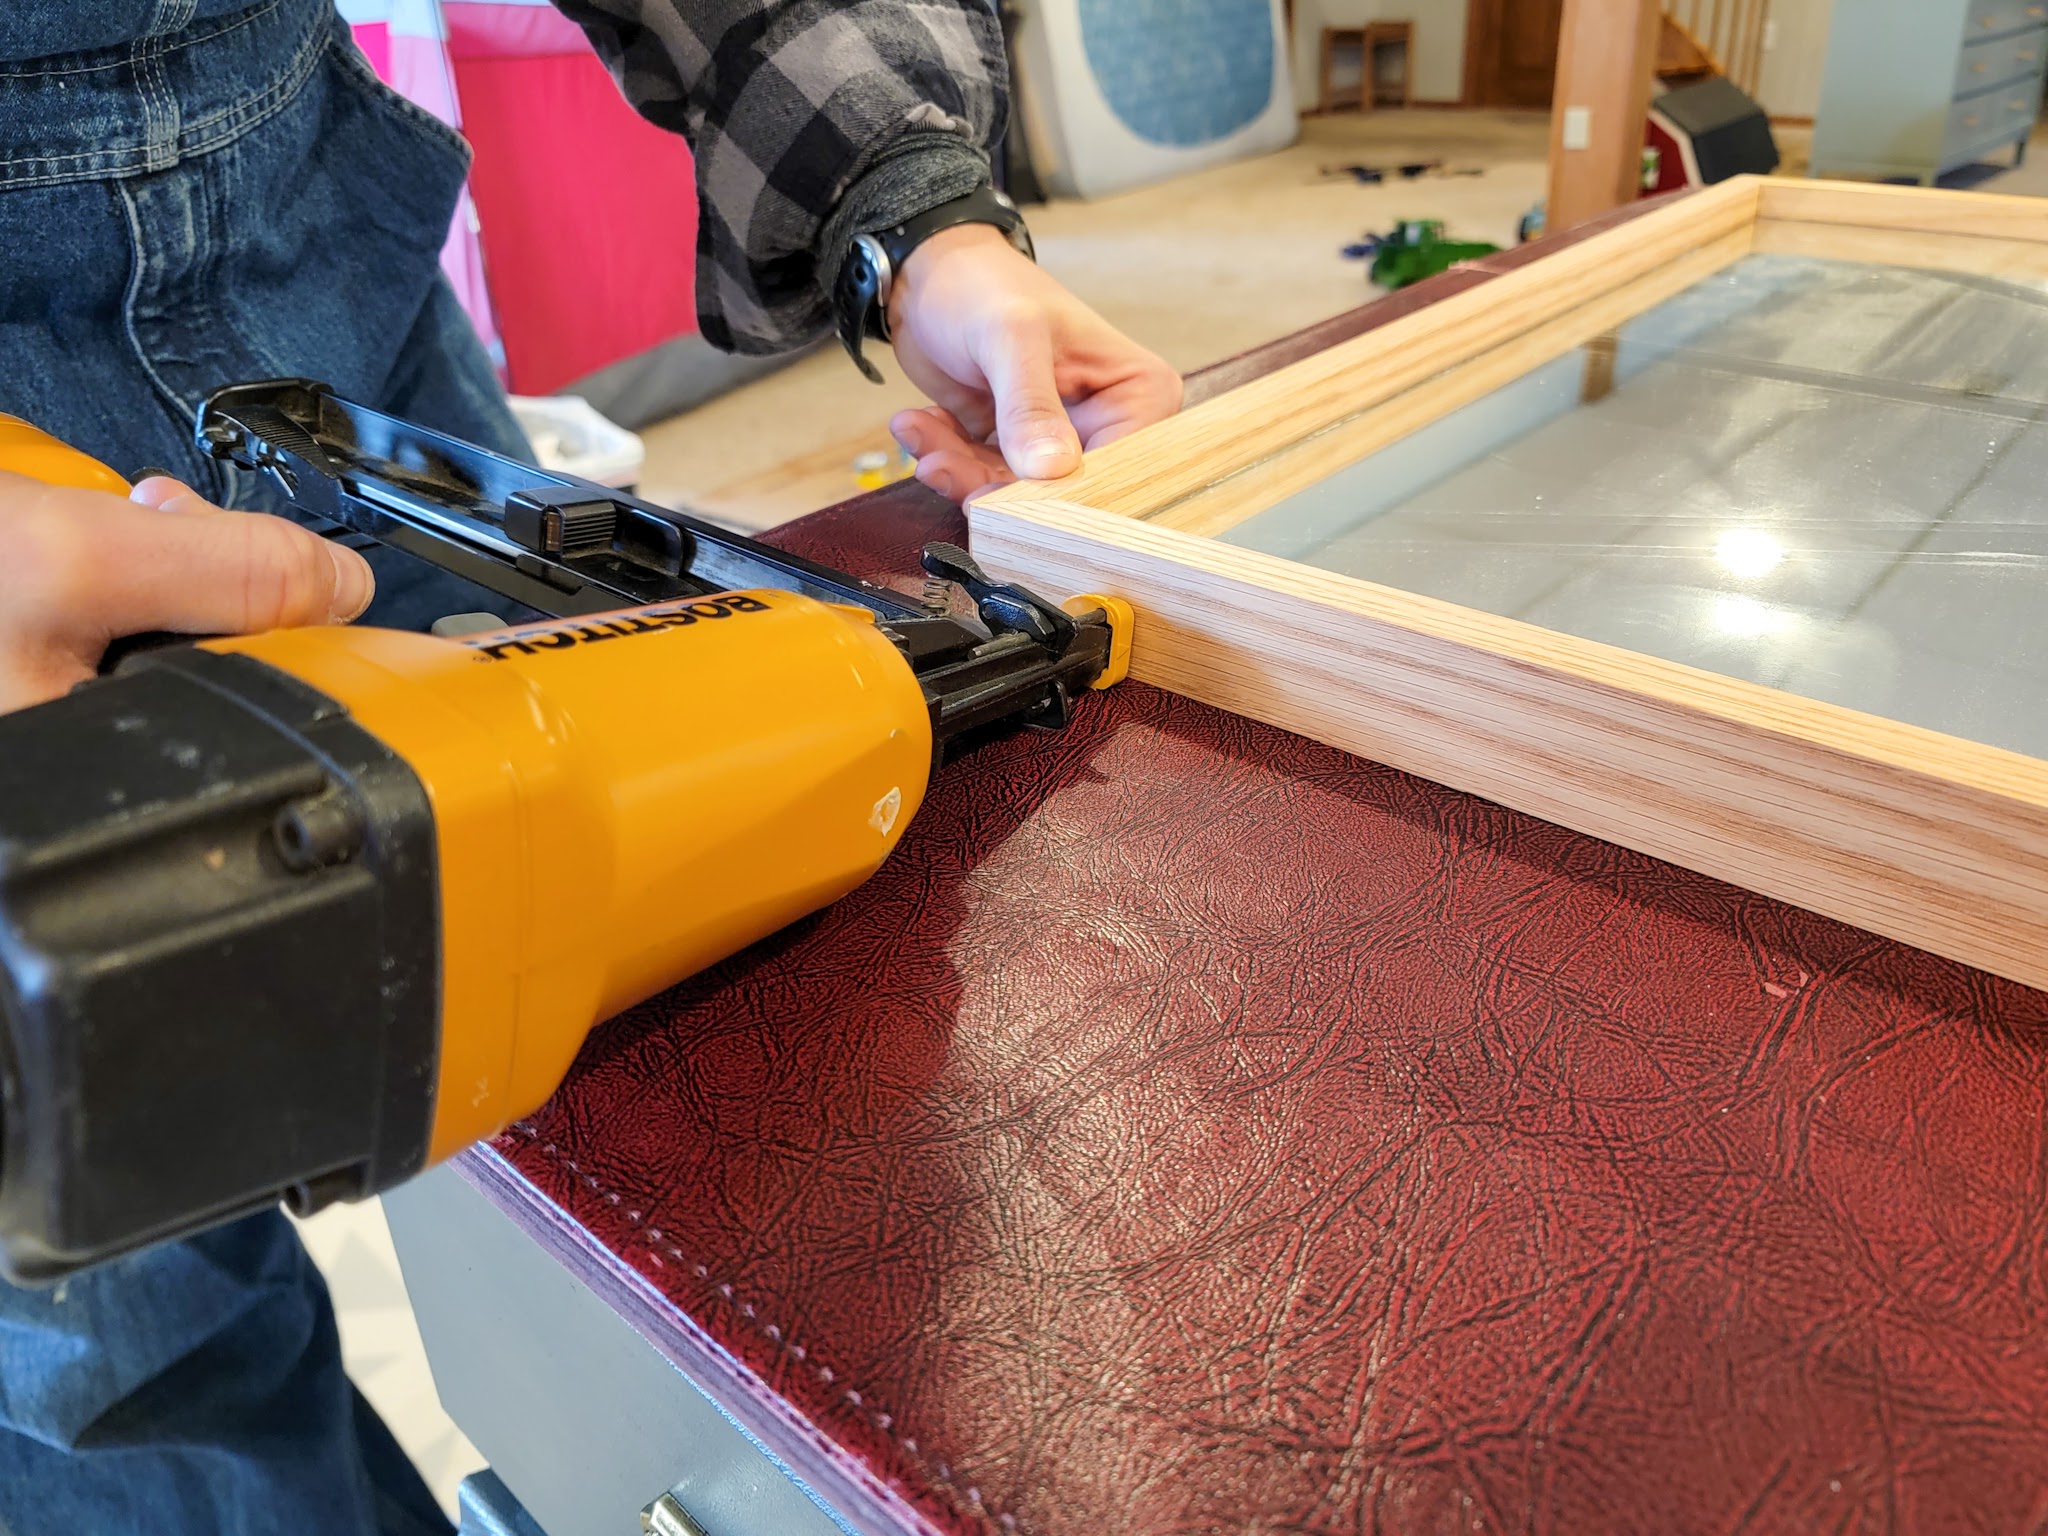
We installed the tabletop sides similarly to how we installed the table base sides: we ran a bead of wood glue along the plywood edge and then used a nail gun to add a few nails along the side for extra stability. We did the short sides first, long sides second. We let everything dry, I filled in the nail holes with wood filler, and then Justin used his orbital sander with 220-grit paper to smooth all the sides and edges.
I gave the top a layer of the same stain and let everything dry, then added a coat of polyurethane to the tabletop.
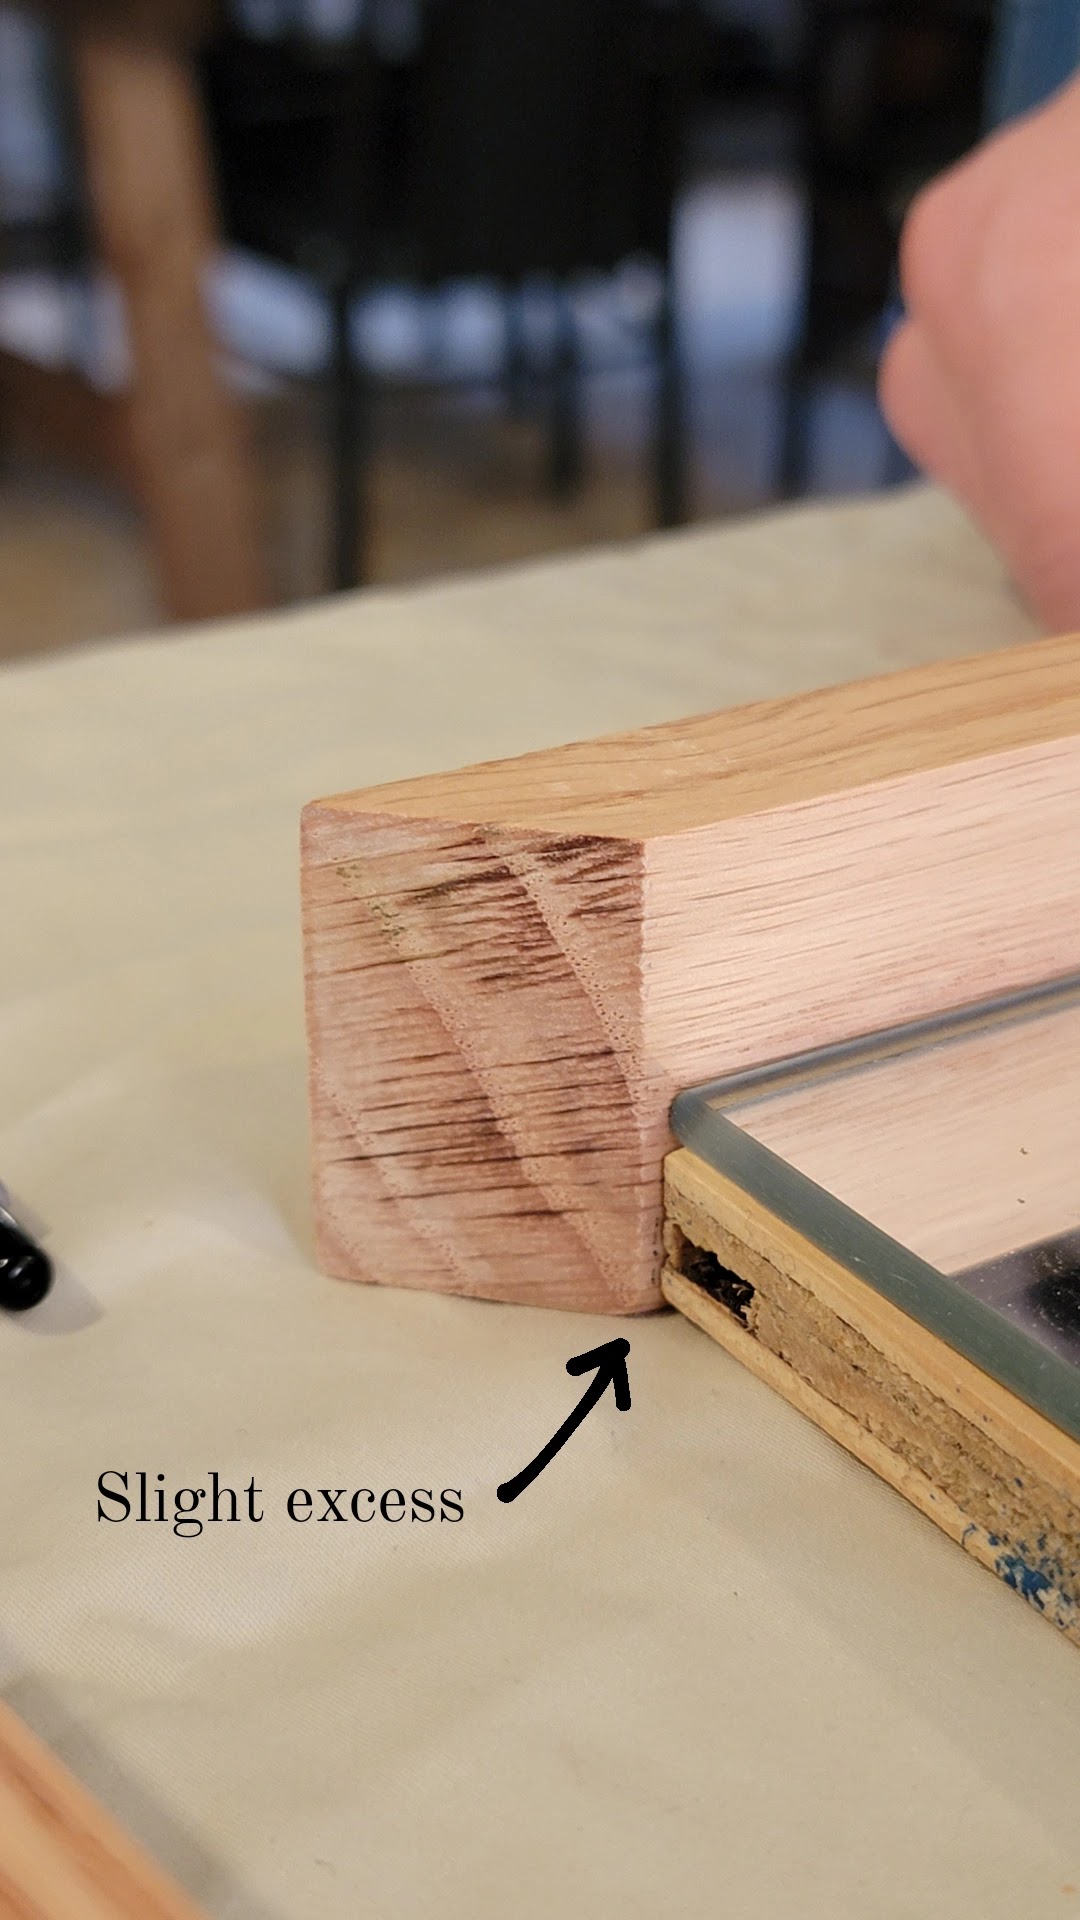
This *should* have been it, but remember how I warned you to make sure your Lego baseplate measurements are exact? Well…mine weren’t and we ran into this issue when installing them. We had left enough wiggle room for the baseplates to fit across the shorter side, but for the longer side, the 1/32″ addition compounded over 6 baseplates meant that despite the built in wiggle room, the last piece didn’t fit!
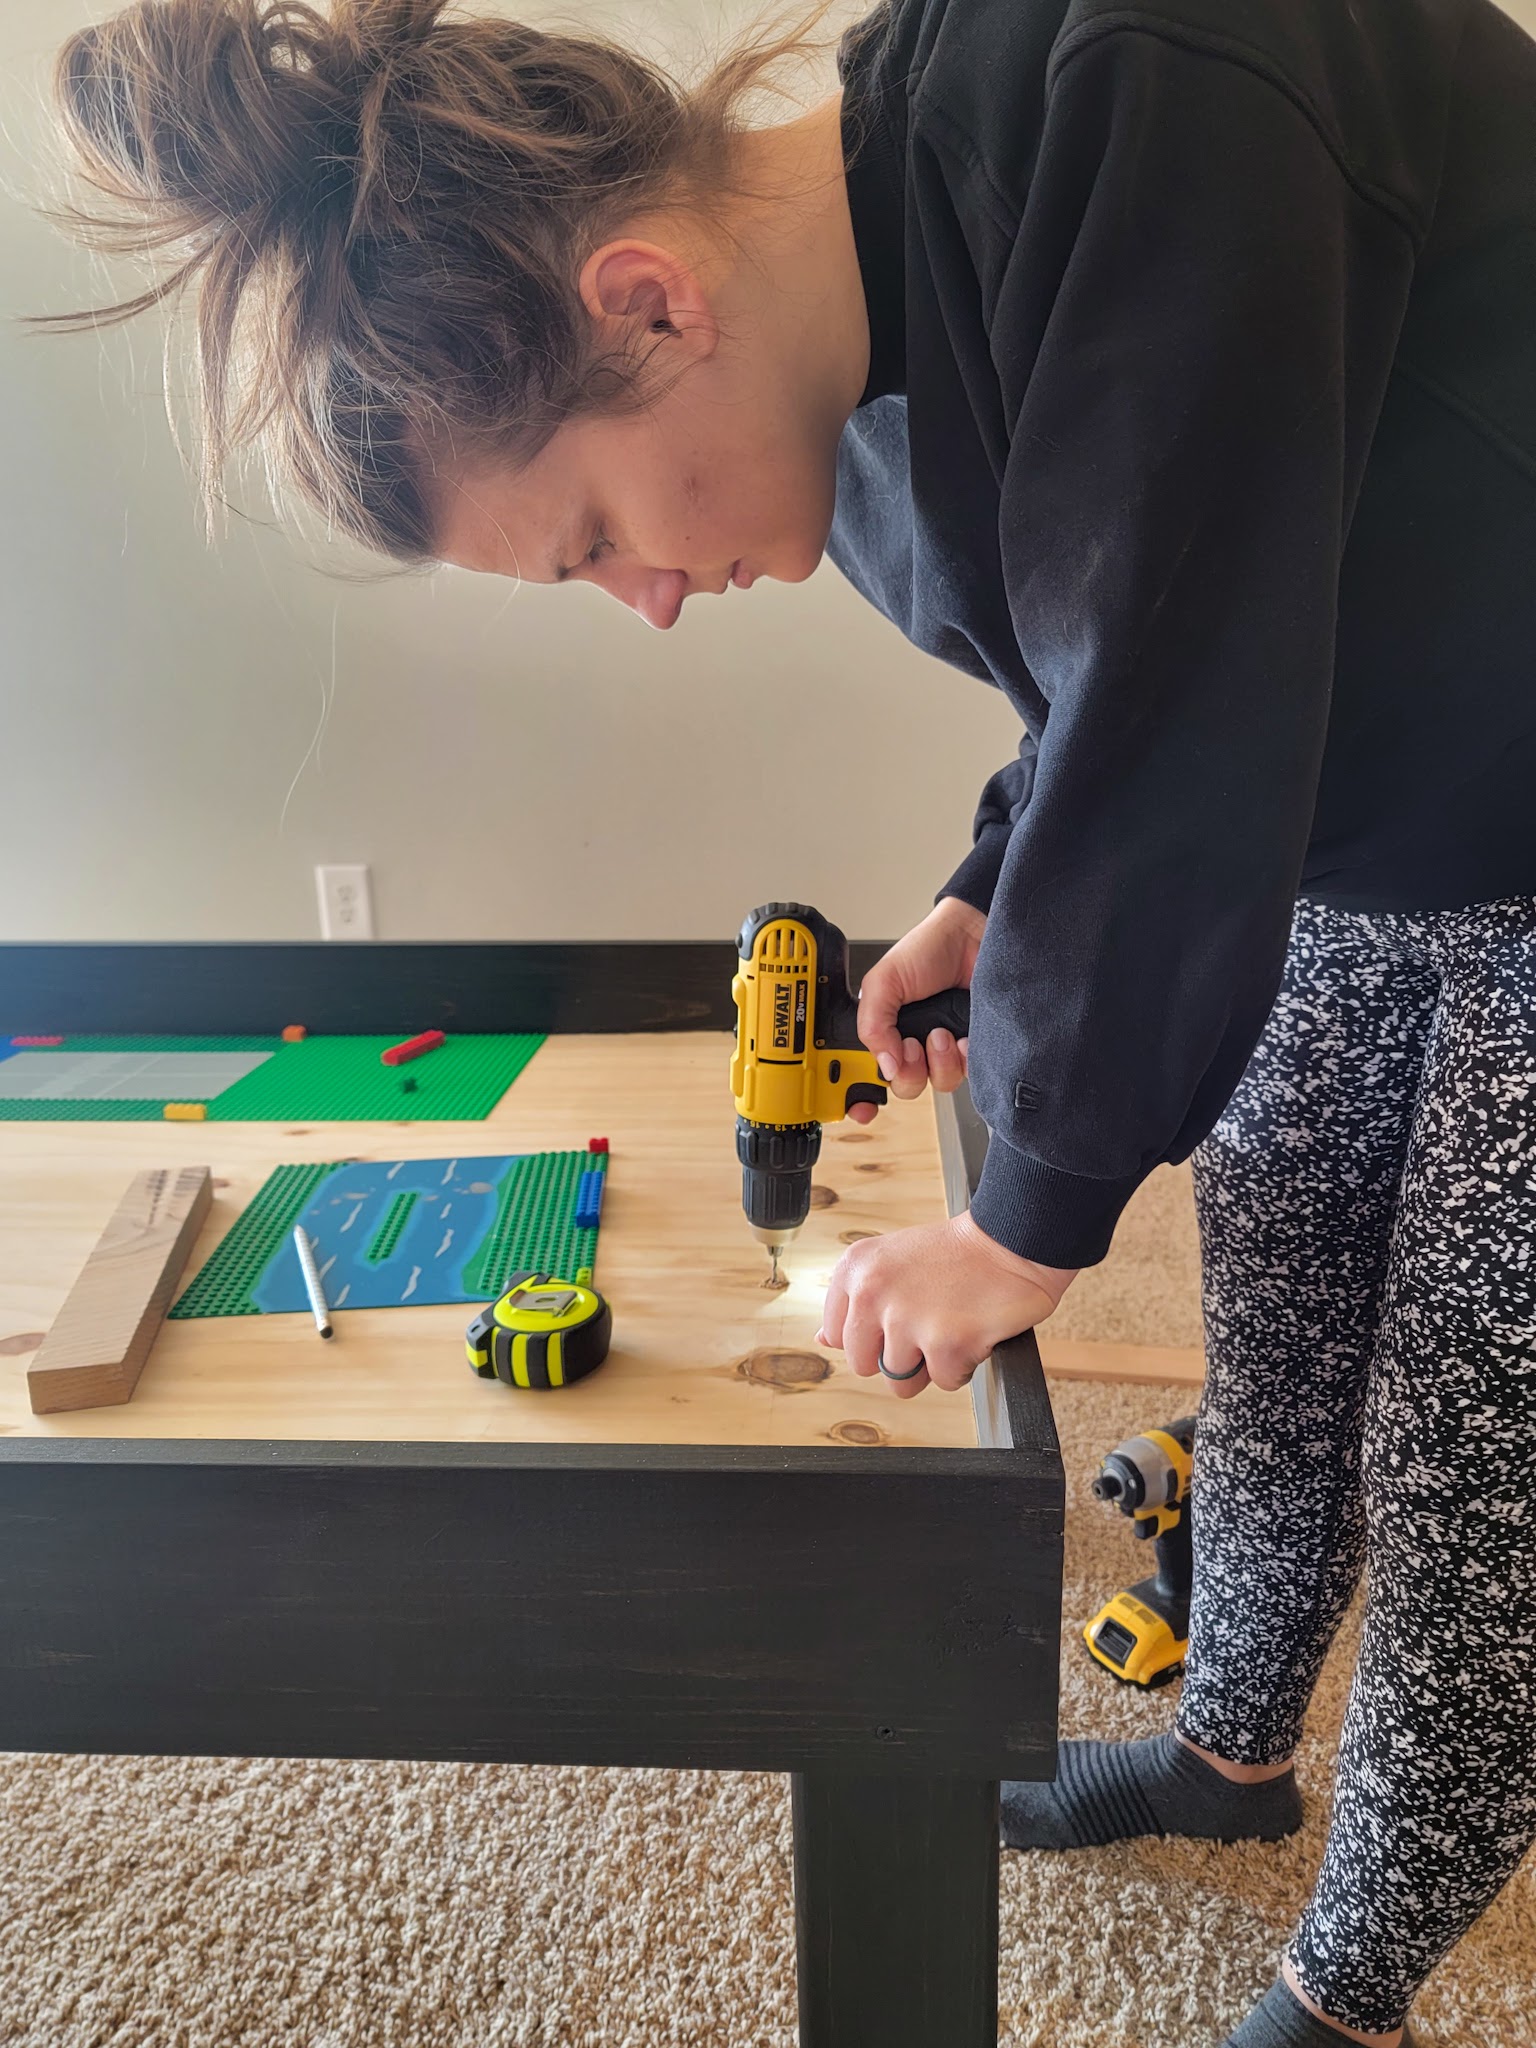
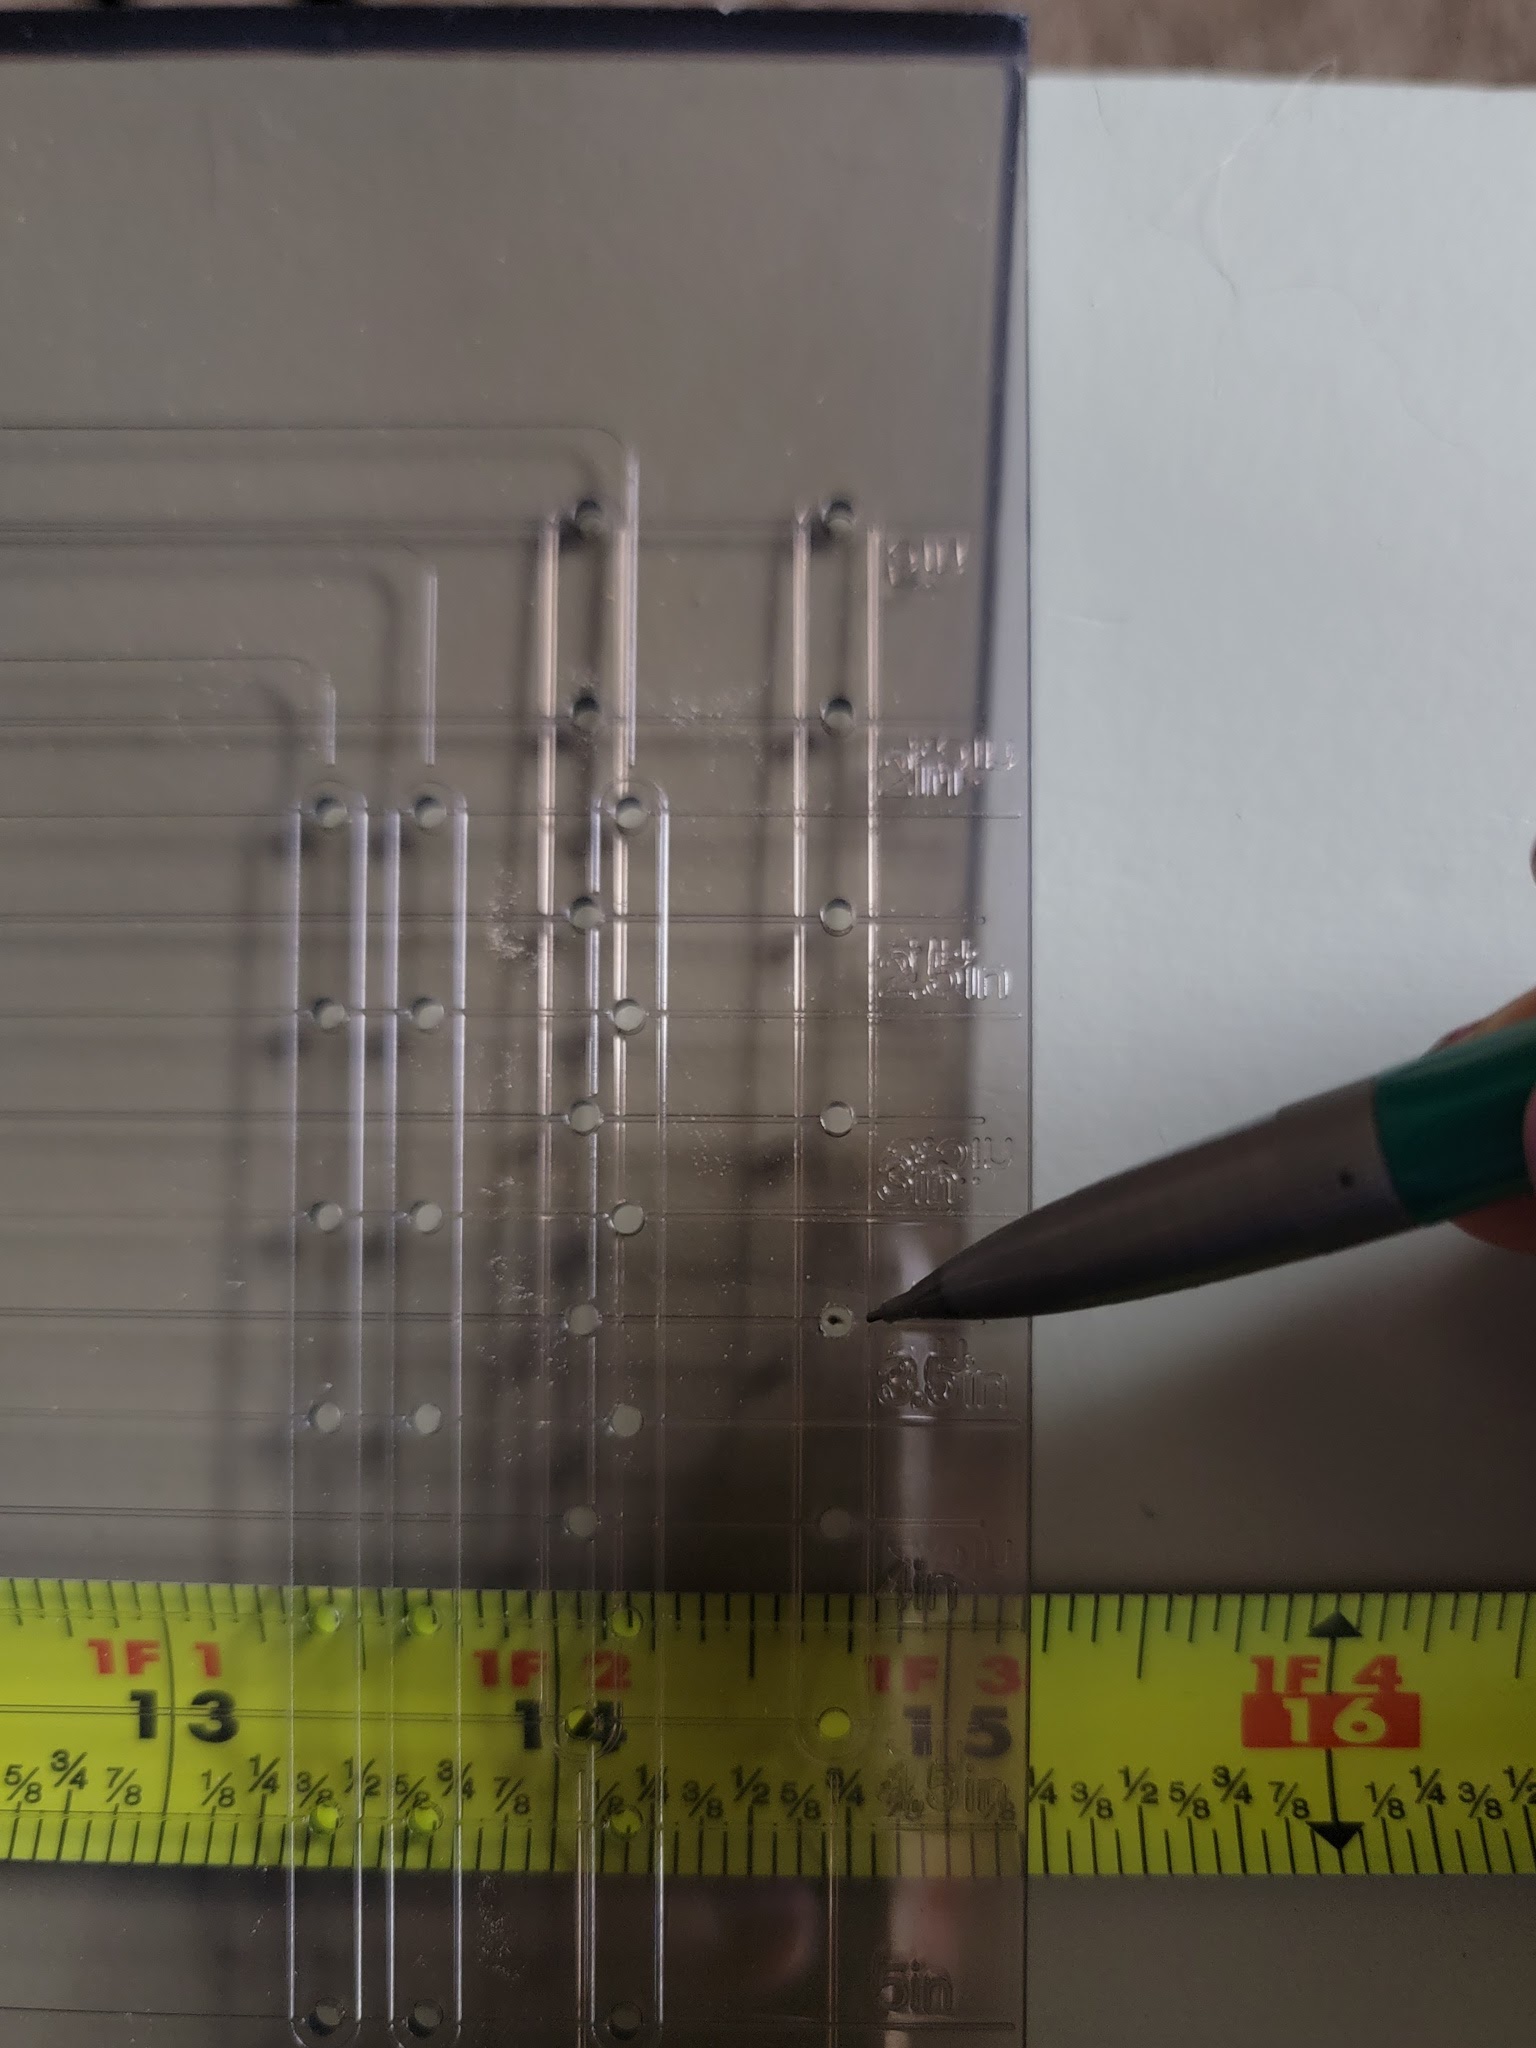
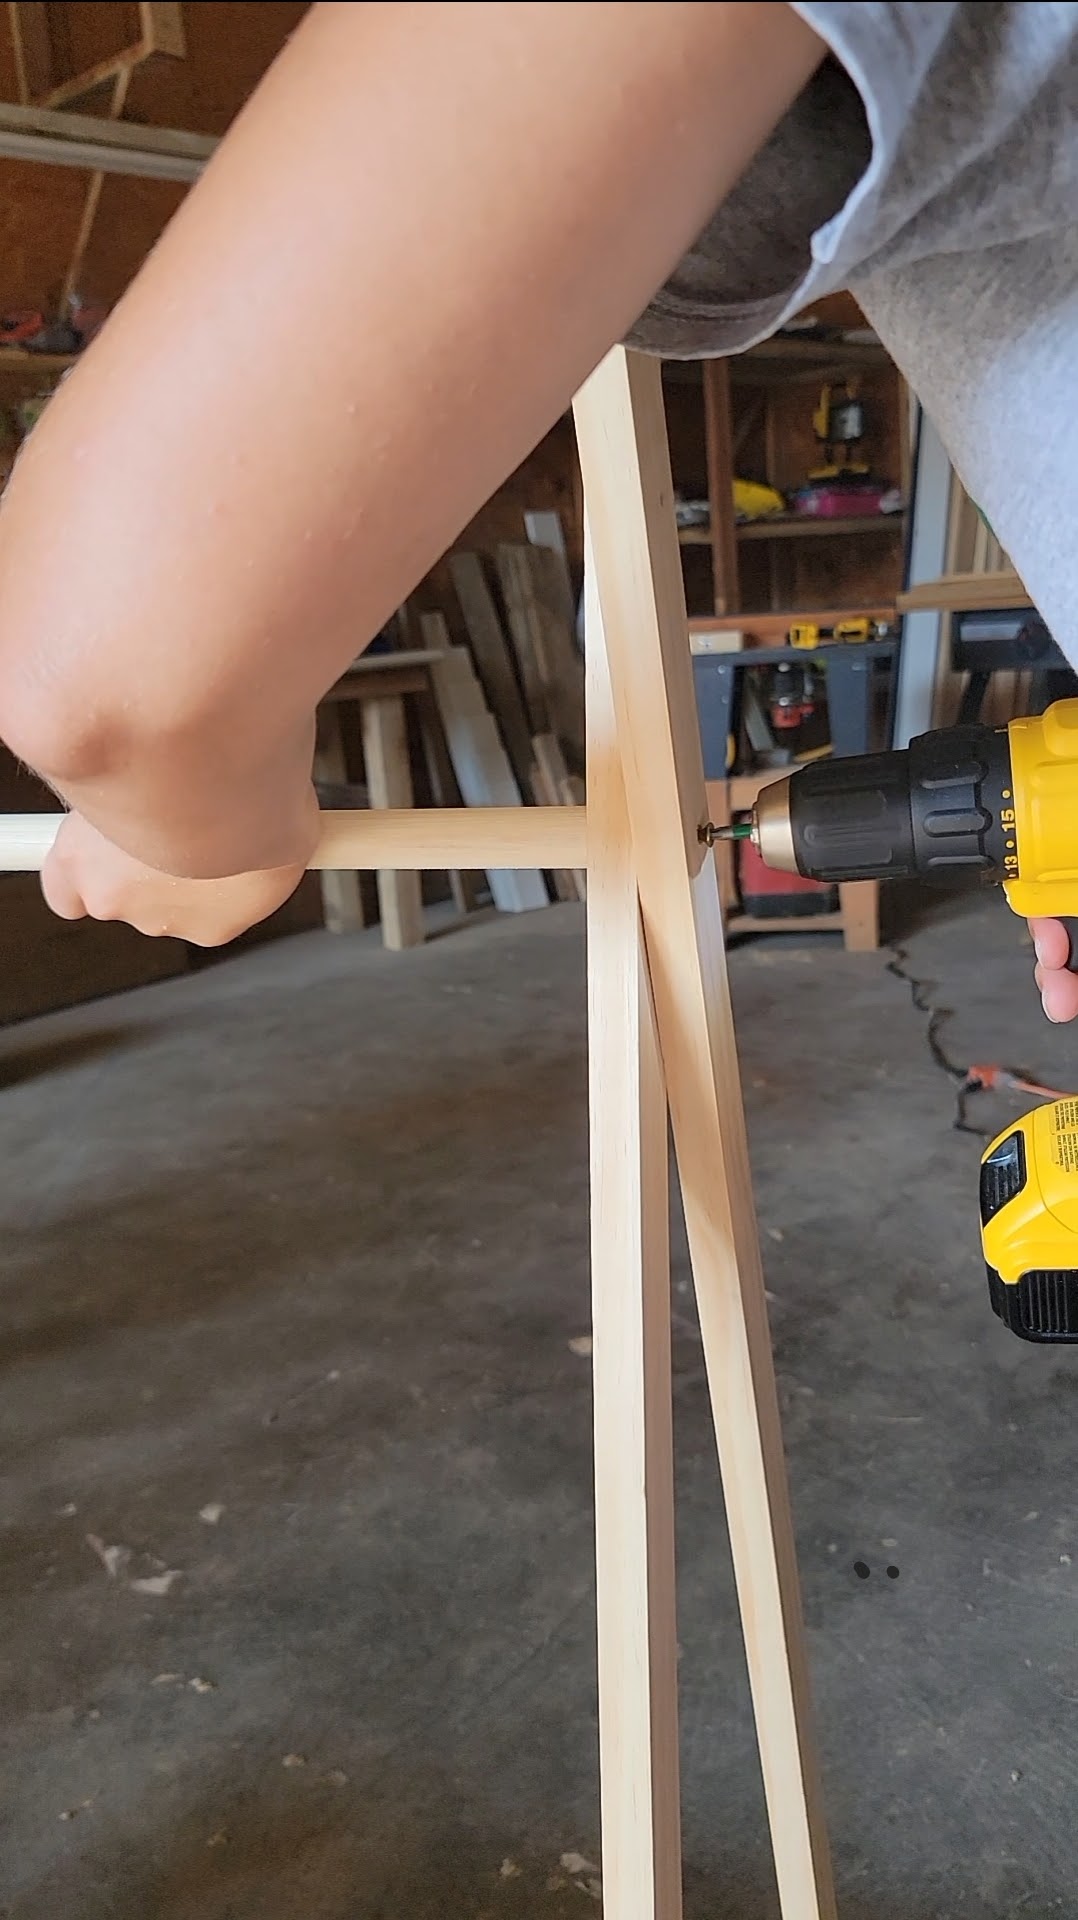
Our solution was to take a scrap piece of pine (it was an odd size scrap piece – I think like 1/2″ x 2 3/4″ dimensions) and create a fence inside the table. We cut the board to fit side to side in the table, traced both sides of the board, and drilled pilot holes in the exact center between those lines.
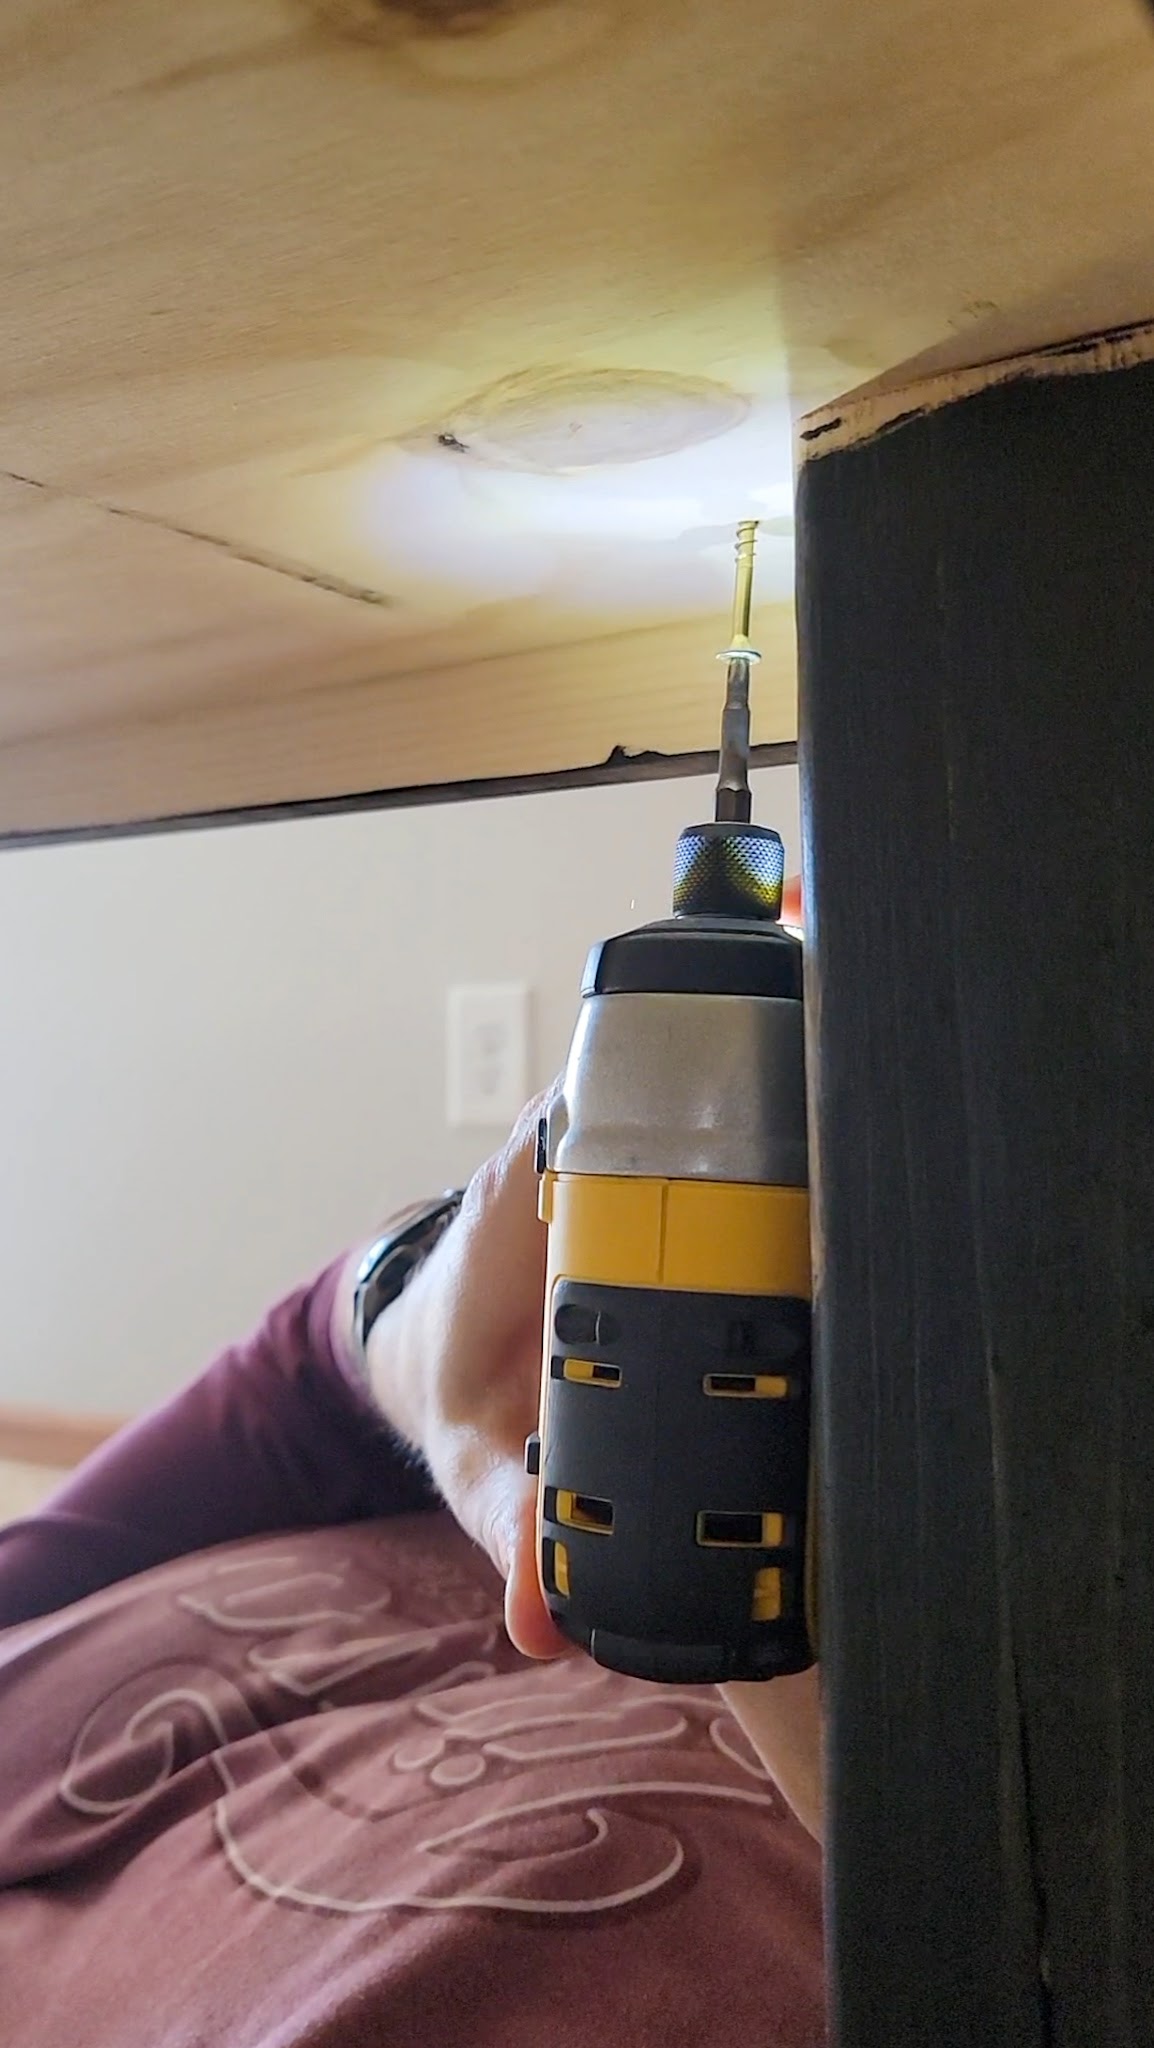
Then we held the board back in place, and used wood screws to drill up into the pilot holes from the bottom up.
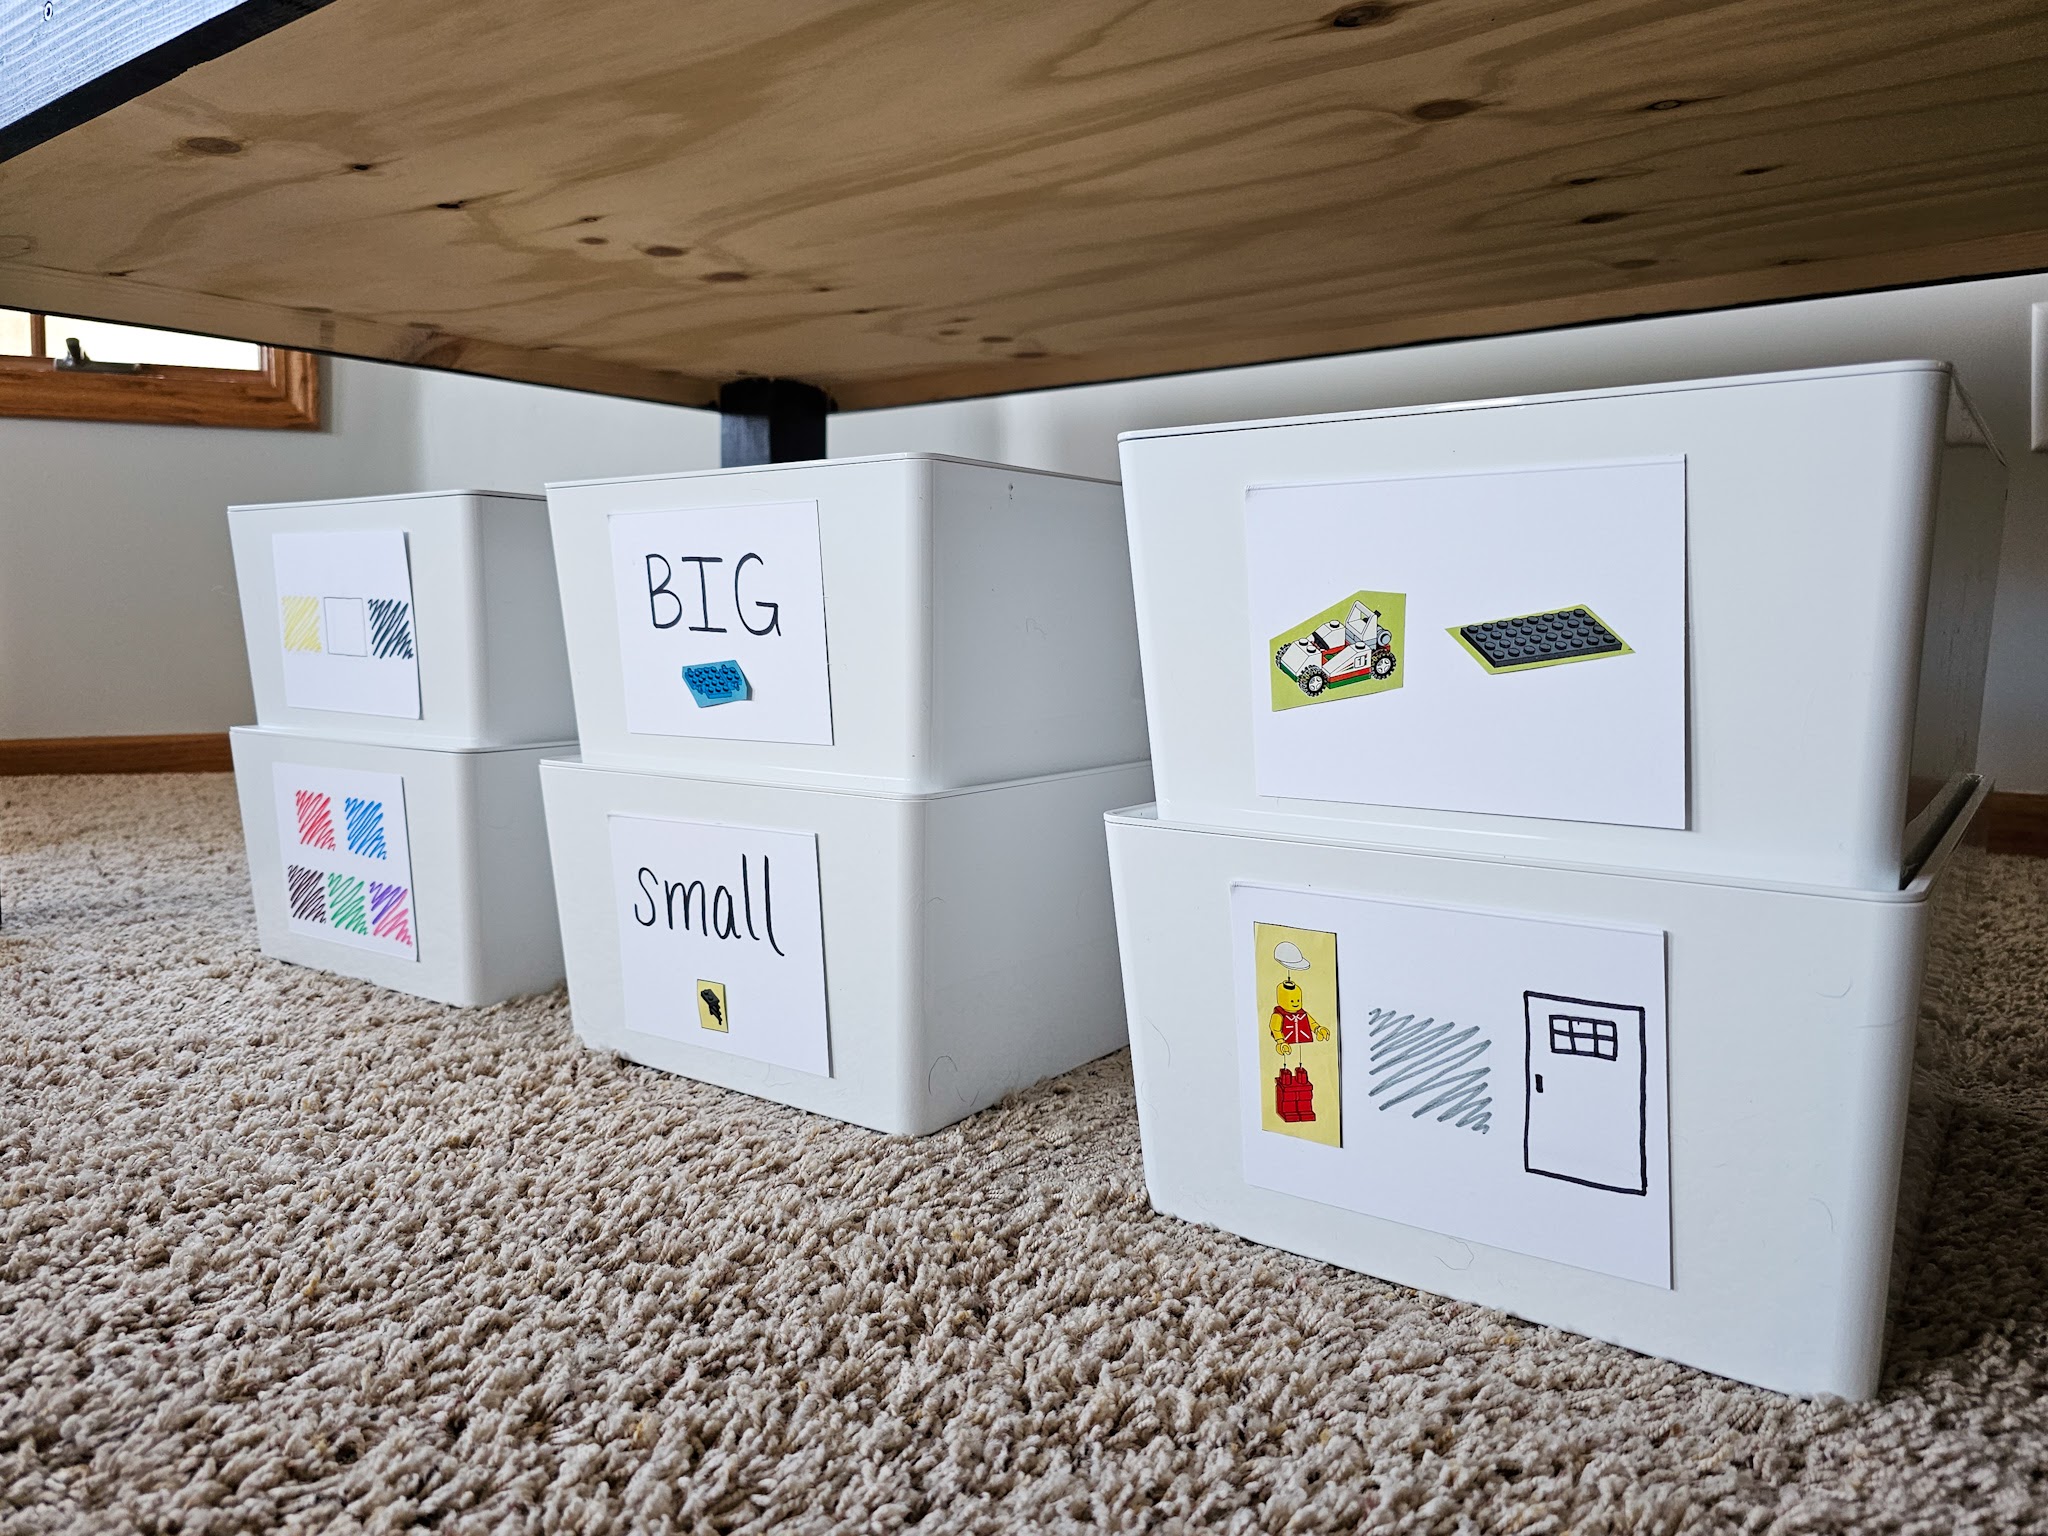
This created the perfect size surface for baseplates to fit and gave us a little area for loose Legos to be kept in. It wasn’t what we planned but it was a good solution for our dilemma! We chose not to attach the baseplates directly to the tabletop so they can be swapped out for whatever the kids are making.
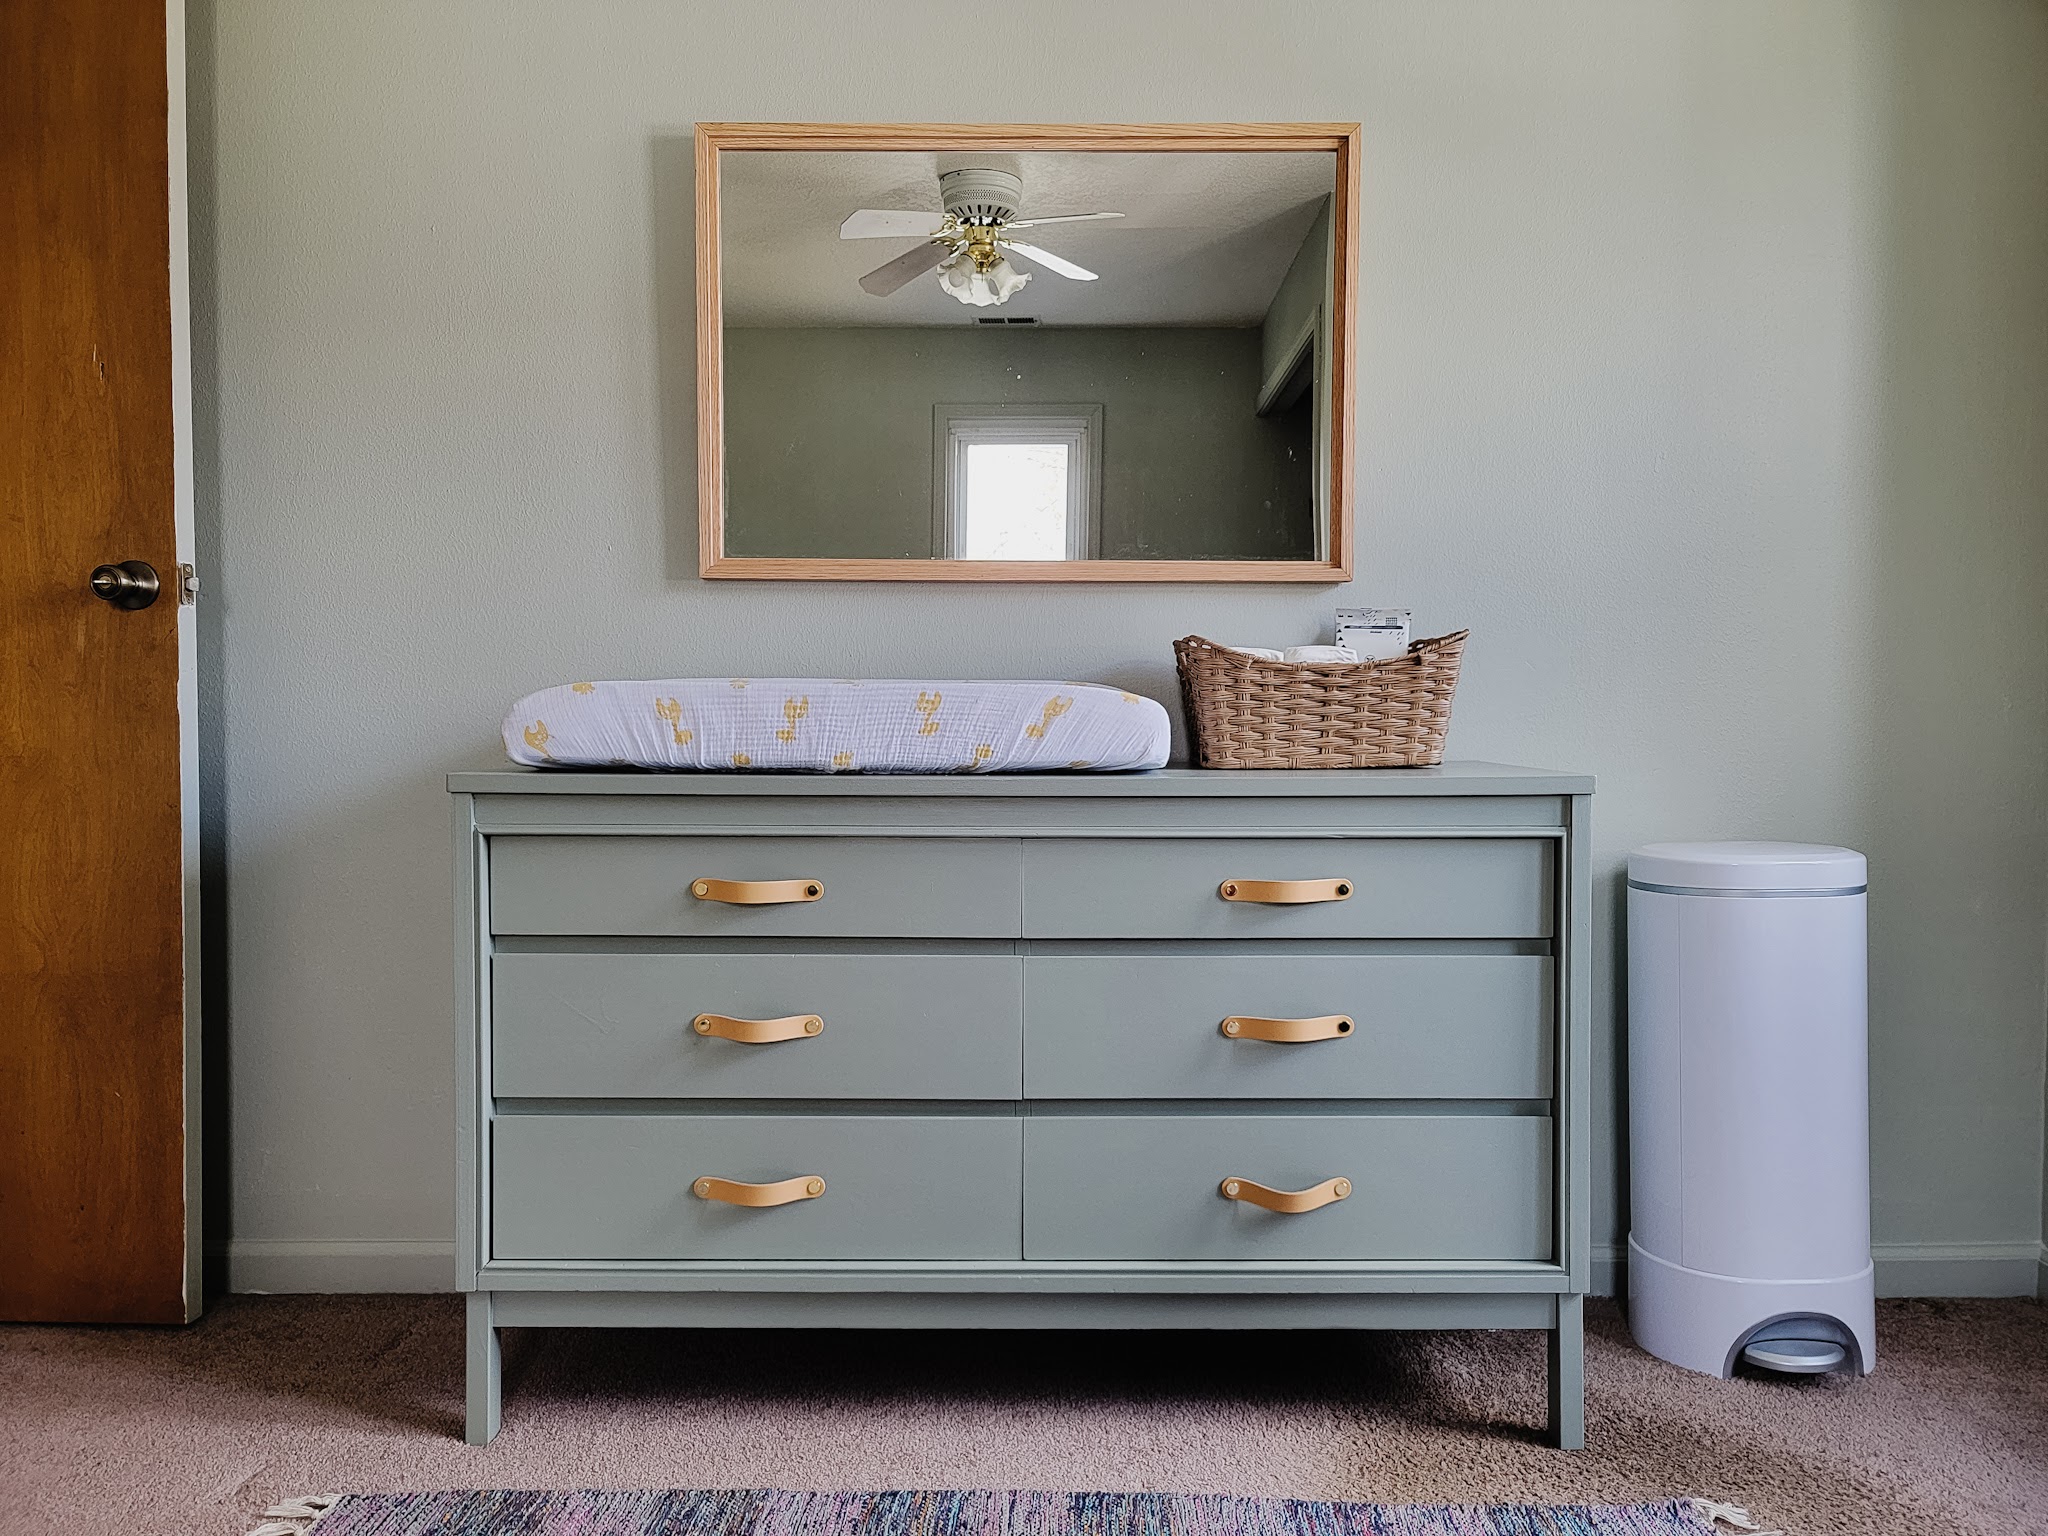
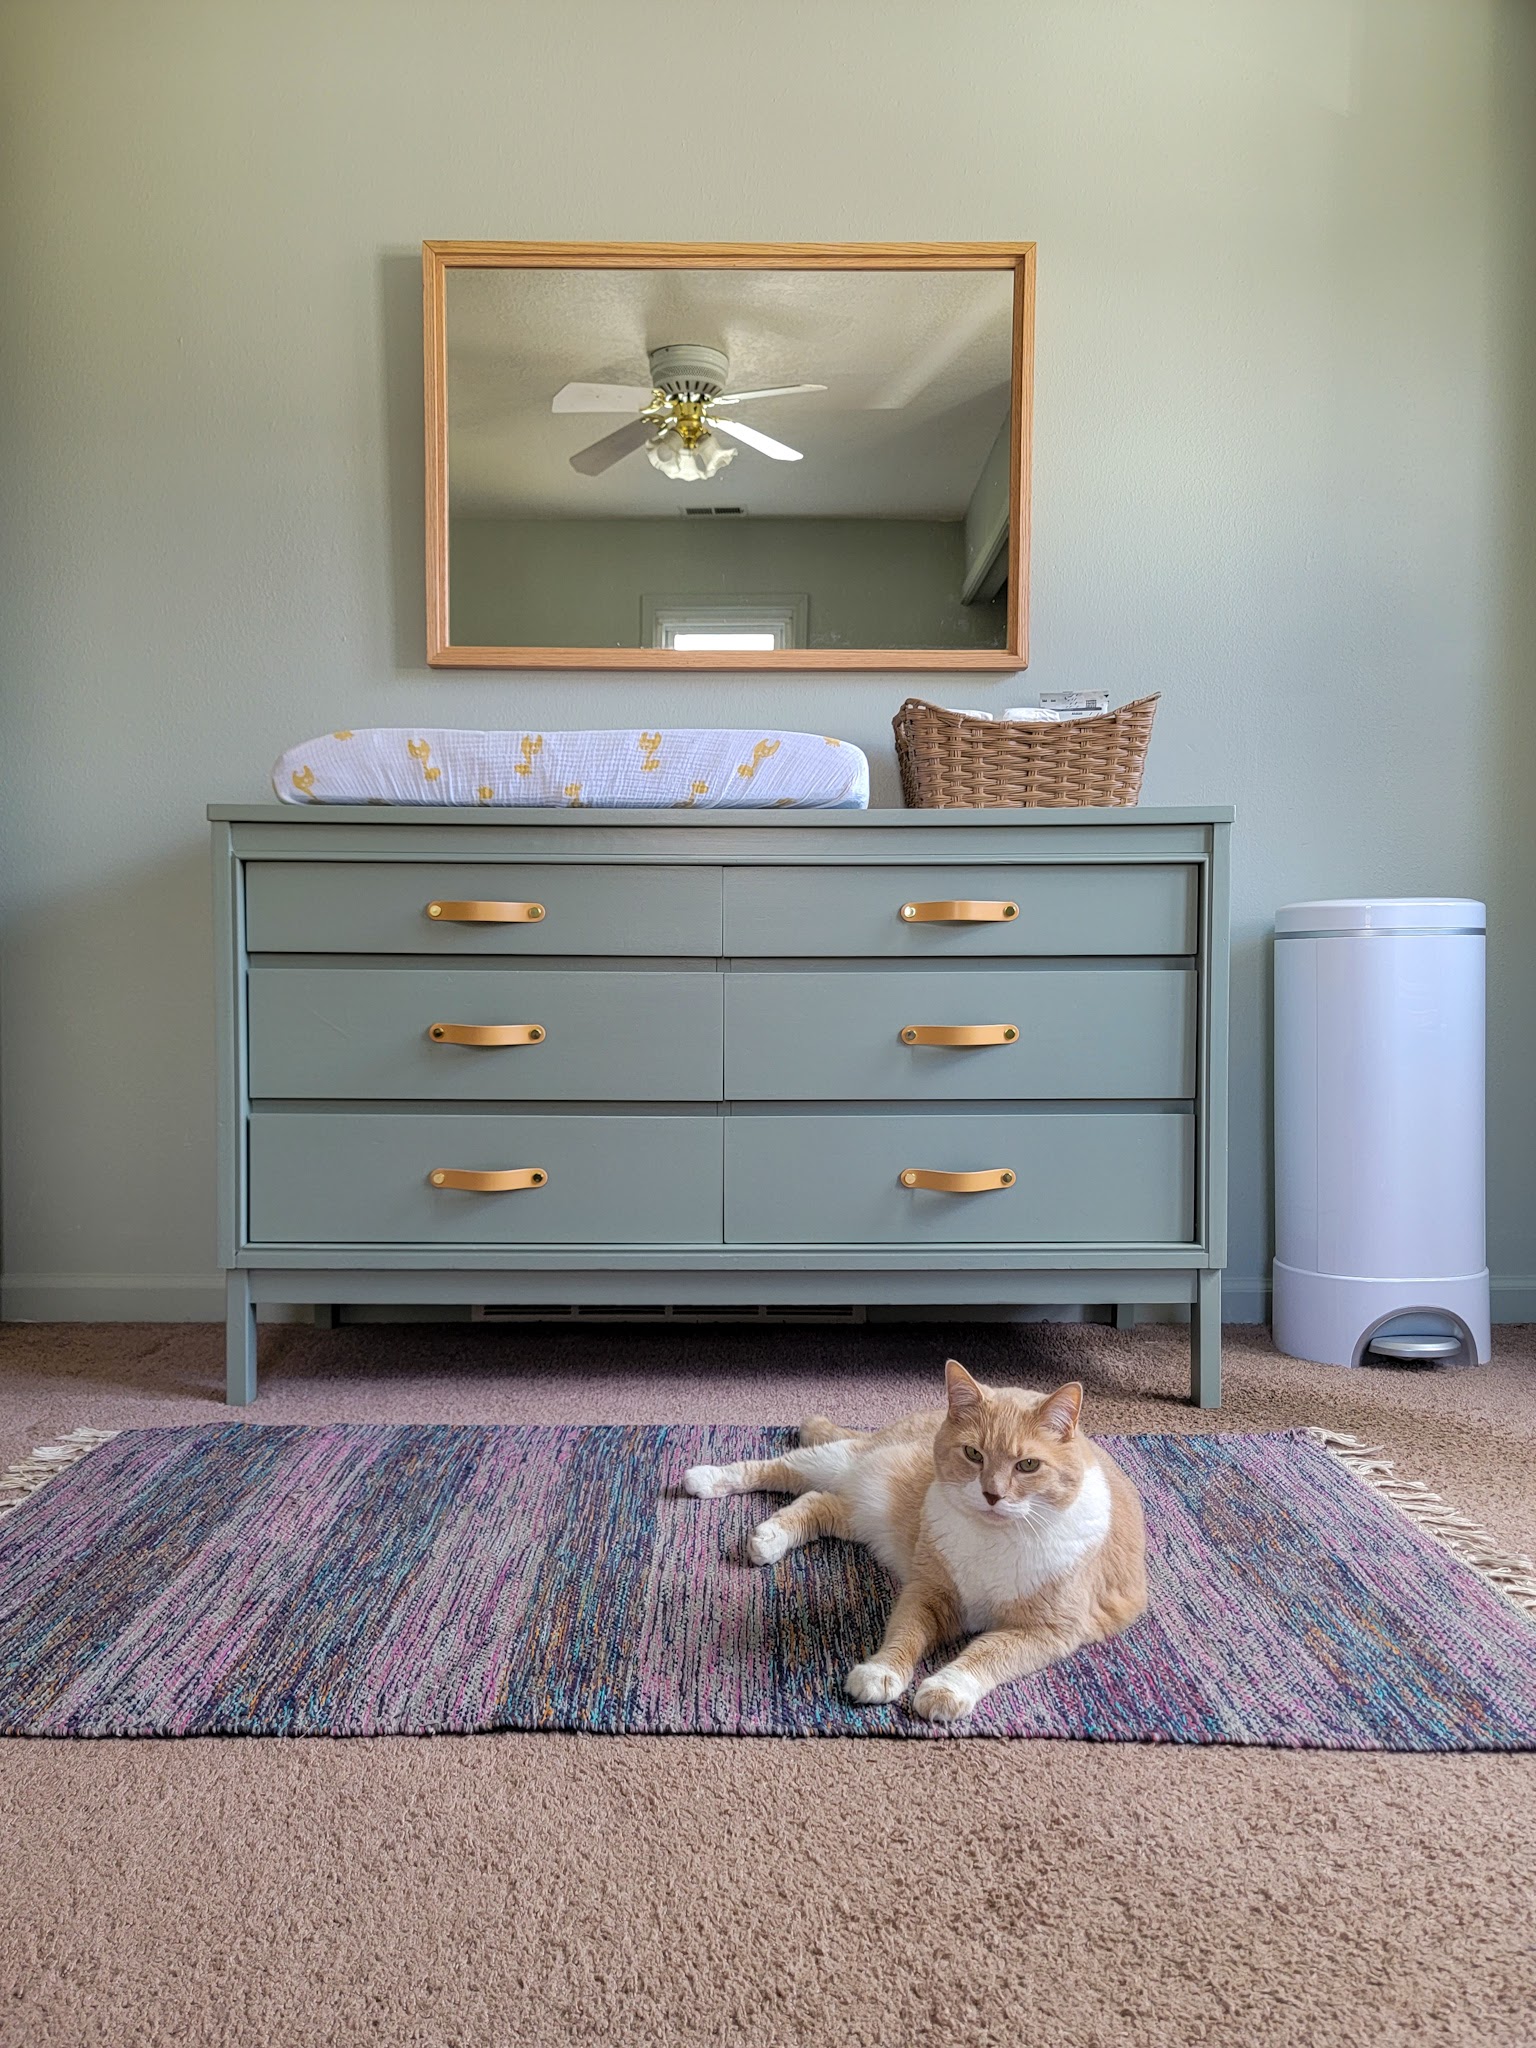
The Lego table was complete and let me tell you, it has been a HIT with both of my big kids!
I love the option of having the tabletop on to cover all the Legos – I’m imagining this will get used many times over the years for crafts, activities, birthday parties, and overflow seating when we entertain. We already put it to use during our Super Bowl party on Sunday and it worked perfectly as a table for kids to eat at!
I also like that we can cover up the Legos if we have younger children over for a playdate. That being said, most of the time, the table will be uncovered. When that happens, the kids can actually use the lid upside down for additional Lego creation space!
Seeing this table in use at the Super Bowl party got me to thinking . . . we might want to make some small benches to fit under the table, right? They would be perfect for sitting around the table to eat, craft, or, of course, play with Legos! I’m guilty of “if you give a mouse a cookie…” syndrome and well, that just might be another project to add to the list. 🙂