
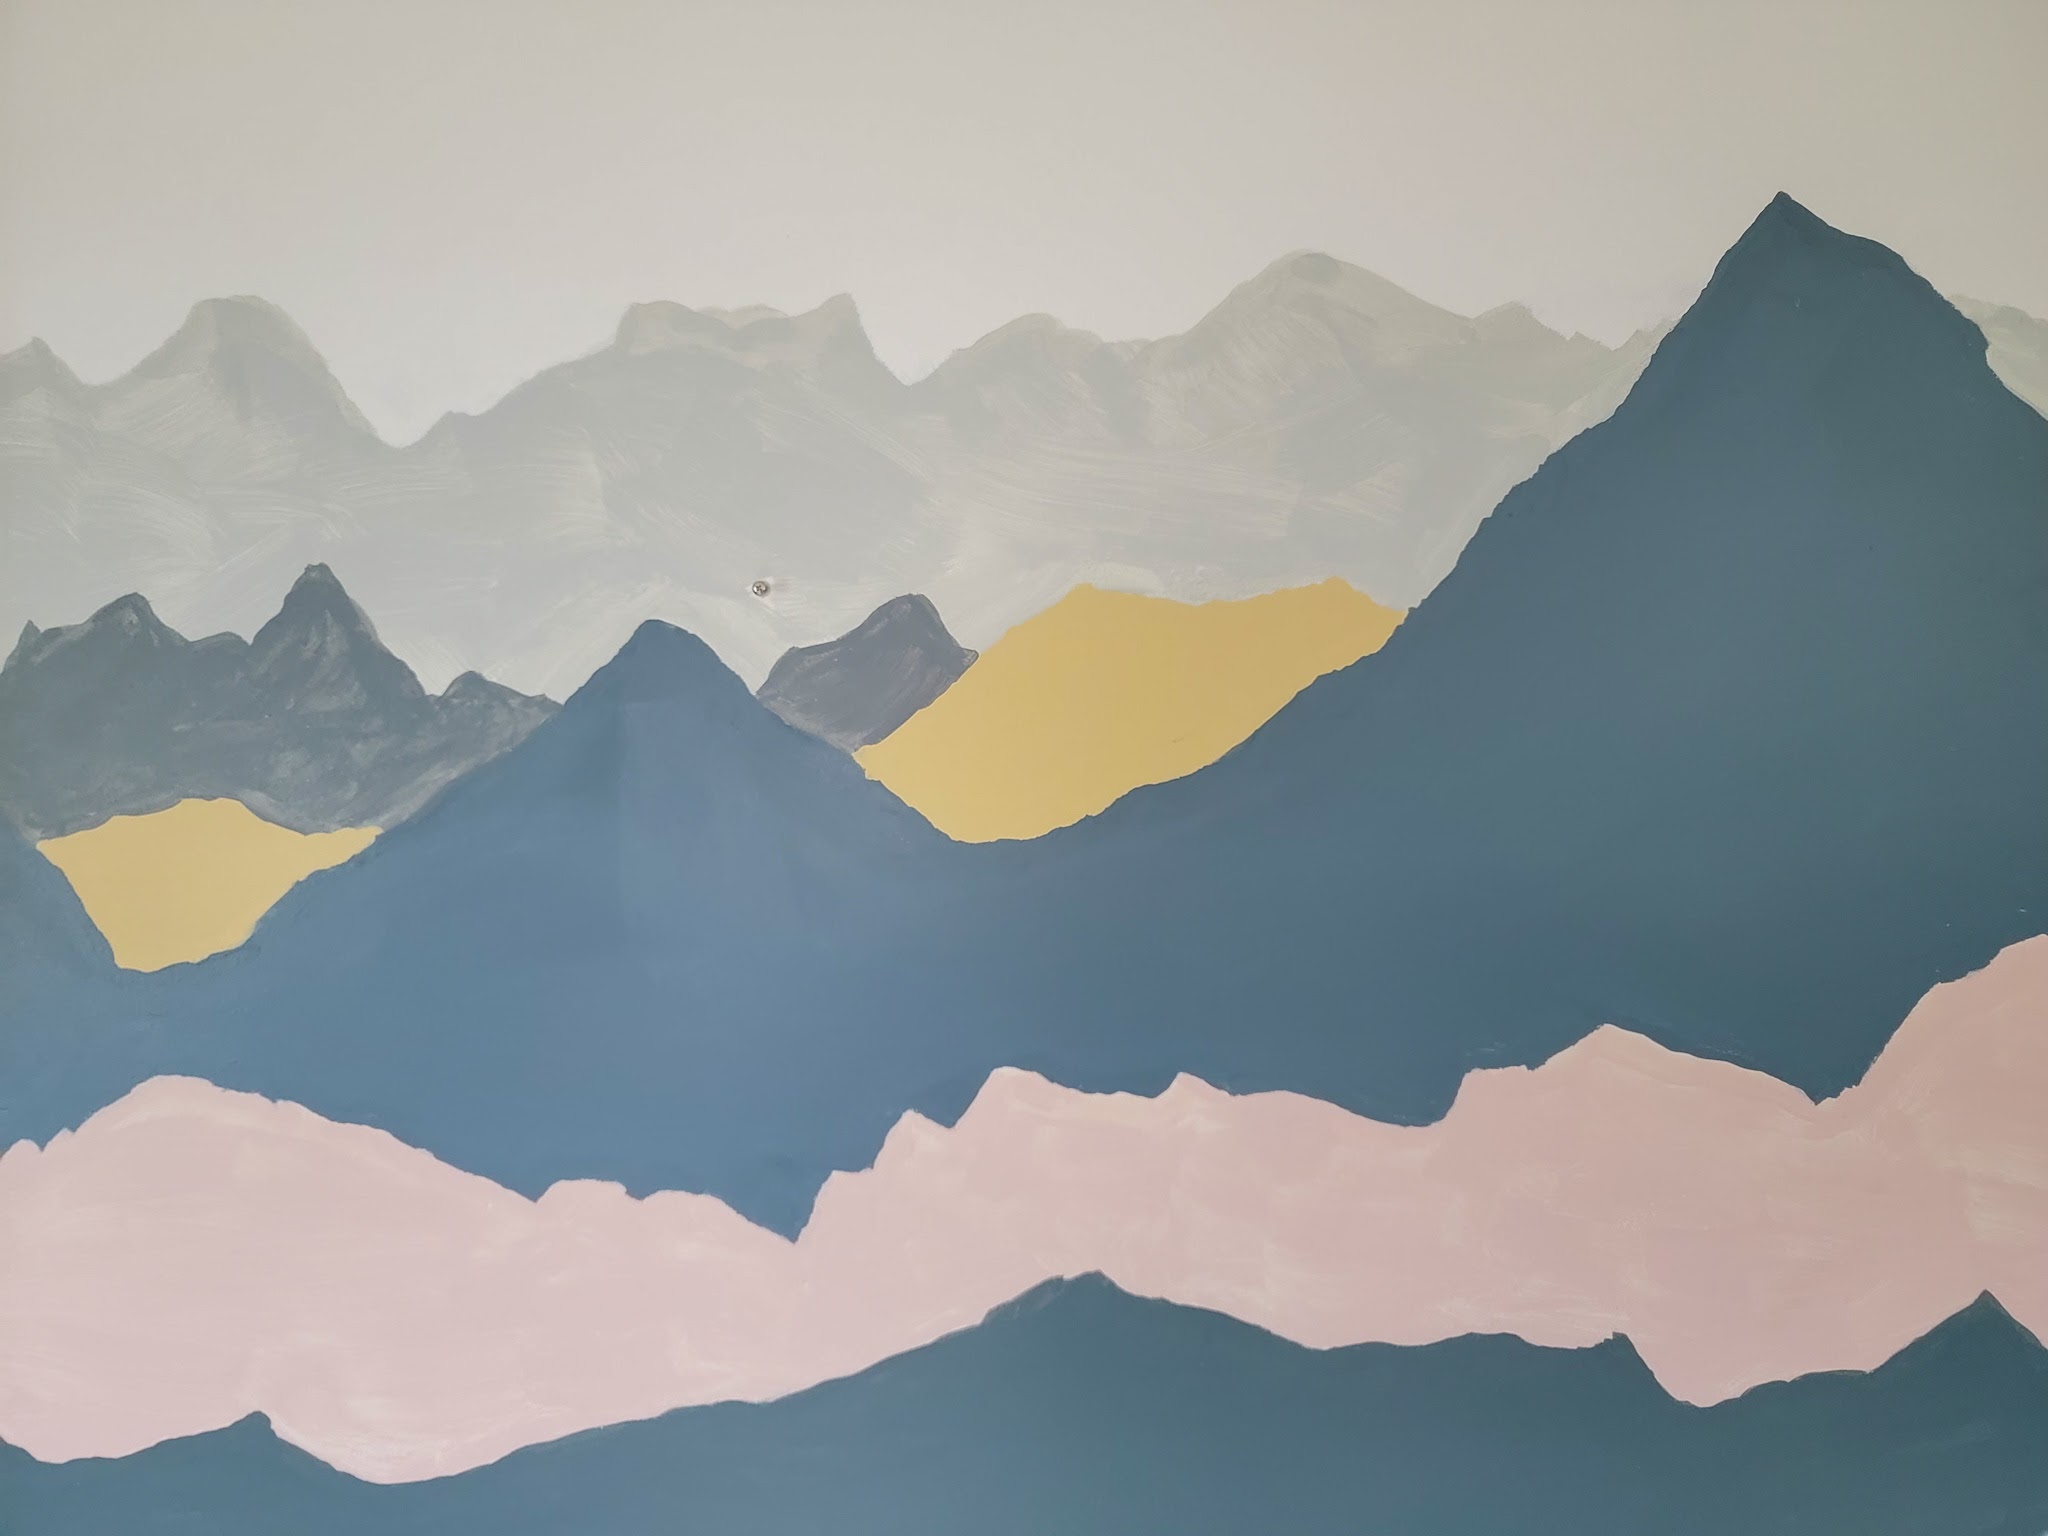
The first project of 2023 is complete! When my parents asked to take the big two kids for the weekend, I knew it would be the perfect opportunity to tackle a lingering project in their bedroom: the blank wall behind their dresser. I spent Saturday and Sunday afternoons working on a mountain mural and love how it turned out!

The other three walls in the room have a 2/3 colorblocked look and I’ve been wanting to make the wall behind the dresser an accent wall. I tried wallpaper but ran into some issues and lost motivation for a while. I got the idea to do a mountain mural and after seeing a few other pictures online, my inspiration was renewed! Mountains are important to both Justin and me. He grew up in a beautiful valley in Virginia surrounded by mountains, and I went to college there and fell in love with the views. I also did a study abroad in India and spent some time in the foothills of the Himalayas – it was an awe-inspiring experience I’ll never forget. Additionally, we lived in West Virginia for the first three years of our marriage and loved spending our free time hiking and exploring. Mountains signify both home and adventure to us and I want our kids to feel the same way, so it felt like the perfect choice for their bedroom.
I wanted this to be a quick, $0 project so I went through my entire stash of paint and collected colors that felt like they would go together and work with the other colors in the room. I had a general idea of what I wanted the mural to look like, but I didn’t trace or map out anything and instead decided to just freehand and see what happened.

The beauty of a no-plan plan is that mountain ridges are jagged and unique, so really anything goes. Even if I made a “mistake” it ended up looking intentional and worked! As I went I would add and take away based on what was looking right to me; in some cases, I ended up painting over part of a mountain or changing a ridgeline by cutting in other paint. I even ended up altering the top gray ridge by painting back over some of it with the white wall color.
I expected to do two coats of all the paint, but I ended up liking the swirly, more abstract look of one coat of paint on some of the ridges, so I left those alone after one coat.
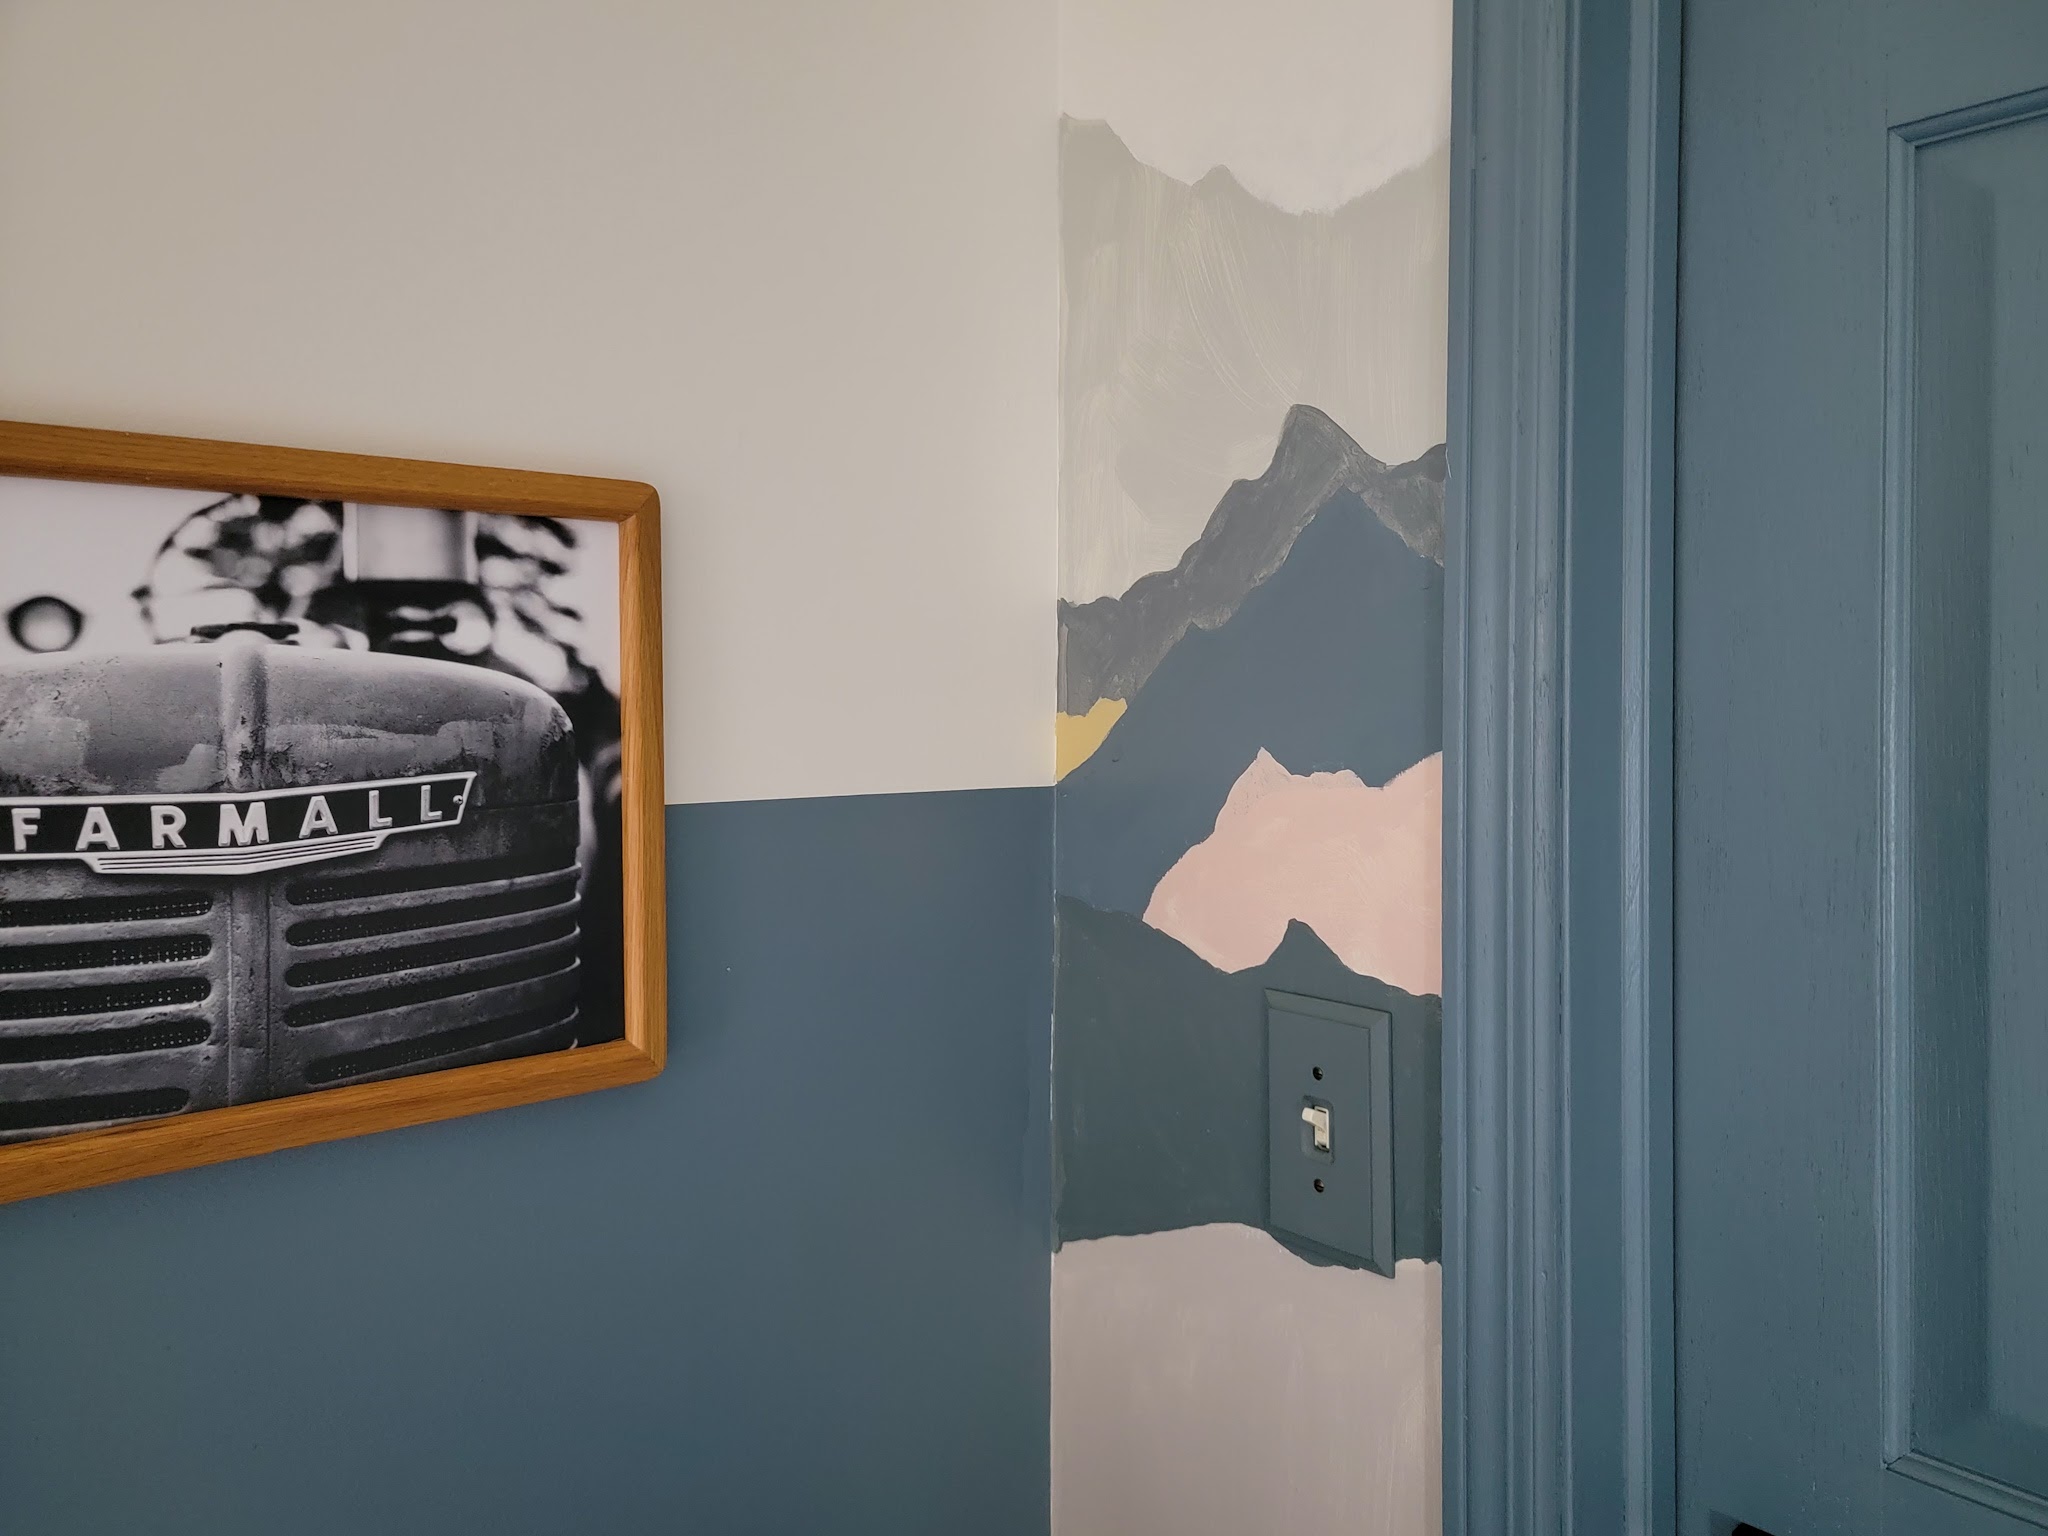
I painted the light switch and outlet cover the same color as the mountain ridge behind each one. The picture below also shows the one thing I did plan out – I kept the line from the connecting walls as a start for that same blue color. It lines up on both sides as a kind of continuation of the straight line into the mountain ridge. I also used that color as the bottom paint color along the baseboard so it matched the baseboards.
This was a pretty quick, easy, and inexpensive project and I’m really happy with how it turned out. It’s not perfect, but then again, neither are real-life mountains. 😉 My kids love it!


I thought this wall would be the last project of the room but…now that I see things in place, there’s a lot of blue happening. There’s also a lot of painted surfaces, so I want to see if I can strip the paint off the dresser (a Marketplace find from 7 years ago) to see about staining it a dark wood color. Just like the mural itself – we’ll just see what happens!
For anyone wondering, here are the paint colors I used:

1 – SW Silver Strand
2 – Custom Color
3 – SW Blonde
4 – SW Nordic Bleu
5 – SW Quaint Peche
6 – BM Steep Cliff Gray
7 – SW Alpaca
8 – SW Foggy Day
9 – SW Mannered Gold
10 – SW Nordic Bleu
White wall color: SW Iconic White

2 thoughts on “Reveal: A Mountain Mural for the Kids’ Bedroom!”