
Over the past week, I’ve been working to remove the paint from the kids’ shared dresser and restore it to a natural wood finish. It all came together yesterday and to say I’m in love is putting it mildly!
Before

After

Somewhere between 7-8 years ago, Justin and I bought this vintage midcentury dresser on Facebook Marketplace for $30. It had signs of wear and tear and the easiest solution at the time was to paint it, so I chose a mid-tone blue and gave it a little upgrade. It has lived happily as a kid dresser for the past 5.5 years (even serving as a changing table when LJ was younger) and is still one of my favorite thrifted finds to date.
I recently completed the mountain mural accent wall in the kids’ shared bedroom, and when I got everything back in place, things didn’t feel quite right. It seemed like a lot of painted surfaces: painted walls, painted trim, painted door, painted dresser. It also felt really heavily blue! I knew I needed to bring in some natural elements and decided to try to strip the paint off of the dresser. I had never attempted this before but figured worst case scenario would be I could just repaint it in a different color if stripping didn’t work.
After doing a bit of research online, I bought a product called Citristrip to try. First things first, I removed the drawers and hardware and placed the drawers face up on a drop cloth (I save old bedsheets for this purpose!) I wore a double layer of latex-free gloves and assembled things in my basement where there is a big open space and plenty of circulating air – Citristrip is safe to use indoors but I still wanted lots of ventilation.

I poured it out directly onto the dresser and used an old paintbrush to roughly apply it everywhere. After some trial and error I learned that thicker is better – you want a pretty thick layer on top of the paint!
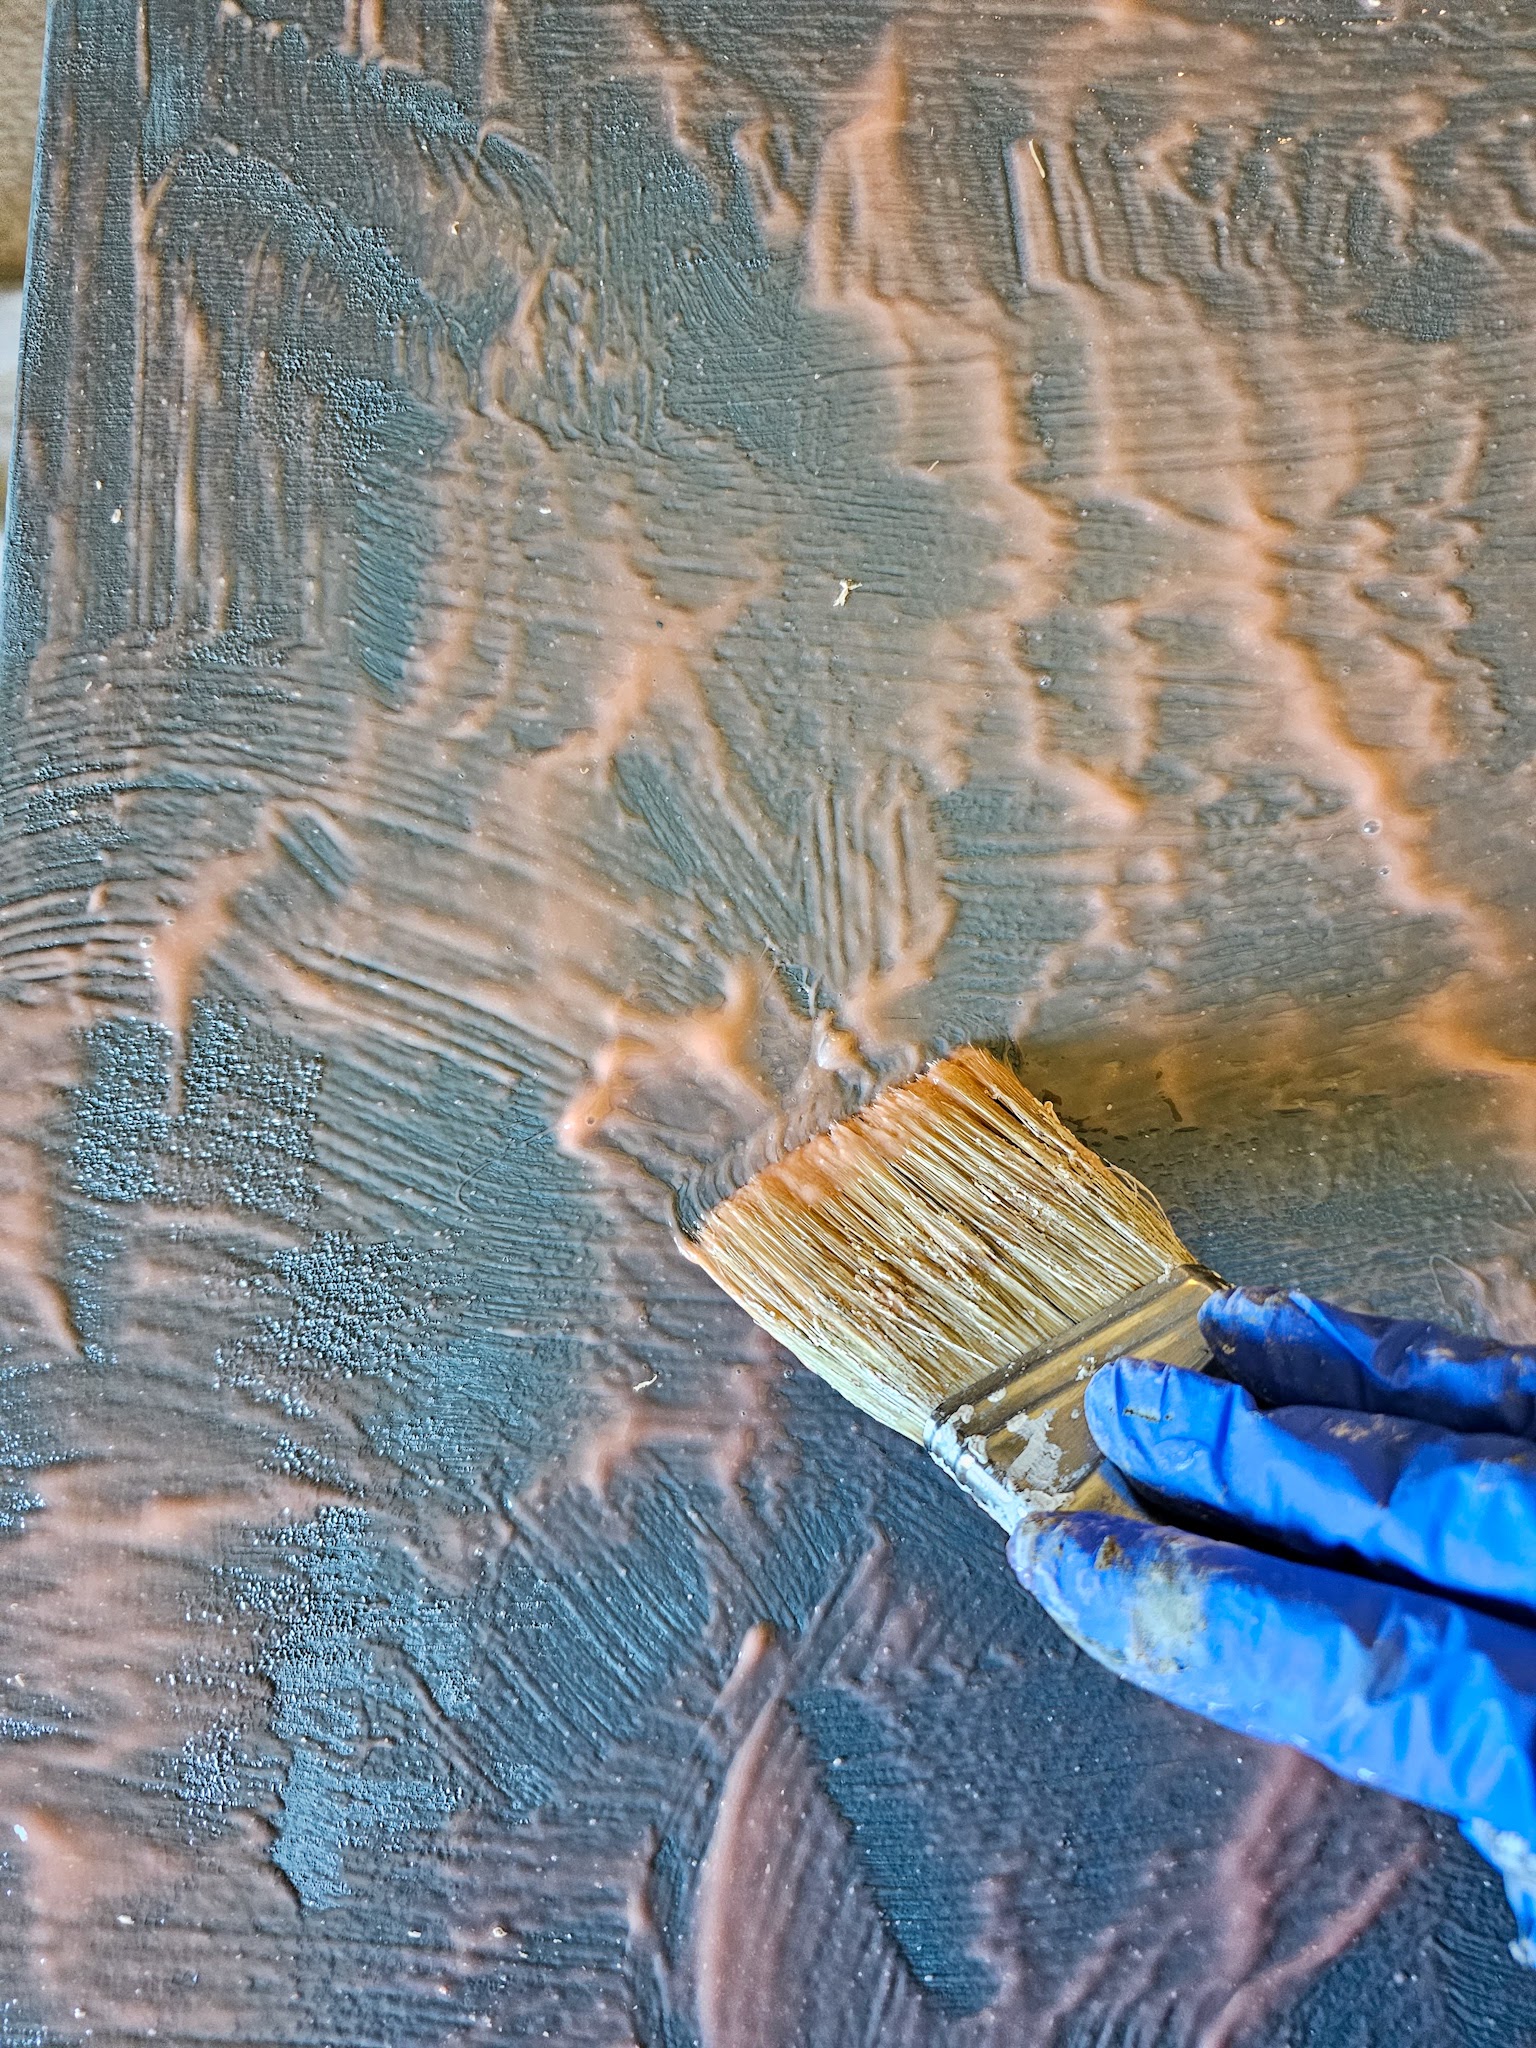
I stashed the brush in a ziploc baggie and let the Citristrip soak in, quickly learning that leaving it on longer produces better results. You don’t want it to dry out, but you do want to give it time to work. And when it works, it looks wild!
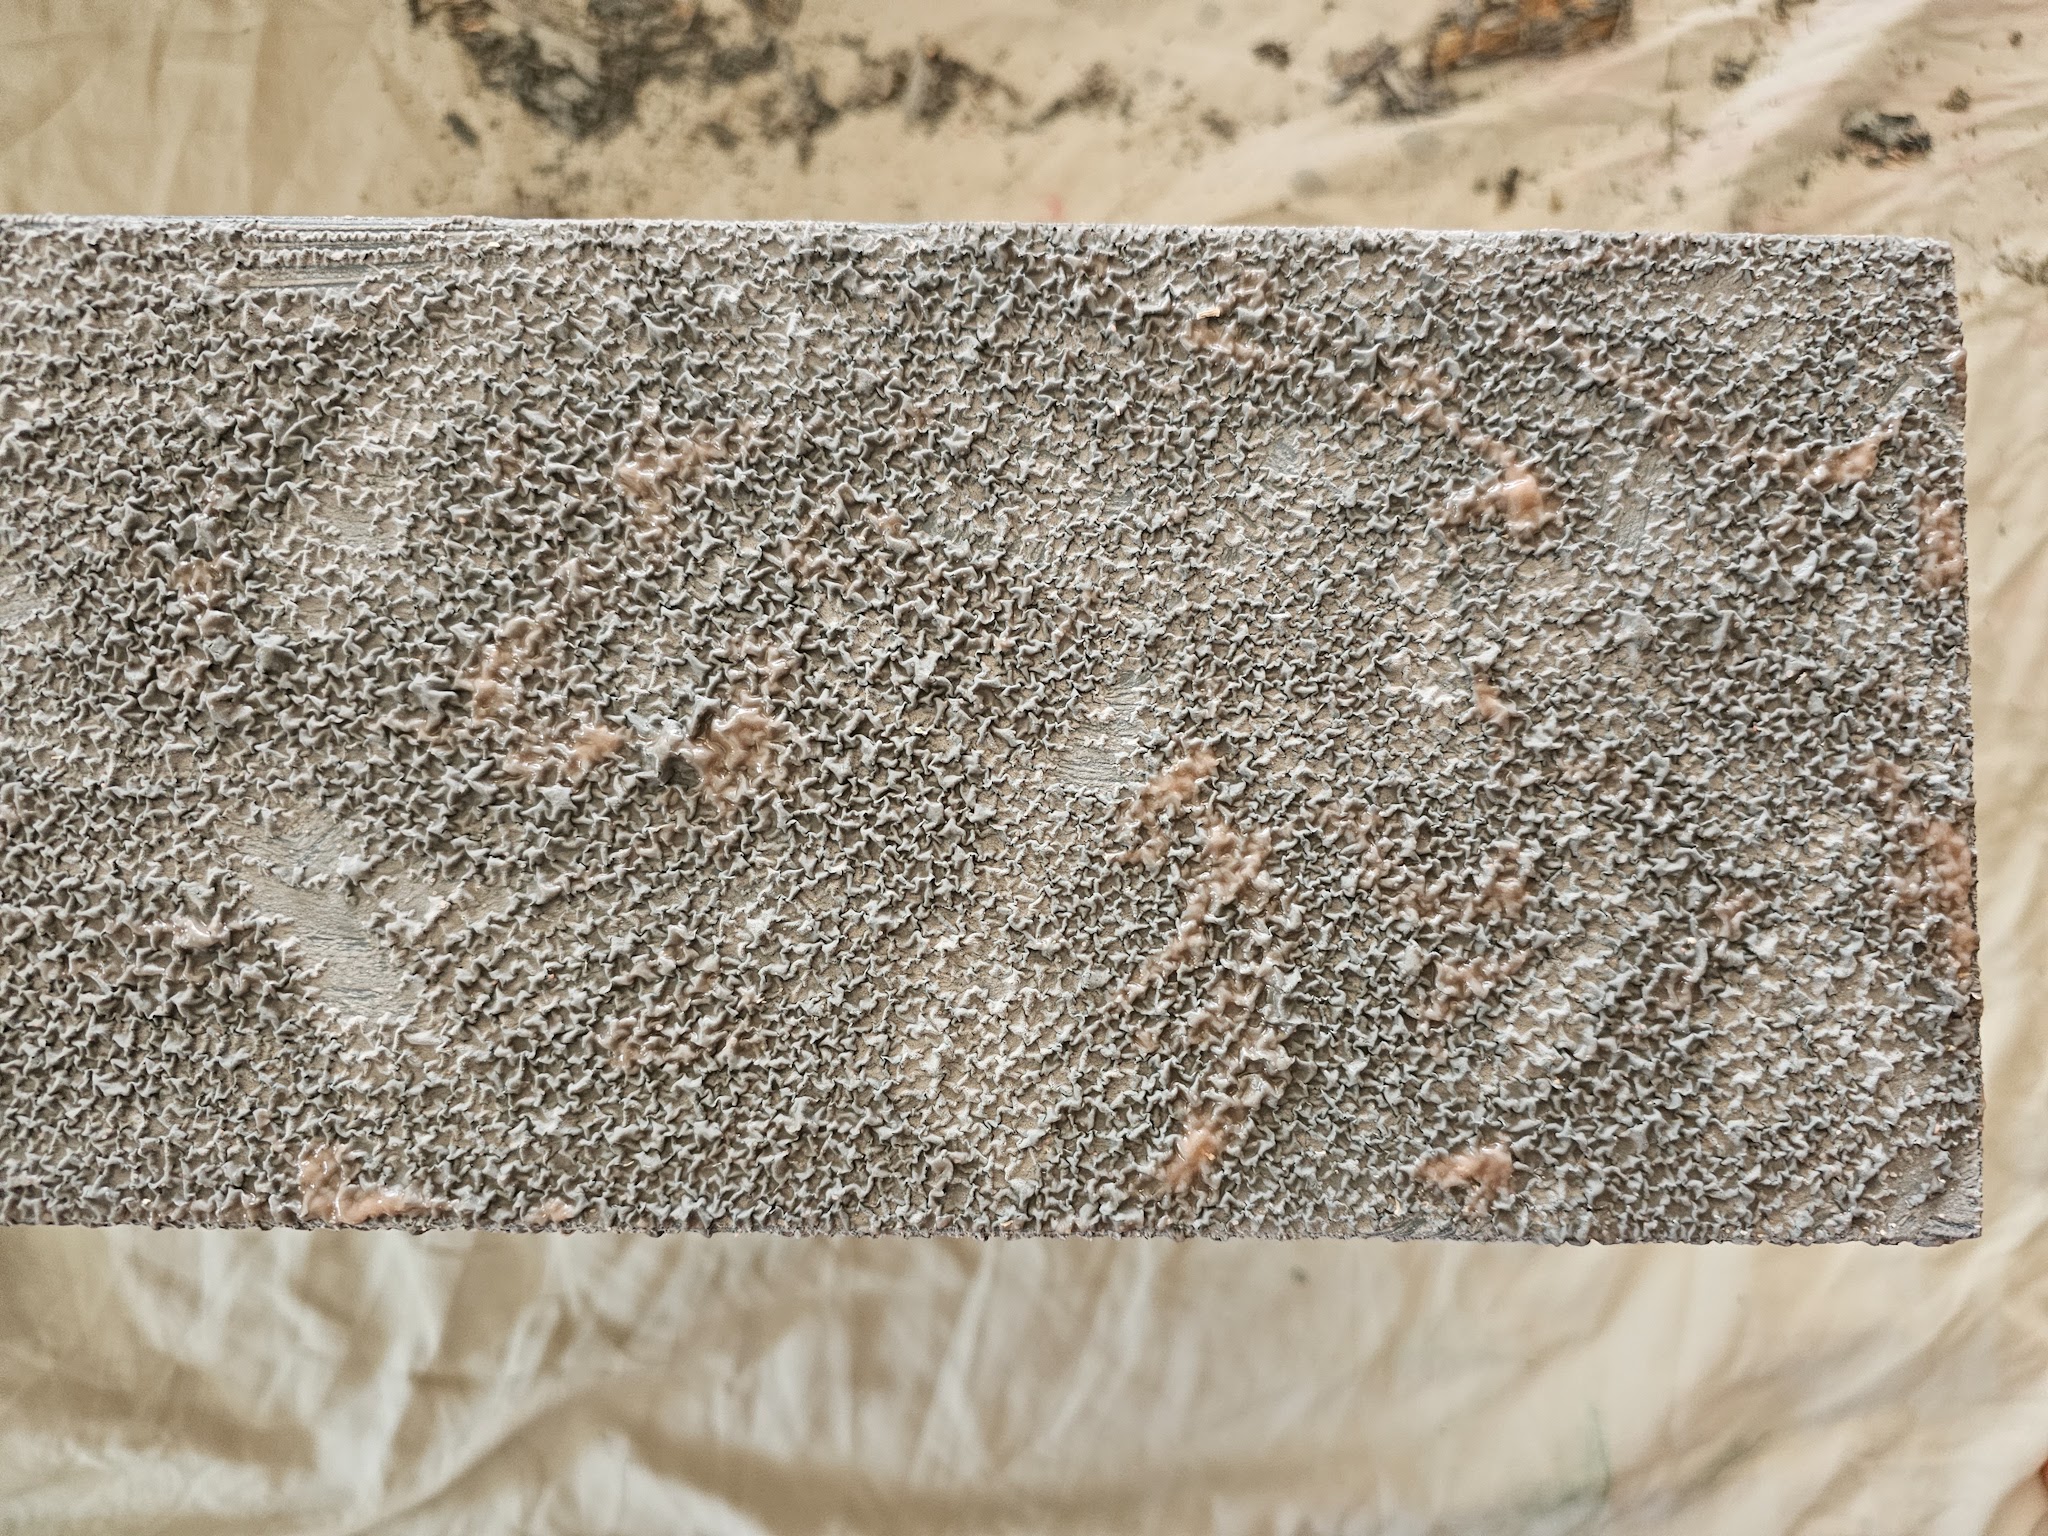
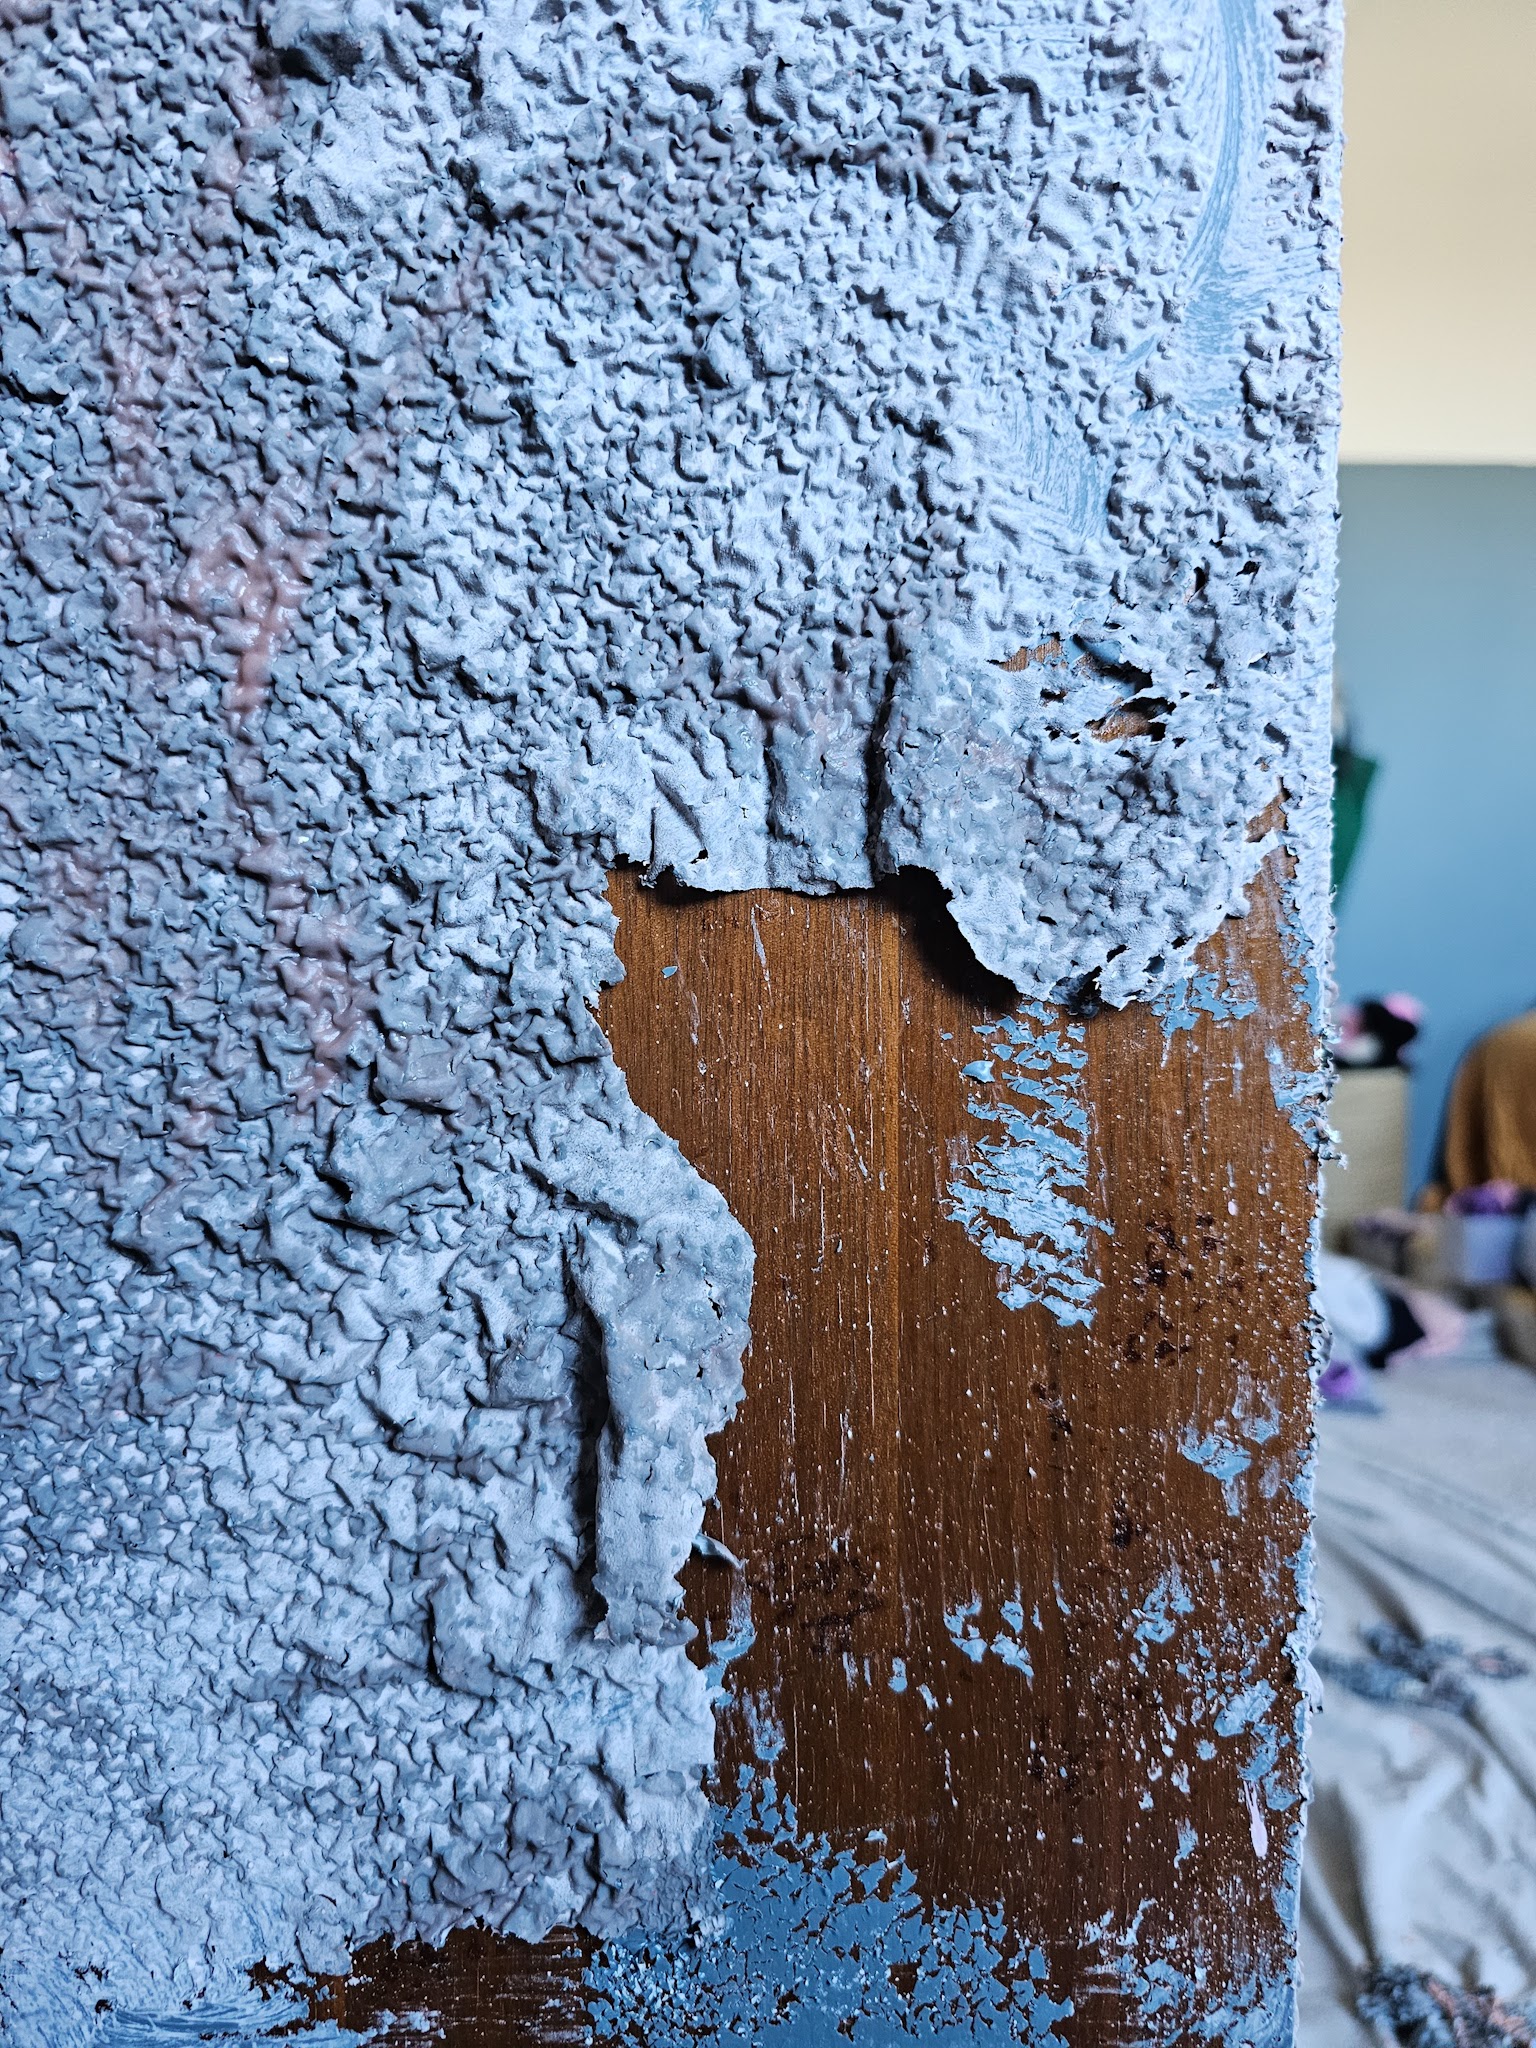
My mind was blown! I kept thinking the paint looked like really elaborate frosting and couldn’t believe how much it bubbled up. The first round, where I did a light layer and only left it on 30 minutes, left a lot of residue but the second round, where I poured it on thick and left it on 2 hours, took nearly everything off!

I used a plastic scraper to remove the paint; sometimes I needed to do a bit of extra scraping to get it all off but it did not require a lot of muscle or effort to do the vast majority!

The main frame of the dresser took an extra round of Citristrip because the paint layer was thicker, but once I got everything stripped it was time to clean off the reside. I used mineral spirits (again, you want ventilation and gloves!) and a clean cloth to wipe down the surfaces; it works best to give the mineral spirits plenty of time to fully dry before sanding.
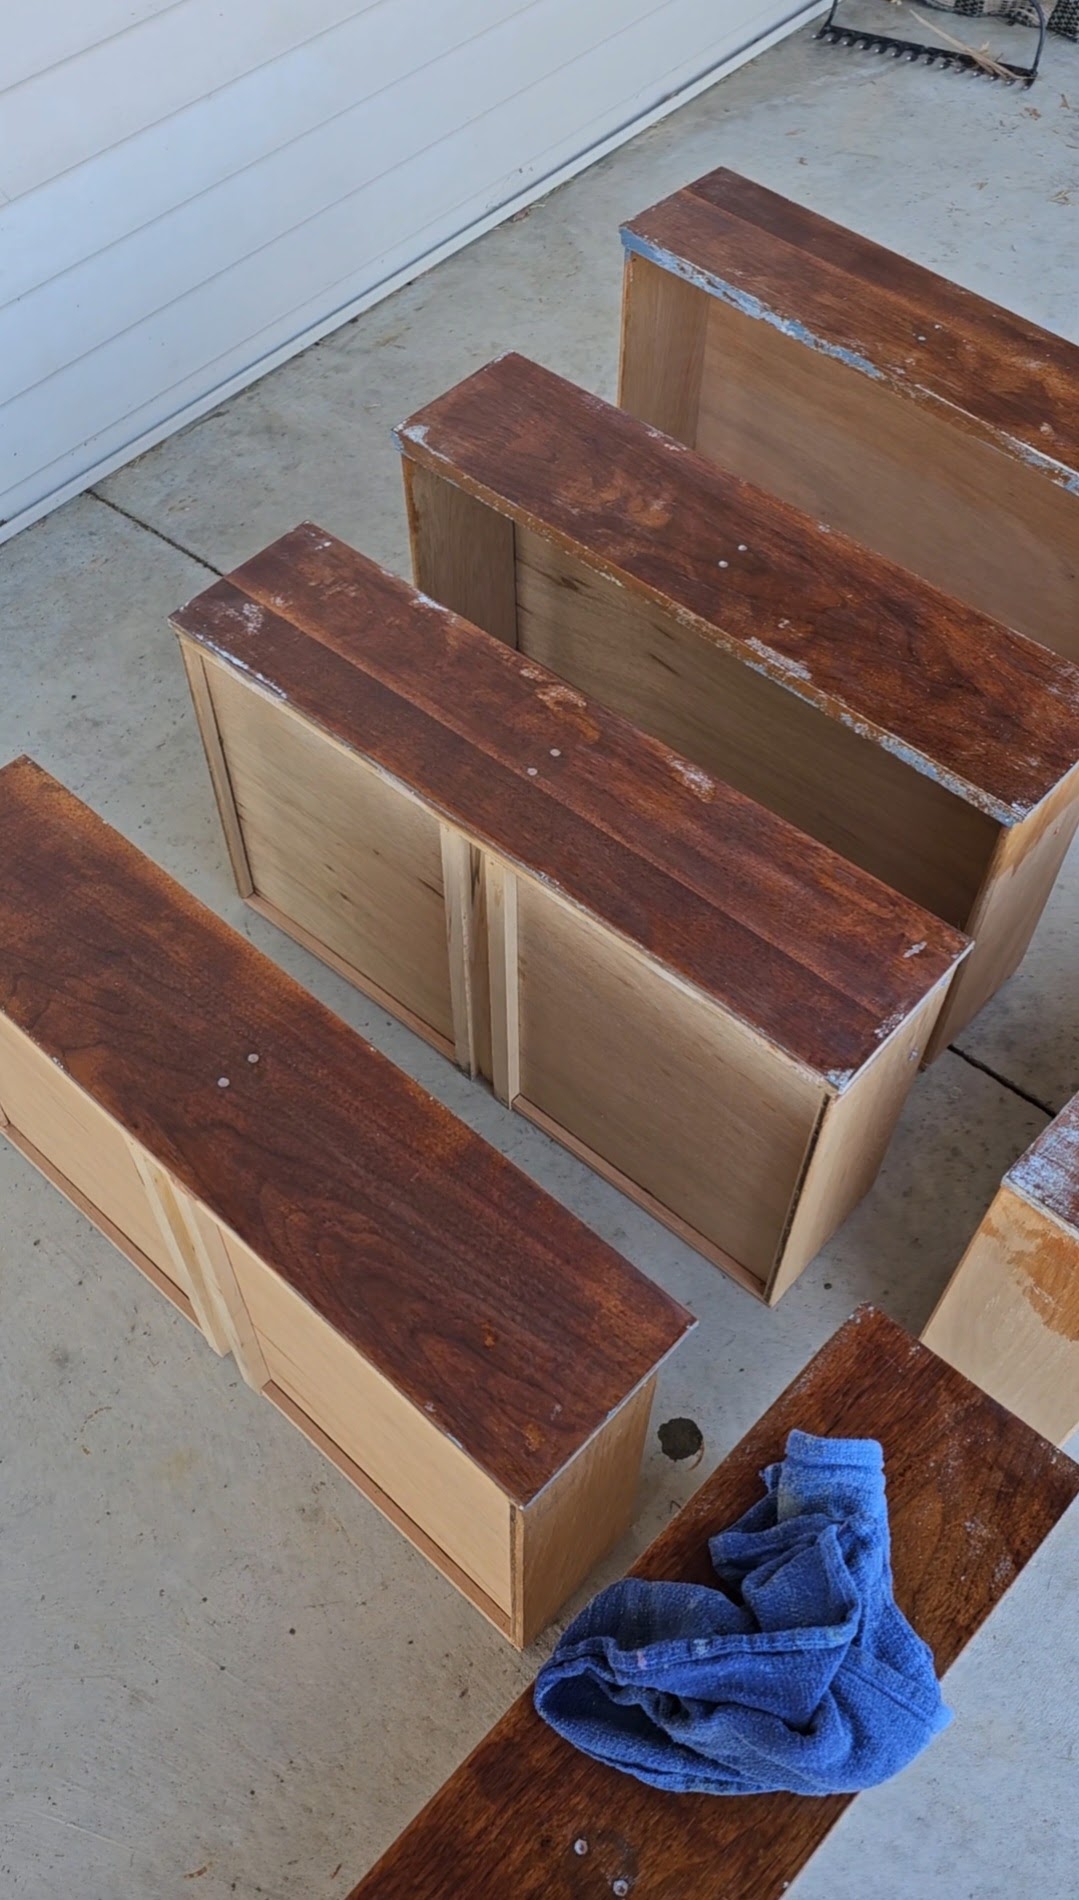
The dresser had a very thin layer of wood veneer on almost everything (more on that in a bit) and sanded well for me. I used an orbital sander, first with 80-grit sandpaper, then 120-grit, then 220-grit to get the surfaces down to raw wood. At this point, I started to feel optimistic that this was actually going to turn out well, because things were looking so much better!

I wiped everything down with a tack cloth and then it was time for gel stain – I chose this dark walnut color.
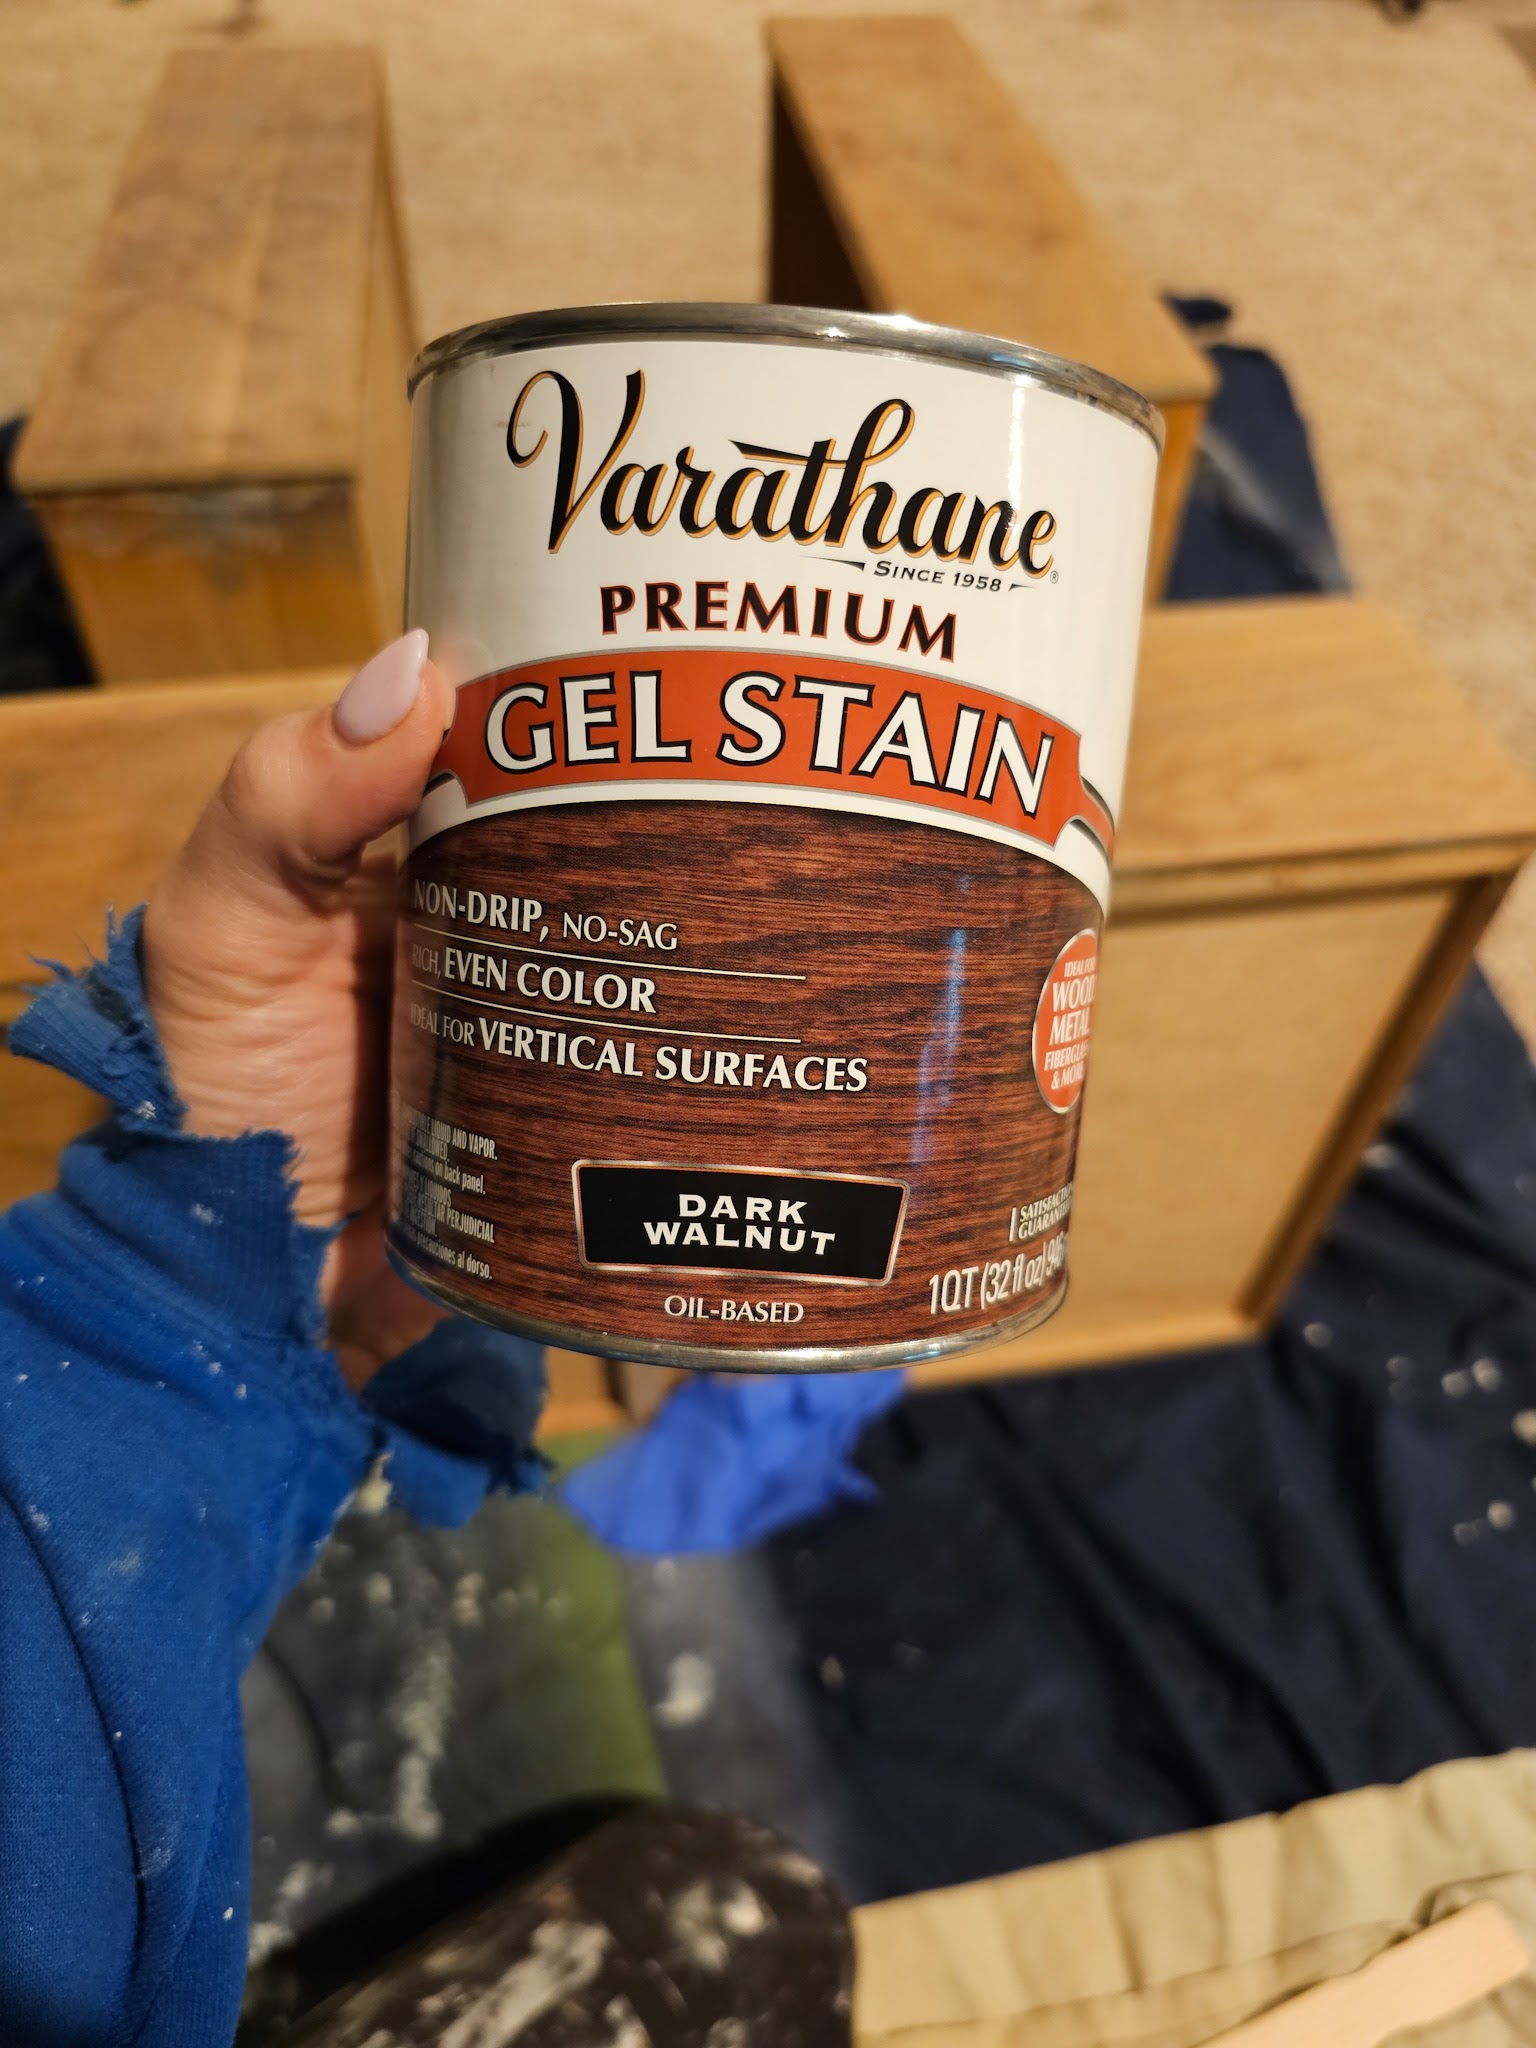
I have never used a gel stain before but it’s super easy to apply: I painted the stain on using a brush, first going in the direction against the grain, then immediately going over it with the brush again (without adding more stain), this time with the grain.

I let it set 2-3 minutes and then wiped it off with an old pillowcase (I’m telling you, save your old bedding for projects!) Here’s a look at two drawers in the process, one with the stain wiped off and one with it still soaking:

One unusual thing I hadn’t remembered about the dresser was that the top is actually laminate. Hmmm. The paint stripped off it fine and I used 220-grit sandpaper to get the remaining residue off, but it’s hard to tell how much of the gel stain it took. The walnut color I chose pretty closely matched the original color and I was afraid of blotchiness so I did the whole top at one time; it looks great with the rest of the dresser and definitely did darken, so it at least took some of the gel stain. It worked out and I’m happy with the result!
The legs did not take the stain well, although that’s probably because I didn’t want to sand them, so I decided to pivot and use Rub n Buff. My goal was to try to match the patina of the original brass drawer pulls. I removed the legs and used just a tiny bit of product, rubbing it in with an old cloth. I was pleasantly surprised to see the legs really did look similar to the drawer pulls!

After everything had a chance to dry, I put it all back together in my kids room and WOWZA, this was exactly what the space needed!
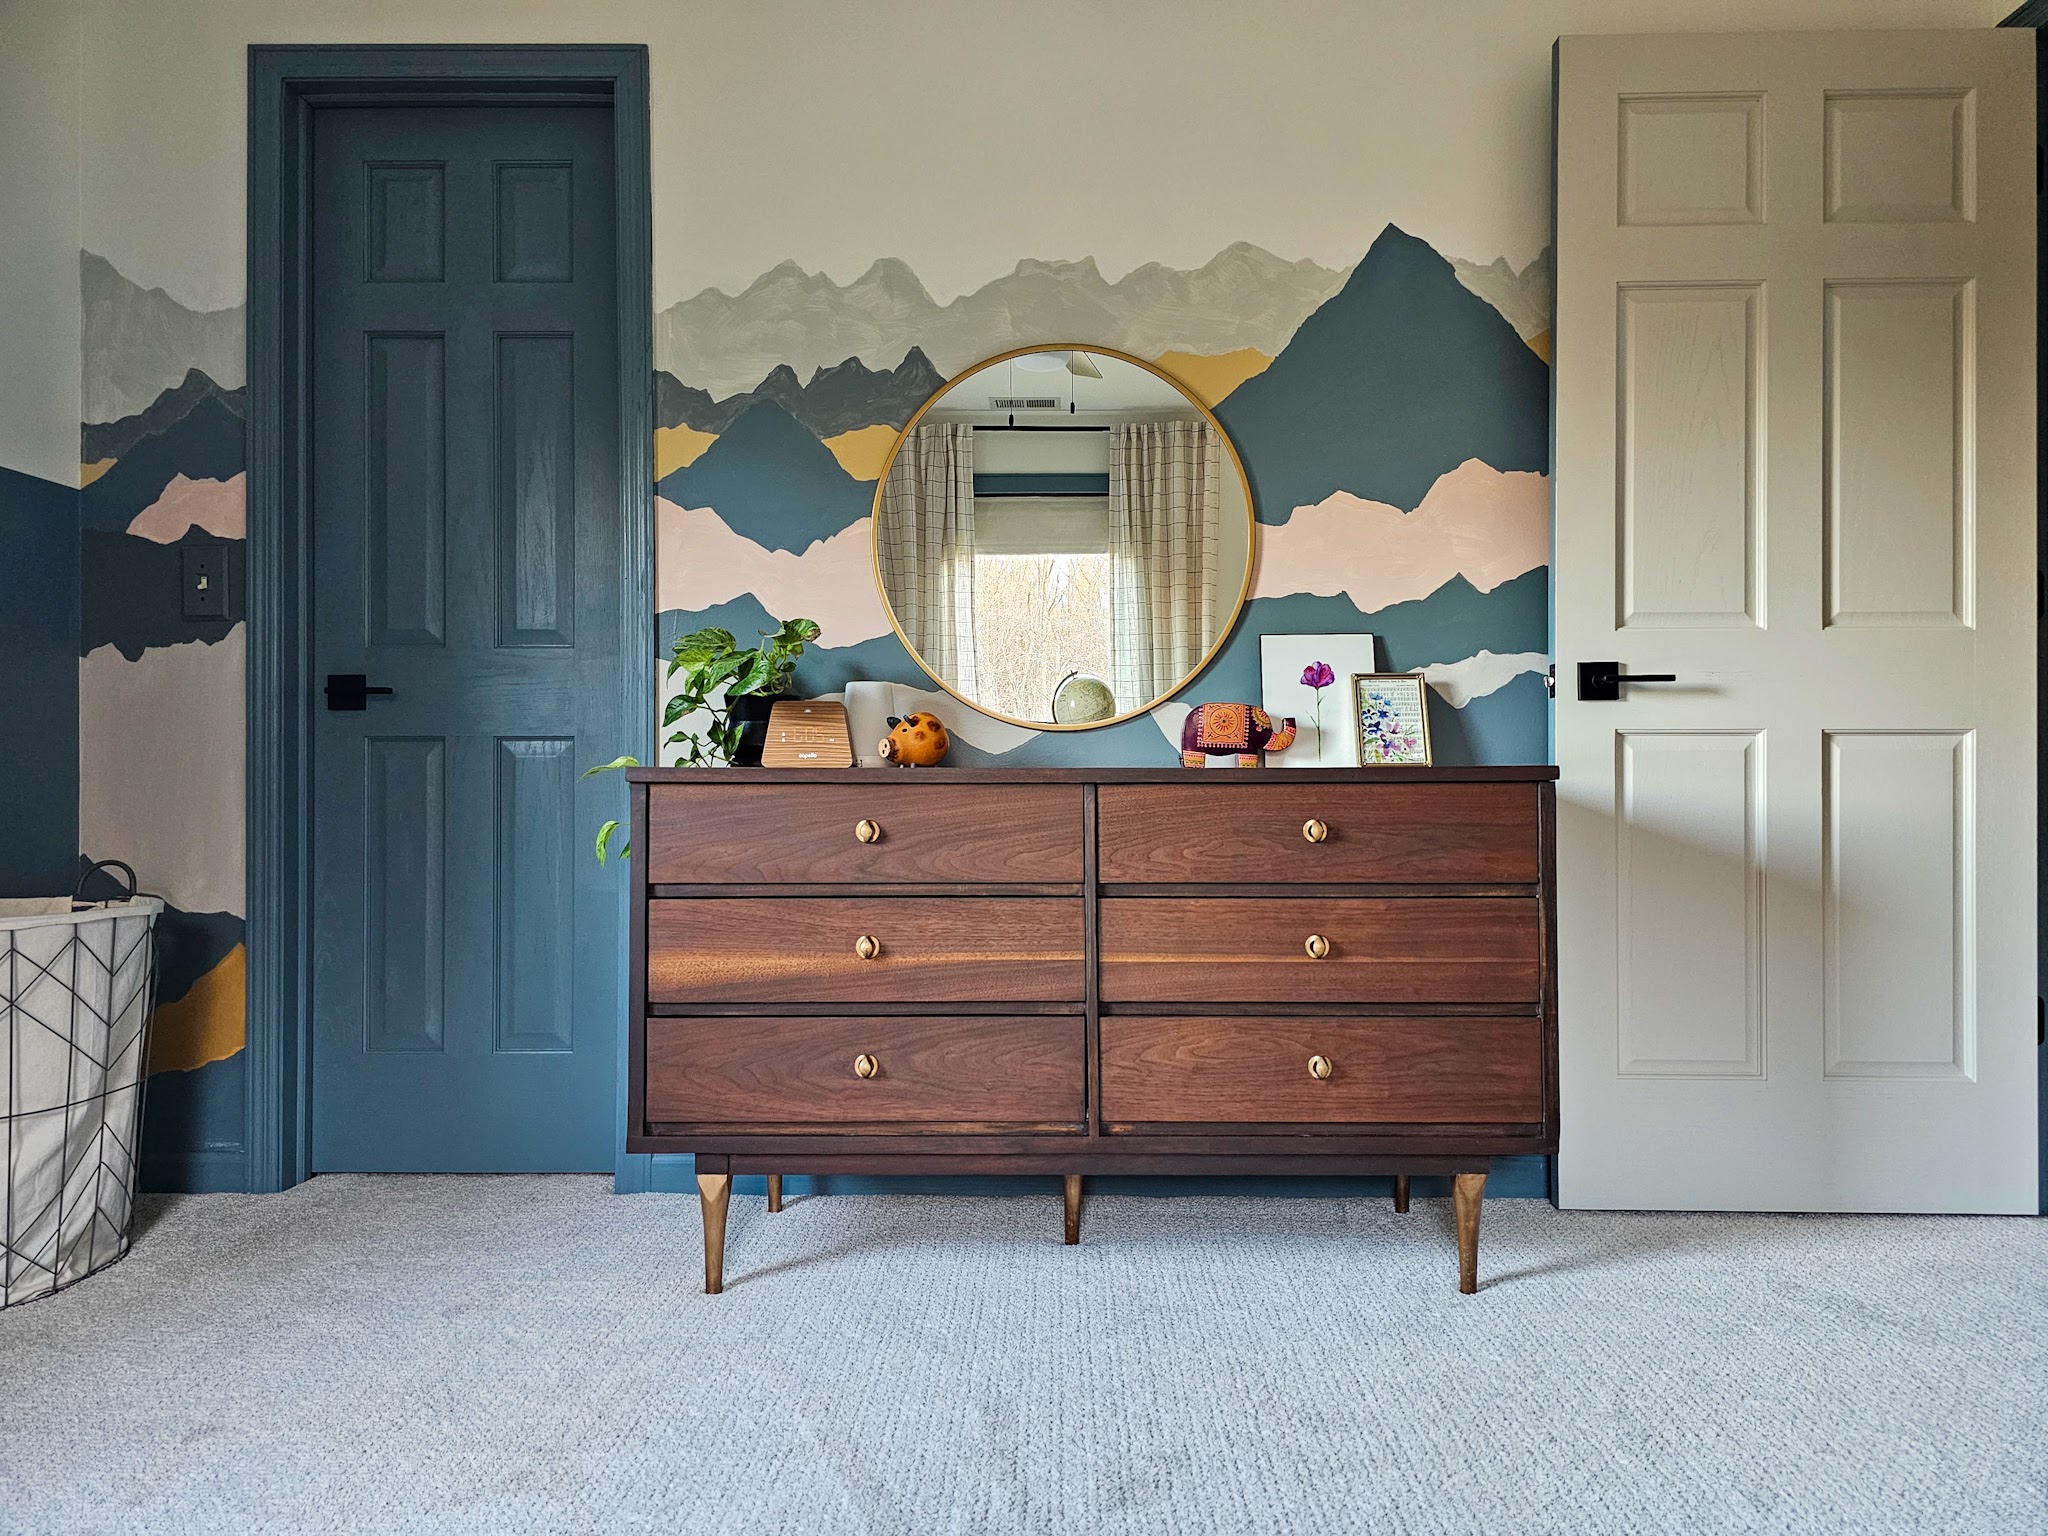
I LOVE the richness of the warm walnut color. It is seriously stunning, and the patina on the brass hardware + faux patina on the legs brings so much character!

This is still a $30 thrifted dresser, so it’s far from perfect, but I just think she’s a showstopper now. I am so so happy with how this dresser now ties in with the other wood tones throughout and completes the room . . . even though I don’t really ever think a room is totally finished. Our needs and tastes are constantly evolving and I like to make little tweaks to our rooms here and there along the way. Plus this room will likely need an overhaul of sorts down the room when there are two teenage boys sharing it (!!!) That being said, the kids’ room feels like it’s in a really good place for their current stage of life so for now…it’s done. 🙂


Sources:
Wall Color: Sherwin Williams Eider White and Nordic Bleu
Bedframes: Vintage
Dresser: Vintage

Love love love the dresser. I would have never thought that style of dresser would look so good!! Made me change my mind. Great job!!
Thank you so much!