
Another week has come and gone in the Fall 2020 One Room Challenge and buckle up because today is a doozy of a post: it’s all about our DIY built-ins!

I went back and forth several times with whether to have the desk as a standalone piece of furniture or incorporate it into the built-ins. After mapping out both options with painters tape and placeholder furniture, I decided to go with a full wall of built-ins and a standalone desk to maximize storage.

We started out with base cabinets from Ikea. We went to their kitchen center and one of their employees drew out our plans using software. The software made it so easy to visualize and it was nice to play around with a few different combinations! We settled on four 30″ cabinets with doors and one 15″ cabinet with four drawers to go in the center.
The first step when we got home was ripping out all the beadboard (demo is so satisfying!) and trim. We were not concerned about the residual glue on the wall because we knew it would all be covered up eventually.

I assembled all the cabinets and arranged them in order. My grandpa also came over one day and helped us by moving the electrical outlet in the center of the back wall up a few feet so it would be accessible above the cabinets. Justin attached the cabinet legs and adjusted everything to the correct height. Our purchase from Ikea included a metal railing to attach to the wall and then hook the cabinets directly onto for extra stability. Justin put a lot of work into all those details to make sure the cabinets were level and sturdy!

He also used a jigsaw to cut out a hole in the far left cabinet so that it would be accessible to hook up our printer. Other than the outlet that my grandfather moved, this was the only outlet behind the cabinets so I’m thankful we can still use it!

Once everything was fastened in place, we attached vertical paneling along the walls around the cabinets (today’s post is long enough – I’ll cover this step in more detail in a future post!) and were ready to tackle our biggest DIY yet – the bookshelves!

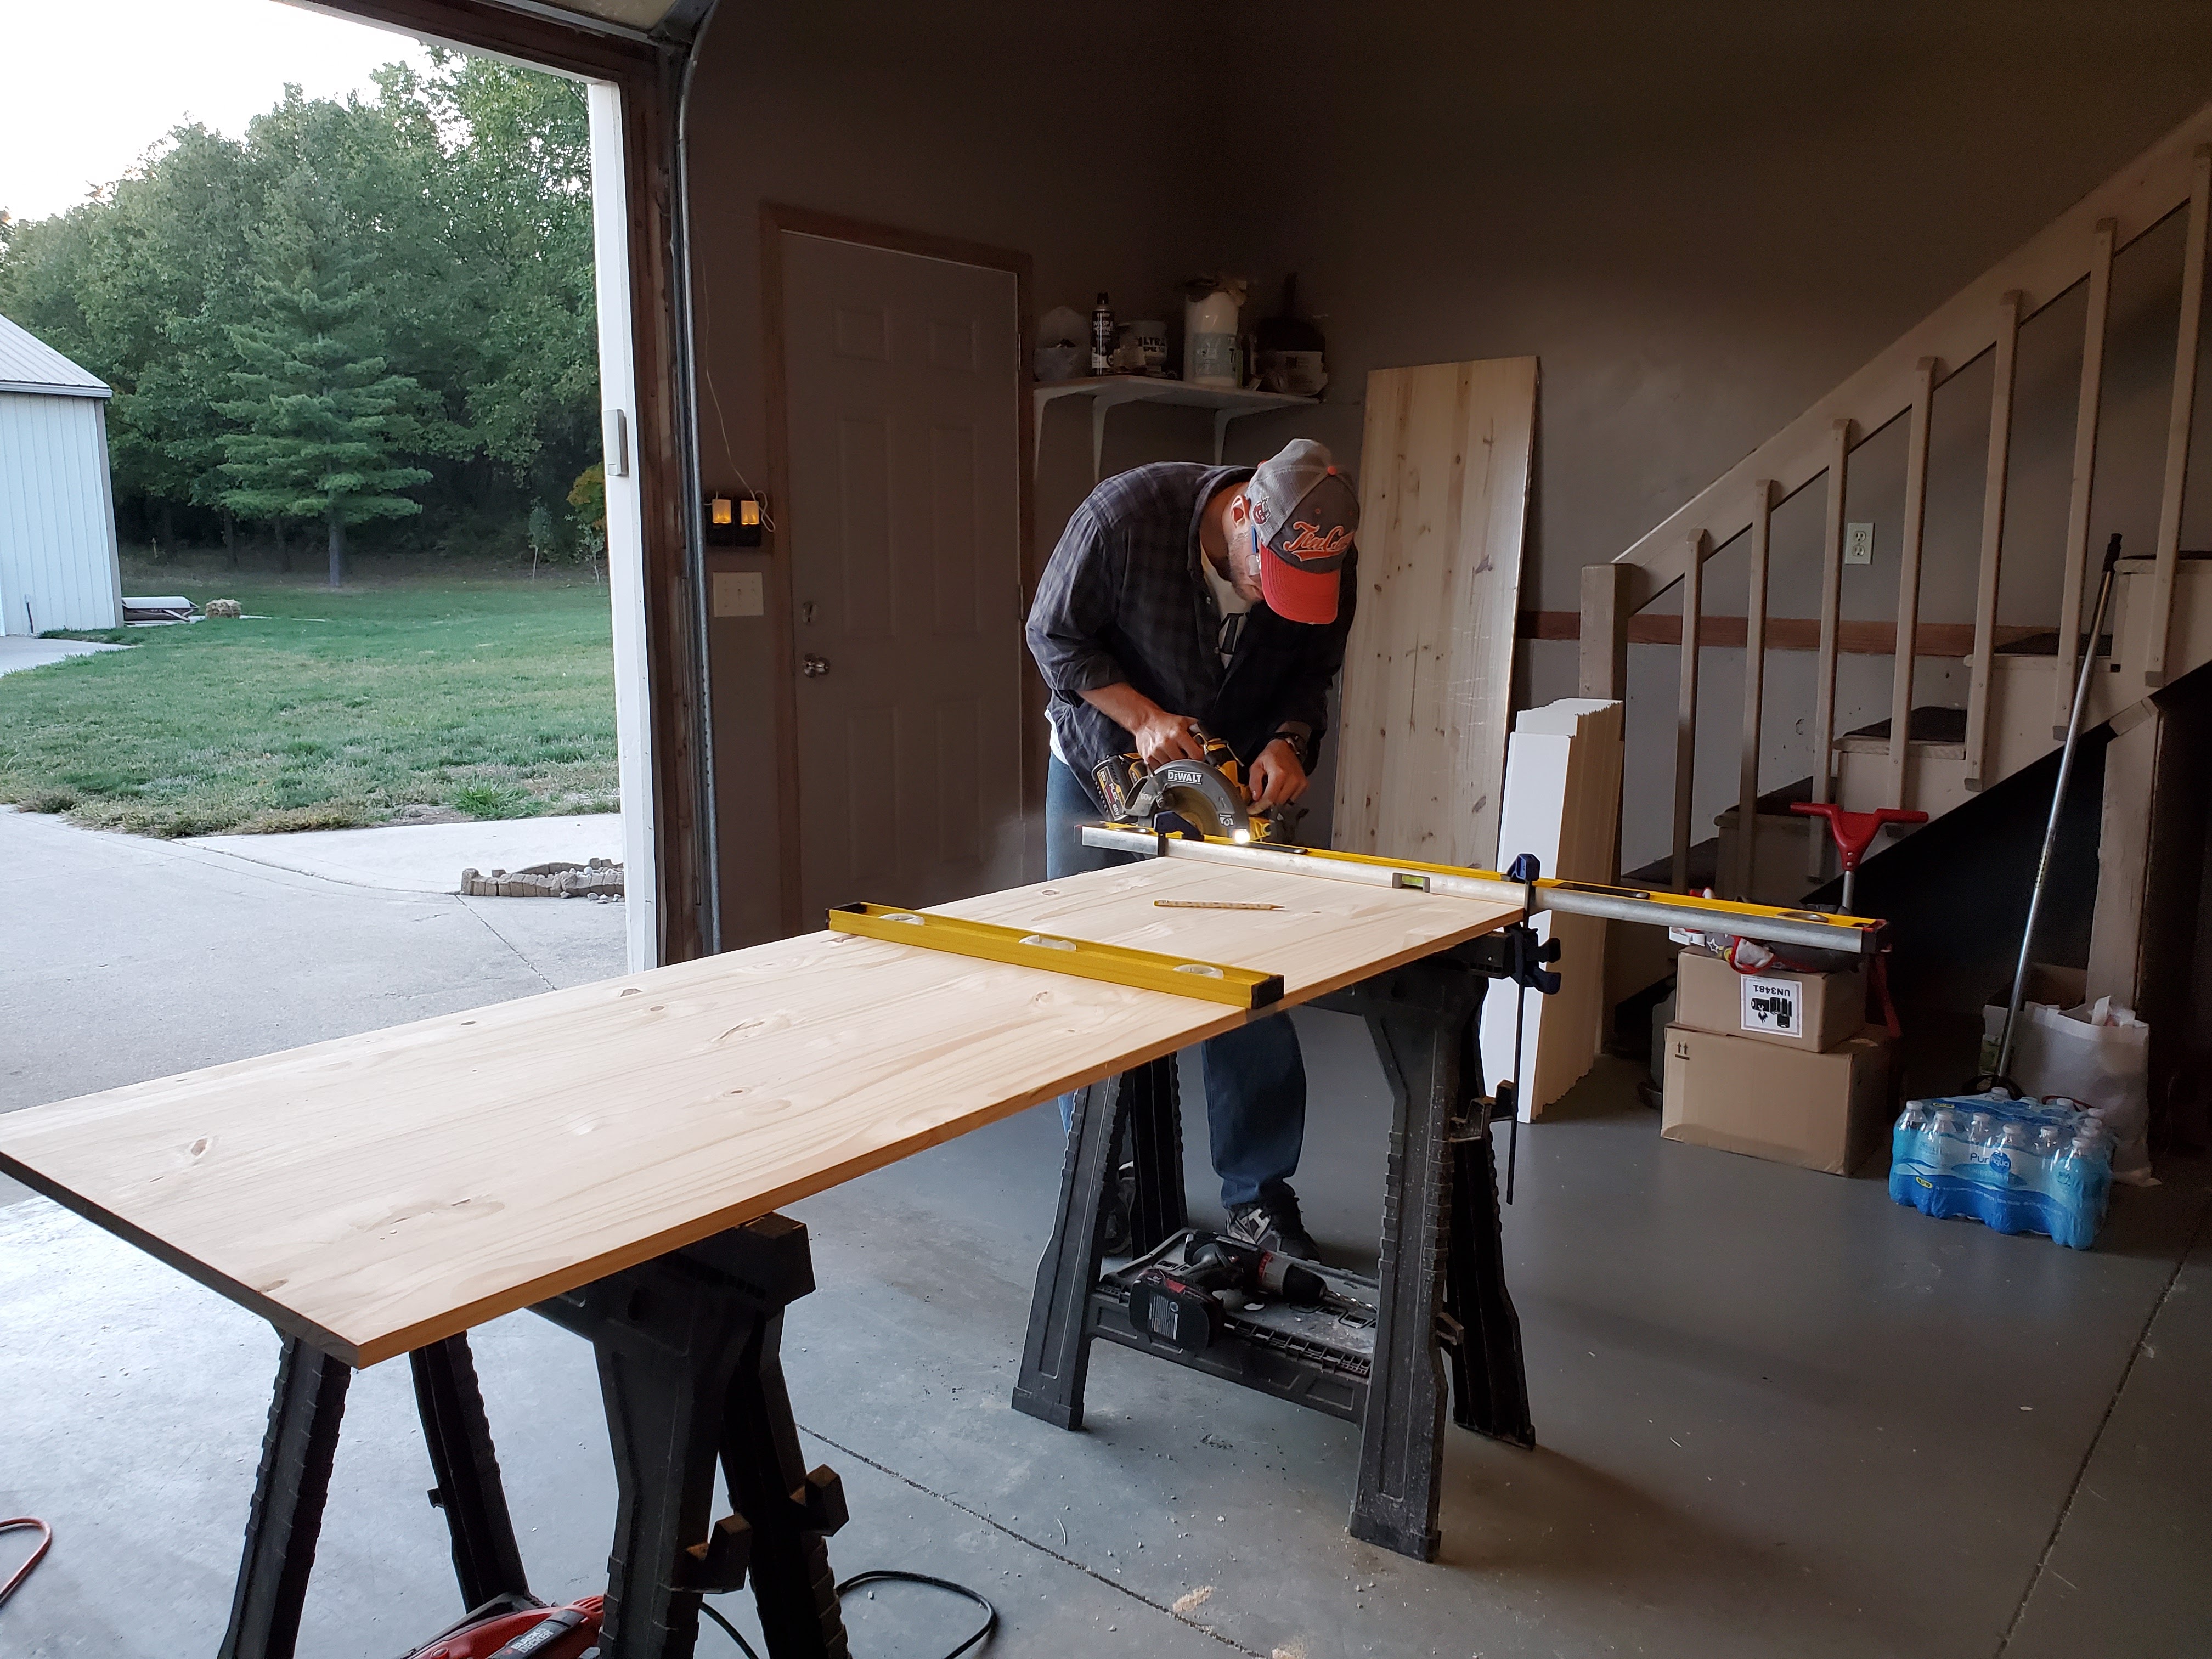
Our first step was installing a countertop. Butcherblock would have been an easy choice, but it would have also been an expensive choice so we decided to use this edge-glued pine panel instead (making the countertops less than $70 instead of over $300). The option Lowe’s had in store was not quite deep enough, so Justin measured the extra depth we needed and cut a long thin board to match that size exactly. We screwed that board into place against the wall using the metal rails on the Ikea cabinet underneath.

We then used a kreg jig to create screw holes in the bottom of the large panel so we could screw the panel to the long, thin board, creating a deeper counter. We also used screws to attach the front of the panel to the Ikea cabinets, again using the cabinet’s metal rails.

After all this work, we discovered Menard’s had a similar panel that would have been deep enough and saved us all the extra trouble creating and attaching the back piece. Live and learn: always shop around!
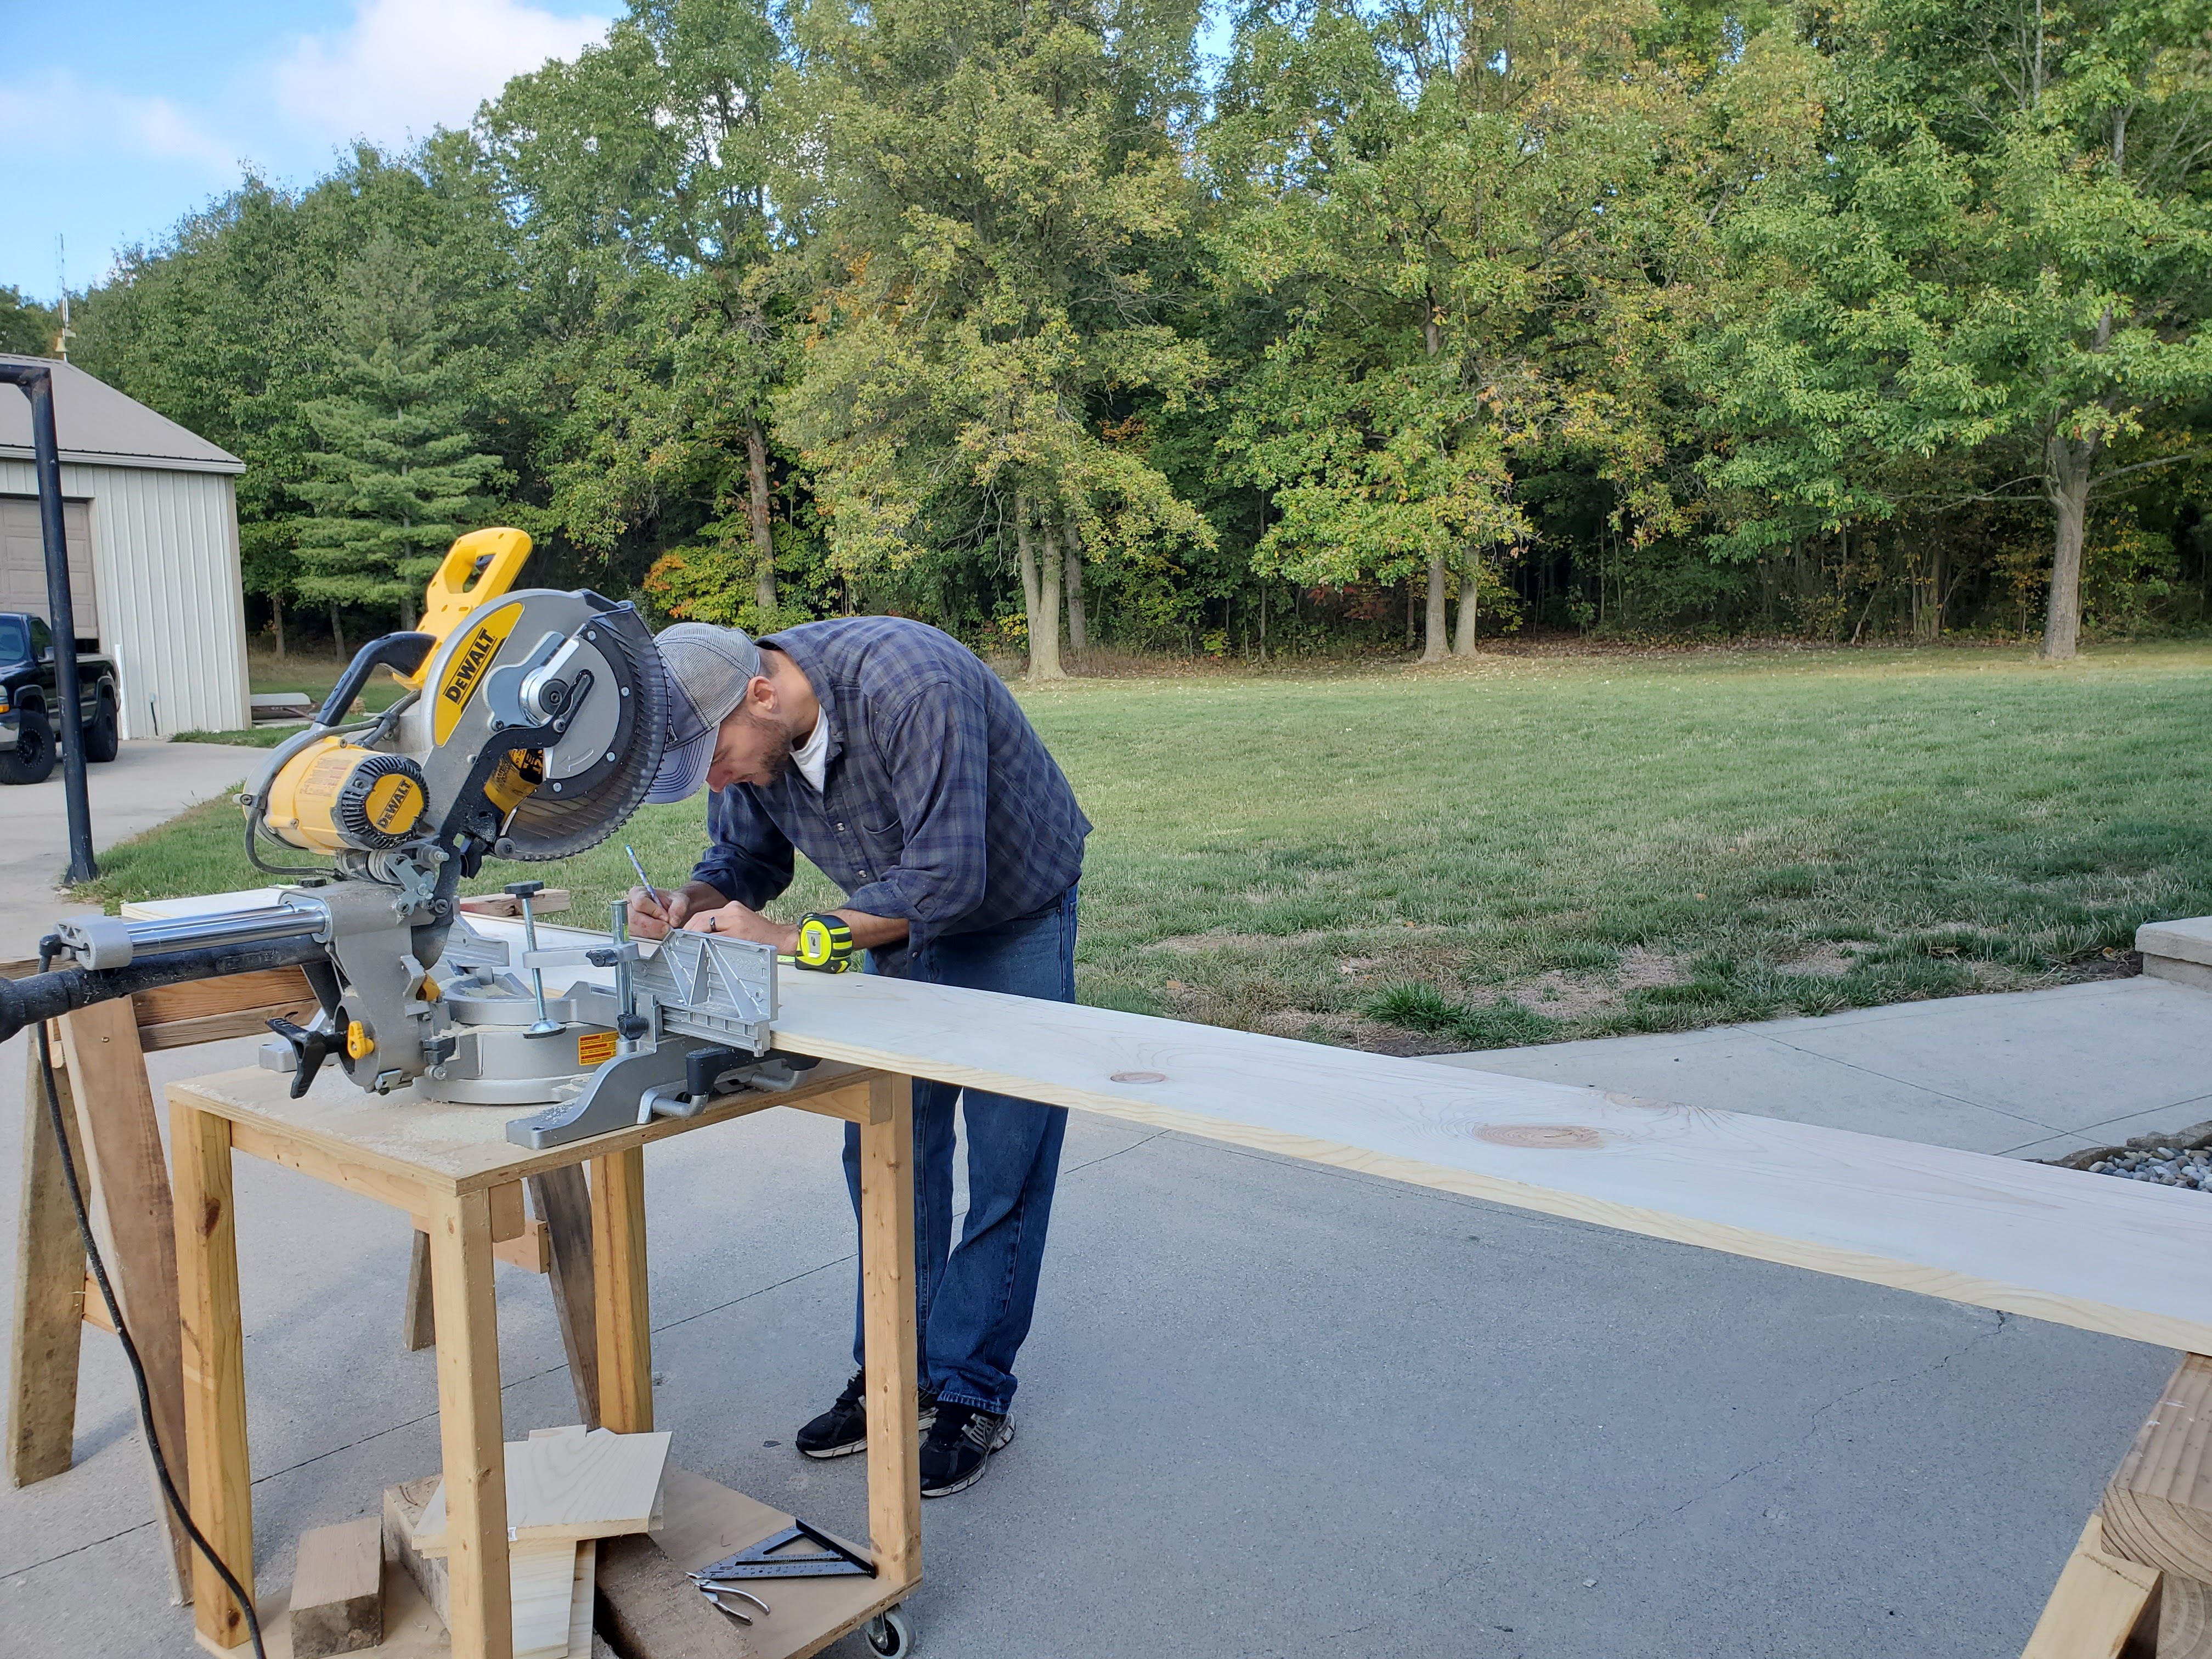
The countertop was nearly twelve feet long and there was no way to finagle two six foot pieces so the seam would be hidden underneath a bookshelf support, so Justin used a circular saw to cut two panels to length to meet in the middle.

We used a flat bracket underneath to create stability at the seam between panels. This picture below gives you a good idea of how everything was connected: metal railings to attach counters to cabinets, kreg jig screws to attach the panel to the extra back board, and a flat bracket to attach the two panels to one another.

Since there’s going to be quite a bit of weight on the bookshelves, we also created extra support by screwing metal L brackets to the cabinets and counters.

Once the top was f.i.n.a.l.l.y. in place and as sturdy as possible, we sanded it down so the back board was as flush with the rest of the panel as possible. Then we started on the vertical supports. Justin took 1 x 12 boards and cut them to length, then we used the kreg jig to create three screw holes in the sides. We measured the placement of these holes strategically so that they would be hidden underneath the eventual shelves.
After triple checking that each board was square to the wall and as level as possible, we screwed the boards directly into the wall.

This step involved LOTS of precision and measuring, because we want each vertical support to line up with the line of the cabinet doors (which are ordered and hopefully shipping soon!)

It was finally time for the shelves! We measured and marked (and triple checked) where each shelf was going to go. Justin used scrap oak boards from our garage to cut down thin support pieces. We used premium interior wood screws to attach these pieces to the side boards and back wall where each shelf was going to go. This step was tedious because we had to make sure each and every board was level and in the correct spot so our shelves would all eventually look symmetrical!


Once all the supports were in place and we had checked to make sure everything was level, Justin took 1 x 12 boards and cut them all down to the correct shelf length.
We used a nail gun to nail each shelf into the support pieces. Because the shelves were so long (the only way we could make things look symmetrical), Justin cut extra scrap support pieces and used a kreg jig to attach them to the middle of each shelf.
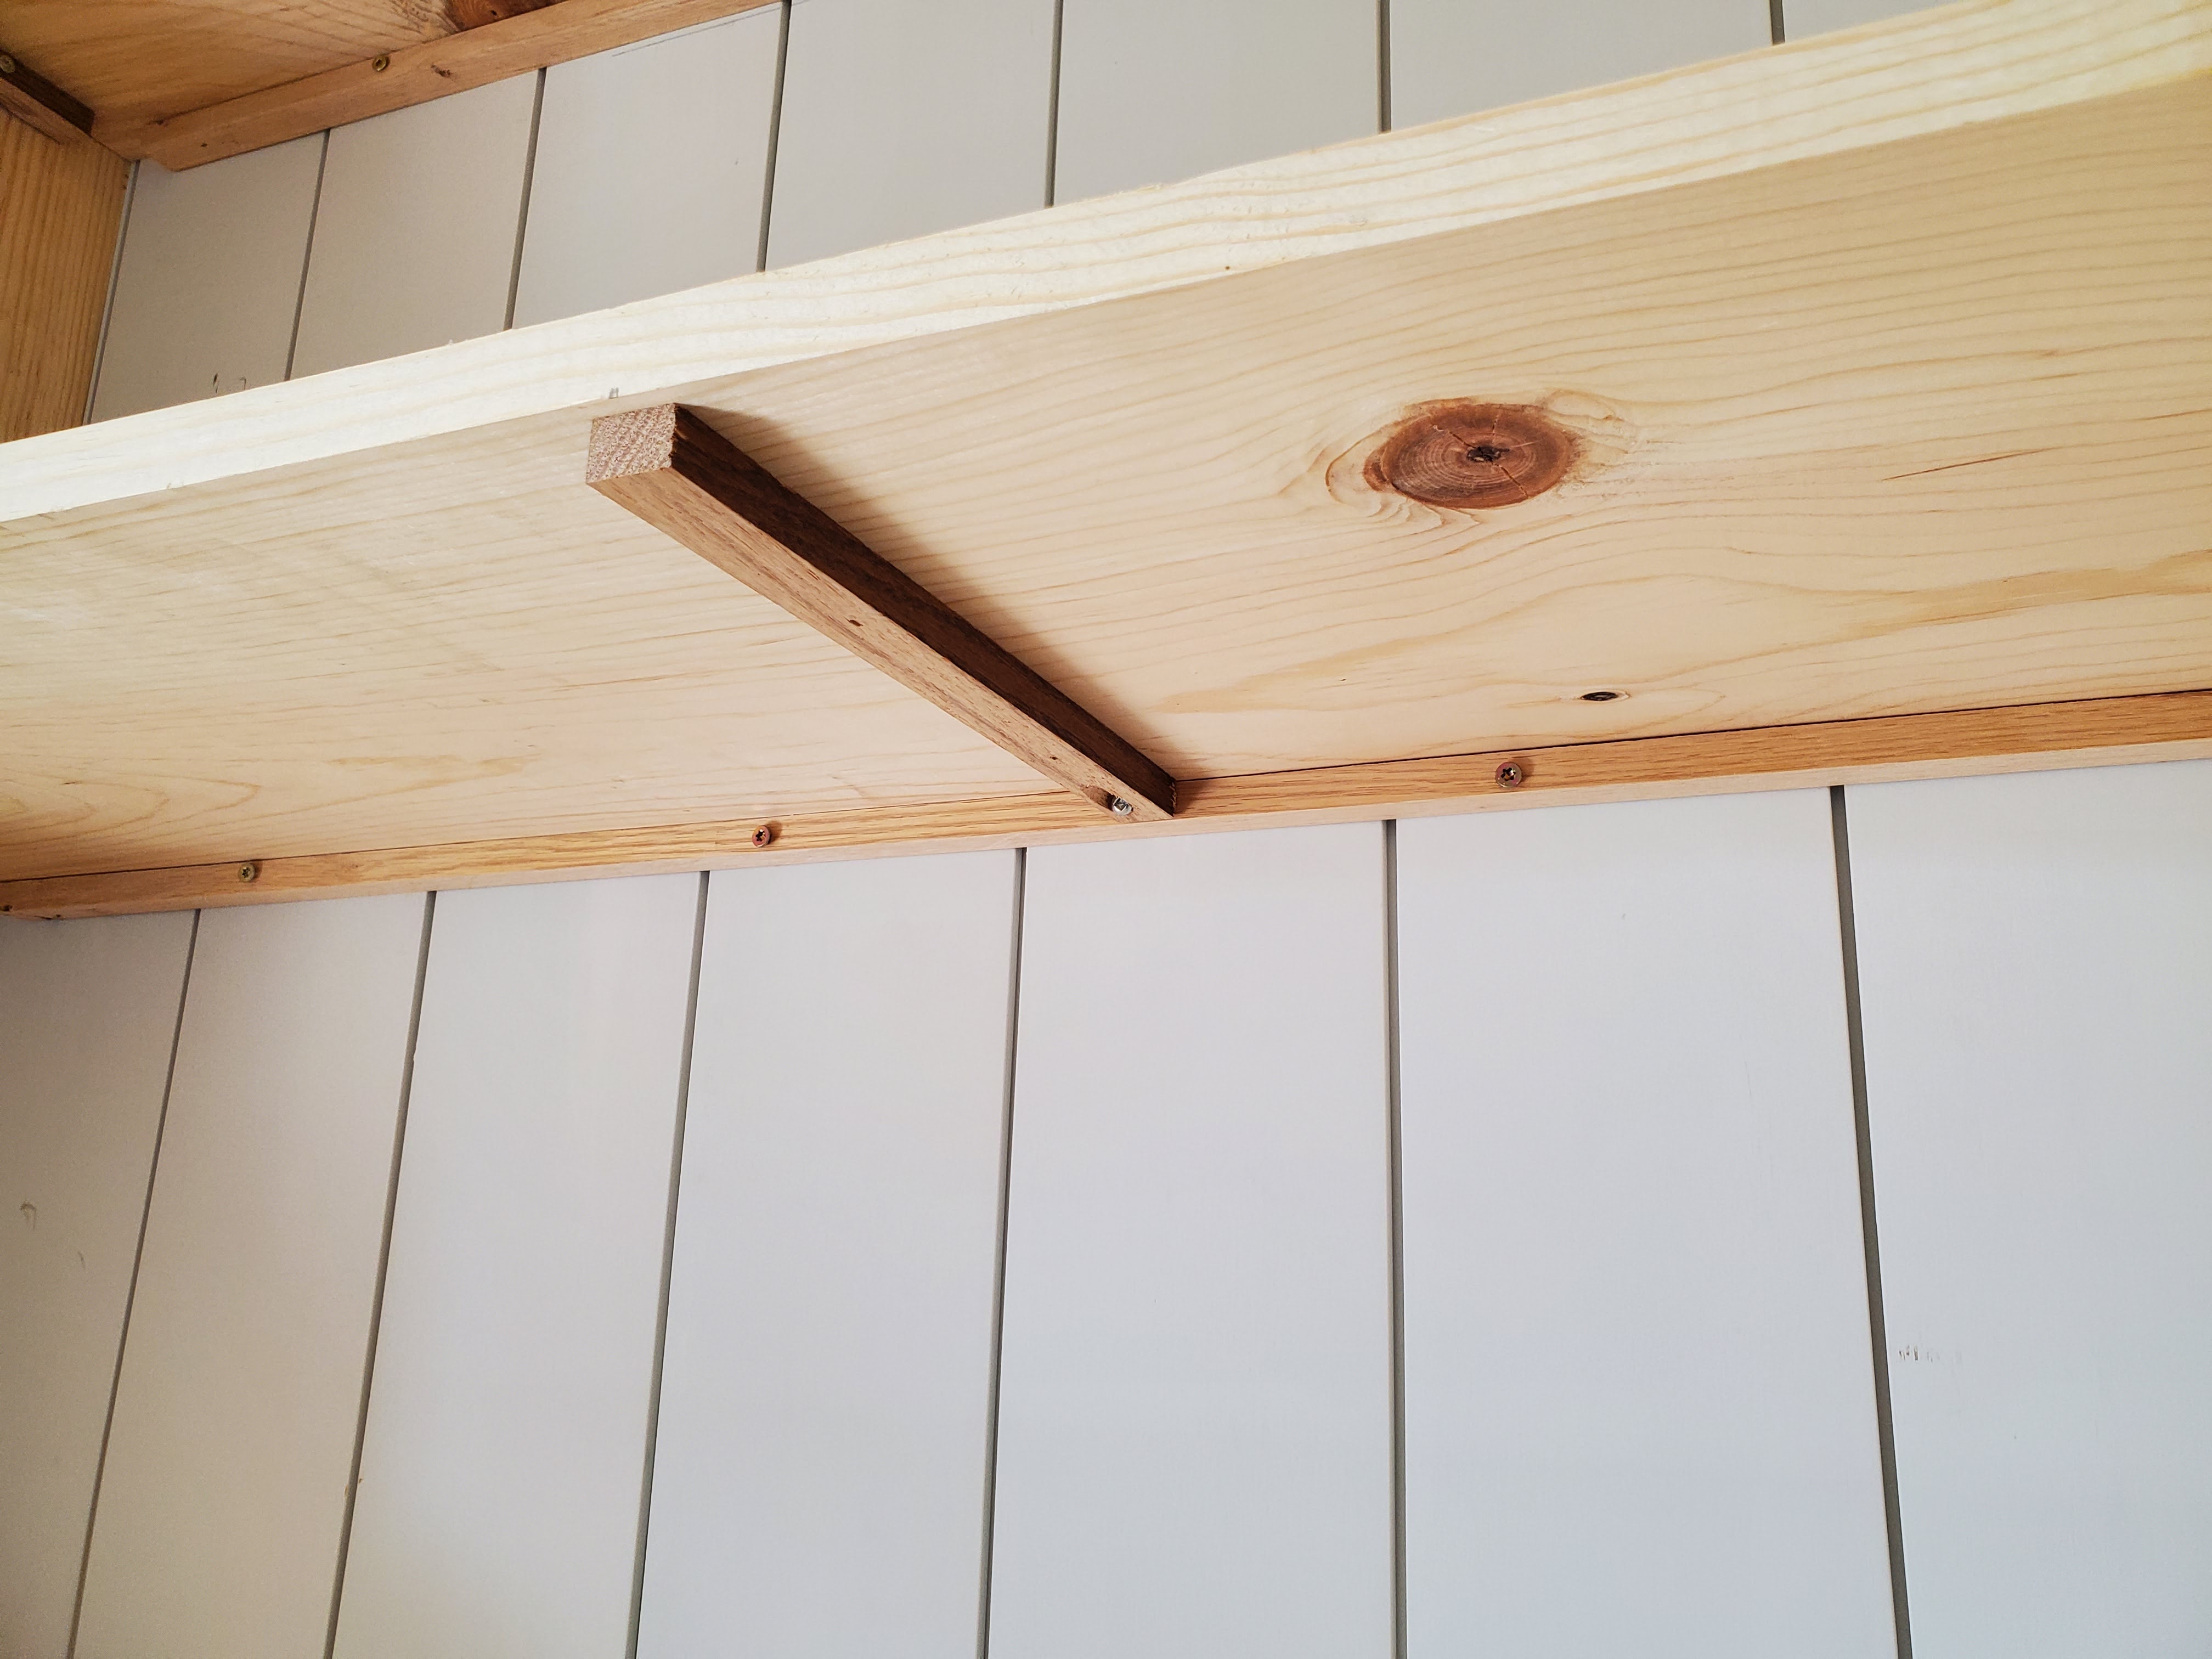
Next, Justin took very thin plywood and cut it to the same size as each shelf. Using a nail gun, we attached this plywood to the bottom of each shelf so all the support pieces were hidden.

We used scrap pieces of wood to tuck in between the top board and the plywood to correct any bowing so everything looked nice and level.
Then it time to trim out the shelves. Justin took 1×2 primed boards and cut everything to the correct length. He used a nail gun to attach these trim pieces to all the vertical boards first, then went through and cut all the shelf trim pieces to length and nail to the front.

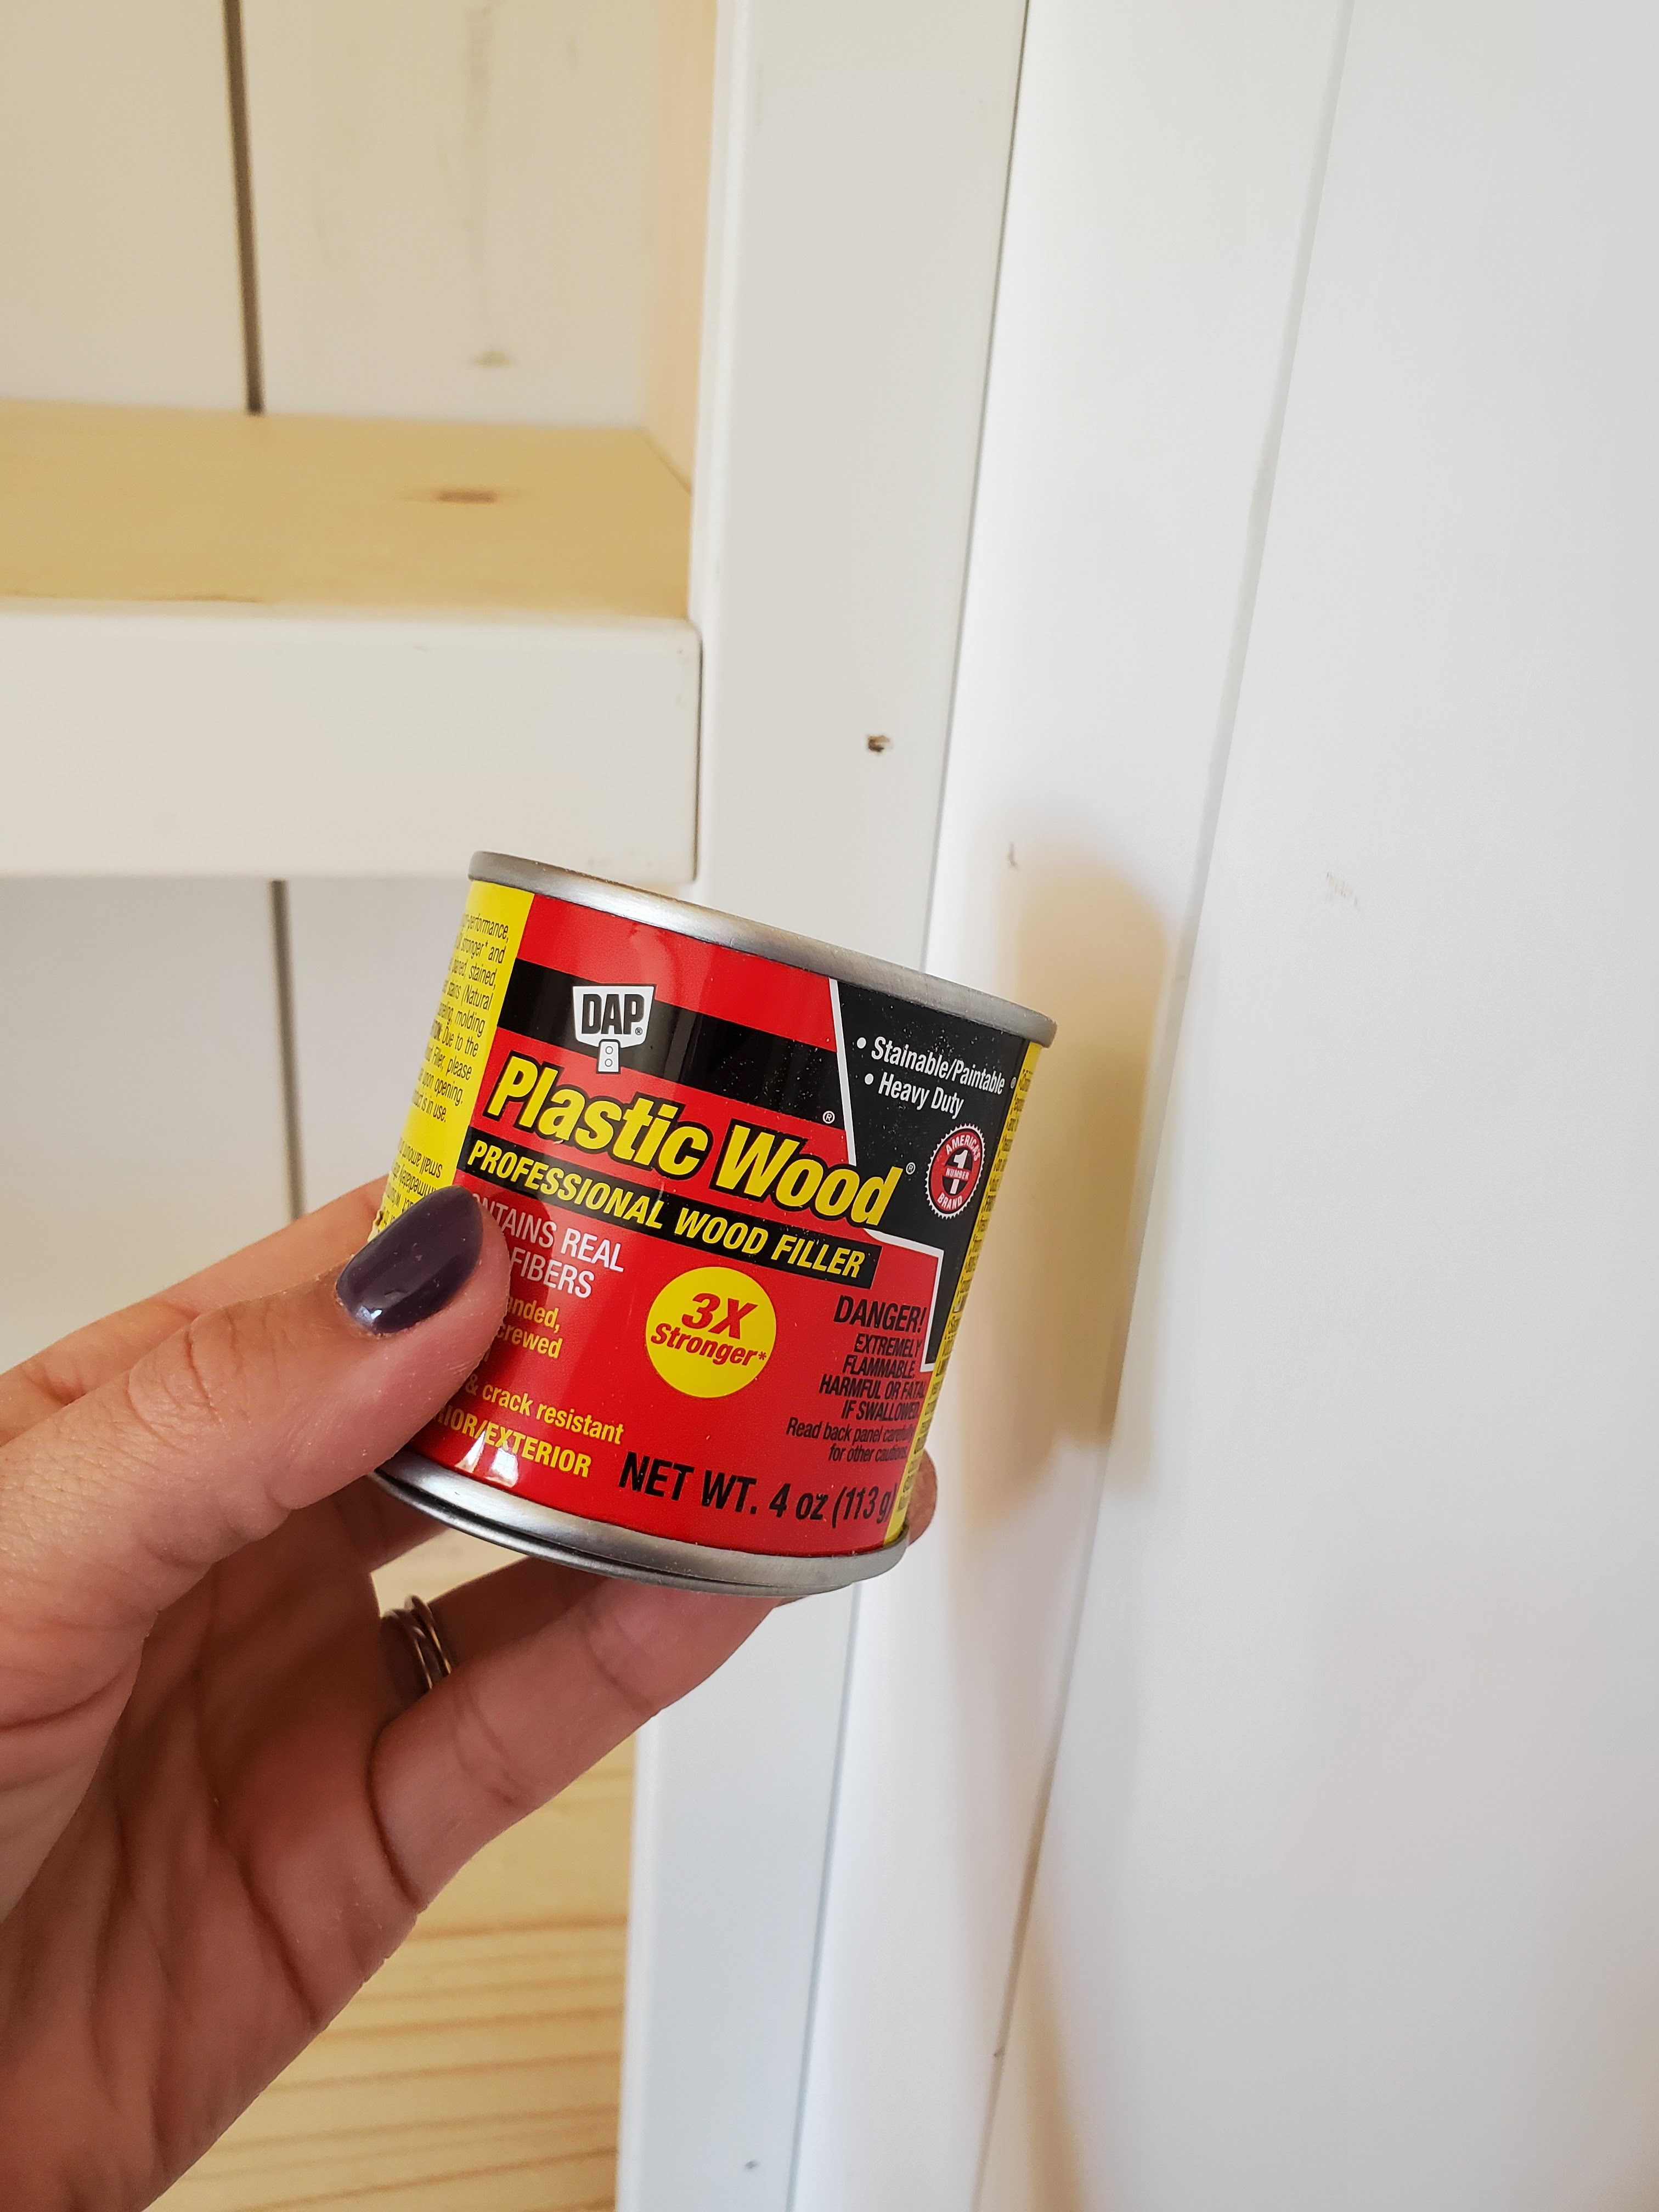
I used plastic wood to fill in all the nail holes and sand them smooth so they’re ready for painting
The end result was that each shelf looks like one nice, thick board. I’m so thrilled with how they turned out!

Justin used his table saw to rip down the scrap pieces of baseboard that we tore out of the room to create thin trim pieces to hide the gap between the vertical panel and top of the wall. Now the only thing we have left to do is install crown molding across the top and the cabinet doors when they arrive (hopefully within the next week or two) and it will be time to PAINT!
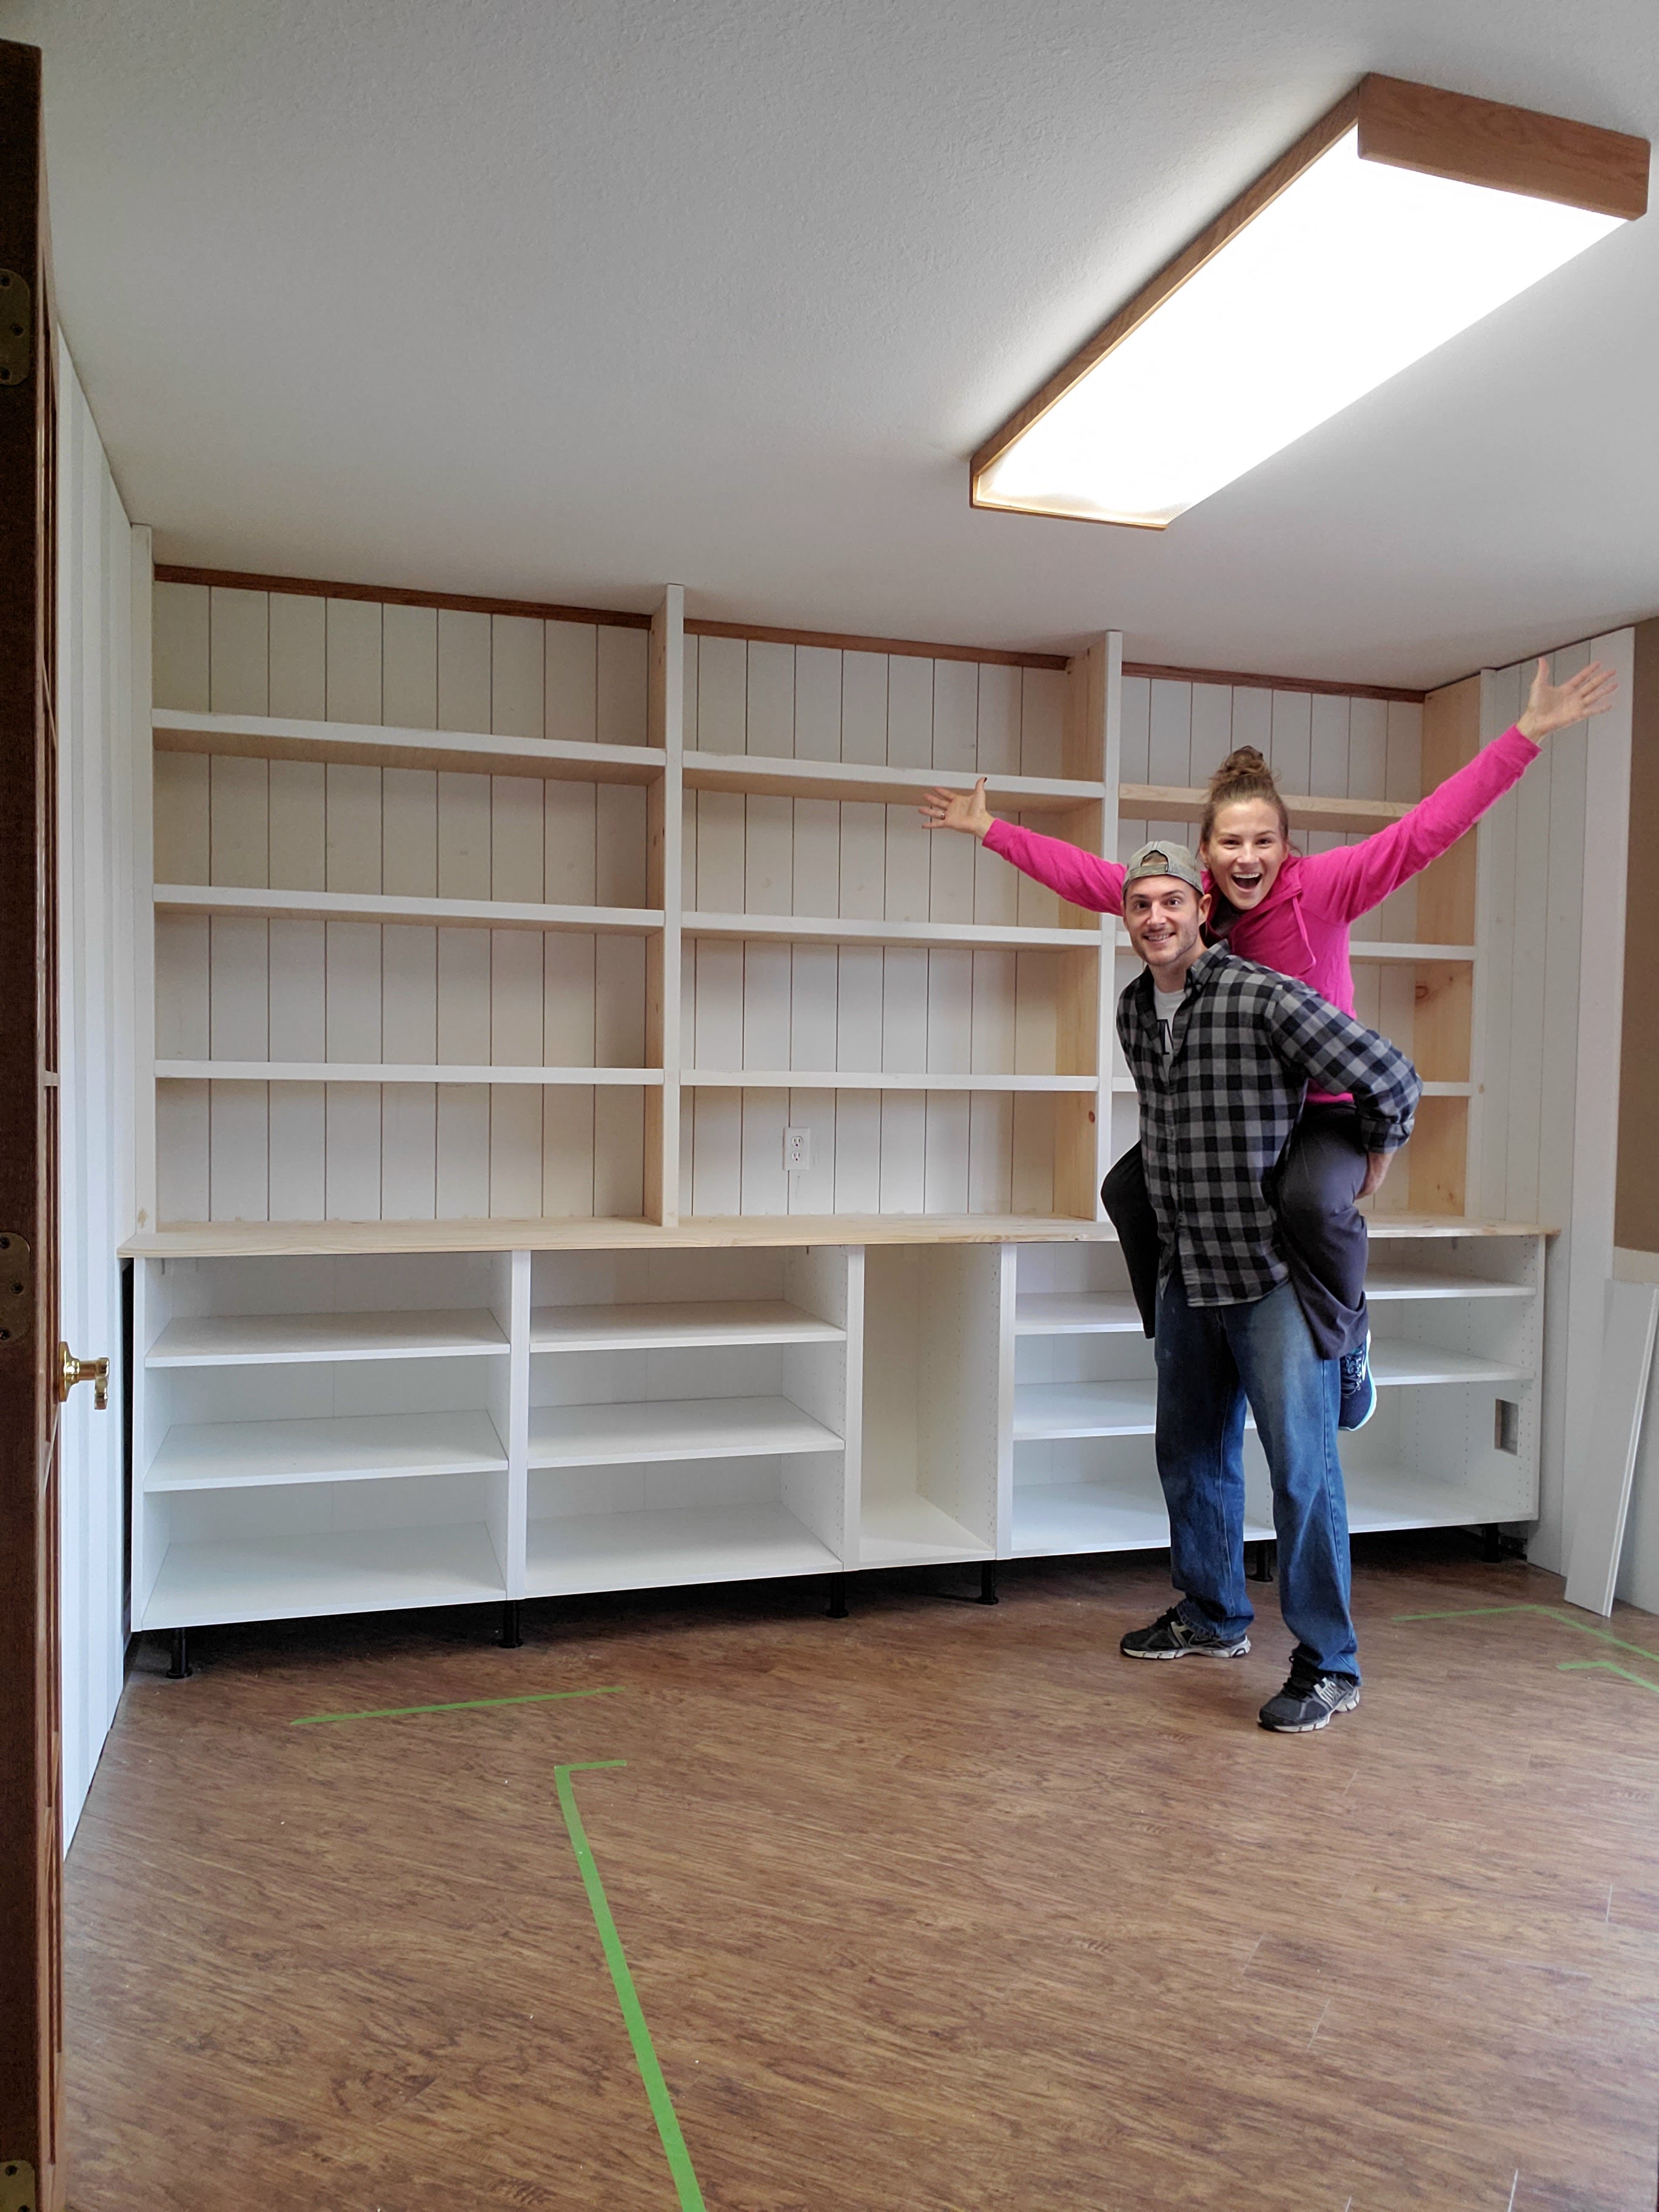
I’m so so proud of all our hard work with this project. It was the largest scale DIY we’ve ever attempted and it came with a ton of meticulous measuring, working with wonky walls, and problem solving. But we did it and I love it so much!
Check back in next Thursday to see our continued progress on this room! In the meantime, you can see all other ORC participants here.

Love all the progress so far! I can’t wait to see it with doors!
Thanks so much! I am so excited to finally get the doors on too!!