
Today I’m sharing a quick, easy, and cute DIY project Justin and I completed over the weekend: a little shelf for our kids’ play kitchen!

Way back at the start of this pandemic, Justin and I had a DIY Date Night where we spent an evening creating simple book ledges for the little play space under our stairs. We had a lot of fun working together and the shelves turned out great! I’ve been wanting to find another quick and simple project for another date night and after finishing up the play kitchen project, I realized a little kitchen shelf to complete the space would be the perfect idea. Justin and I work together on lots of larger DIY projects, but sometimes it’s nice to just have a small project we can do in a day. This project was just right for a DIY date!

Materials
-two boards approximately 2-3 inches in width; cut to desired length (+ save approximately 4 inches of excess)
-1/2 inch dowel rod
-S hooks
-wood glue
-DryDex nail hole filler
-drill or drill press with 1/2 inch drill bit
-nail gun
-clamps
-paint or stain if desired (I used Sherwin Williams Dot to Dot) and paint brush
-spray paint or Rub n Buff if desired
-we used a miter saw for our cuts, but there are other saws that would work too
Process
I was hoping to find a couple 1x3s but a quick search in Justin’s scrap wood collection led us to find these pieces. I have no idea what they were originally from, but the rounded side on each of them made them the perfect choice for shelves! One is approximately 2 3/4″ wide and one is approximately 2 1/4″ wide. We used the wider one for the top shelf and the narrower one for the back.

I had decided on a length of 22″ so we measured and marked each one and I cut them to length with a miter saw.

Next, we used some of the excess wood that was just cut off the ends to cut down two small squares to fit in the 90 degree corner the shelves made.

I used a straight edge to draw a line from corner to corner and Justin used that guideline to carefully cut each block into a triangle.
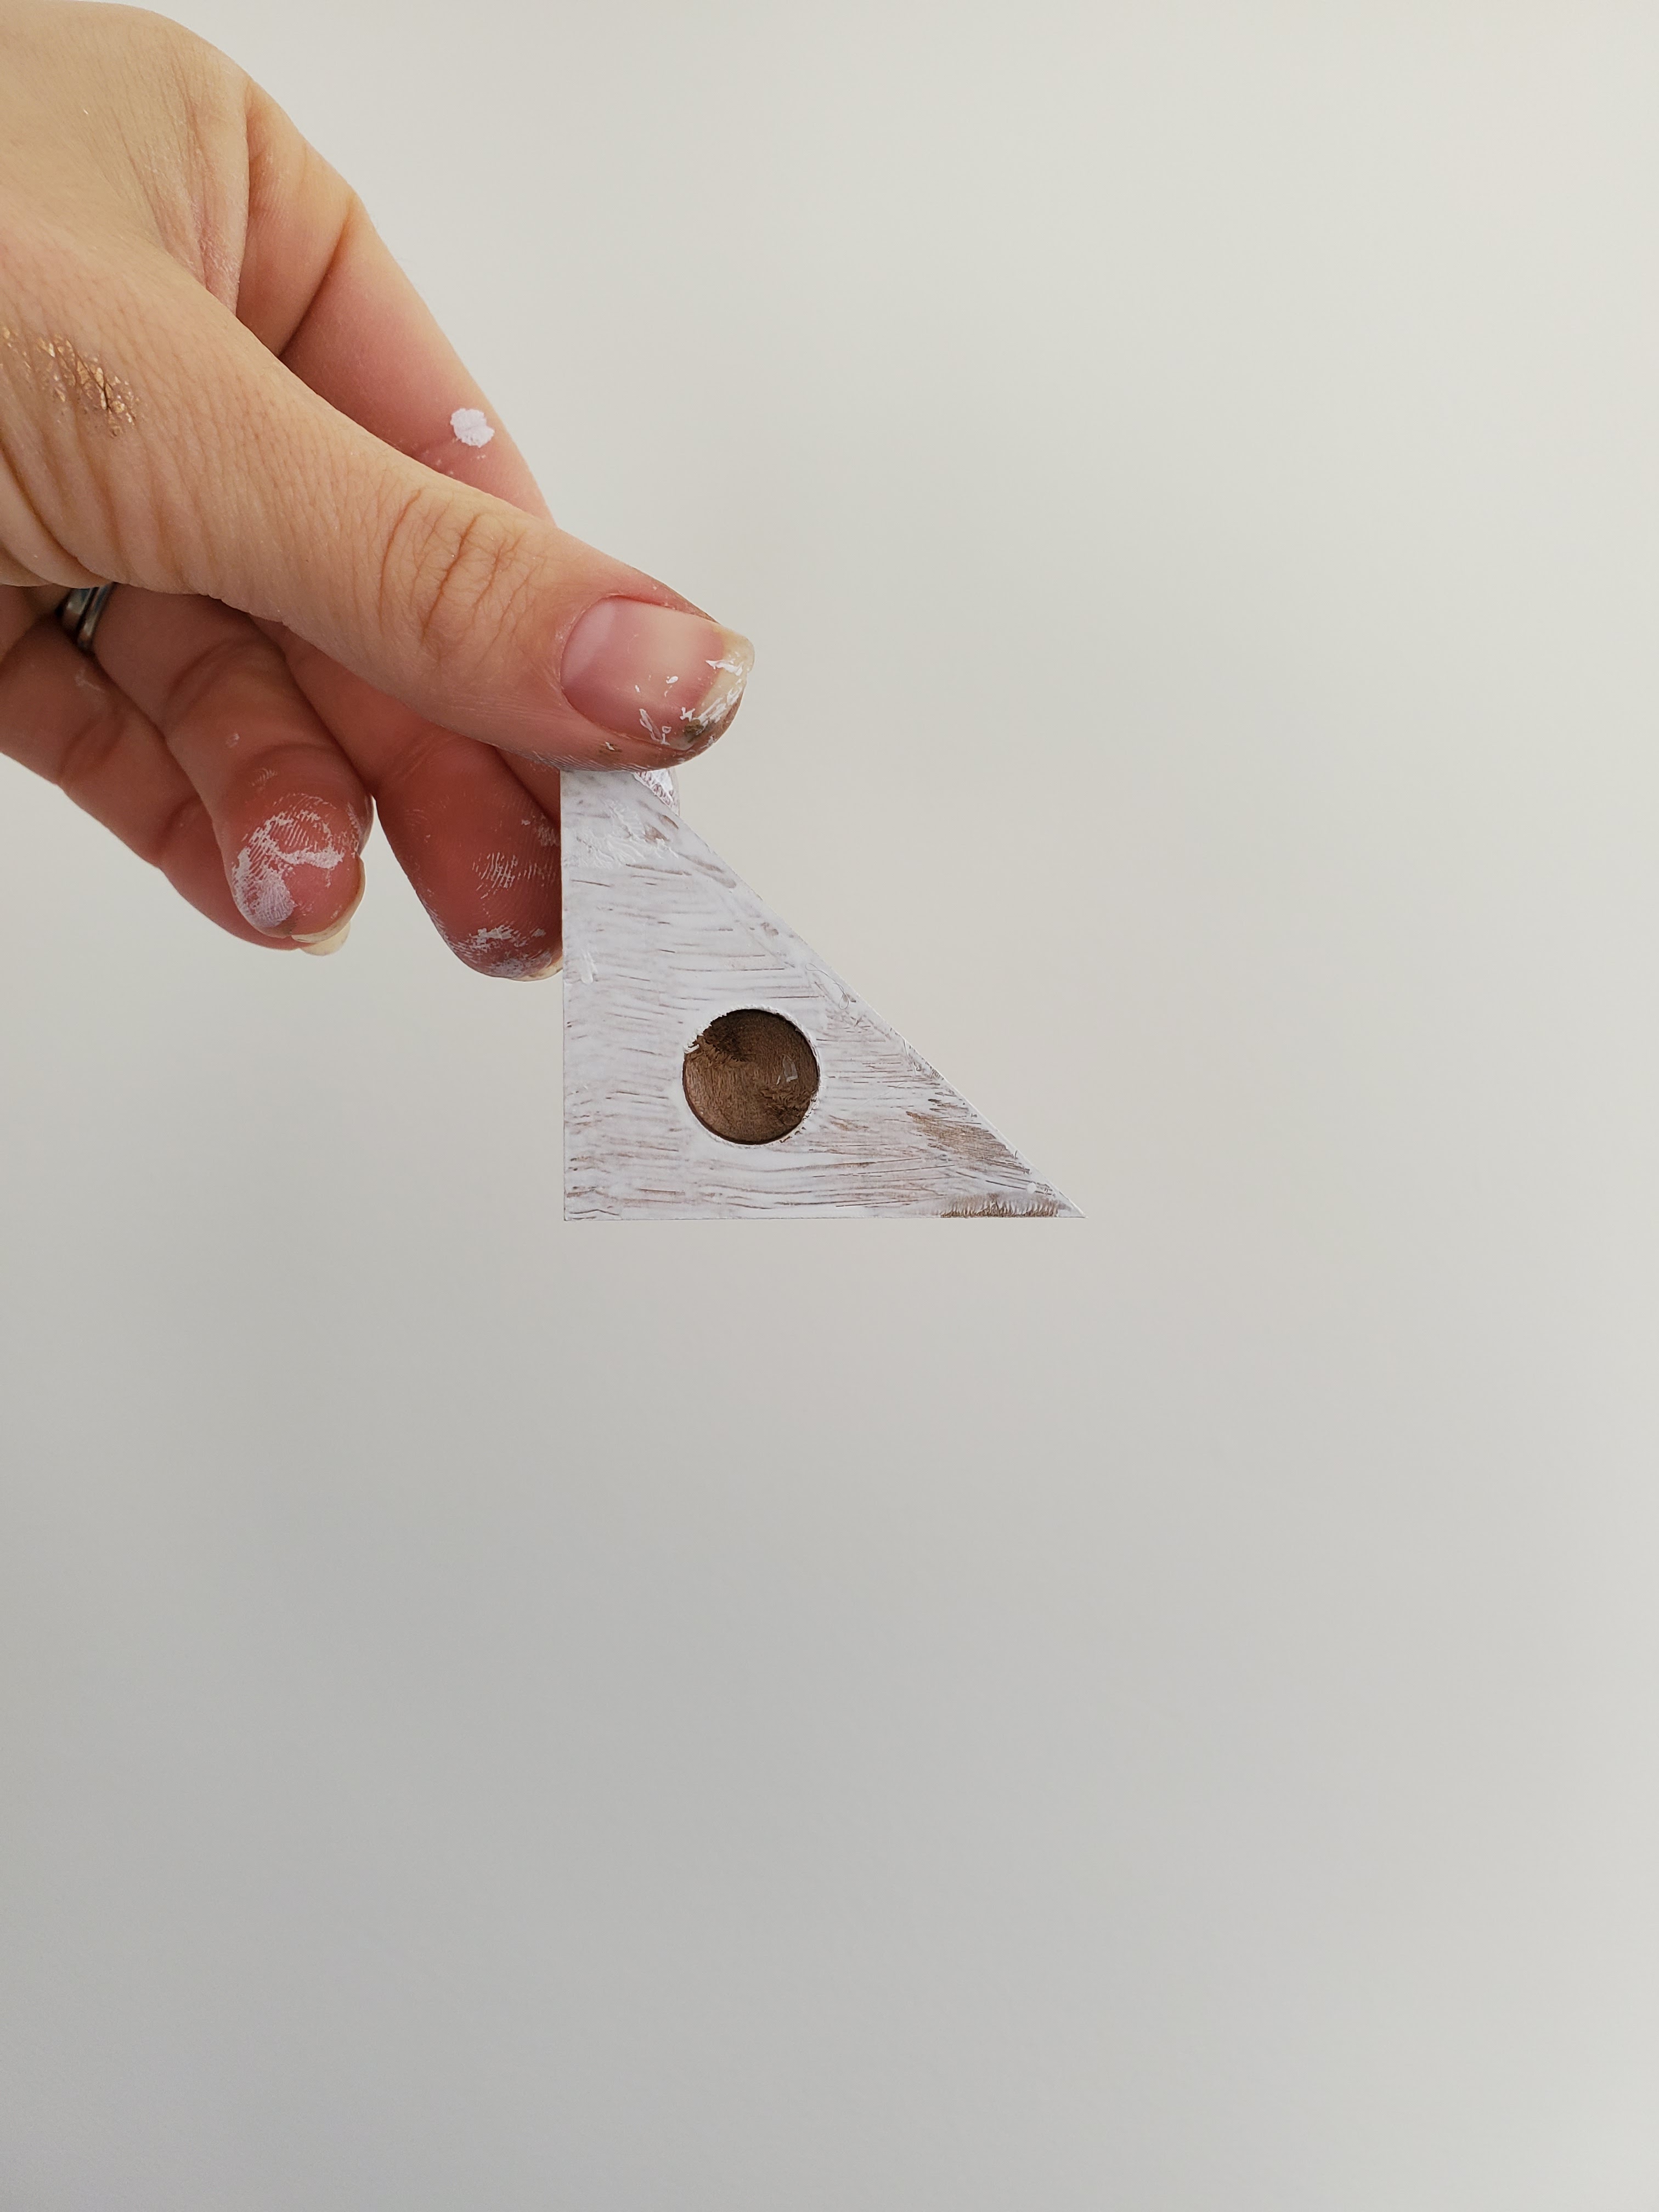
We decided to use a 1/2″ dowel rod to run between the two triangles. Justin marked the center of each triangle (making sure they were symmetrical) and set up his drill press with a 1/2″ bit.
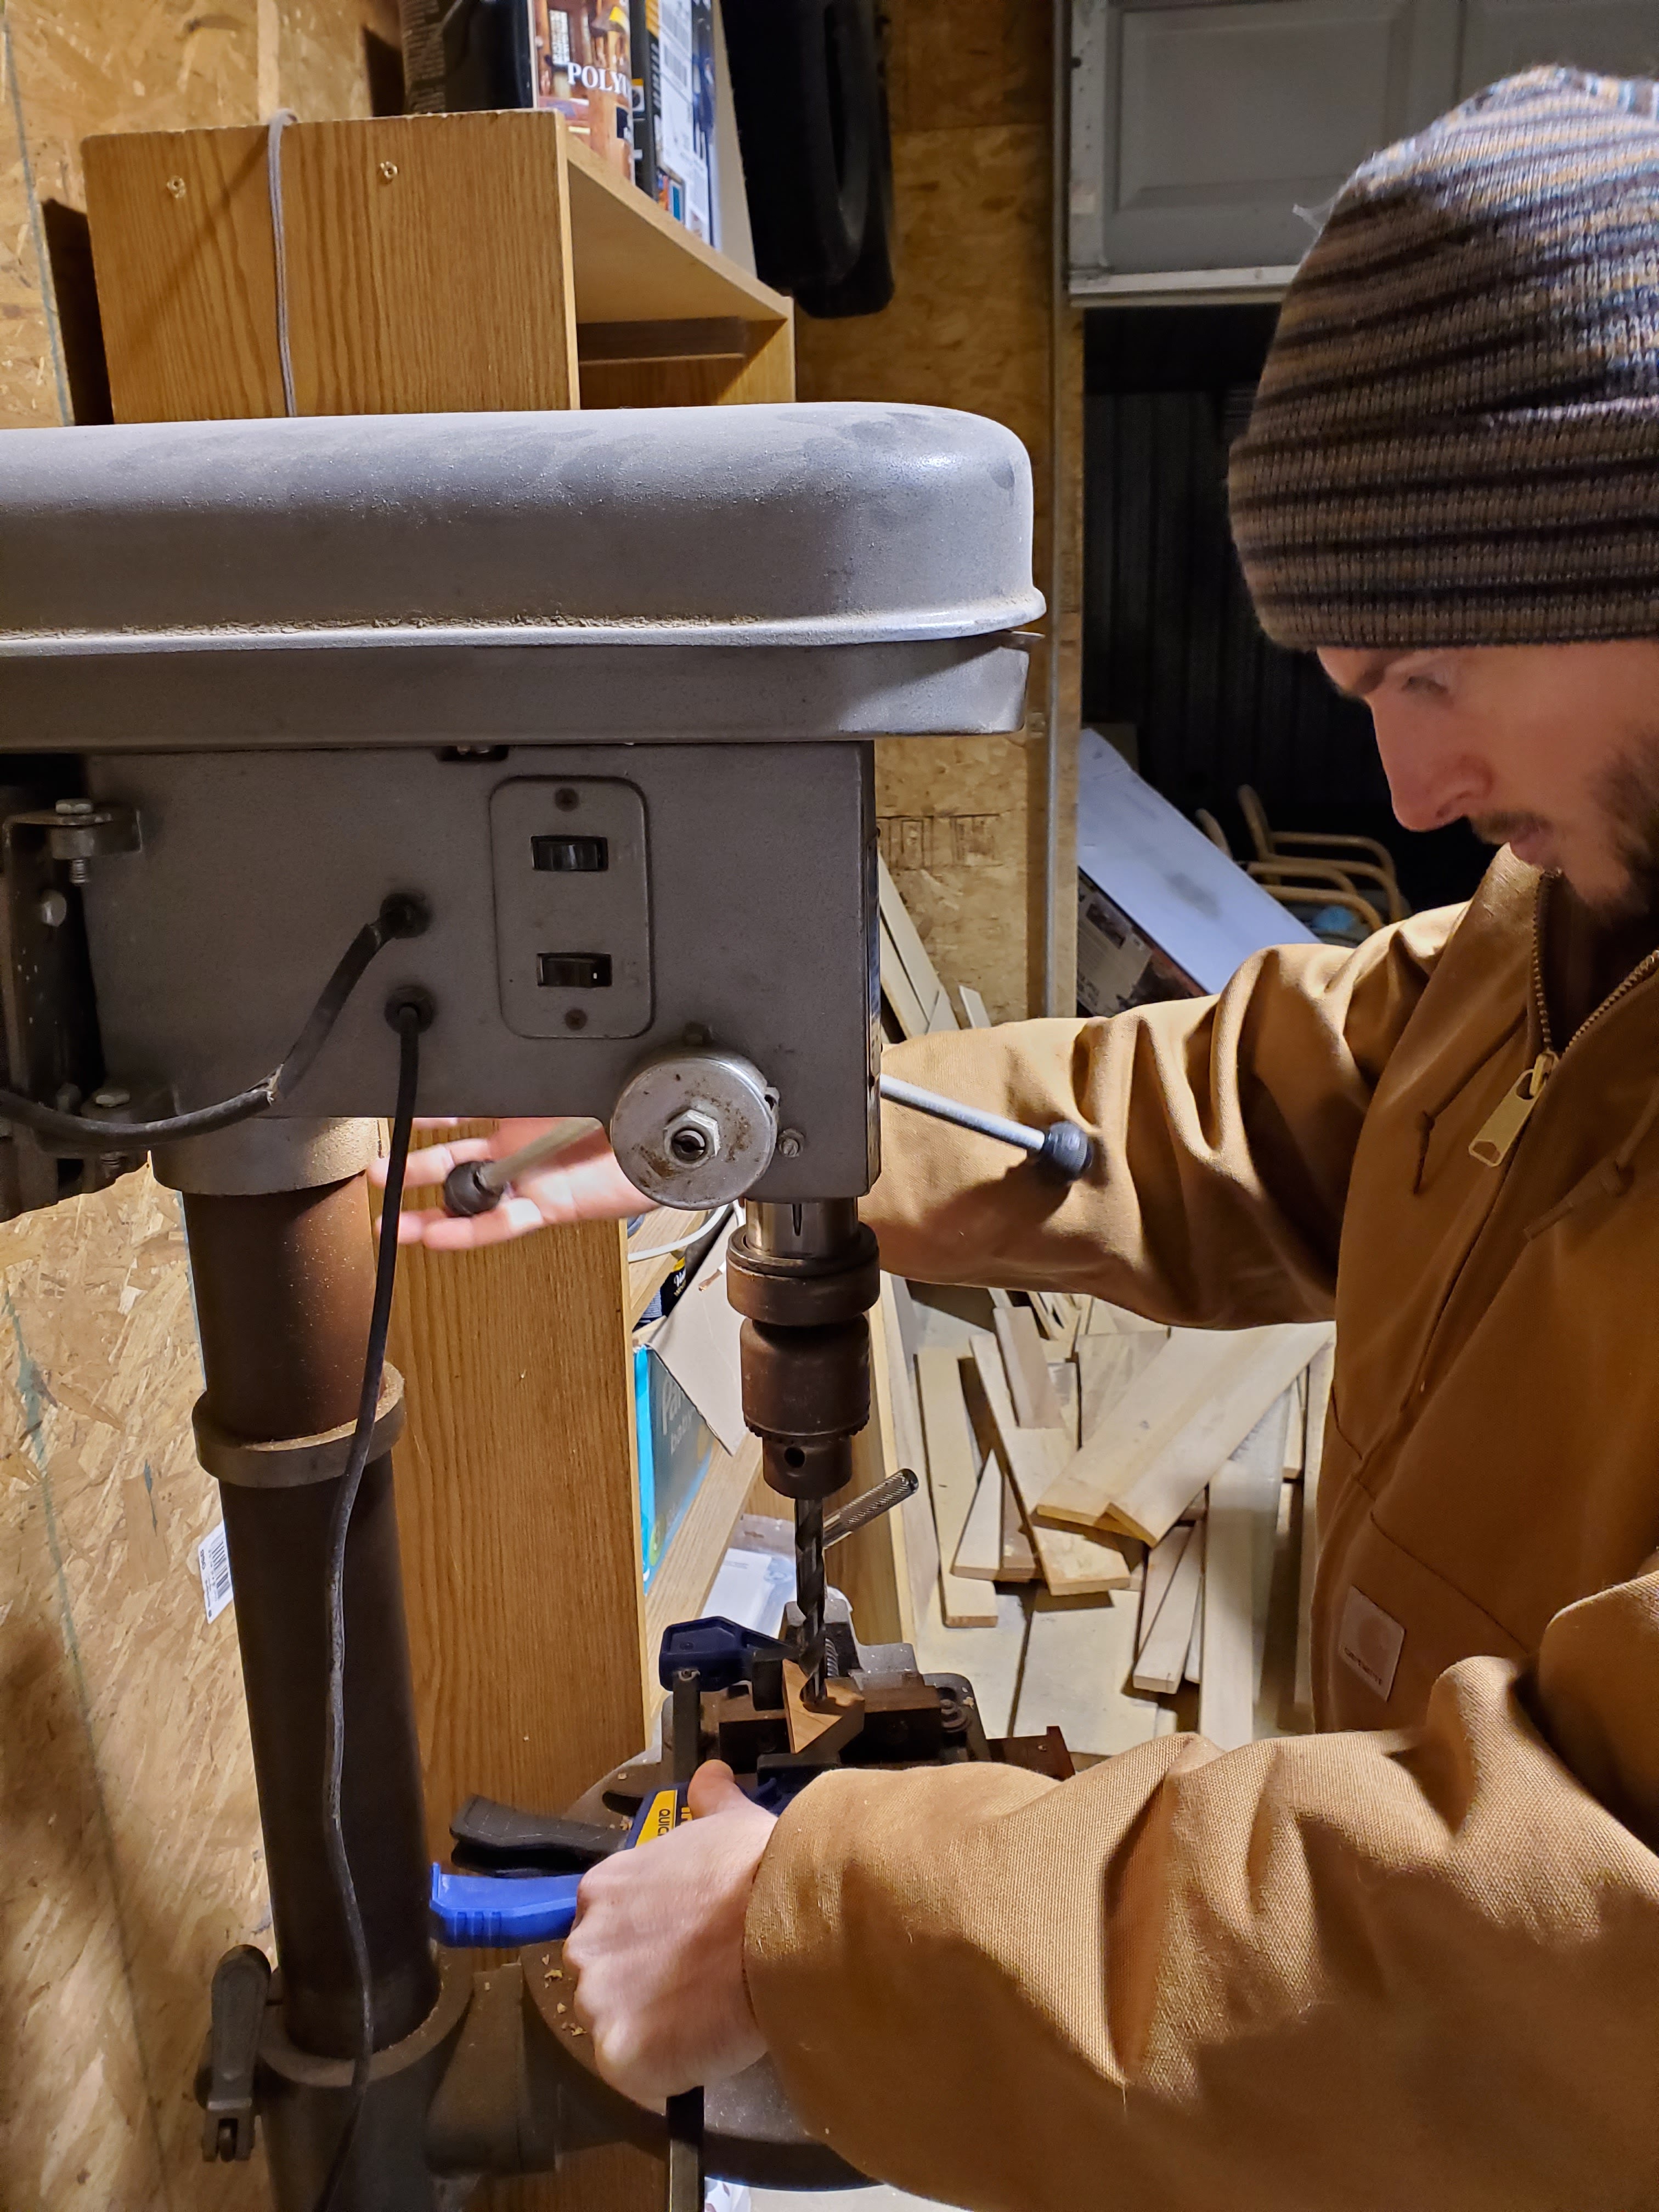
This is a picture of him setting up the drill press – to actually create the holes we had to tag team because the triangles were so small. He held the triangle in place while I actually operated the drill press. We worked very slowly and carefully to make sure his fingers were all out of the way of the drill bit. Teamwork!
Now that everything was cut to size, it was time to paint! I chose to use the same paint we used for the play kitchen (Sherwin Williams Dot to Dot) because we already had it and it would match well. Before that, everything got a layer of primer since the wood had a shiny finish and the paint needed something to stick to.
I wanted to use gold S hooks but couldn’t find any in the store so we bought these silver ones to start. I first tried to change the finish to gold using Rub n Buff in antique gold. This product is described as a wax metallic paste and it changes the finish of an object when you rub it on. It worked like a charm on the dowel rod! Unfortunately, even after allowing dry time, it rubbed right off these metal hooks.

I did a little googling and found that other DIYers had success with first spray painting and then rubbing it on, so I tried that next. I spray painted the hooks gold (using my favorite Rustoleum spray paint in Satin Bronze) and let them dry.

Then I tried the Rub n Buff again and this time, it worked! I rubbed it on with my fingers and used a paper towel to very lightly buff it until smooth. The one on the top right was just Rub n Buff, the other three were spray paint then Rub n Buff. Can you see the difference?

Once everything dried, it was time to assemble. Justin used a nail gun to attach the two shelf boards together at a 90 degree angle.

We eyeballed about how long we wanted the dowel rod to be – since the triangles weren’t going to sit flush with the end, we had some flexibility with length. Then we used a bit of wood glue to secure one end of the dowel rod into the hole we drilled in the triangle.

The S hooks had the right size curve to slide onto the dowel rod, but did not have a wide enough gap to “hook” on and off. In other words, once they slid on, there was no coming off! This is actually a bonus for us because it means our kids can’t unhook them when playing. We slid three hooks on first and then used wood glue to secure the other end of the dowel rod into the second triangle.

Once both triangles were on, we applied wood glue to the two sides that would sit against the shelf.

We measured placement to make sure everything was centered, then clamped the triangles down and allowed it to dry like that overnight. The next morning, Justin added a small nail from the top of the shelf into the back of each triangle for an extra secure hold.

The next morning I used a small amount of DryDex to fill all the nail holes. This product is super easy to use – I squeeze a bit onto my finger, smooth it over the nail hole, and once it dries a bit (it starts to turn white as it dries!) I gently sand off the excess with my finger. So simple! Once the patched areas were dry I touched up everything with paint.

We located a stud in the wall and Justin used his nail gun to nail the shelf directly into the stud. He also added extra nails on either end so the shelf is secure. I used a bit more Drydex to patch these nail holes, painted over then, and the shelf was done!

I’m really pleased with how the shelf turned out! The top shelf holds a few play food items, some artwork made by my sister (check our her studio here!) and an old baking powder can with the label removed as a utensil crock.

I hung a couple items from this pot and pan set as well as a little fruit and veggie drawstring bag (PlanToys has theeee cutest play food sets!)

This was such a fun little date for Justin and I and our kids already love the addition to their kitchen area. I’m thankful for the memories made while creating this shelf and I forsee more DIY date nights in our future!

Sources
Plan Toys Food and Beverage Set
Artwork: JBeck Studio
Wall Color: Benjamin Moore Greyhound
Shelf Color: Sherwin Williams Dot to Dot

2 thoughts on “A Simple DIY Shelf for the Playroom Kitchen”