It finally feels like spring is here. Trees are blooming, weather is warming, and I feel like I am coming out of a hibernation of sorts. Lately I’ve been feeling the urge to get back into DIY projects around the house – my inspiration to create is coming back! There was a time where I was cranking out project after project, room after room. It wasn’t a sustainable pace, and my desire to tackle projects around our house dipped. I chose to focus on other things within our family and with other commitments in our school, church, and community and now I feel like I have a good balance and am ready to add projects back into the mix.
I decided to jump back into things with three quick and easy projects. A couple of them are so quick and easy that project may even be too big a term. Call them updates, call them tasks – whatever they are, they’re simple to do yet make a big impact and were the perfect things to get my momentum rolling back into DIY around the house so today I’m going to share them with you.
A Sweet and Simple Vanity
My five year old daughter loves to dress up. She loves doing her hair and putting on simple make-up (which at this point is basically just lip balm) and she loves to accessorize. She had created her own little “vanity” area using a chair and a jewelry box with a mirror but it was spilling out and taking over a ton of floor space. Since she shares the room with her older brother, we really needed to find a better solution. I wanted low-budget and small footprint because this is a shared space and relatively short-term; she will eventually be moving into her own room, currently the nursery, and the boys will eventually share this room.

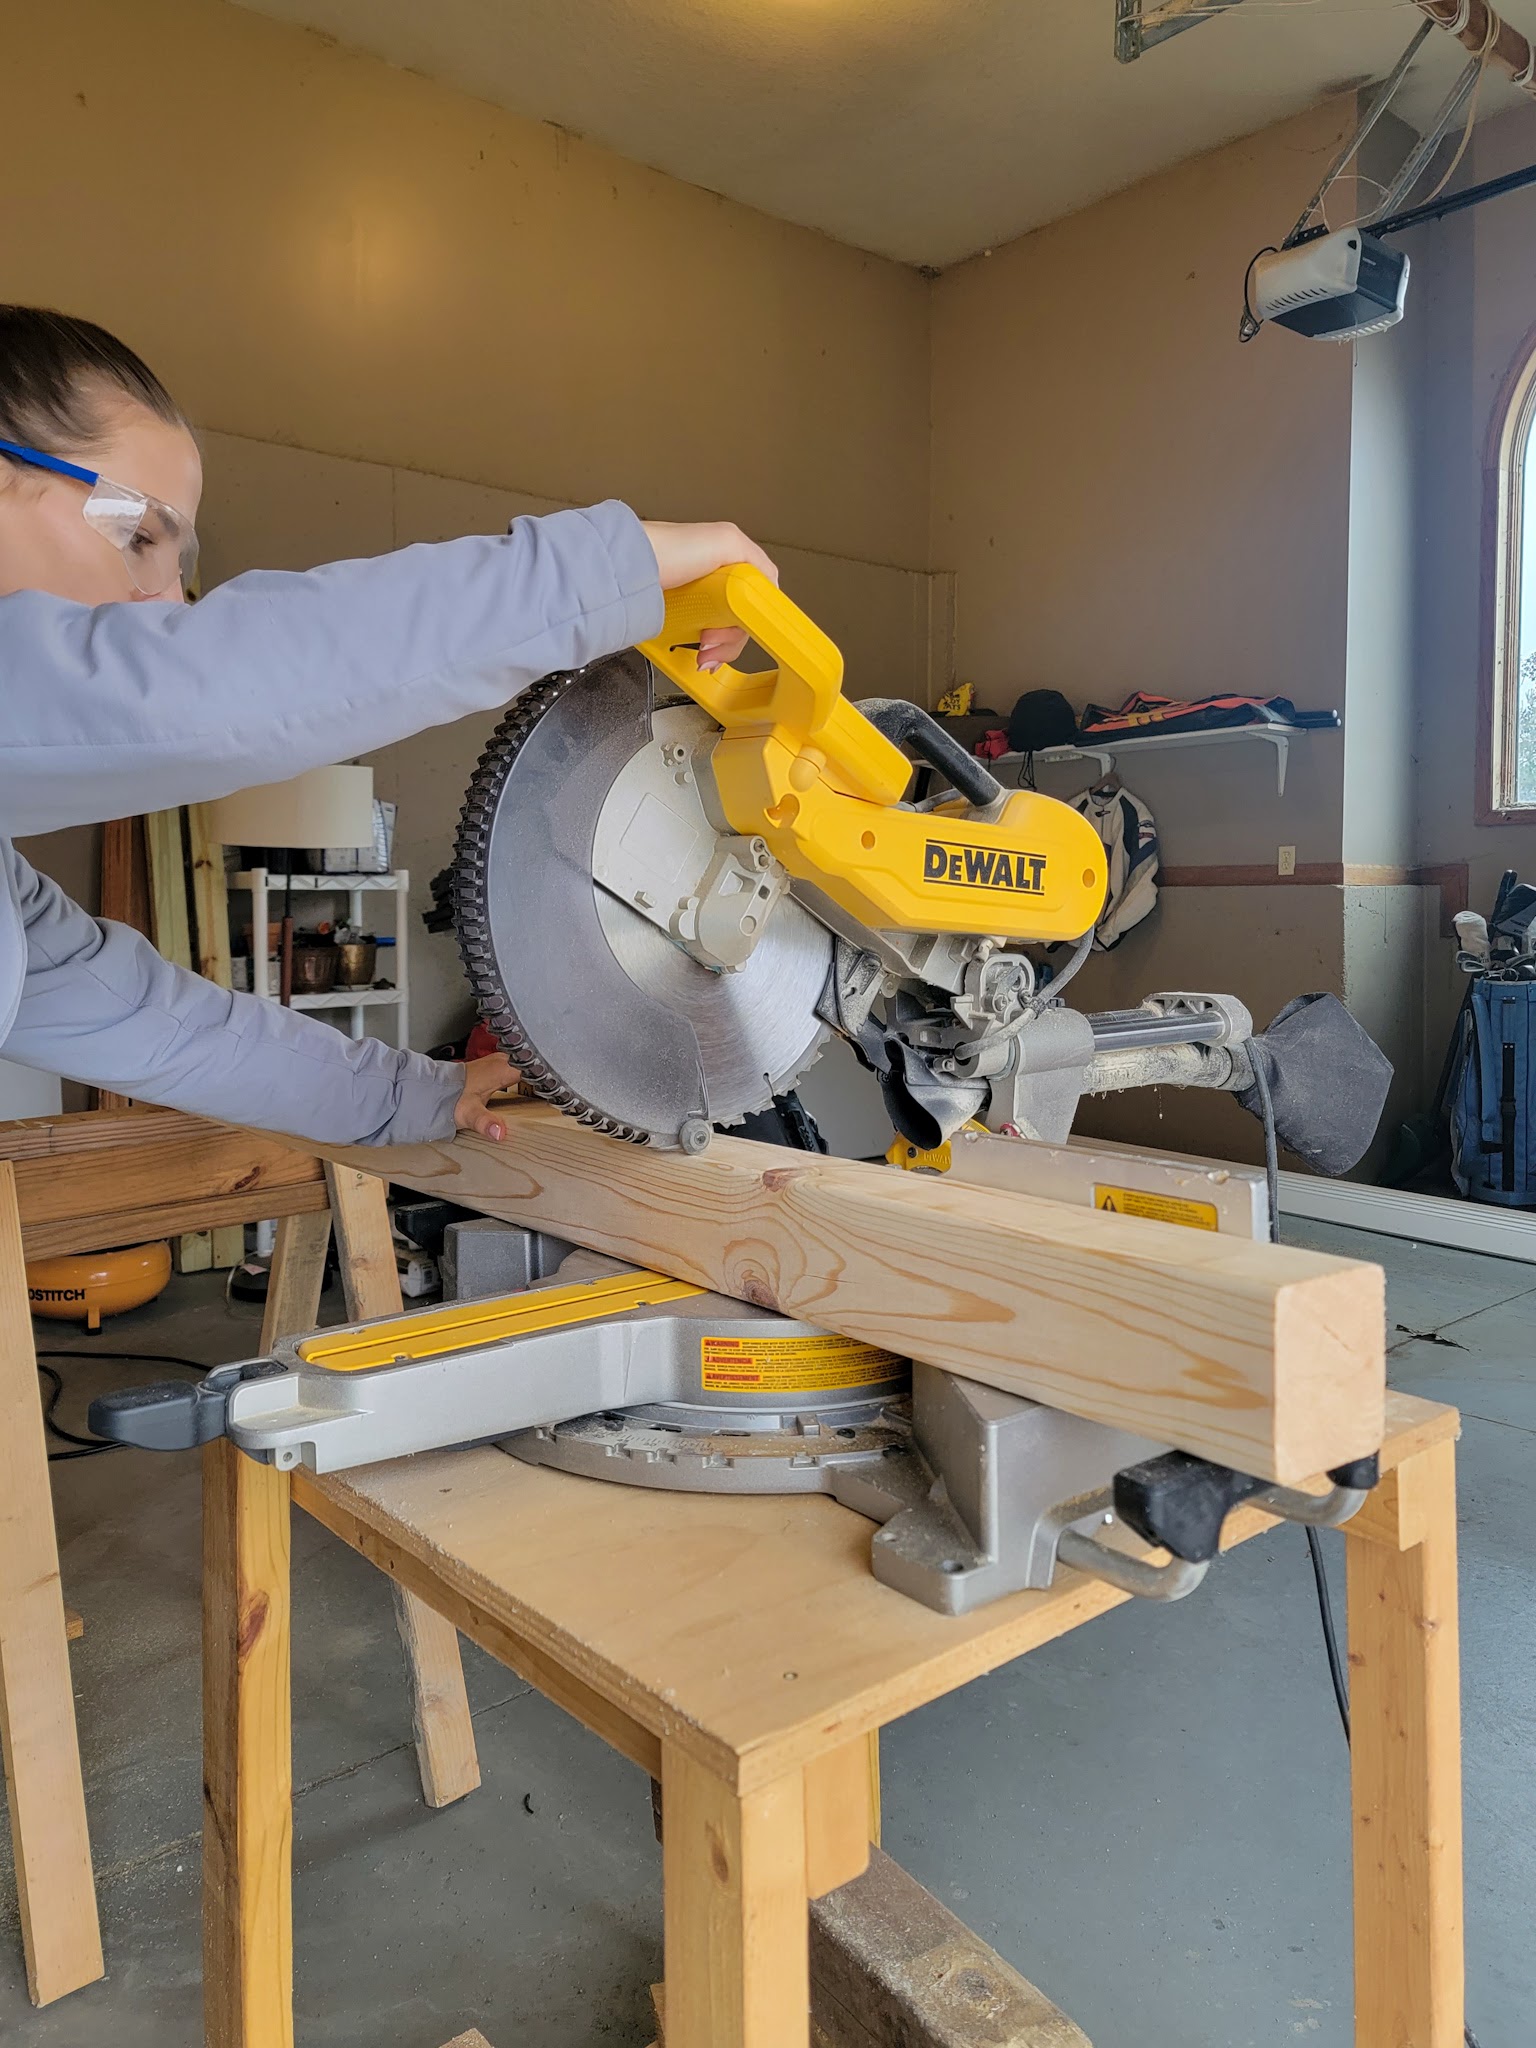
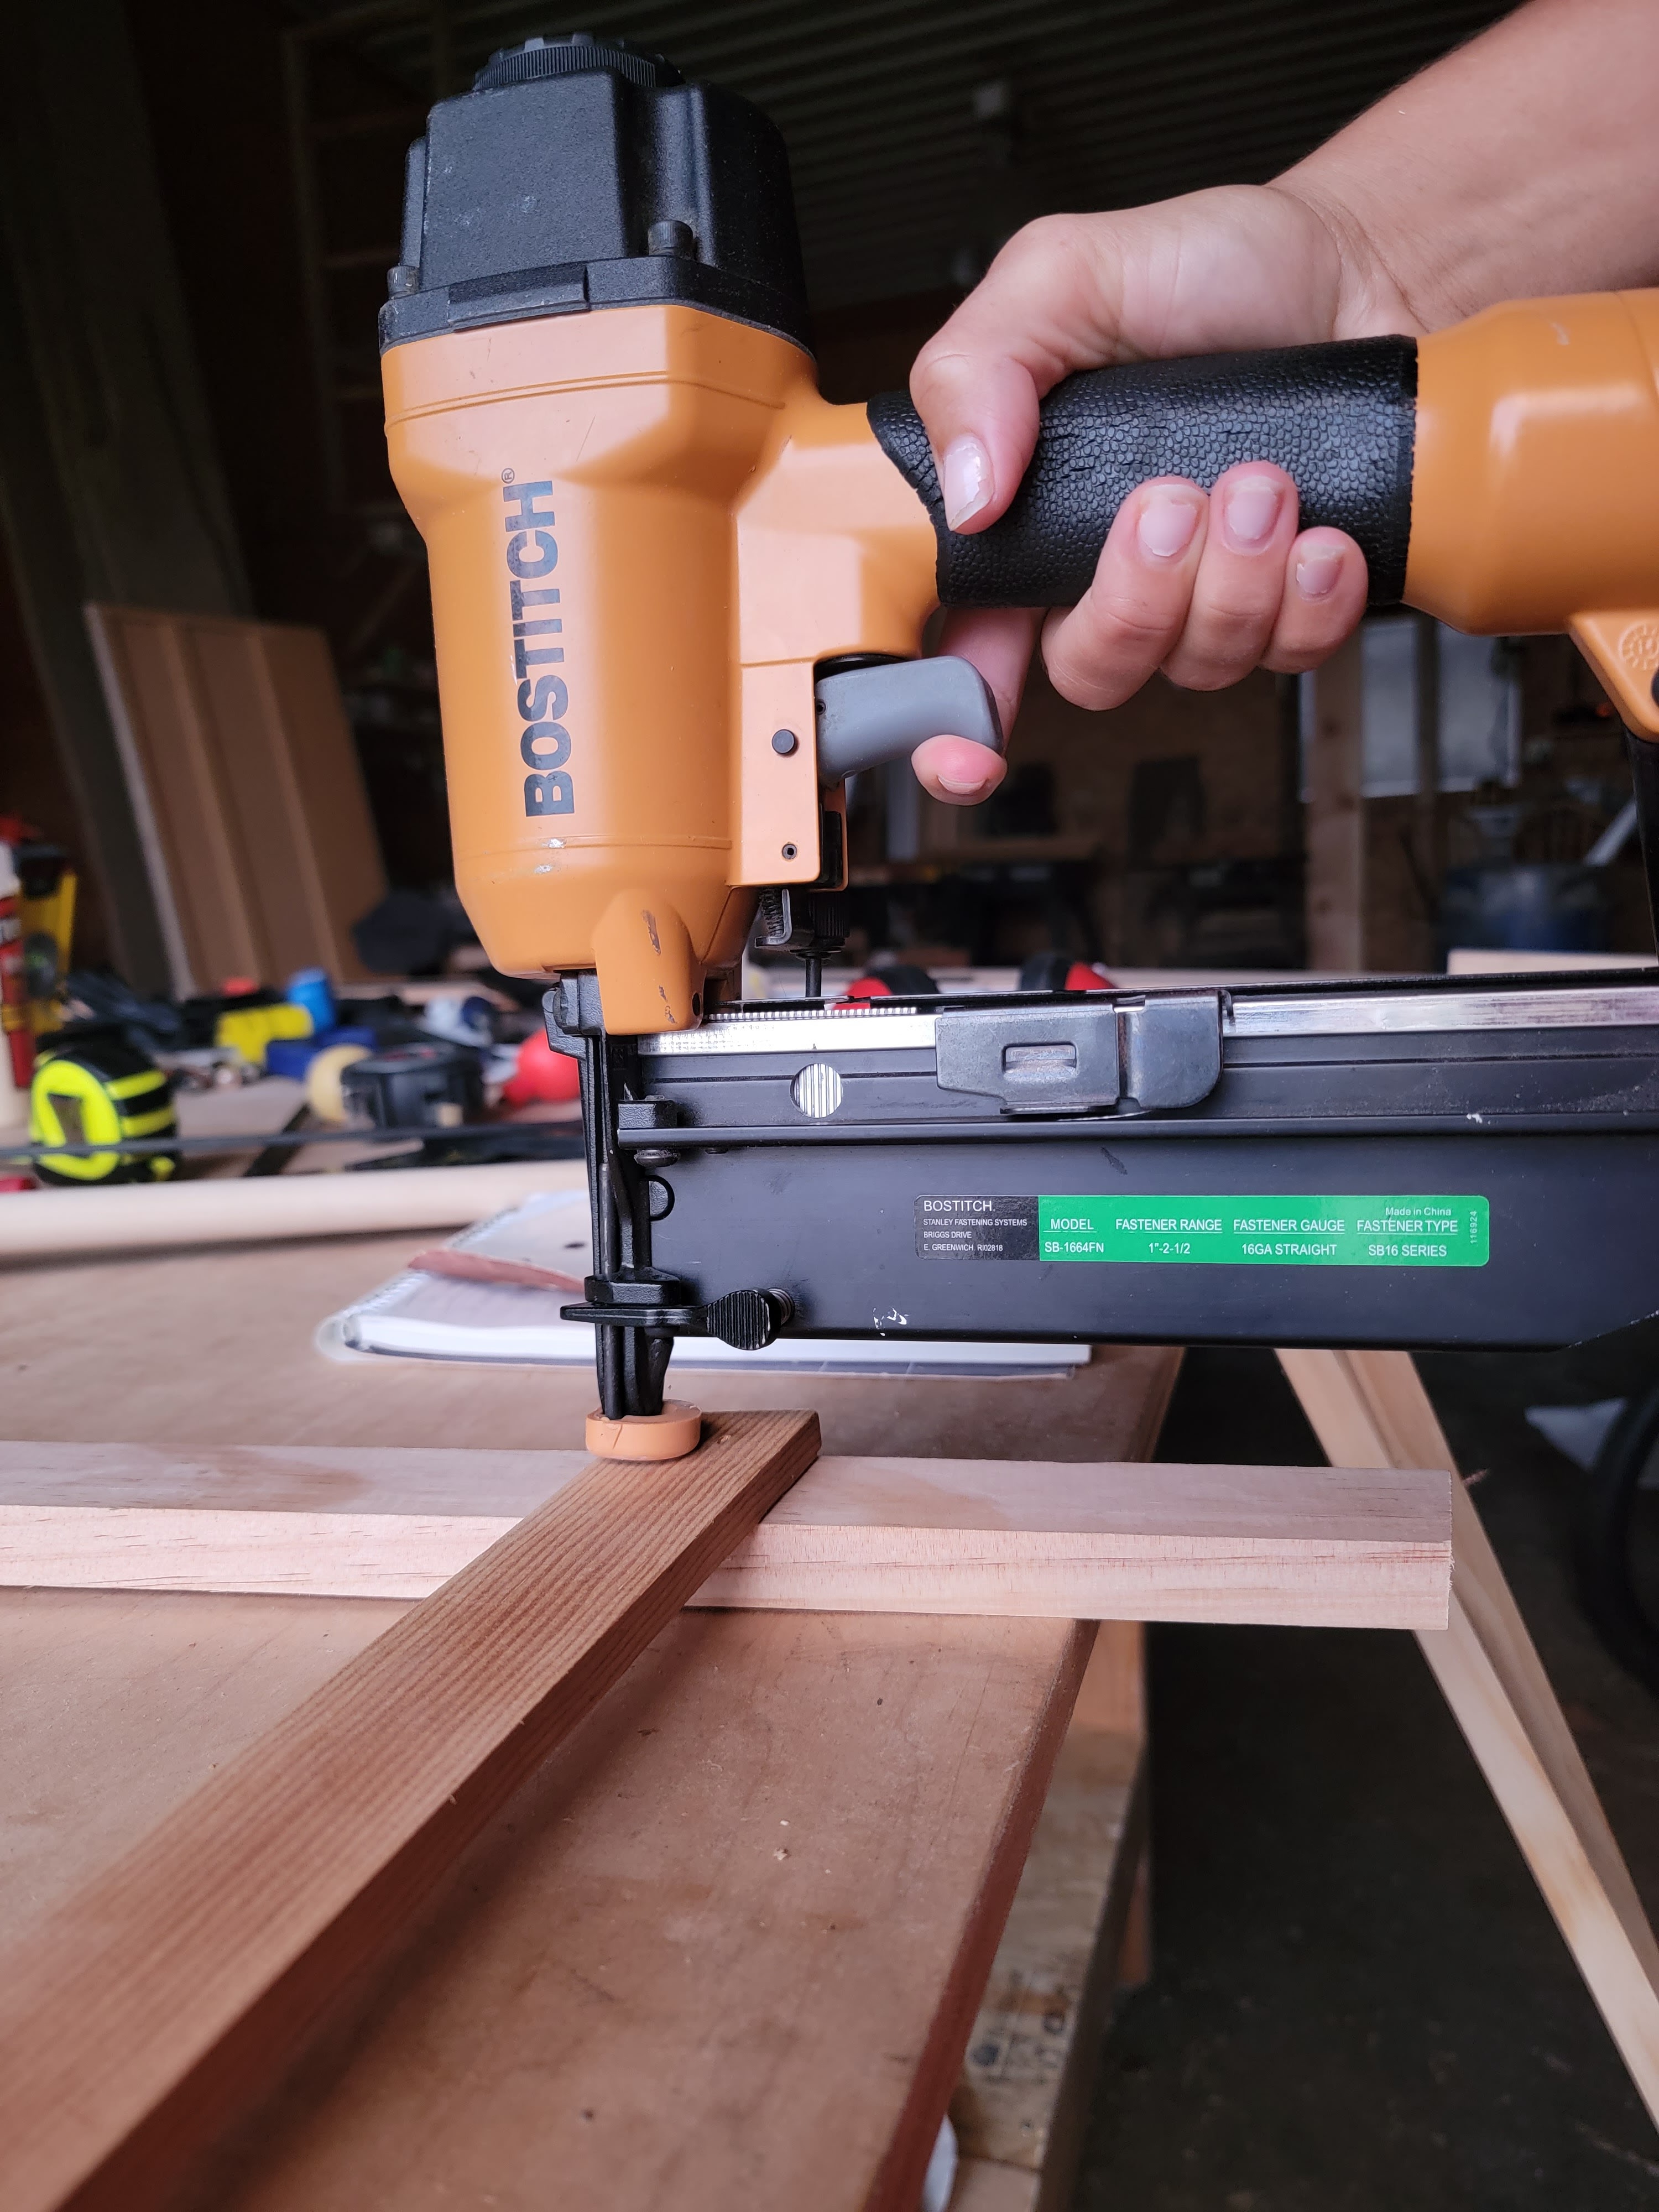
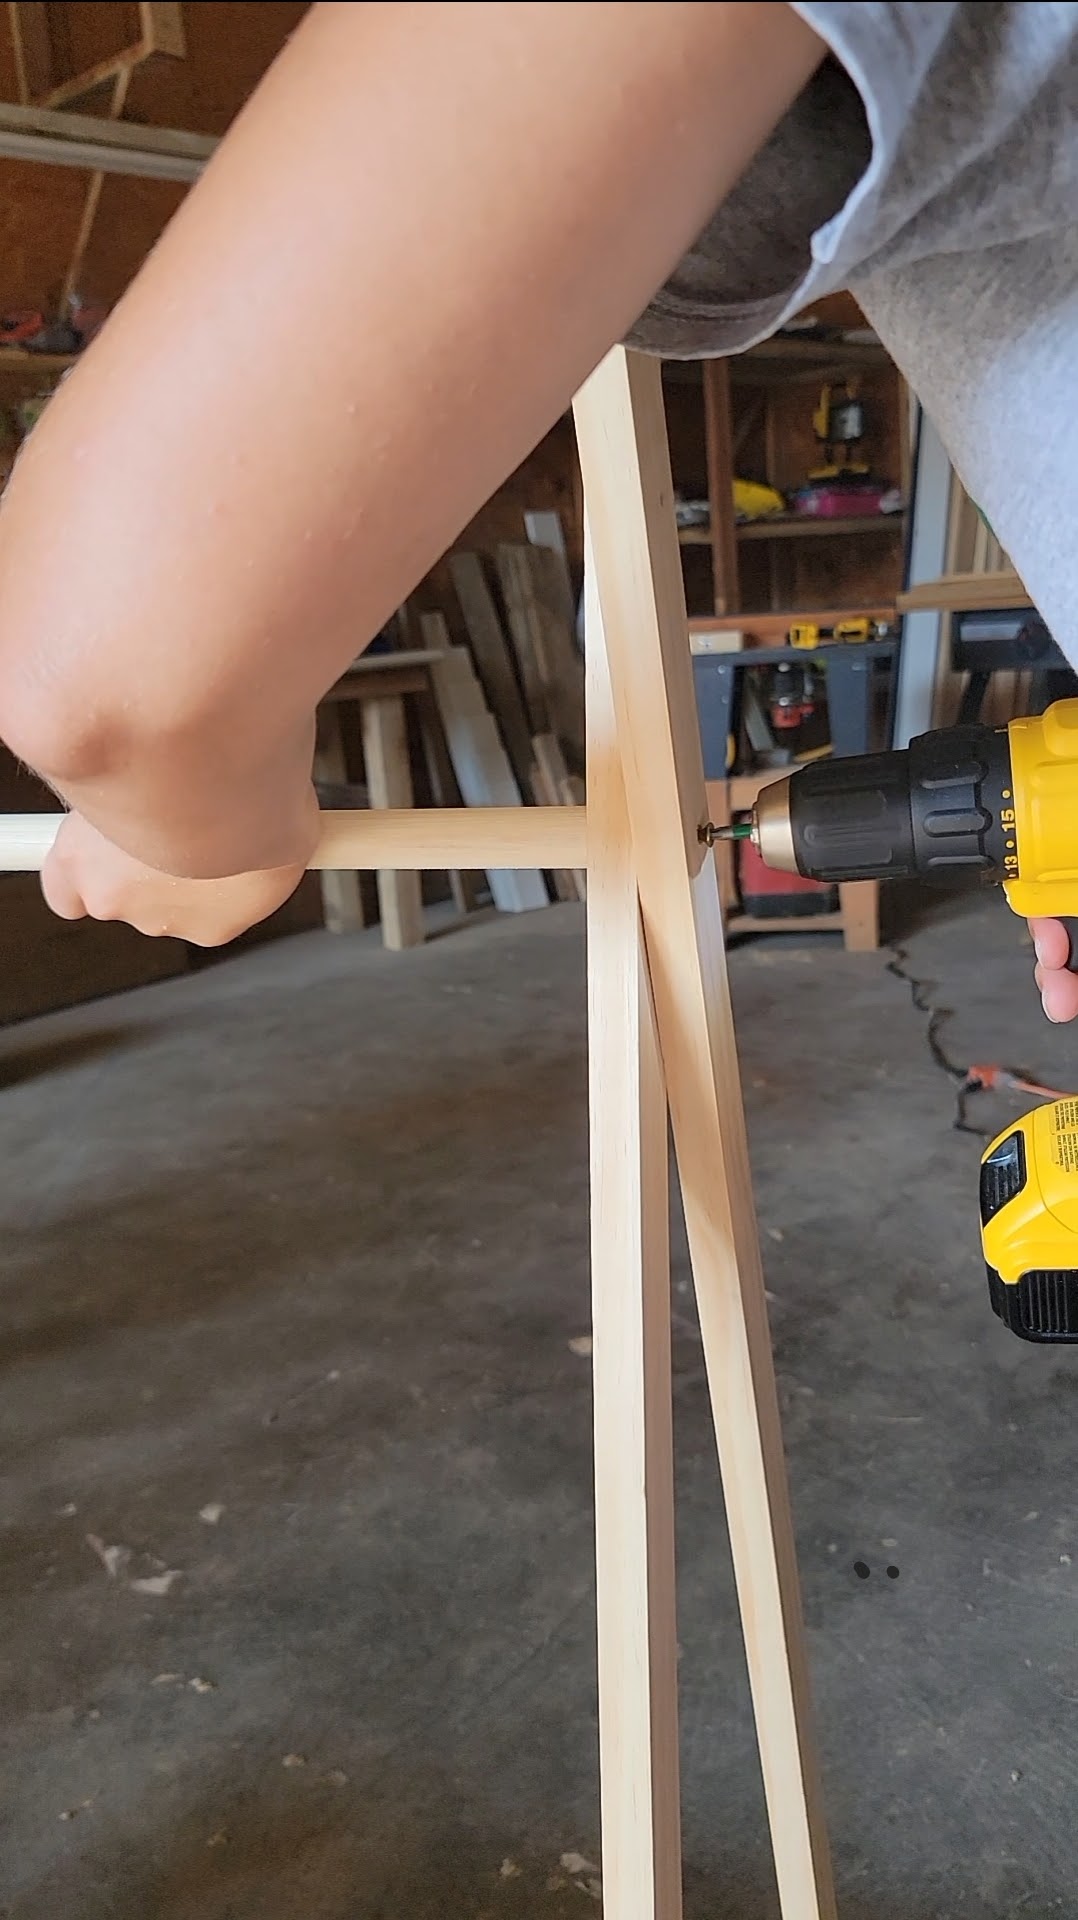
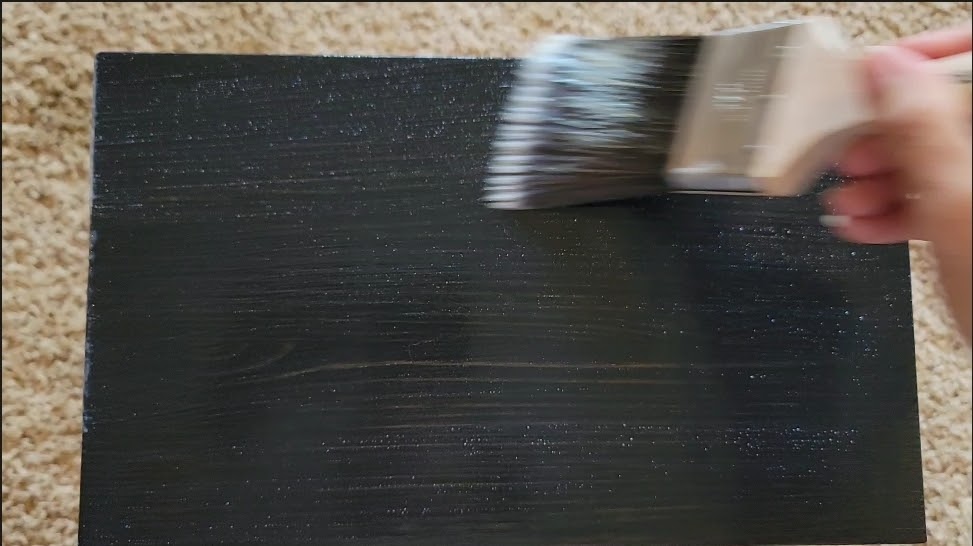
I grabbed a 2 x 4, approximately 27.5 inches long, from our stash of scrap wood to create a little vanity shelf. It was already stained, so I could eliminate that step. I also pulled out two L-brackets and some screws (we already had all these on hand, but they’re all simple, inexpensive supplies to pick up at a home-improvement store). I didn’t want to mess with using anchors, so I used our stud finder to locate the studs and screwed the brackets directly into them.

I shopped my house and collected a small mirror (originally thrifted for $1!) to hang with command strips and a few little trays and containers to see what would fit on the shelf. I tinkered around a bit until I settled on a combination that felt cute, functional, and easy for a five-year-old to maintain.

This was the perfect little project to jump back into DIY: quick, simple, and thanks to using all supplies we had on hand, zero dollars!

My daughter LOVES her new little vanity and uses it every day to get ready!
Faux Plants + Brass Planters
When I hung this collection of vintage brass wall planters in my son’s nursery, I attempted to plant a few live plants. And it looked great . . . at first.

I tried to pick low-maintenance plants with a tolerance for low light, but the reality is the room is dim. It’s nearly impossible to photograph accurately in natural light. It’s north-facing, there’s a ton of trees in our backyard, there’s only one window, and it just doesn’t bring in enough light for plants. After cycling through a few different plant attempts and all of them dying, I finally gave up and decided to go all faux.
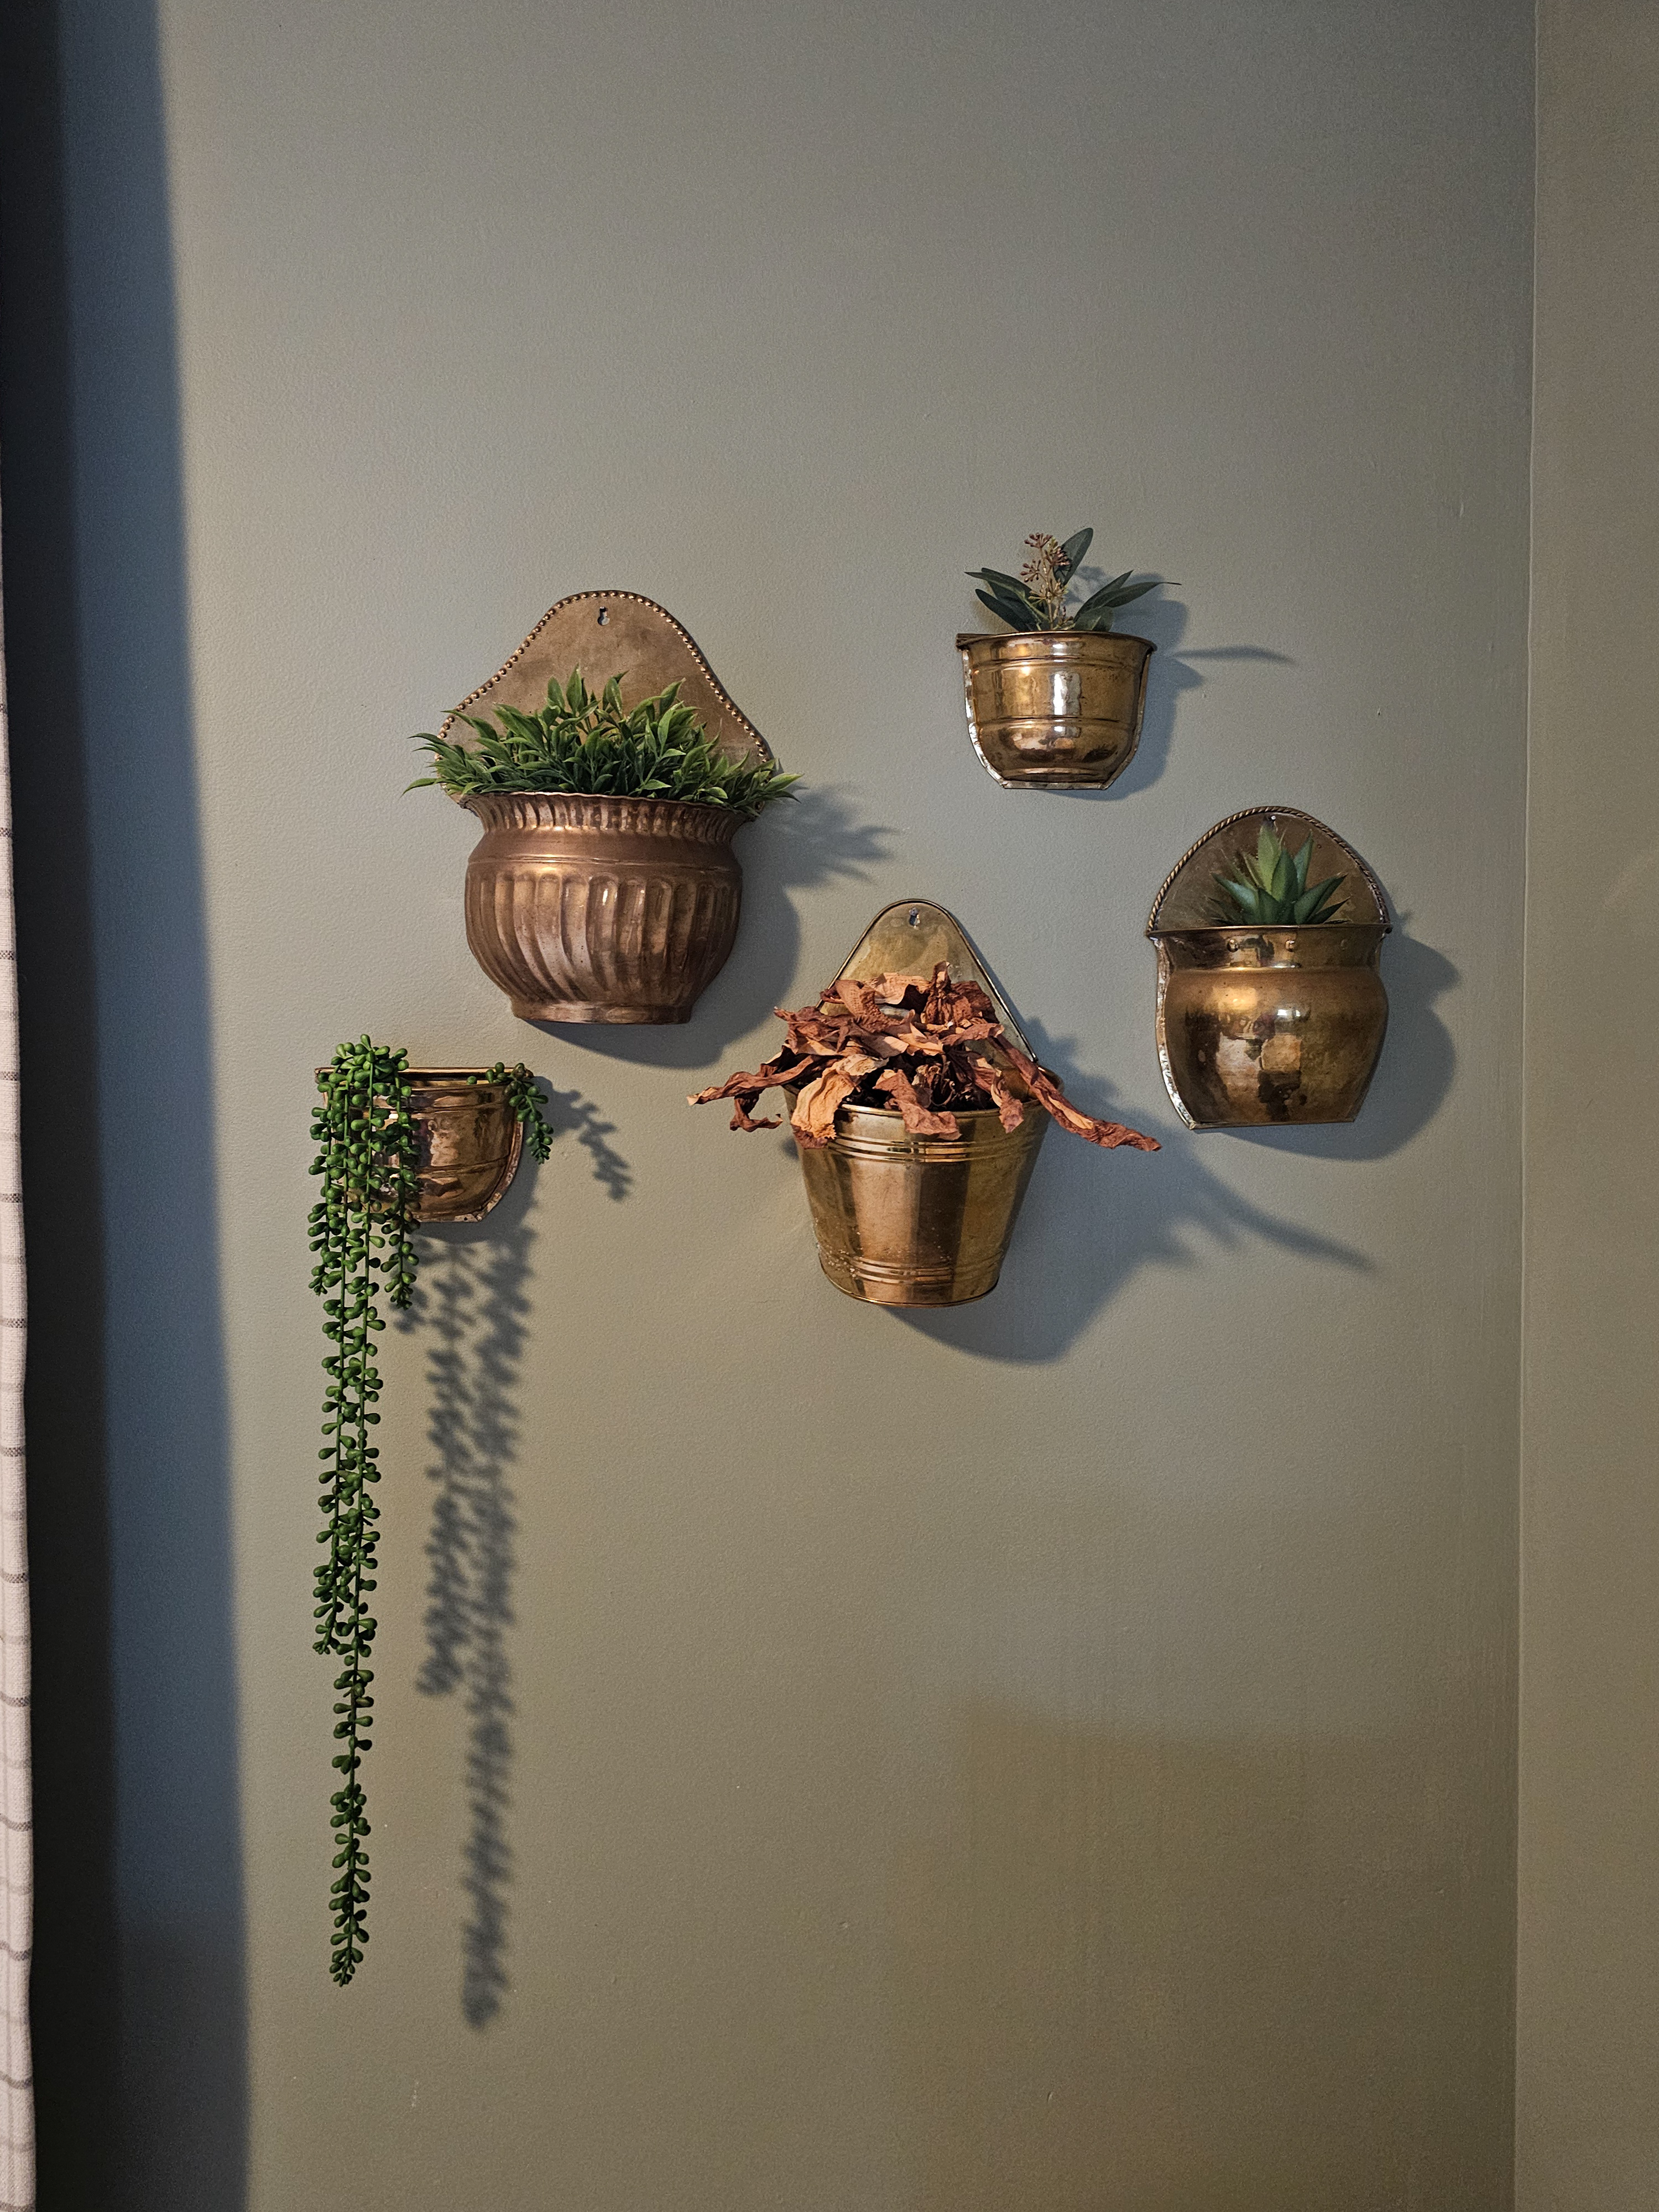
I was able to shop my house for 4 different faux plants, but was stuck on the largest planter. I didn’t have anything that worked for it but also didn’t want to buy something brand new. I’m really trying to have a more conscious, smaller consumer footprint when I can and so I wanted to thrift and give new, well, life to a discarded faux plant. It took a couple months on my thrift list before I finally came across a plant that would work, but it was worth the wait (and staring at the dead plant for months, ha!)
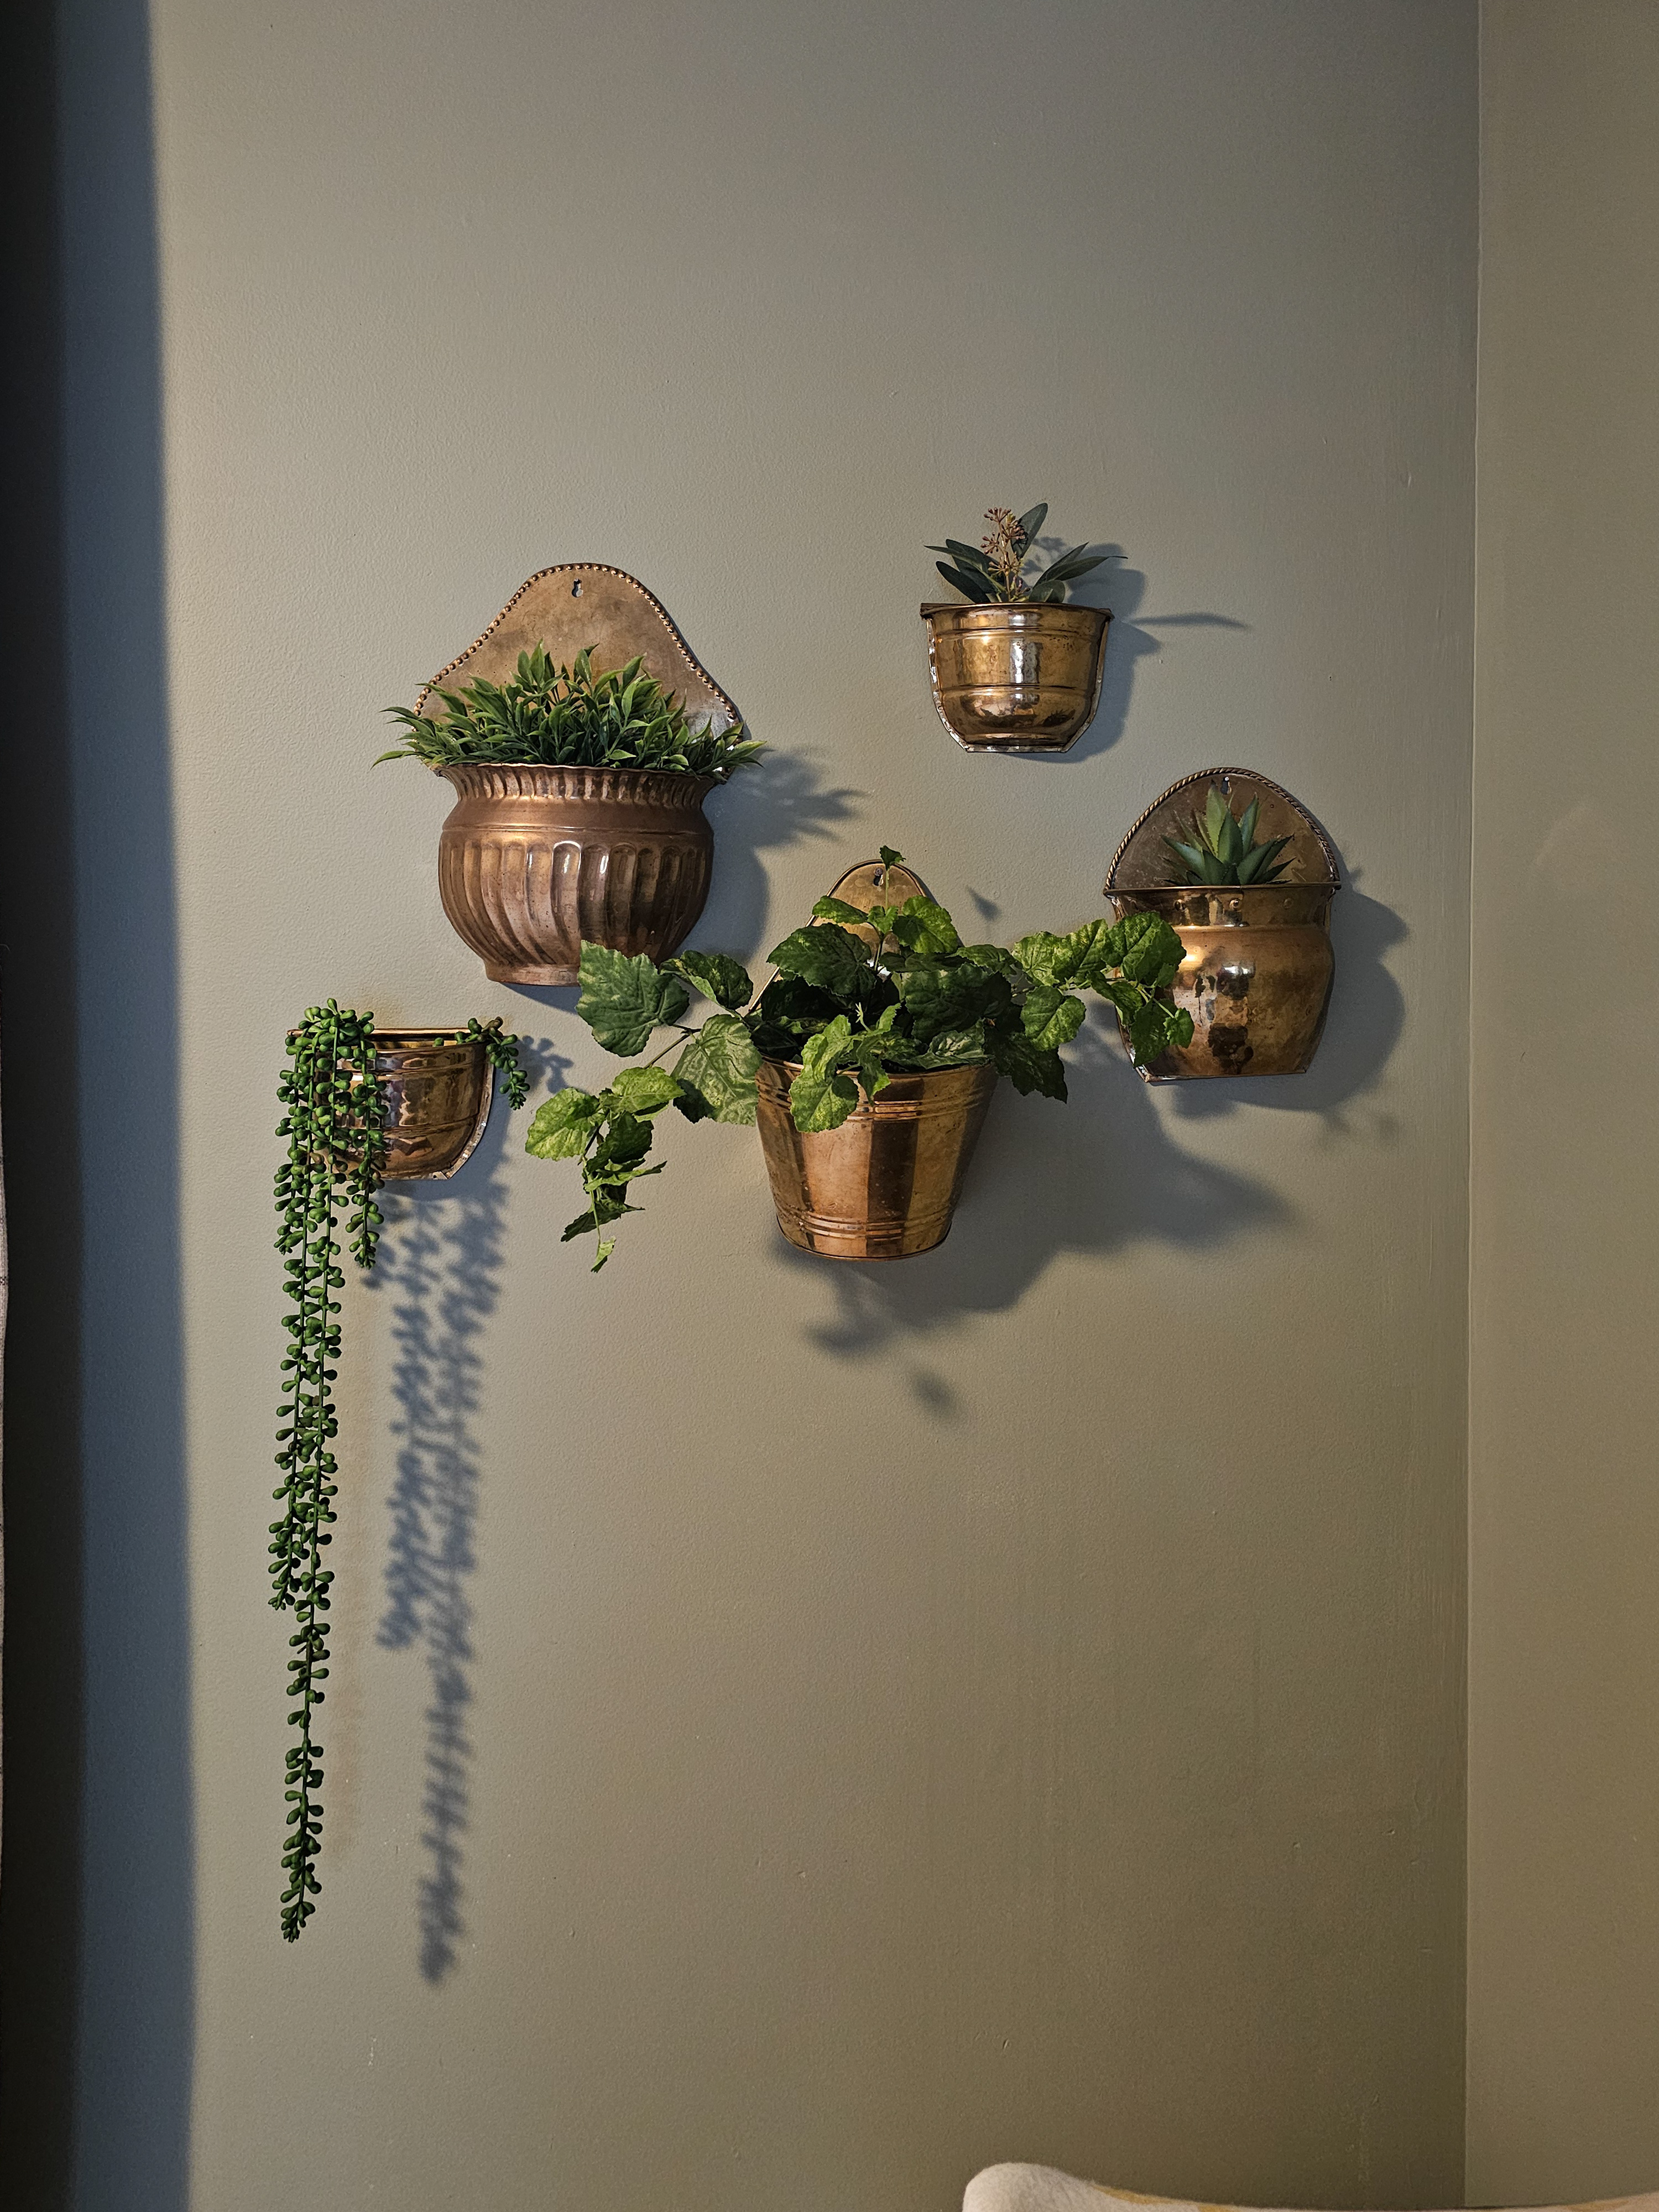
Bonus: I was able to snip a few branches off to use in my planter and it didn’t impact the overall look of the original plant so I was able to re-donate it and hopefully someone else will also find use for it!
Picture Grid in the Hallway
We had our foyer and hallway painted in December 2023 and ever since, I have wanted to get some family photos up in the hallway. I often do a mixed-material gallery wall but this time I wanted to do a black and white grid of frames.
And so began a 16+ month “project” that really could’ve been done in one day. I had been brainstorming since December 2023, used painters tape to tape off grid ideas in February 2024, then in April 2024 I cut packaging paper into squares and hung up different configurations of sizes and number of frames to visualize.
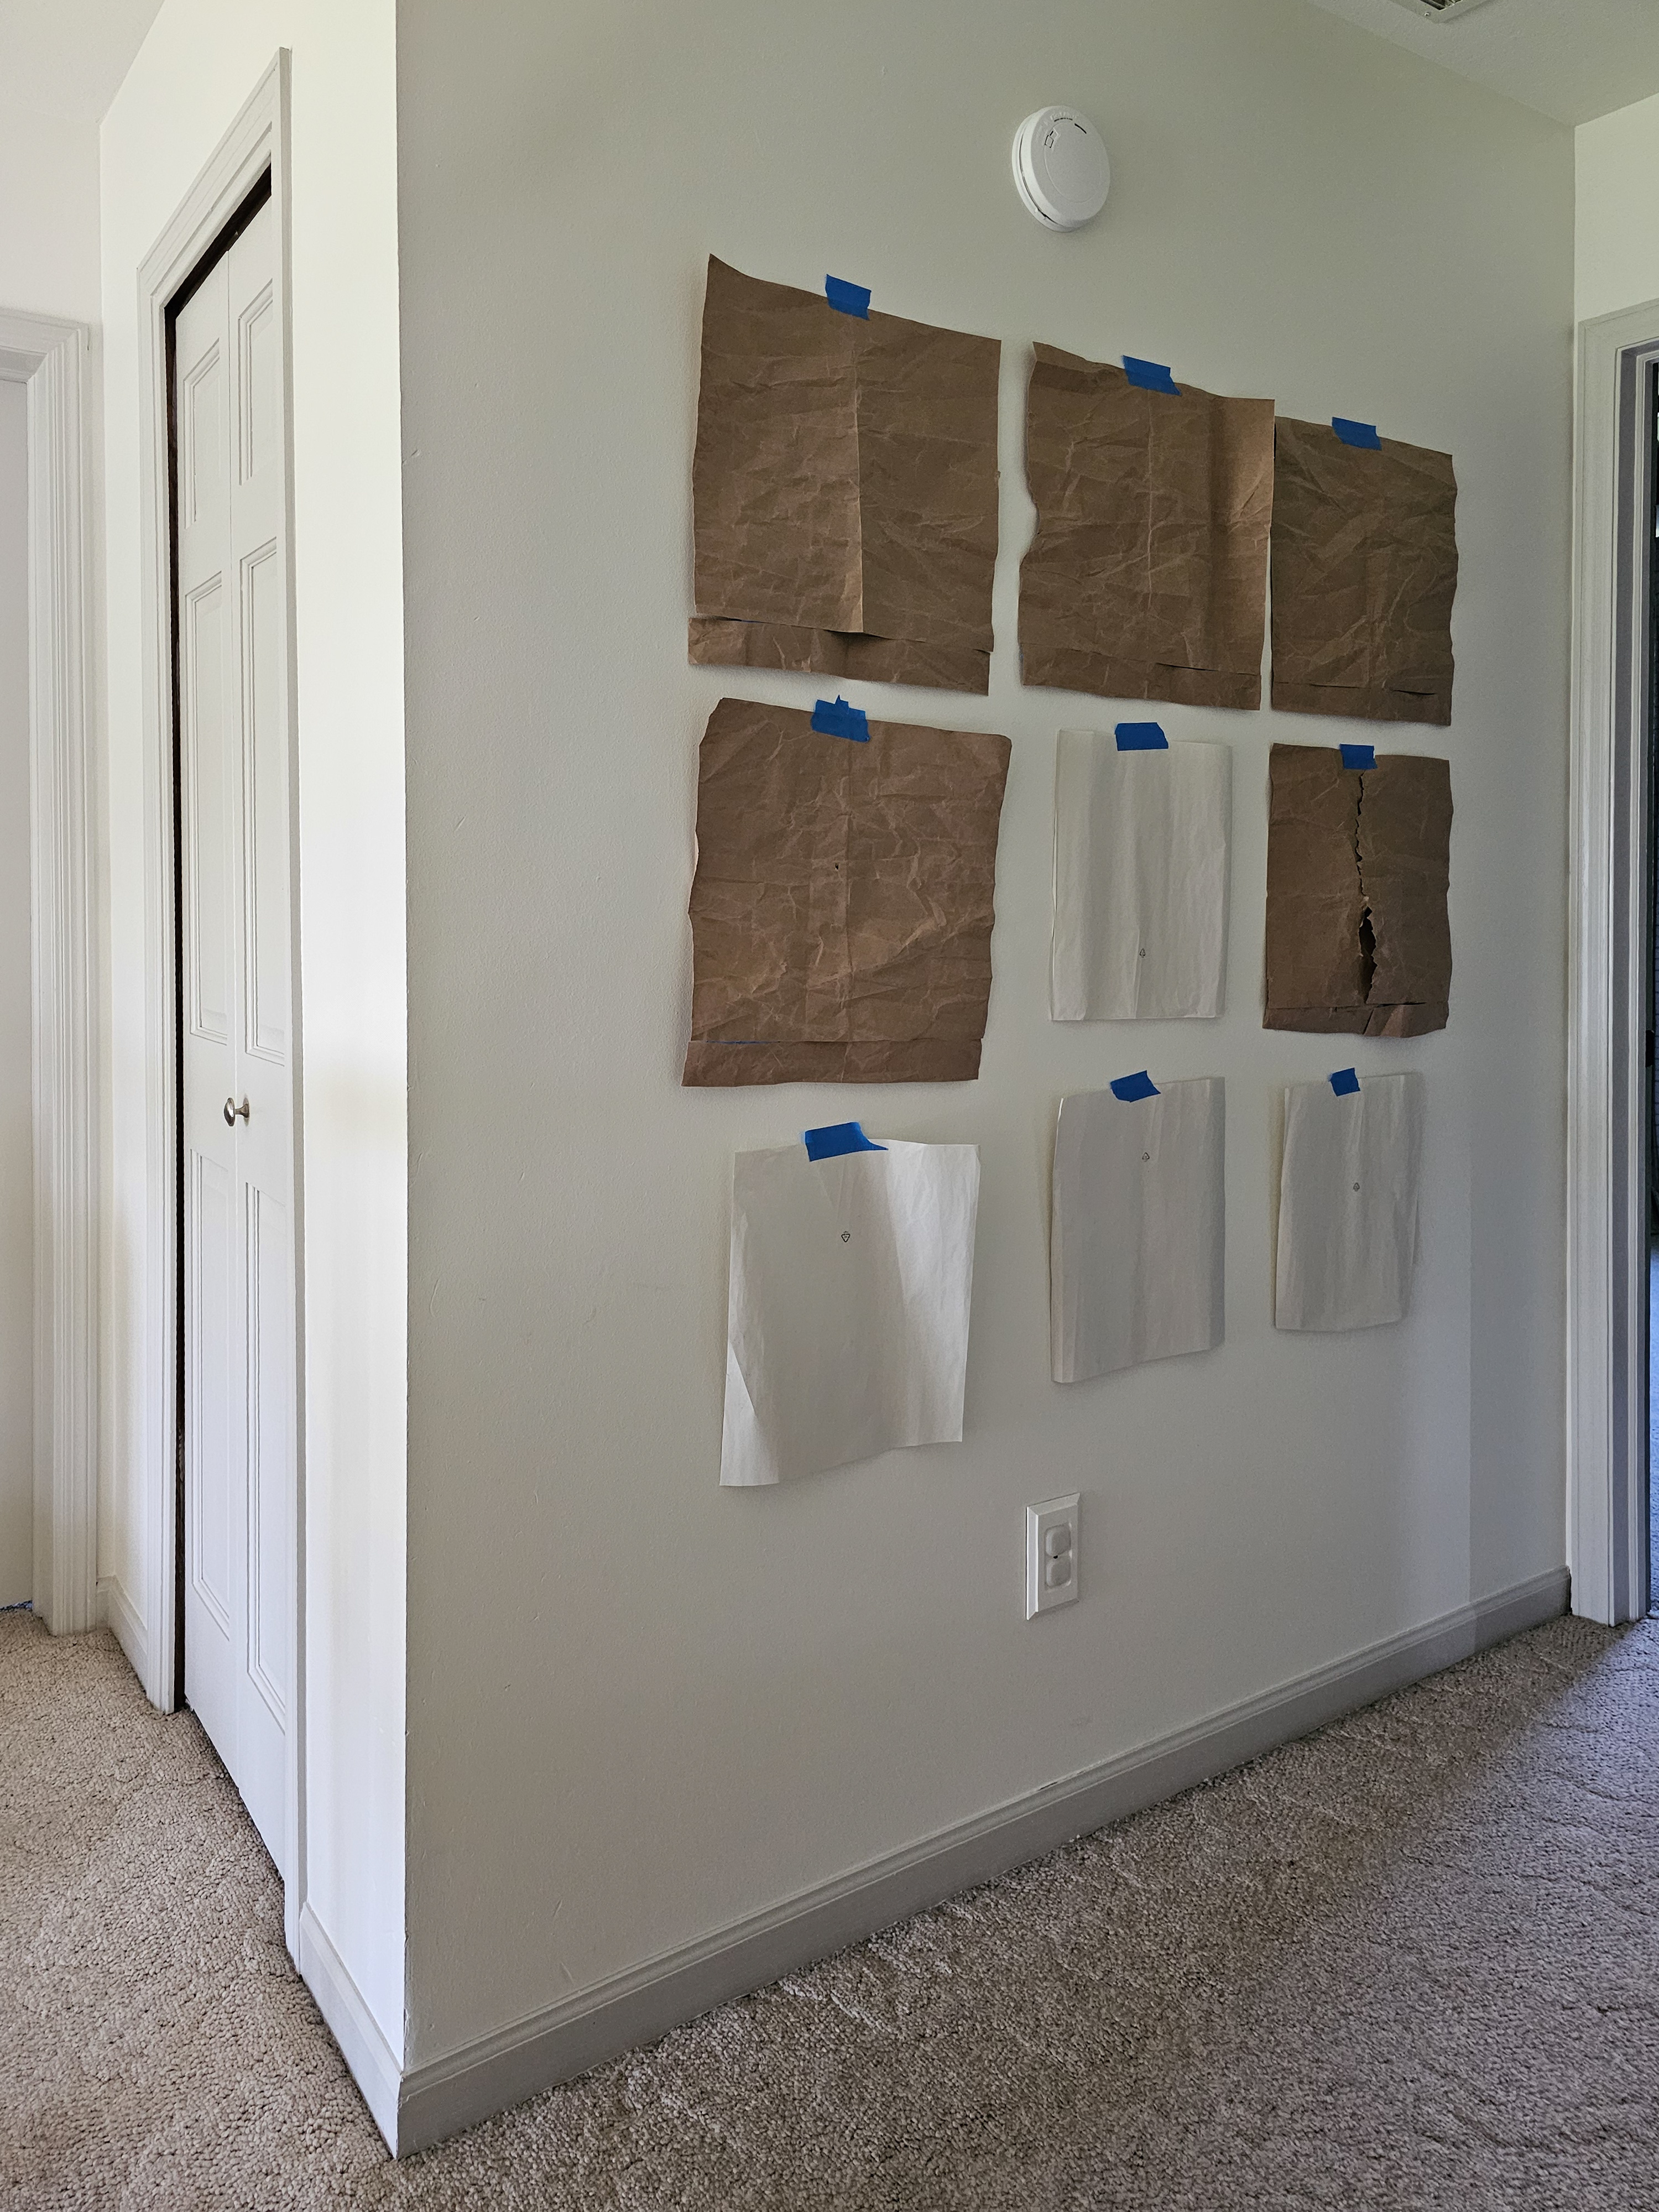
These papers hung in my hallway for four months until I finally bought frames in August 2024, and those frames sat propped against the wall in my hallway until April 2025. I’m glad I took the time to really think and plan what I wanted rather than just throwing something up on the walls – this was a good reminder that sometimes it takes time to figure out exactly what you want and that’s okay. But also…once I figured it out and bought the supplies, I definitely procrastinated. I was intimidated to hang a grid knowing the precision needed is different than my normal method, and also it took me a while to choose the pictures I wanted to use.

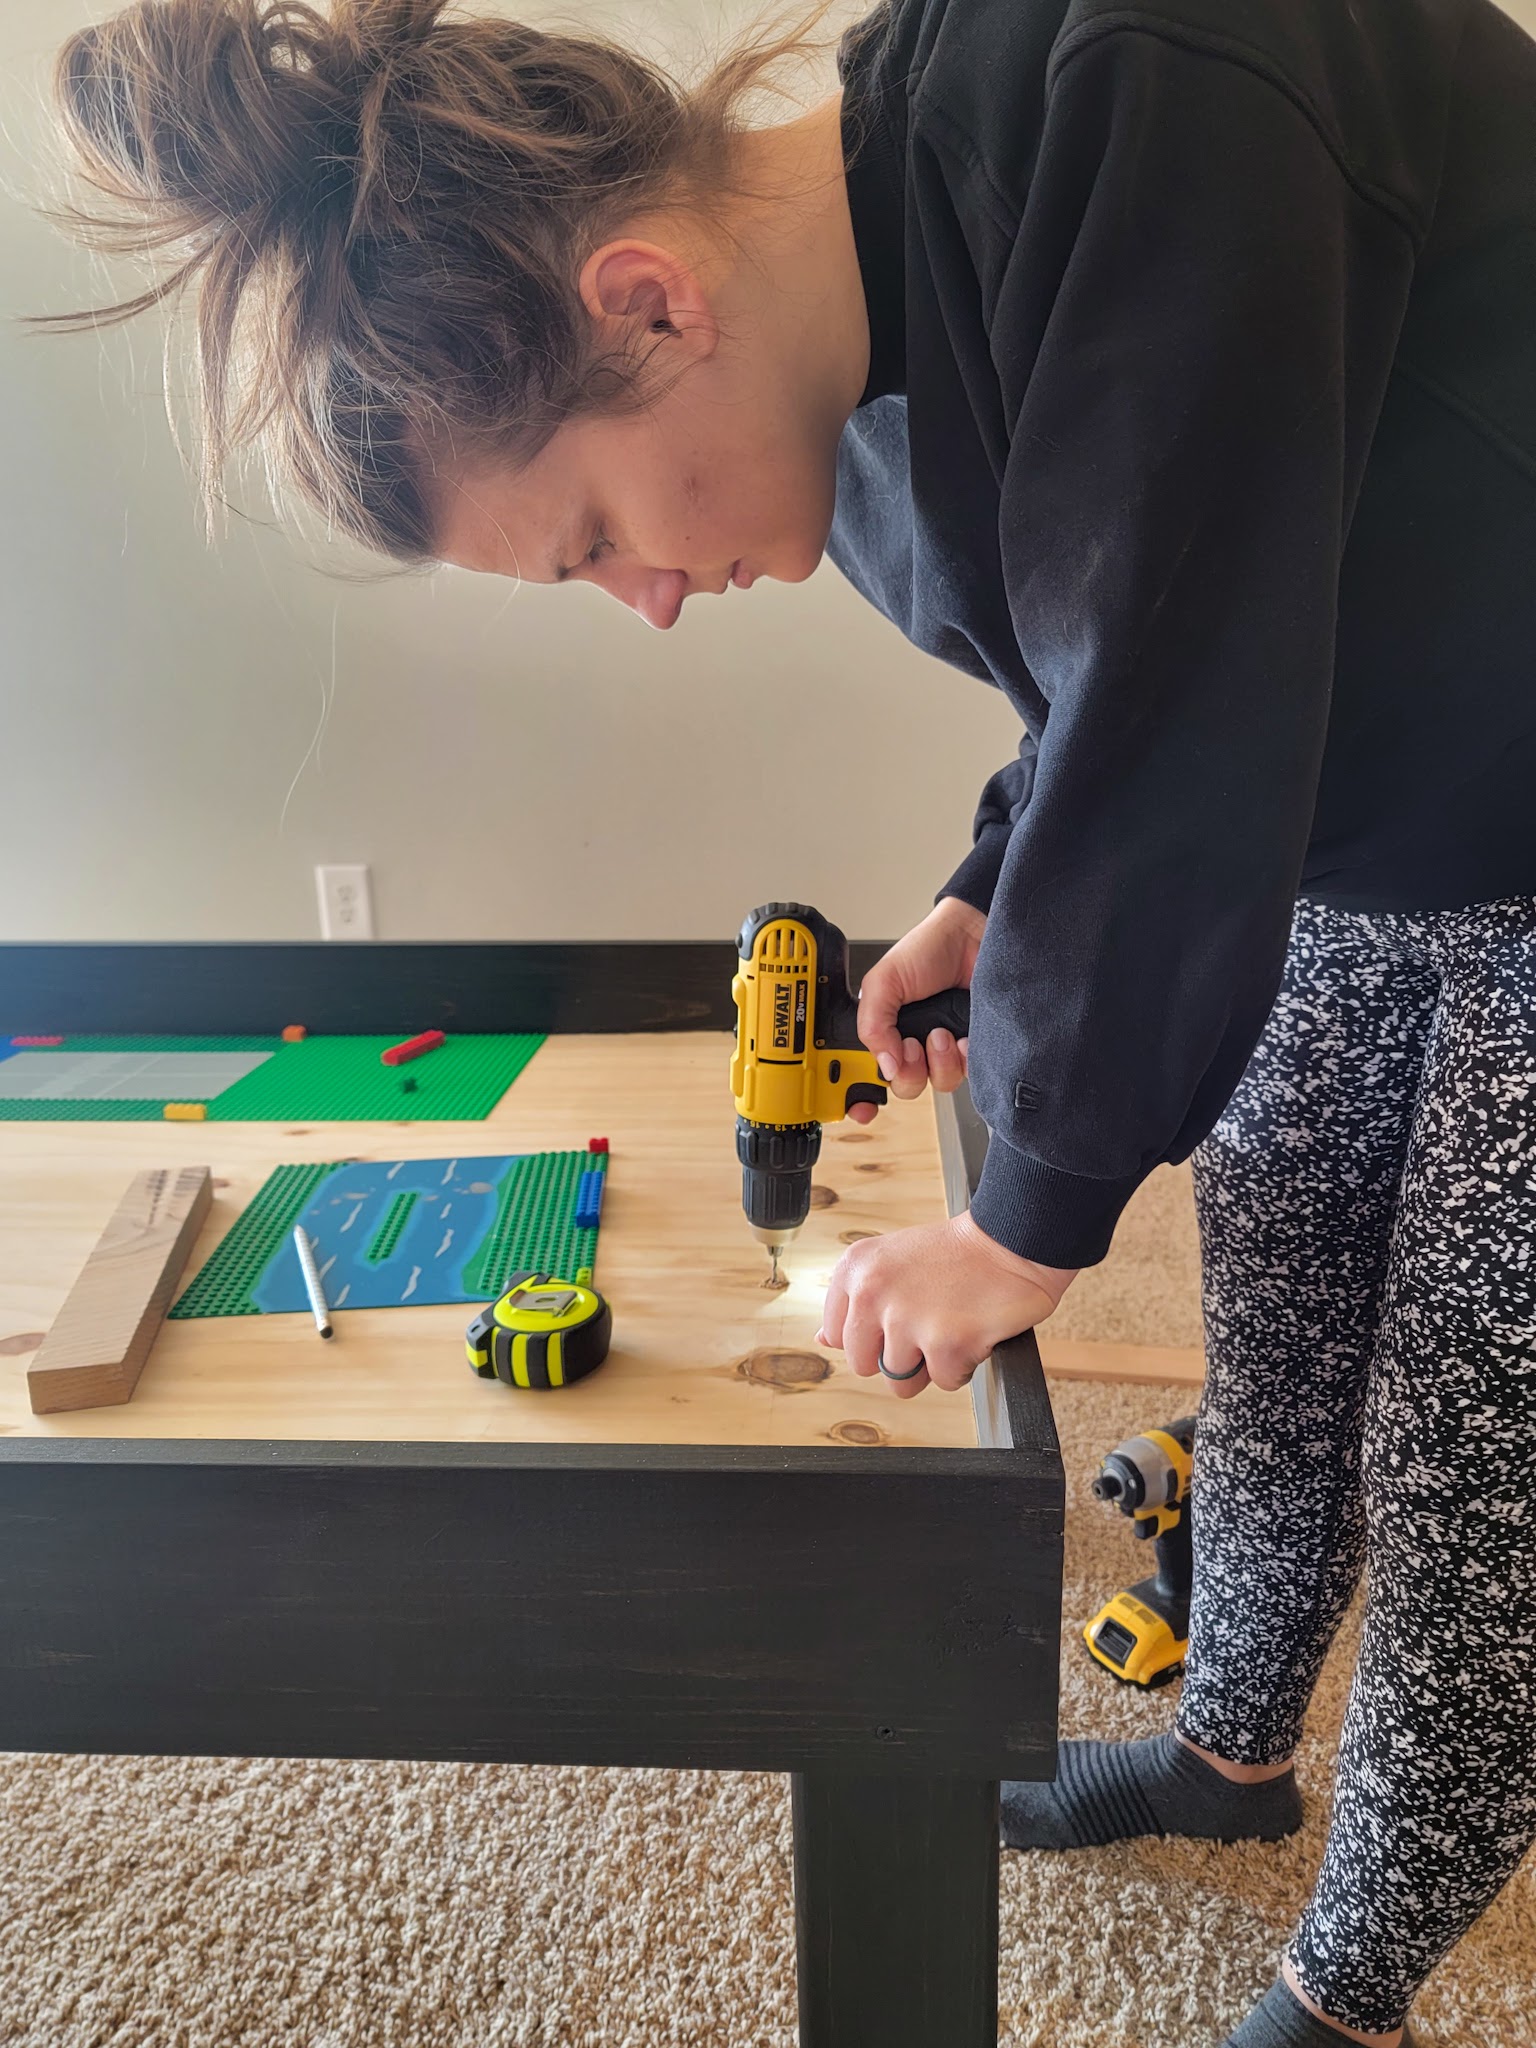
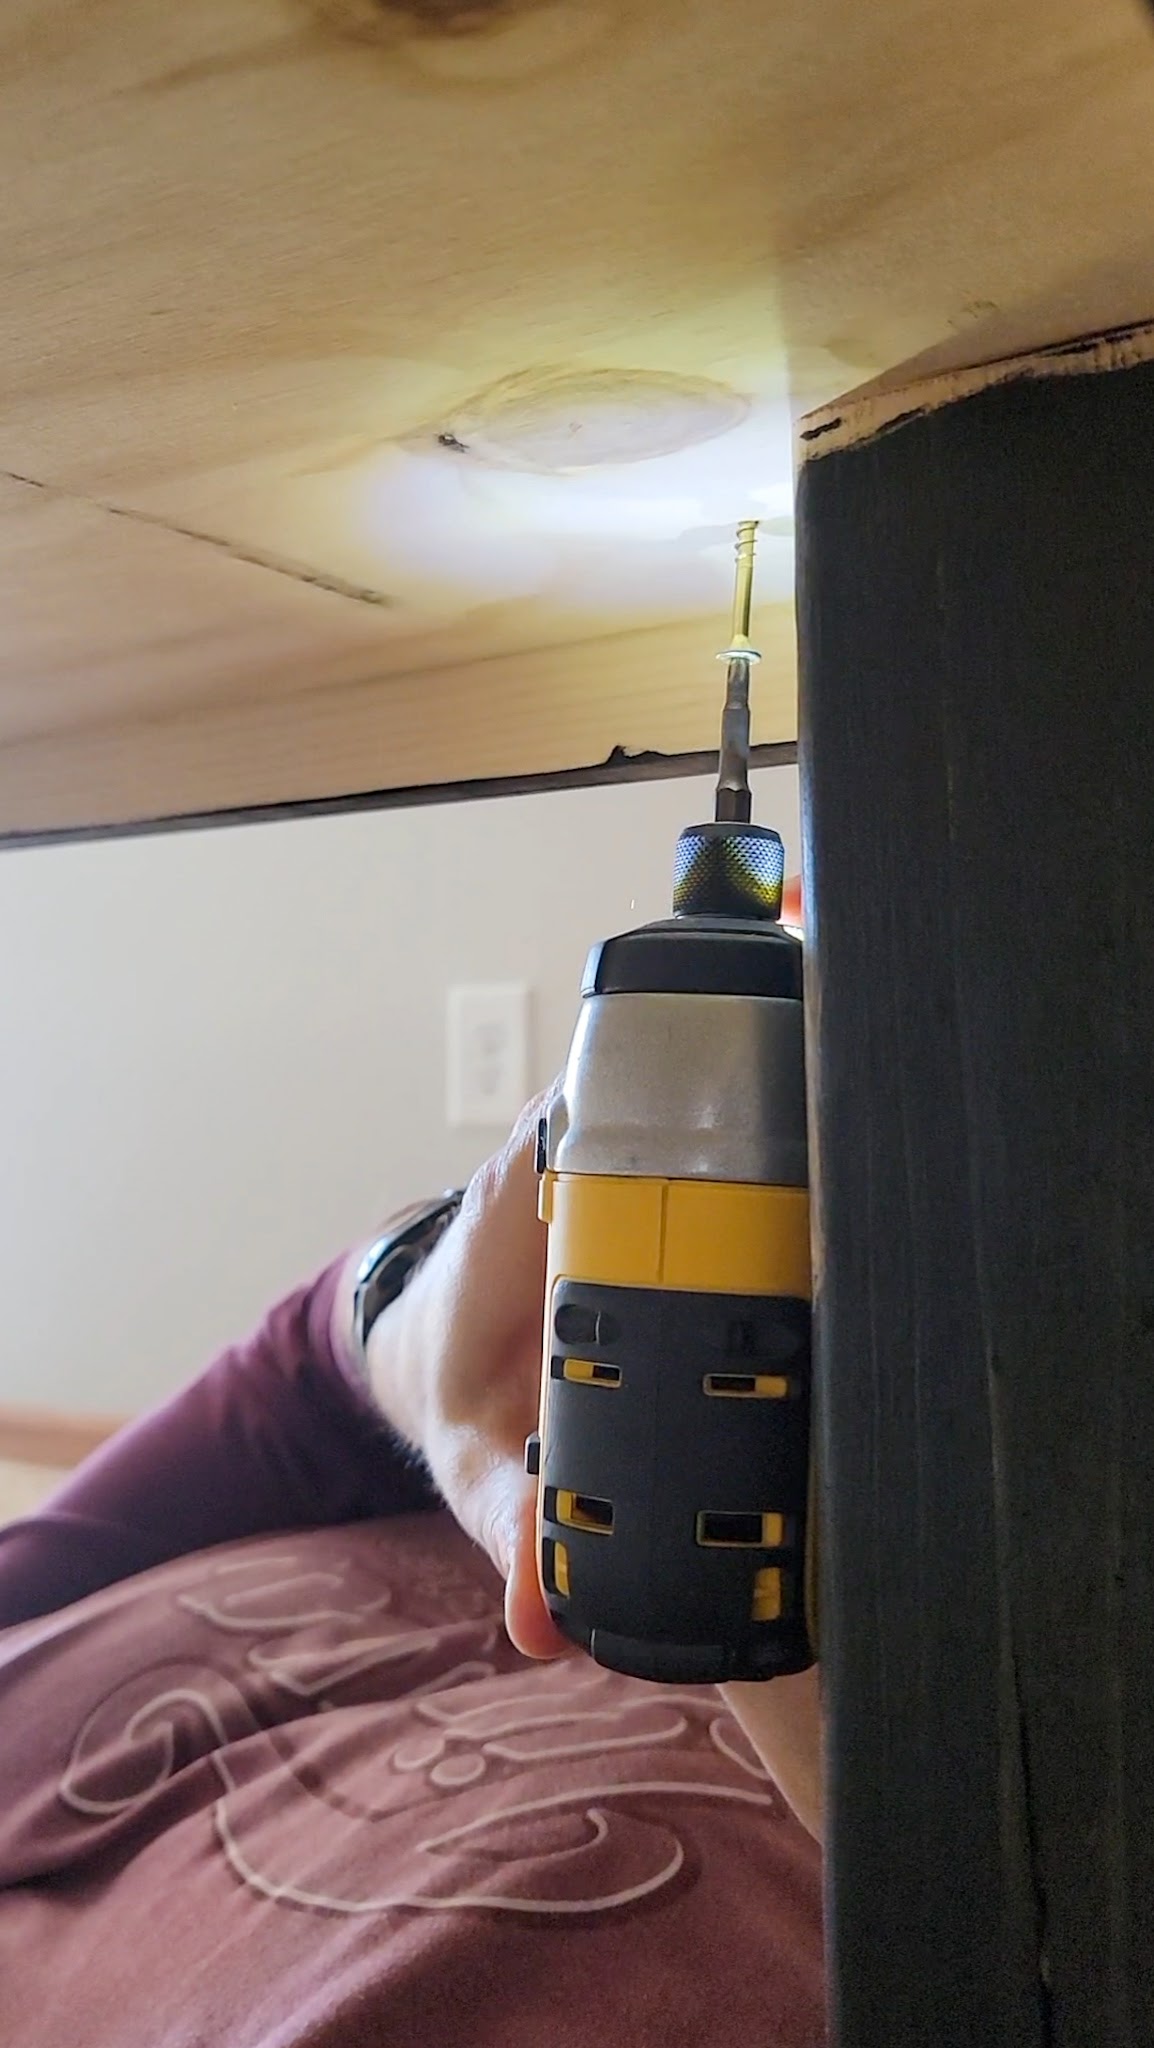
I finally made myself carve out the time to do the last few steps and surprise surprise, it didn’t actually take that long to install. I used a laser level and that was such a game changer. This is key: I did not align the laser level with the top of the frame! Instead I held the frame where I wanted it, then brought one side away from the wall to see where the sawtooth hangers were and aligned the laser level line with them.
It did take me a while to measure and mark out where every single nail hole was going to go, but it was well worth the effort to check and double-check measurements. It then took no time at all to actually hammer in the nails and hang the frames and thanks to all that measuring, they aligned perfectly!
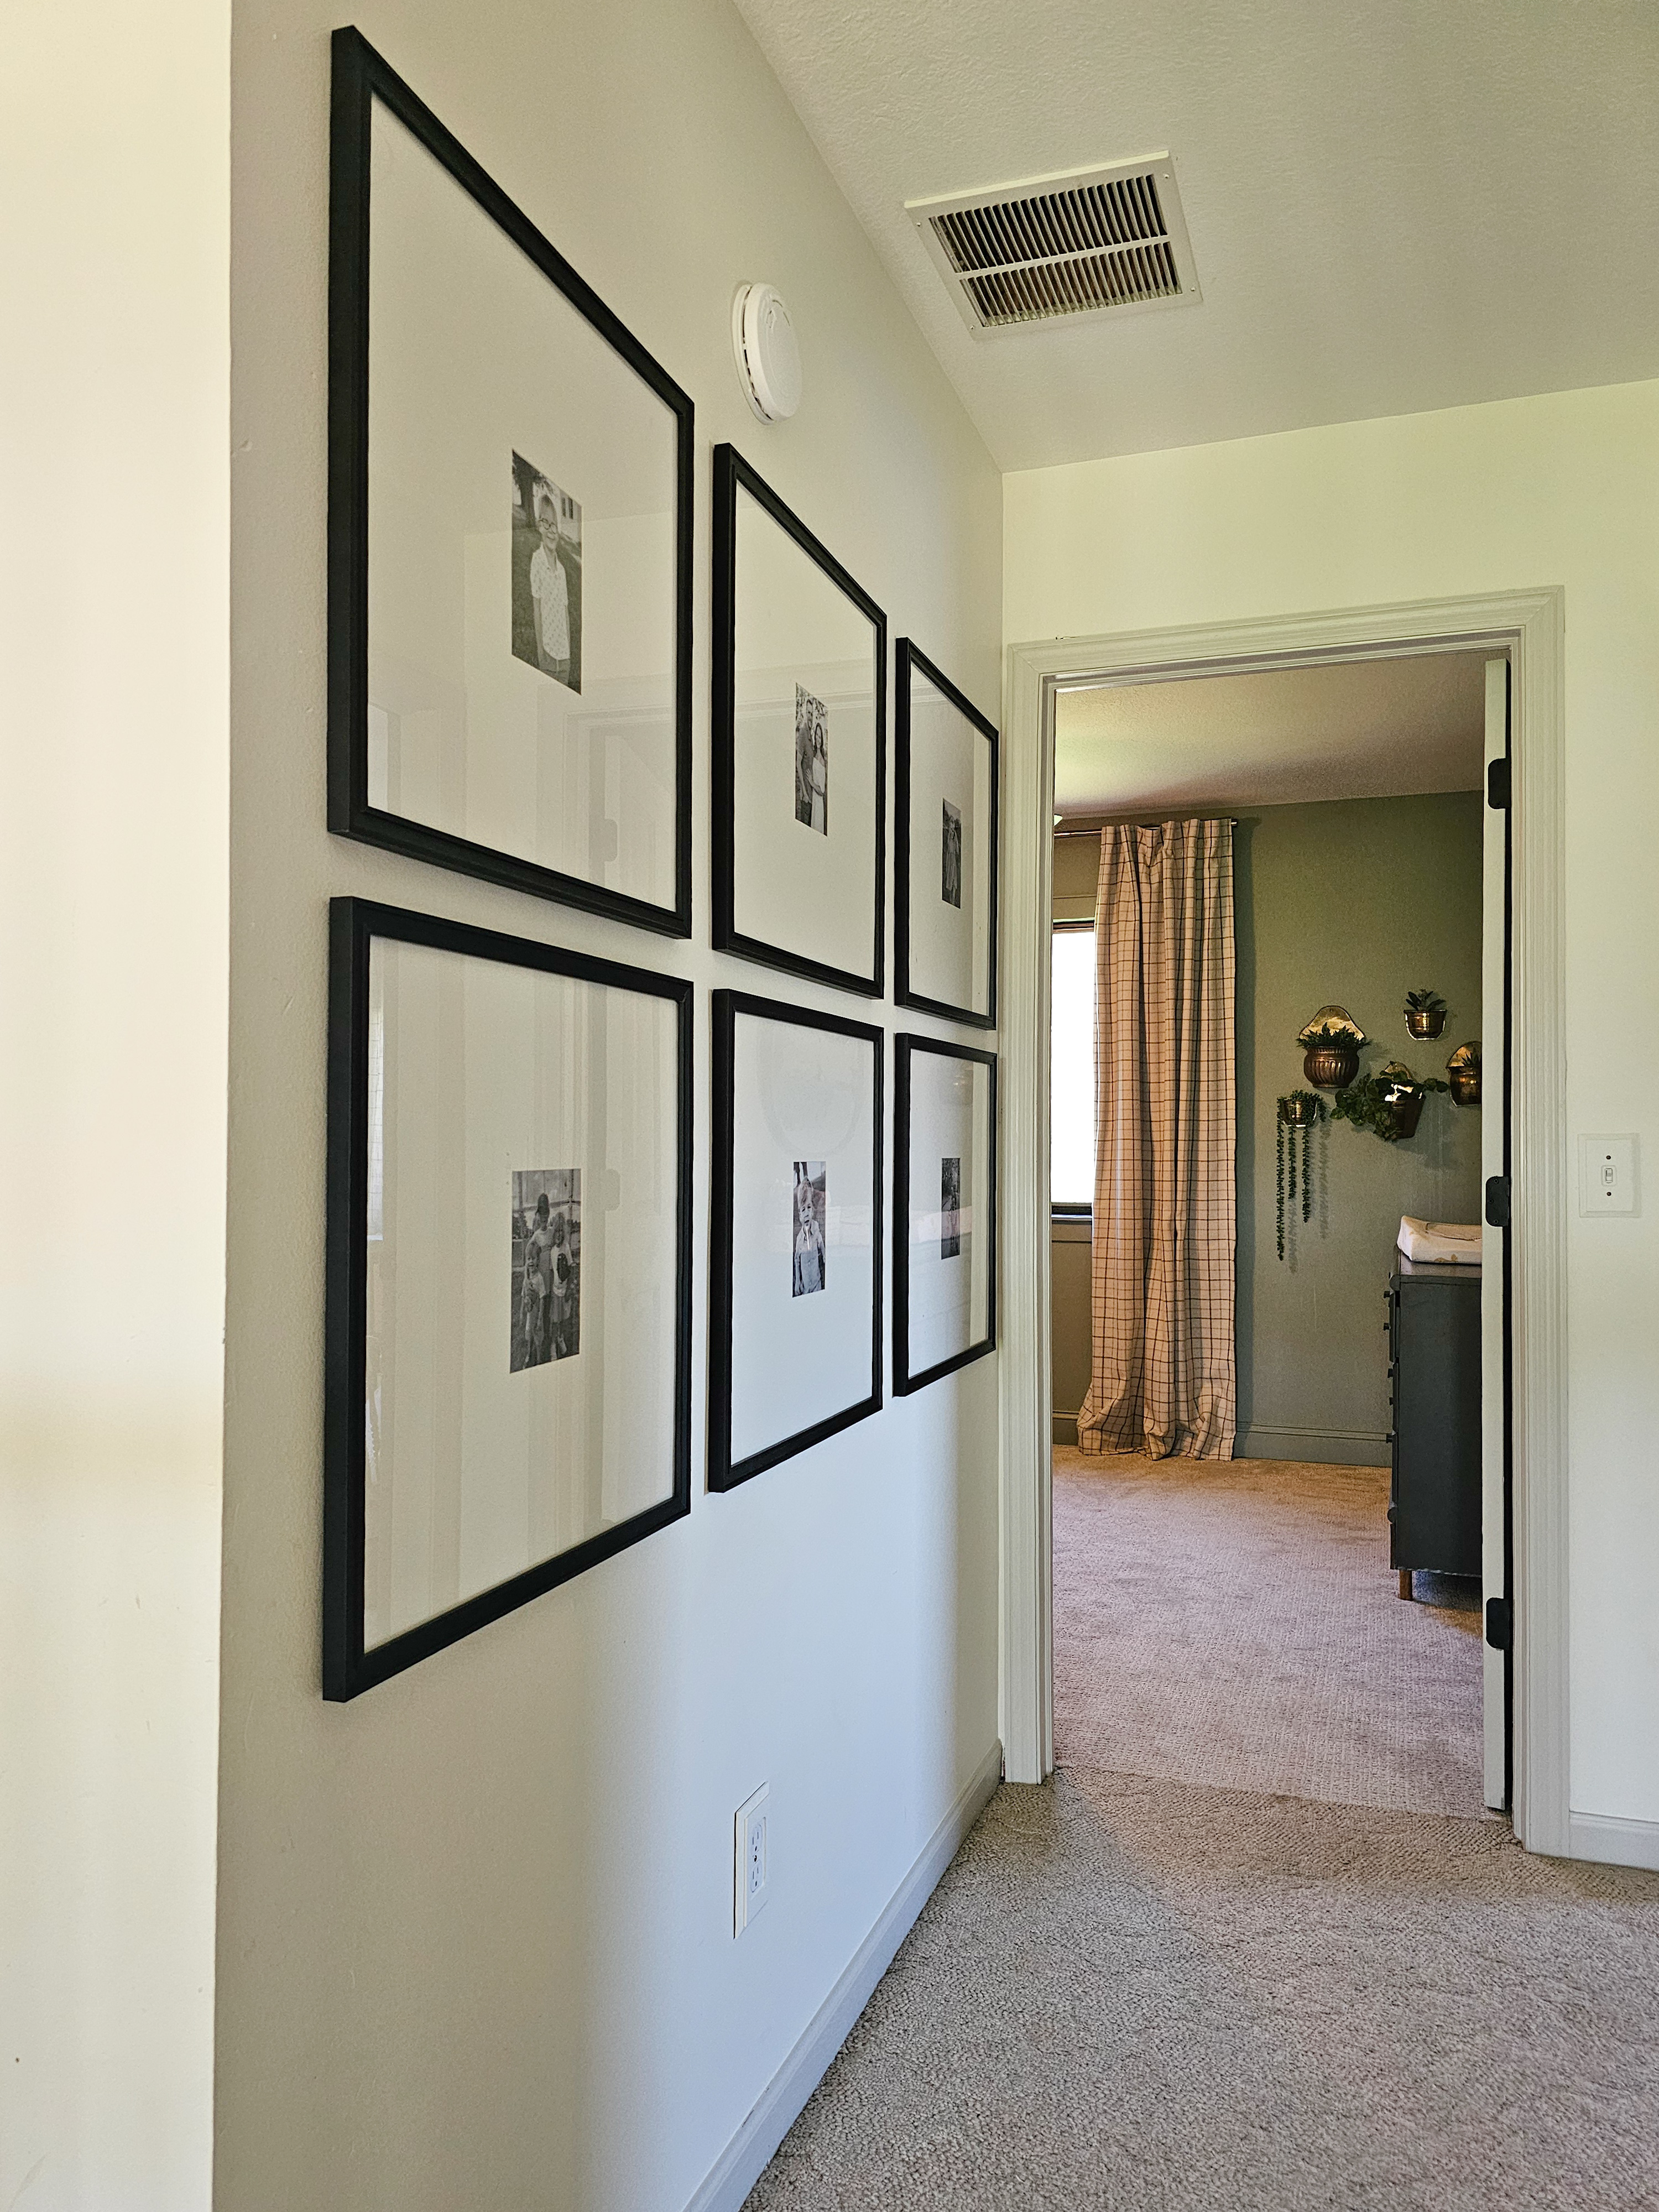
I’m so glad this task is checked off my list and I love seeing the frames in the hallway! Maybe this can be your sign that the thing you’re putting off might not actually be that bad or take that long, so just do it! 😉
Each of these three projects is pretty small on their own, but they make a big impact in their individual spaces. And bonus – they are all basically next to one another in the house so the overall impact of seeing the three together packs a big punch!

It’s just what I needed to get back into the swing of things and now I’m looking forward to some bigger projects.
Coming Up in May…
A few of the projects I’m going to tackle this month:
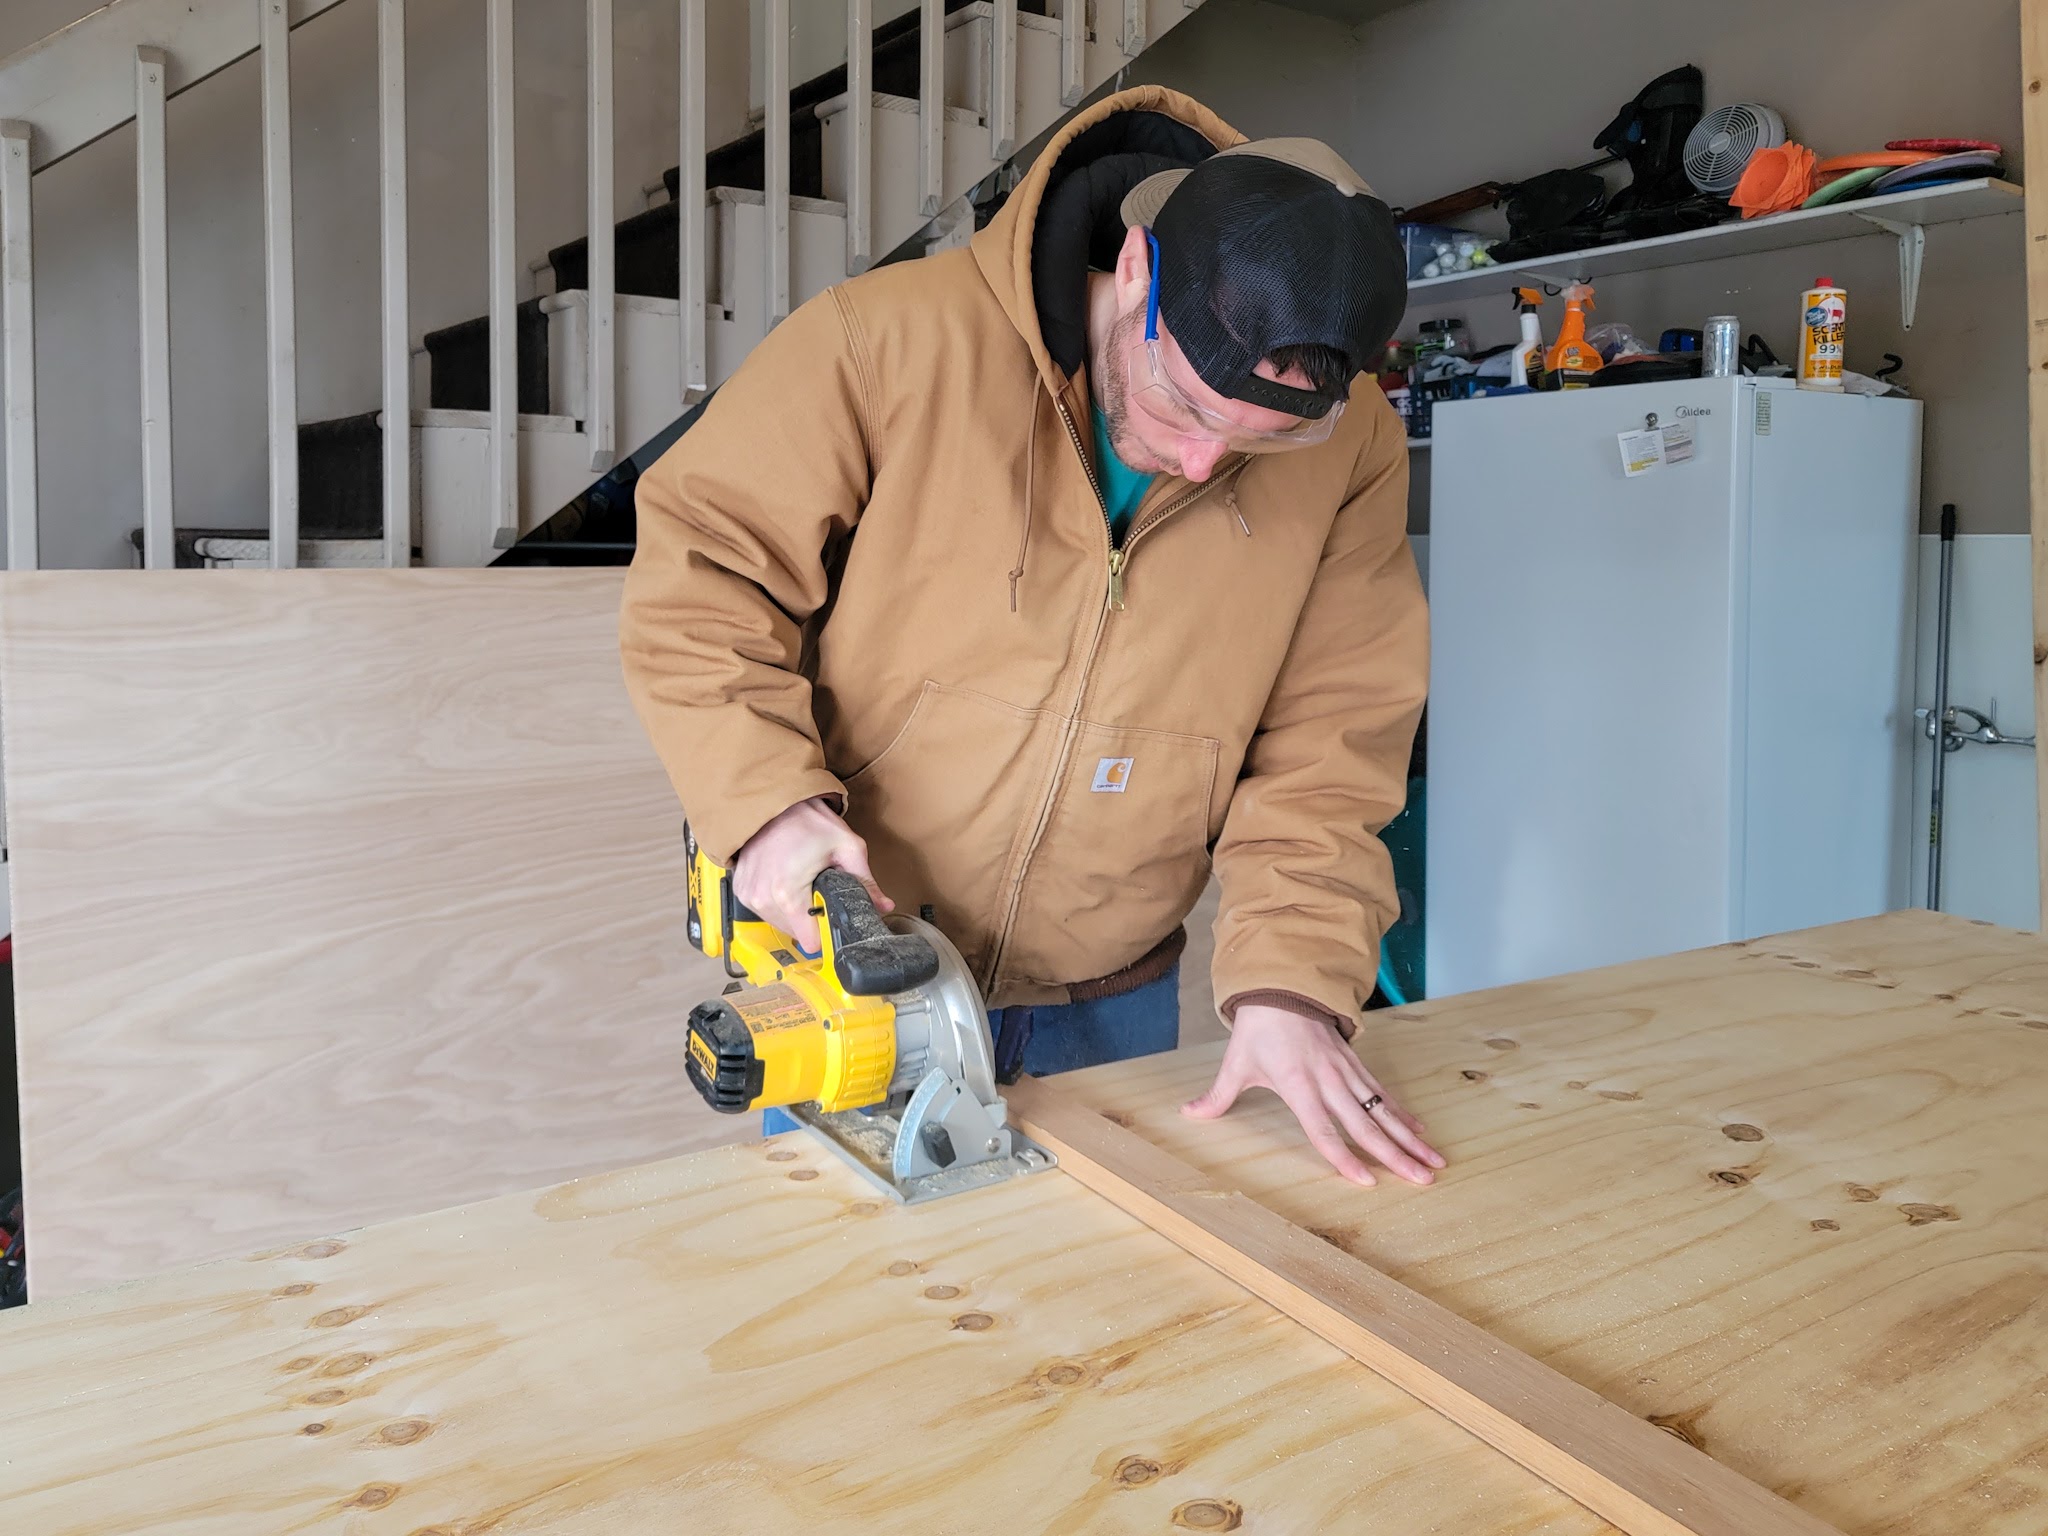
1 – Last year we did a huge patio renovation and this month we’re going to continue to upgrade the space.
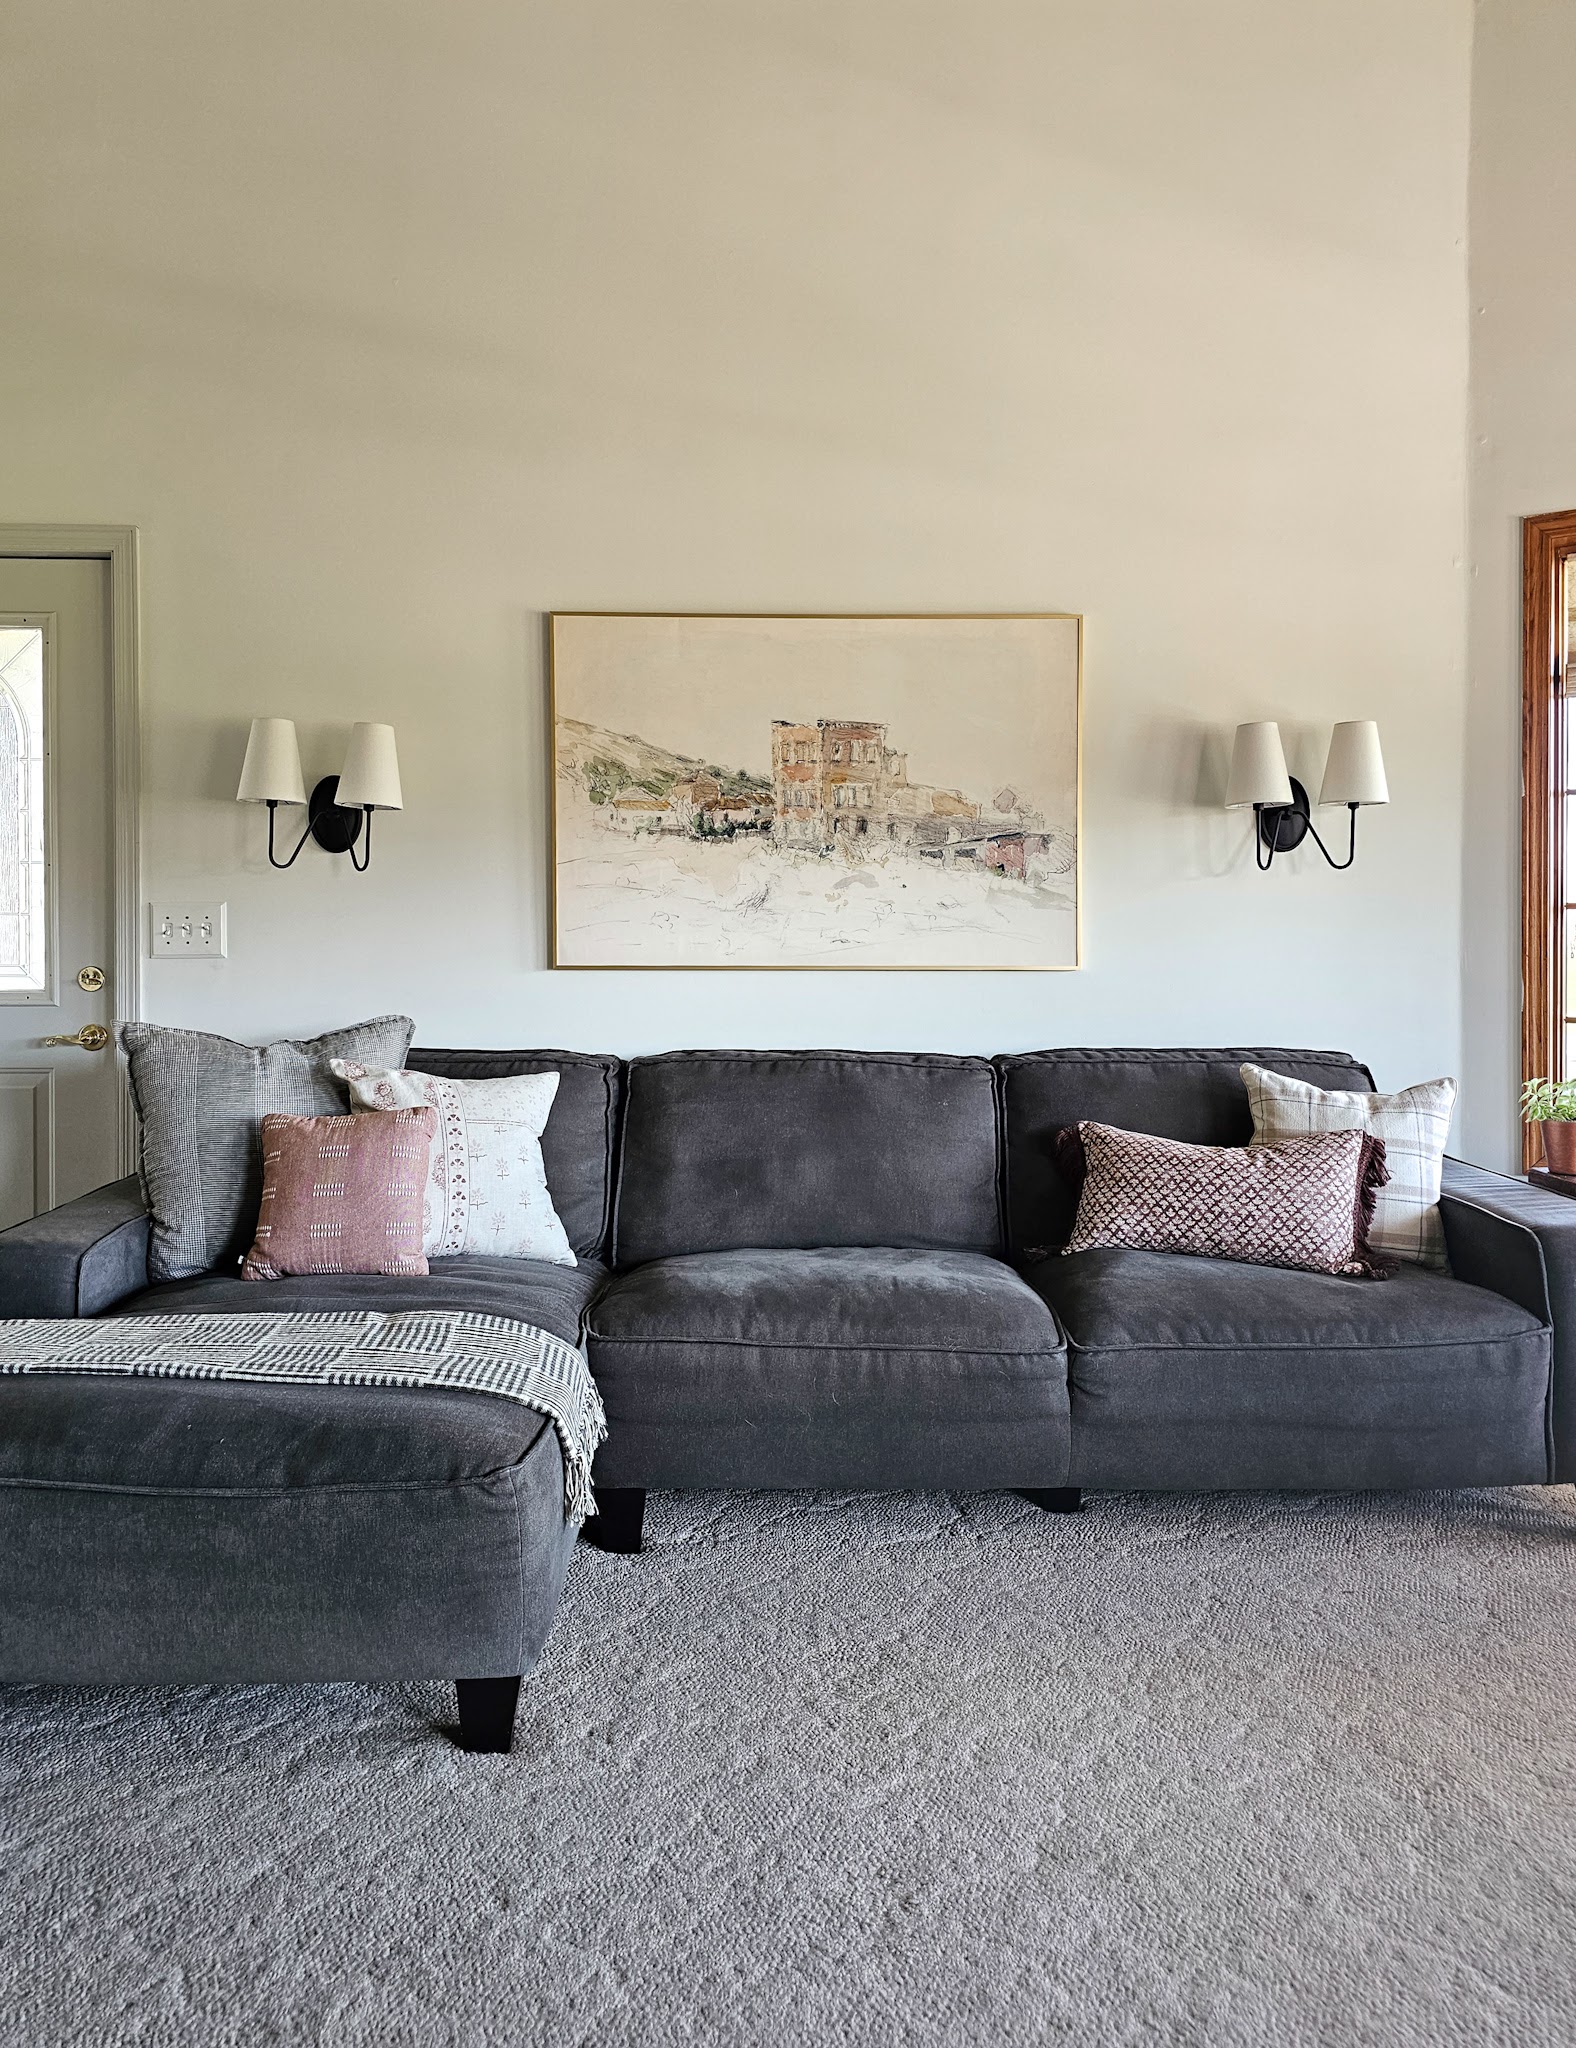
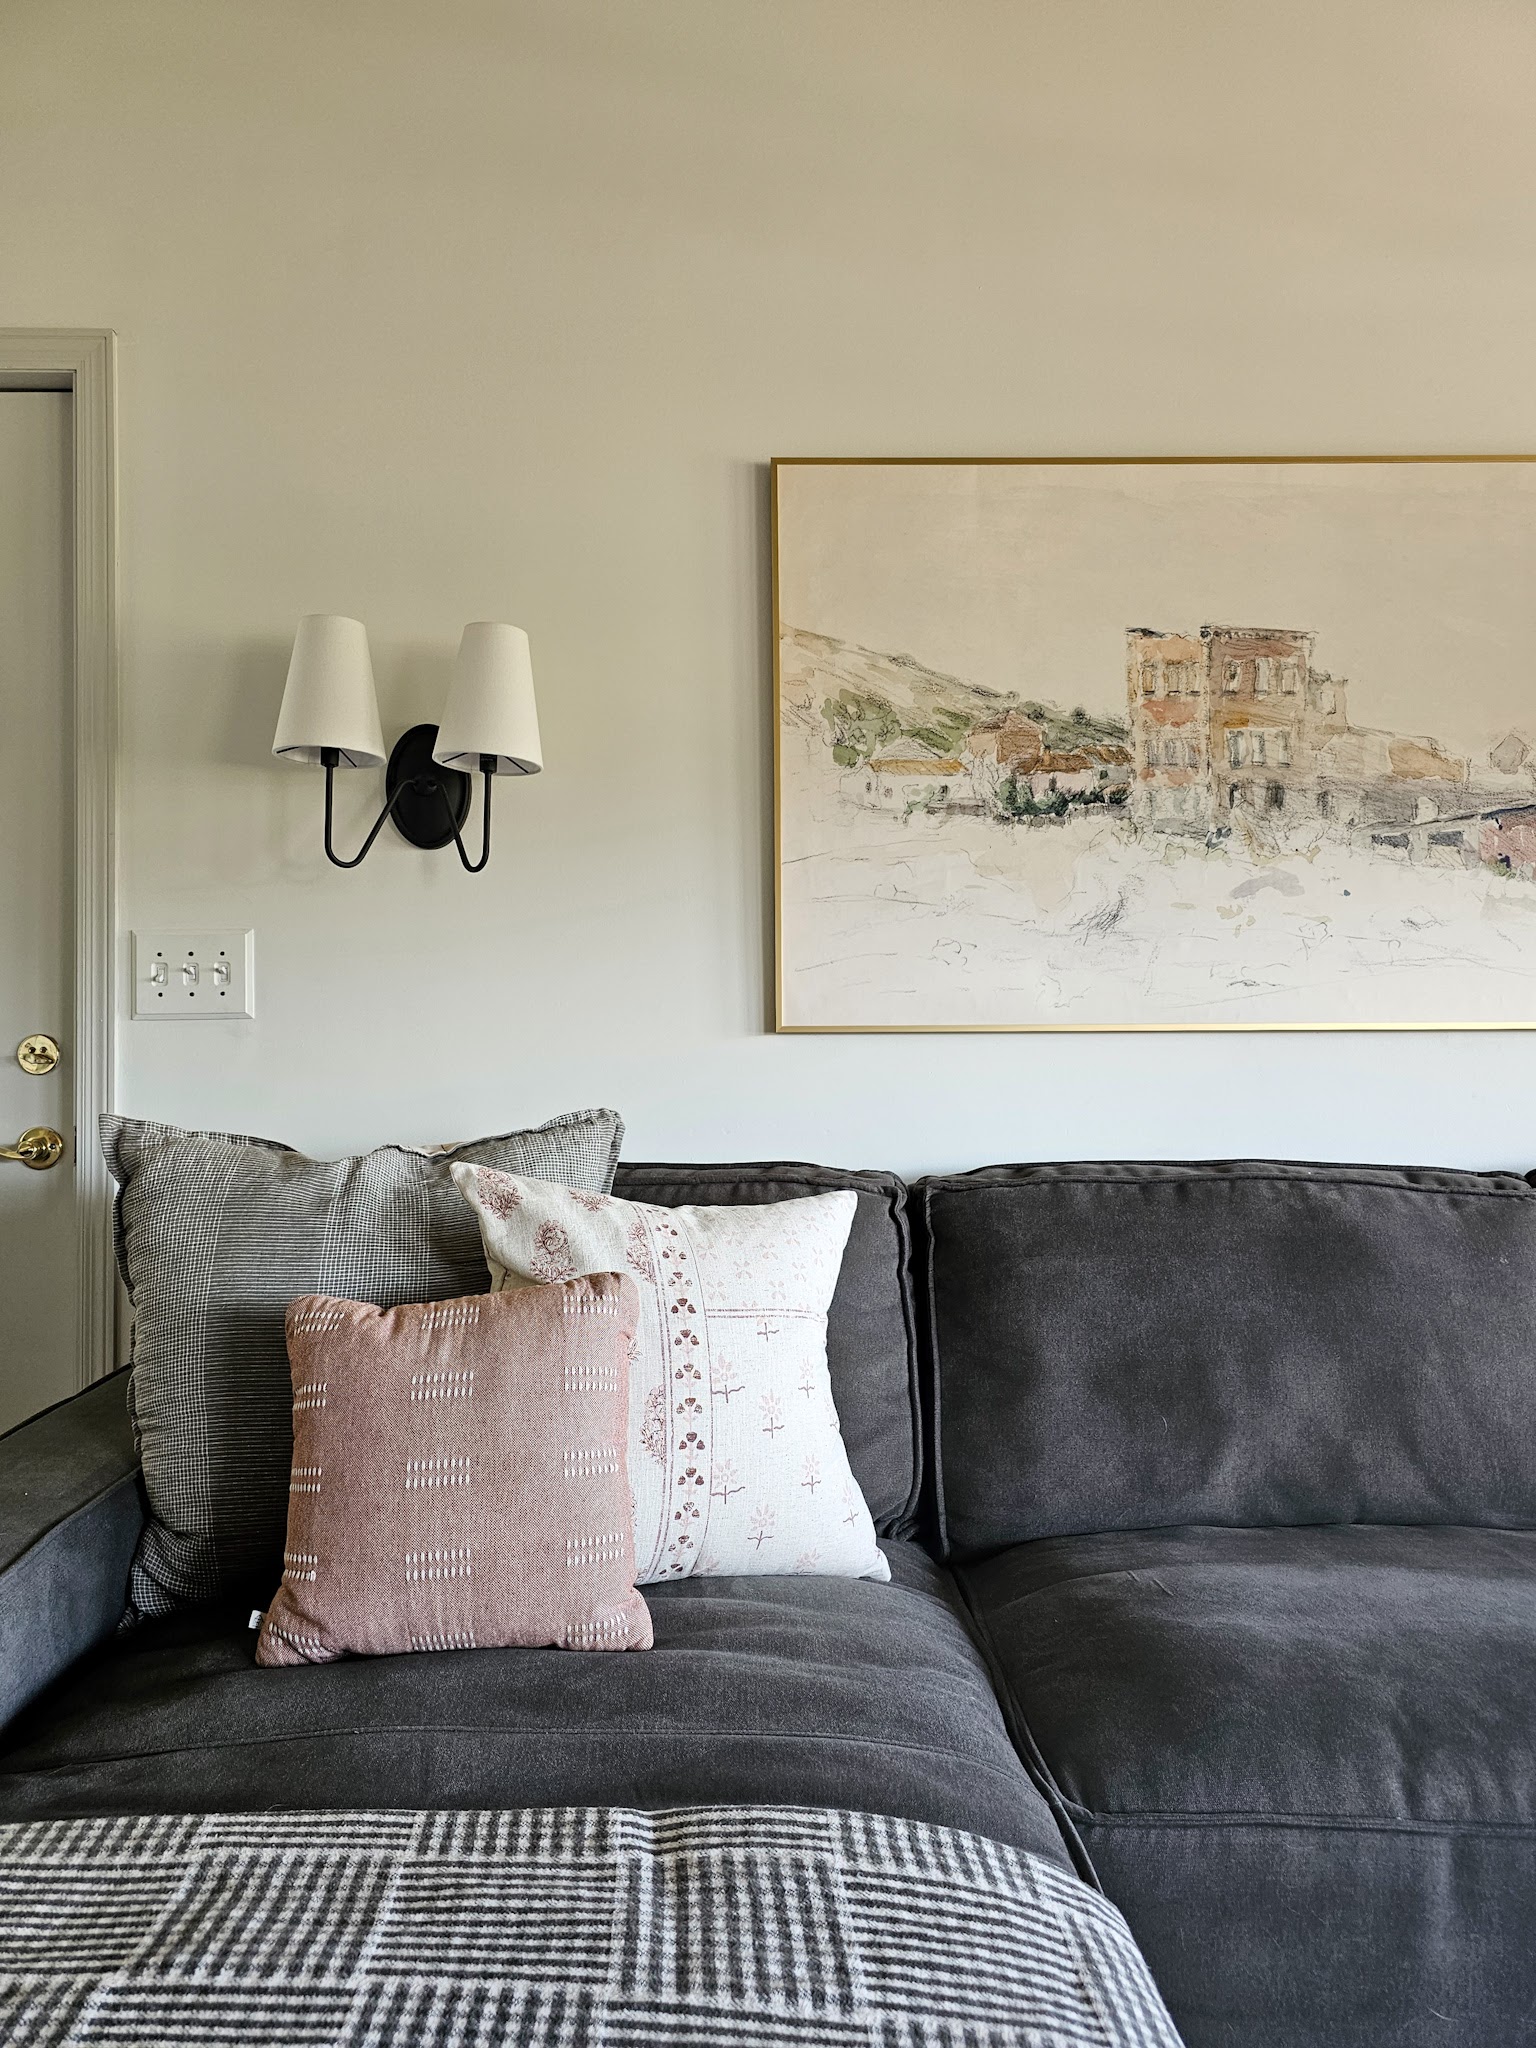
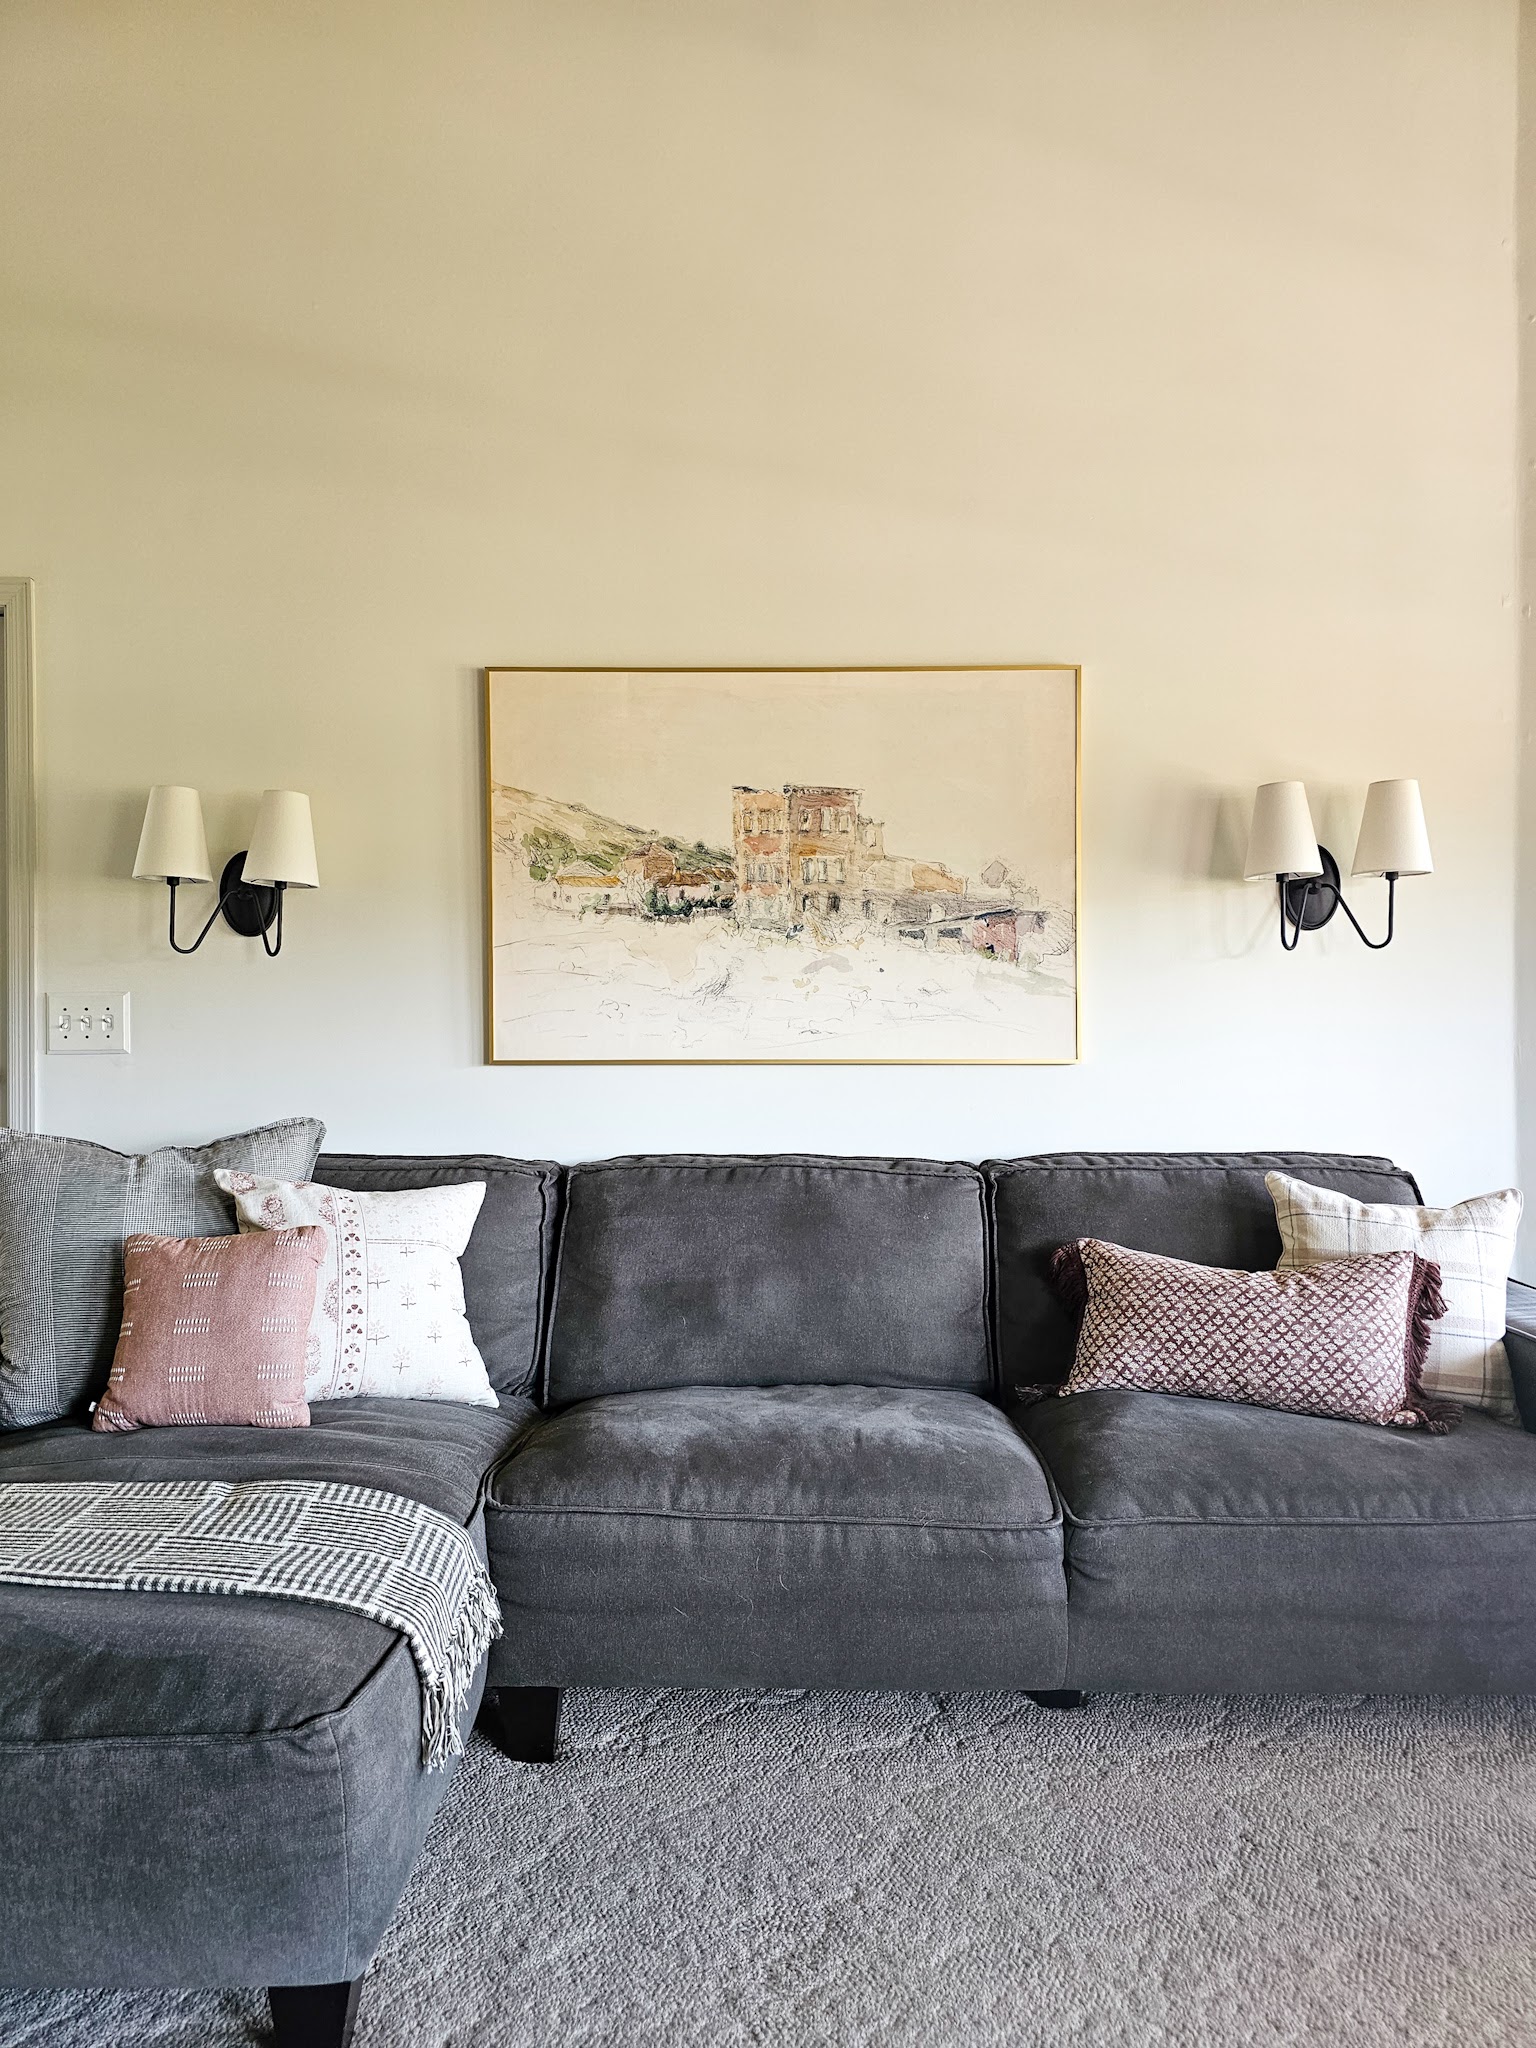
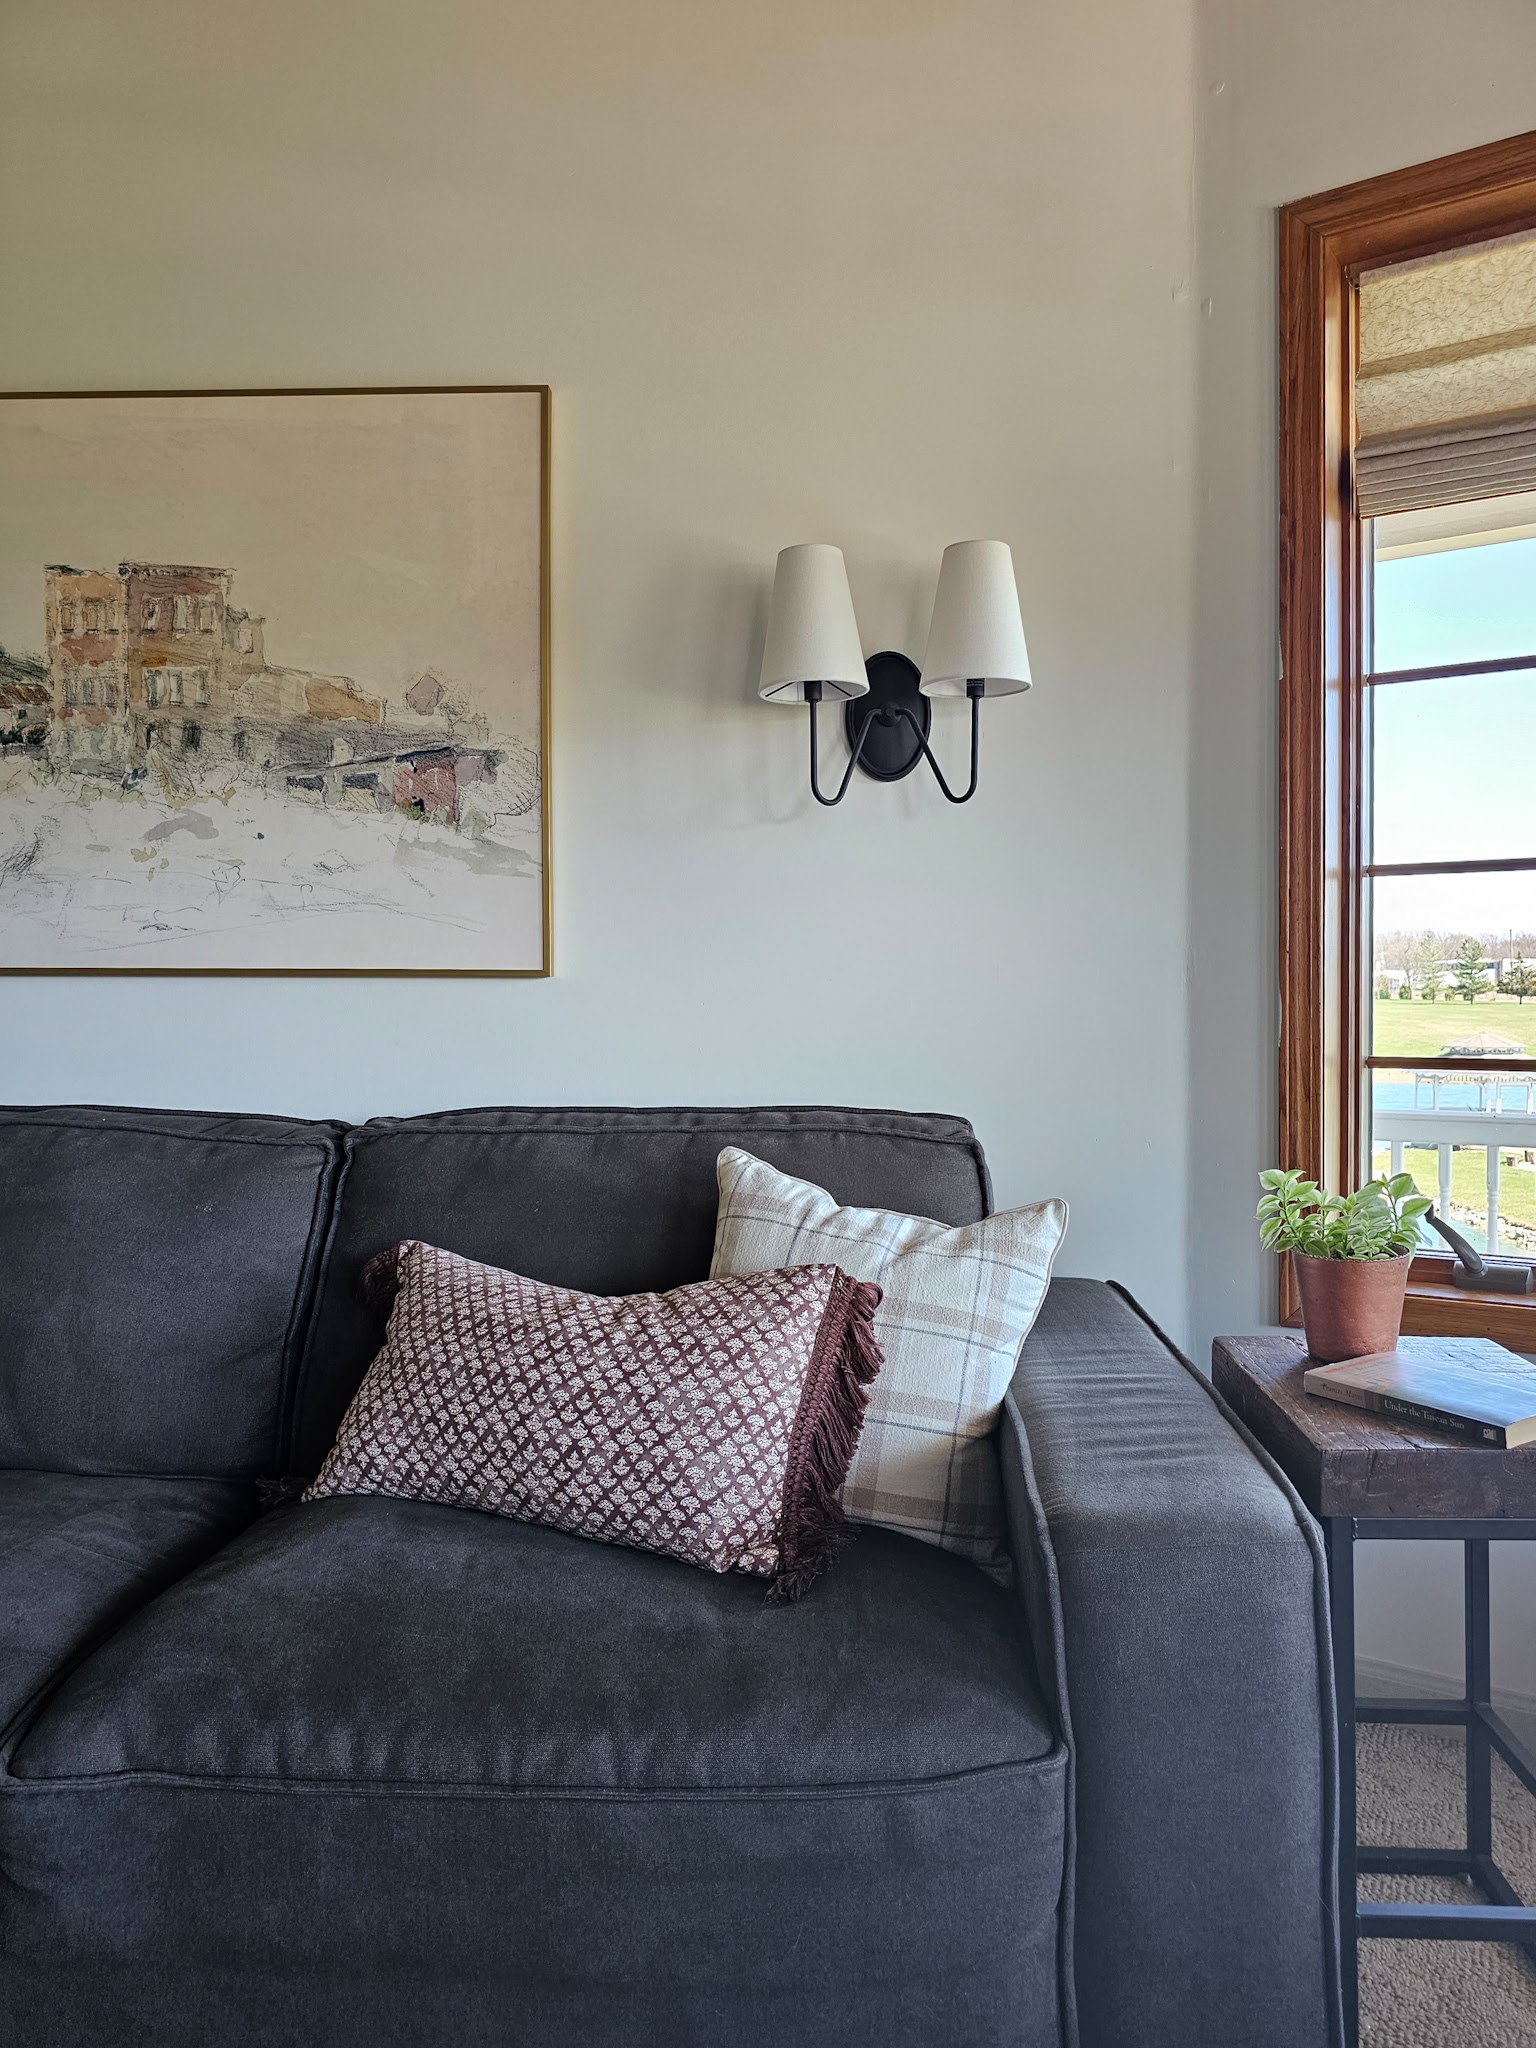
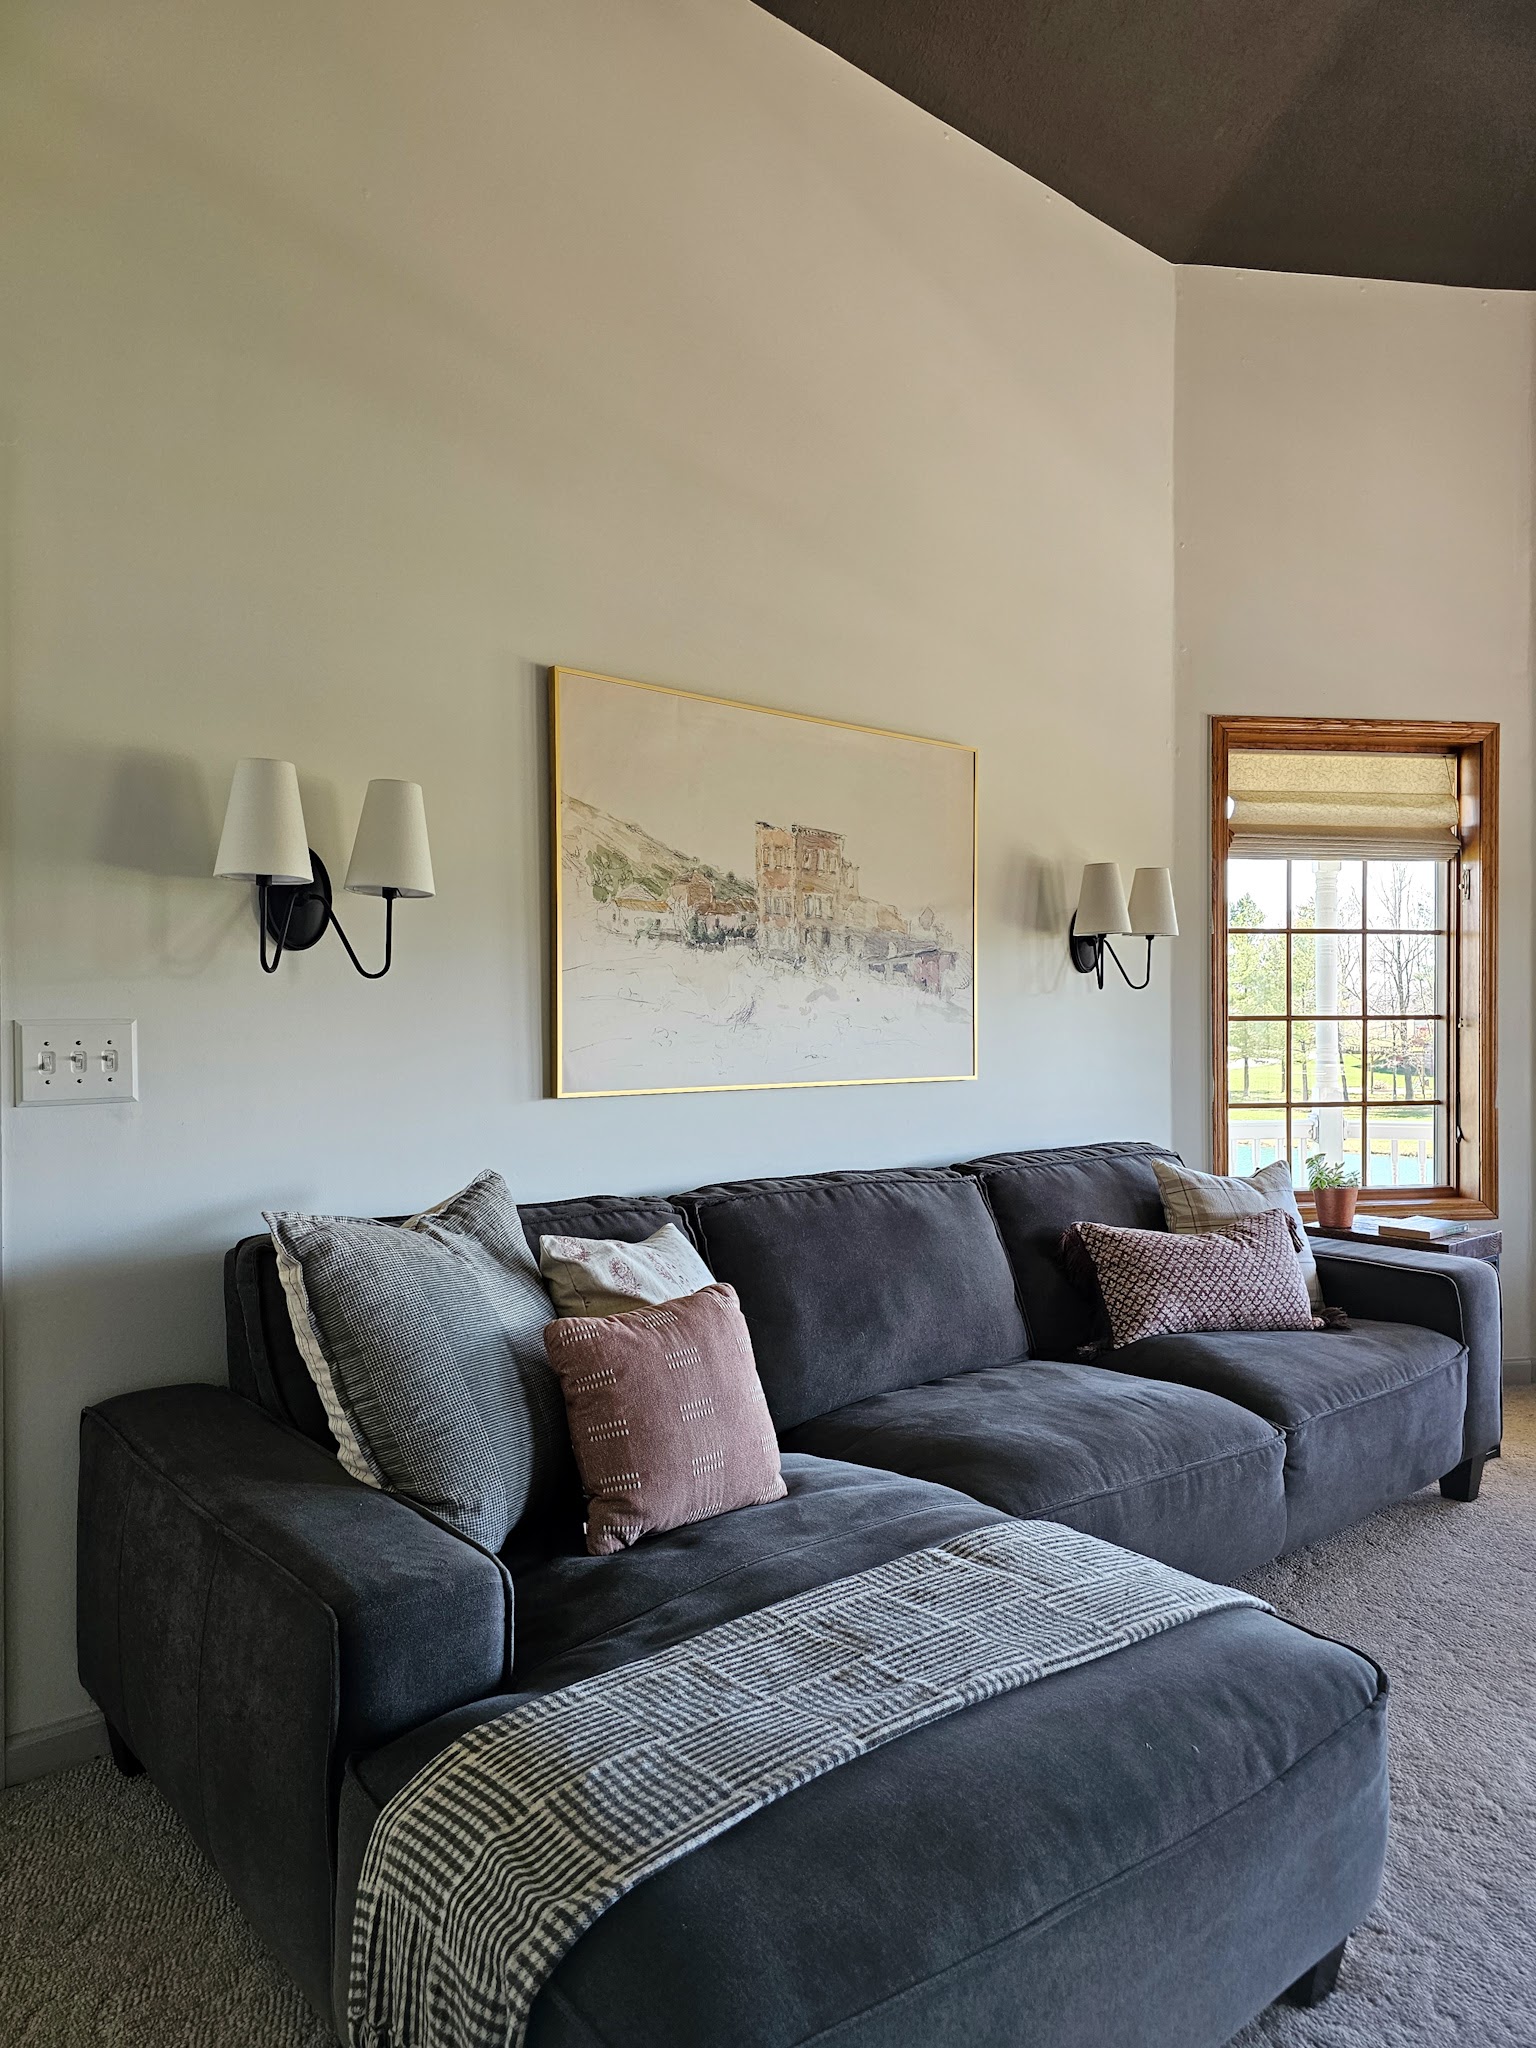
2 – Finish the living room. This is another space that has been a long time coming and I finally have the inspiration and motivation to finish it up!
3 – Start our biggest renovation to date. This has been years in the making. It’s multi-room. It’s a full gut job. We’re hiring out a lot of the work because of the scope of the job. It’s so exciting for Justin and I and is going to hugely improve functionality for our family. I’m keeping it a tiny bit secretive for now but a hint for long-time followers is it involves a couple rooms that I did surface-level updates to several years ago (one in the very early days of my DIY home projects) to tide us over until full renovations could occur. Plans are almost finalized and I can’t wait to share, but until then I’d love to hear your guesses 🙂