
There is a DIY that I’ve done at least 10 times in the past two years and am currently doing once again as I tackle our bedroom gallery wall. It’s one of those projects that is so quick, simple, and easy that it almost doesn’t even feel like a project: printing digital downloads to use as artwork.
When it comes to making changes in your home, everyone has to start somewhere. If you’re new to DIY, this is a very straightforward and simple DIY that is perfect for beginners!
The first step is pretty obvious: choose artwork! I shared in this post some of my favorite places to find artwork and one of them was digital downloads. While it varies a bit depending on where you buy the print, in most cases once you purchase the print, you receive an email with instructions for downloading. I especially like that Juniper Print Shop gives you a few different ratio options so you can use the one best suited for the size print that you want!

Once I download the file, I’m able to upload it to whatever site I’m using to print it off. I’ve used both FedEx printing for large prints (bonus: I can do local pick-up within one day!) and Mpix for prints both large and small and have been really happy with the quality of both services. For this particular batch of prints, I chose Mpix and had everything printed on their Giclee Deep Matte Photographic paper.

While I have my fair share of frames from places like Target and TJ Maxx, one of my favorite things to do is find frames at thrift stores and use them in gallery walls. I can usually find frames between $1-$3 and that price is just hard to beat!

Sometimes I like the original finish of a frame, but in most cases, I rely on spray paint to upgrade the frame a bit. I remove the glass and the back first; if the back is hinged, I will use painters tape to tape it off so I don’t get spray paint on the back (which can make it tacky and stick to whatever is in the frame).

I love using Rustoleum spray paint and my go-to colors are matte black and Satin Bronze. I make sure to be in a well-ventilated area for spraying, and I’ll give the frame multiple rounds of light coats, making sure to keep the can moving while spraying so paint doesn’t pool in any one area.
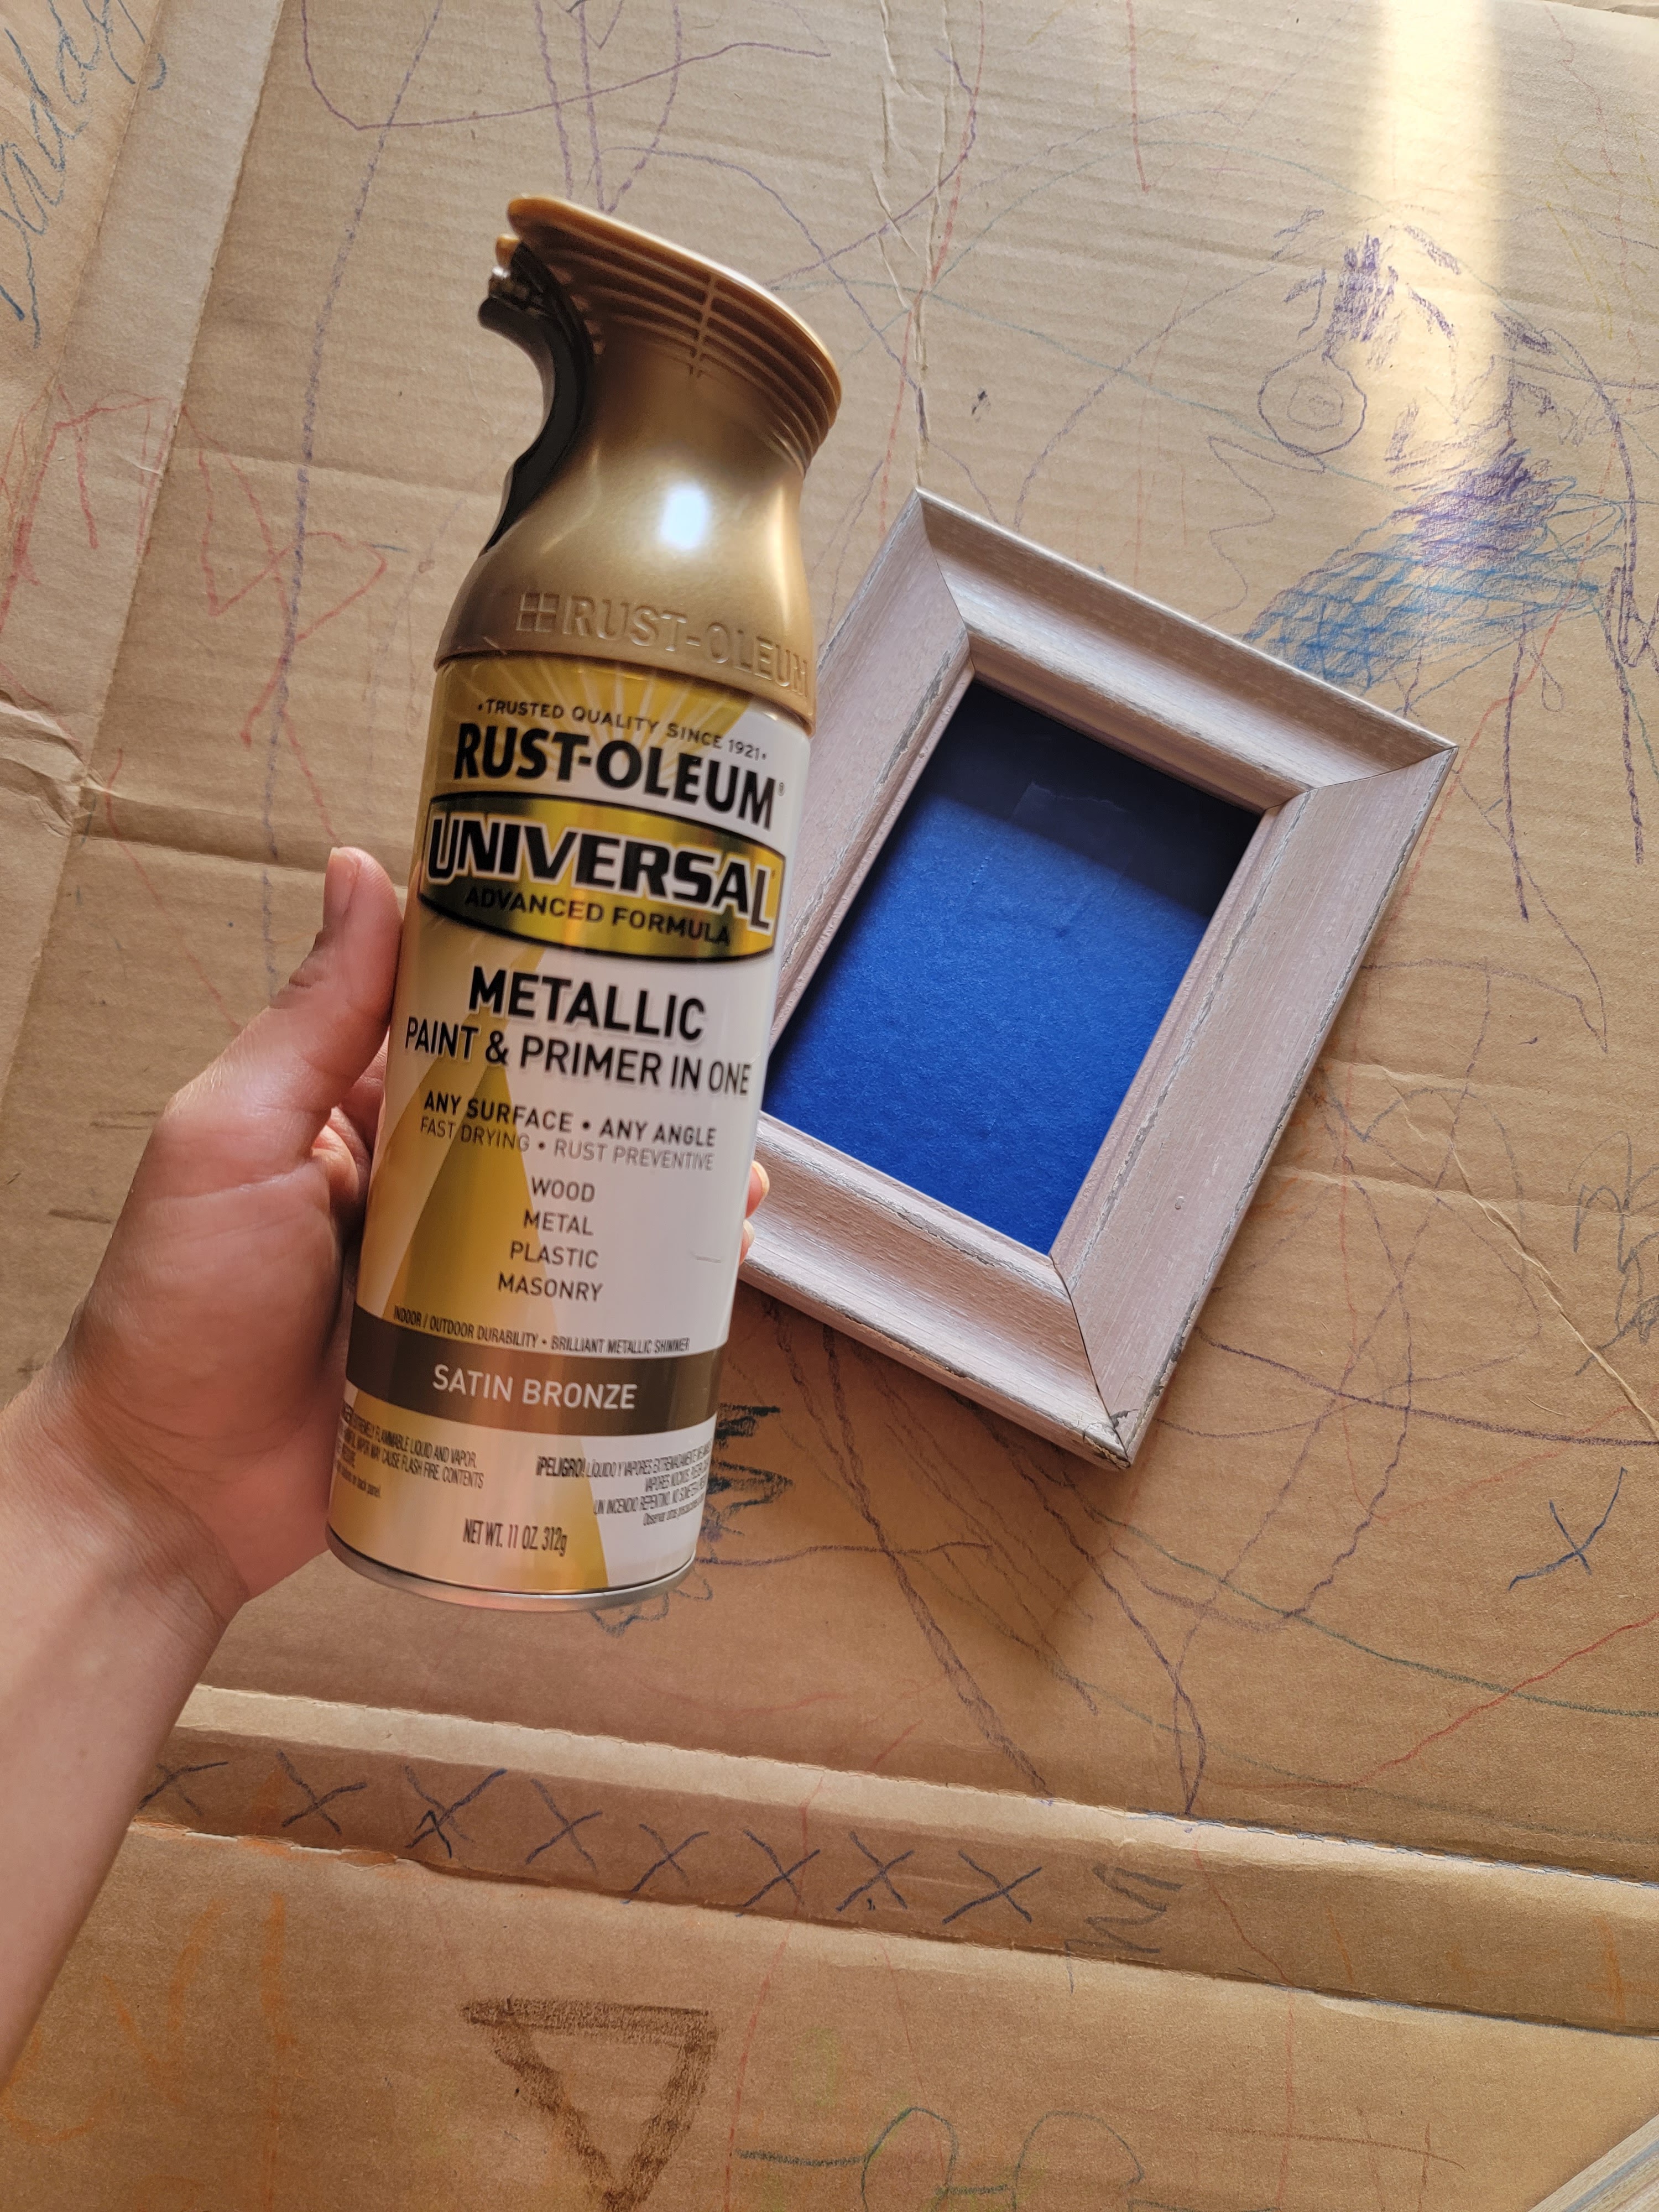
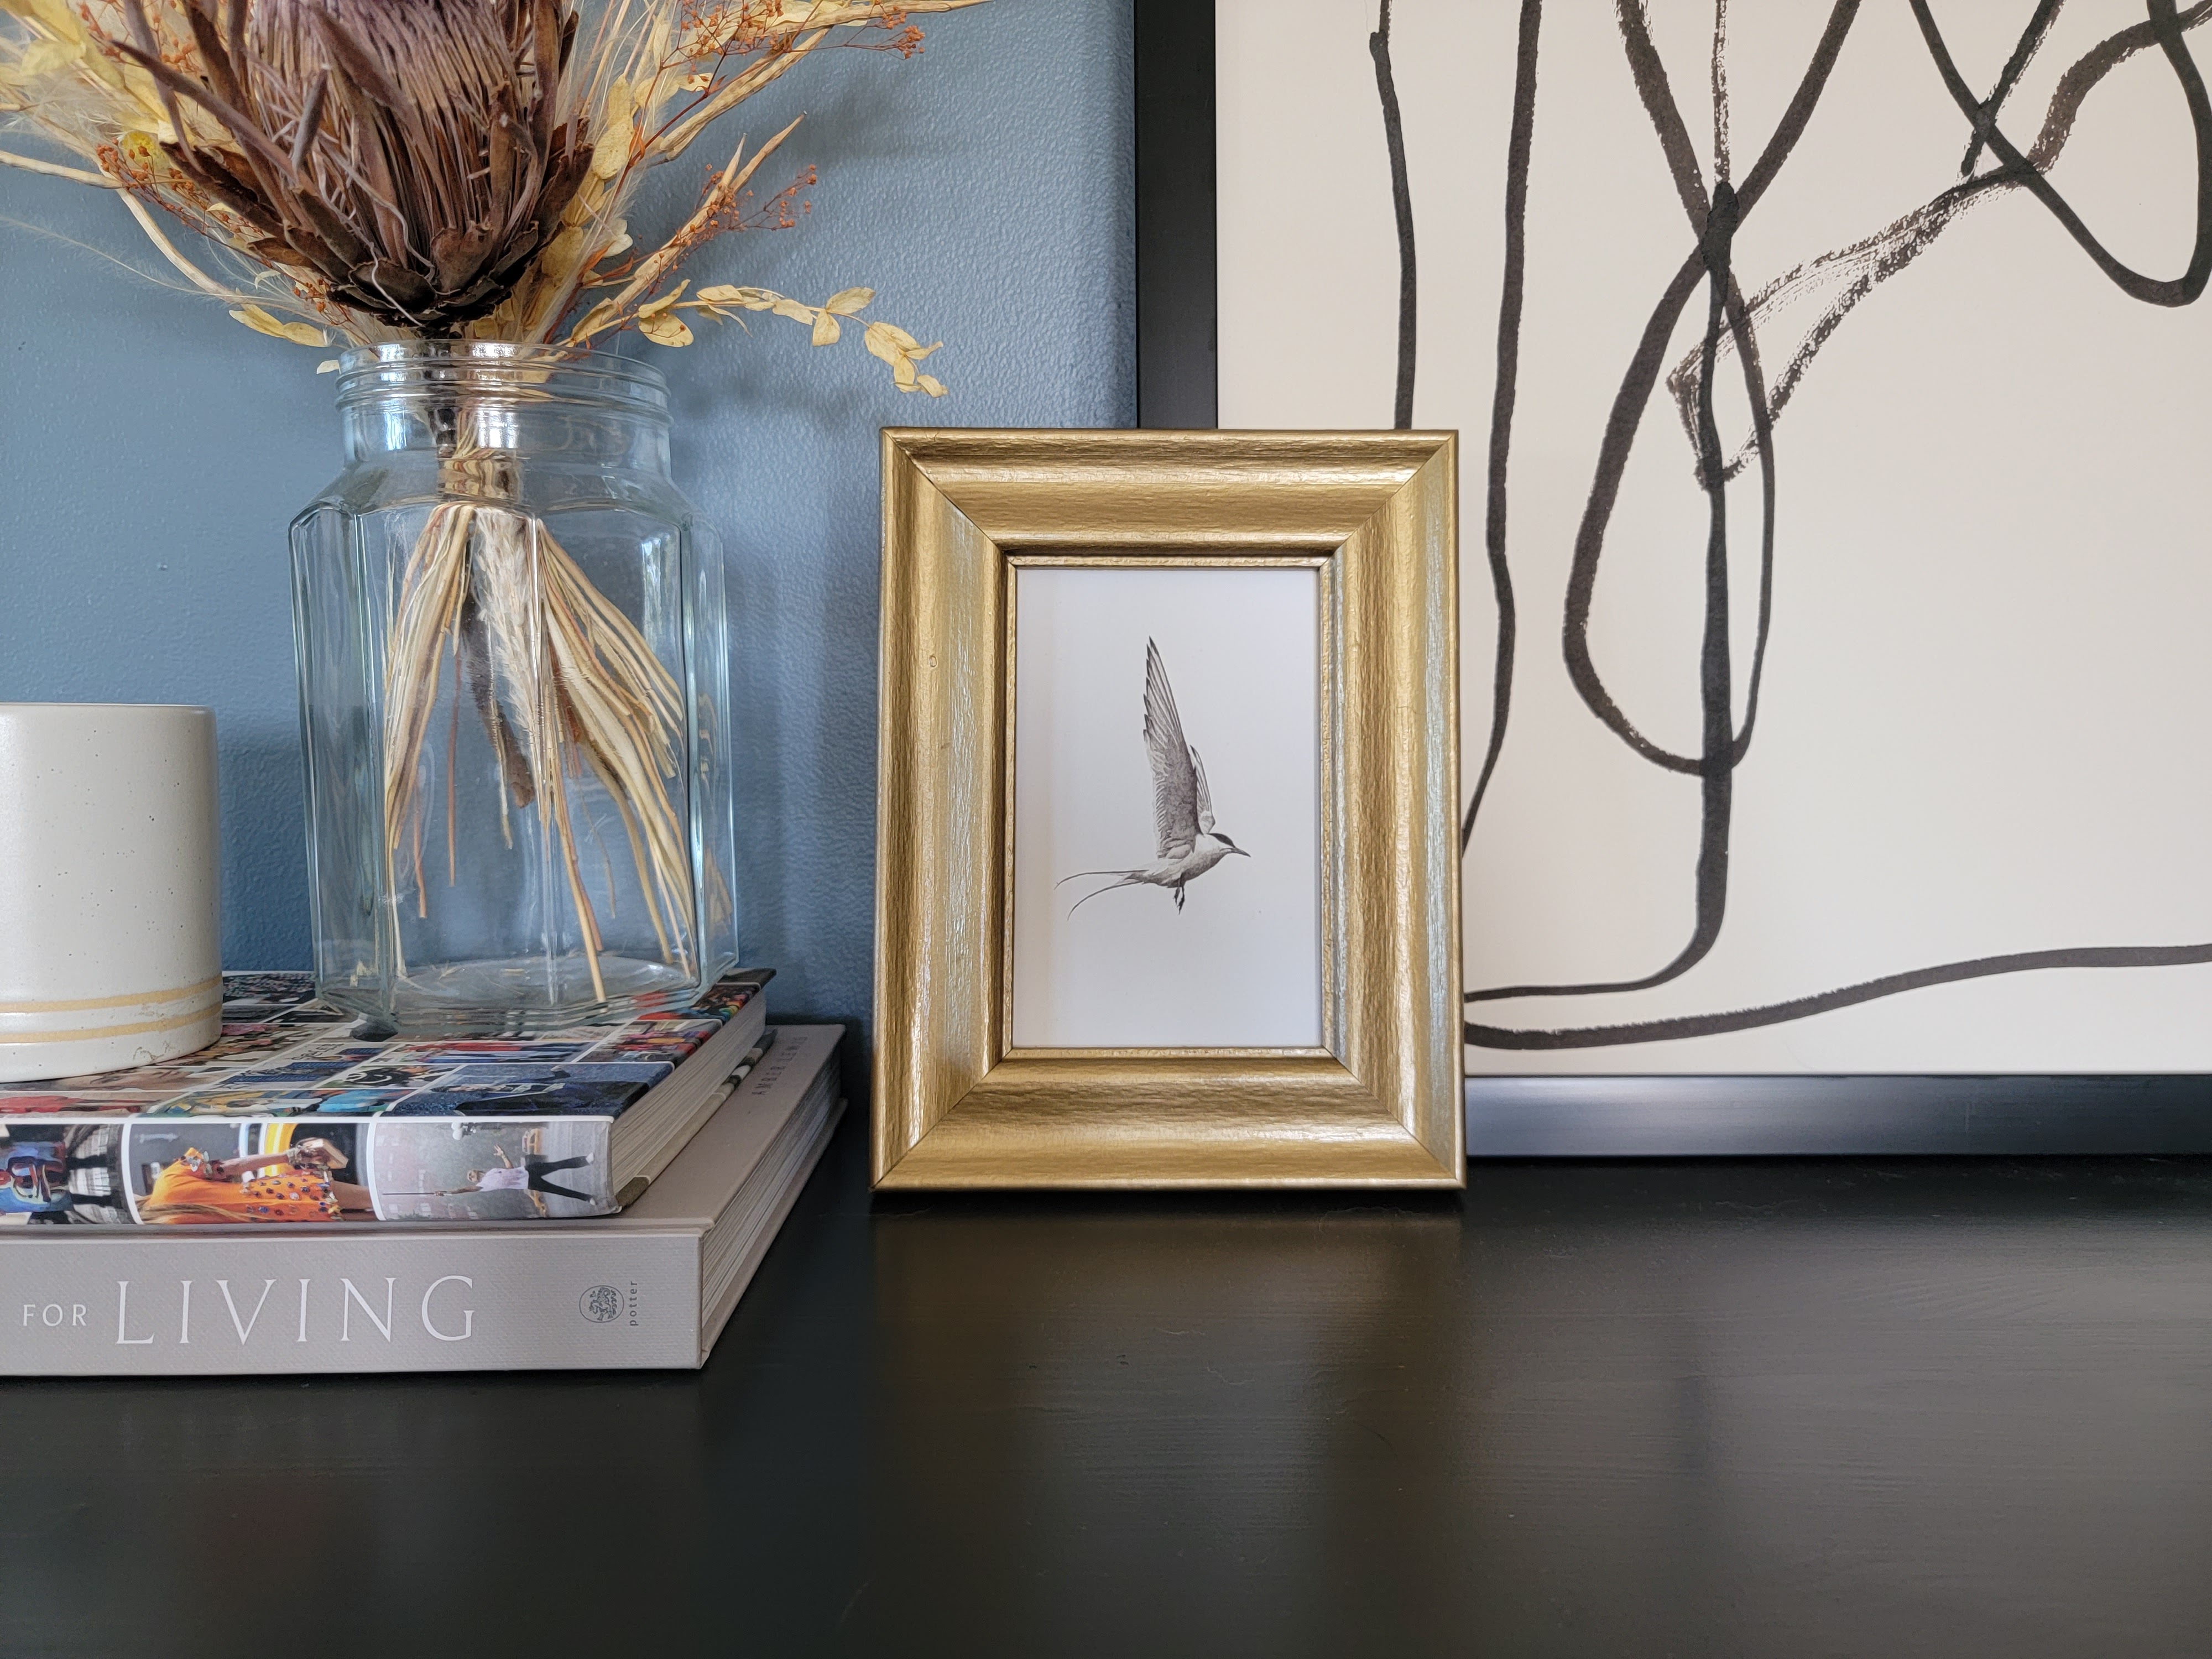
Once the frame finished drying, I can pop in the print. I usually choose to remove the glass from the frame so there’s not a glare on the print.

That’s it! How easy is that? It honestly takes less than an hour of active work start-to-finish and the cost is usually pretty comparable to piece of mass-produced artwork from a place like Target. My budget breakdown was:
Digital Download: $18 (I got a small discount!)
Mpix Printing: $0.89 for a 4×6
Thrift Store Frame: $3.99
I already had the spray paint and painters tape (they’re staples I always stay stocked up on for projects) so my total cost was around $23 for this print.

I love that this DIY allows me to fill my house with artwork that I really like in my choice of sizes, styles, and frames. While the prints aren’t originals or one-of-a-kind, they still feel personalized and unique and bring just the right touch finishing touch to whatever room I’m working on. If you’re looking for a way to elevate a space in your house, this is a great DIY to try!
