
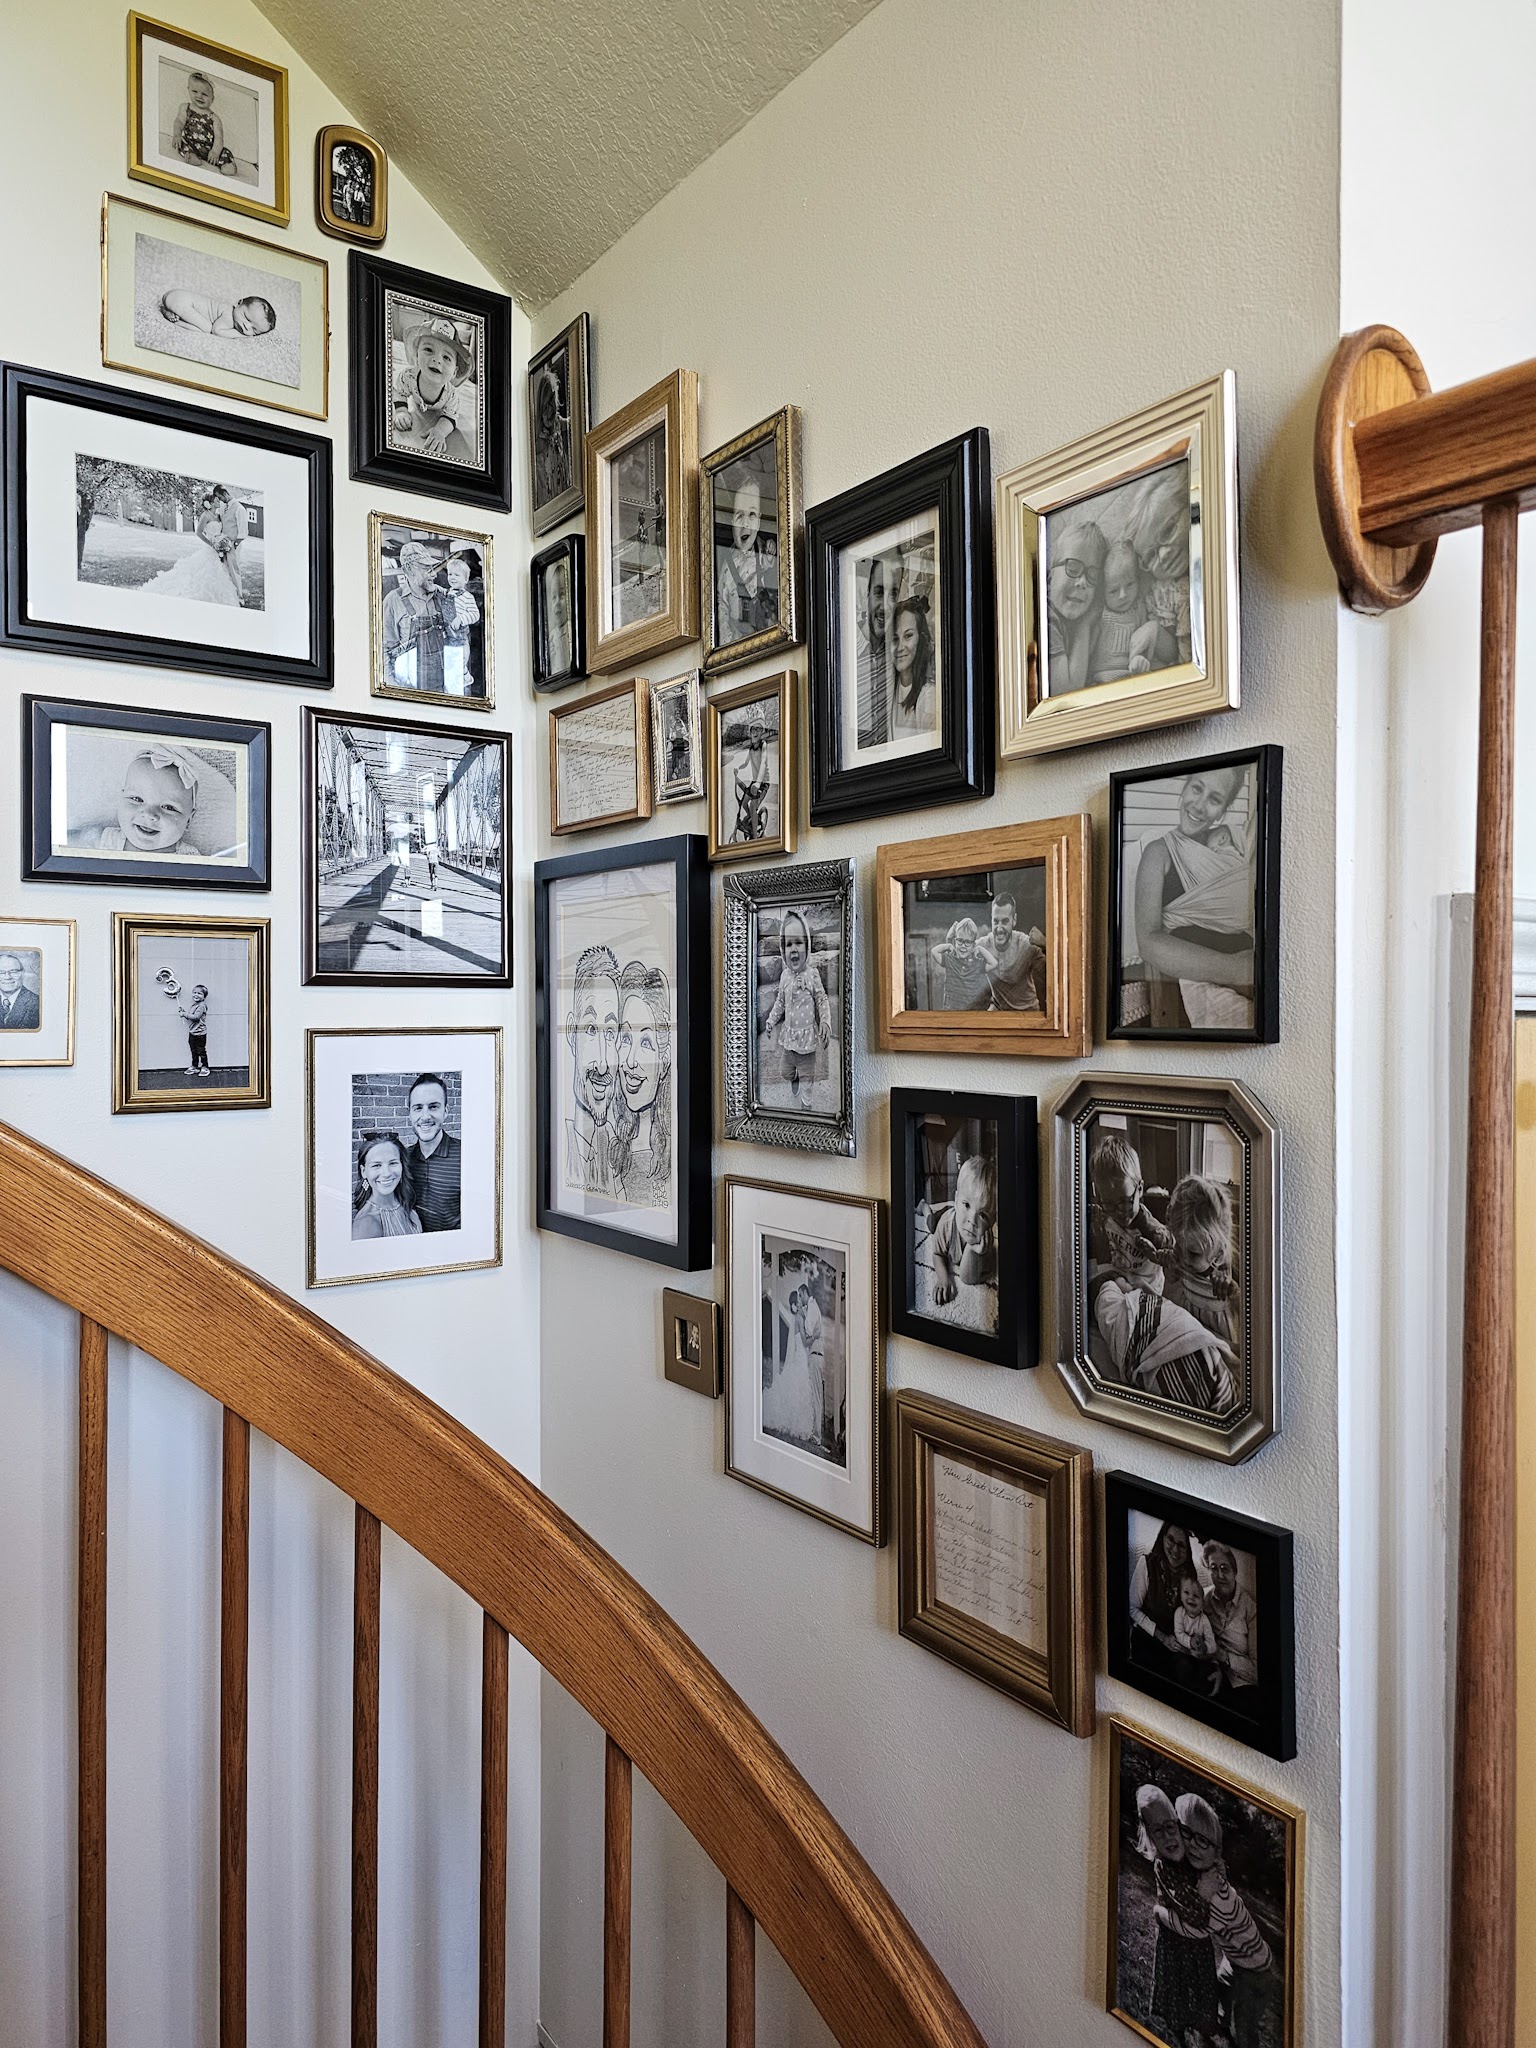
Back in 2021 I created a little gallery wall in the corner wall above our spiral staircase. It felt like the perfect place to do something a little unique so I curated a collection of mixed metal frames showcasing casual family memories. I always had the plan to update and add to the gallery as time went on and our family grew and this week I finally made the time to do it!

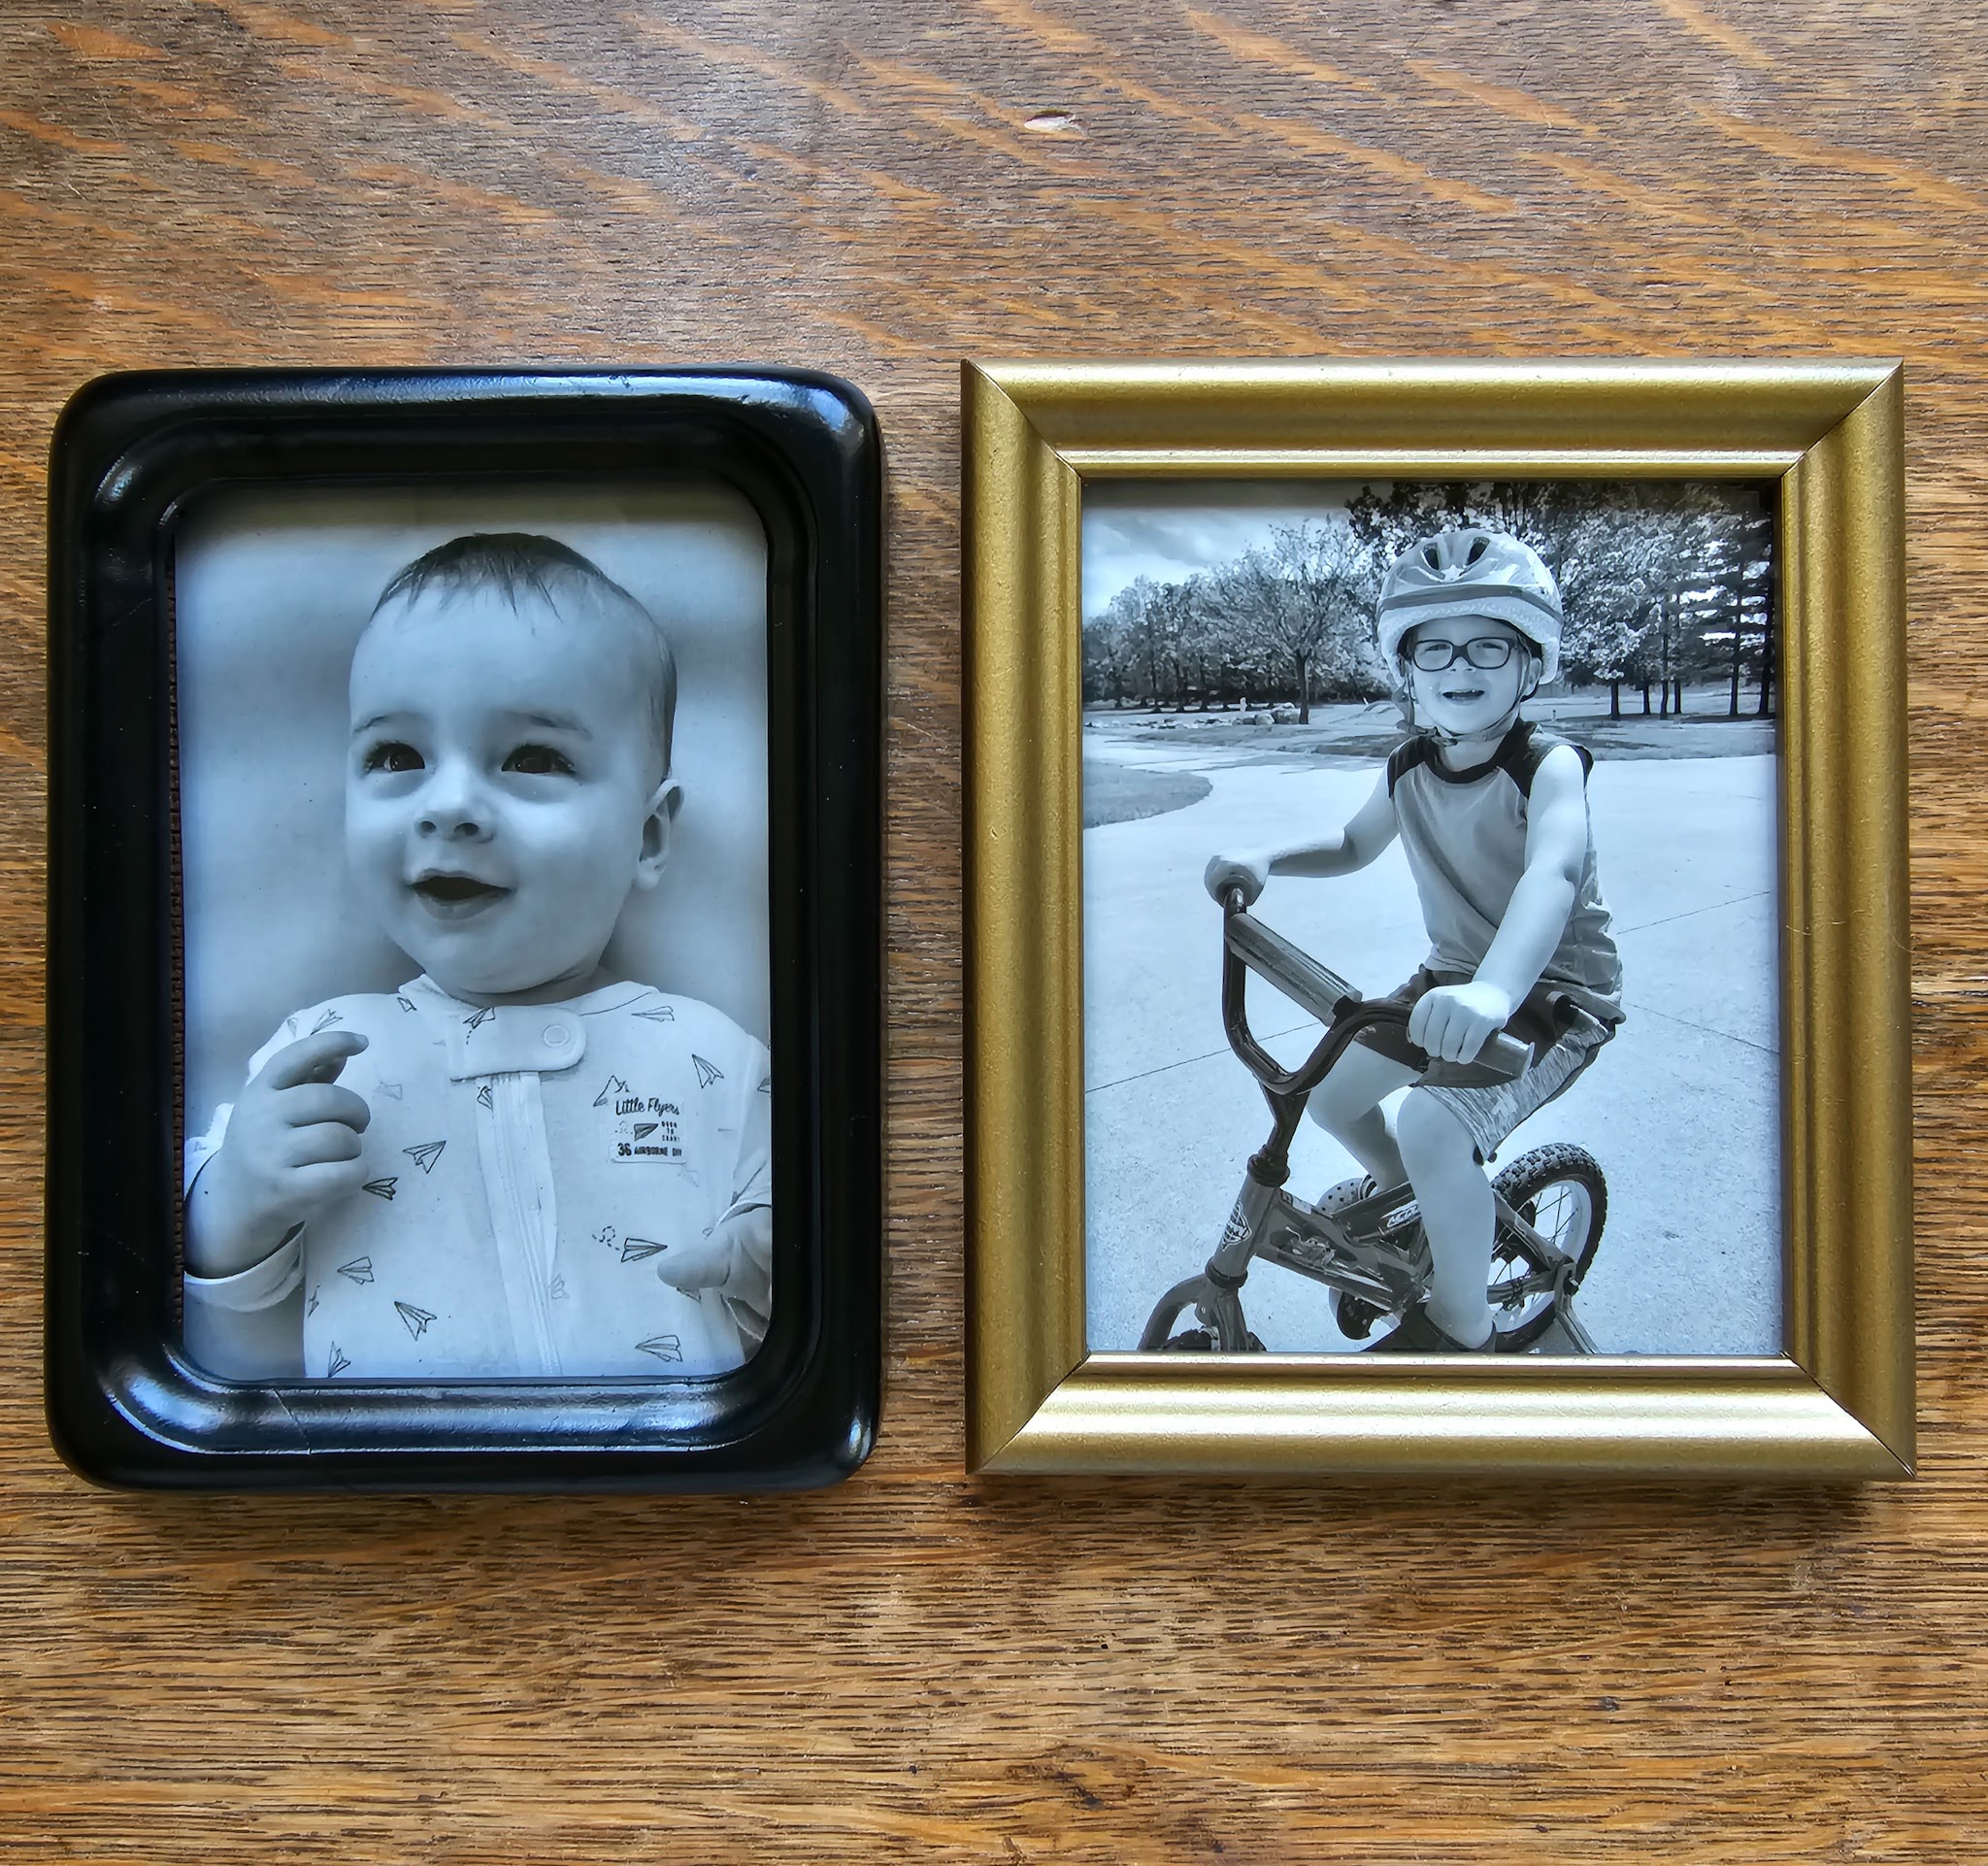
I love seeing different phases of our life reflected in this wall – we’ve got special mementos mixed with black and white photos of newborns and great-grandparents and every stage of life in between! I love seeing of a baby picture of LJ near another picture of him riding his bike as a 4 year old, and glimpsing special moments like the kids meeting Ollie for the first time or Vi exploring the beach with her cousin always has me reliving those sweet memories as I walk up and down these stairs.
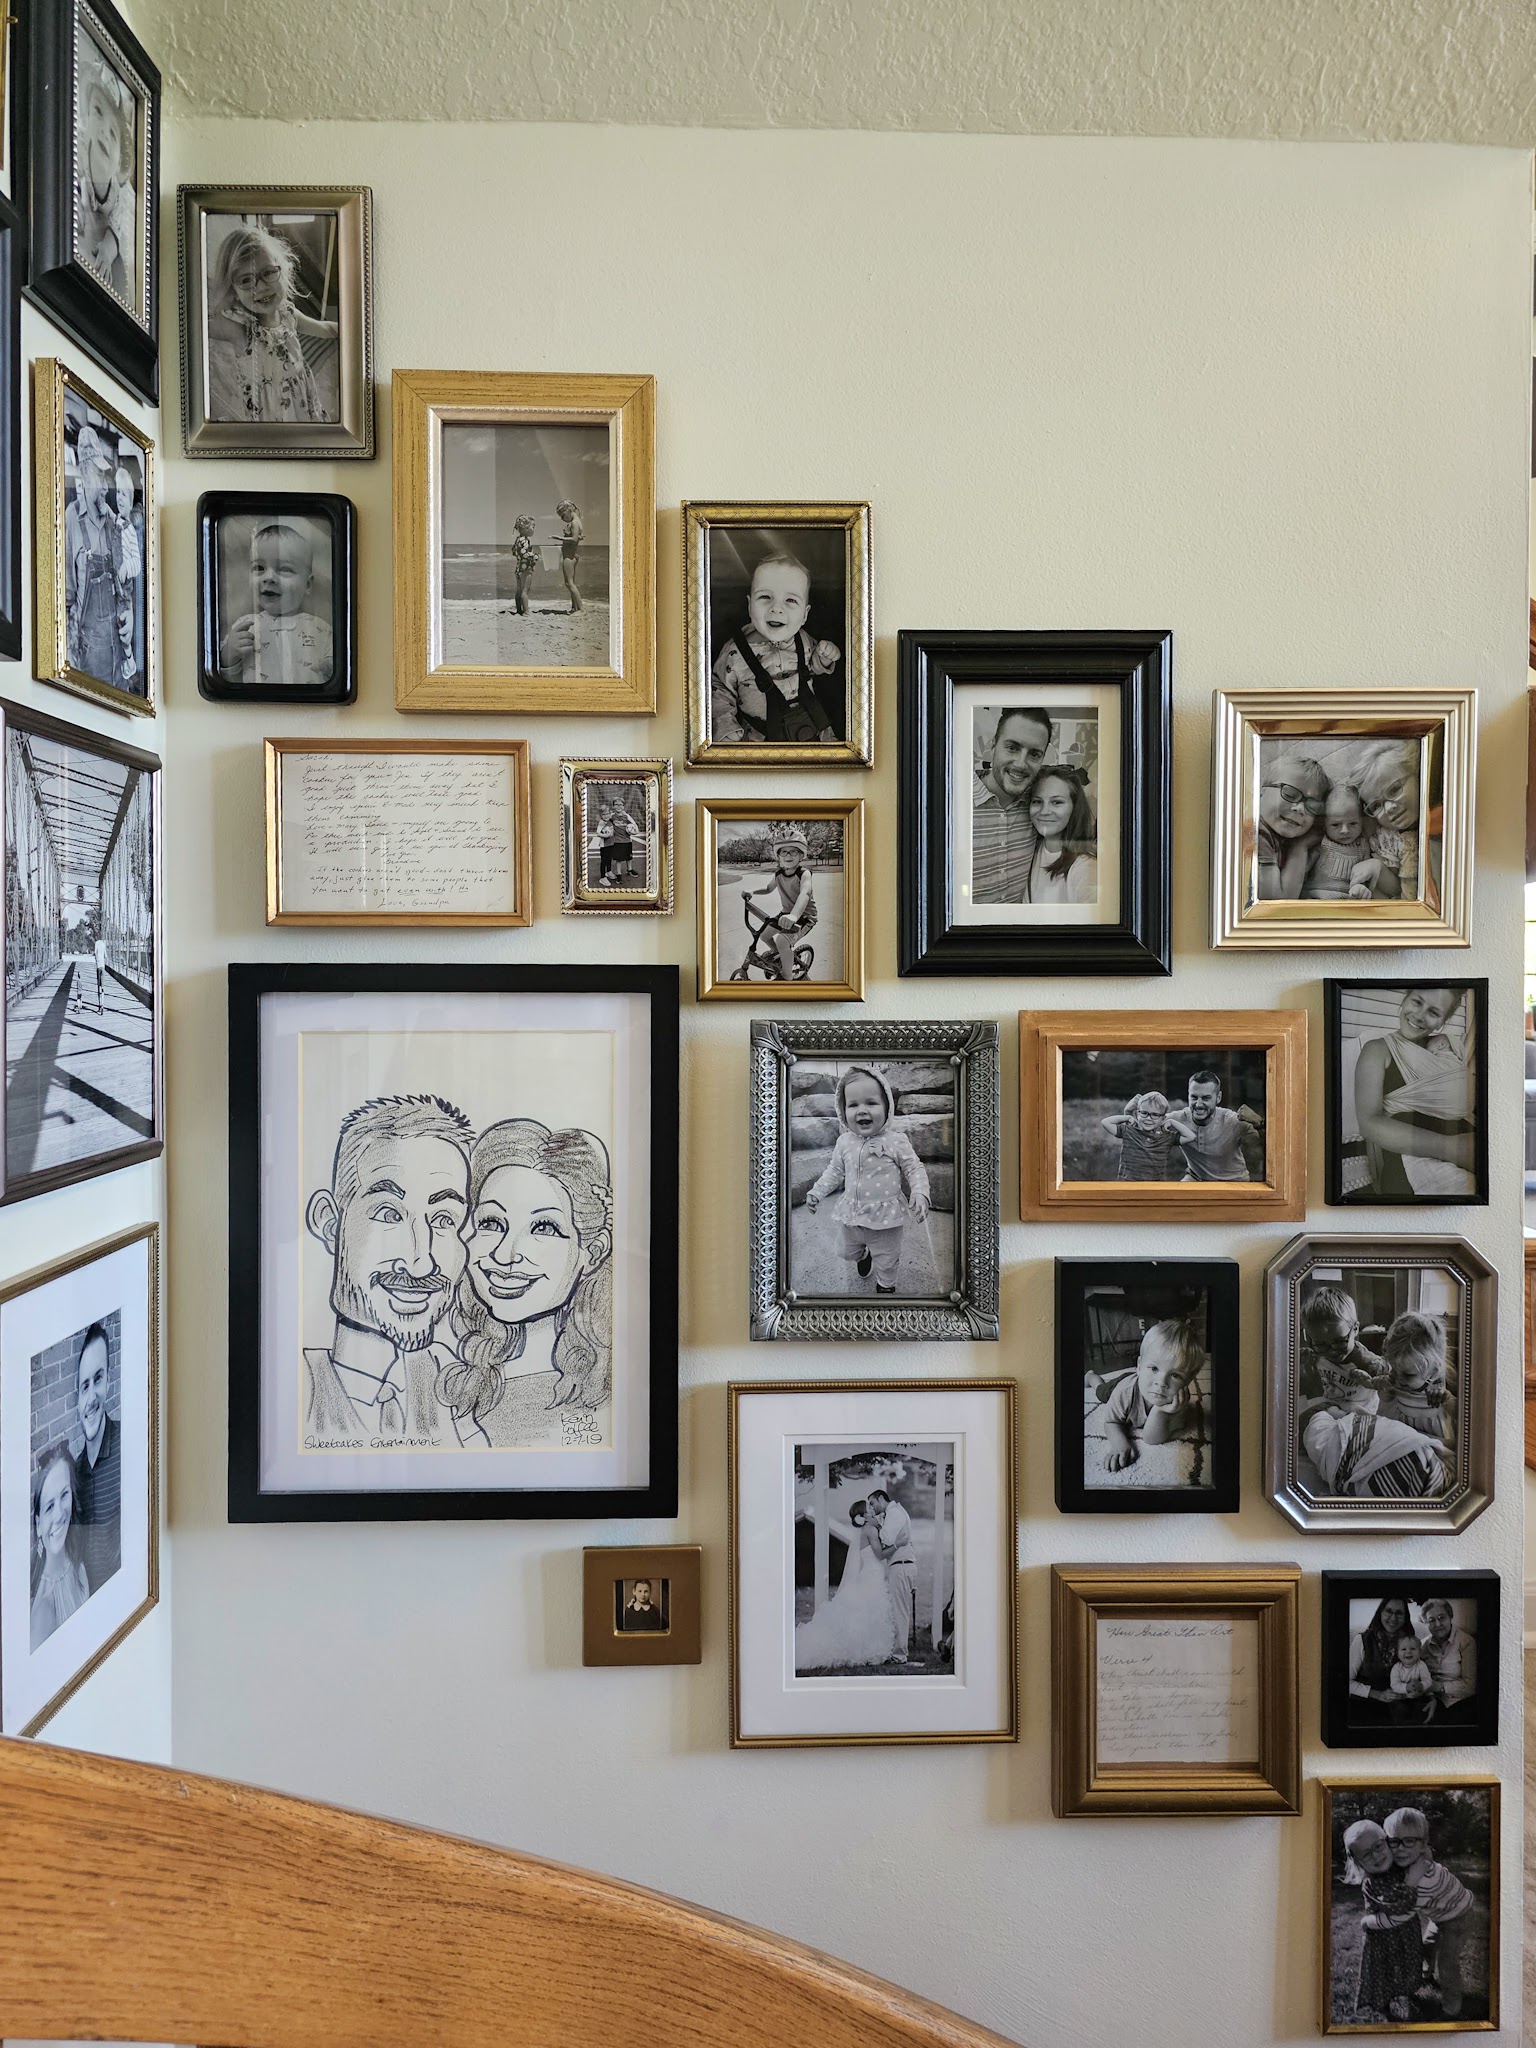
My favorite part of this update (aside from seeing more memories on our walls) is that every single frame I used in this update was thrifted – it gives such an eclectic, collected vibe to the wall!
It’s no secret around here that I love thrifting and finding secondhand items to use in my home. Thrifting is good for my wallet and good for the planet, plus it helps me find unique items for my home. Win, win, win!
Of all the things I enjoy hunting for, thrifted frames are up there at the top of the list. I have thrifted dozens of frames over the years and love using them throughout my home. The other day, I thrifted 22 new frames in one shopping trip – the cashier was definitely curious at checkout, ha! But 22 frames for $28 total was an absolute no-brainer in my mind. As I sifted through options at the thrift store, I was elated to find so many unique small frames. I knew they’d be perfect for this project!

I love mixing metals so I’m always on the hunt for good metal frames that I can use as is, but in many cases, the frames are the size or shape I want, but not a color that works for the space. As long as the frame is solid quality, I still buy it knowing I have some options for making it work.
Today I thought I’d share the techniques I use for upgrading thrift store frames, both for this gallery wall project and other spaces in my home. When I shop with these ideas in mind, it really opens up the amount of possibilities for frames that might otherwise get passed over in the thrift store.
Spray Paint

My tried and true option is spray paint. A couple coats can completely change the look! The key is to keep the coats light so the paint doesn’t run or bubble up – a nice smooth finish will really elevate the frame. My go-to spray paints are this black one and this gold one.
Latex Paint

Occasionally I want a colorful frame and for that I turn to latex paint. I could buy colorful spray paint, but I have so many little sample jars of paint from various projects in the past that I like to use what I already have on hand. I recently snagged a couple jars from my stash to paint two wooden frames for our playroom wall and painted them Chatroom and Homberg Gray, both Sherwin Williams. I have found that it’s easiest to stick to simple frames (no ornate designs) and use a small angled brush to paint multiple thin coats.
Rub n Buff


I’ve struggled with Rub n Buff in the past and was on the verge of giving up on it, but I recently received some advice on how to apply it better. Now that I’m getting the hang of it, I’m liking it more and more! Rub n Buff can be used on a variety of surfaces but I think it works best on wood and metal. To apply, make sure you’re wearing gloves and dab just a tiny amount onto your finger. Lightly rub it all over the surface of your object, then use a clean soft cloth and buff the surface in small circular motions.
Sand + Stain


This option is the most labor-intensive of my options, but sometimes I want a wooden frame to retain the wood look. So many wood frames in thrift stores have an orangey colored stain that feels very 90s, but if the frame is a fairly simple design, an option is to sand it down and re-stain it a desirable color. For this frame in the kids room, I sanded off the old stain and just gave it a coat of polyurethane to keep a lighter wood look. If I wanted a darker look, I could have used a dark colored stain or even a gel stain. I only recently used gel stain for the first time (on my kids’ bedroom dresser) but I was instantly a fan so I might try that out on a frame in the future.
Next time you see an, ehem, ugly frame for sale at a yard sale or secondhand store, I hope this inspires you to not just pass over it but to think if there’s a way to make it work for your space! It might just be a perfect option 🙂

One thought on “Upgrading Our Spiral Staircase Wall with Thrifted Frames”