
About six weeks or so ago, Justin and I completed a DIY Lego table for our kids. It has been a big hit with our children, particularly LJ, and has already gotten a ton of use. I knew when we completed the table that I needed to also address the storage for all the excess Legos and the past six weeks have made that even more evident. I finally took some time yesterday afternoon to organize our stash and I can’t believe the huge difference it made!

We had been working with a hodgepodge of storage bins: bright blue divided bins from when Justin was a kid, random clear bins from around our house, and white narrow bins I originally bought for the Legos. I totally blanked on taking a before picture, but I took a video of my organizing process and grabbed this screenshot from the beginning to give you an idea of the chaotic storage situation.

It took me a long time to find bins that would work for my purposes. I wanted lidded, stackable bins that were somewhat cute since they will always be out and visible. Size-wise, I didn’t want them to be too tall, since we don’t want a deep pile of Legos inside, but they needed to be tall enough to fit some type of divider. I also did NOT want them to be clear, which ended up being the hardest requirement! A lot of bins fit all my other parameters but were clear; I specifically did not want clear because when the Legos are put away, I want them to be somewhat discreet. The whole purpose of the Lego table was to corral Lego creations and keep tiny pieces up off the floor, away from little ones. By having opaque bins, I figured they’d be less enticing for curious little hands. Whenever babies or toddlers are in the basement, there is always adult supervision but I figured any extra help to keep them uninterested in the Lego space is going to be beneficial.
I thought I had hit the jackpot with these cute white bins, but I didn’t factor in the inset lids and bottoms – these plastic dividers fit inside but were slightly too tall to allow the bins to stack with the inset. I kept searching and finally landed on these Ikea bins – they were a little taller than I would have liked but they fit all other requirements so I decided to go for it. I chose the Kuggis in 10.25″ x 13.75″ x 6″ size.

I wanted adjustable dividers to customize sections based on the amount of Legos in that category. These plastic dividers were perfect! The length fit perfectly inside the Ikea bin; to adjust the size to fit the width of the bin, I just bent the divider back and forth at whatever length I needed. Sometimes it broke just with bending, other times the bend helped weaken the plastic and I could cut it with a scissors easily. I also used the scissors to trim off any sharp edge of plastic to keep edges smooth and safe for the kids.

I have no grand illusions of this staying perfectly organized, so I didn’t stress out too much over categories. I just tried to divide things in a general way that would make pieces easier to find. LJ’s exact words were “Mom, this looks so much better!”

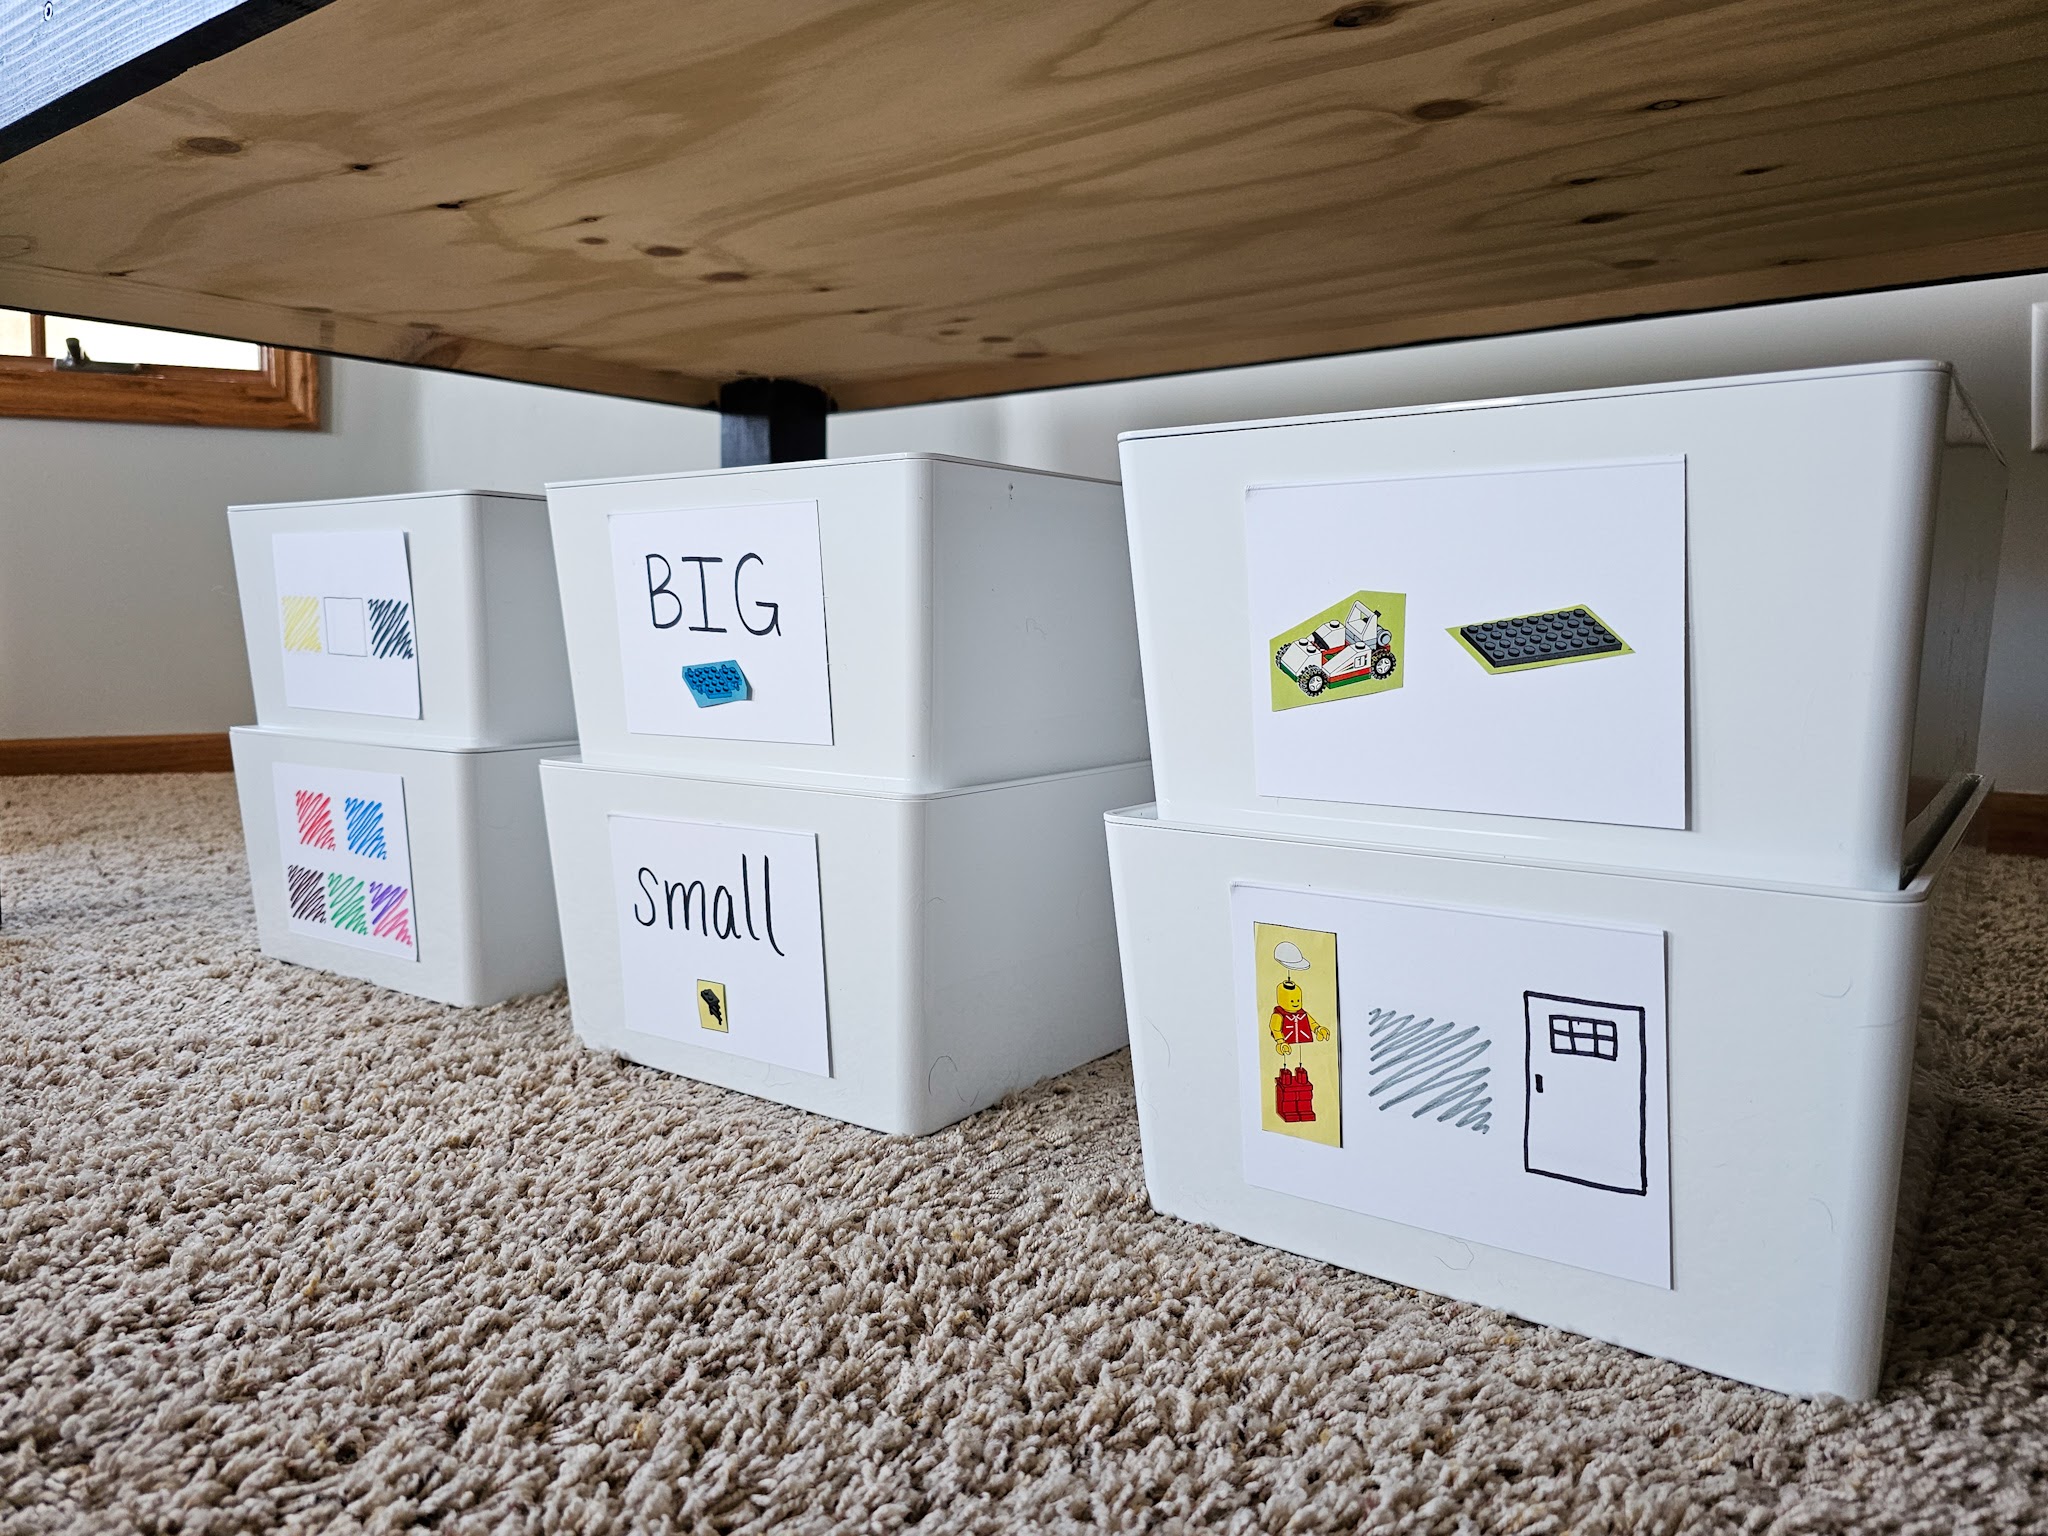
My kids can’t read yet so I kept bin labels simple. I used cardstock, markers, and a few cutouts from an old Lego instruction book to remind them what was in each bin.


LJ could tell right away what each picture meant, so mission accomplished! Justin and I did decide on two catch-all bins of all the “weird” pieces that don’t really fit any category and we divided them into a big piece bin and a small piece bin; the former teacher in me loves the chance for them to start to recognize those simple words as they play!
I’m super happy with the result of this quick organization. It was such an easy way to *ahem* . . . simplify the chaos. 😉 And honestly, even if the divided categories don’t end up lasting and all the Legos end up in piles in the bins, I’m satisfied knowing the storage bins will continue to hold up and keep things discreetly contained for years to come.
