
I’ve been working on some smaller projects around the house lately, one of which was finally getting some art up on the main floor walls. Once everything had a fresh coat of paint (Sherwin Williams Alabaster), it was time to add some personality back in! There were two areas that I wanted to include artwork in the form of gallery walls. One was a wall in between the living room and kitchen, and the other was actually two walls that frame our spiral staircase into the basement.

Sometimes when I group frames together, I want them to be the same size, color, or material; however, for both of these spaces I wanted a more collected look since I would be using a mixture of new and old photos. I picked up large frames, small frames, frames in non-standard sizes, gold frames, silver frames, wooden frames – anything that was in good condition and a size and shape I liked. I chose to thrift instead of buy new because it would not only give me more of the unique, collected look I was going for, but also cost a fraction of the price of new frames. Most of the frames I bought fell somewhere between 50 cents to three dollars a piece. Here’s one thrift store haul where I got all these frames for $16 total.
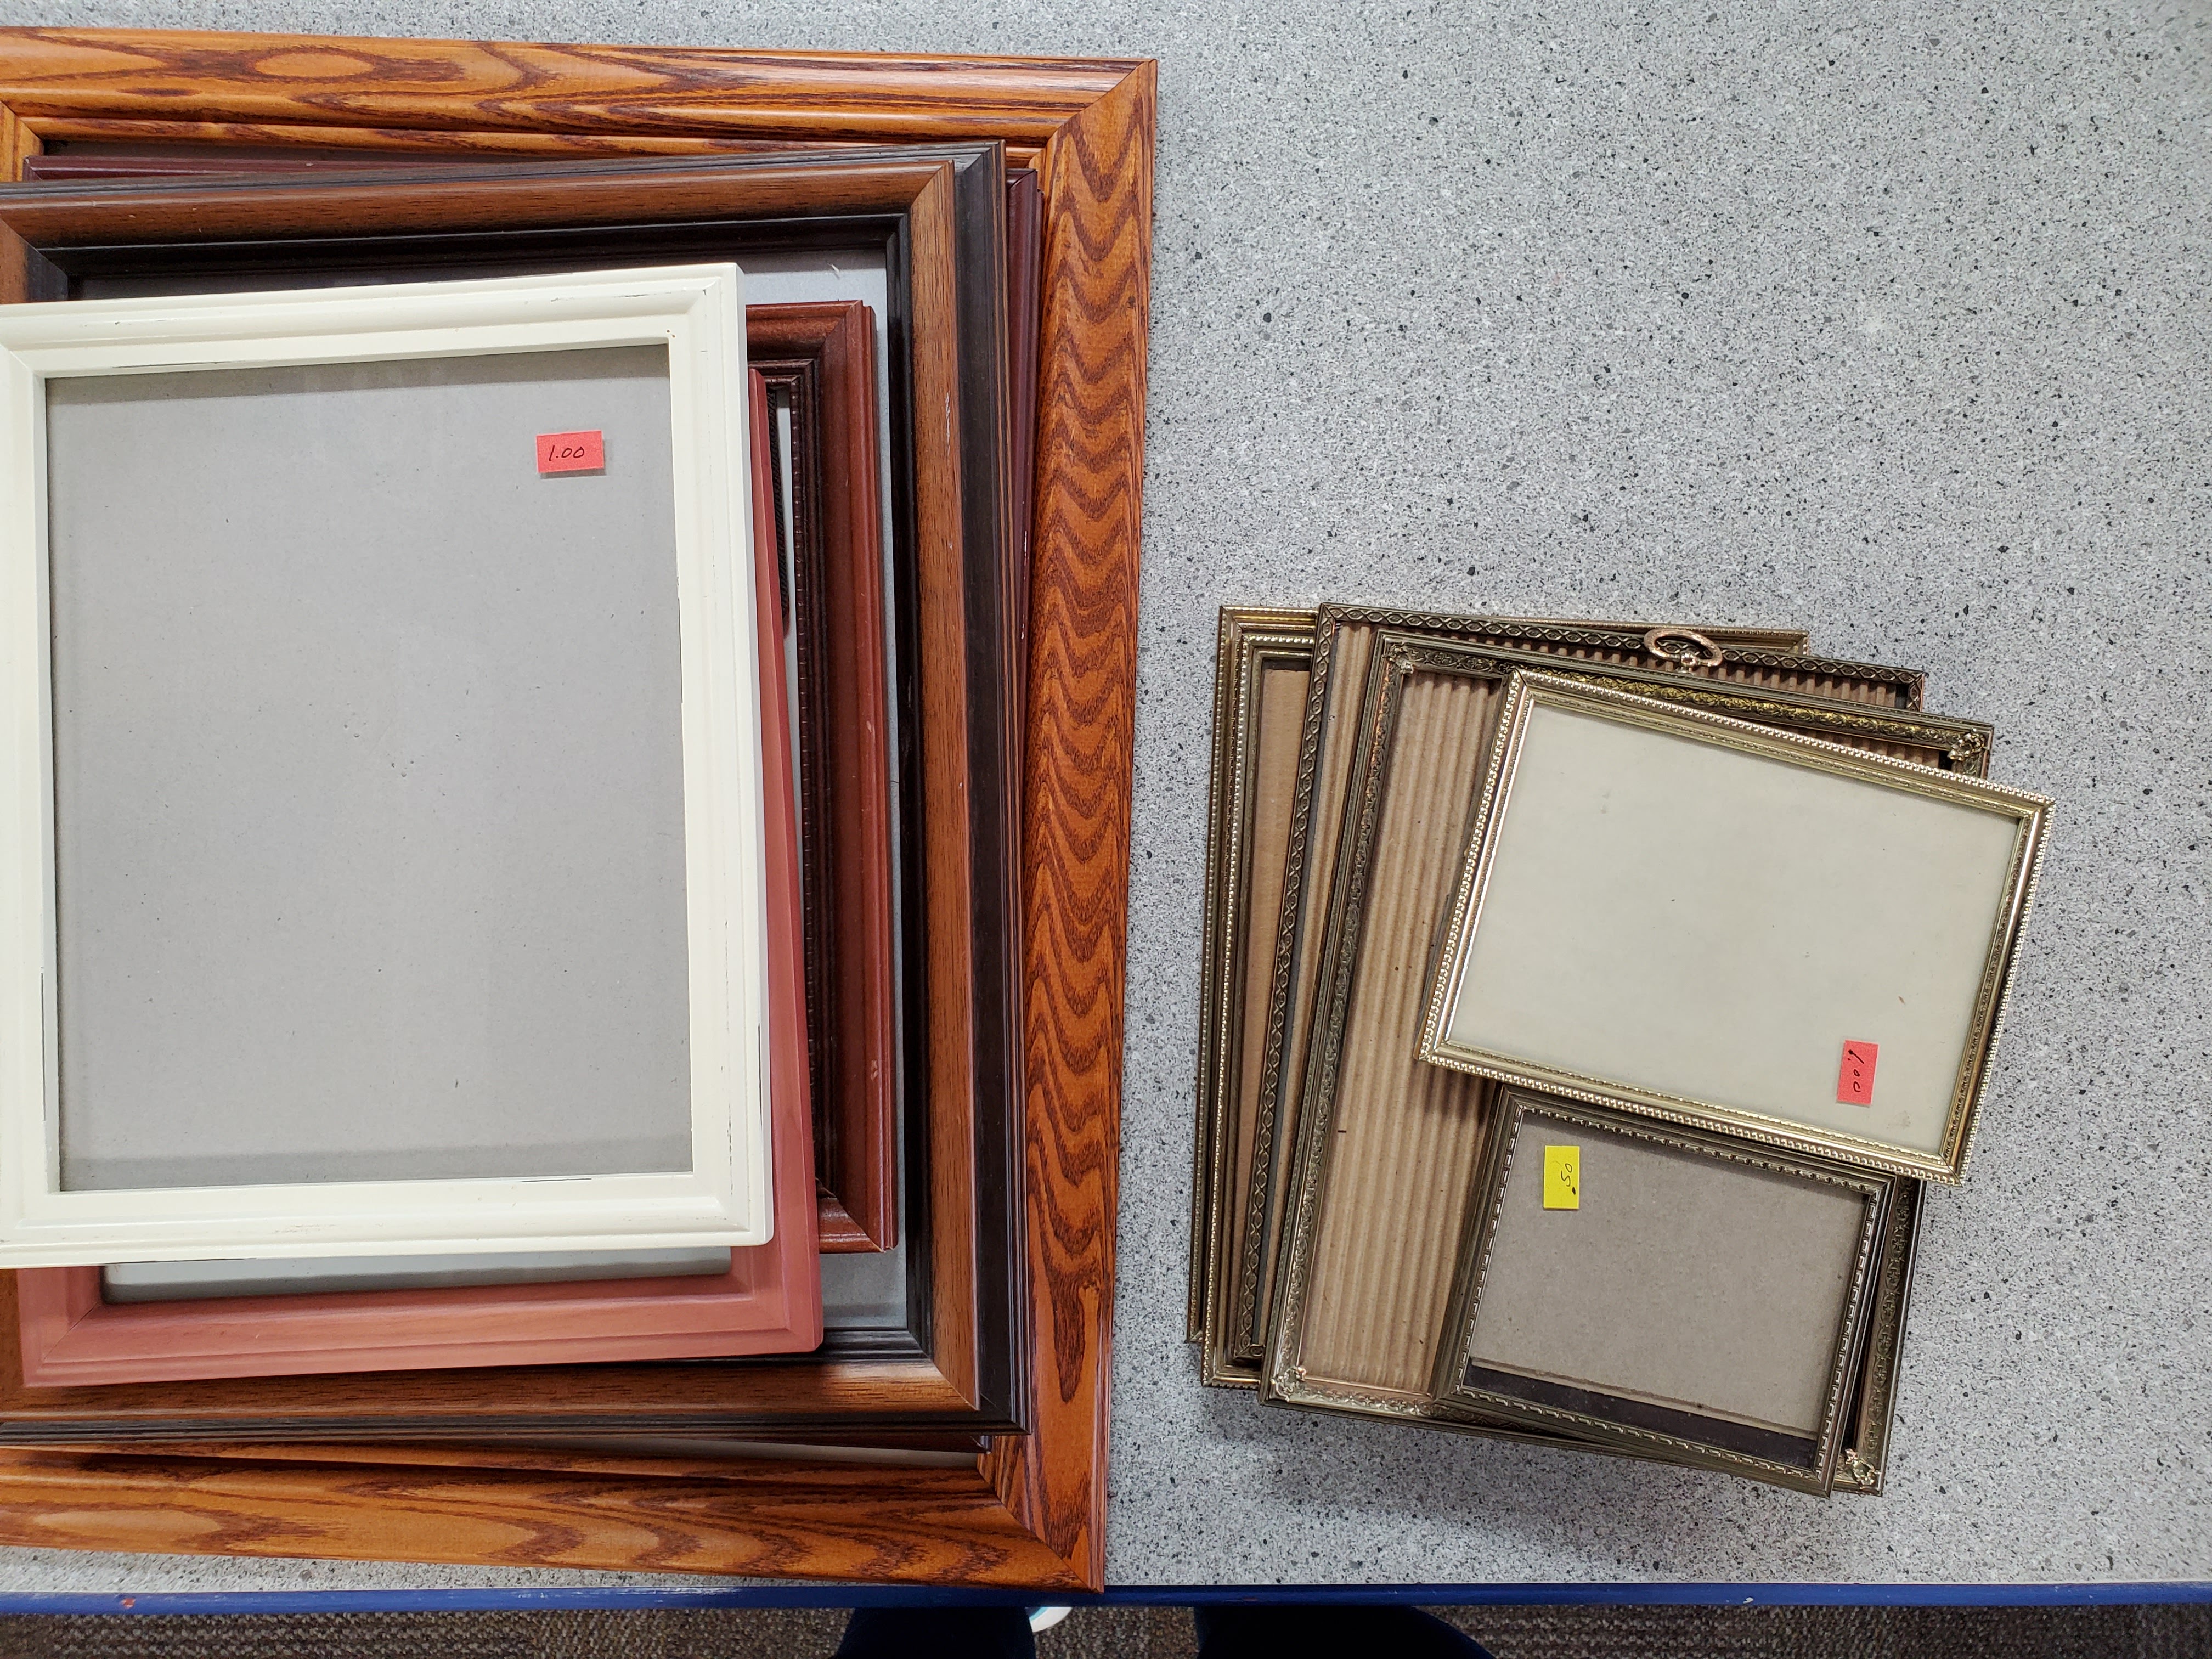
To give you context, the one single frame I had to buy brand new (for the unusually sized caricature picture) was $25! Thrifting is the way to go!
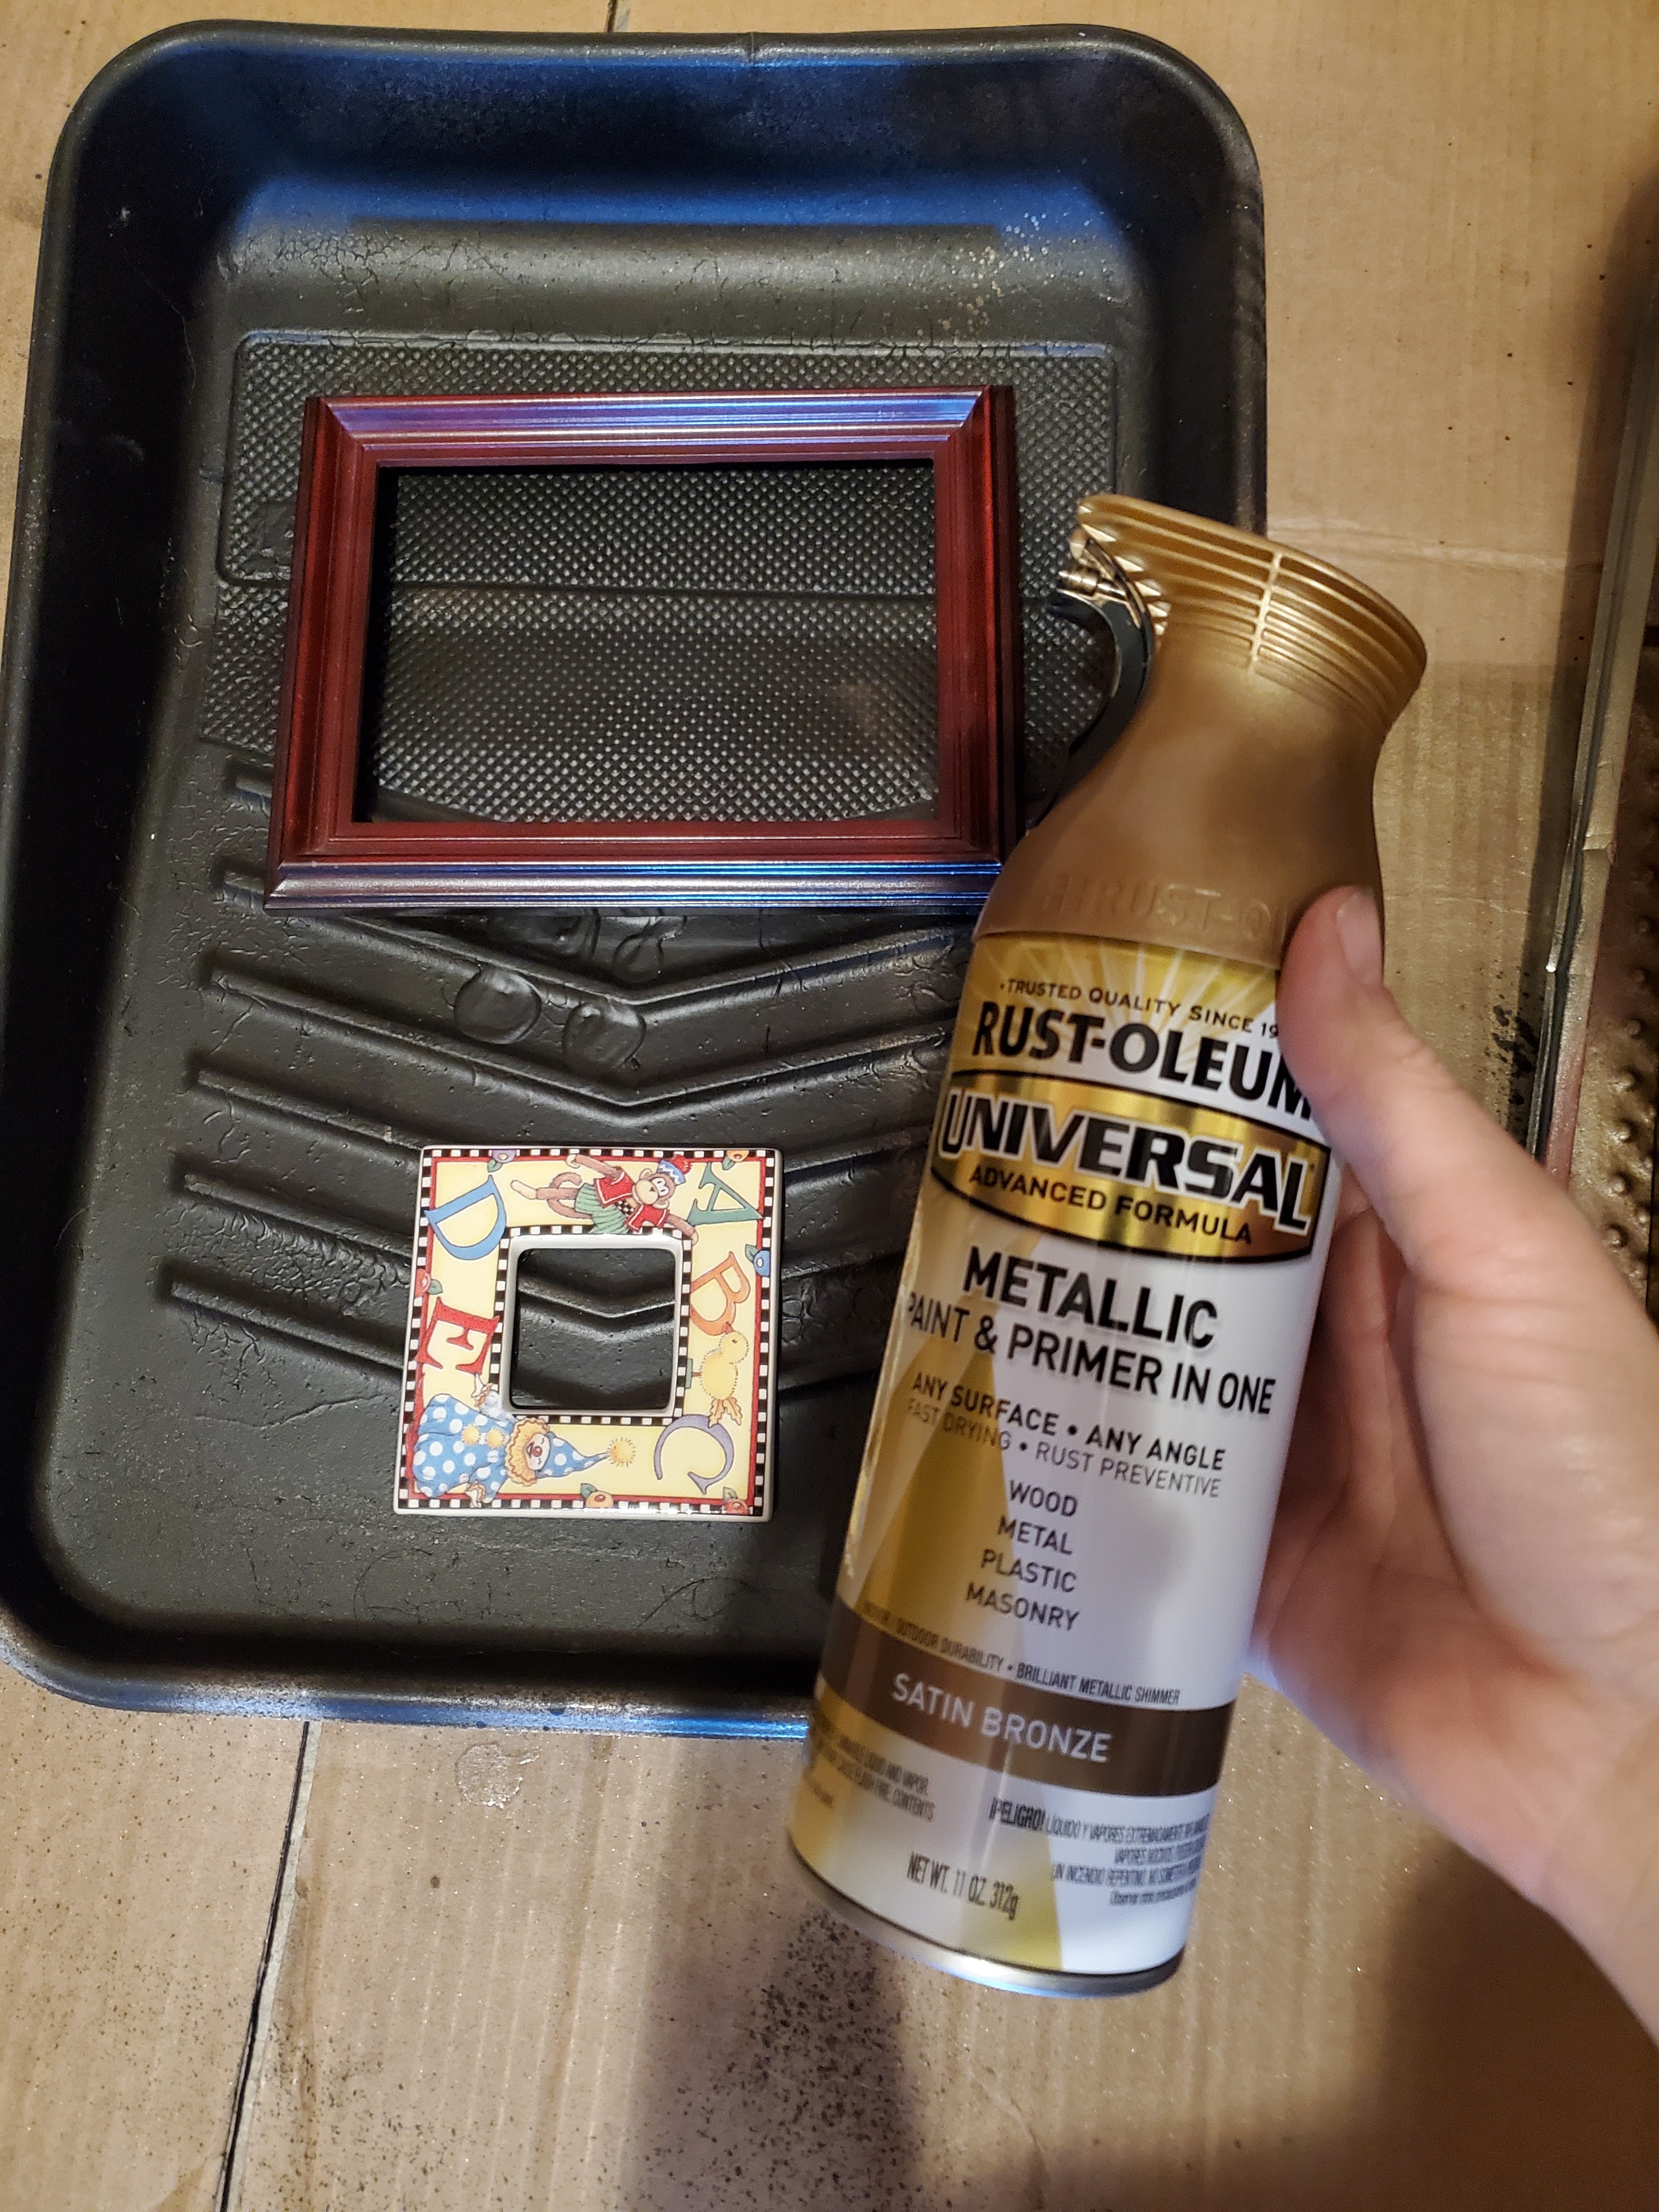
Once I had collected around 30 frames, I laid them all out on my dining room table to get a feel for how everything looked together. This also gave me a good idea of which ones I wanted to change the color of, either because the metal was rusting and dingy, or on the opposite end, was really shiny and cheap-looking, or because the frame was wooden and didn’t fit the vibe I was going for. (Check out the frame that came complete with a hand-drawn cow, haha!)

Some frames got a couple light coats of spray paint (either this black one or this gold one). Tip: I like to save used paint trays from previous projects because they make perfect little backdrops for spray painting small items!
I also used Rub n Buff in antique gold to update a few frames. For these, I placed the frame on a cardboard cereal box I pulled from my recycling bin to protect the counter. Then I squeezed a small mount of rub n buff onto a cheap makeup brush (I got one for like $2 at Target) and dabbed it onto the frame, buffing softly over and over until I achieved the look I wanted. In the picture below, the left and bottom side of the frame have been finished and the top and right side haven’t been done yet. See the difference? It took away the cheap-looking shine and gave it a more antique gold look.

Once the frames were all ready, it was time to choose what to hang!
The wall in between the kitchen and living room houses used to be such an eyesore. It had our thermostat, an unused humidifier control, and lots of toddler scribbles on the wall.
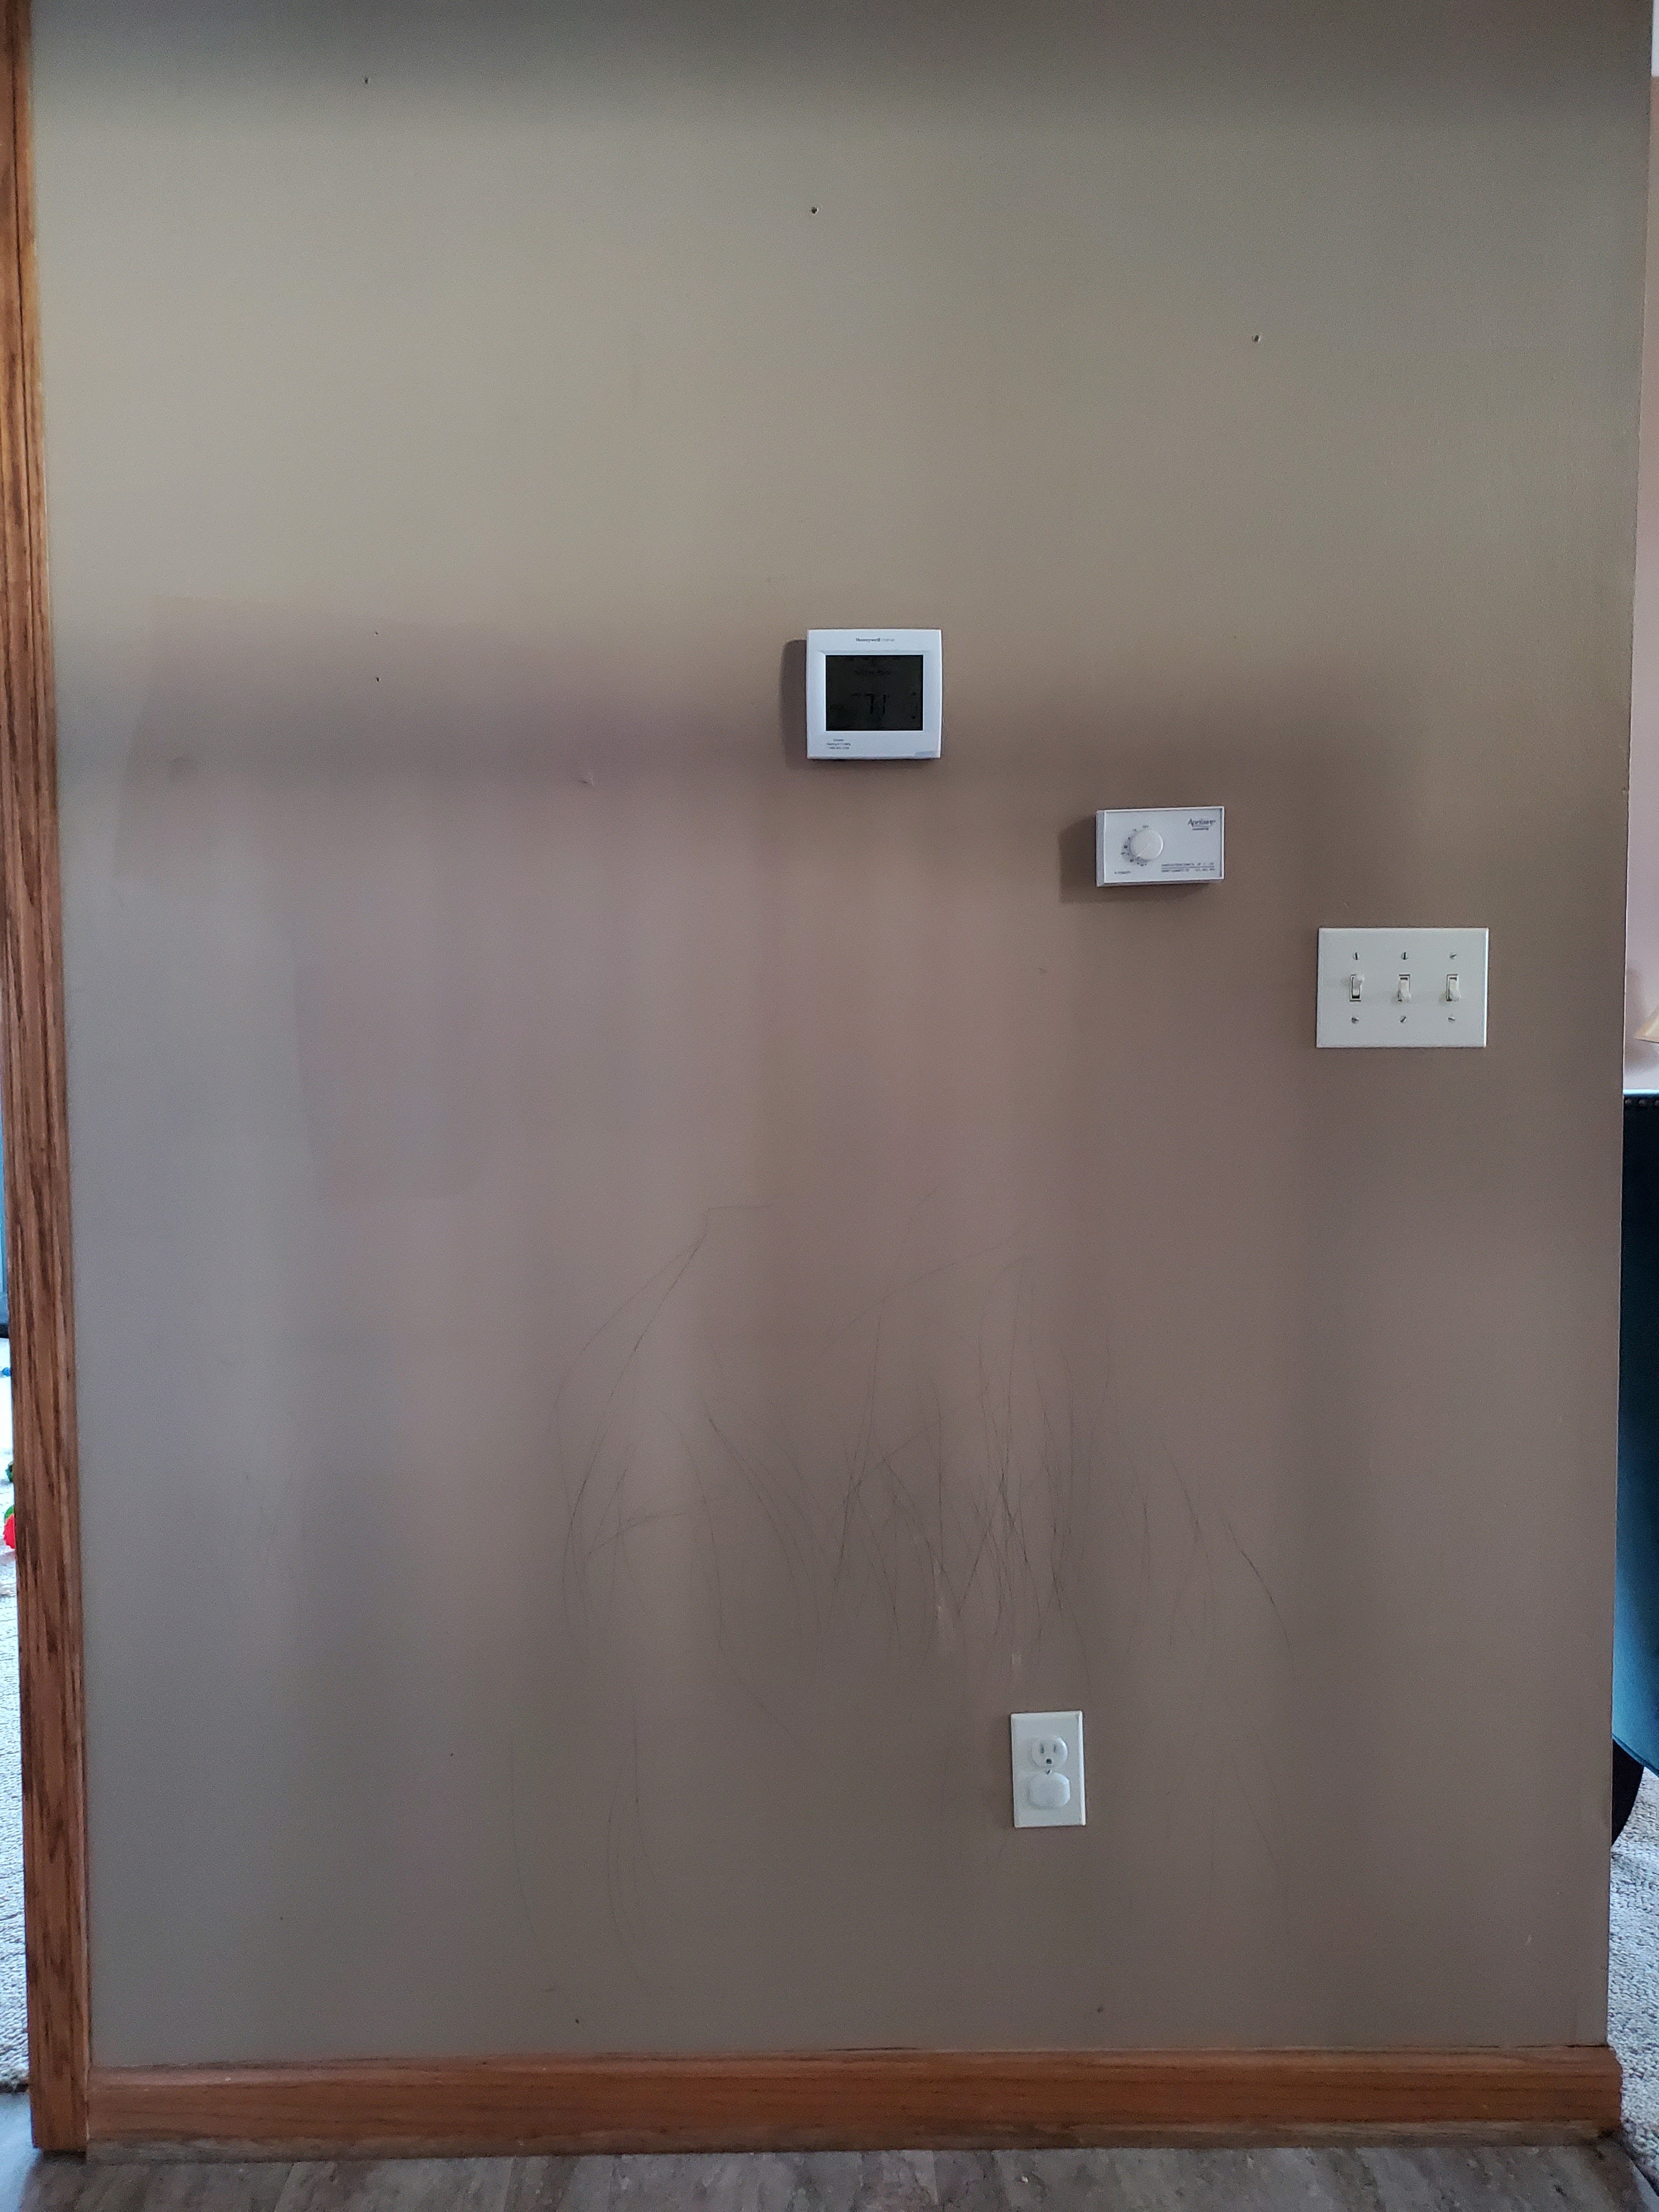
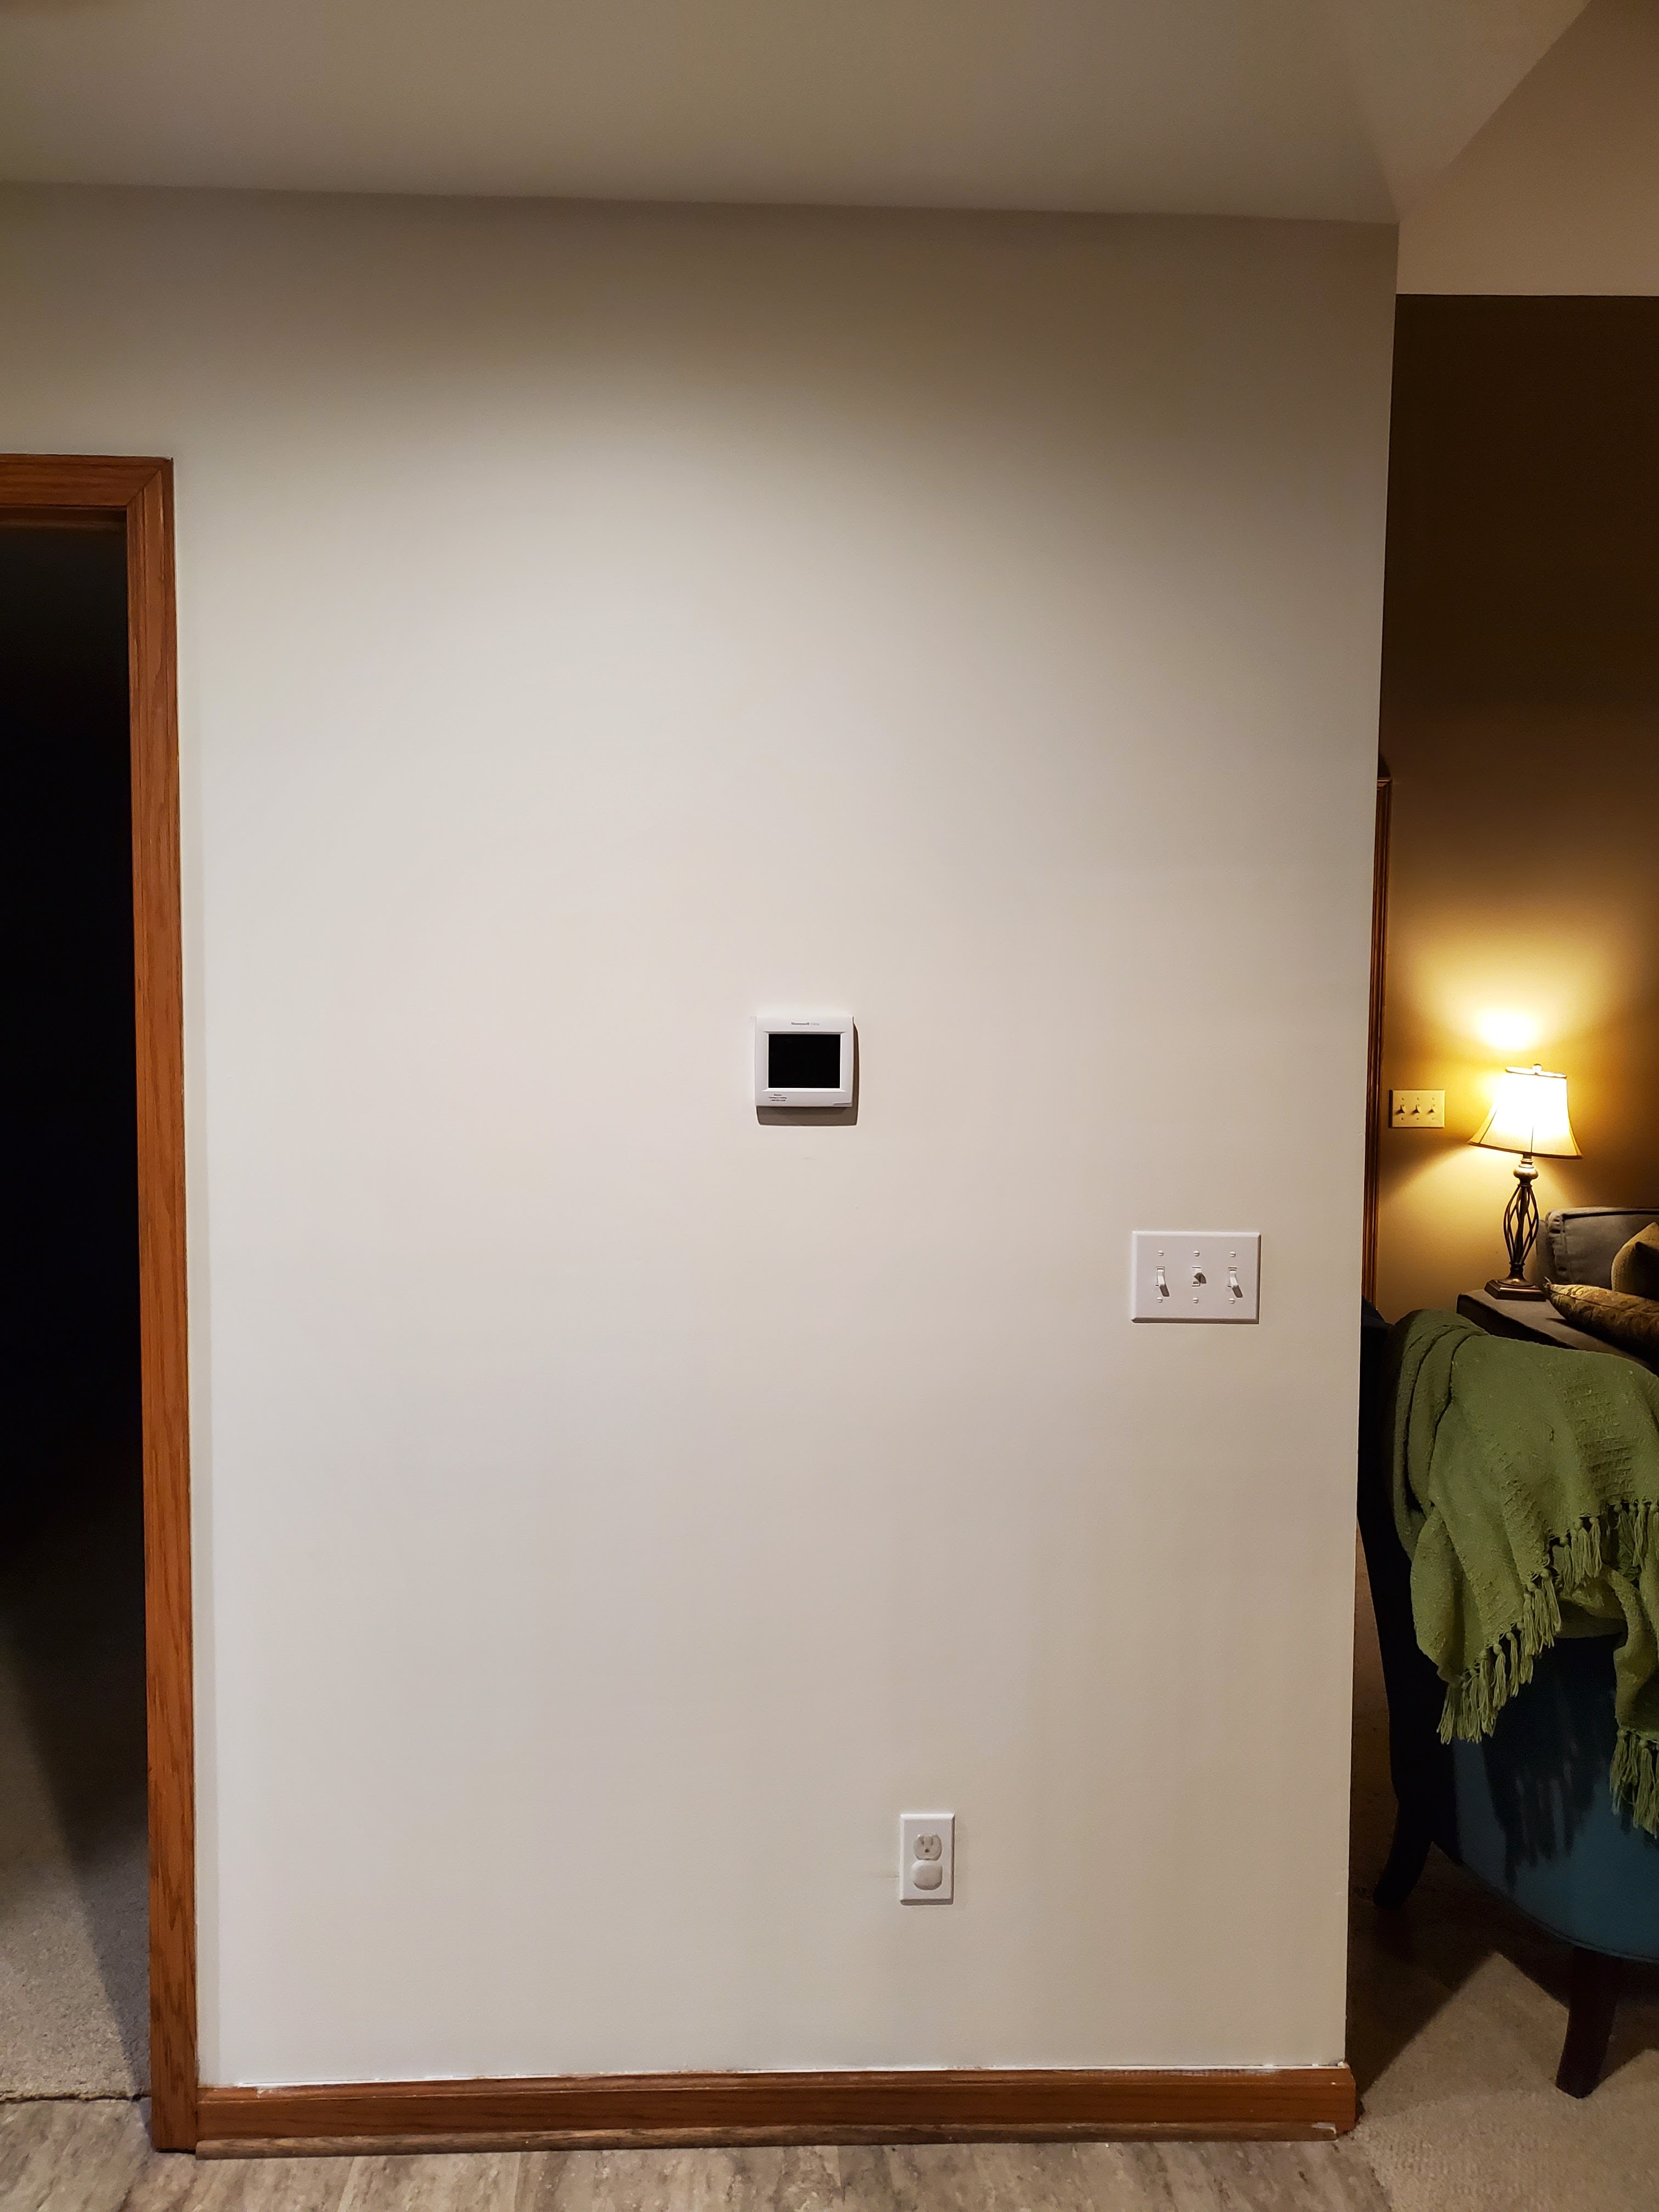
A fresh coat of paint and removing the old humidifier control helped significantly, but I was eager to get some other things up on the wall to distract from that device sticking out like a sore thumb!
For this particular gallery wall, I wanted to gather mementos and photographs that are extra special for our family. I chose a few items from travels, a wallpaper label that was discovered in a renovation of my grandparent’s farmhouse, two recipes, one in my grandma’s handwriting and one in Justin’s grandma’s, a picture of my dad, brother, and me from childhood at a place special to our family history, and a photo of my maternal grandfather with his parents at their home in Puerto Rico.

I’ll often map out where I want everything to go before hanging anything, but for this wall, I just went one frame at a time and went based on what placement felt right.
Before hanging, I removed any of the little collapsible stands behind the frames. These aren’t necessary to have when the picture is being hung, and will often prevent the frame from lying flush against the wall. I used a pair of vice grip pliers to pull them off. Sometimes on older frames, I could just use my hand to pull the stand and the whole thing would come off, other times, I had to use the pliers to pull off the metal hinge as well.


To hang the pictures, I used picture hanging command strips. I like these because it’s a way to hang lots of pictures without adding lots of nail holes. I’m happy with how this wall turned out and I love that it helps camouflage the thermostat!

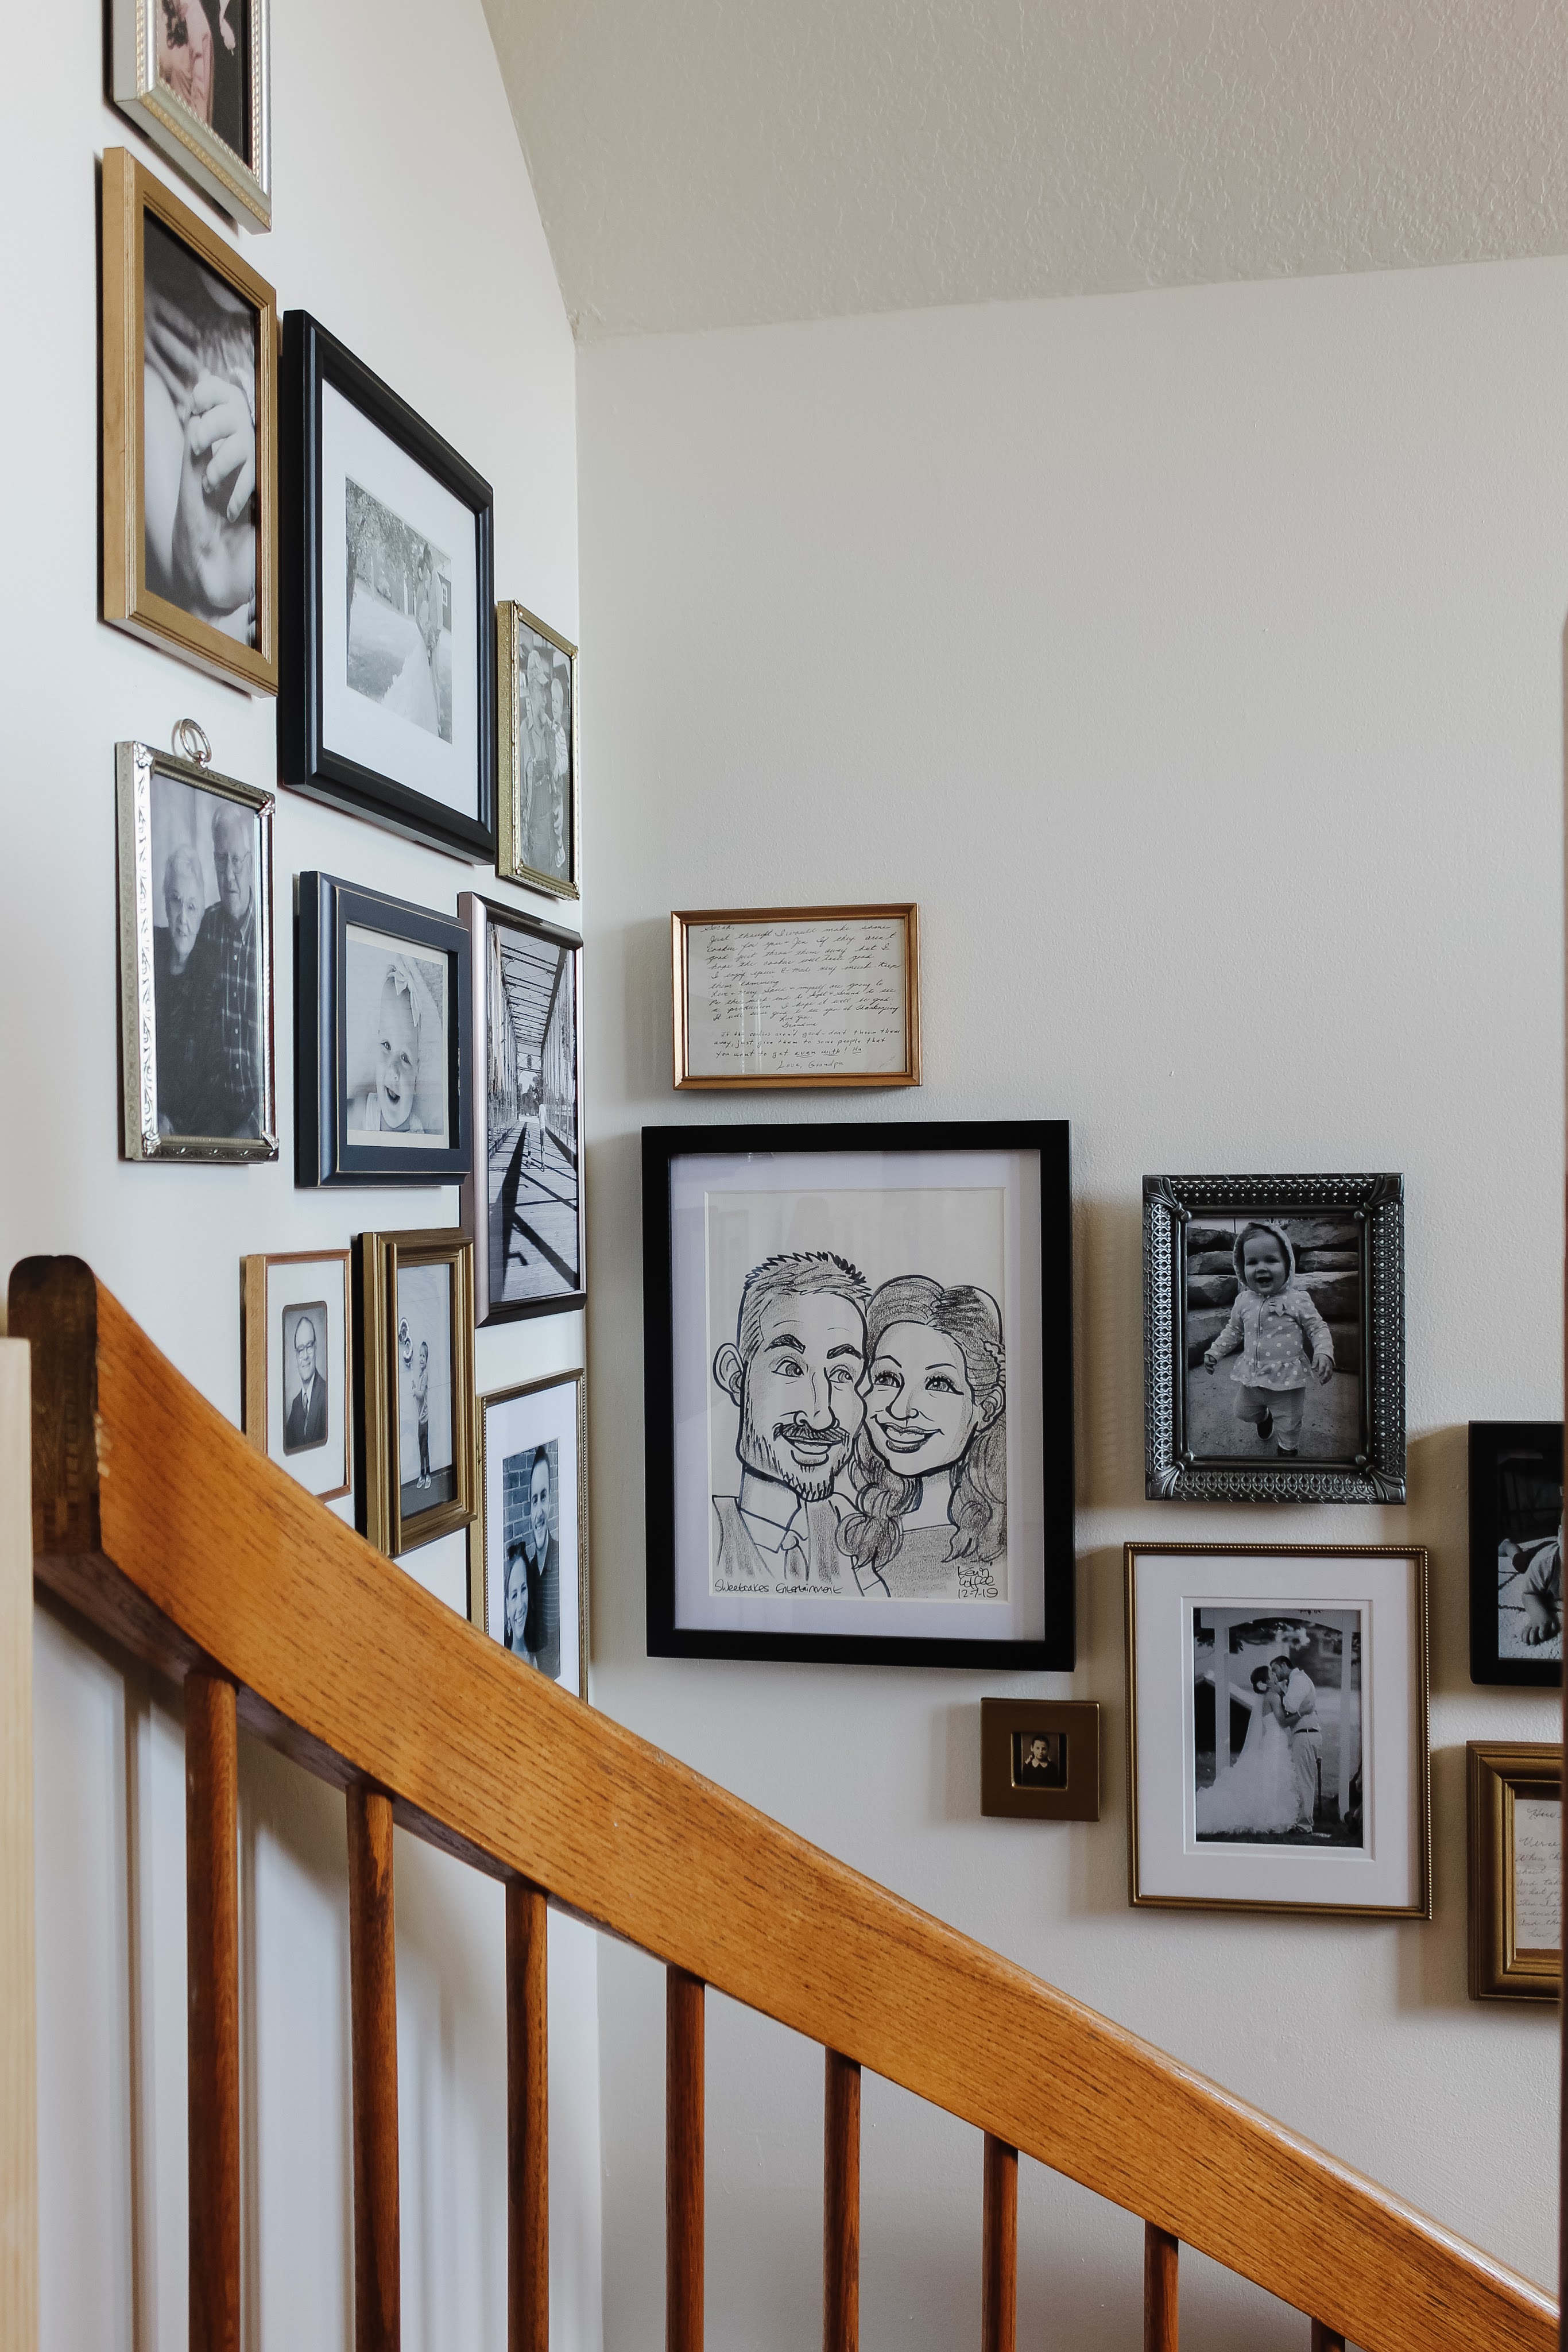
For the walls around the staircase, I wanted a mixed metal look and chose gold, silver, and black frames. To keep a cohesive look, I went with all black and white photos and specifically chose a mix of professional family photos and more casual candid shots from our life.

I also included pictures of our grandparents, special handwritten notes, and a caricature of Justin and me from a work holiday party a couple years ago.
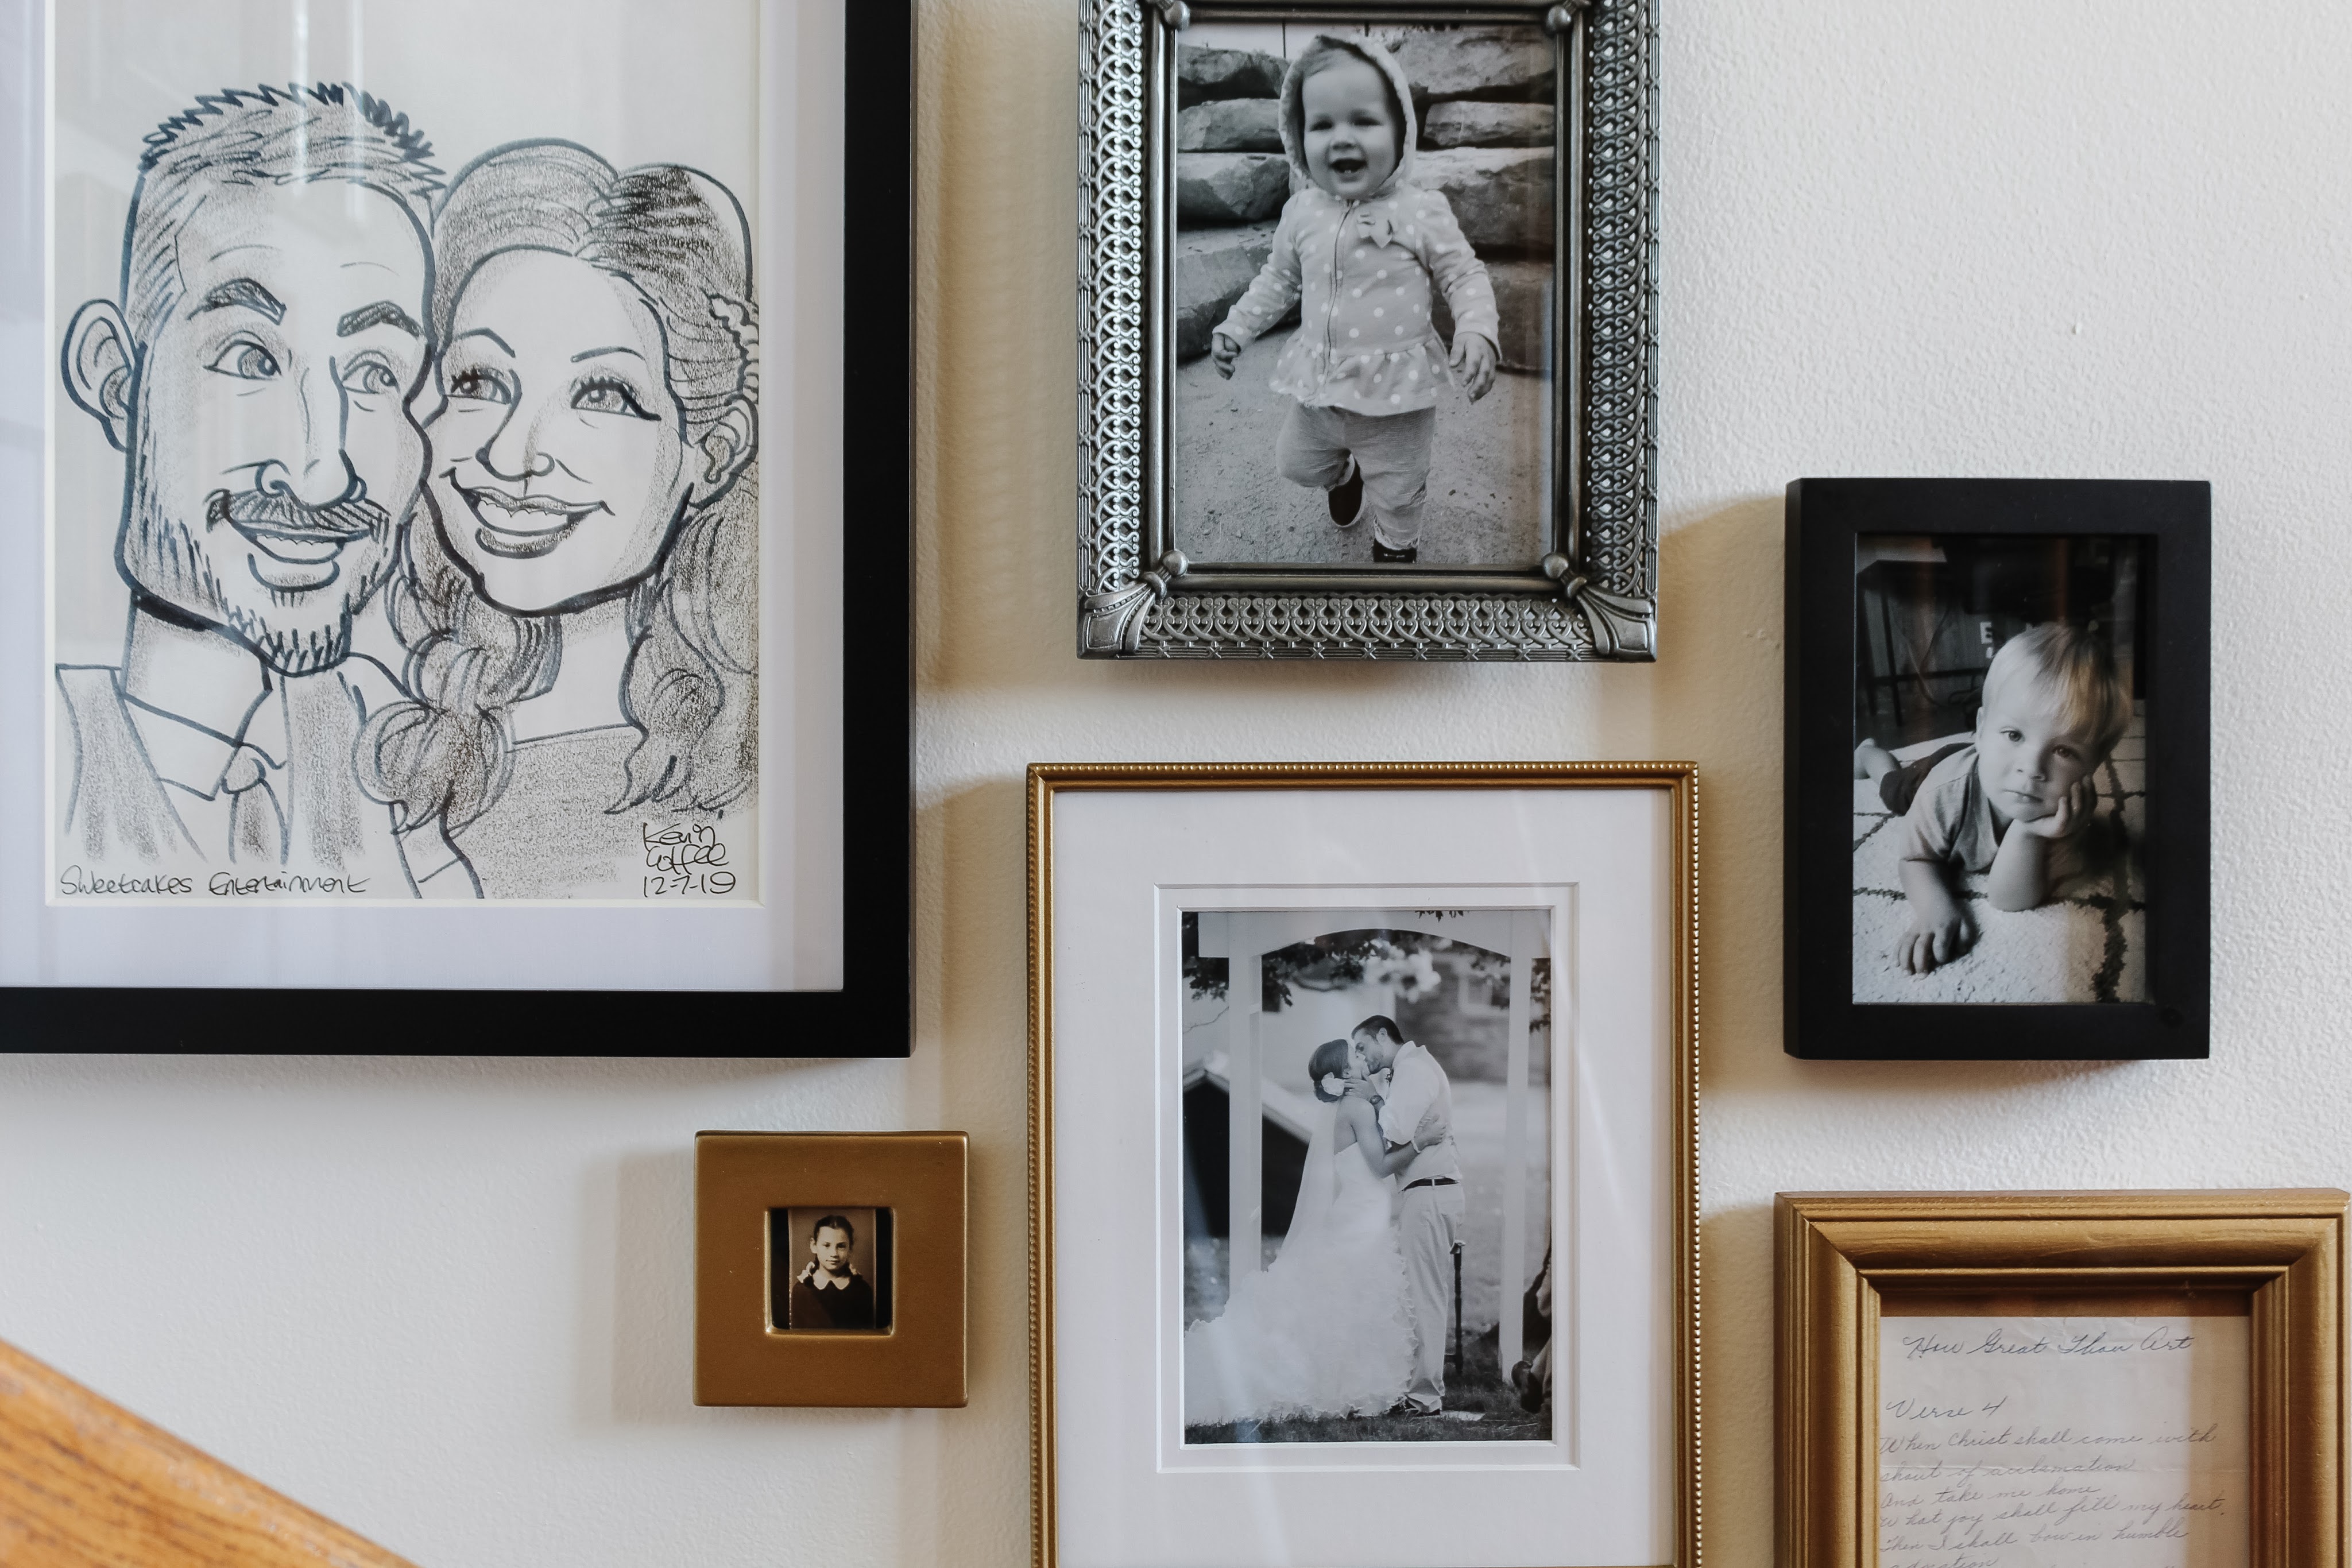
I love the mix of old and new, traditional and modern, formal and casual. It really feels so representative of our family and each one is special to us! I decided to have the frames loosely follow the curve of the staircase and I plan to add to it over the years so it continues to reflect our family.
I’m really happy with the way both gallery walls have not only added interest to our plain white walls, but they have added so much personality. Our family is so well represented – our history, our ancestors, and the ordinary, and everyday moments that make up our lives. It is a small change that made a huge difference in making this home really feel like ours.

6 thoughts on “Easy, Collected Gallery Walls”