Valentine’s + Roanoke Trip

Hi there!

I have been off the grid lately and it’s been great! Between Wednesday and Thursday of last week we got over a foot of snow so I had no school Thursday and Friday. I spent the whole time unplugged — just hanging out with the hubby and pups! It was great! I also did quite a bit of crafting for a Valentine’s Dinner I’m helping put on tonight (more details to come in a later post!) which was lots of fun.

Valentine’s Day

Justin and I tend to keep it fun and simple for Valentine’s Day.  We don’t like to spend a lot of money so we always try to find something to do that is inexpensive and involves spending a lot of time together.

Our V-Day date night involved a trip to the store to buy our favorite candies from childhood that we never allow ourselves to splurge on (cotton candy for him, cookie dough bites for me!) and we also got a “game.” Technically, we bought a bunch of dice but we ended up playing Yahtzee for hours with the dice. It was the perfect, fun way to celebrate with each other! (And cost less than $10–whoohoo!)

Inexpensive Valentine's Date NightIn addition, one night last week I came home from school to this awesome display:

Valentine's TableJustin had volunteered at a local nursing home to help make Valentines with the residents and he made one for me (in addition to cutting out a ton of paper hearts). He also had the table all set and ready to go! I loved it!

Roanoke: Center in the Square

After Justin was finished with classes on Friday we took off on a road trip to Roanoke, VA to visit a college buddy of J’s. We spent the weekend hanging out at a local dog park (our friends have a puppy named Charlie and all the dogs got along SO well!), checking out local restaurants, and exploring downtown Roanoke.

My favorite part of our downtown exploration was a science museum called Center in the Square. There was quite a long wait for our lunch spot so we decided to kill some time by walking across the street and checking out the museum. We didn’t have time to see every exhibit (they had TONS) but we made the most of the time we had!

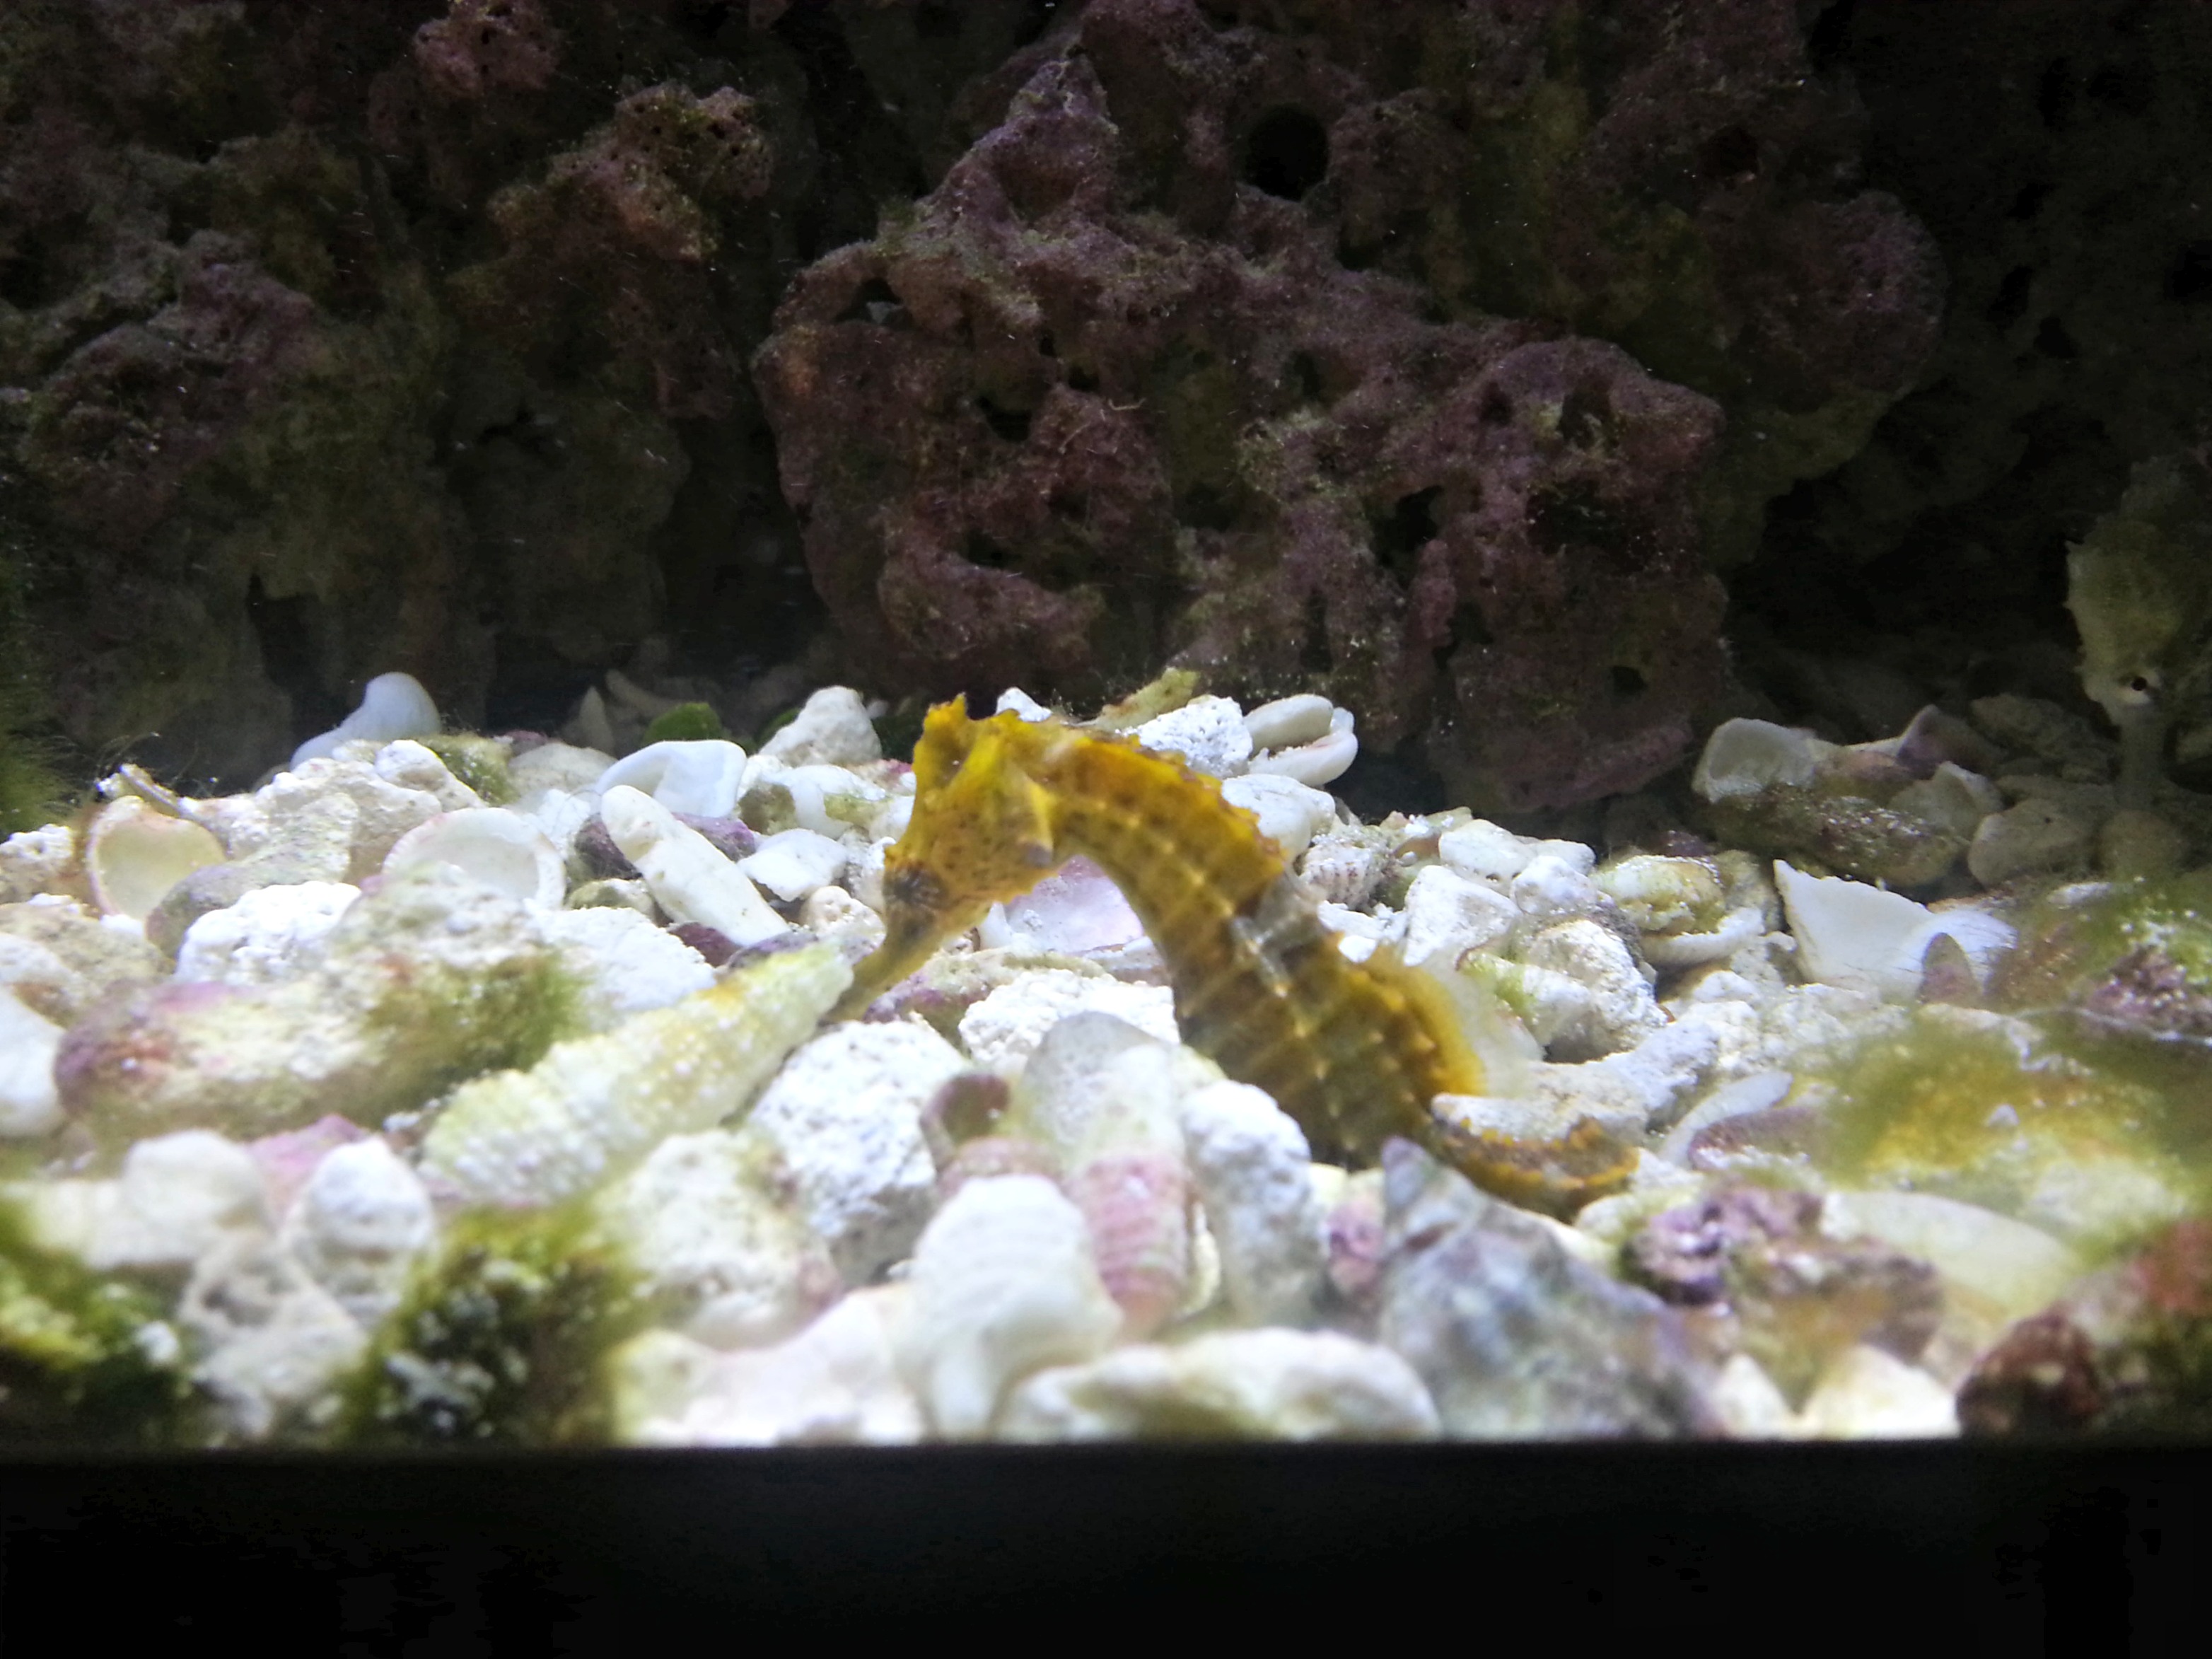
We first checked out the seahorses. These creatures are so cool!

Seahorse Tank Seahorses have a difficult time navigating water and it was fun to watch them swim around!

SeahorseNext up were jellyfish. These are absolutely fascinating to see up close! The tank had lights that changed color, which made the jellyfish change looks — super awesome!

Jellyfish TankPossibly my favorite part of the aquarium was the giant fish tank. It had plenty of different fish, including “Dory” and “Nemo” (I just love that movie!) and was so beautiful.

Fish tankFish Tank
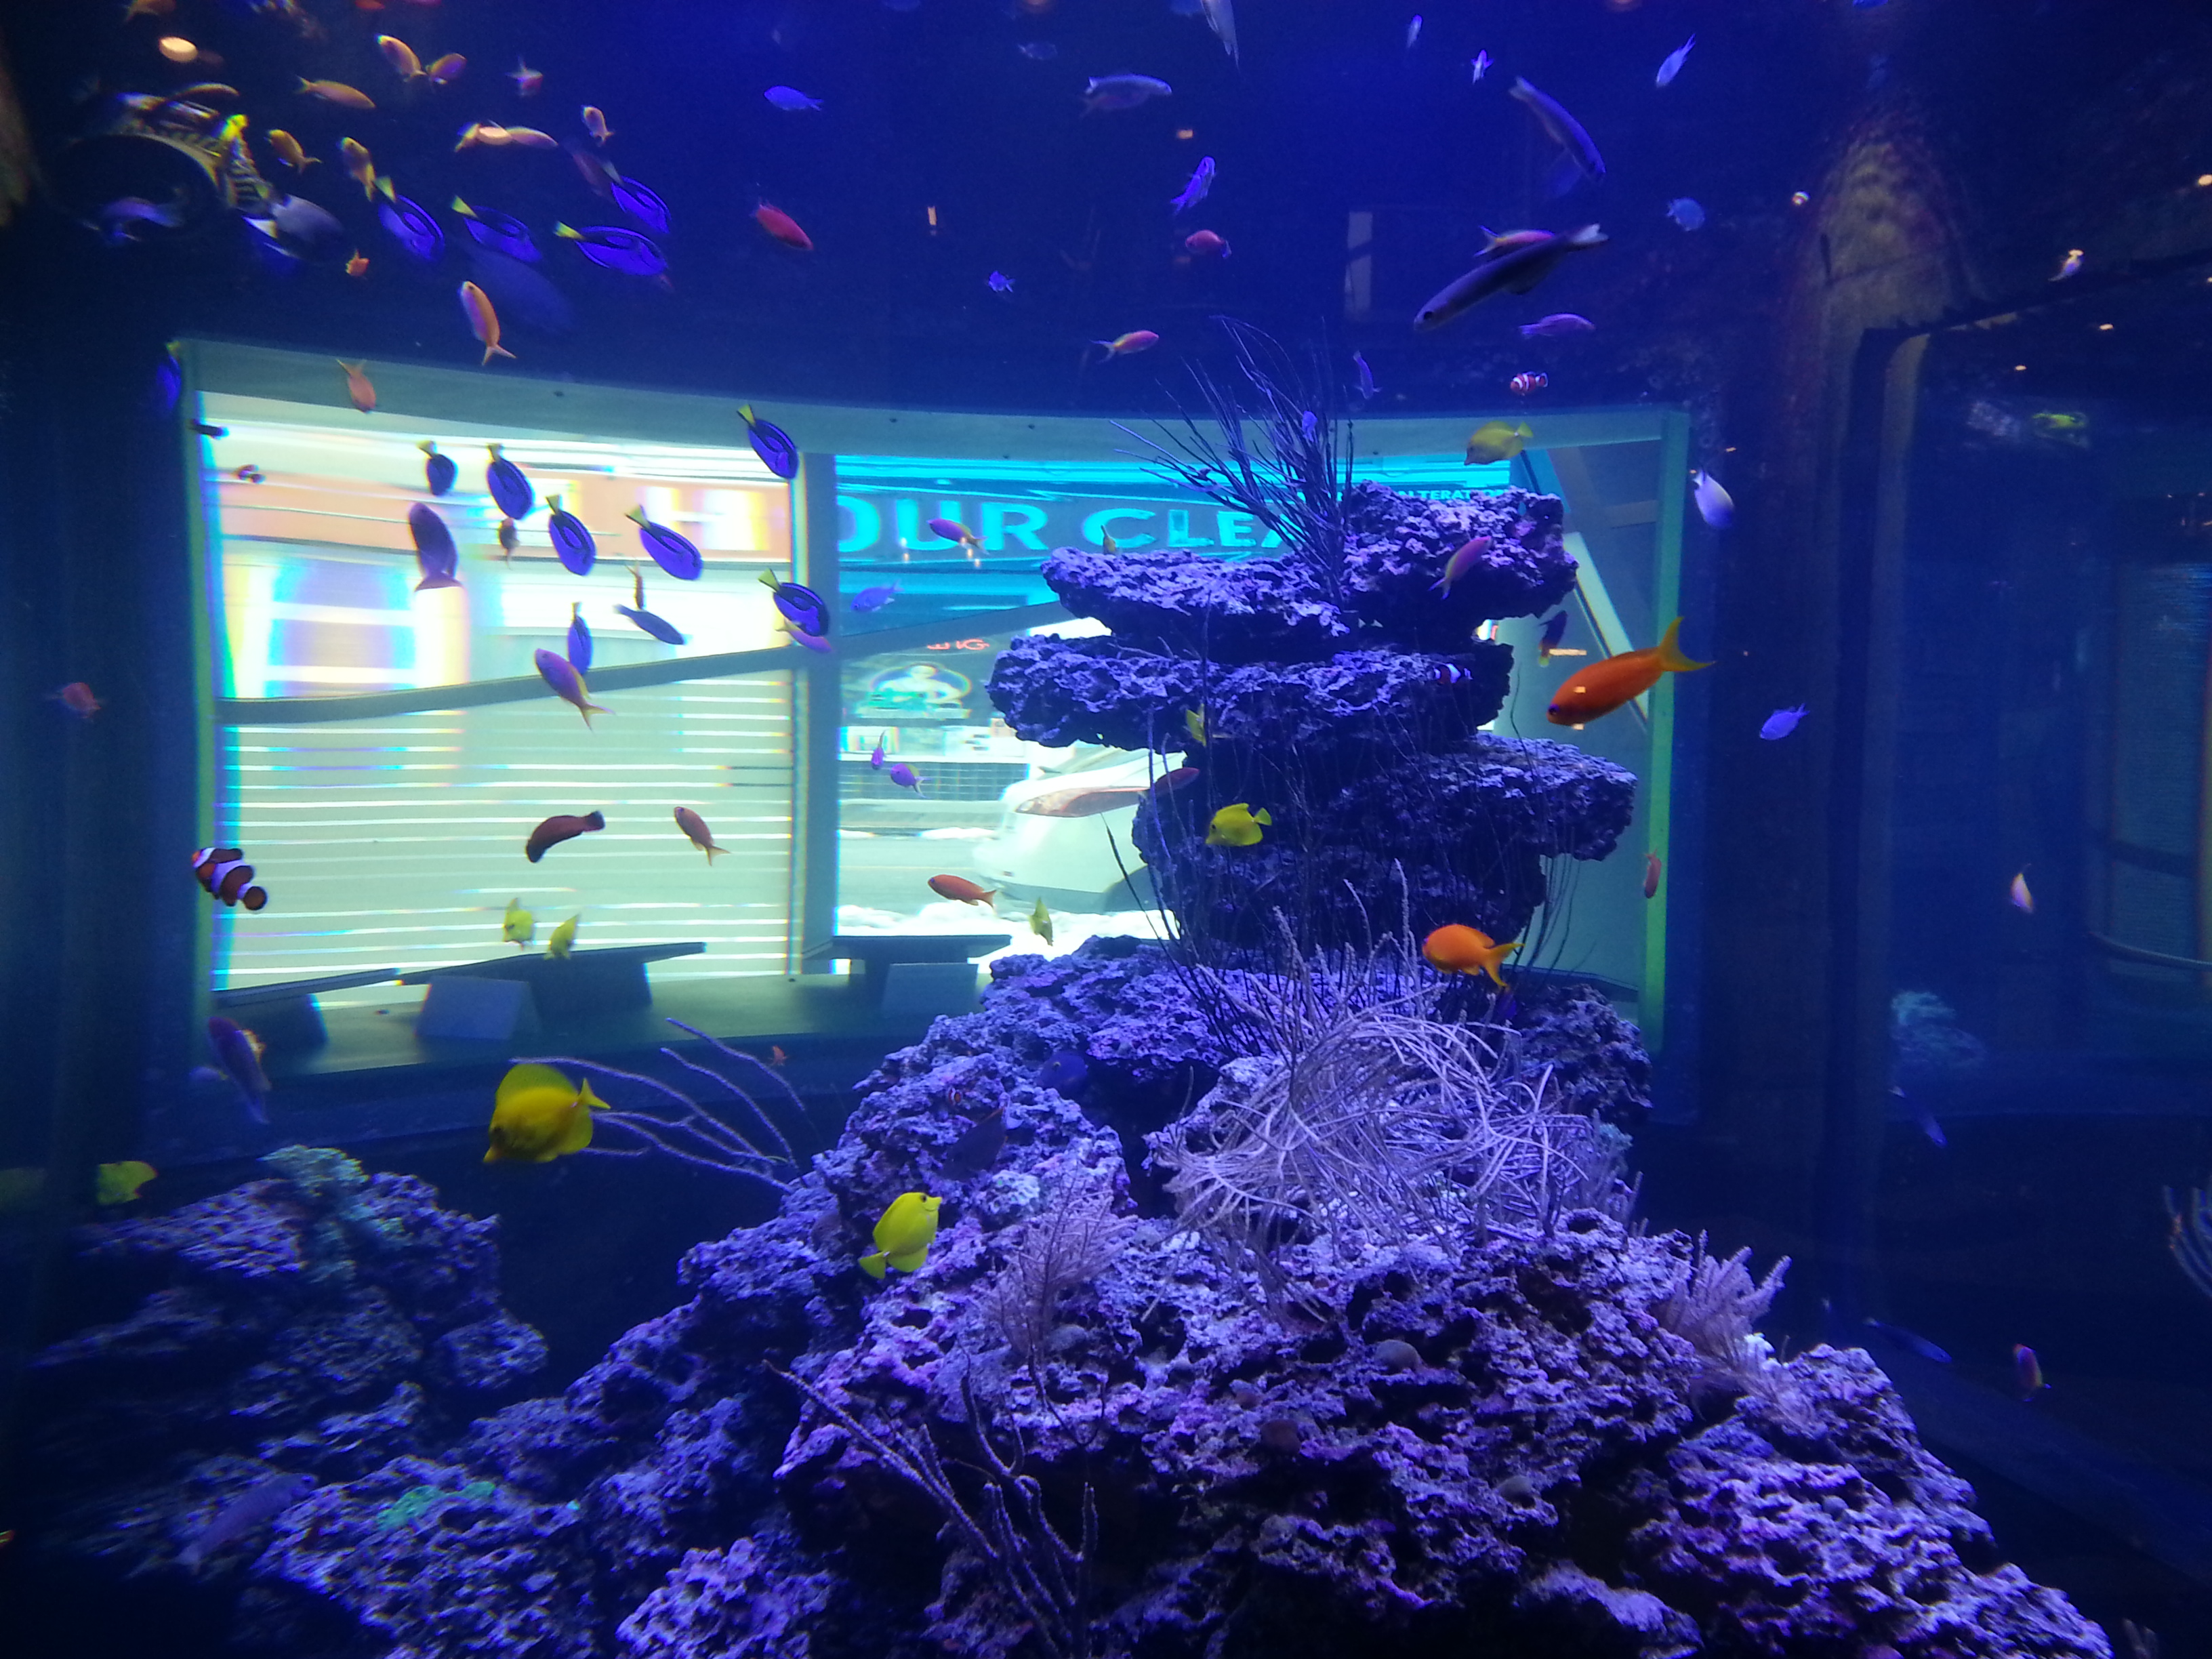
I could’ve sat and watched these fish all day! (PS- Did I mention all this aquarium viewing was FREE!? There is no charge for this part of the museum!!)

Next up, we bought admission tickets and went upstairs to the butterfly exhibit.

Center in the Square
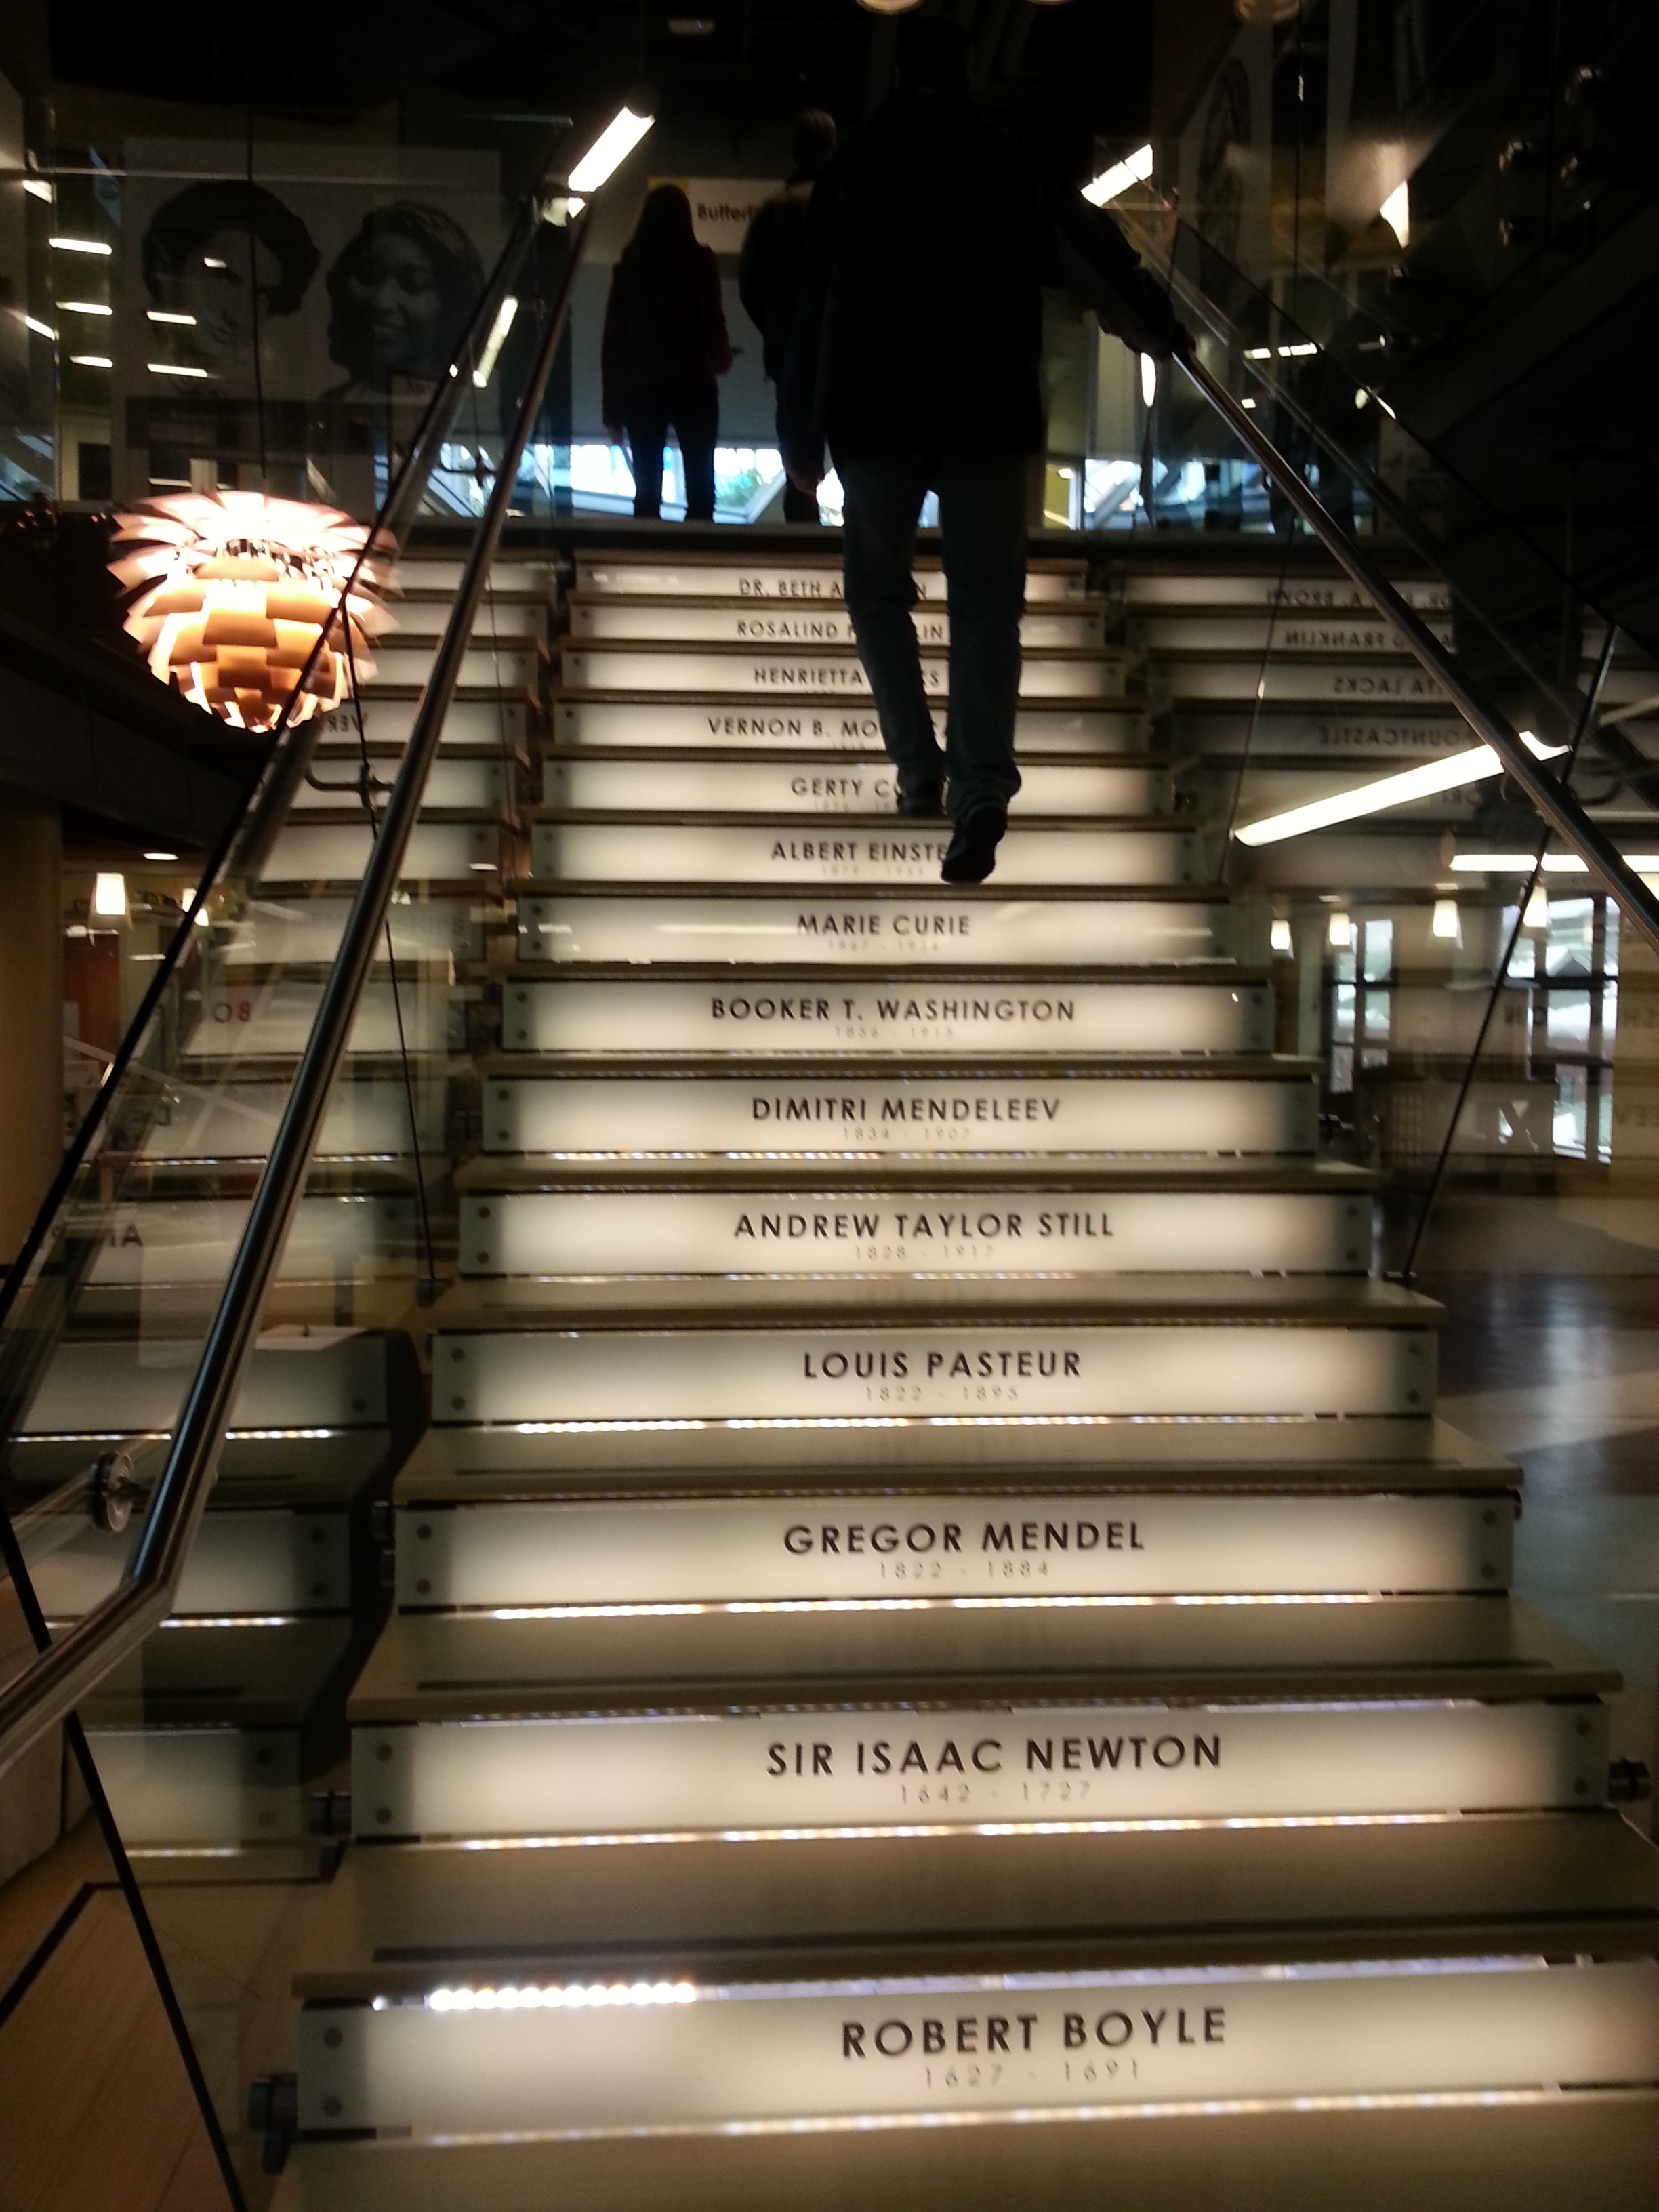
Check out this staircase leading upstairs! Sweet, huh?

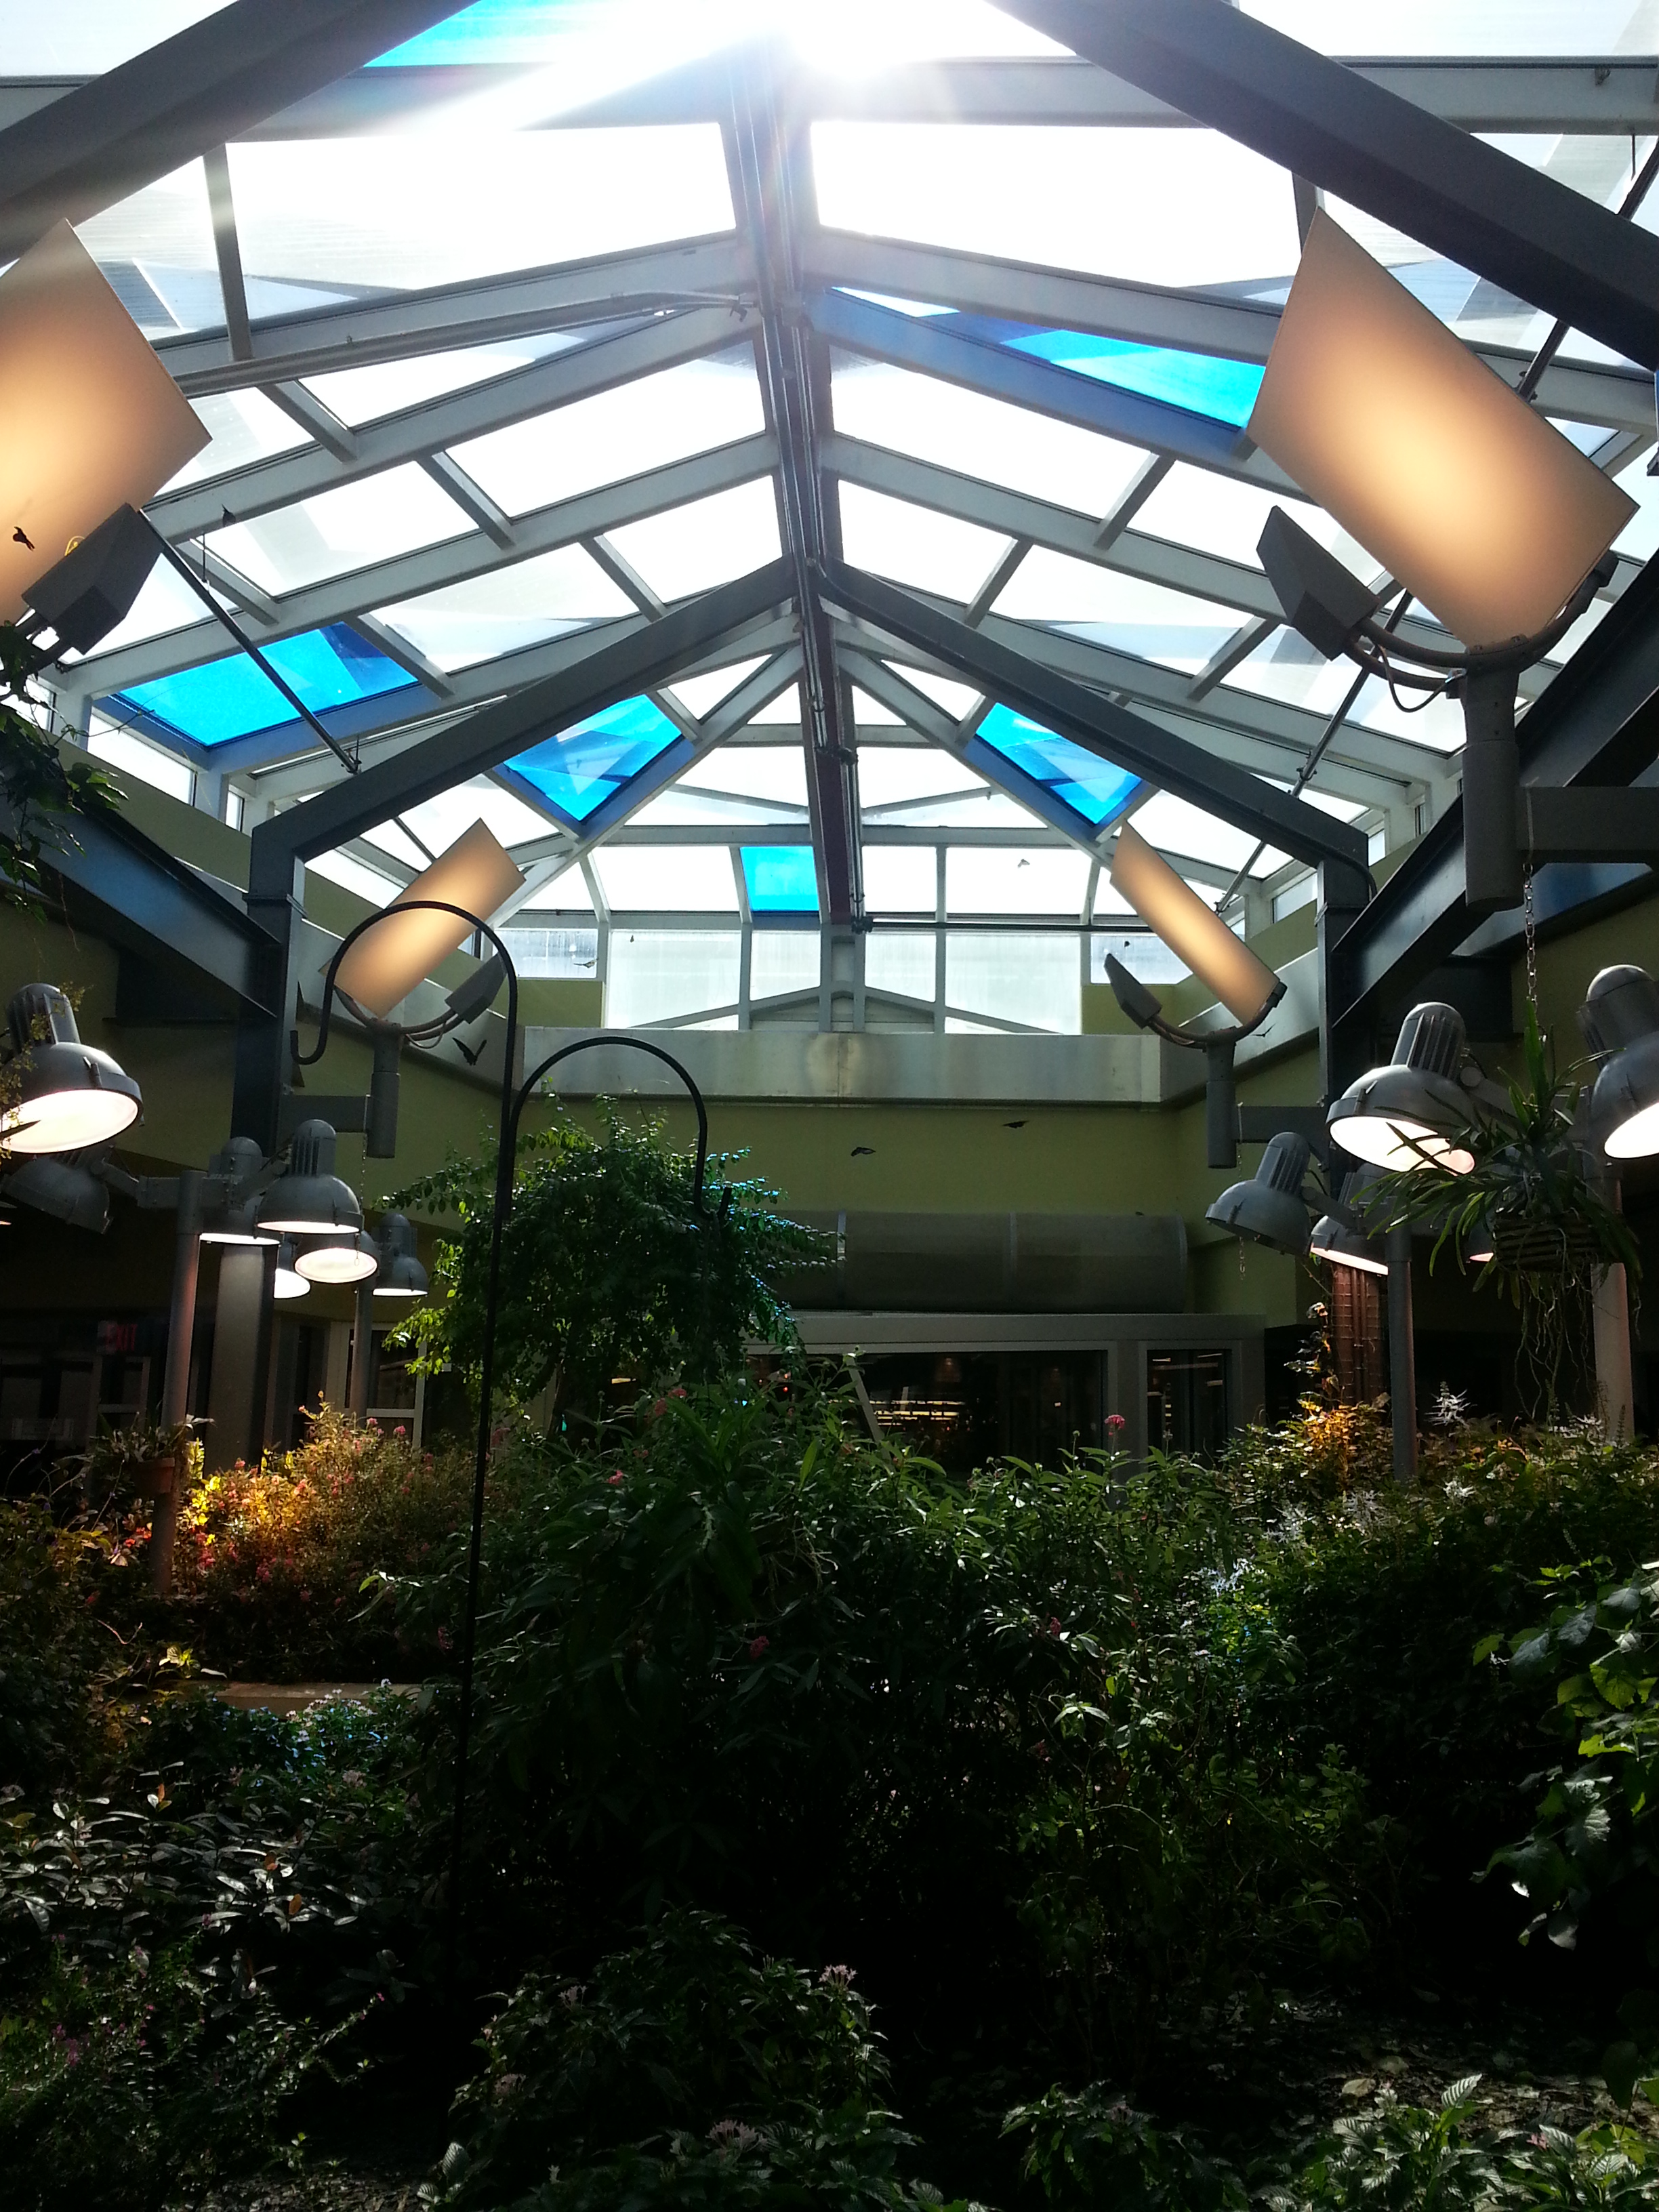
Walking into the butterfly garden was like walking into a tropical paradise. It was super warm and humid and I felt like I was in the middle of the rainforest. It was awesome!

Butterfly GardenThere were over 300 butterflies fluttering about in the garden and it was so amazing to see all the different types! So many colors! It was difficult to snap pictures of them but I got a few good ones.

Butterfly Garden Butterfly Garden Butterfly Garden
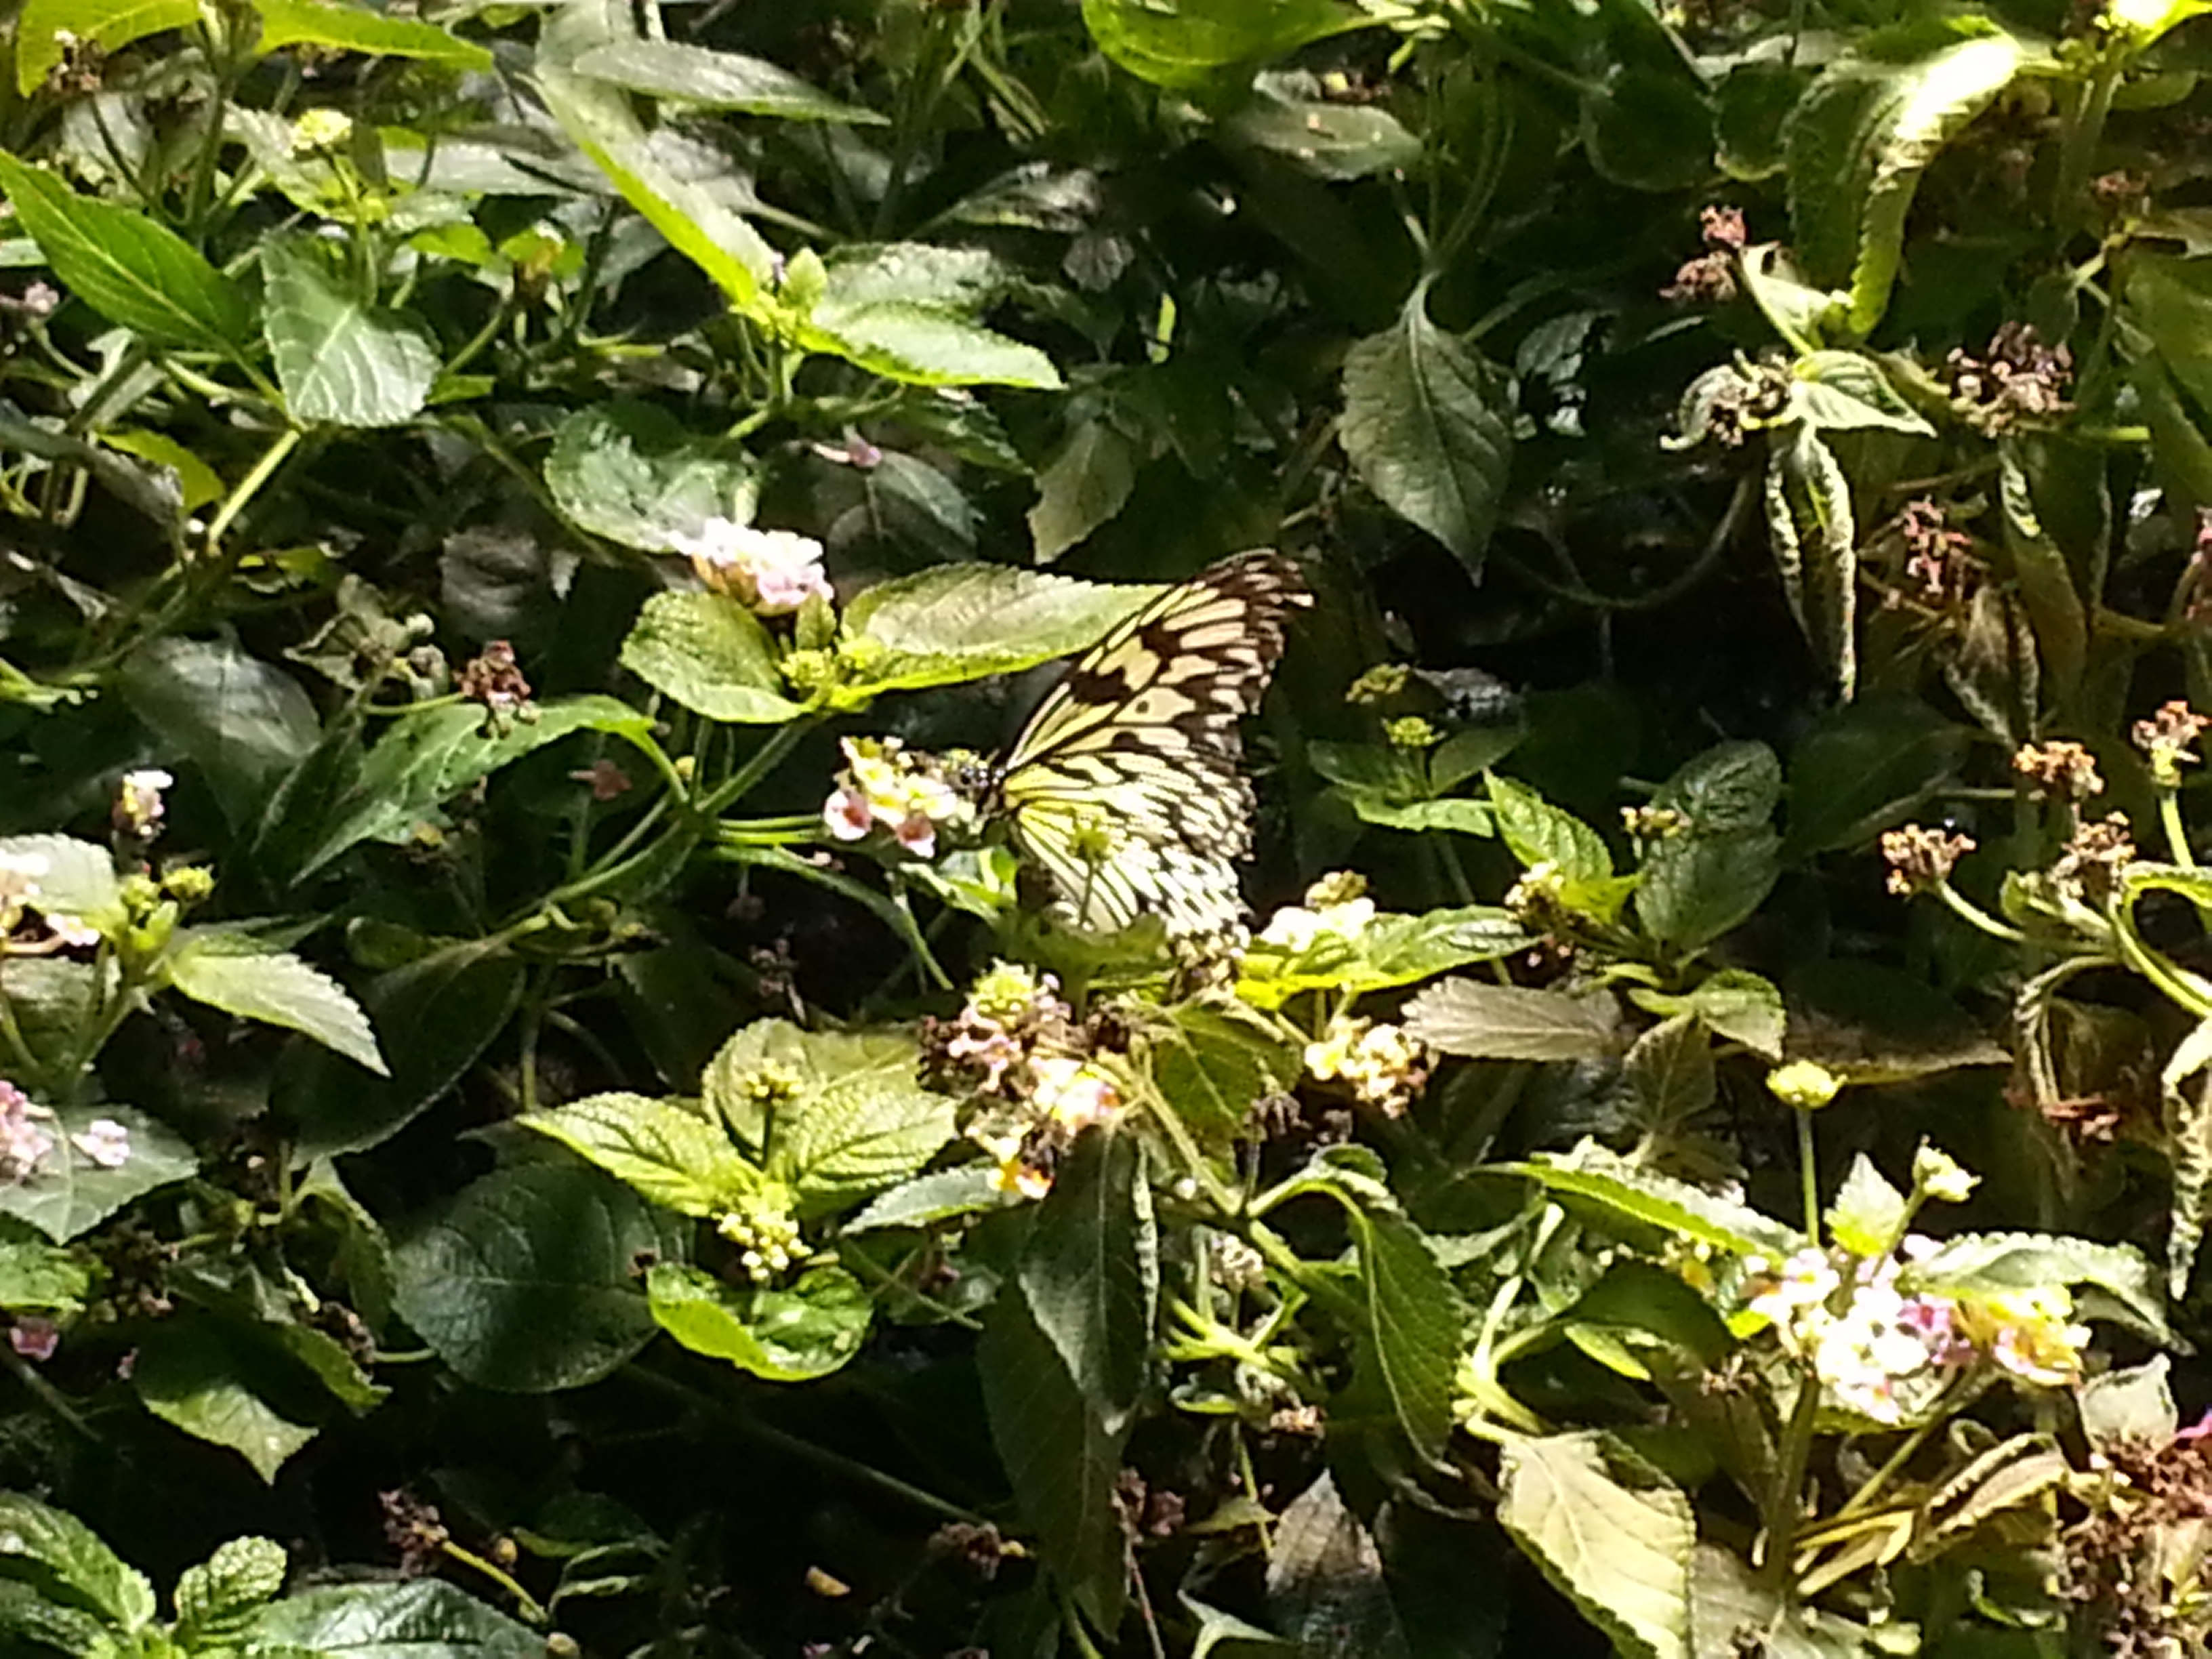
The last one was my favorite!

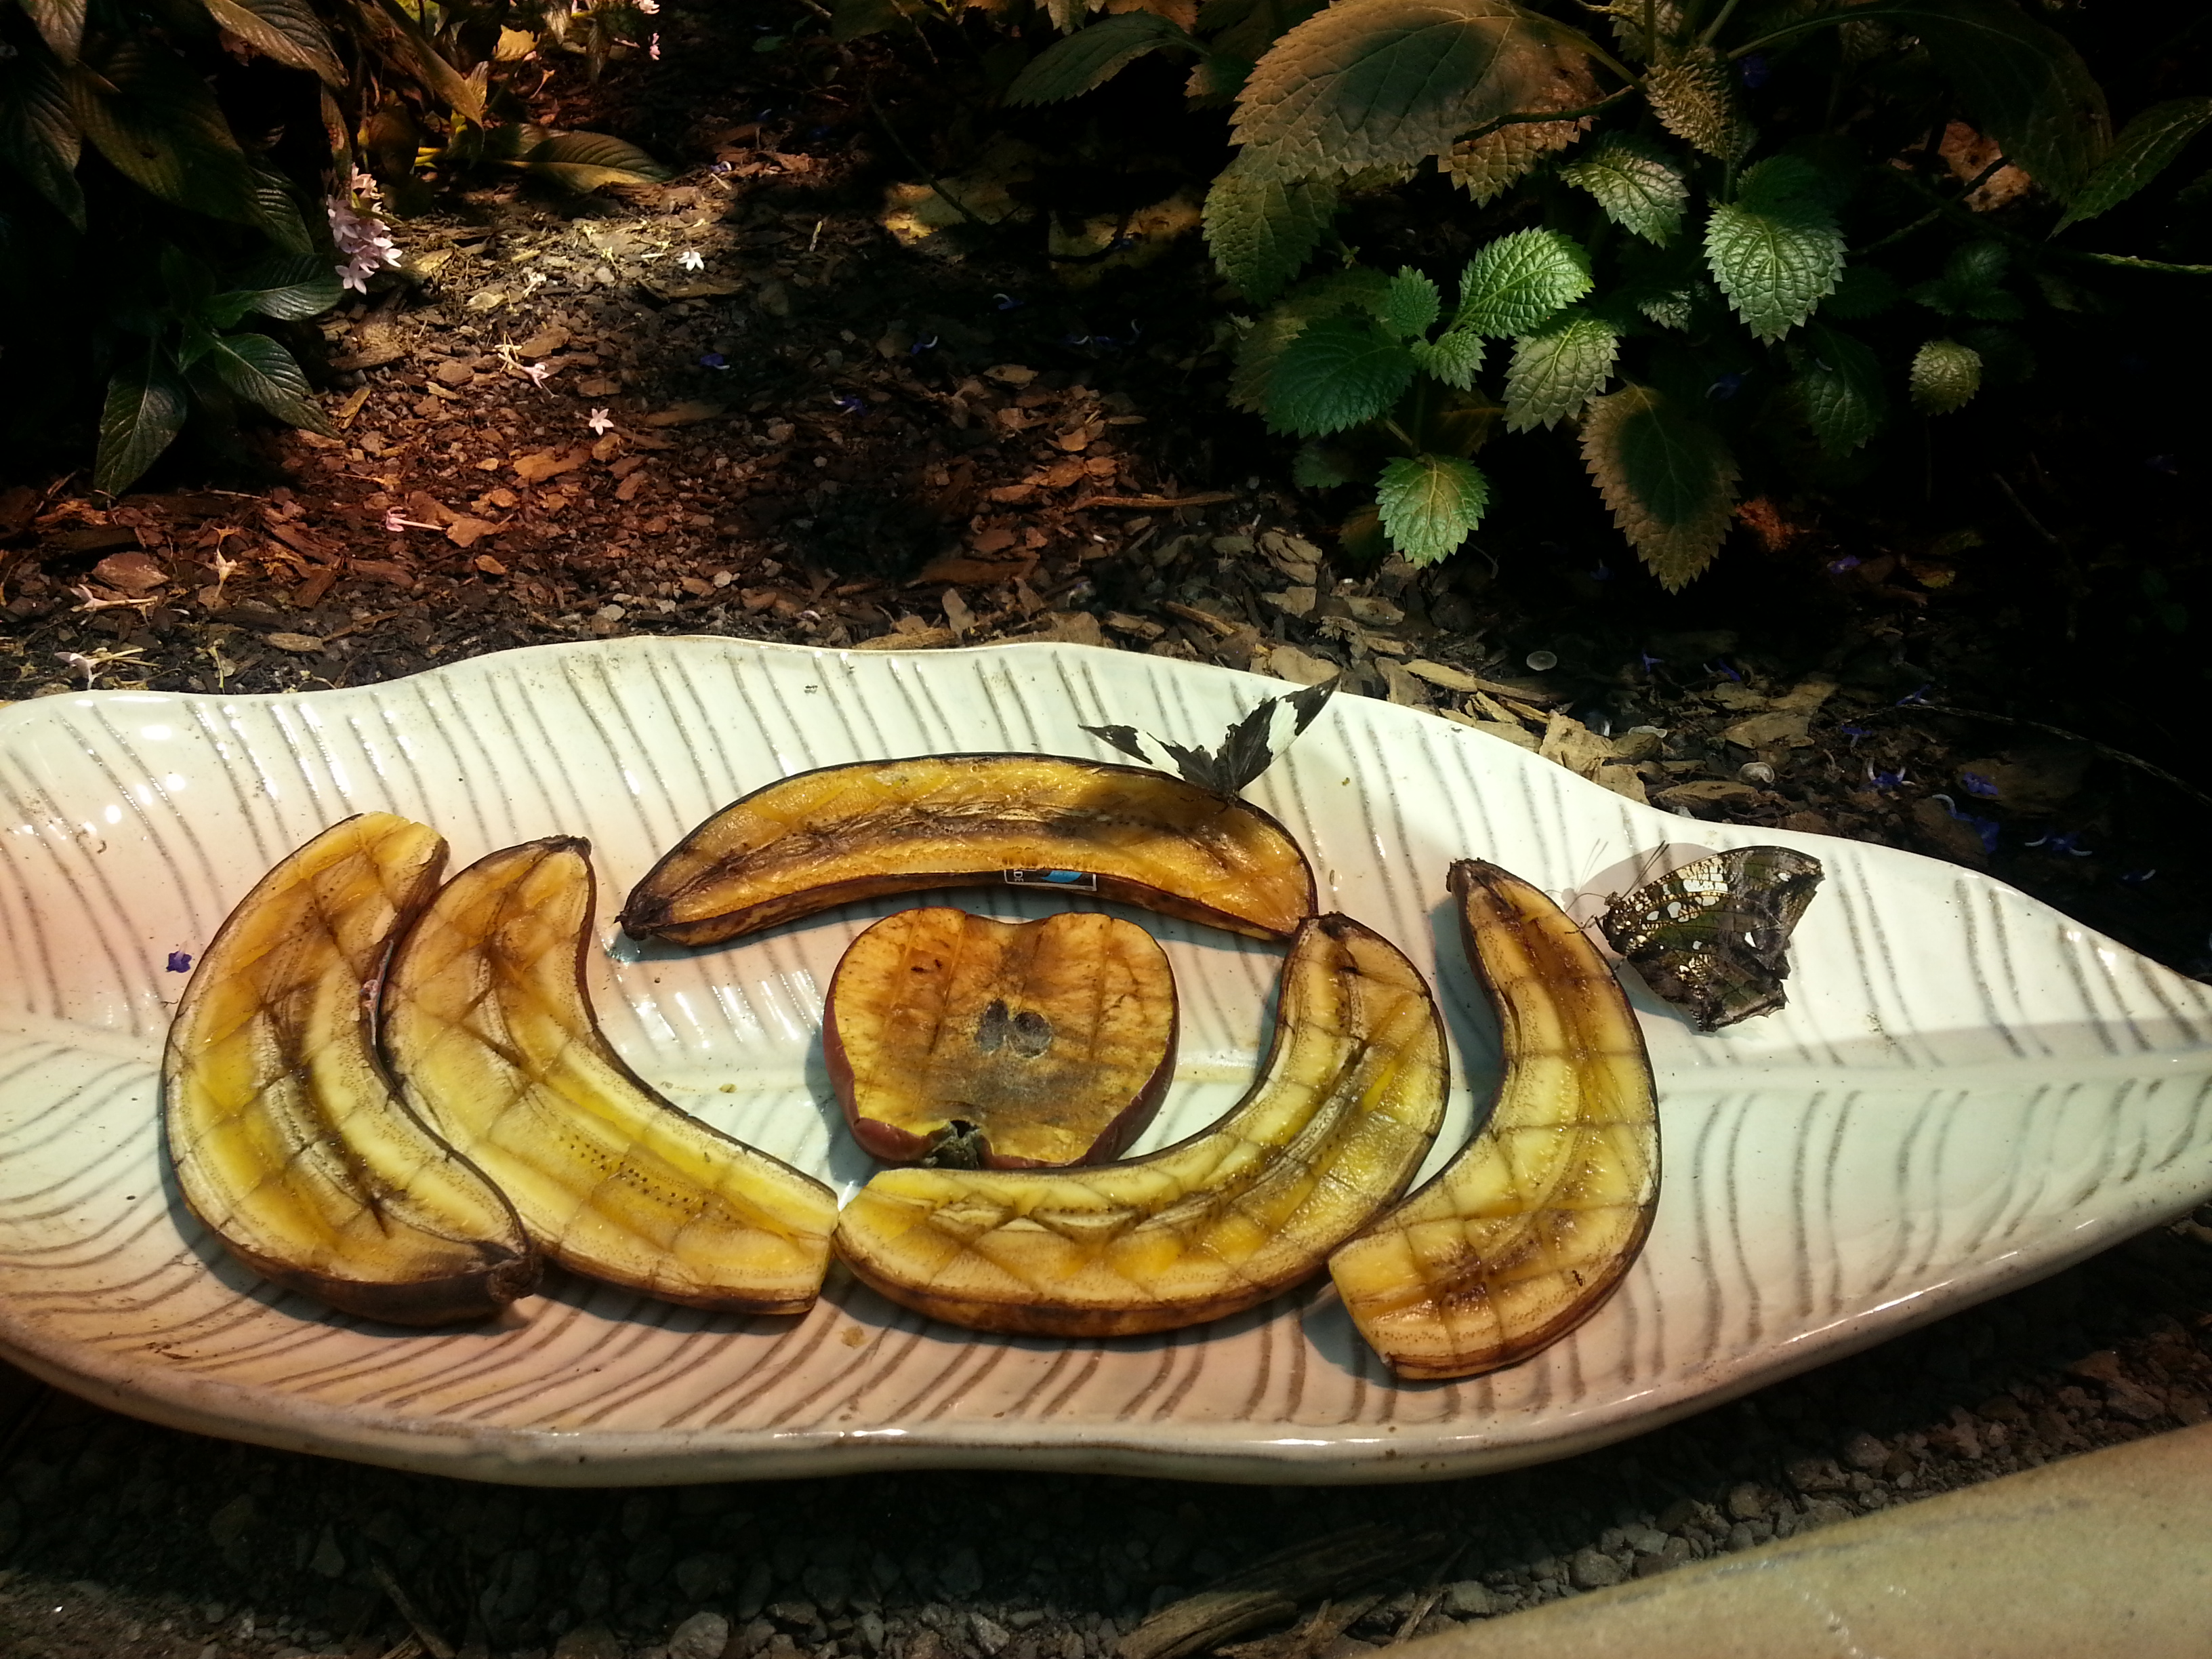
There were small plates of fruit around the garden for the butterflies to eat in addition to the nectar from all the flowers.

Butterfly GardenThe whole experience was super fun and I wish we would have had more time to explore the museum. Just peeking in at all the other exhibits showed me that the museum has a LOT more to offer! All in all, I would highly recommend checking Center in the Square out if you are ever in Roanoke!

Have a wonderful Monday!

***

Shades of black and gray for today’s outfit! Links to available pieces on the wear page.

teacher outfit blog :: simplifythechaos.comCardigan: Maurices

Blouse: New York & Company

Skirt: Via Ross

Tights: Express

Pumps: Maurices

Necklace: Purple Peridot

Wedding Wednesday: Begin Planning!

Well, my streak of consecutive days at school over the past two weeks will stop at one, since we had no school again today due to icy roads. I am starting to get really stir crazy around the house! At least I am getting lots of snuggle time with my fur babies!

Wedding Wednesday: The Planning Process

A few days after Justin and I got engaged, I created three different documents on my computer to help with organizing the planning process. Since I am still fairly new to blogging and so not tech-savvy, I was not able to figure out how to upload the actual documents I used to my blog. I originally wanted readers to be able to download each file for themselves if they found any of my documents to be useful; however, actually completing that was beyond my realm of knowledge. I therefore did the closest thing (within my capabilities) and took screen shots of my documents to upload as pictures. Lame, I know. But hopefully it still gives you an idea of how I set things up in case you’d like to set up something similar.

Guest List

The first document I created was our guest list. I actually downloaded my guest list straight from The Knot’s wedding planning website so rather than screen shot my guest list, I’ll just include the link to their list template here so you can download it if you wish. We actually signed up for a wedding website through weddingchannel.com (which is now The Knot) and were able to upload our guest list straight to the site. This made it SUPER easy to have guests RSVP through our wedding website and eliminated the need for RSVP cards. We got an e-mail notification when each guest RSVPed — SO NICE! I highly recommend going this route–it’s simple and f-r-e-e.

**Sidenote: The guest list is one of the hardest things to do. It seems easy enough, but when you have to combine you and your hubby’s friends, family, and all the random extras, it can get big fast. I suggest carving out a significant chunk of time to just sit down and list everyone you even might want to invite. (Justin and I did this on a seven-hour road trip shortly after we got engaged–I wanted to get it out of the way!) Then start to systematically work through and take people out. Don’t be afraid of hurting feelings; it’s your wedding!! And in reality, you simply can’t invite every single person in your life.

A good rule of thumb is to expect about 75% of the guests you invite to RSVP “yes.”

Wedding Budget

Wedding Budget

With this one, I created a spreadsheet in Excel and listed every possible expense I could think of. I categorized the expenses into logical groups (i.e. stationary, reception) and listed all the details underneath. I had an “estimated cost” column to list how much money we were going to budget for each item and then I also had an “actual cost” column to list how much the item actually cost.

I set up the spreadsheet to have a “Grand Total” at the bottom and inserted a formula for the box to automatically update and add up the total in each column so I could easily see if I was under/over budget. This made it SUPER easy to keep track of our money and also helped me see where we could try to cut costs.

Contact List

I cannot stress this enough. A master contact list is an absolute must. It is hard to keep track of everyone’s numbers and information and you will want to be able to stay in touch with your vendors in case you have questions or need to confirm details with them.

Wedding Contacts


My master list was super simple. Just an Excel sheet with all the vendors and their essential contact information listed, and also columns to keep track of payments. Some vendors require deposits, others want an additional portion of the payment before the wedding. It’s easy to lose track of who you have paid already and when payments are needed so this is a simple way to keep all the information in one place!

Bonus: Wedding Timeline

Another helpful document to have at the beginning of your planning is a wedding timeline. My sister-in-law gave me a copy of Real Simple’s wedding planner and I used the timeline they had but you can find many online. This was a very helpful tool to keep me on track and help me to know when to do things. Had I not had this, I would probably have had way too many things to do close to the wedding and it would have been stressful. I’m so glad I spaced everything out and had some time to breathe!

I hope you find some of these tools helpful! Feel free to take my ideas and tweak them for your own use 🙂

Happy “hump” day!

***

No school, no outfit of the day. Even if there’s no school tomorrow, I need to put on some real clothes!!

Teacher Tuesday: Picture Schedules!

Happy Teacher Tuesday!

Today I want to share something that I came up with last year and used on a daily basis. At the time, I was teaching students with multiple disabilities, and all of my students had sensory processing needs. On top of that, nearly all of them had visual needs and limited fine motor skills.

When it came time to create our classroom schedule, a list on a wall just wasn’t going to cut it for me. I wanted to come up with a way to involve my students and ensure that they could actively participate when we talked as a class about our schedule and daily activities. I also wanted to have a schedule that was versatile and allowed the students to understand the transitions we were making throughout the day. Here’s what I came up with:

Tactile Picture Schedule Baskets!

Here’s how it worked:

I bought several baskets from the Dollar Store. They came in packs of 3 for $1 each. I had six students so I bought enough baskets for them each to have a white one and a green one. (Twelve baskets at $1 for 3 = $4 total. Definitely worth it!)

I printed out a small sign to attach to the front of each basket. The white basket’s sign said “It’s time for . . .” and the green basket’s sign said “I am finished with . . .”

Next, I created visual representations of all of our major activities, starting with our morning routine. I first cut out strips of black construction paper. I then printed out Boardmaker symbols for each of the major tasks we complete each morning. I laminated the symbols and attached them to the top of the strip of black paper. I then found a real-life, concrete example of each activity and Velcroed it to the bottom of the paper, which allowed the students to pull it off if they wanted to explore the object closely. The end result looked like this:

For “meal time,” I attached a real plastic fork identical to the ones the students ate with. For my students who used a feeding tube for meals, I used an extra feeding tube in place of the fork to make it applicable to them.

For “wipe face,” I attached a piece of a real wipe identical to the ones we use after meals.

P104

For “brush teeth,” I attached a dollar store tiny toothbrush, and for “comb hair,” I attached a dollar store comb.


As we went through our morning routine, we would show the students the picture and object for each task. The students had a chance to touch and feel each object. When we started a task, the picture went into the white basket. When we finished a task, the picture went into the green basket. Some students were able to move the picture from one basket to the other independently. I think this provided a great transition visual!

As tasks finished, we allowed the students to stack the tasks in the green basket so they could see how much we had already done.

I also created strips for our daily “specials” classes.

This one was a little more difficult to come up with concrete objects for, but I’m very pleased with the results!

For “arts and crafts,” I used pieces of Model Magic, which my students frequently use in art class.

For “P.E.” class, I used a small plastic ball identical to the ones they sometimes use in the gym.

For “music” class, the music teacher did me a HUGE favor and lent me some small instruments (small maracas and bells) that he didn’t use anymore. I Velcroed these on so we could still pull them off and use them for musical activities in class.

For “library”, I found tiny board books (at a thrift store for cheap! Whoohoo!) and attached them to the strip.

“Guidance” class was the hardest for me to come up with a concrete object. I finally settled on a giant fuzzy ball. The guidance teacher often used these as visuals for feeling “warm and fuzzy” and also for rewards in class. It was something my students were used to seeing in guidance and no where else so it worked out perfectly! (I’d also like to note that there wasn’t a good picture for “guidance” in terms of attending a class, so I used another picture and wrote in “guidance” at the top. This was in the best interests of my students’ learning and understanding.)

I should mention that I did a picture strip of everything for EACH student. I had six library strips, six music strips, etc. It was exactly what I wanted: a simple way to keep my students actively engaged and allow them to access the schedule and understand what was going on in their surroundings. It was also a great visual way to teach transitions.

You could do this for an infinite number of school activities (recess, calendar time, subjects like math, science, etc. The list goes on and on!) It takes some work but it is worth it in the end!

***

Today’s teaching outfit:

Cardigan: Old Navy

Dress: American Eagle

Cami underneath: Express

Tights: Express

Boots: Payless

Necklace & bracelet: Lia Sophia