Jambo!!
Today is the TEN YEAR anniversary of the premiere of “Mean Girls.”
Wait.

WHAT!?
Yes, it’s true. Regina George came into my life ten years ago!
 I seriously love this movie! My friends and I watched it at least once a week in high school — I can quote Every. Single. Line. And it makes me laugh every time I watch it! It is an absolute classic in my book! So of course, I’m celebrating it’s 10th anniversary by . . . wearing pink (because it’s Wednesday, and that’s a rule) and watching it for the trillionth time!
Because of this oh-so-fetch celebration, I’m gonna make my weekly Wednesday post nice and quick!
Wedding Wednesday
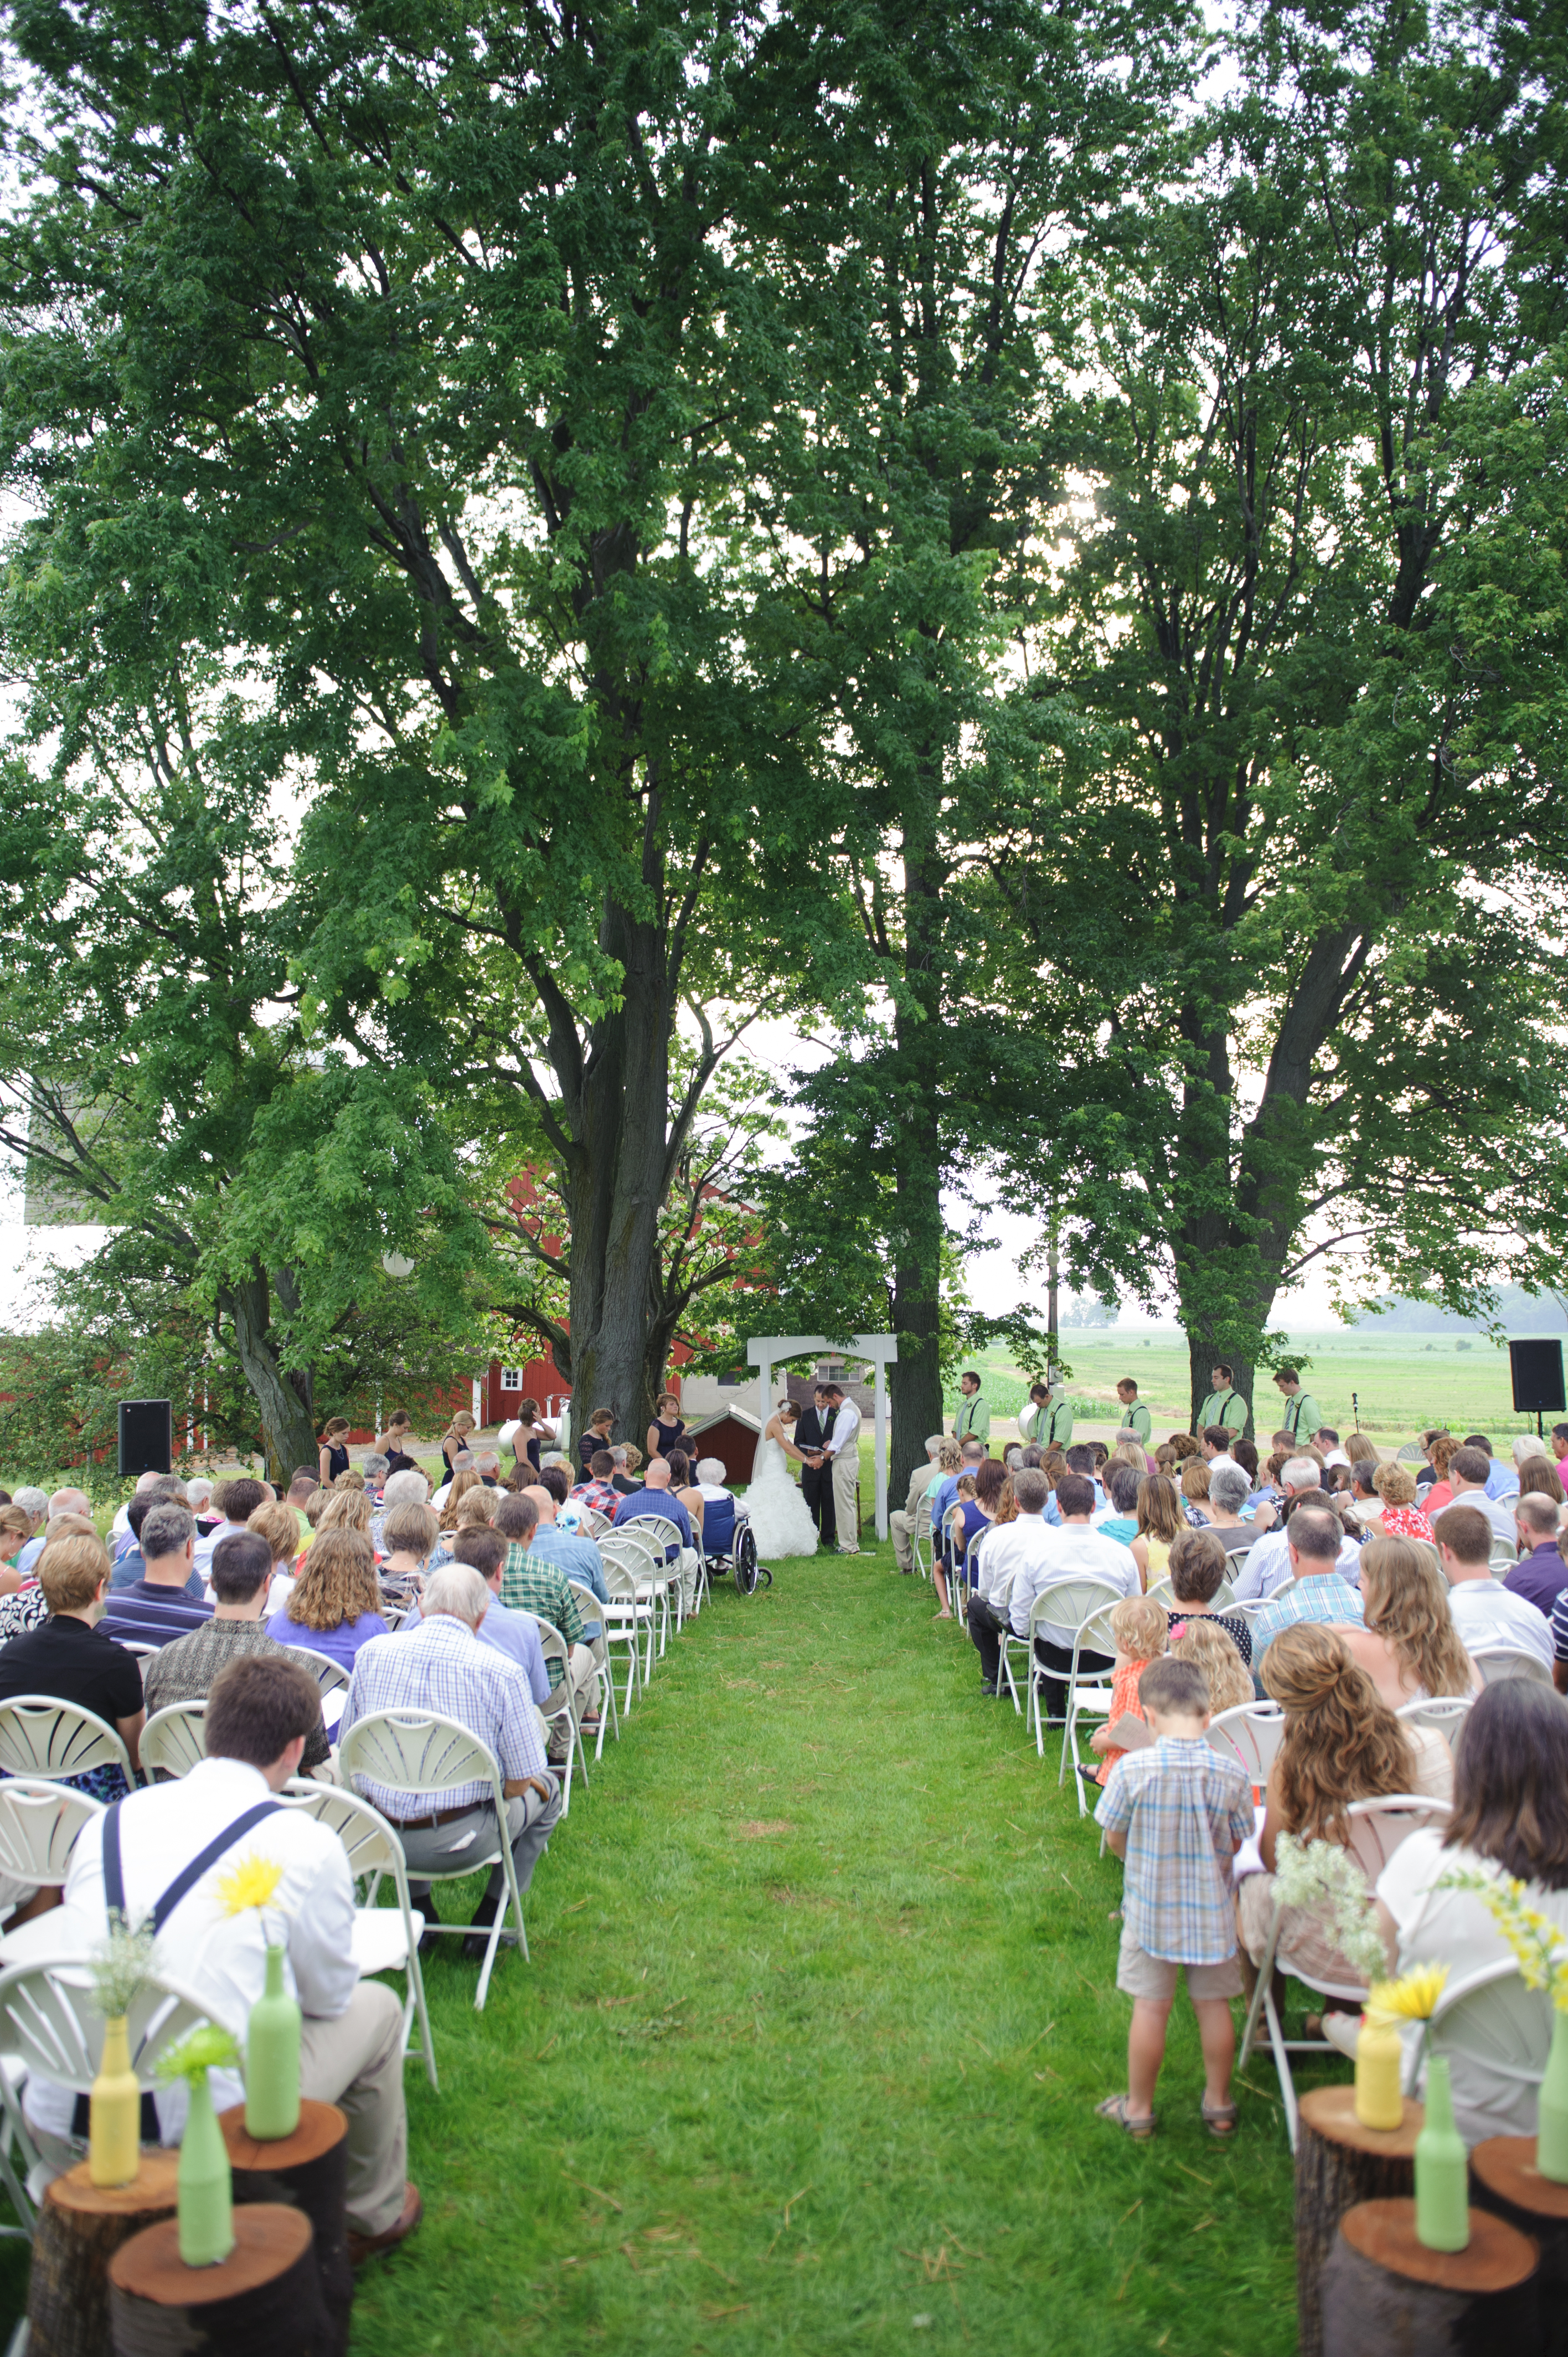
My final decoration post is about our wedding reception. We kept things nice and simple — a big white tent in the front yard of the farmhouse with a few decorations to add pops of color! Once again, all photographs are copyright the AMAZING Rothwell Photography.
First of all, MAD PROPS to my awesome hubby for creating these paper flower poms:
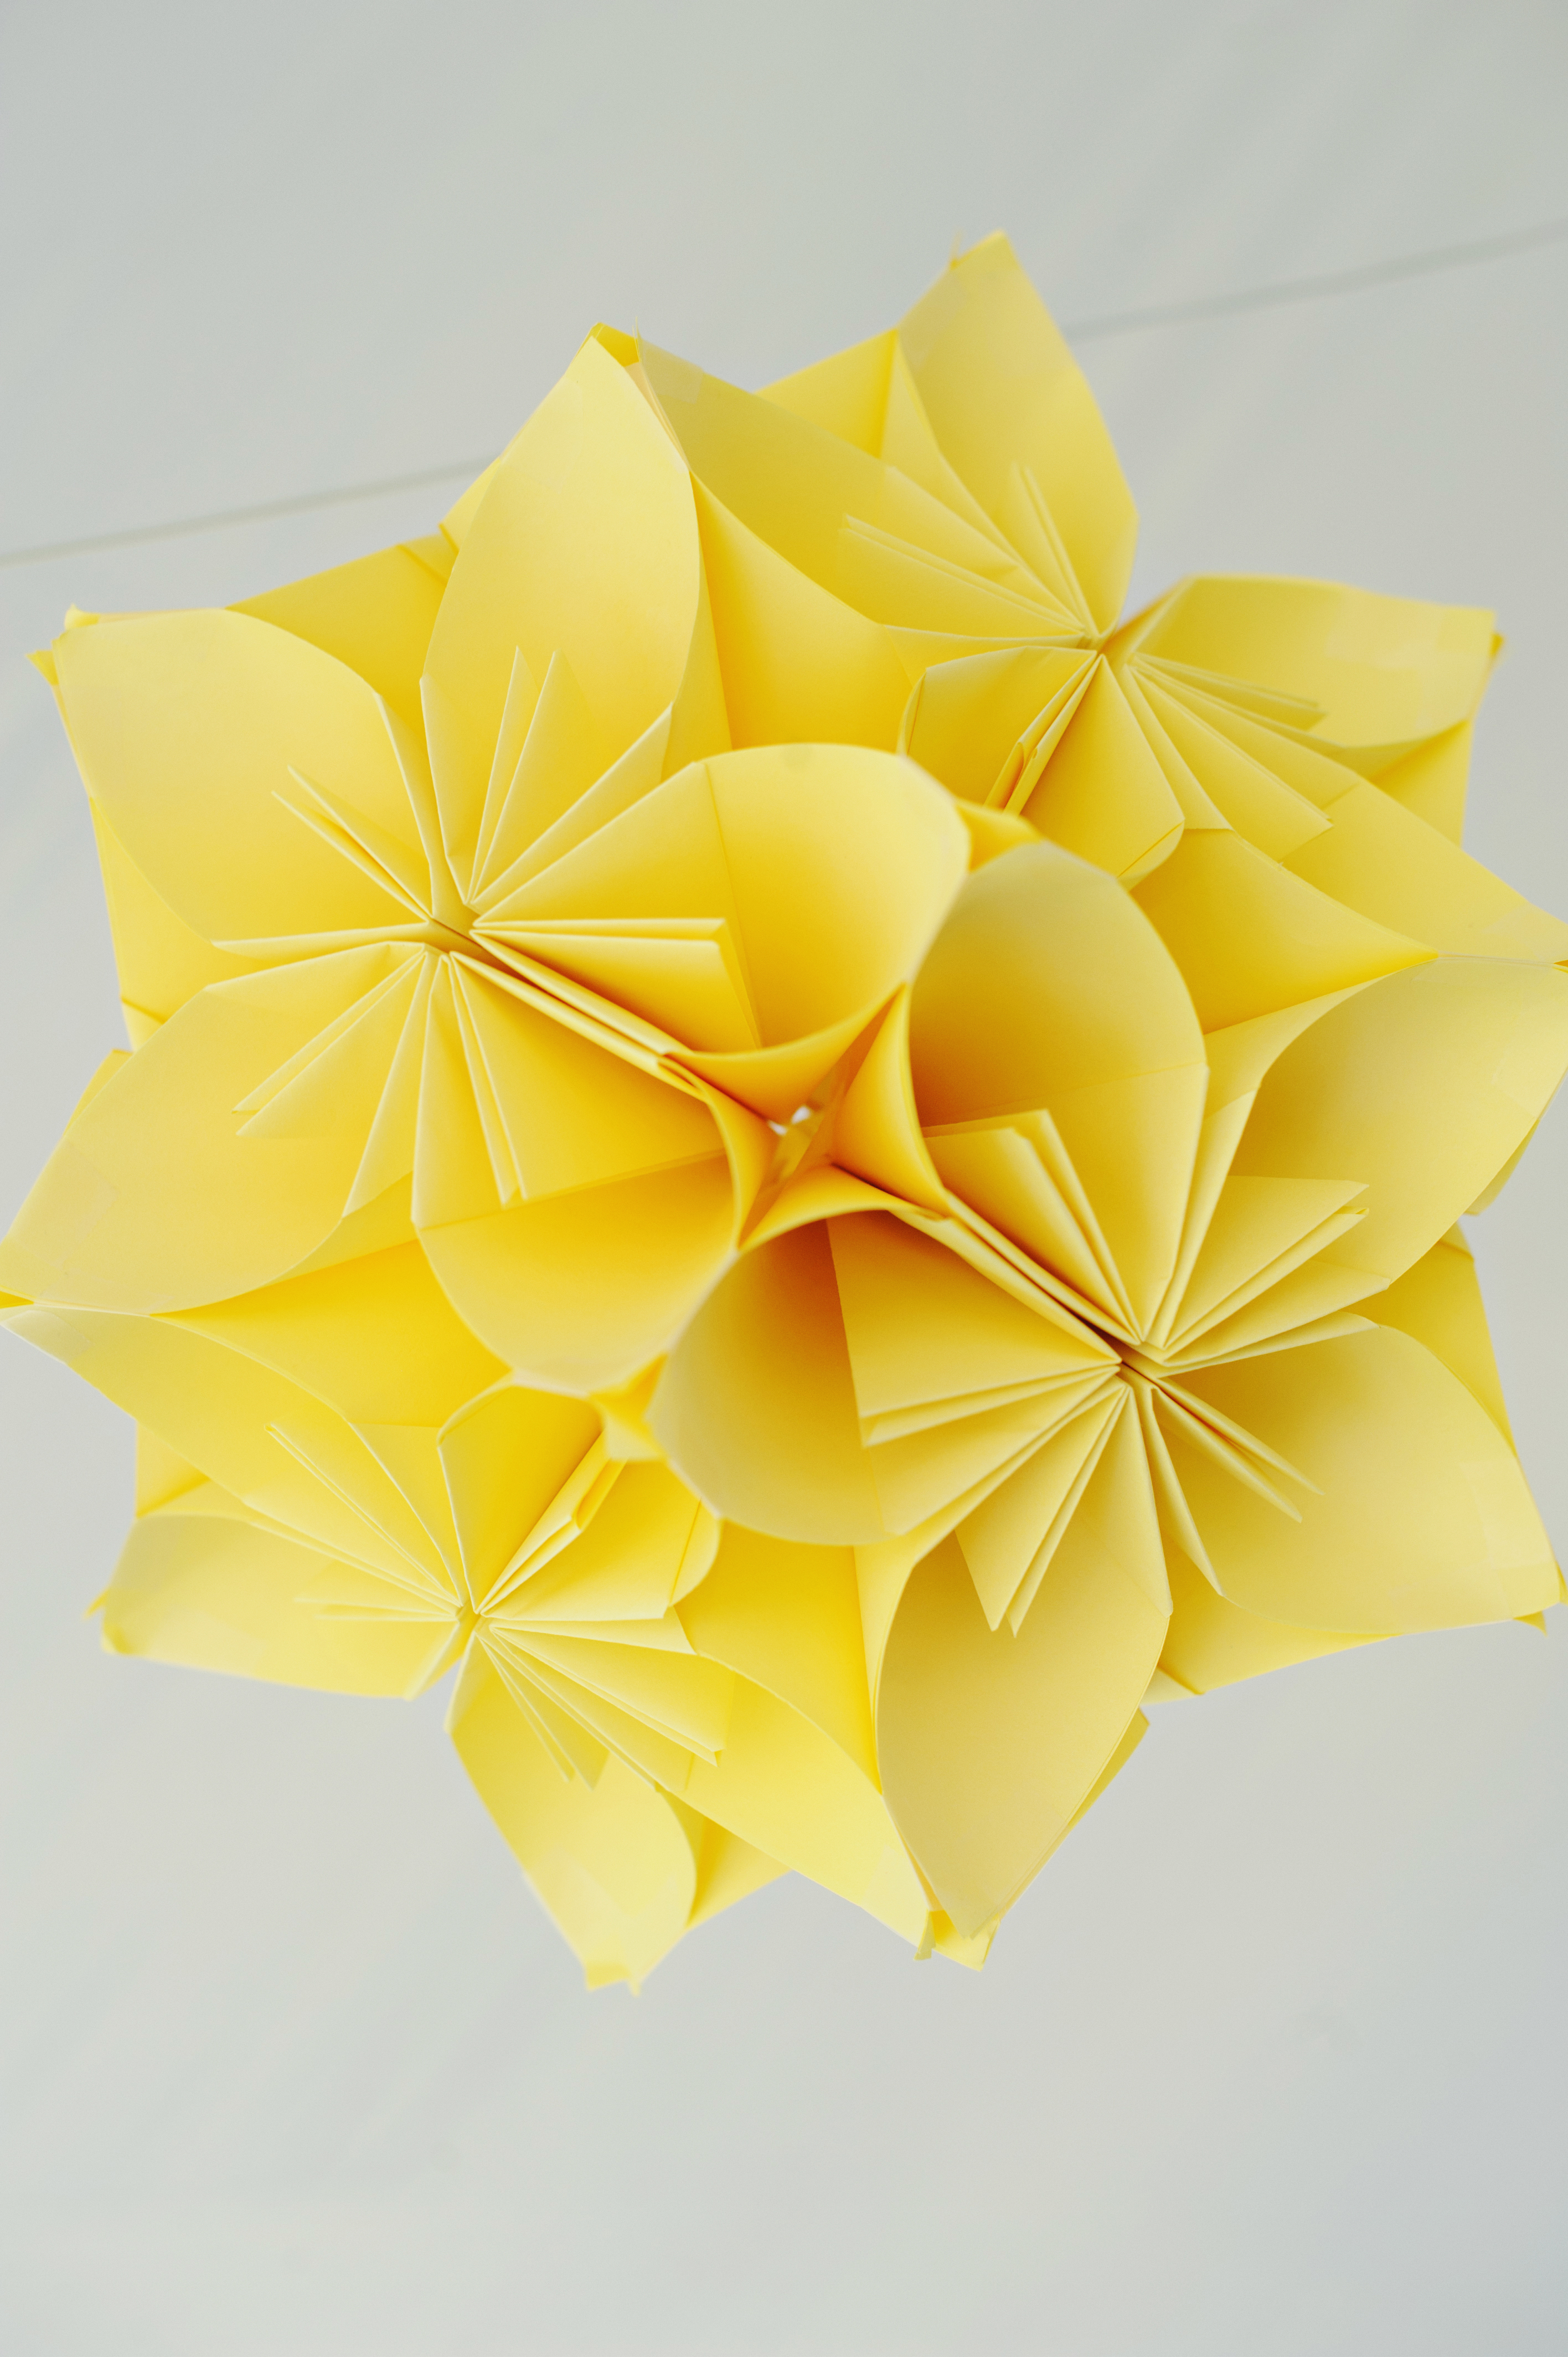 The boy spent hours creating 30 of these babies! Each petal was a piece of paper and you need 5 petals to make a flower, 12 flowers to make one pom. Do the math — that’s 1800 flower petals to fold!! I was so impressed with how they all turned out though. We got tons of compliments on them! All we did was hang them from fishing line across the length of the tent at varying heights (we used a hold punch and those paper reinforcer donut hole stickers to hang them).
 Simple and beautiful! And I love the way they pulled everything together without trying too hard.
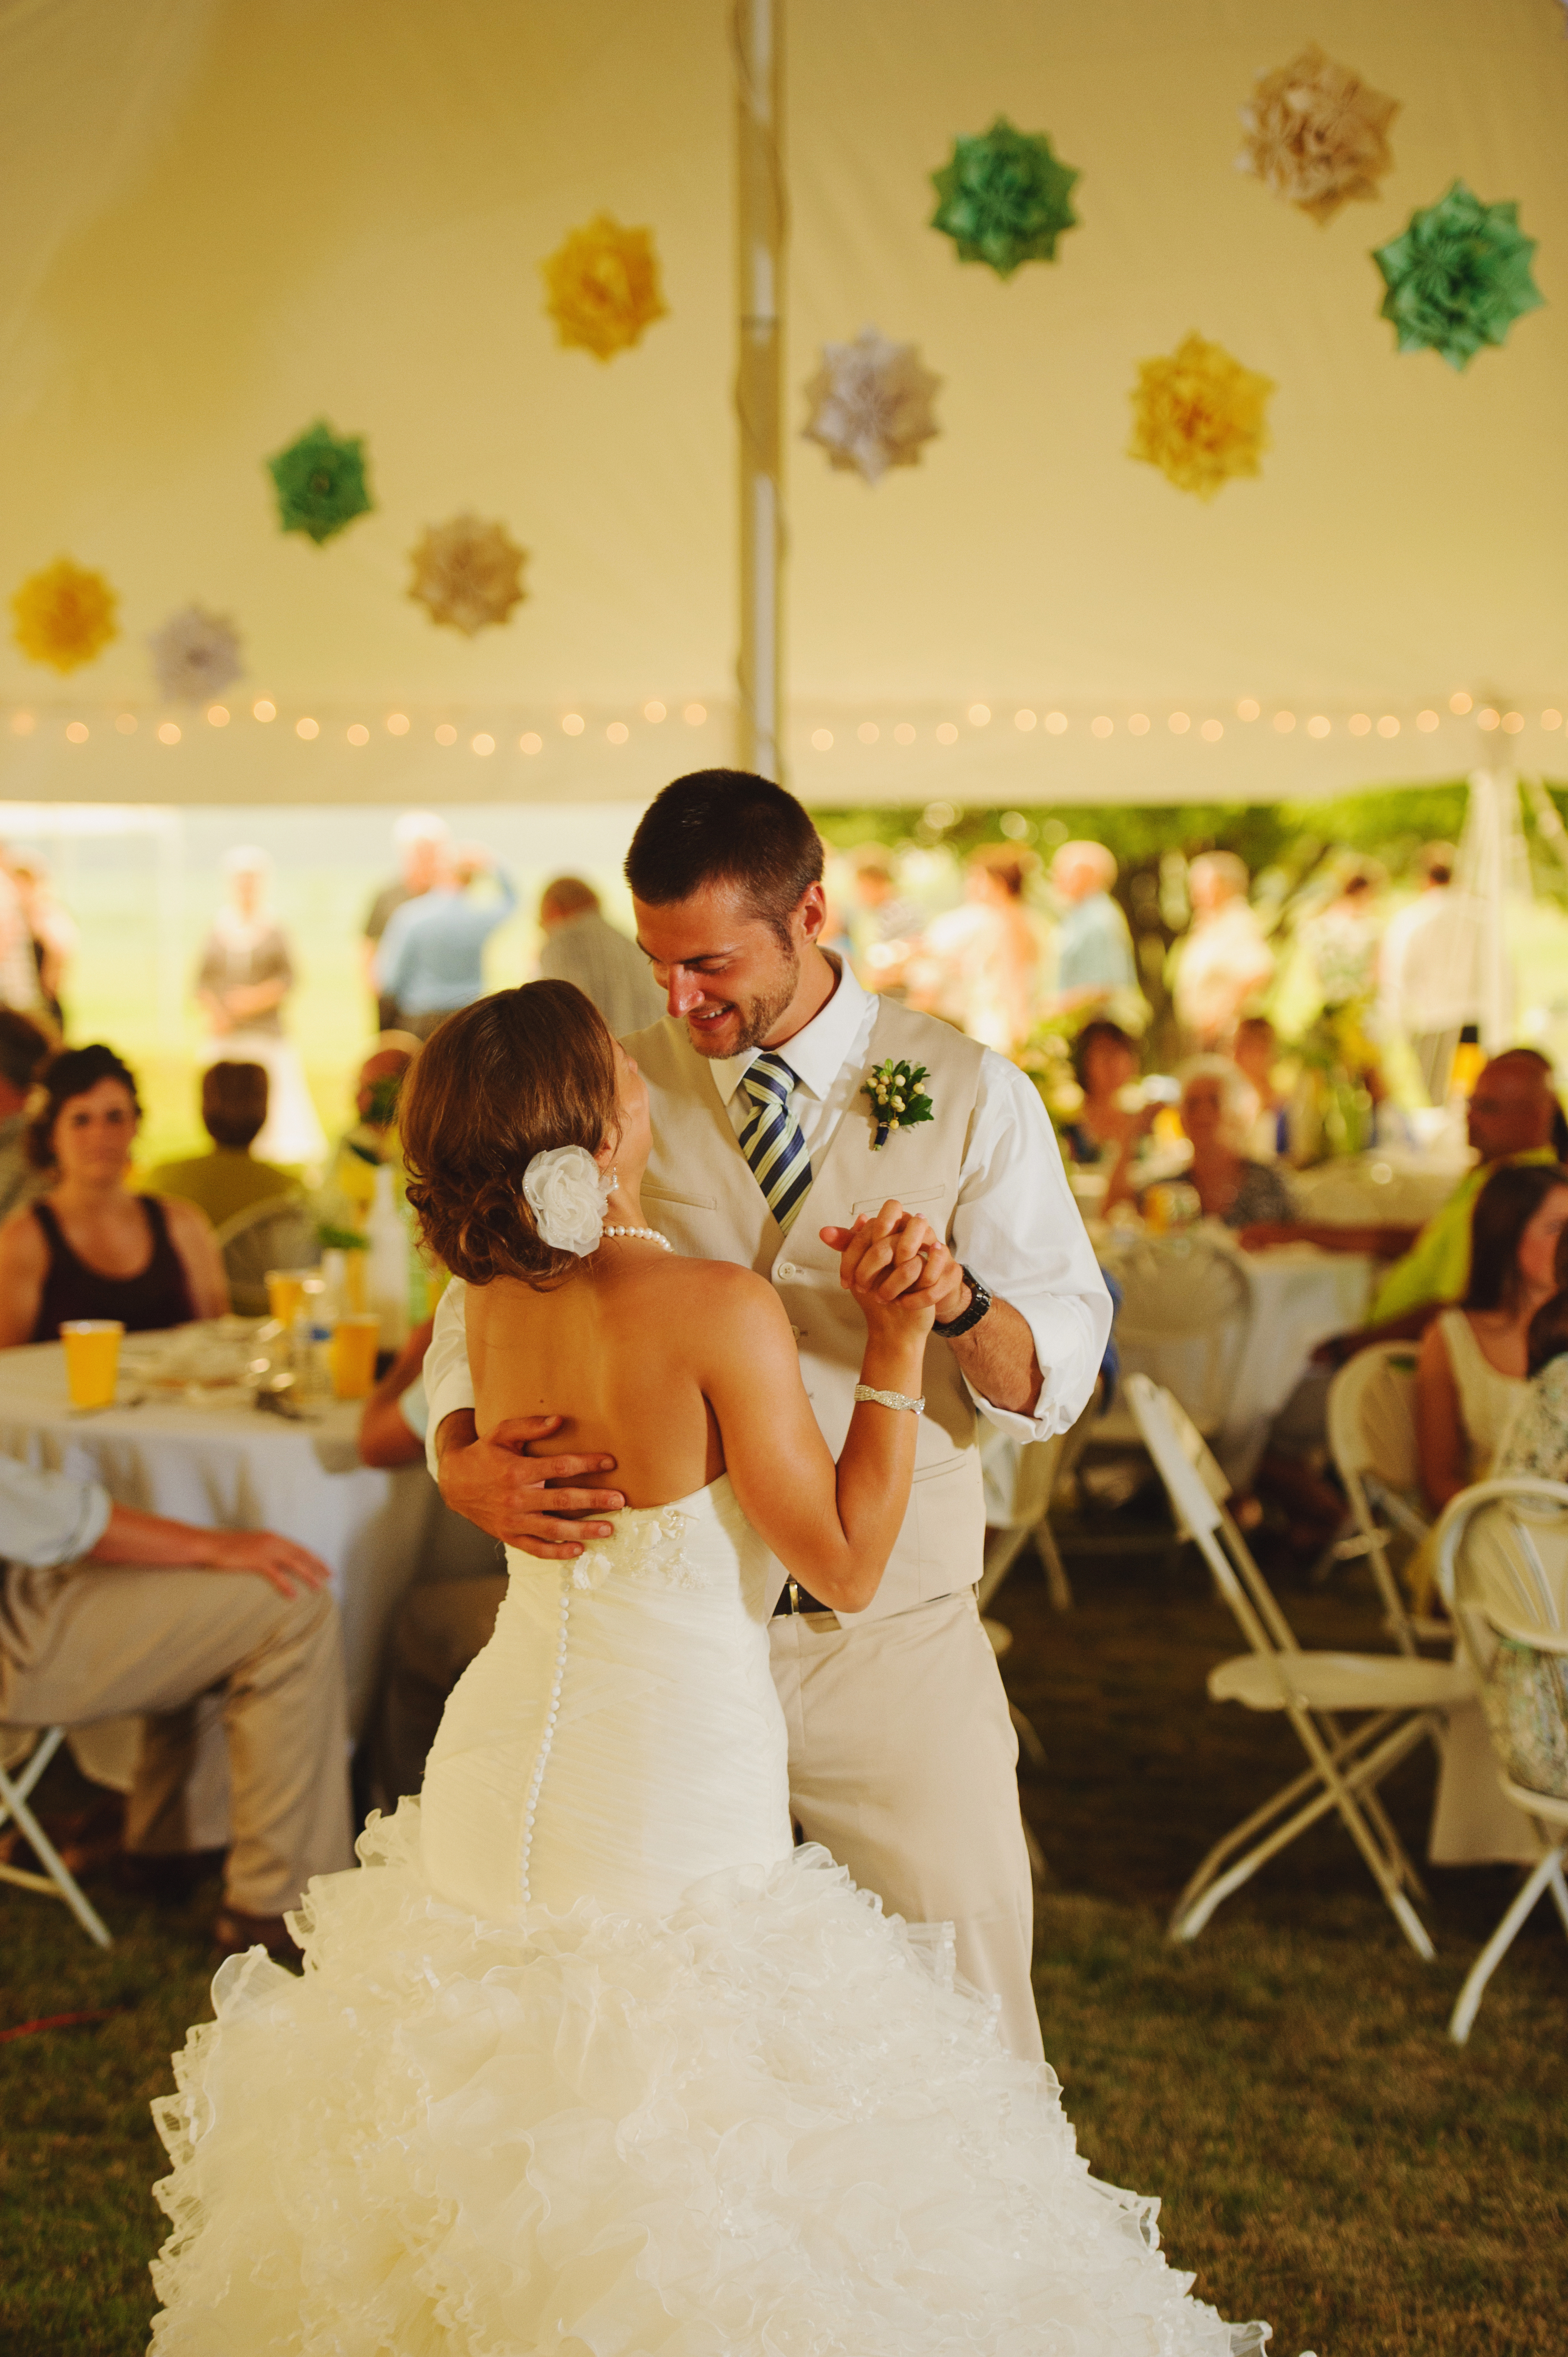 This was one of my favorite shots of our first dance — mostly because I love the way J and I are laughing and loving life in that moment but also because the poms look sa-weet! I absolutely love how they turned out! So proud of my crafty hubby (even if he did only do it to have an excuse to take study breaks! Haha!) See the full directions here for how to make them.
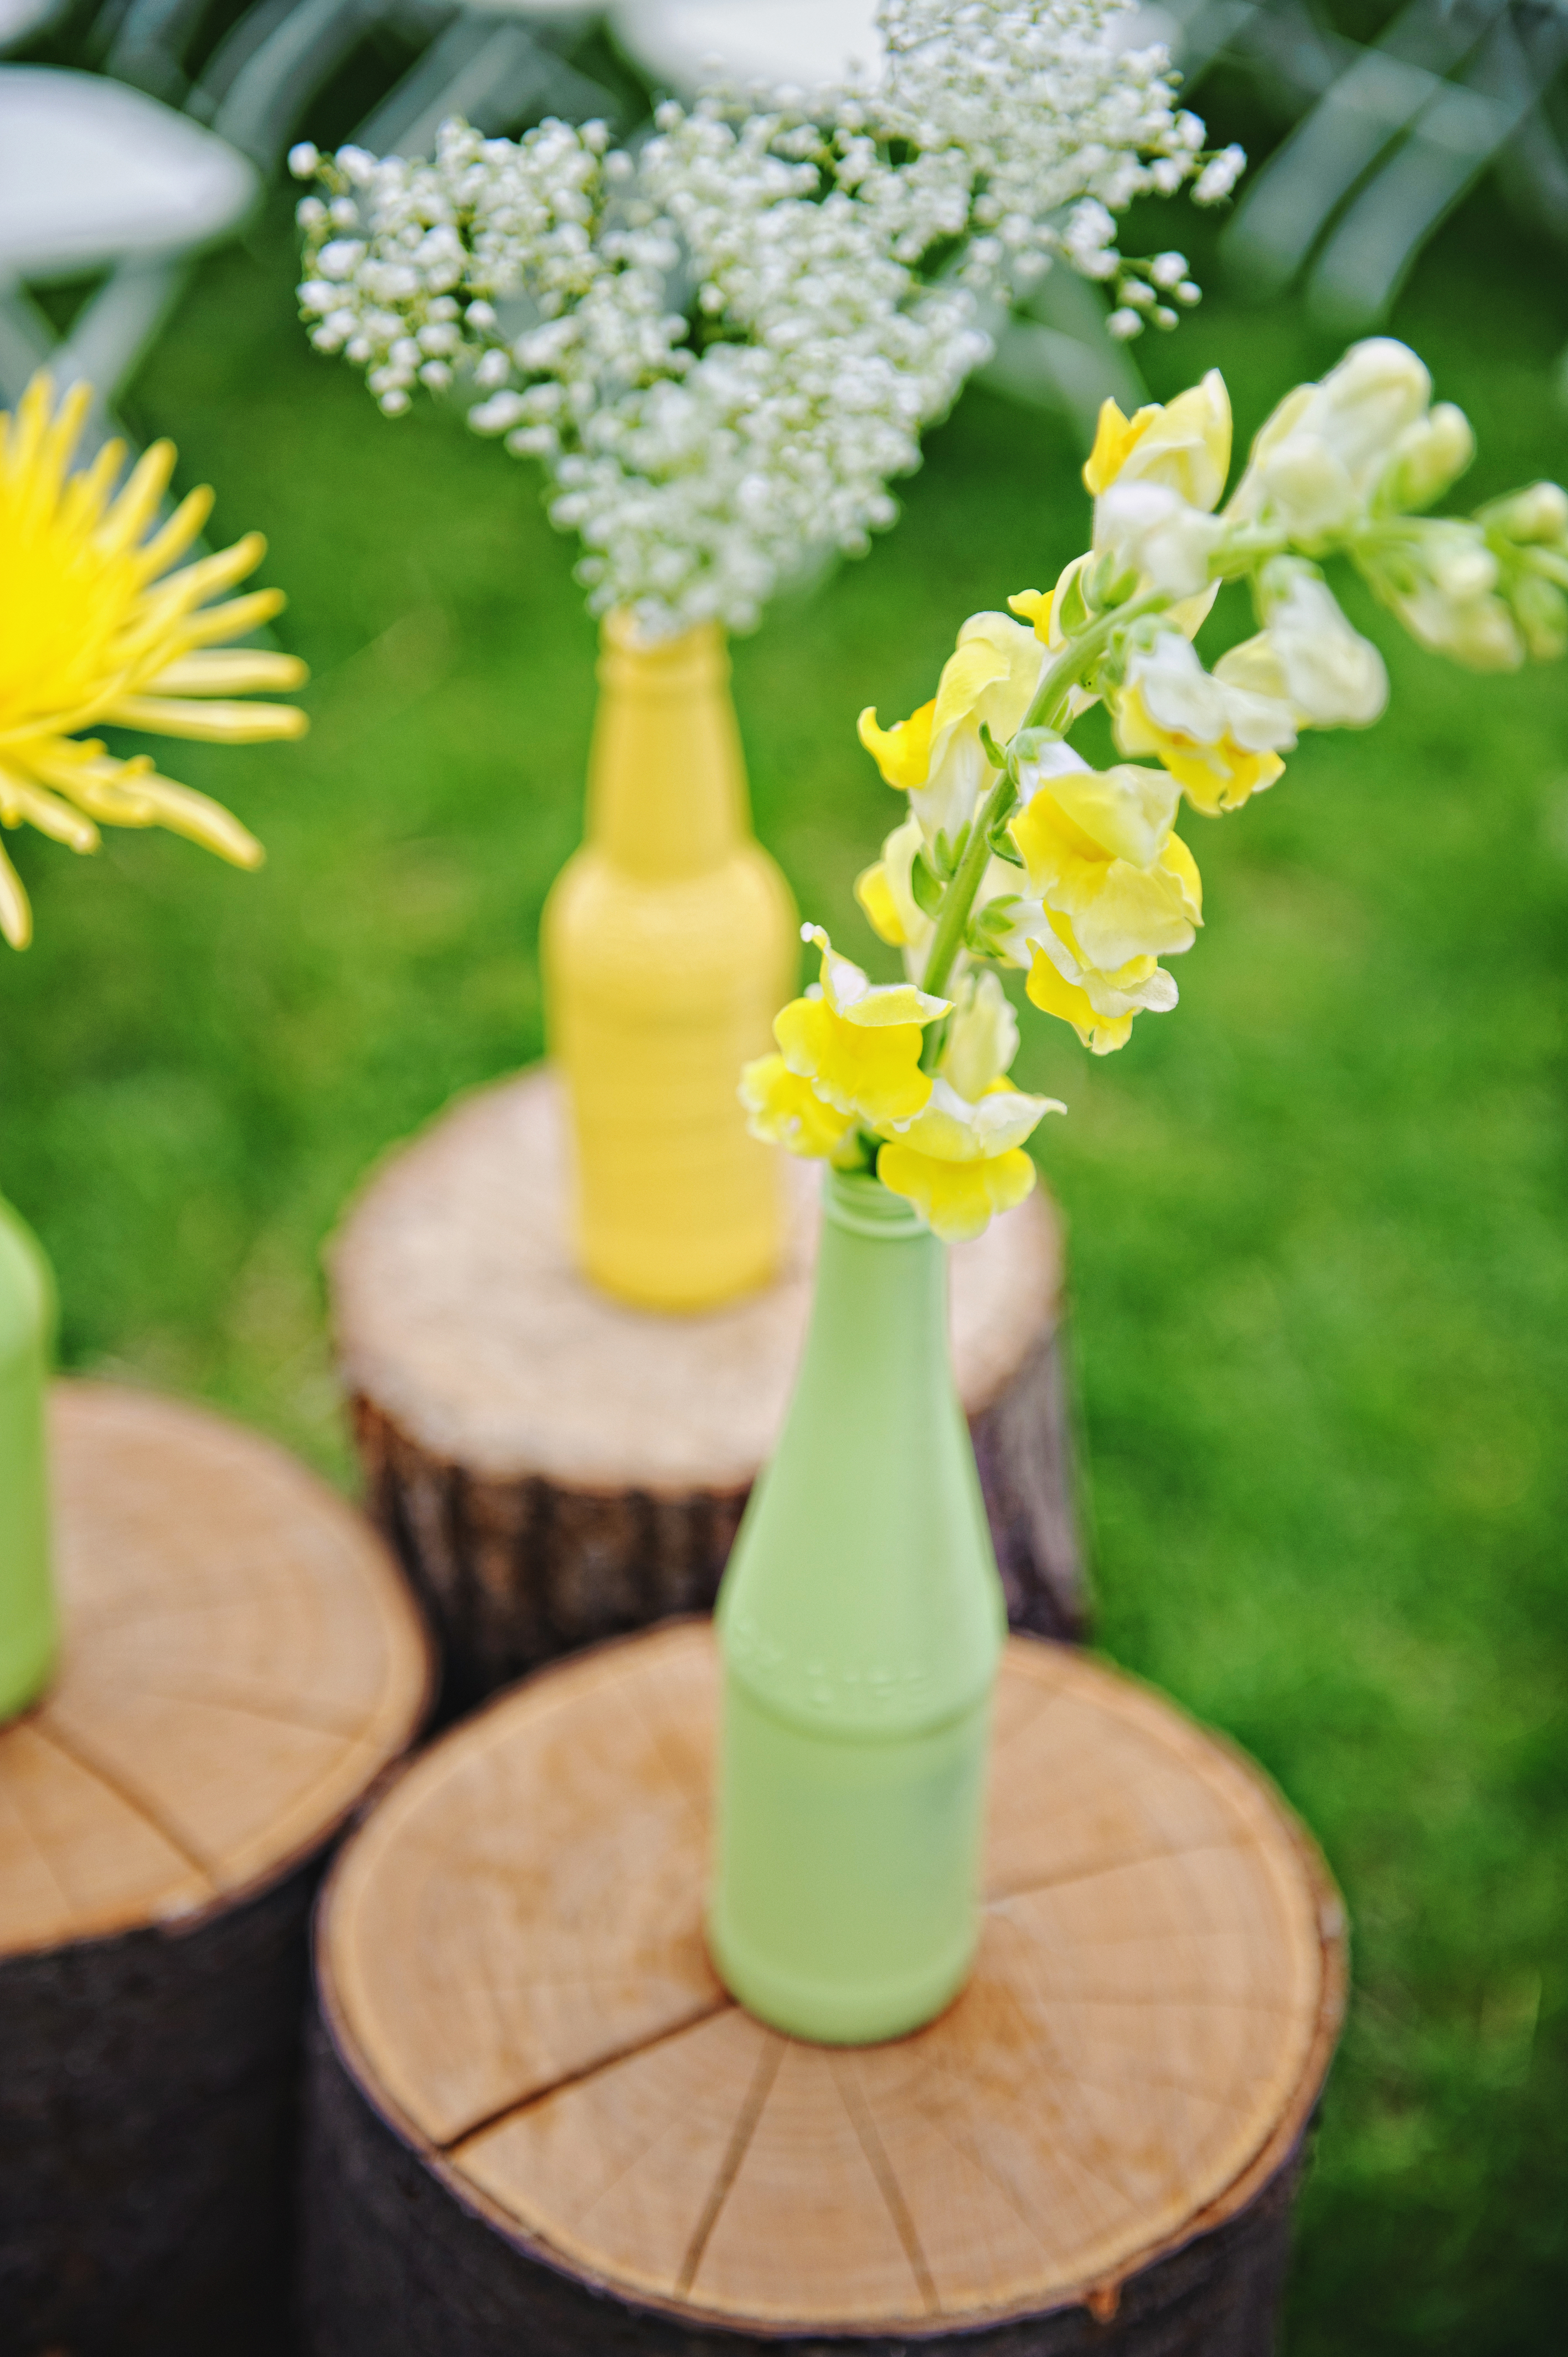
Really the only other reception decoration was the centerpieces. Each table’s set-up looked like this:
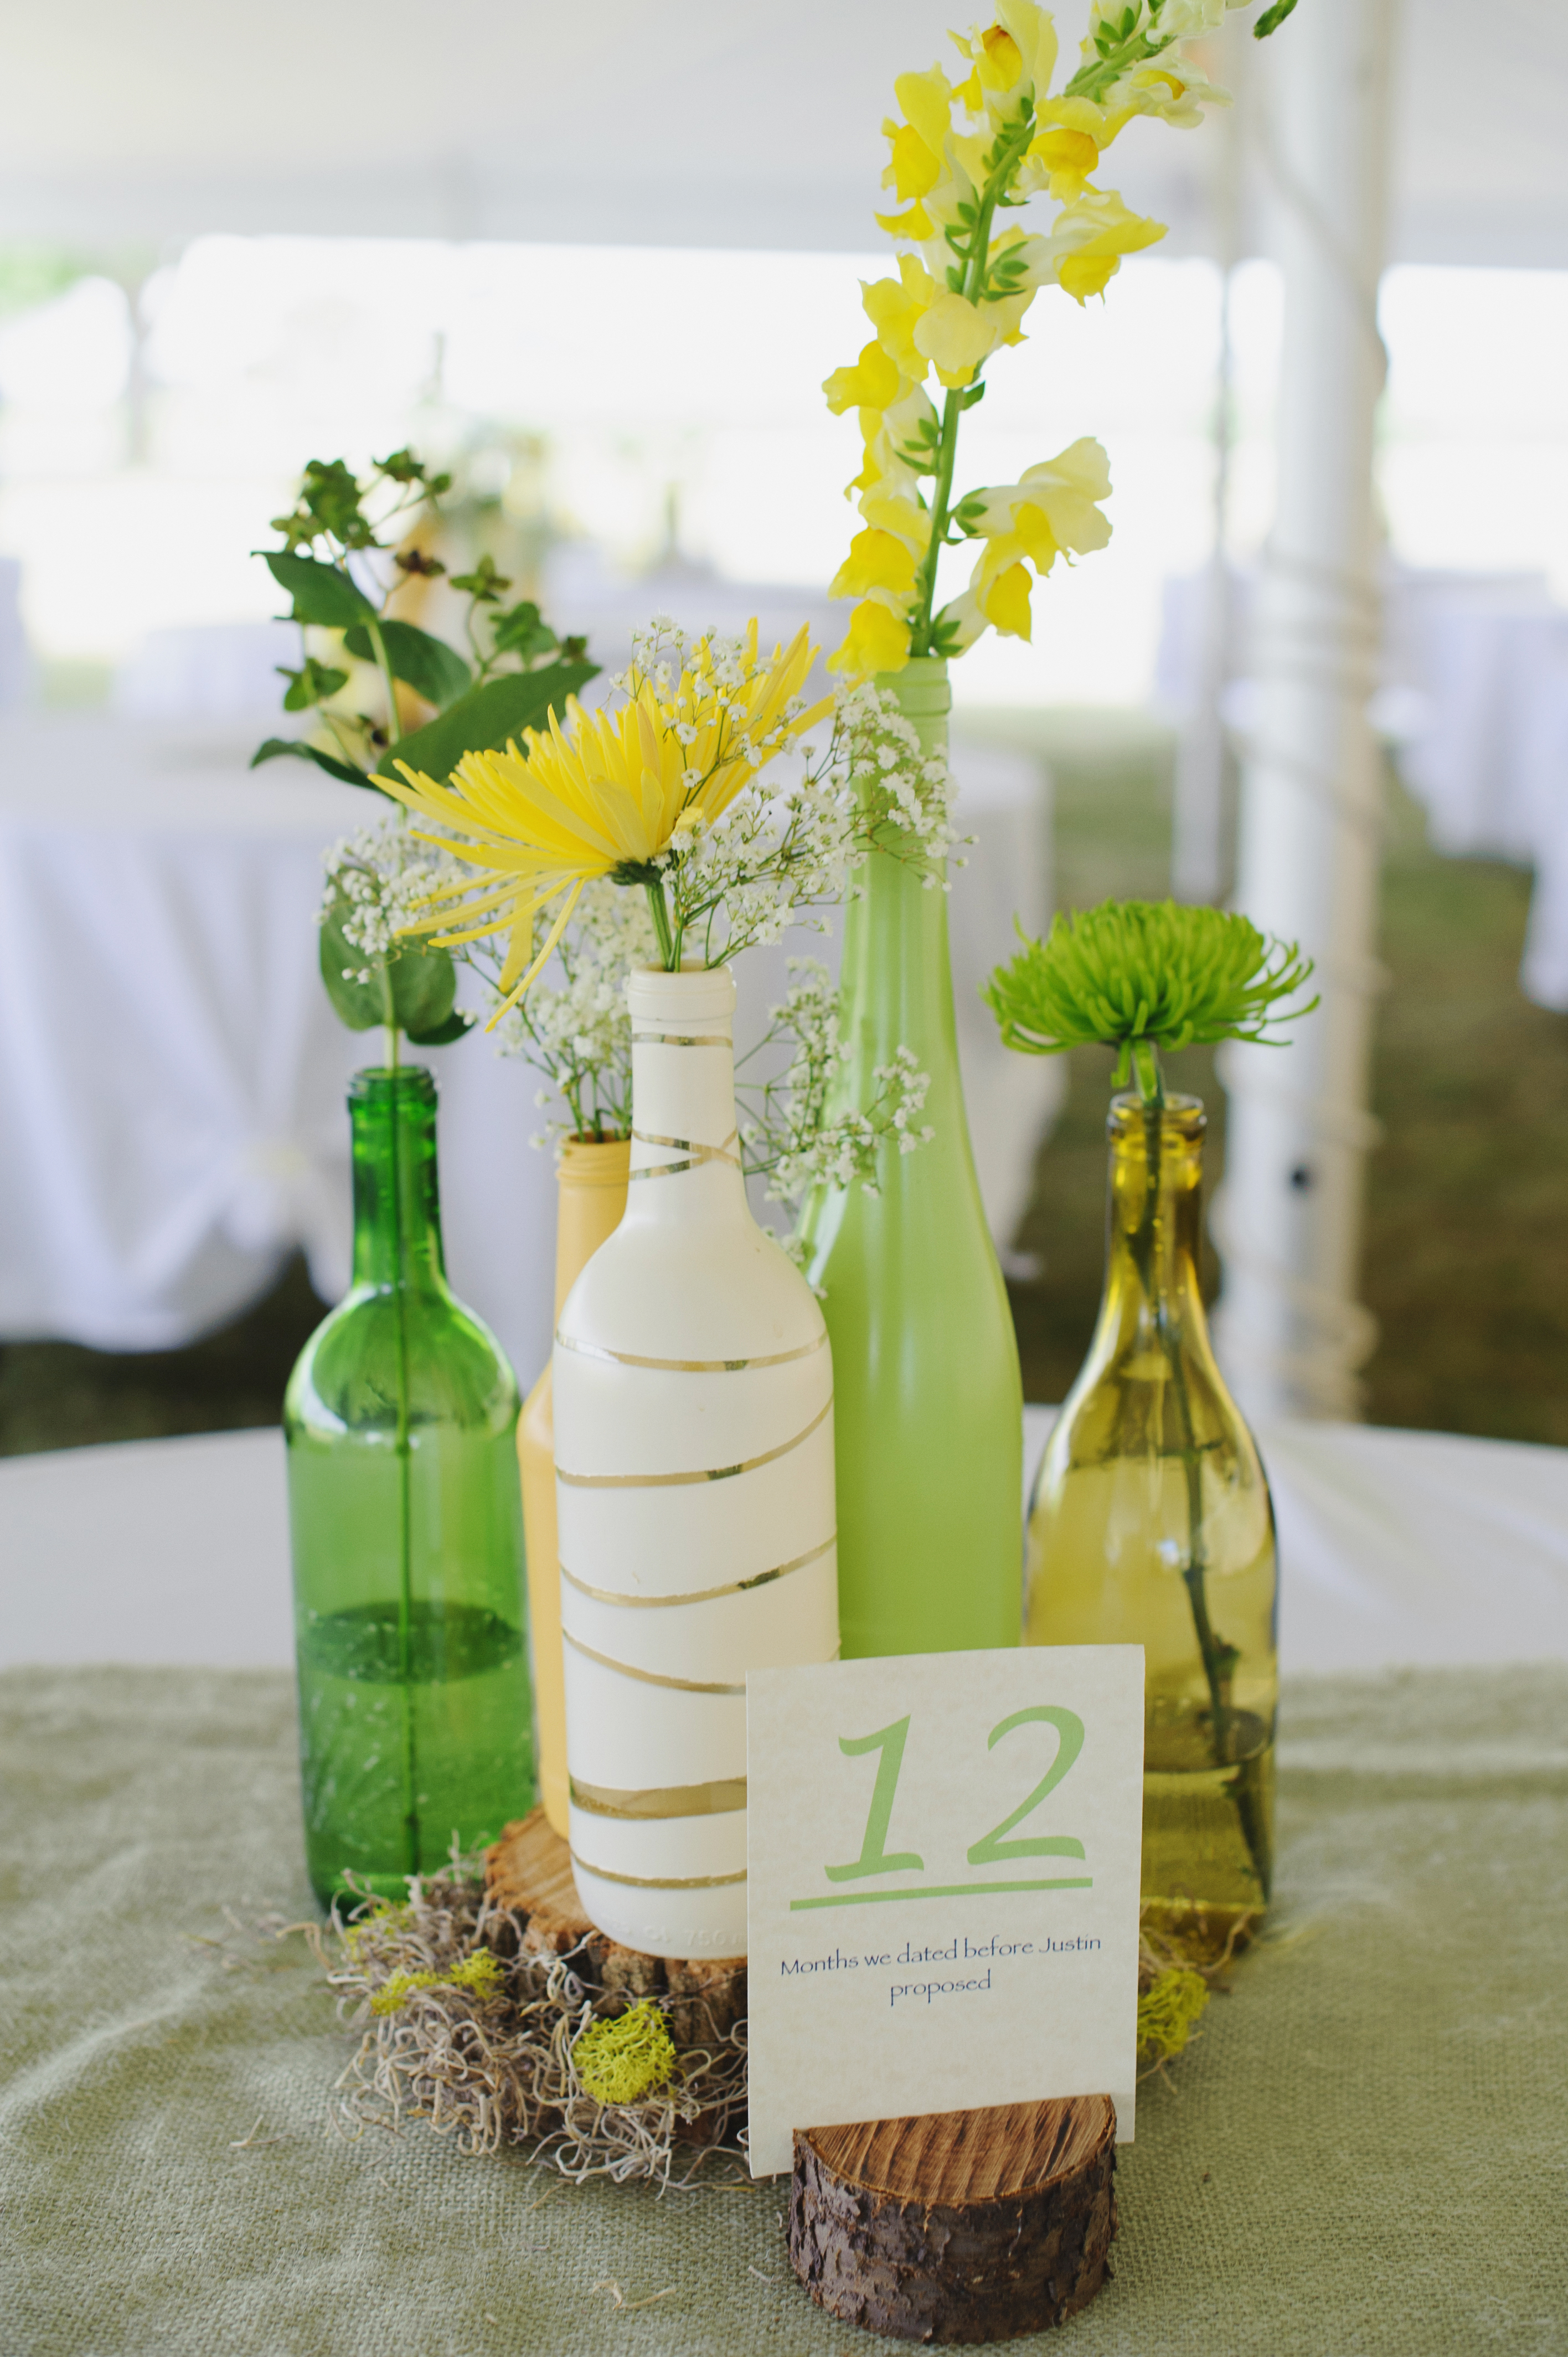 -Square piece of green burlap
-Large stump cut to a height of about 2 inches (thanks dad!)
-five wine bottles (more on this below!)
-a few bits of moss around the stump
-one small stump with a notch cut in it for cardstock (again, thanks dad!)
-table numbers (each table had a fun fact about us corresponding to the table number i.e. Table 7 — the number of states we’ve traveled to together. It was a fun way for our guests to learn a little more about us as a couple!)
-green, yellow, and white flowers (got these in bulk from my florist. They were all the same types of flowers incorporated into my bouquet and other flower arrangements, which helped tie everything together. By buying in bulk and assembling ourselves, we saved a ton of money too! Yay!)
Justin and my table looked a little bit different. We didn’t have a bridal party table because we wanted our attendants to sit with their significant others so we had our own simple little table:
 A nice green tinted jug with flowers and some Mr. & Mrs. stumps (made last minute with a sharpie marker and some extra little stumps!) kept things sweet and simple. We knew we wouldn’t be at the table that much anyways so why overdo it?
We hung a few strands of white Christmas lights around the tent and called it good! Easy peasy!
Wine Bottles
The wine bottles was a simple project. We collected tons of wine bottles from family, friends, restaurants (not kidding), and anywhere else I could find them. Some were already tinted green and yellowish, so we left them as is! Labels are easily removed by soaking the bottles in warm water (make sure the water inside the bottles is really warm!) and removing it with a kitchen scraper.
The bottles that were clear or a color other than green or yellow got spray painted. I used lime green, yellow, and cream (hotel vanilla, technically) spray paint. I didn’t take pictures of the process but it was super simple:
1- Lay out newspapers in a large space outside. Make sure to lay out a lot of newspapers — the spray paint goes further than you’d think!
2- Place the clean, dry bottle on the newspaper (my dad eventually crafted a bottle holder out of a block of wood and doll rods but most of the bottles were sprayed on paper).
3- Spray thin coats of paint on the bottles. I waited 30 minutes in between coats and each wine bottle got at least 3 coats.
4- Let the bottles dry for at least an hour or two, depending on the temperature of wherever you’re spraying them.
5- Smile! You’re done!
We used rubber bands to create a striped look on some of the bottles (see white bottle above). To do this, all you have to do is wrap a bunch of rubber bands in varying sizes around the bottle between steps 2 & 3. It looks better in the end if the bands are lying flat against the glass and not twisted. I cut the bands off with scissors then — do not remove the bands until the paint is completely 100% dry!
And there you have it! Super easy and it looked great! Plus now the wine bottles make great decorations around the house!
Have a great hump day! Love, me and Mrs. George 🙂
 ***
***
Today’s outfit. Unfortunately, there was no pink involved so I couldn’t sit with the Plastics at lunch . . .
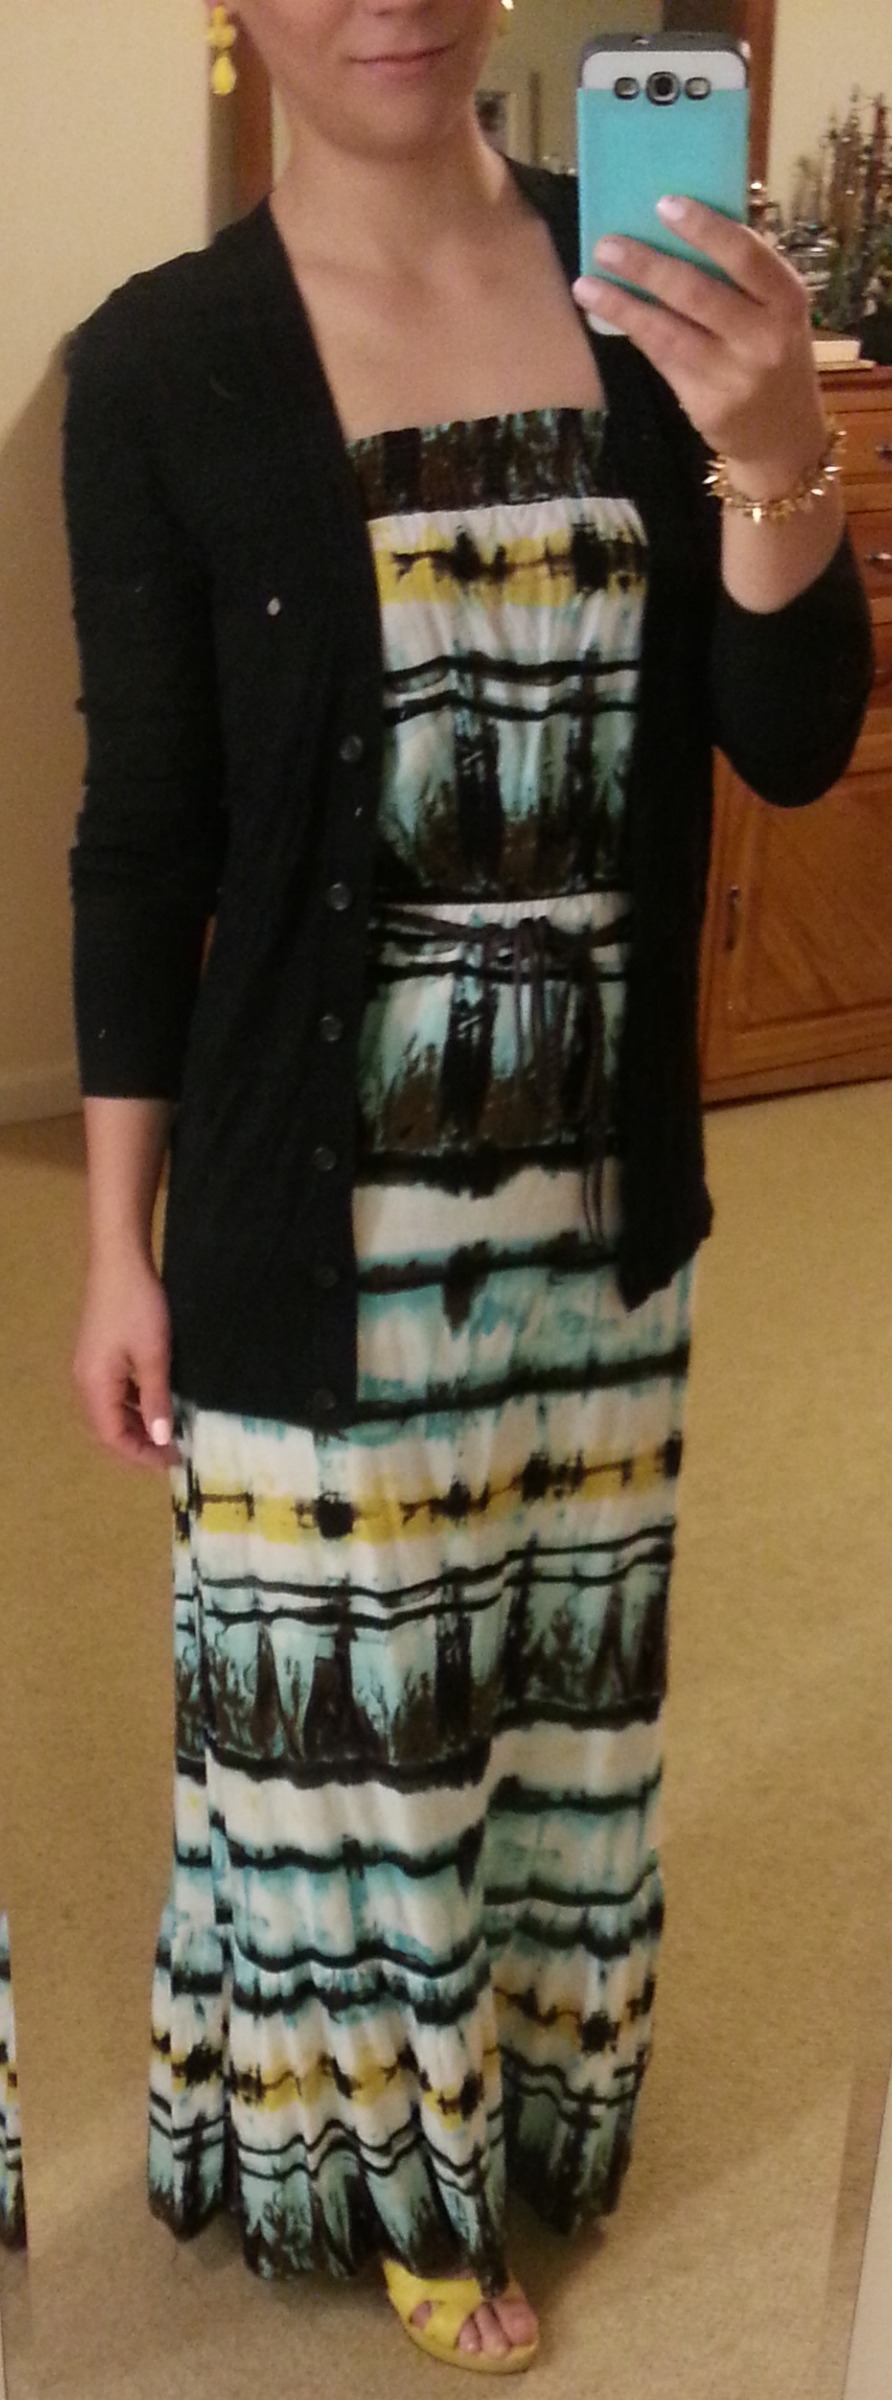 Dress: via Ross (no longer available) ~ Cardigan: Target (exact here) ~ Shoes: Nine West (no longer available; similar here)