
Hi there!
Now that it finally feels like spring is here to STAY (mid-May and we’re just now getting to the point where we go a whole week without a night with temps below freezing!) I’ve got a fun DIY project to share!
Since Justin and I love being outdoors as much as possible and we hang out on our back deck frequently, I wanted to liven up the space with some flowers. That being said, I didn’t want to take away valuable floor space with potted plants (and, to be honest, I also don’t trust our puppies to leave potted plants alone just yet!) After brainstorming with Justin about ways to tweak window boxes to fit our needs, we decided it would just be easier (and cheaper) to just make something ourselves. I present to you:
 Now, the directions might look a bit intimidating. Hopefully the pictures do a good job of conveying how simple this project really was! It fits right in with my requirements of easy, inexpensive, and functional!
DIY Pallet Window/Flower Box instructions
1- Get a pallet! We asked around at local businesses — several were more than willing to get rid of old pallets they had lying around. We also found some at the dumpster near Justin’s school.
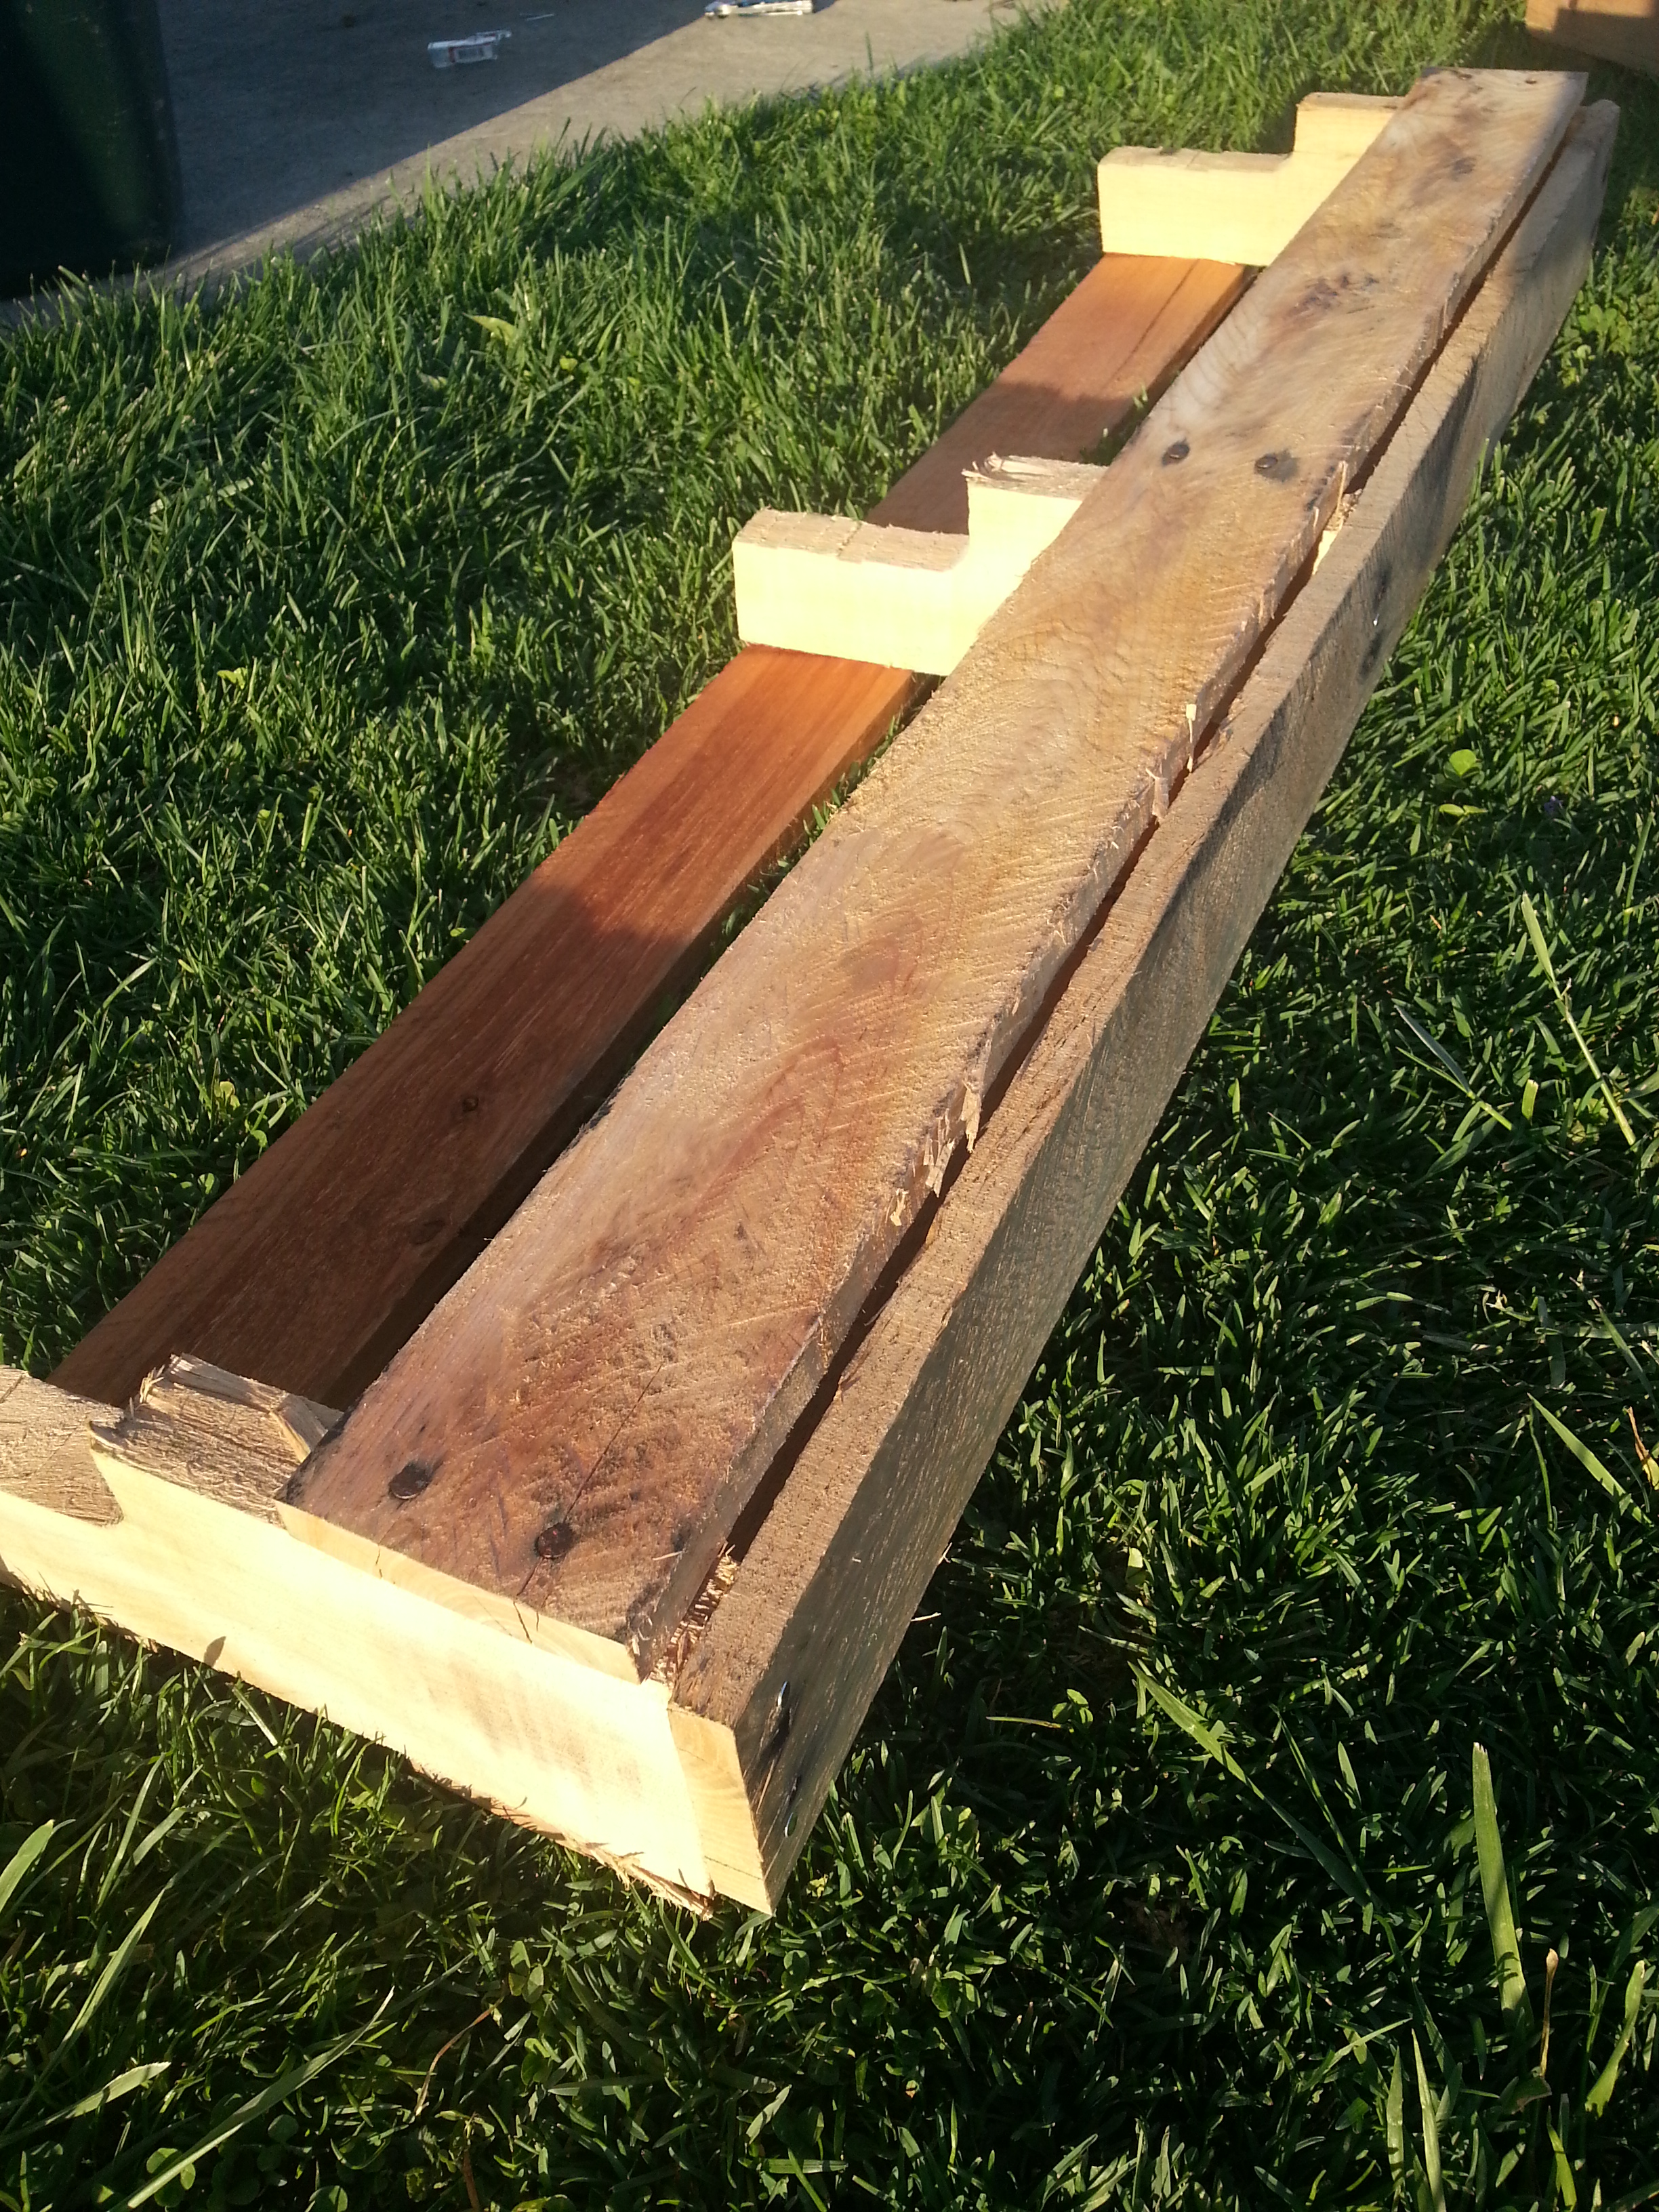
2- Select the side of the pallet that you’d like to use. We actually decided to make two boxes so we used both ends of the pallet. Saw the end off to the size you want the box to be. For this step, Justin used a hand saw. 3- Using the remaining pallet (not the part you’re using as your flower box), remove one long board. Justin essentially just used a hammer to knock off a board running lengthwise. This will eventually form the bottom of the flower box.

 4-Before nailing the bottom board onto the flower box, seal all the wood with a sealant. Justin went out to Lowe’s and bought a $4 aerosol can of exterior weatherproof sealant. He sprayed down every surface of the box and let it dry (he let it dry overnight but yours could be ready much sooner depending on temperature).
 5- Once the sealant has totally dried, attach the long board you removed from the excess pallet to the bottom of your flower box. Justin used nails, but you could use screws if you’d like. He used two nails on each end and also at the post in the middle so there for a total of six nails attaching the bottom board.
 Sidenote: If you’re concerned about everything lining up just right, consider taking a piece of sandpaper and running it along all the edges. We knew it was going to be outside and I was okay with a more “rustic” look so we didn’t sand it down.
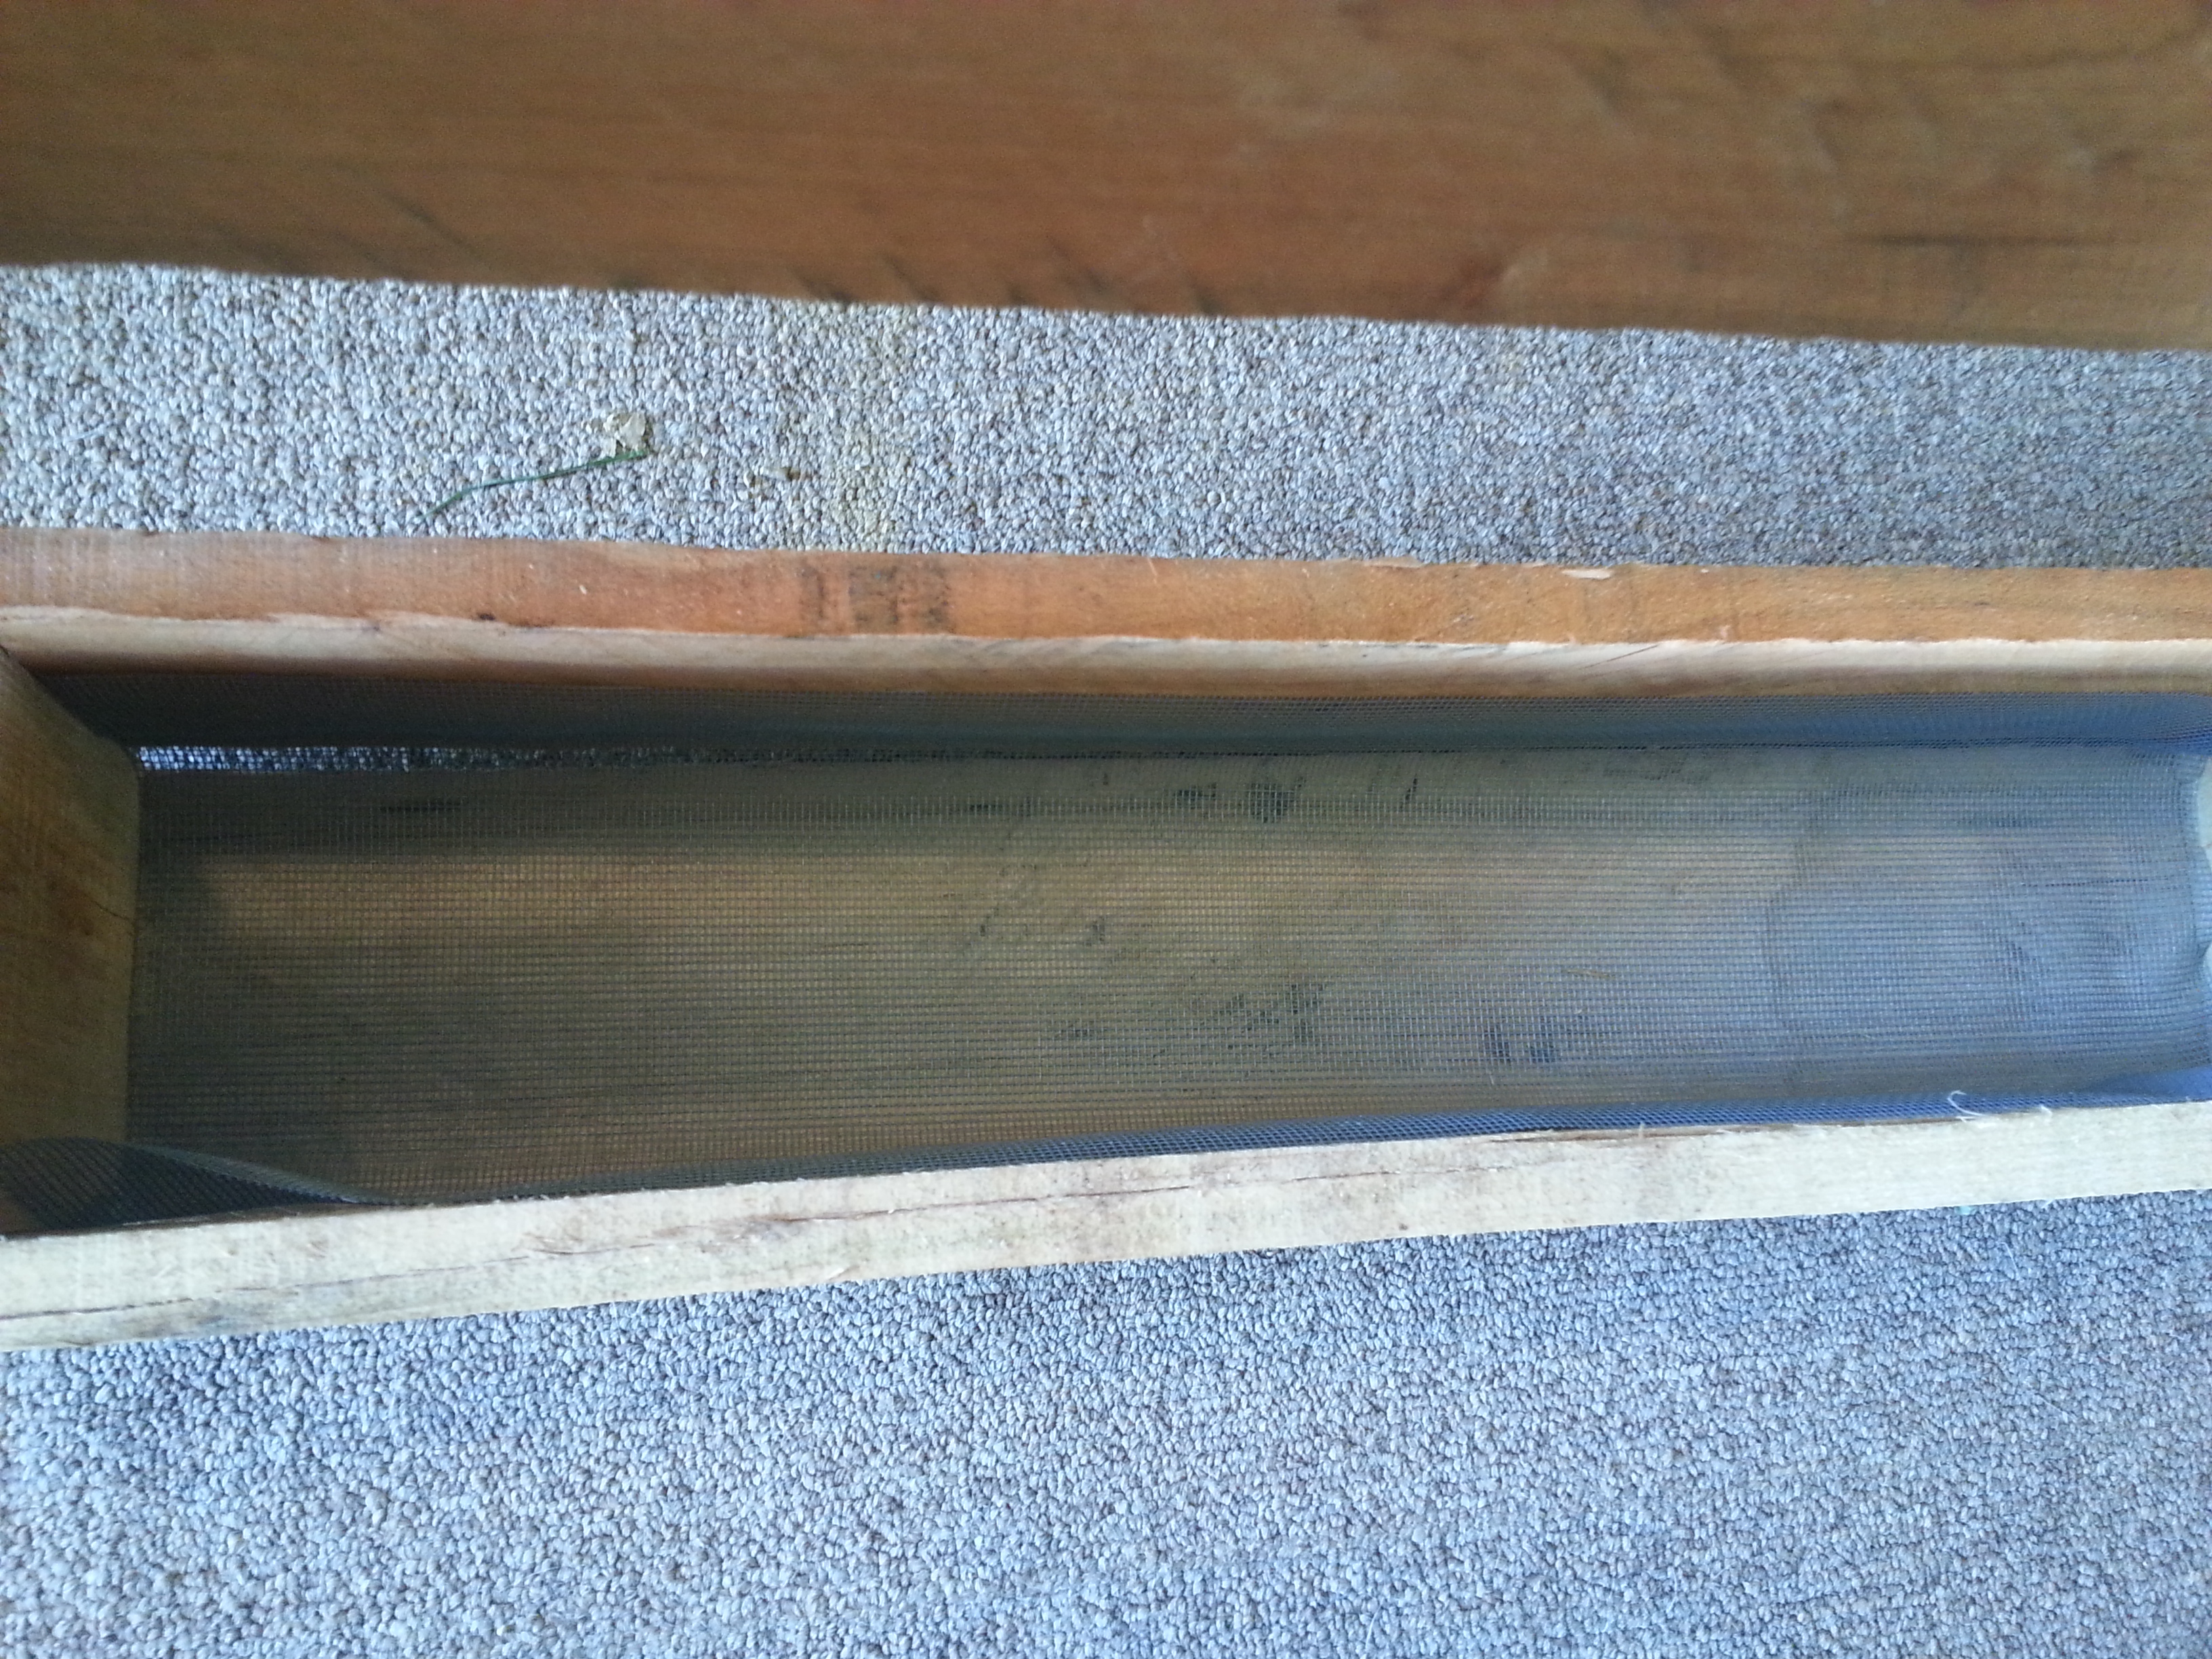
6- Next, take a mesh lining (we used a cheap package of $4 fiberglass screening found at Lowe’s) and cut it to fit the inside of the box. This is to keep the potting soil from falling out of the cracks once you fill the box.

7- Fit the mesh inside the box. At this point, you could actually attach the mesh to the box (with a staple gun or something of the like) but we did not. Once the potting soil is in the box, it will hold the mesh in place.
 The rest of the directions will vary depending on how/where you want to hang your pallet box. We hung it from our deck railing so we needed to find sturdy hooks to hang the boxes. Since we couldn’t find any that worked, we made them!
8- We bought a $3 pack of L-shaped corner braces at Lowe’s (ours measured 2 1/2″x 5/8″) seen below.
 9- The next part is complicated. Justin measured our railing to see how wide the hook needed to be to fit over the rail and marked that spot on the corner brace.
 See the little black mark? From the corner to the black mark is how wide our railing is. Justin needed to bend the remaining part of the brace to parallel the part sticking up in order to form a “hook.”
10- After carefully measuring, Justin then put the brace in a vice and gently hammered the brace until it was bent at the place he had marked.

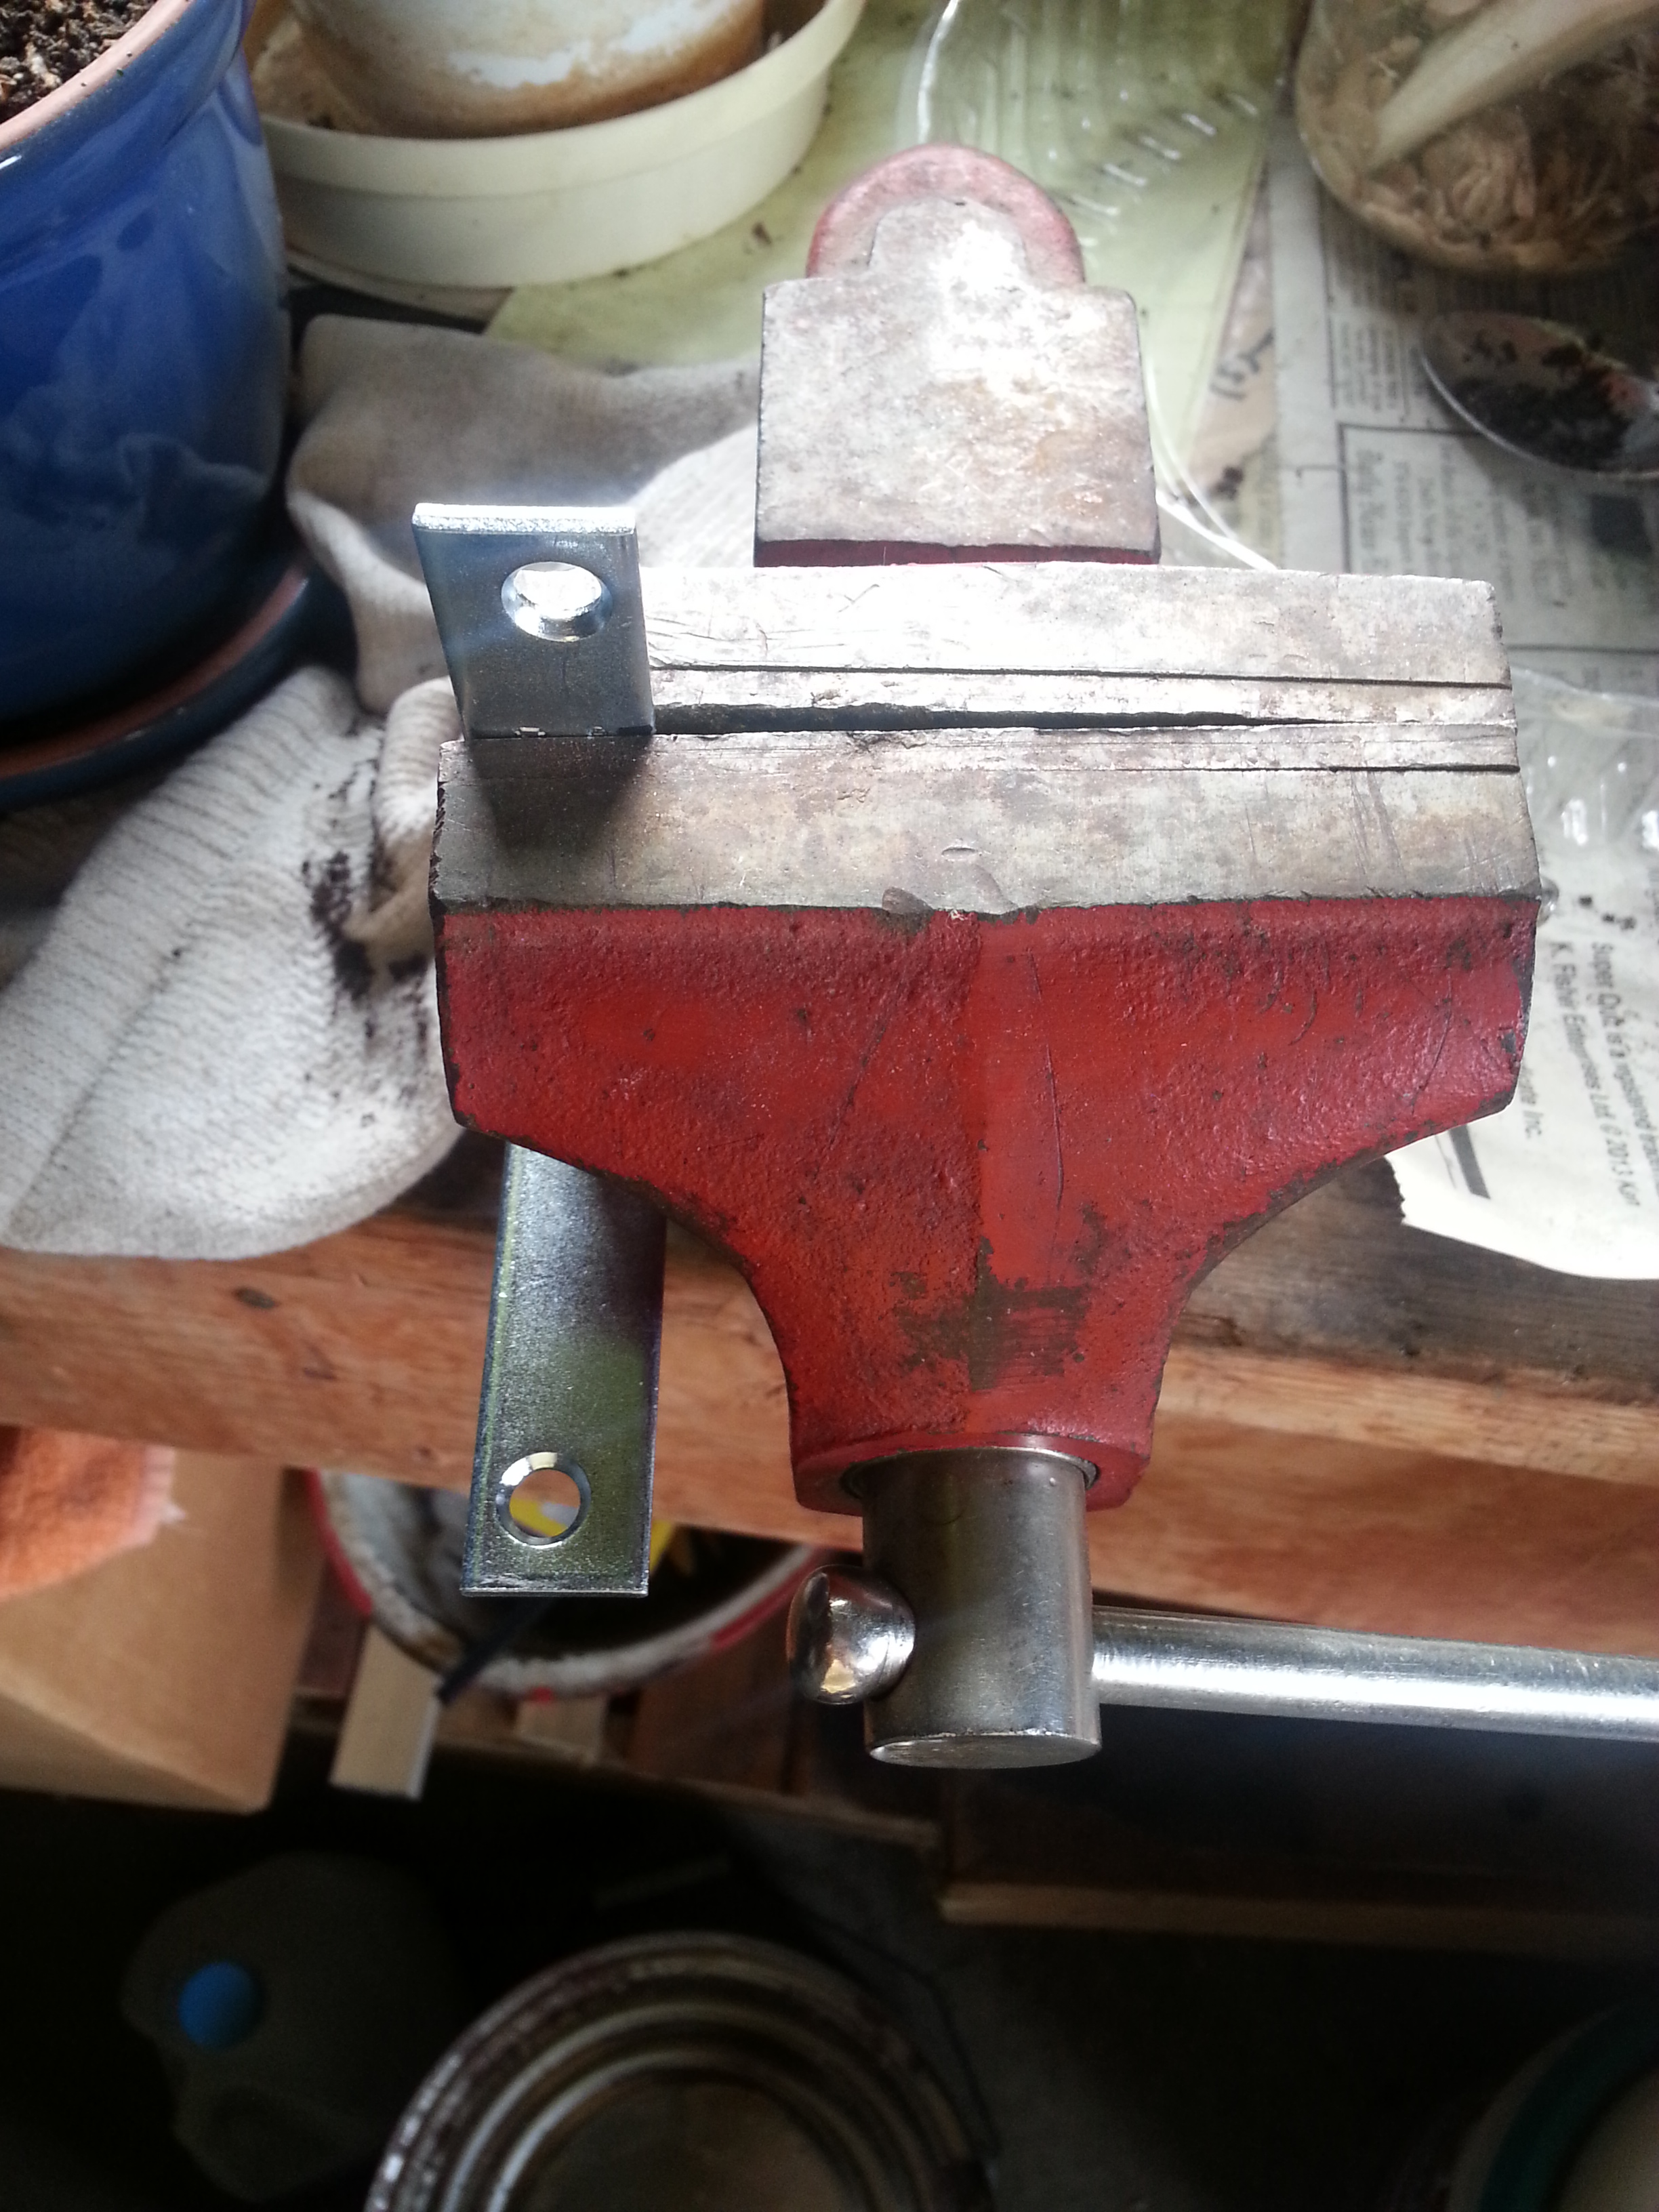 The picture is hard to see, but the black mark is at the very top of the vice. Justin hammered down the part sticking up to parallel the part sticking towards the camera.
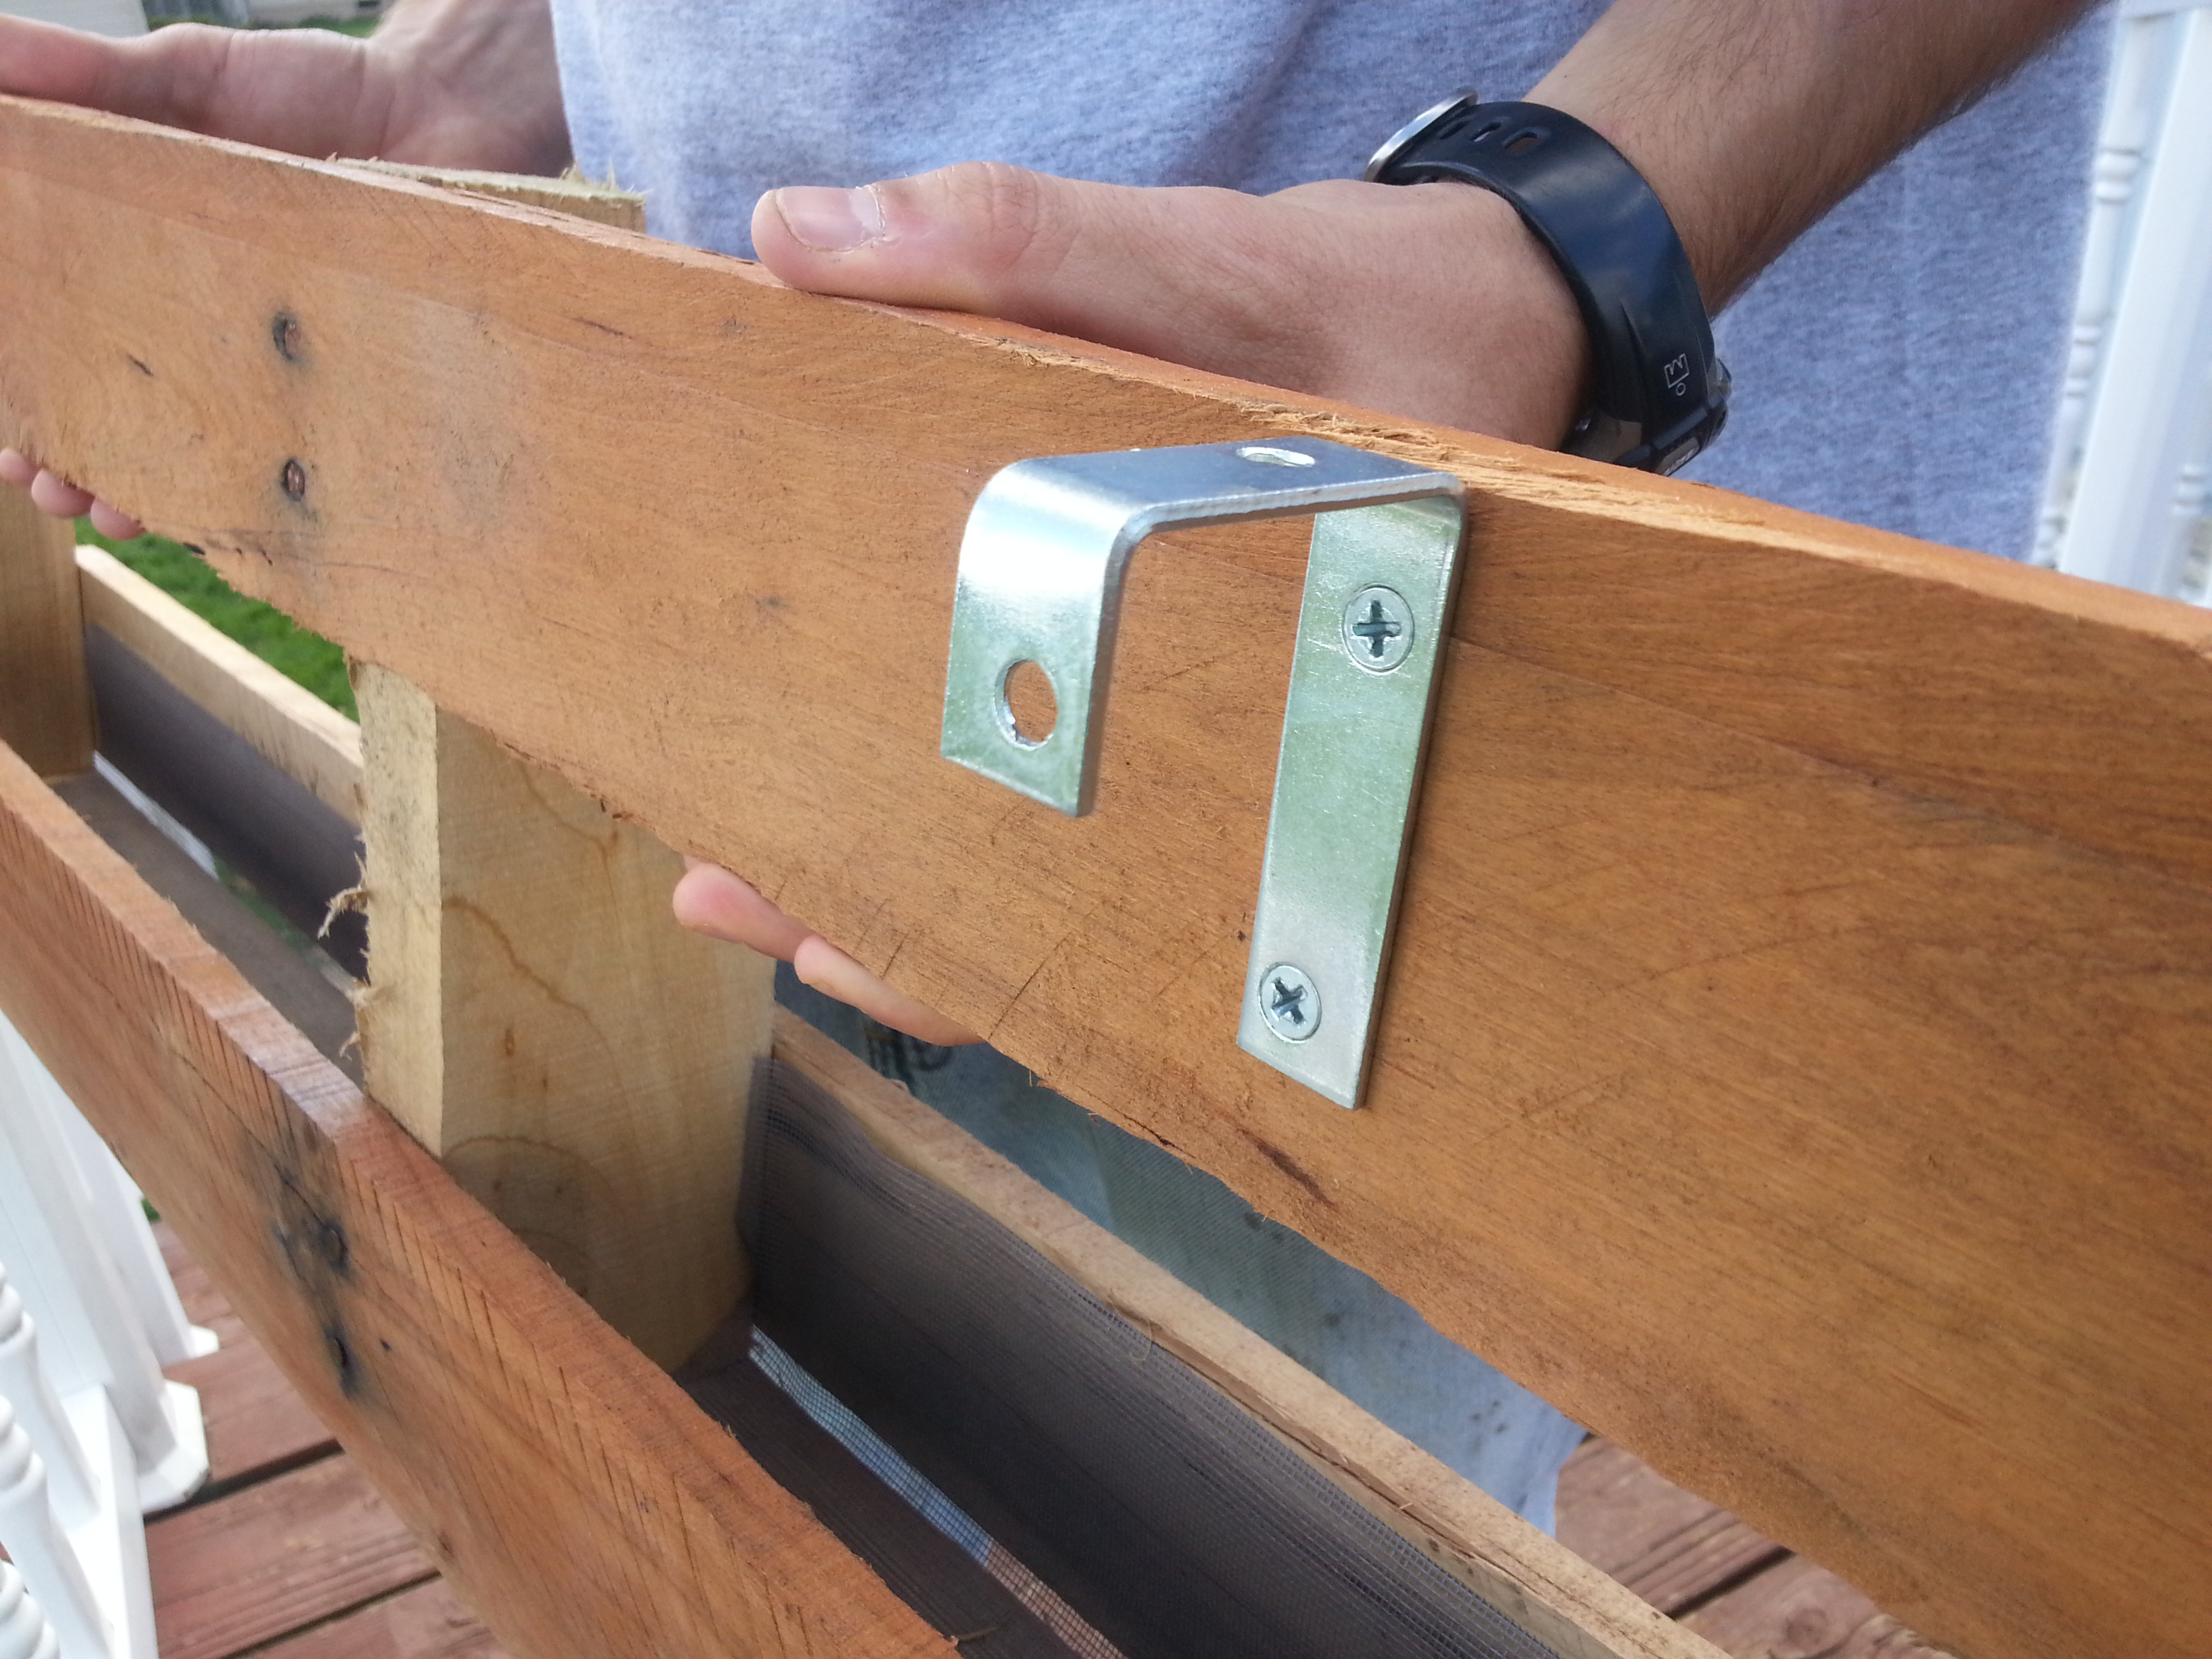
 Finished product!
11- Attach the hook to the pallet box. We used two hooks of the pallet box. Justin used 1/4″ screws to attach the hooks.
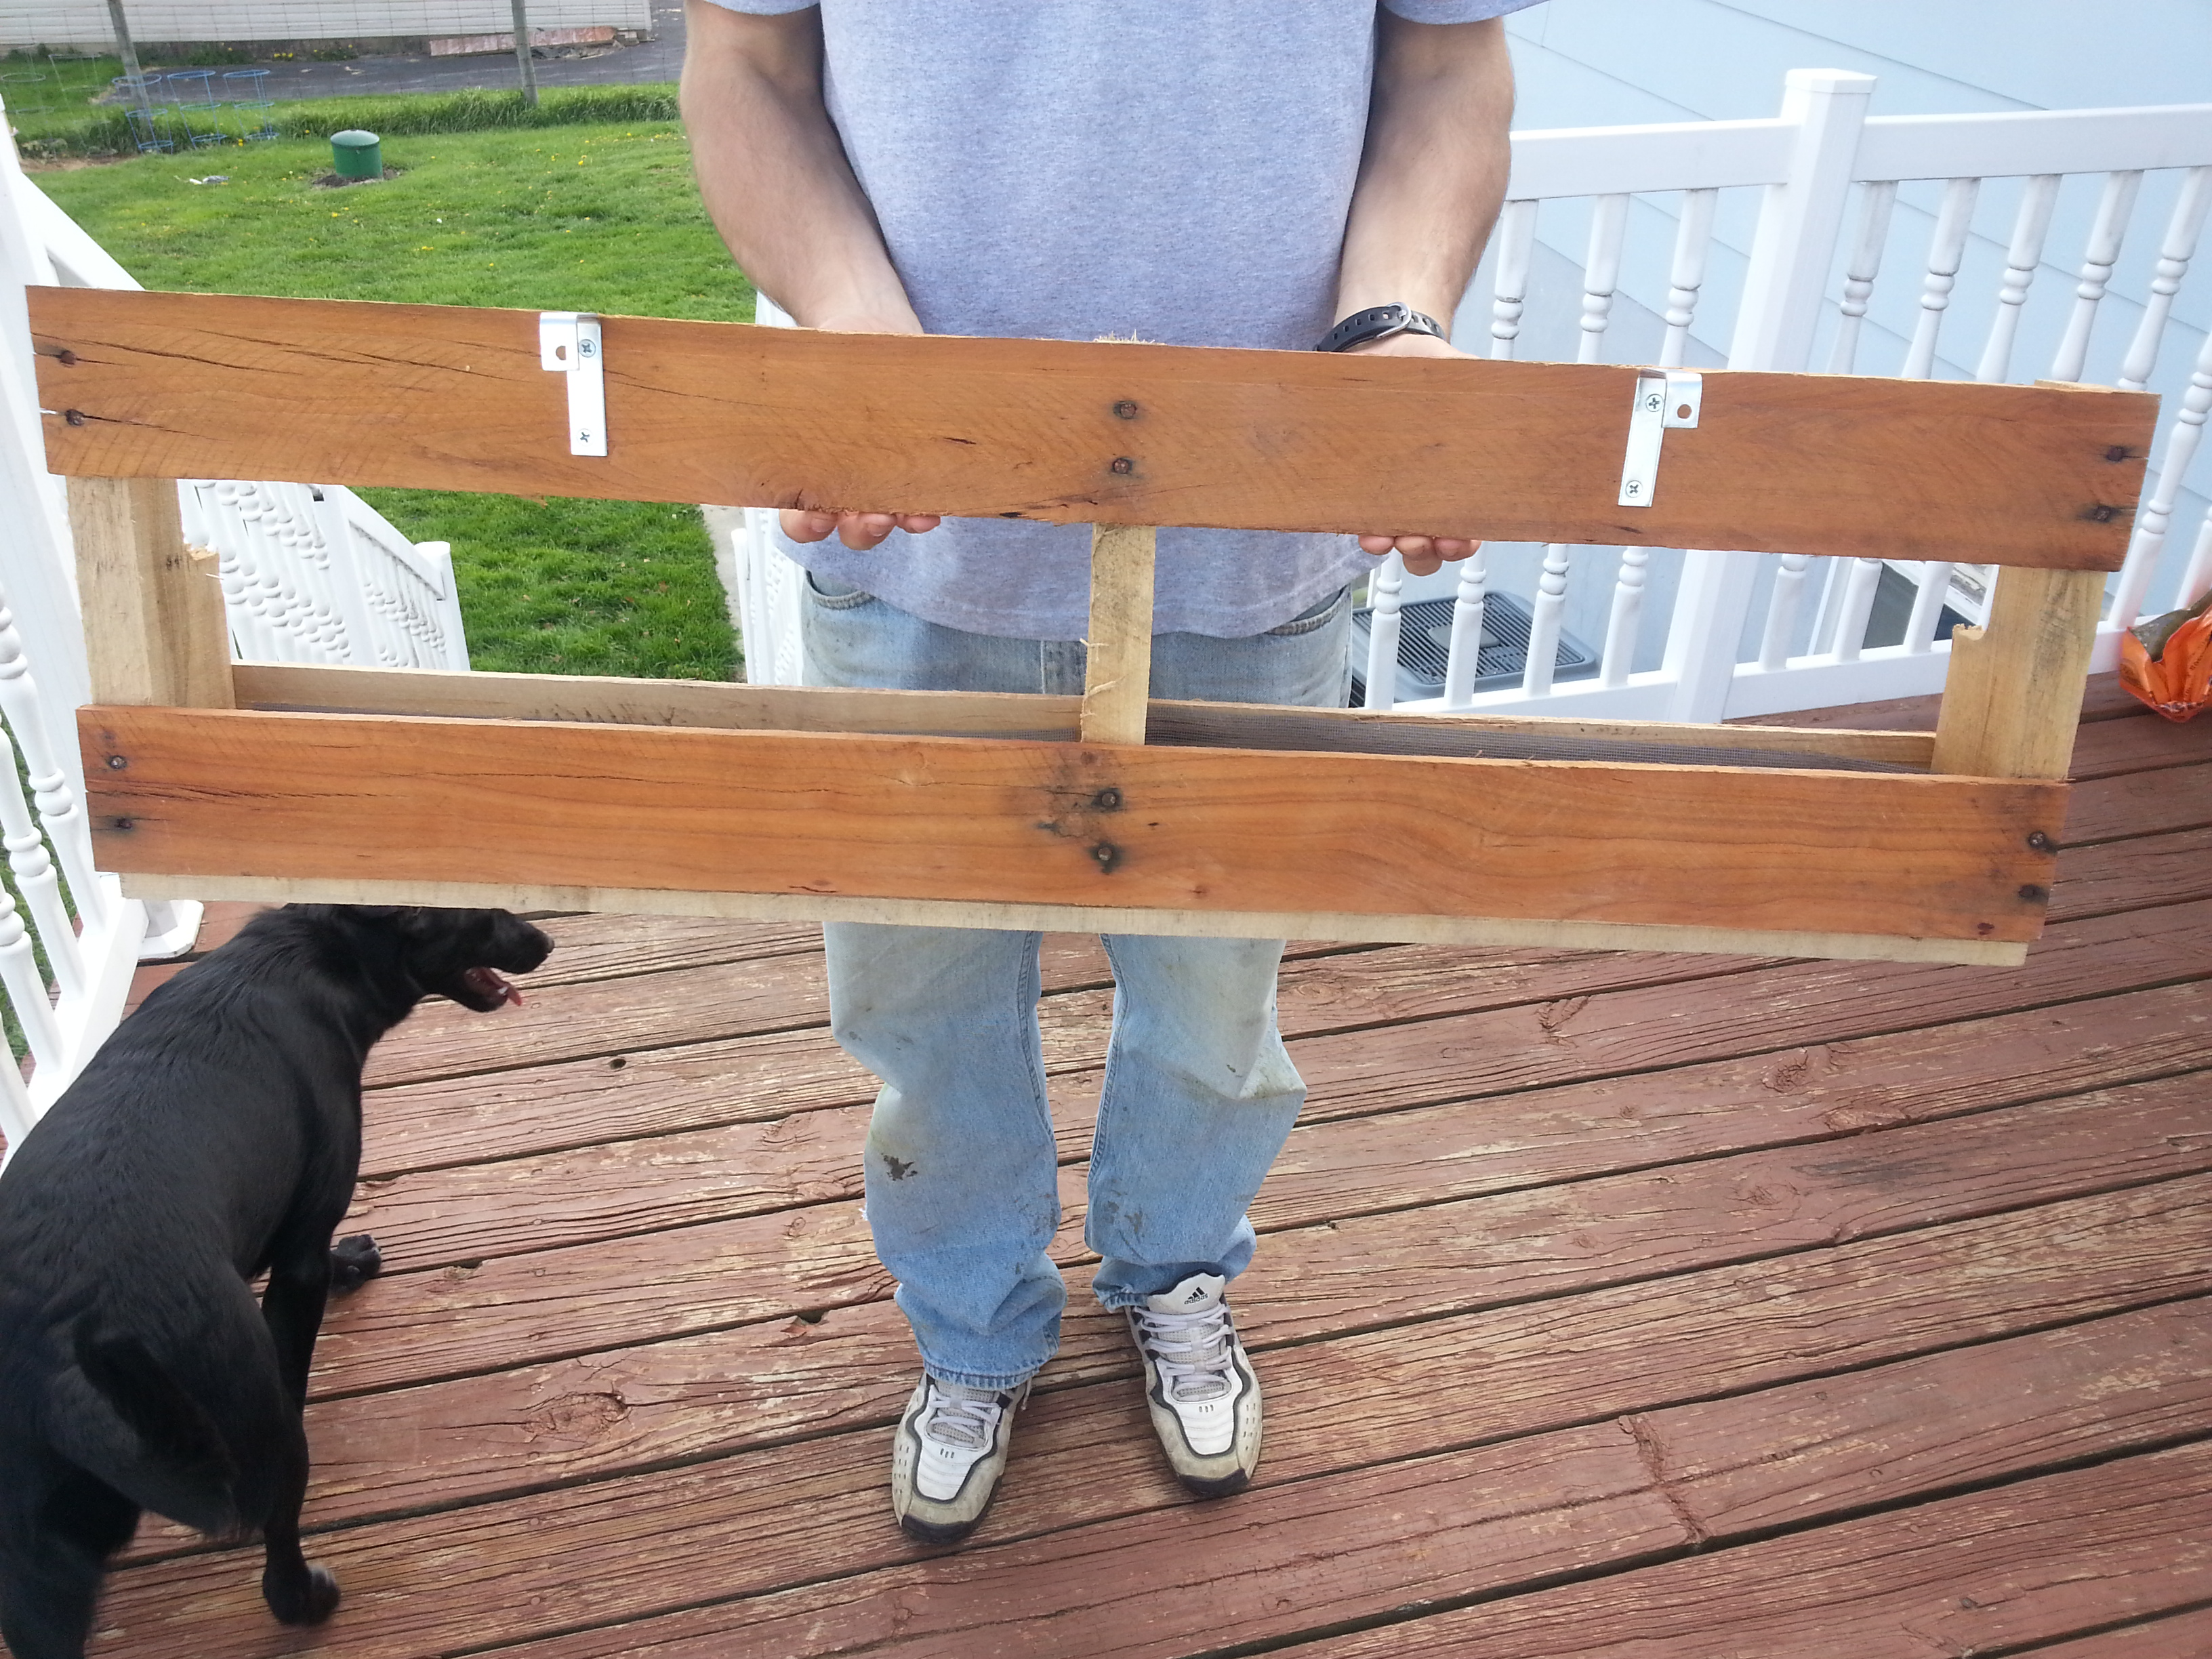 Eh-hem. Please excuse the puppy photobomb.
12- At this point, all that was left to do was hang it up on the railing and add some potting soil and flowers and voila!


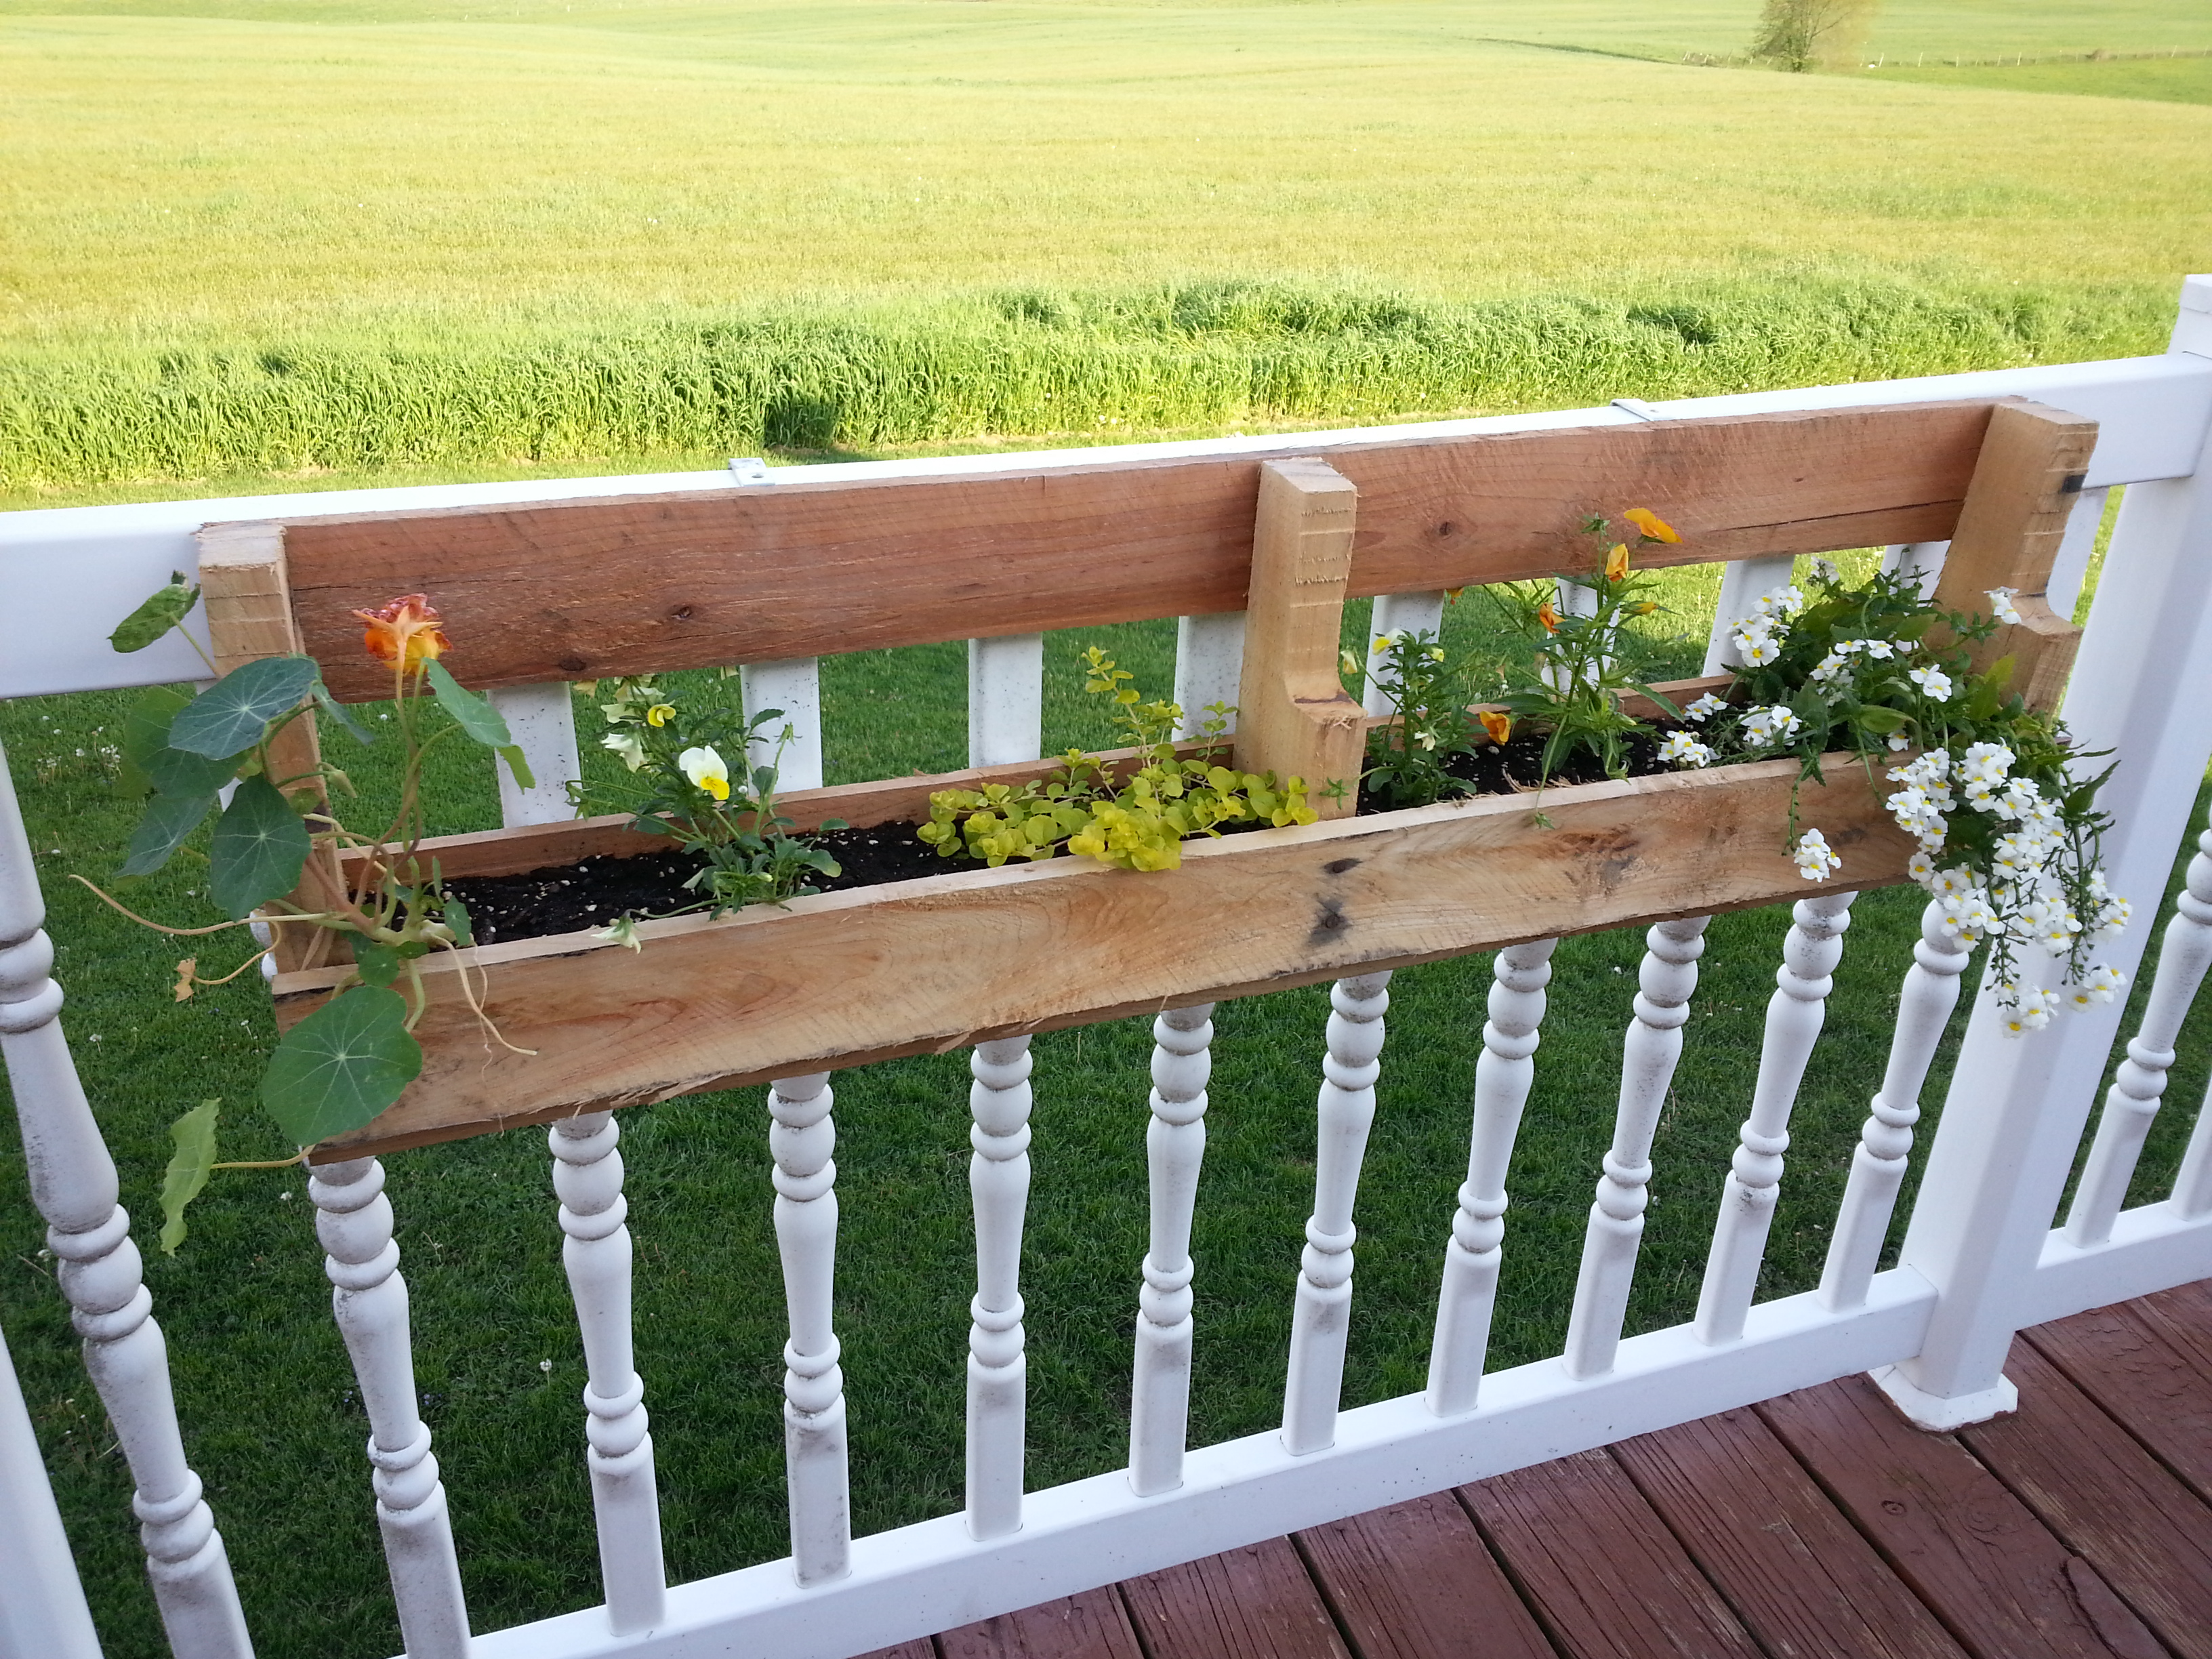

 I used a bunch of random flowers found at my local farmer’s market — I love all the vibrant colors! I’m hoping they continue to grow and fill out the box. And yes, I know our view is the best thing ever.
And that’s it! This project cost less than $15 (most of the nails and screws we already had) which was significantly less than window boxes we looked at and (in my opinion) much prettier than store-bought versions anyways! It was really pretty simple to put together and the fact that we were going for a “rustic” look made our margin for error much wider. 😉
I cannot end this post without giving a HUGE thank you to my super talented handy-man of a hubby! This project would not have happened without him — he did the bulk of the work and I’m so so pleased with how it turned out!
Have a great Tuesday!

17 thoughts on “DIY Pallet Flower Boxes”