
On Monday, I shared my inspiration for a DIY clothing rack to store dress up clothes, which I planned to make as a birthday gift for Vi. Thanks to Justin’s day off Wednesday and a little childcare help from my babysitter yesterday, I was able to finish it up just in time for her party tomorrow!


I shared all the progress in real time on Instagram, but I also wanted to write out a full tutorial for how I made this clothing rack to permanently be a resource on the blog. This was really a pretty simple DIY and I would estimate it only took about 5 hours of hands-on work time (mine took more time with stopping to take photos and video of everything). It’s definitely a project you could do in one day!
Materials
-2 8 foot pine 1×2’s
-2 8 foot pine 1×5’s (I used a base floor trim that was 7/16 x 4 1/4 x 8 for a thinner look)
-4 foot dowel rod, diameter 3/4″
-two wood screws, size 9 x 2 1/2
-1 inch nail gun nails
-sandpaper (80 grit, 220 grit, 400 grit)
-I used thin scrap wood for the shelf supports, but you could also use roughly 4 feet of another pine 1×2
Tools used: miter saw, power drill, nail gun, clamps, straight edge, right angle, measuring tape, level
I started out by measuring out the space where I wanted to put the clothing rack so I could get a feel for the dimensions to use.
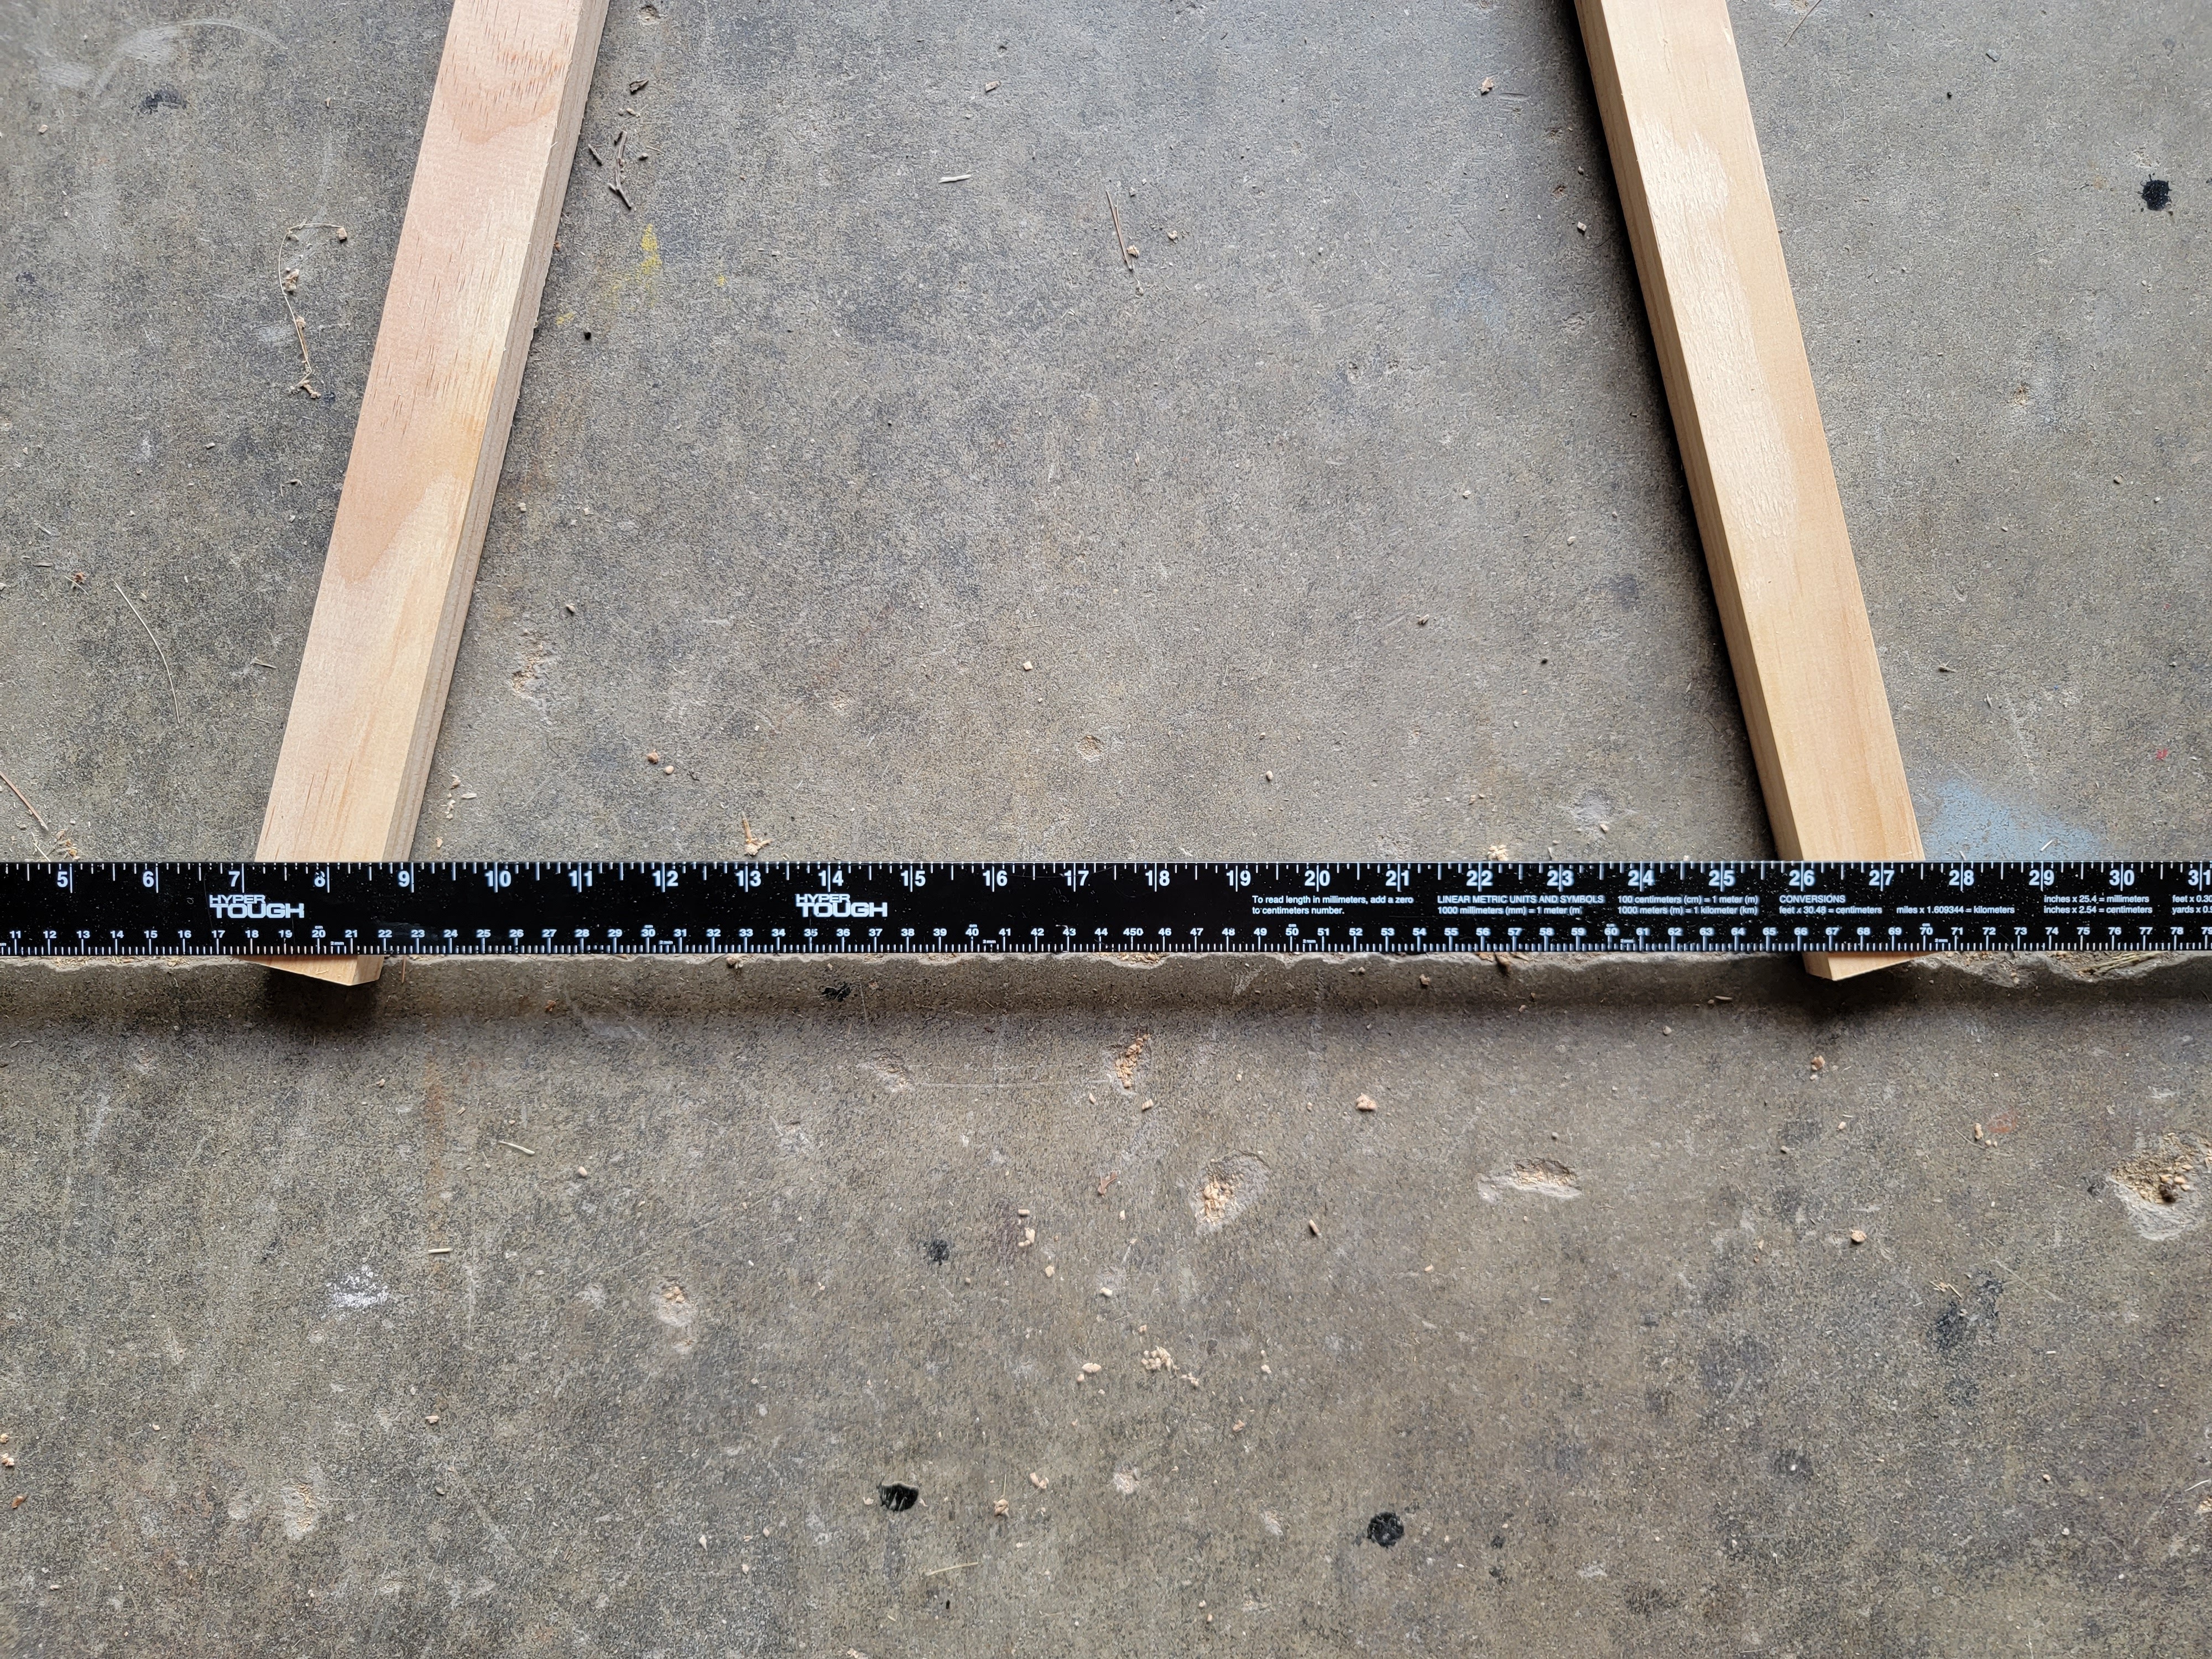
I used the miter saw to cut down my 1×2’s into four pieces, each 48″ long.
I laid two of the pieces on the ground and fiddled with the angle of teepee shape until it looked the way I wanted it to. Then I took a straight edge and ran it from tip to tip of the bottom outside corners.

I then took a pencil and traced along the straight edge. This marked a line that I needed to cut in order for the pieces to sit flush on the ground. Once the line was marked, I was able to use that + a right angle tool to determine the angle I wanted was 15 degrees.
I set my miter saw to make a 15 degree cut and trimmed off the edges on both the bottom and top of all four pieces, making sure the top and bottom of each piece were cut in the same direction.

Next, I took the pieces and got them back in the teepee shape I wanted and then used clamps to secure the wood to my workbench to make sure it didn’t budge. I also took my pencil and lightly traced along both edges of the piece on top, so just in case the boards did slip, I could easily line them back up again.

I marked the center of the wood overlap (for me, it was 8 inches down from the top of the wood) and used a 3/32″ drill bit to drill a small pilot hole all the way through.

I then used a wood screw (size 9 x 2 1/2) and a star bit on my power drill to attach the two pieces together.

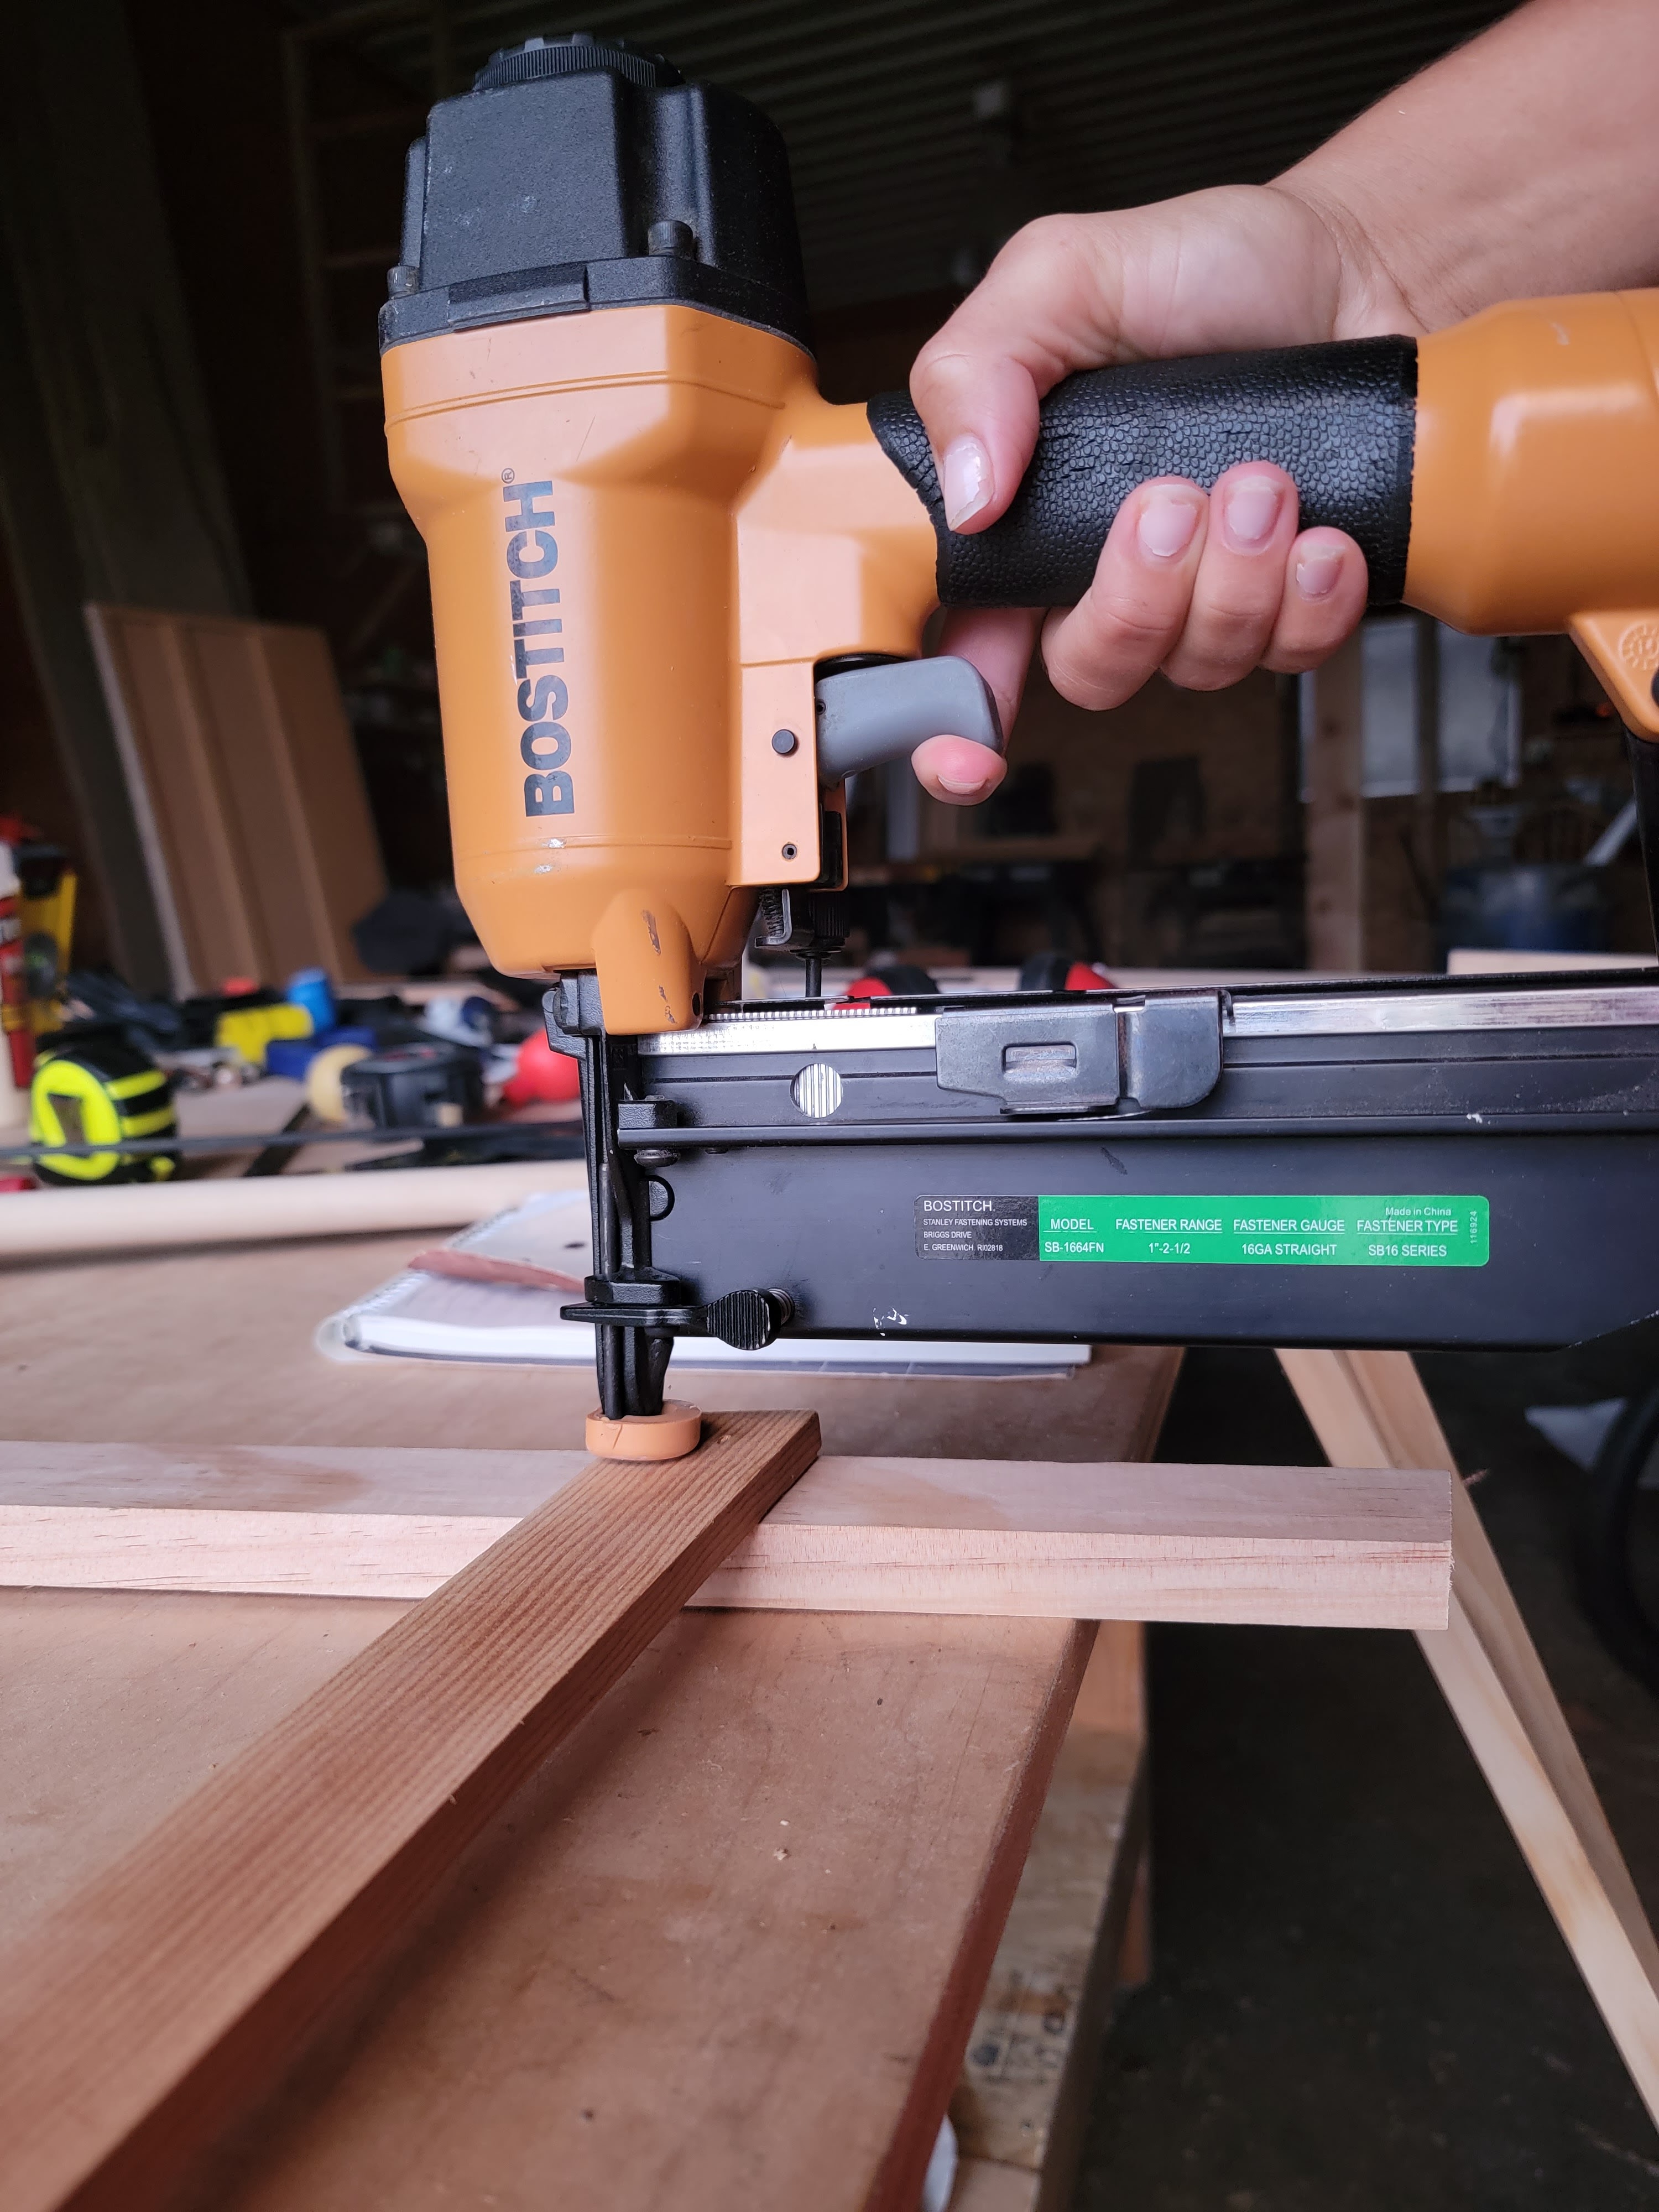
I flipped the pieces over, re-clamped them (the line I traced came in handy for making sure they were back at the right angle!), and then measured out a scrap piece of wood for the bottom shelf. I wanted the bottom of the shelf support to be five inches off the ground, so I measured and cut a piece of scrap wood to fit. I trimmed off the edges at 15 degrees so it would run flush with the side pieces and I attached the support to the side pieces using a nail gun and 1 inch nails.

I repeated those steps until I had two identical side pieces. (Side note: I now wish I had made them mirror images of each other instead of identical. It doesn’t change anything structurally, but just aesthetically I think I would have preferred that look)

Next up was the bottom shelf. I took pine boards (7/16 x 4 1/2 x 8) and cut them down to my desired shelf length: 30 inches.

I used my nail gun and 1 inch nails to nail down each shelf into the shelf support. Four boards fit perfectly across! I wanted a little extra support in the middle since the shelf was pretty long so I got a piece of sturdy scrap wood and nailed it to the center of the bottom of the shelves.

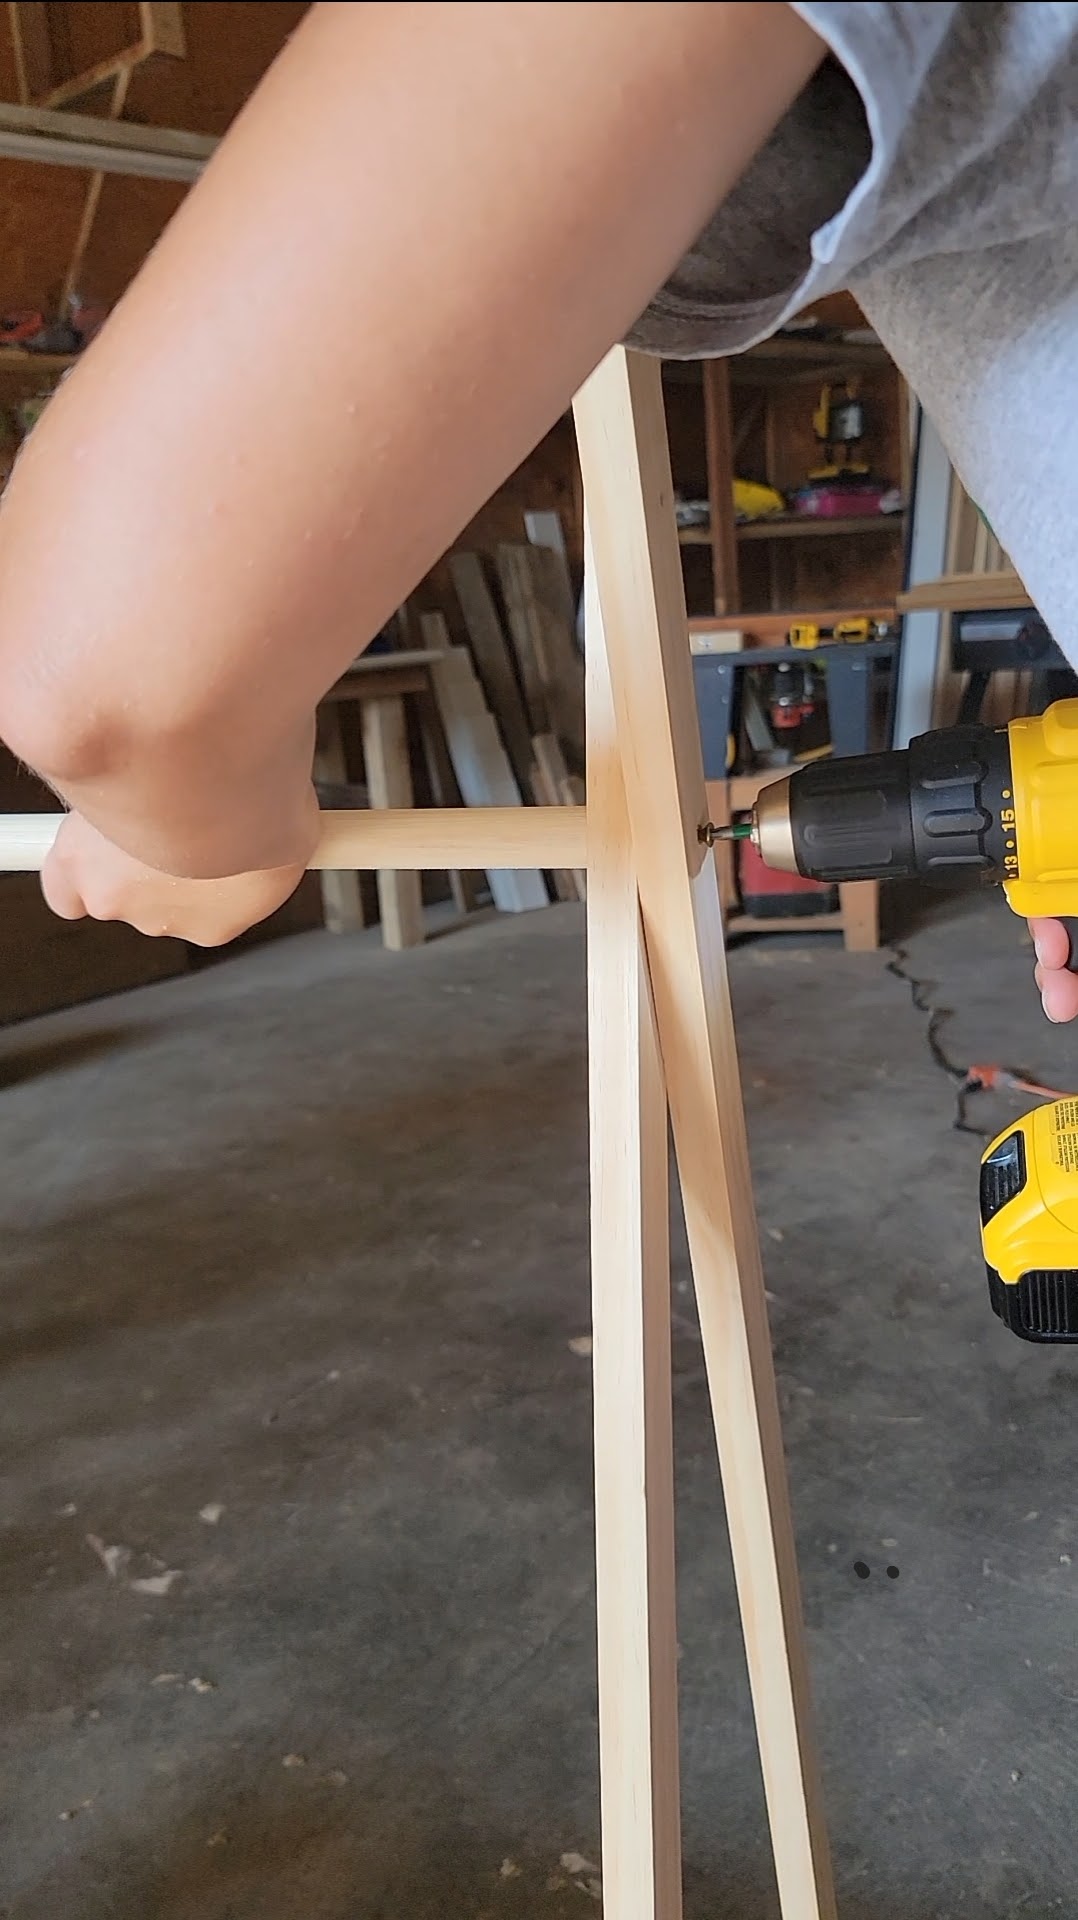
Last up was attaching the dowel rod. Remember the wood screws I used to attach the criss-crossed part at the top? These actually went all the way through the wood and stuck out the other side. I measured from screw to screw across the top and cut the dowel rod to length (because of the way the wood overlapped, it was not the same length as the bottom shelf boards!)

I used my power drill to reverse the screw out until it was no longer visible on the inner part of the teepee, then held the dowel rod tightly up against the 1×2 and drove the screw back in. I recommend using a small level to make sure that your dowel rod is going straight across!
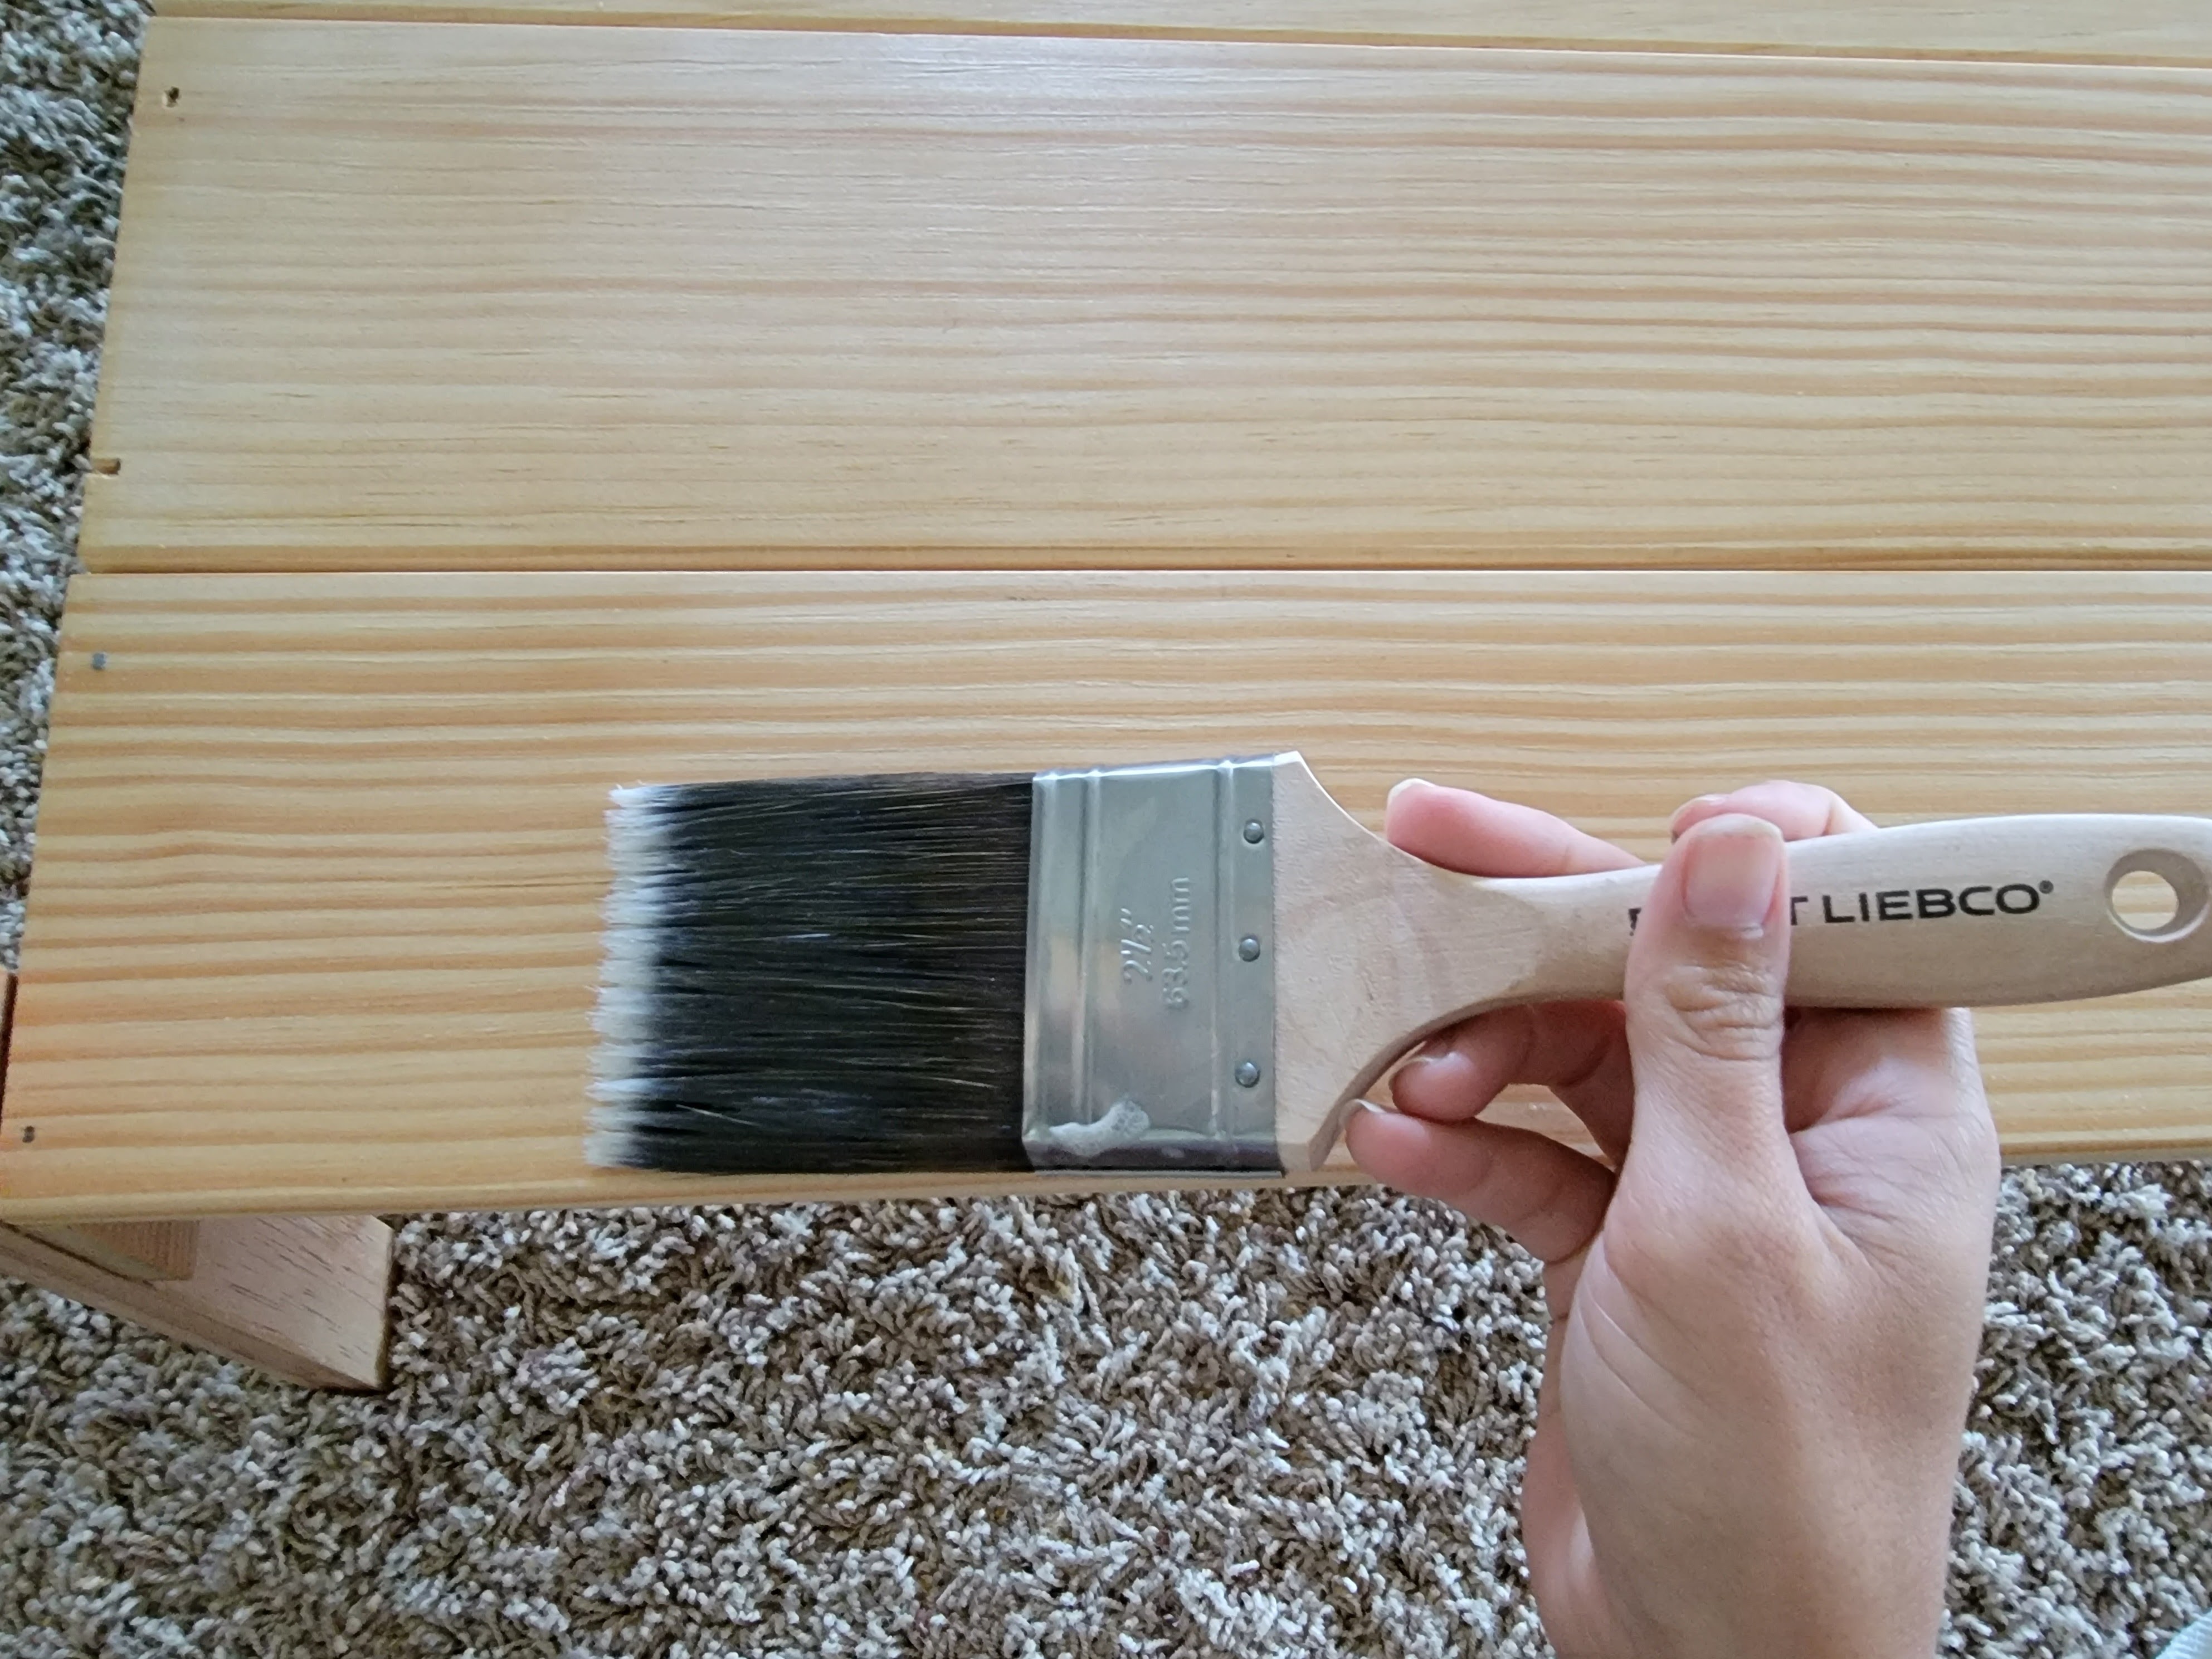
I then took some sandpaper (first 80 grit, then 220 grit) and sanded down any rough areas. I wiped it down with tack cloth and applied two coats of a clear matte polyurethane (giving it a light sand with 400 sandpaper in between coats).
I’m really pleased with how this turned out and I know Violet is going to love it. I can’t wait to see it full of fun dress up clothes after her party tomorrow! This little clothing rack is about to get lots and lots of fun use!


6 thoughts on “DIY Clothing Rack for Kids”