
Not gonna lie, it’s been a long day and my hubster wants to chillax on the couch and catch up on last night’s episode of “The Voice” so I’m gonna just get right down to it so I can go join him! It’s Wedding Wednesday and the decorating fun continues!!
Wedding Wednesday
Our wedding took place on my grandparent’s farm, which is now owned by my parents. My parents decided to renovate the old farmhouse in the months before the wedding, and one of the things they updated was the windows. Putting new windows in = tons of old, rustic wooden windows for me to use for DIY decorations!! YAY!
Here are some of the ways I incorporated these windows into the decor:

Believe it or not, this window frame came with the perfect amount of aging/distressing so I didn’t have to do anything to it. All I did was clean the window with some simple wood cleaner and it was done! I printed out the photo at Costco because it was the only place I could find that would print off a near poster-size picture and didn’t charge a ridiculous amount of money for it. Score!

I used the same process as before (but with smaller pictures) in the above window frame. I’m sure you can find some super crafty way of attaching photos to a window on Pinterest, but I’m going to be very real about the un-crafty way I created these.
1. I cleaned the window and glass.
2. I placed one picture at a time behind the glass of the window and moved it until the exact part of the picture I wanted to see was “framed” by the window pane.
3. Without shifting the picture, I carefully pressed it into into the glass. Making sure the picture was flat against the window glass, I used my nail to bend a crease in the picture up against the side of the window frame. This marked the outline of the part of the picture I wanted to see
4. I cut out the picture using my crease as an outline (I left a slight edge around the crease in case I needed to shift the picture. Better to have to trim it a little more than realize I came up short!)
5. I used masking tape to attach the picture to the side of the window glass.
6. I repeated all those steps for the remaining three window panes!
Like I said, you’ll probably find a more conventional, “crafty” way to do this using fancier tools and a more exact method on different blogs or DIY websites; however, this is what worked for me because it was quick and easy! I loved the result and no one saw the back of the windows anyways so the whole tacky-masking-tape-thing can stay our little secret, right?

While I liked the first two window frames (which were placed by the “welcome table” that I talked about in last week’s post), this last one was probably my favorite. I loved the double window; it was so unique! I propped it up against this display of new and old crates found in my parents’ attic near the walkway where people went from the ceremony to the reception. The yard at the farmhouse was very big and thus, difficult to decorate, so this display was a simple way of adding some cool decorations without spending a lot of time or effort or going overboard. I found the J & S letters at TJ Maxx and the wooden hearts were handcrafted by a dear family friend. The wine bottles were part of a whole ‘nother DIY project that I’ll discuss in a later post. I was really happy with how this display turned out!
In the spirit of window crafting, I’ll share one more thing! Our seating arrangement was created using an old storm door found in the attic of the old farmhouse.

I alternated seating arrangement cards with engagement photos on the windows of the door and absolutely loved the way it turned out! For this, I used clear reusable tabs on the back of the photos and seating cards to attach them to the glass. My dad created a simple arch and used swinging screws to attach the door to the arch to put it at eye level with our guests.
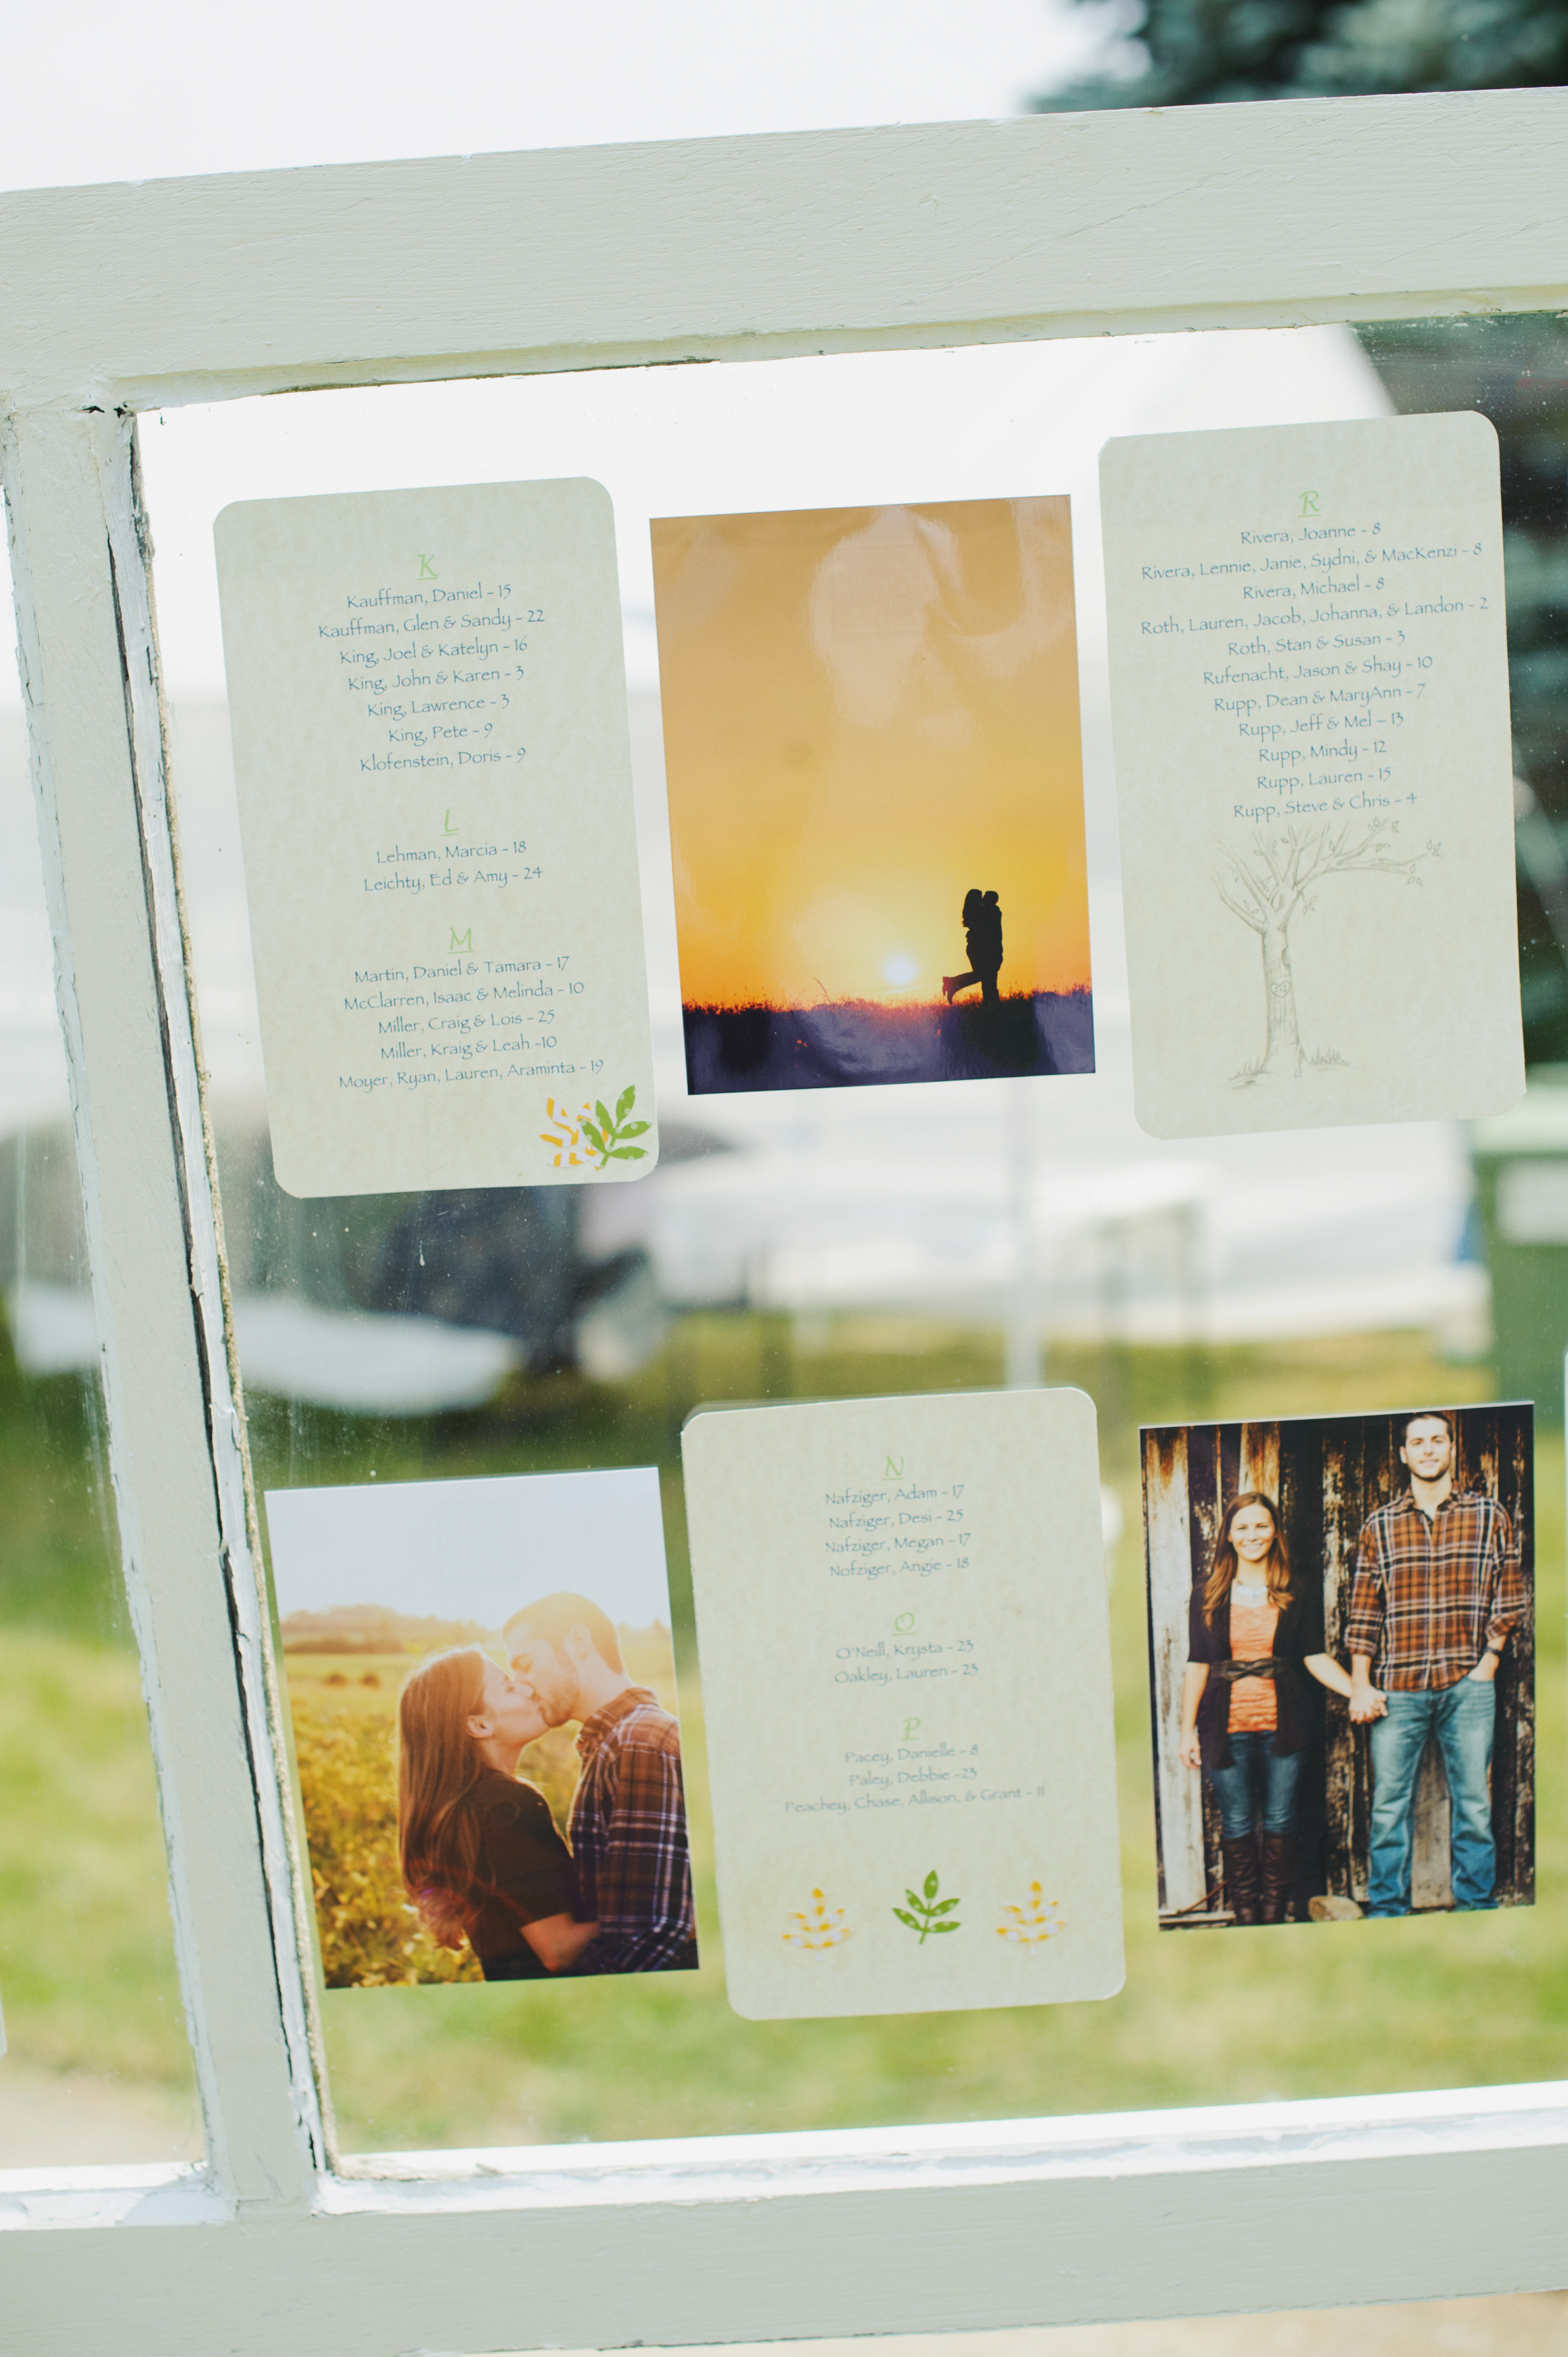
If you look closely, you’ll see I used the same tree design on the seating cards that we had on our invitations and programs. It was the perfect way to tie everything together!
All photographs are copyright of the fantastic Rothwell Photography.
And that concludes another Wedding Wednesday! Have a good evening!
***
I am slowly inching my way into a spring wardrobe — here’s hoping the cold winter is finally gone!

Sweater cardigan: Maurices (similar here)~ Cami: Express (exact old)~ Khaki pants: Maurices (similar here) ~ Flats: Target (exact here) ~ Belt: Via Plato’s Closet ~ Necklace: Lia Sophia “Flower Pot” (no longer available; similar here)

Love your craftiness–old windows make the coolest projects!
Thank you! I totally agree — old windows are the best! 🙂 Thanks for stopping by my blog!