
This week was a big week for progress in the laundry room! Shelving was built, lighting was installed, doors were finished – the room is really coming together and I am loving it.

And because it’s always fun to look back on how far we’ve come, here’s where that same view was six weeks ago:

Originally, I envisioned creating floating shelves from wall to wall, but as it came time to work on the shelves, I decided to pivot a bit.

Floating shelves are pretty time-consuming to make from scratch and I haven’t had as much time as I had hoped to work on this room lately. Plus, the more I thought about it, I realized that since this is just a phase one renovation (we still plan to fully gut and renovate this room and the adjacent bathroom to create a bigger laundry + mudroom in a few years), shelves with brackets would be easier, quicker, and less expensive. It just made more sense to keep this project simple!

Justin had a few extra 1 x 8 oak boards leftover from a previous project and they were the perfect width to create two shelves. Using our miter saw, I cut two boards down to fit wall to wall and then gave them a light sand with our orbital sander + 120 grit sandpaper.
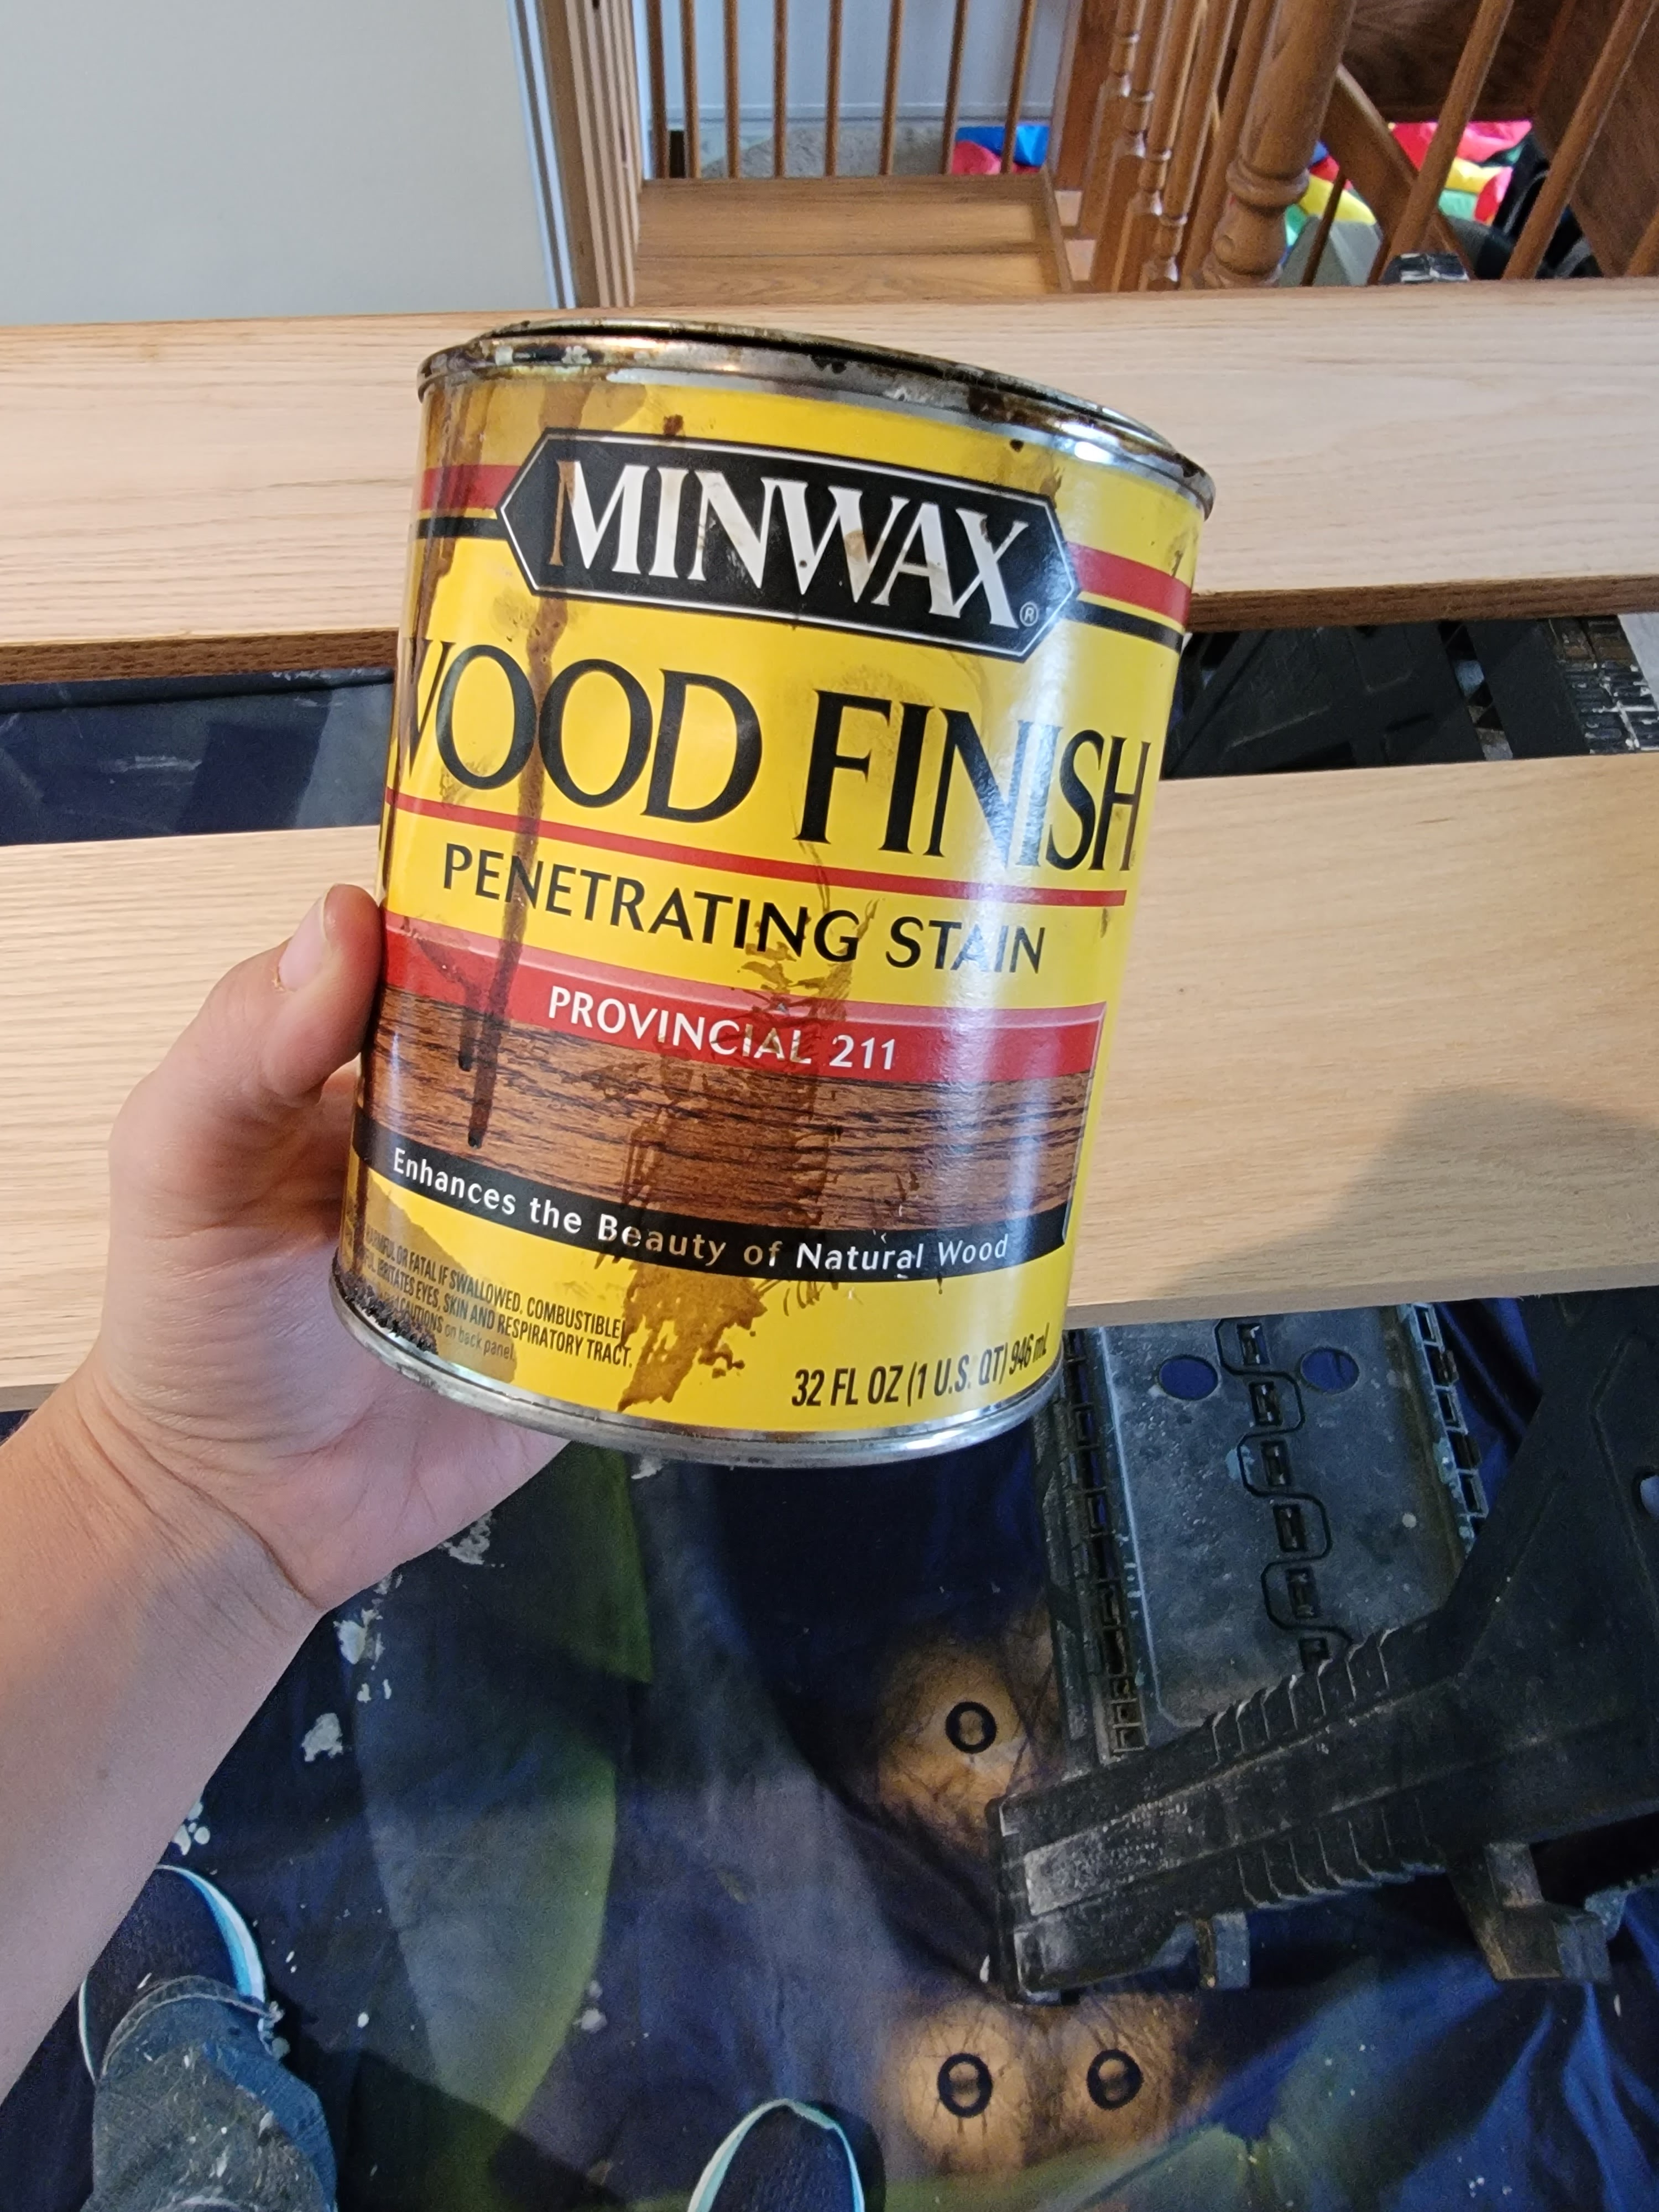
I wiped them down with a tack cloth and stained them with a stain we already had. Once the stain dried, I used a foam brush to apply a layer of this polyurethane and boom – shelves were ready for install!

I purchased these black brackets and Justin installed them after work using his new laser level (this thing was SO handy and I know we’ll be using it many times in the future!) The whole project took maybe 3-4 hours of active work time start to finish. Simple, easy, and inexpensive – win, win, win. I am so thankful to have functional storage that looks great!
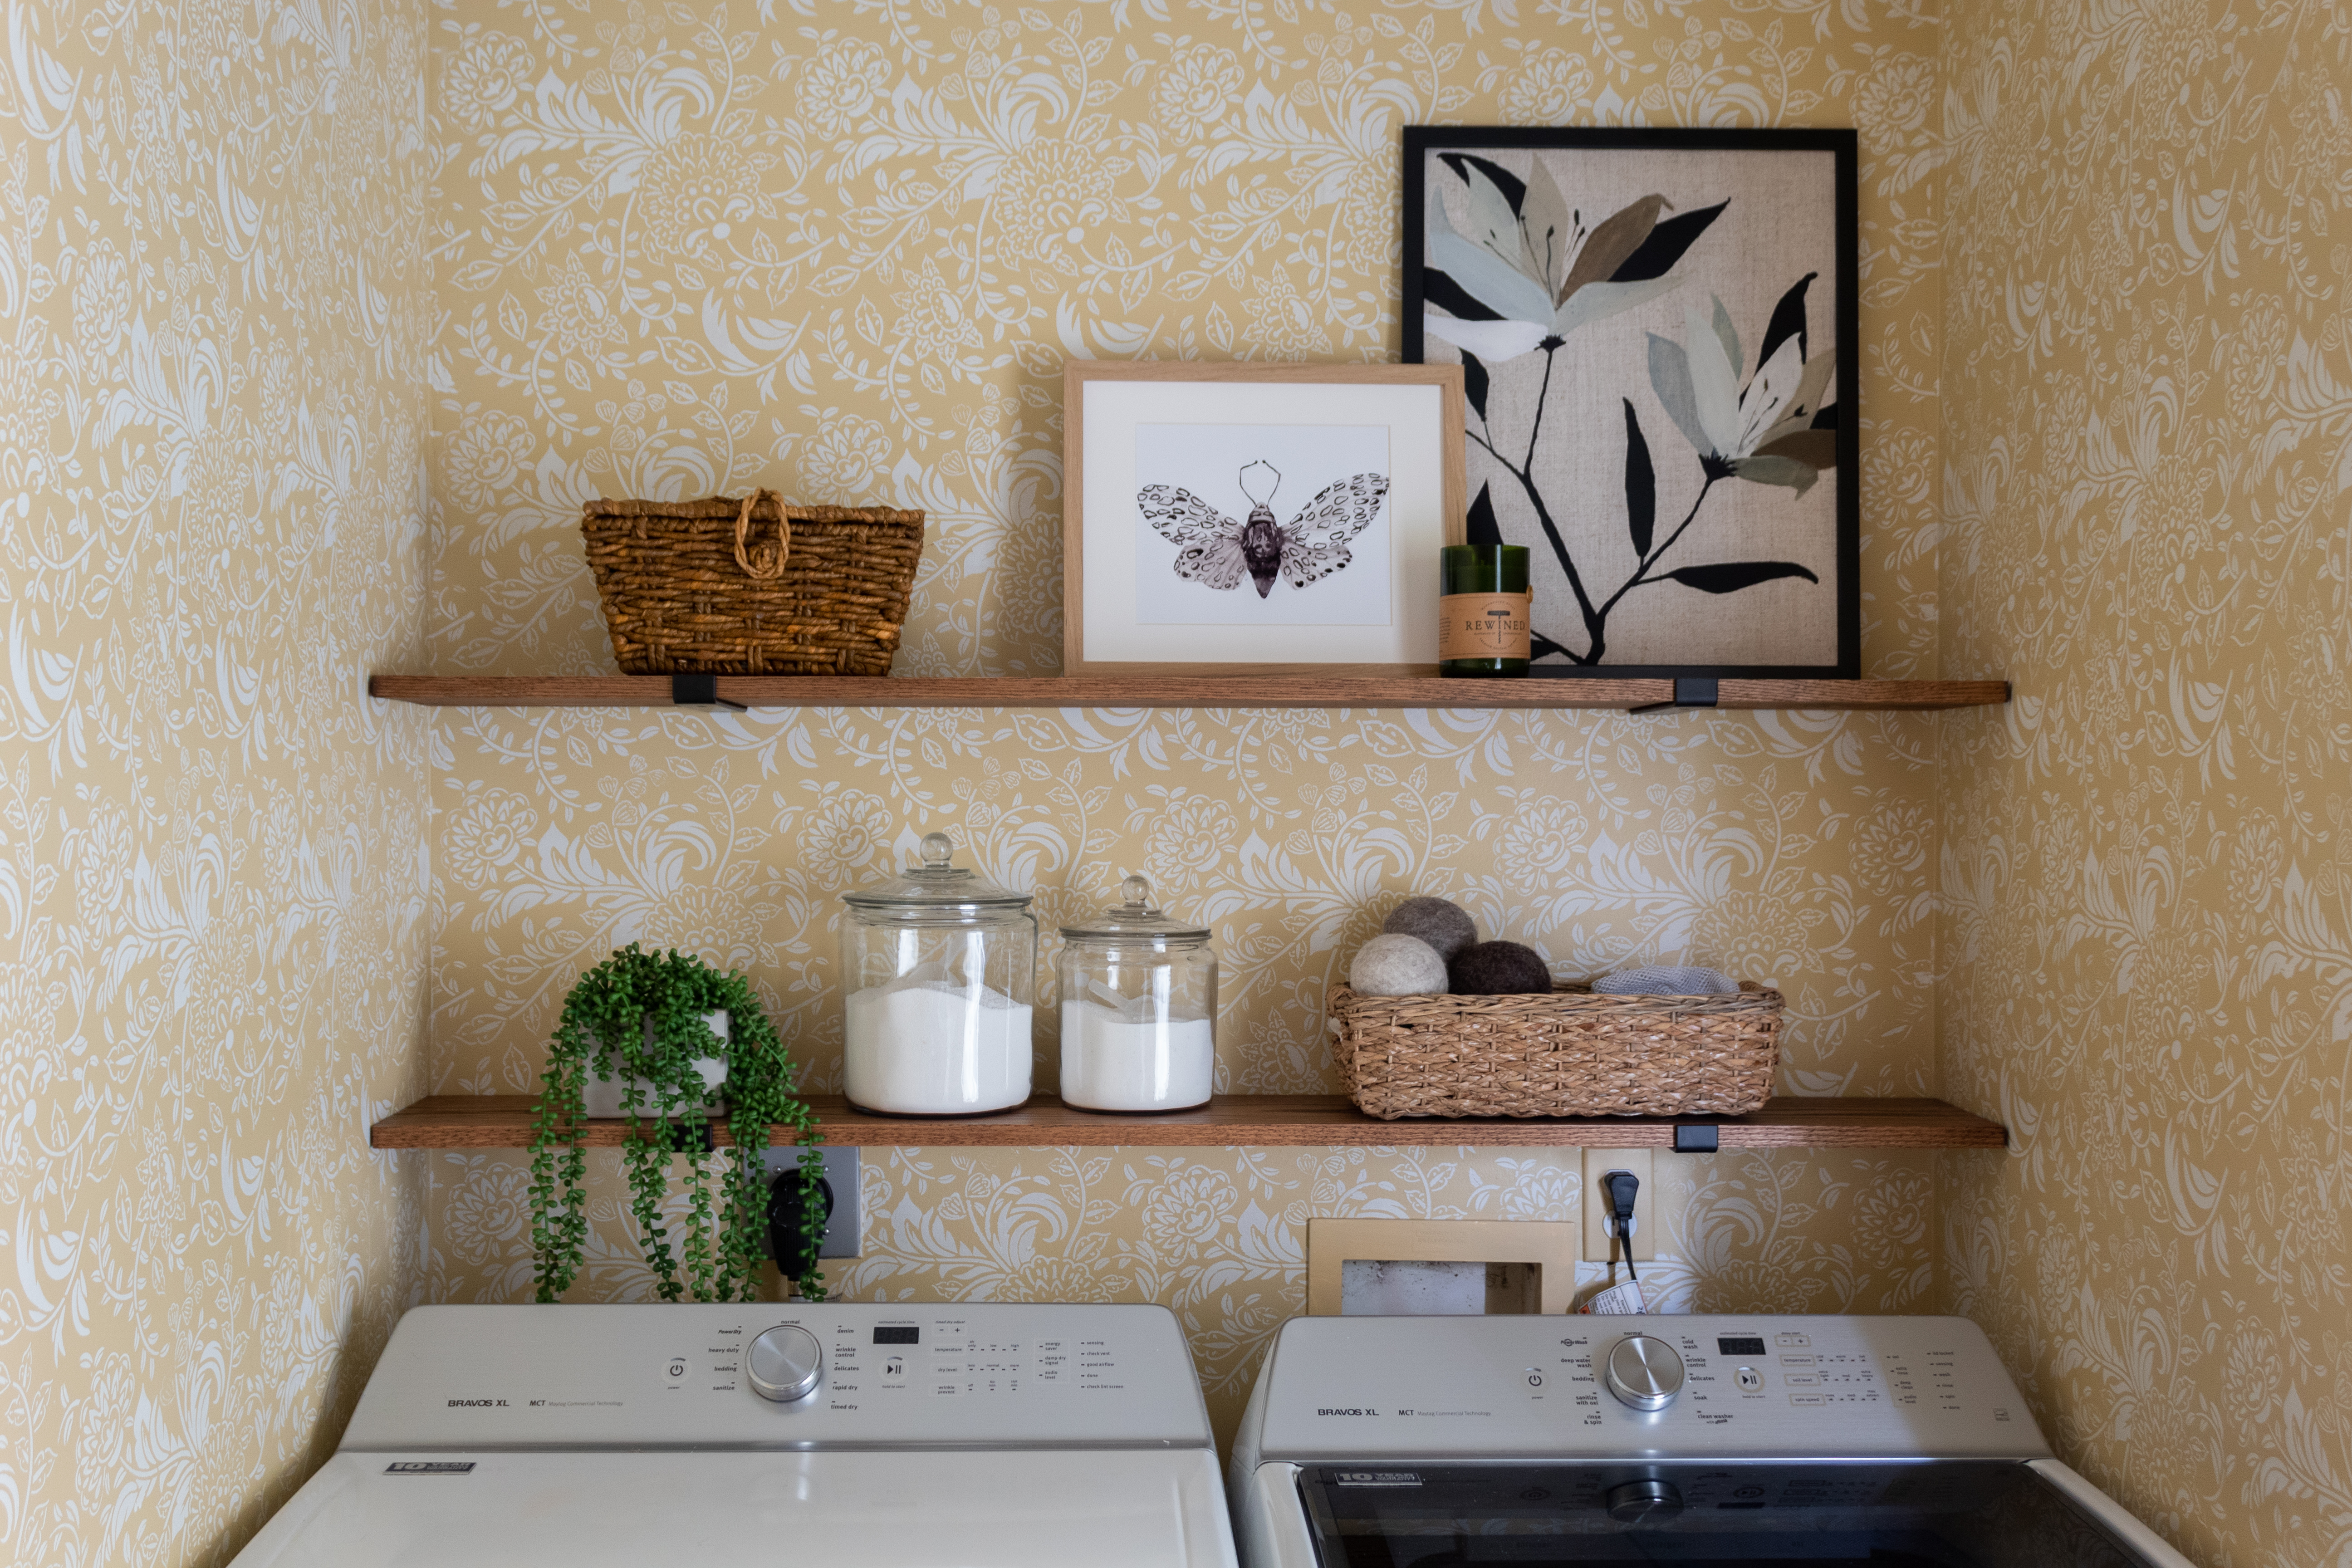
A few other things that happened this week: I finished painting all the doors and trim and Justin installed new matte black door hardware. It’s always surprising to me how small details like door hinges and levers can pack such a big punch!

We also finally updated the two boob lights. I wanted a recessed light for the ceiling above the hallway portion but the type of junction box that had been installed prevented my first two choices from working. I settled on this low profile light and we’re happy with it – it is inconspicuous enough that it sort of just fades into the ceiling and doesn’t take visual attention away from other elements of the room.
I mentioned last week that the initial light I wanted for above the washer and dryer was out of stock or backordered on several different sites, so I once again decided to pivot a bit. I really liked this light from Rejuvenation but I struggled to pick a color. It’s just so hard to know if the color you see on screen will translate to real life like you expect! At $229 . . . I wanted to be very sure I liked the light. Then yesterday evening, I was walking through Lowe’s and happened to see this light out of the corner of my eye. I was immediately inspired to do a little DIY upgrade and create the look I wanted for less.

I purchased the light and a can of this spray paint. I use painter’s tape to block off the lightbulb hole of the dome and set it down flat on a large piece of cardboard. I sprayed several light coats of the spray paint until I had even coverage and let it dry. Justin installed the mount and I screwed on the dome.

The Rejuvenation light was $229 and this one was $59. Add in tax and the cost of spray paint, and this light ended up costing me around $70. A big savings and I think it’s a pretty good dupe! This also served as a reminder that a little creativity and bravery can go a long way. Justin couldn’t believe I would spray paint a brand new light, but I knew the look I was going for and just went for it. I’m so glad I did – I’m thrilled with the light and the way it fits the space!

We’ve got two weeks left in the challenge and I’m just about finished with my to-do list. I still have some tweaking to do – for now I just shopped my house and pulled some art, a rug, and a few little decor pieces to get a feel for what works in the space. I also still need to create some hanging storage for coats above the shoe bench to finish off the little mudroom corner. The end is in sight!

Be sure to check out all the other ORC participants here!


2 thoughts on “ORC Week Six: Laundry Room Shelving, Lighting, and More!”