
This week I made some more progress in the living room with a few small changes that made a big impact.
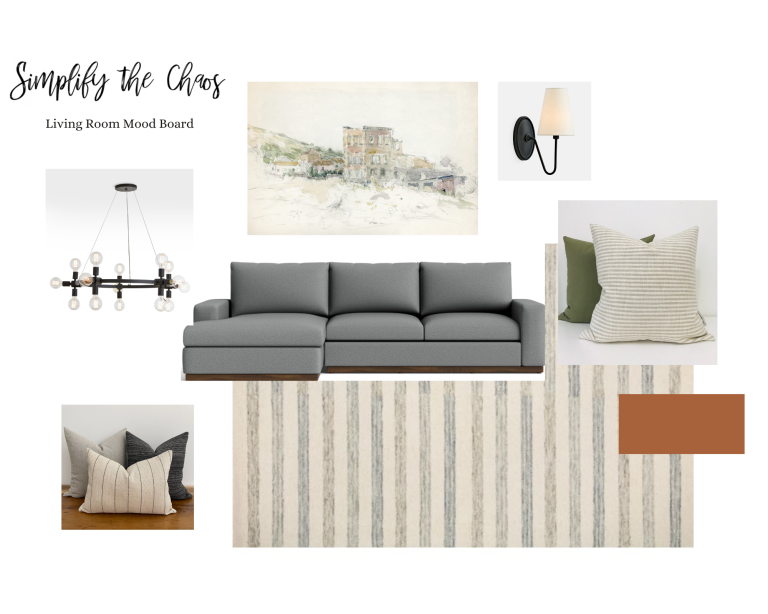
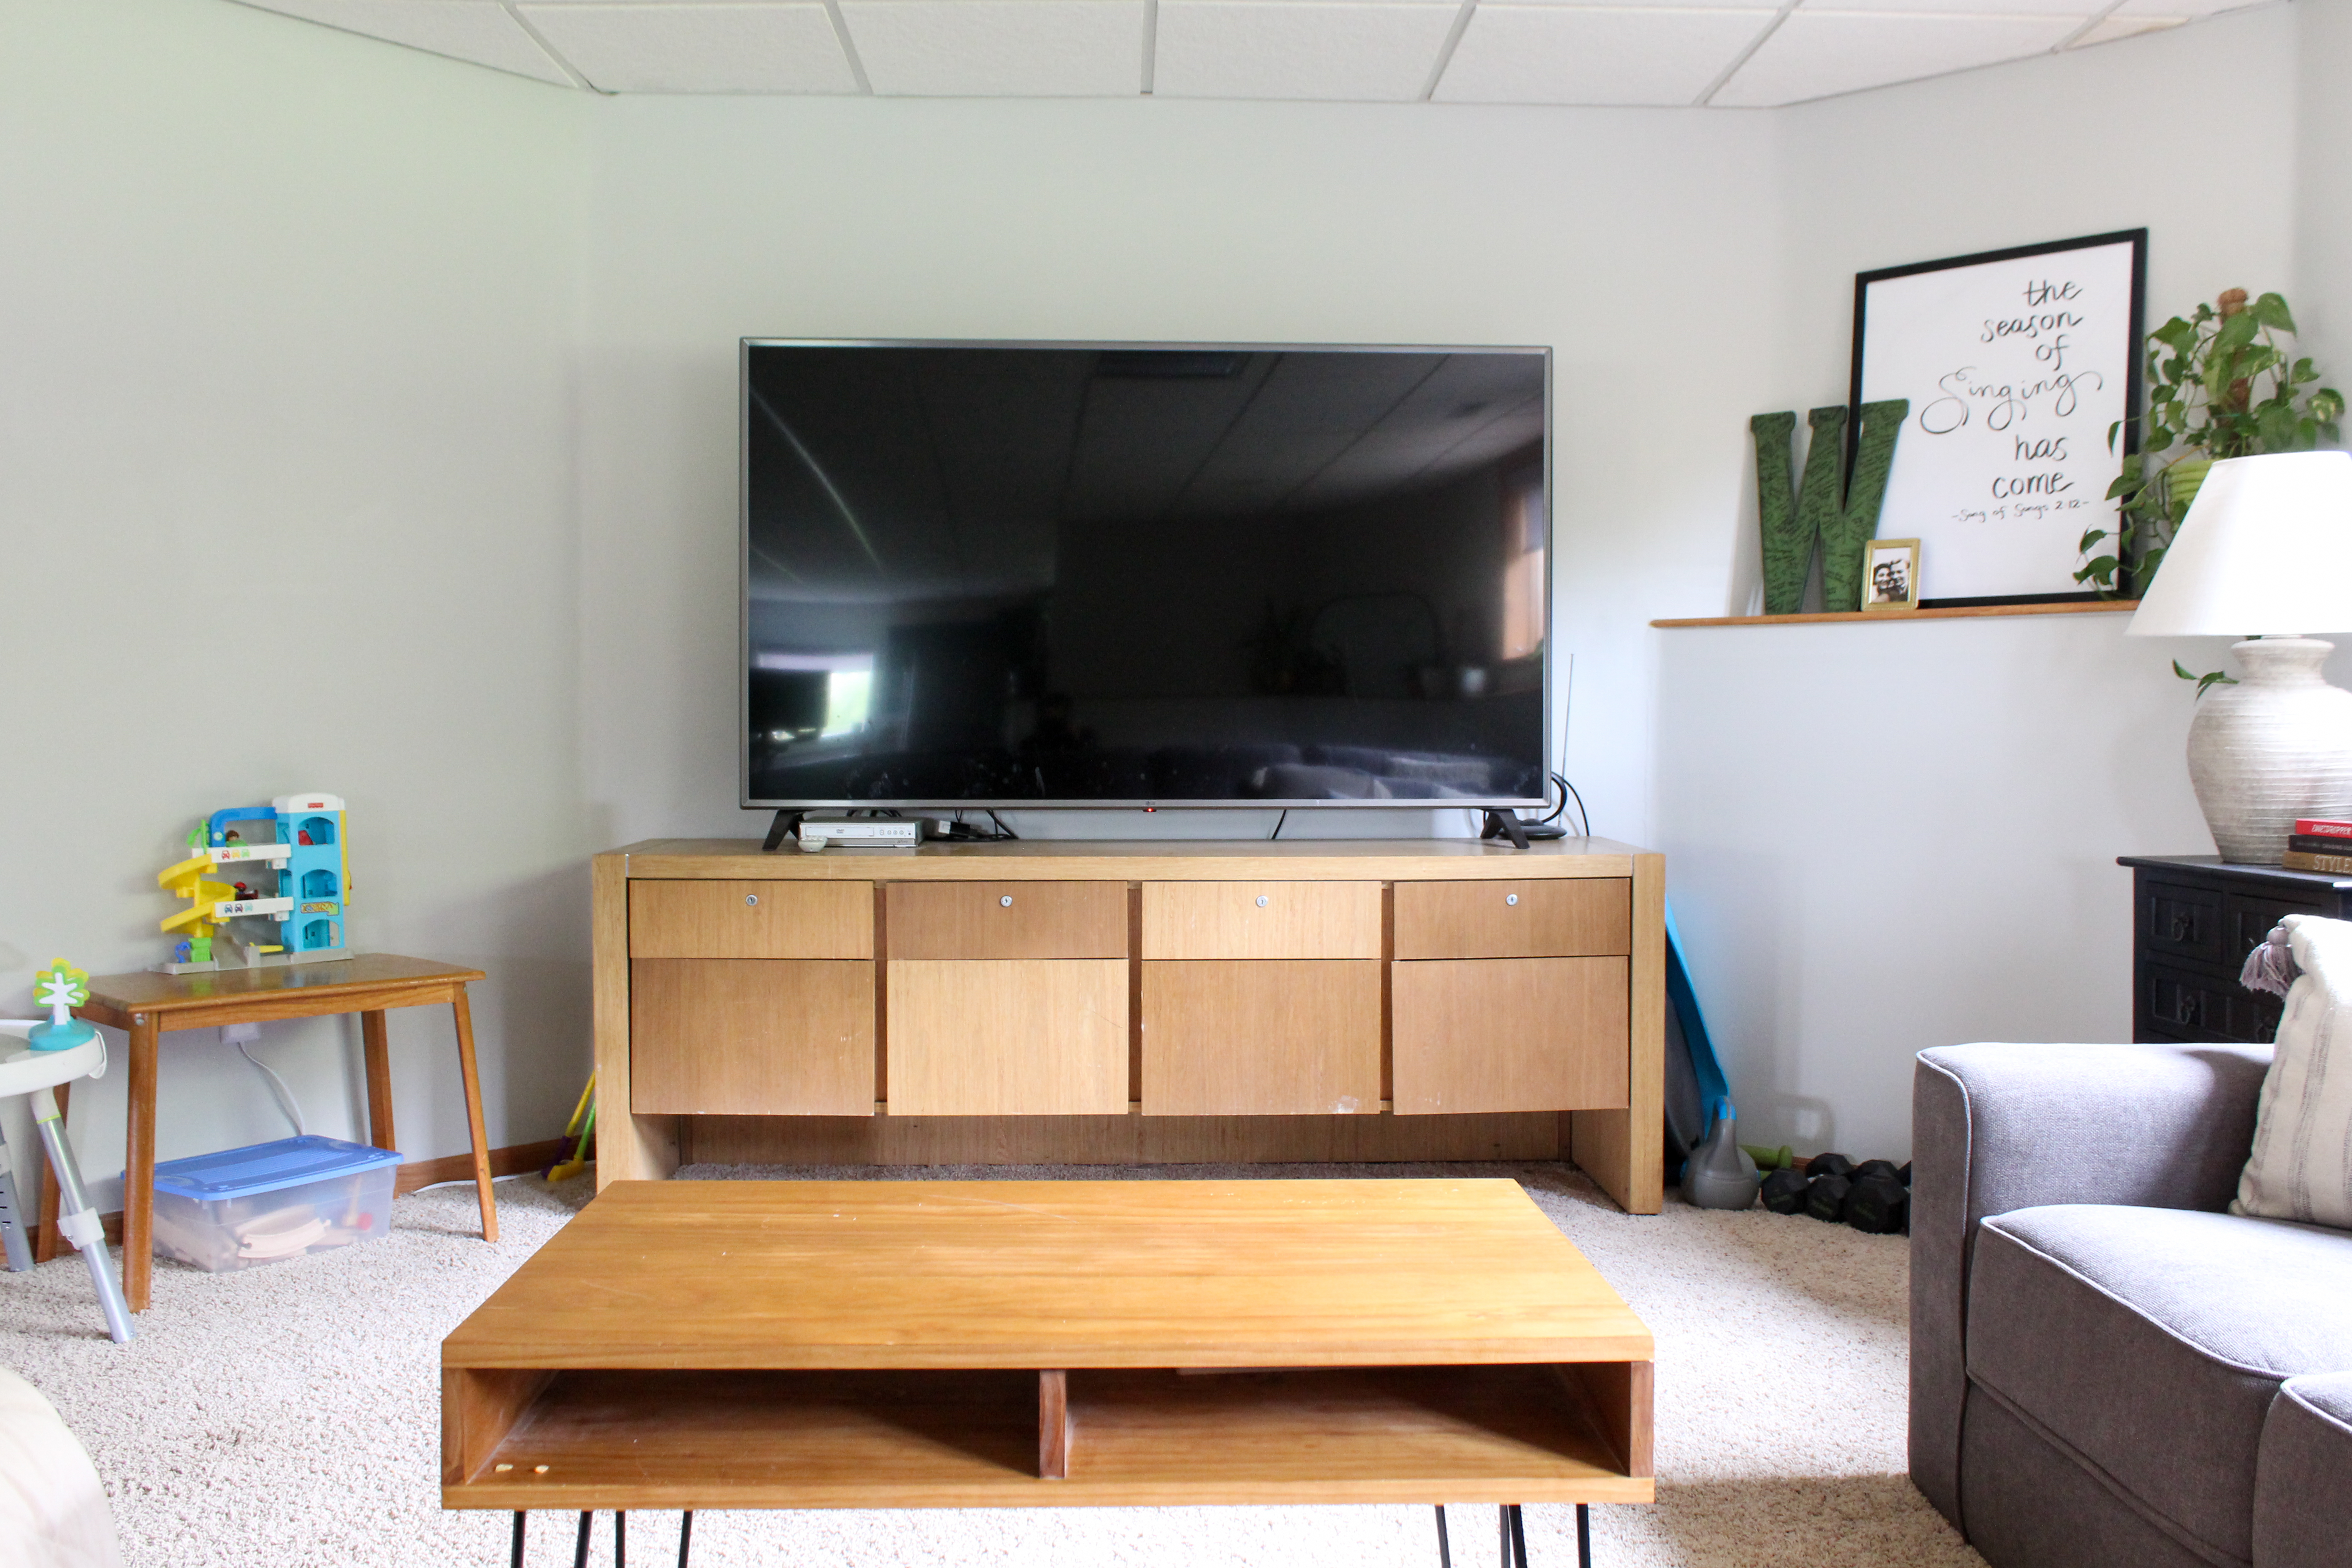
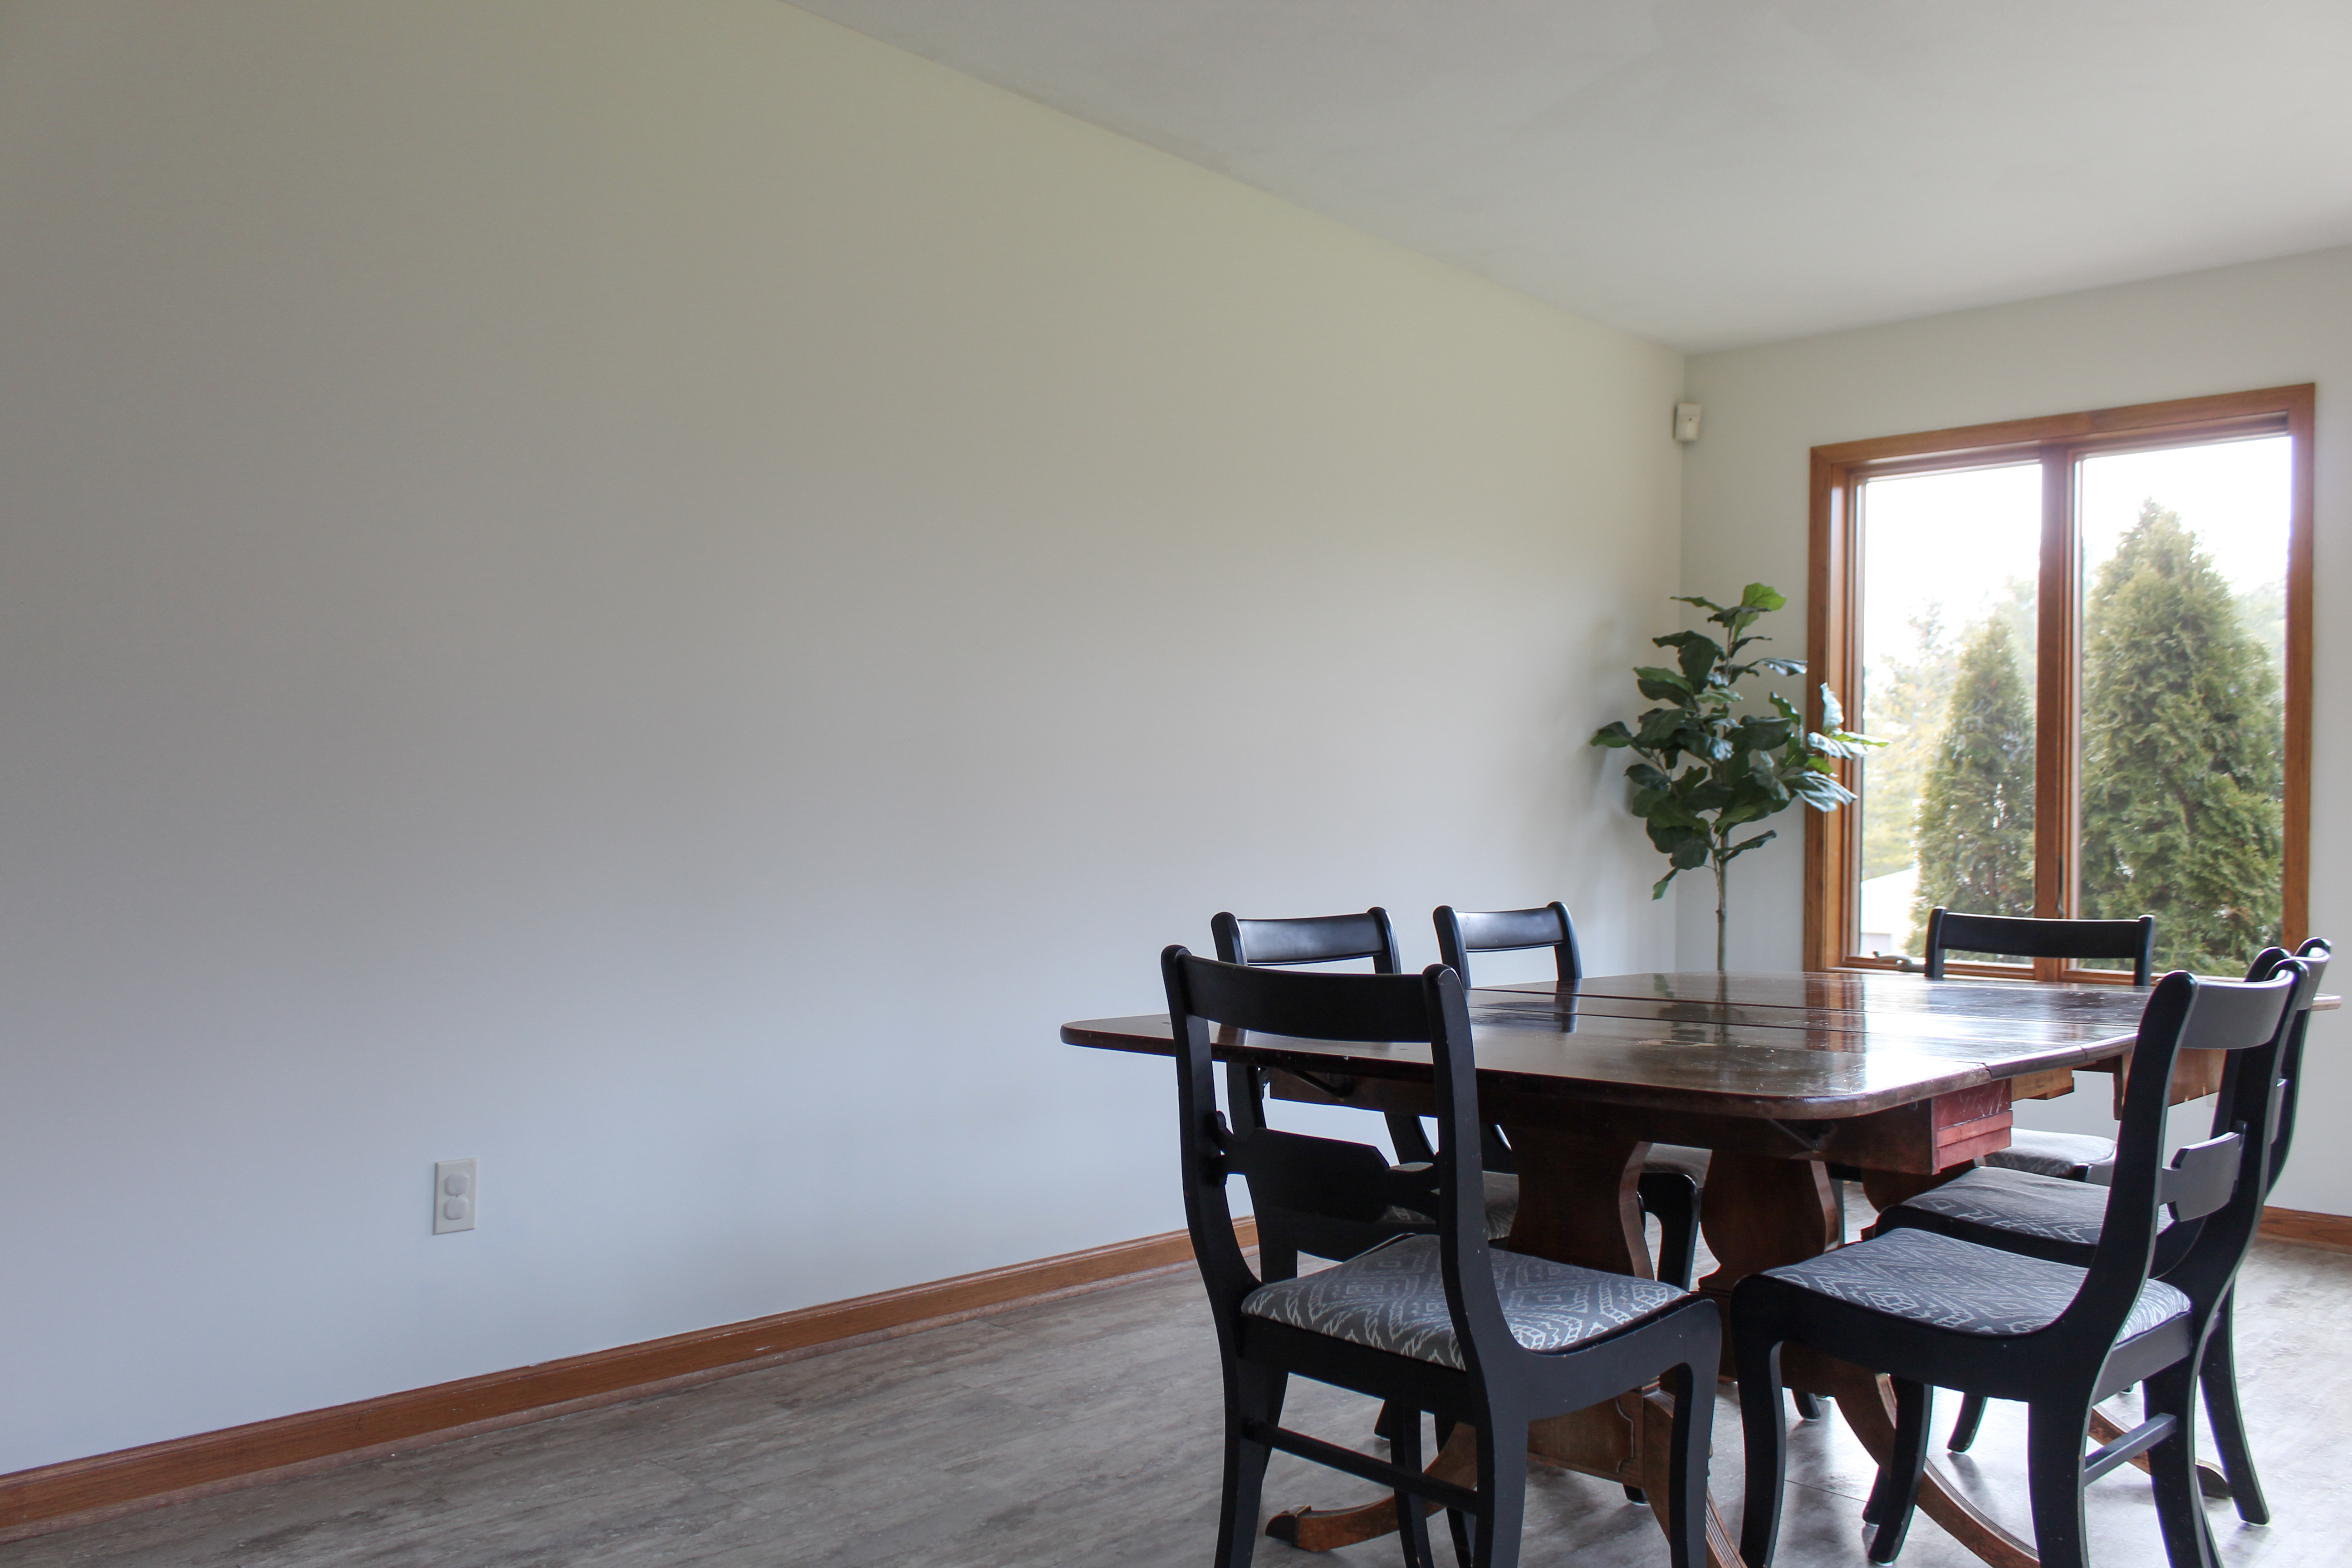
The living room is the slowest renovation we’ve tackled so far. I shared the mood board back in October and since then, I’ve painted the walls and ceiling, swapped out the ceiling light fixture, and hired an electrician to hardwire two sconces. We also purchased one new chair for the bay window area. That’s it! Basically, I’ve been taking this Phase One renovation in, well, phases, and every so often I come back to do a little bit more. This week, I finally finished off this wall:
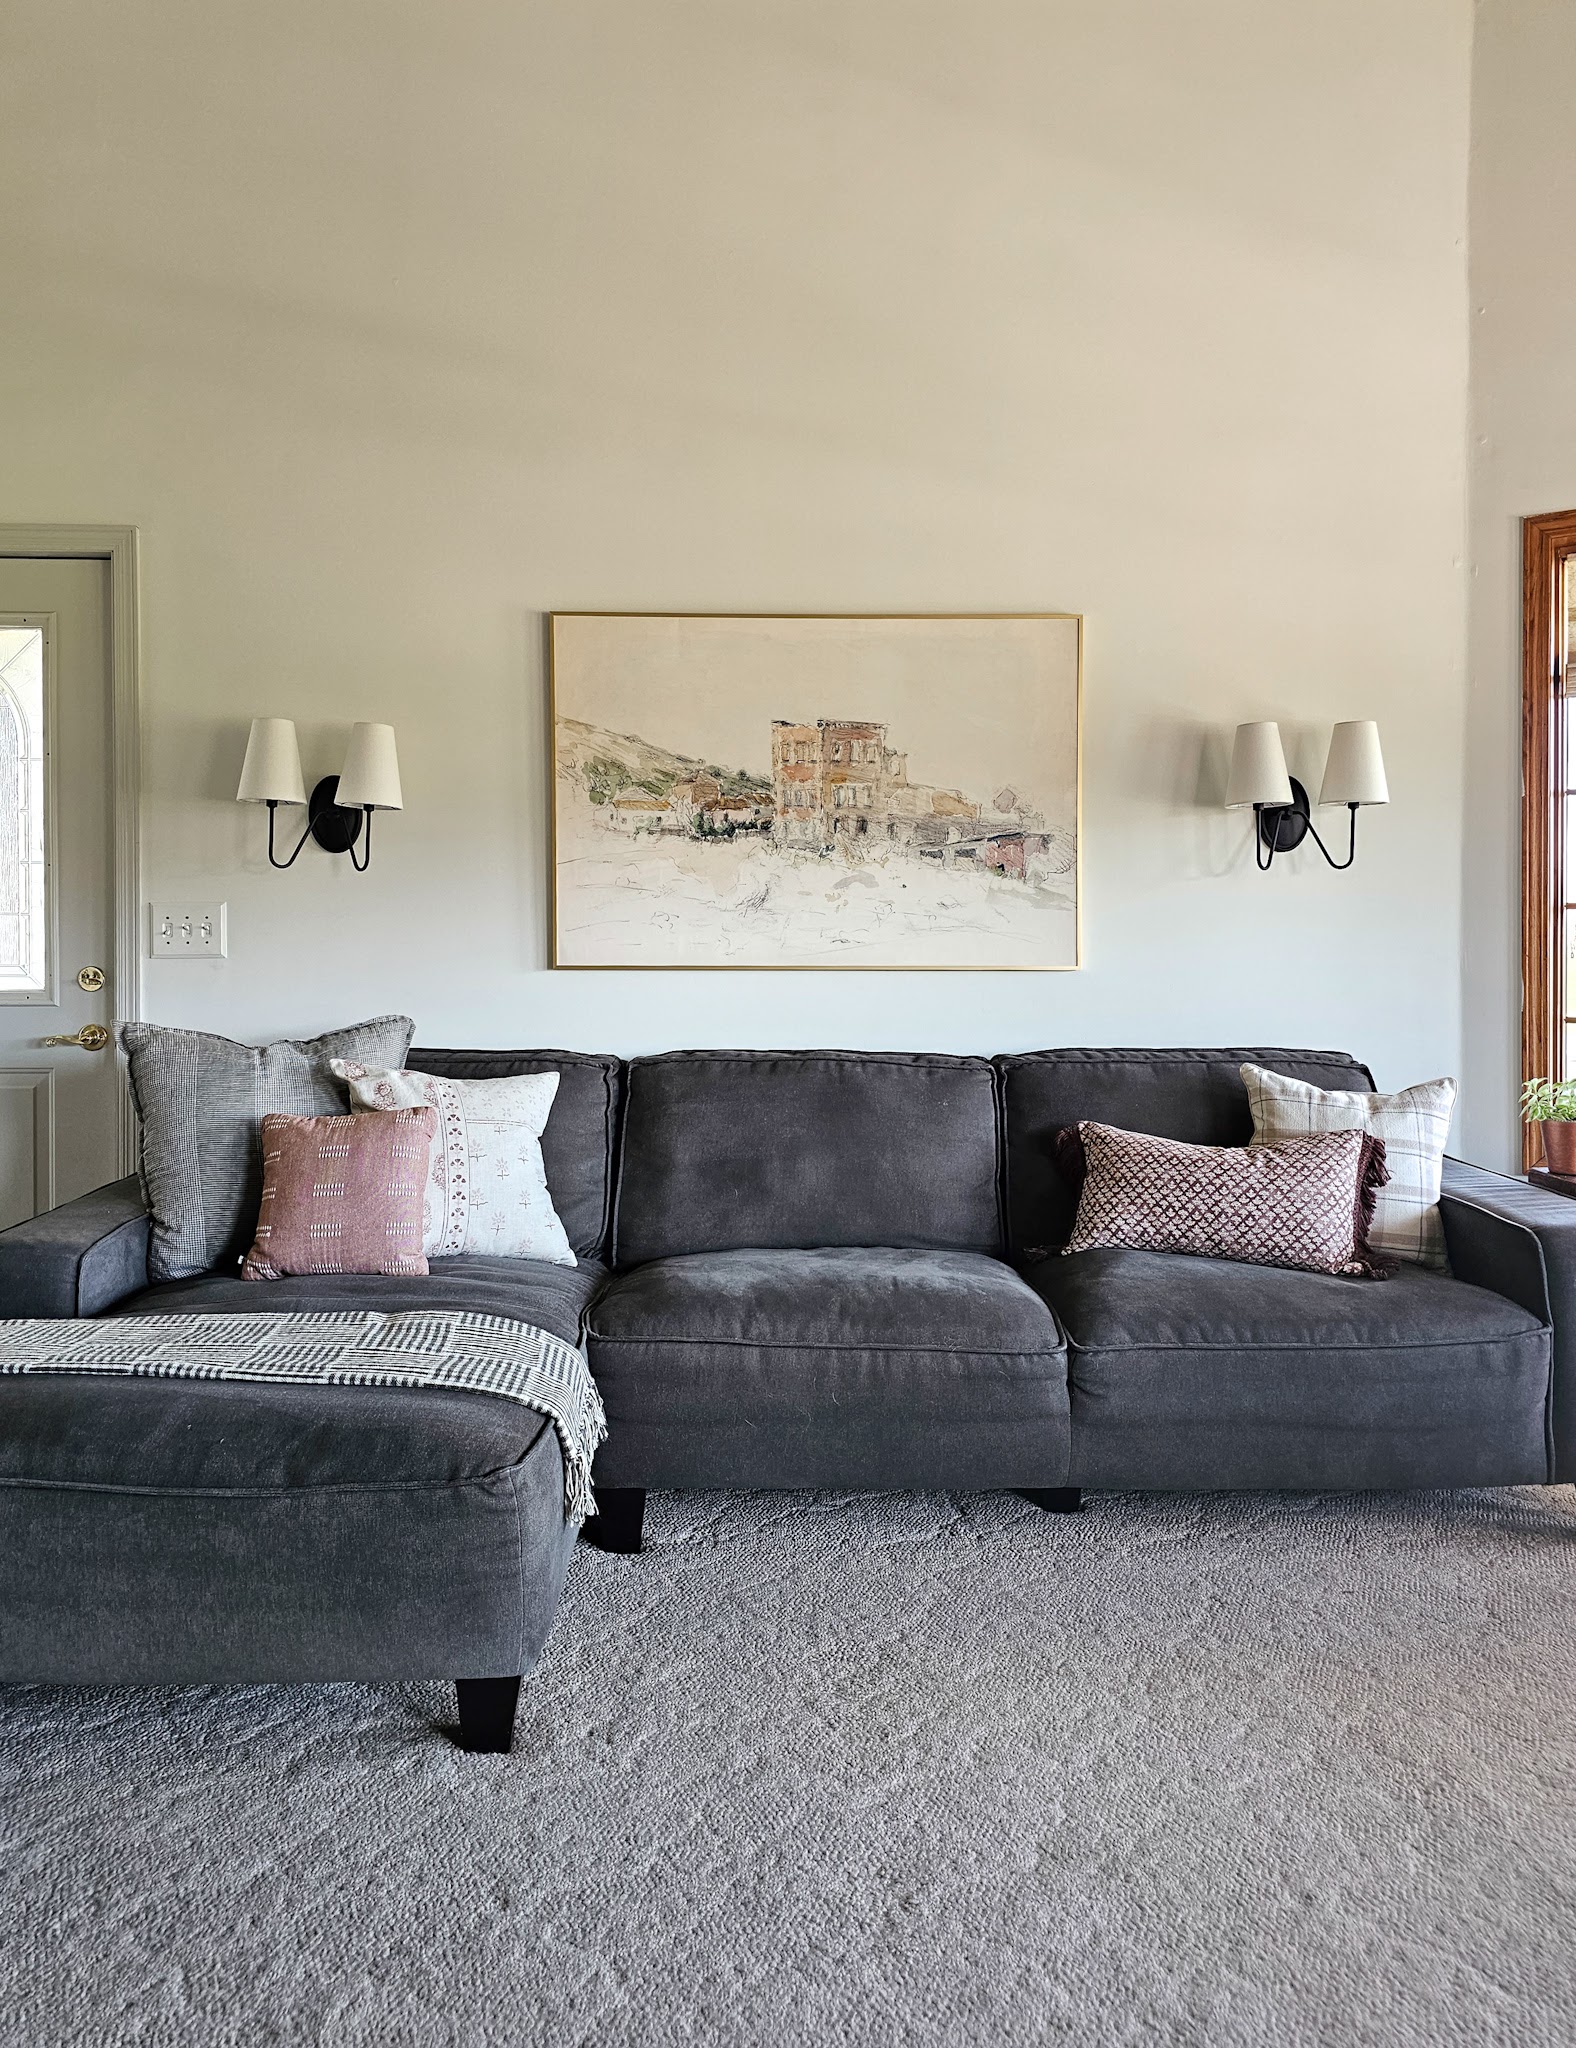
Before-ish

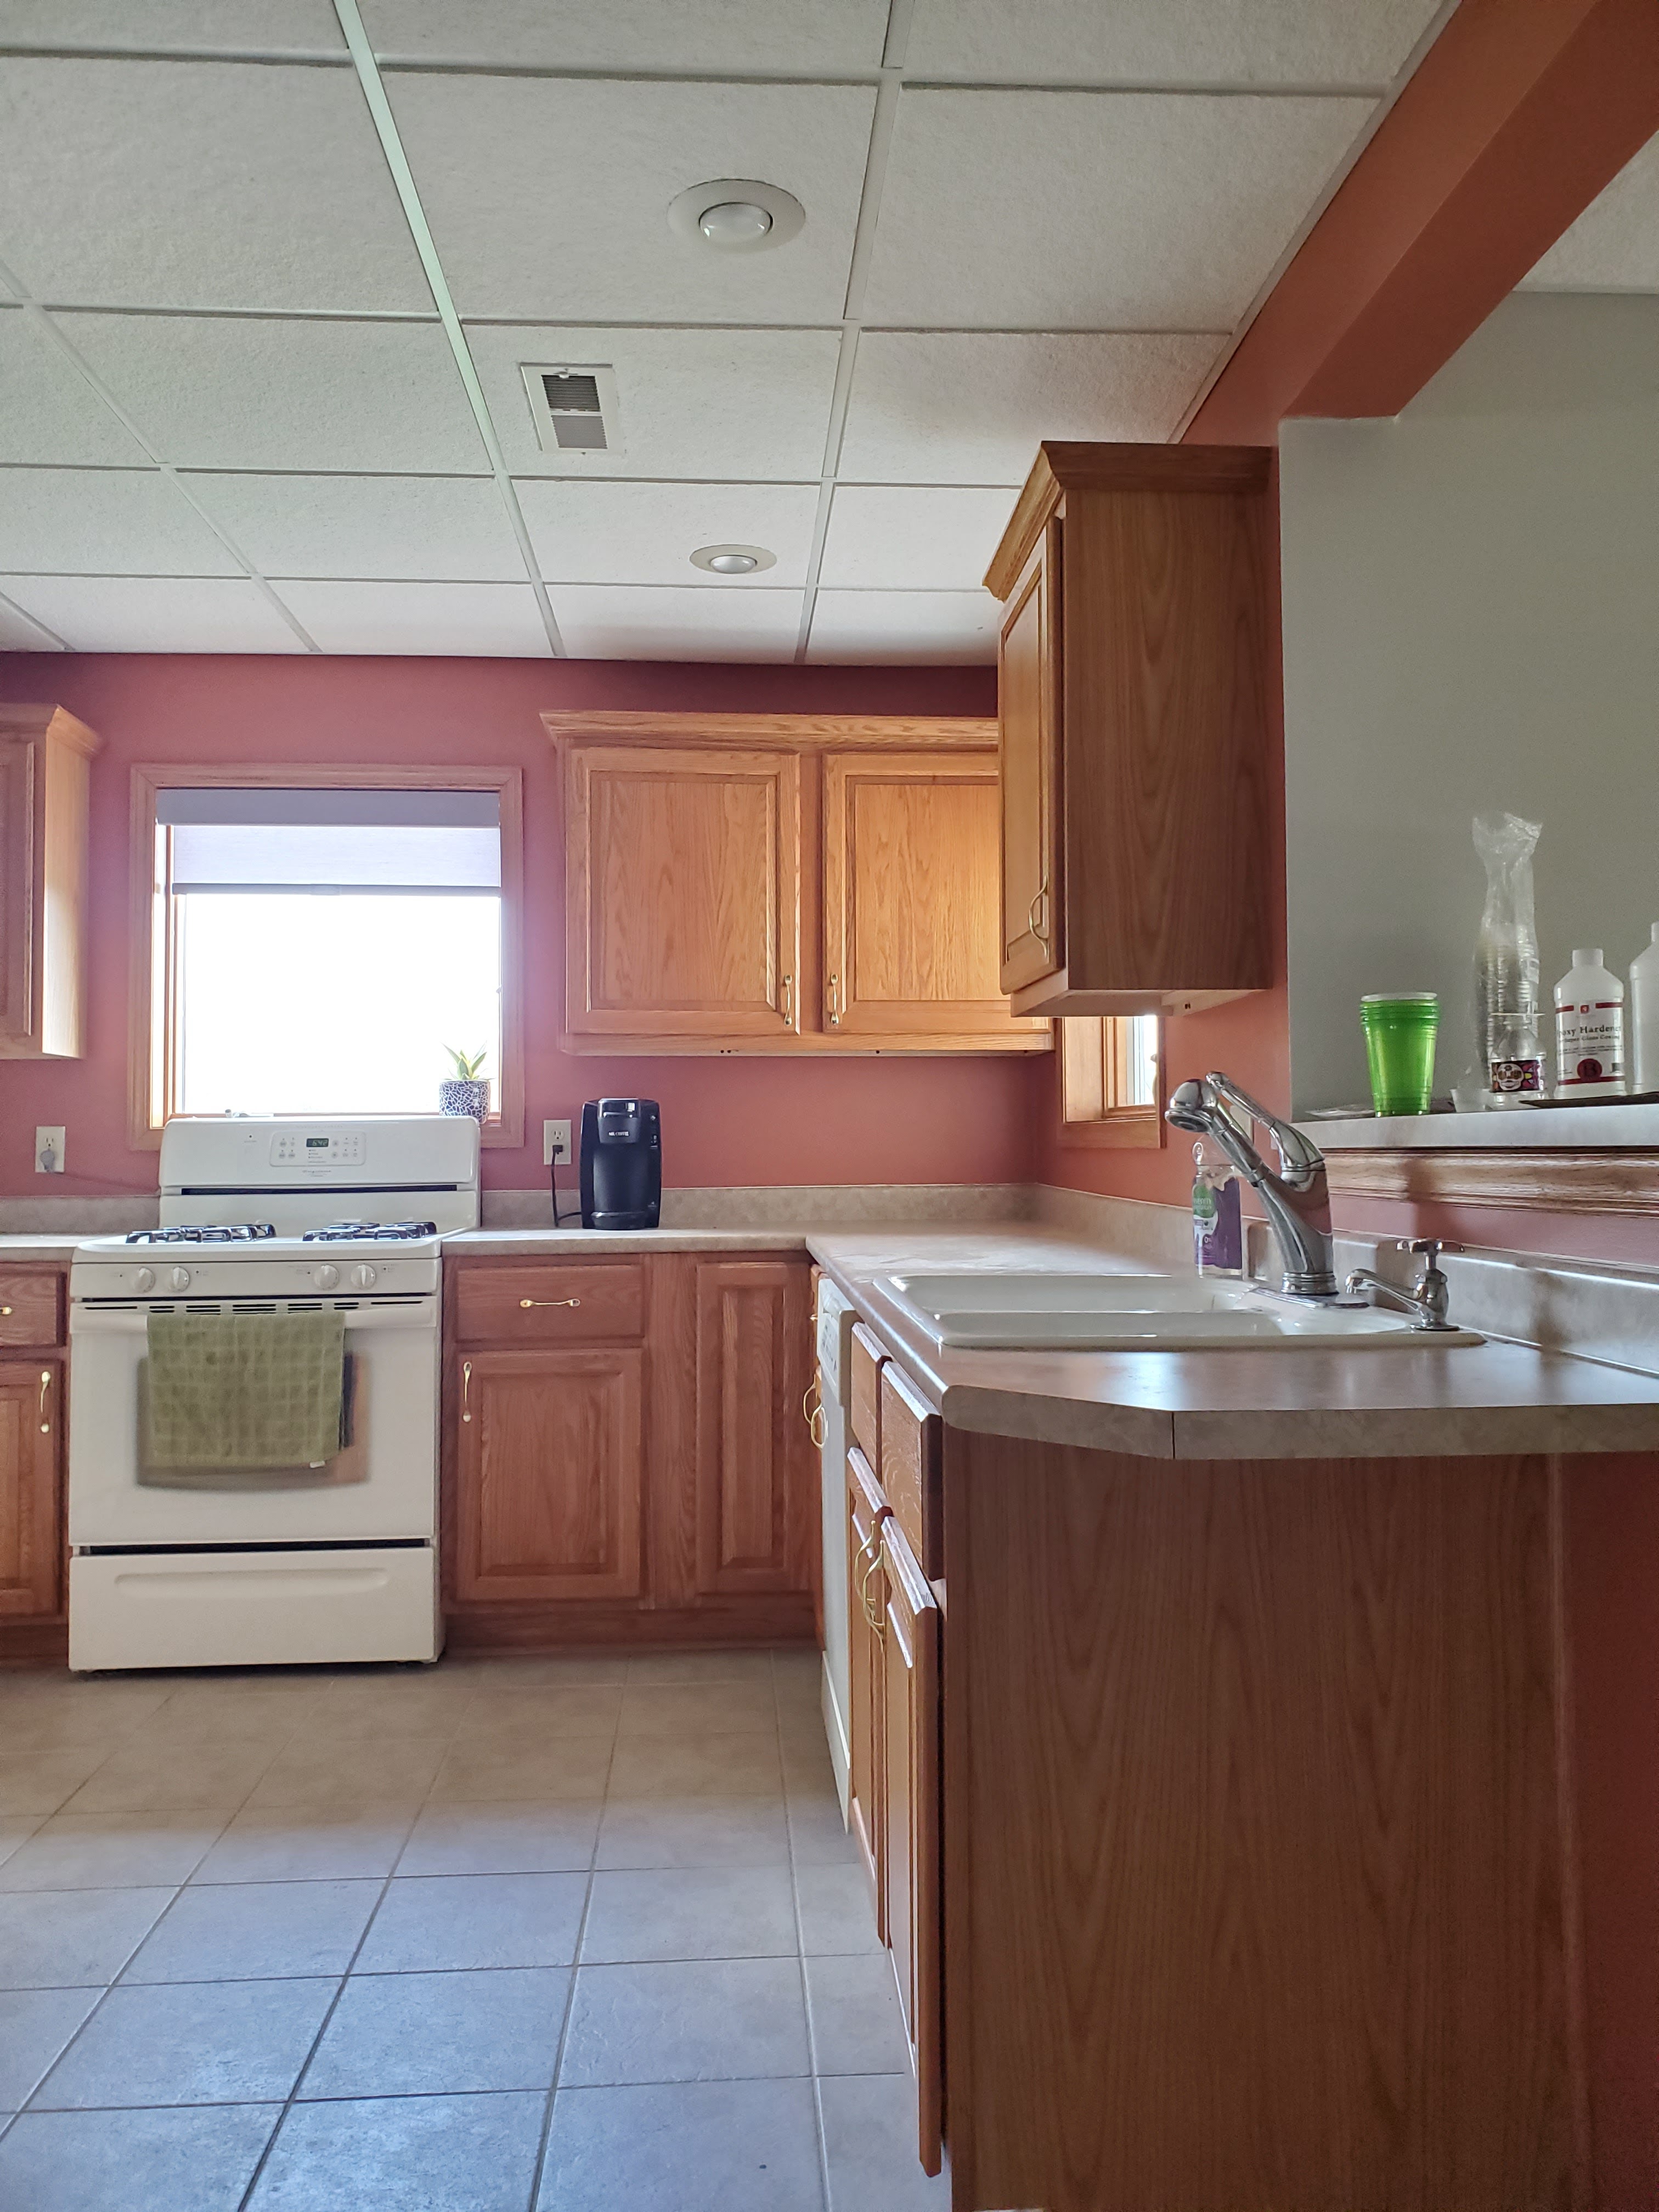
Midway

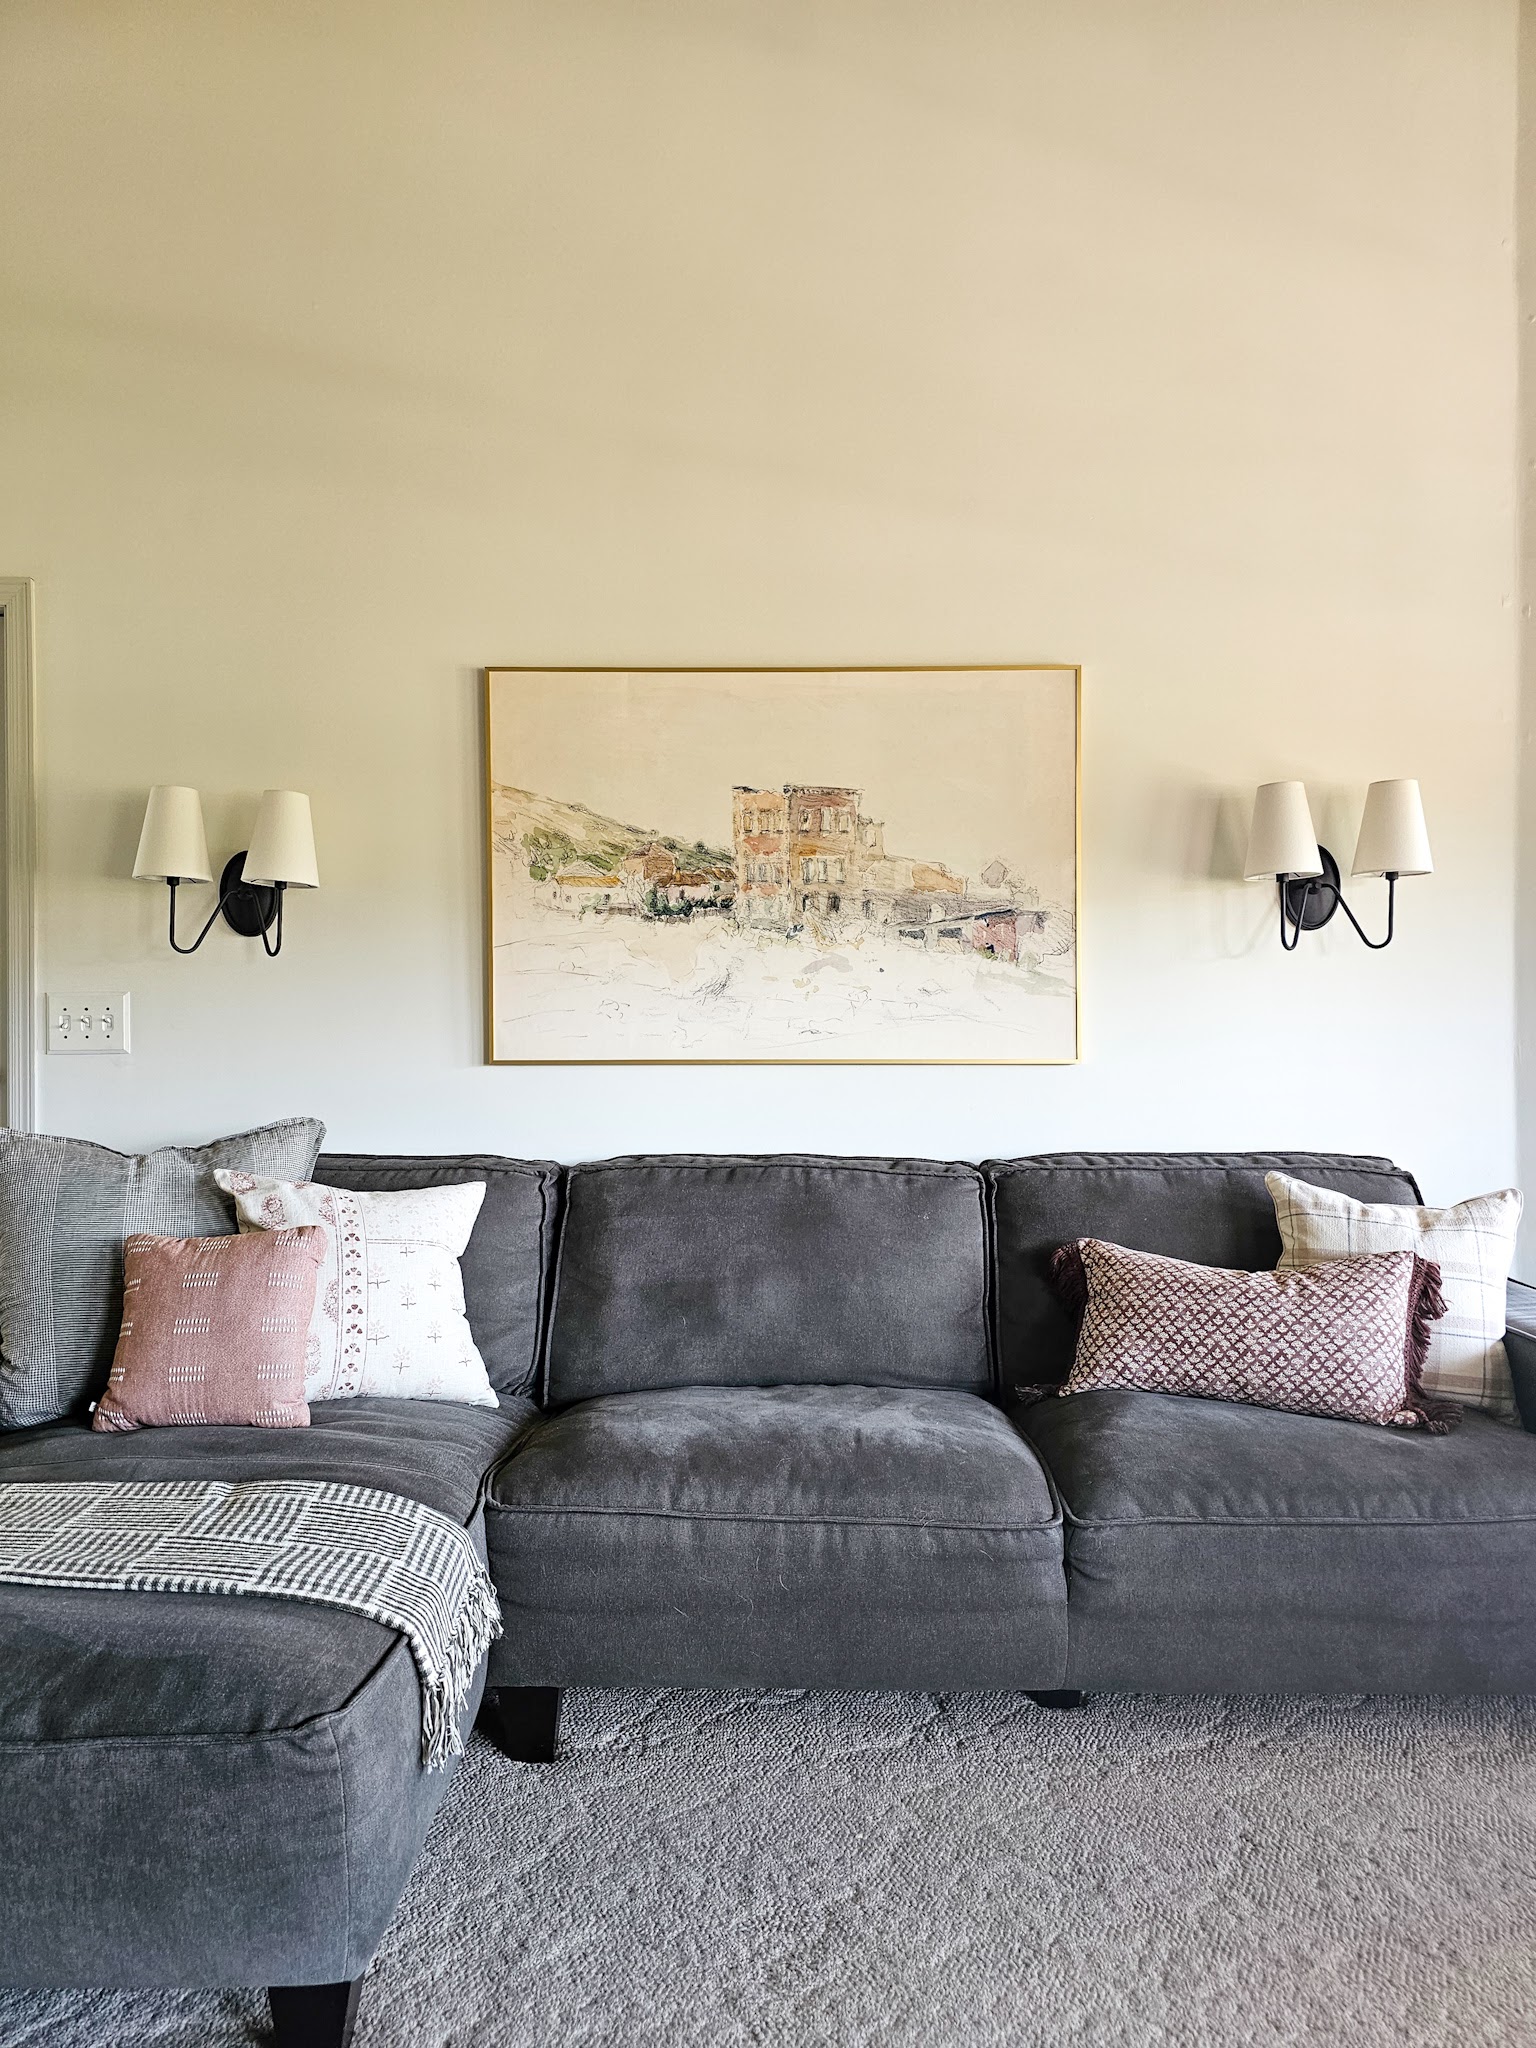
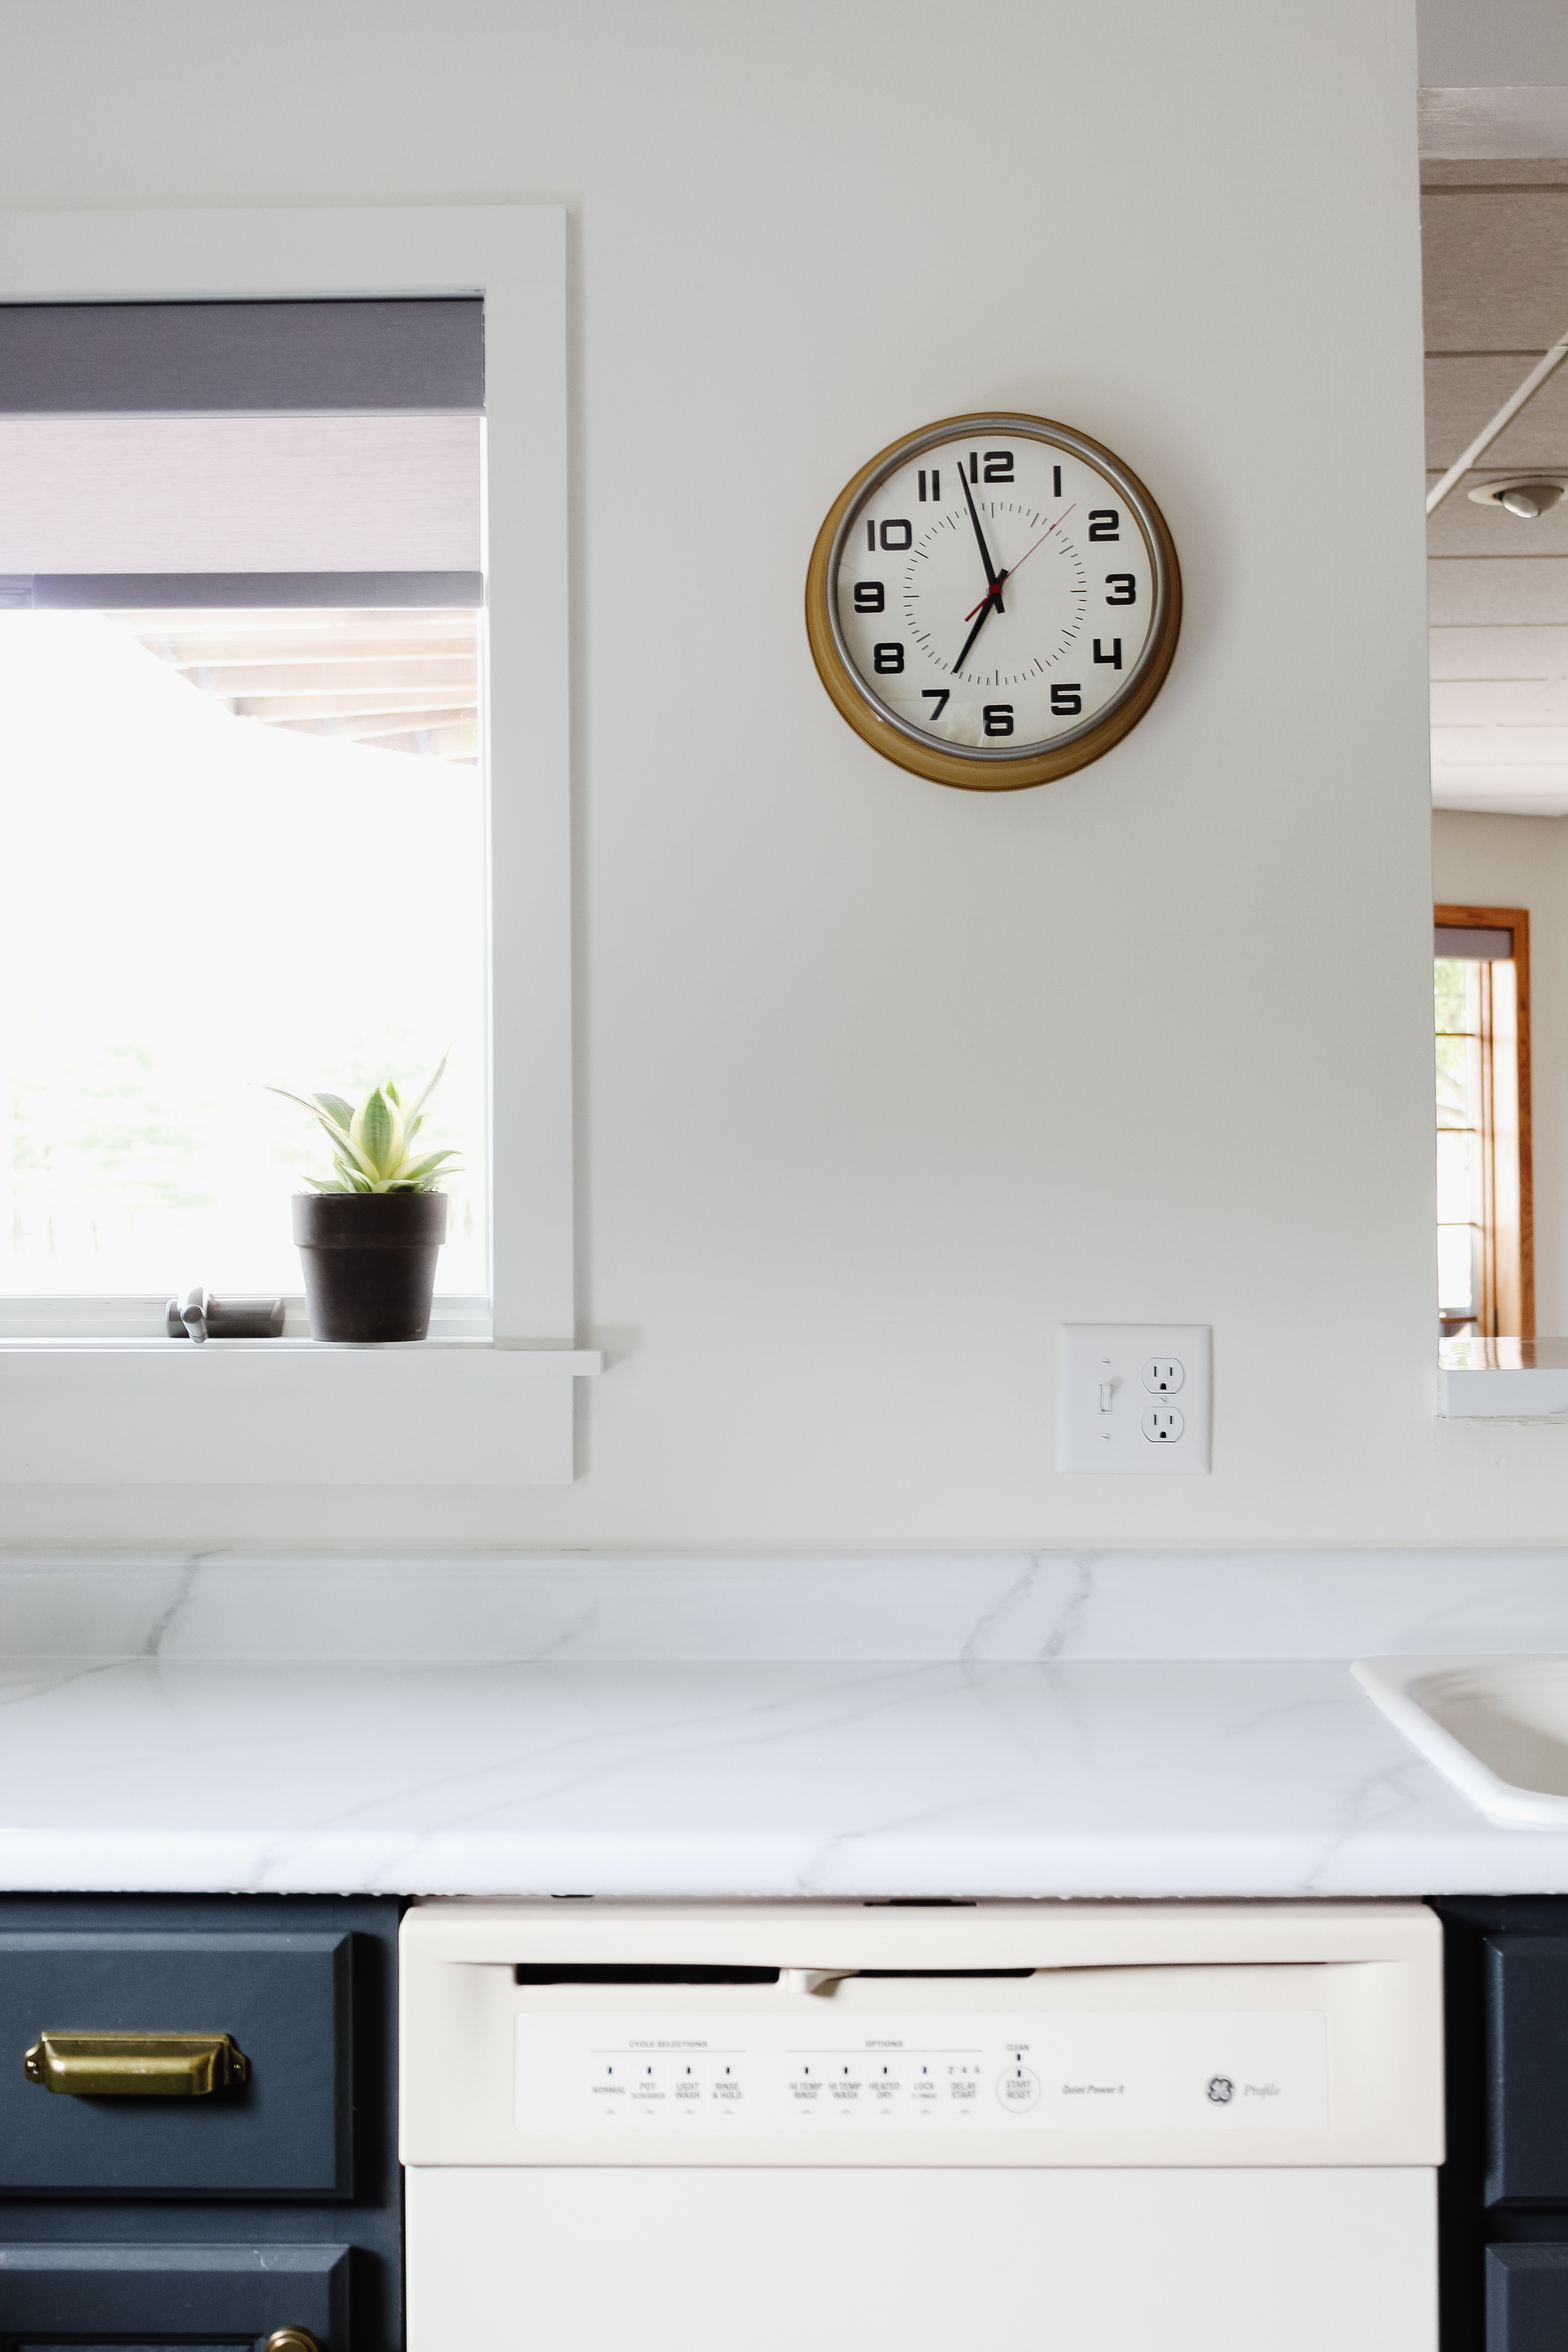
After

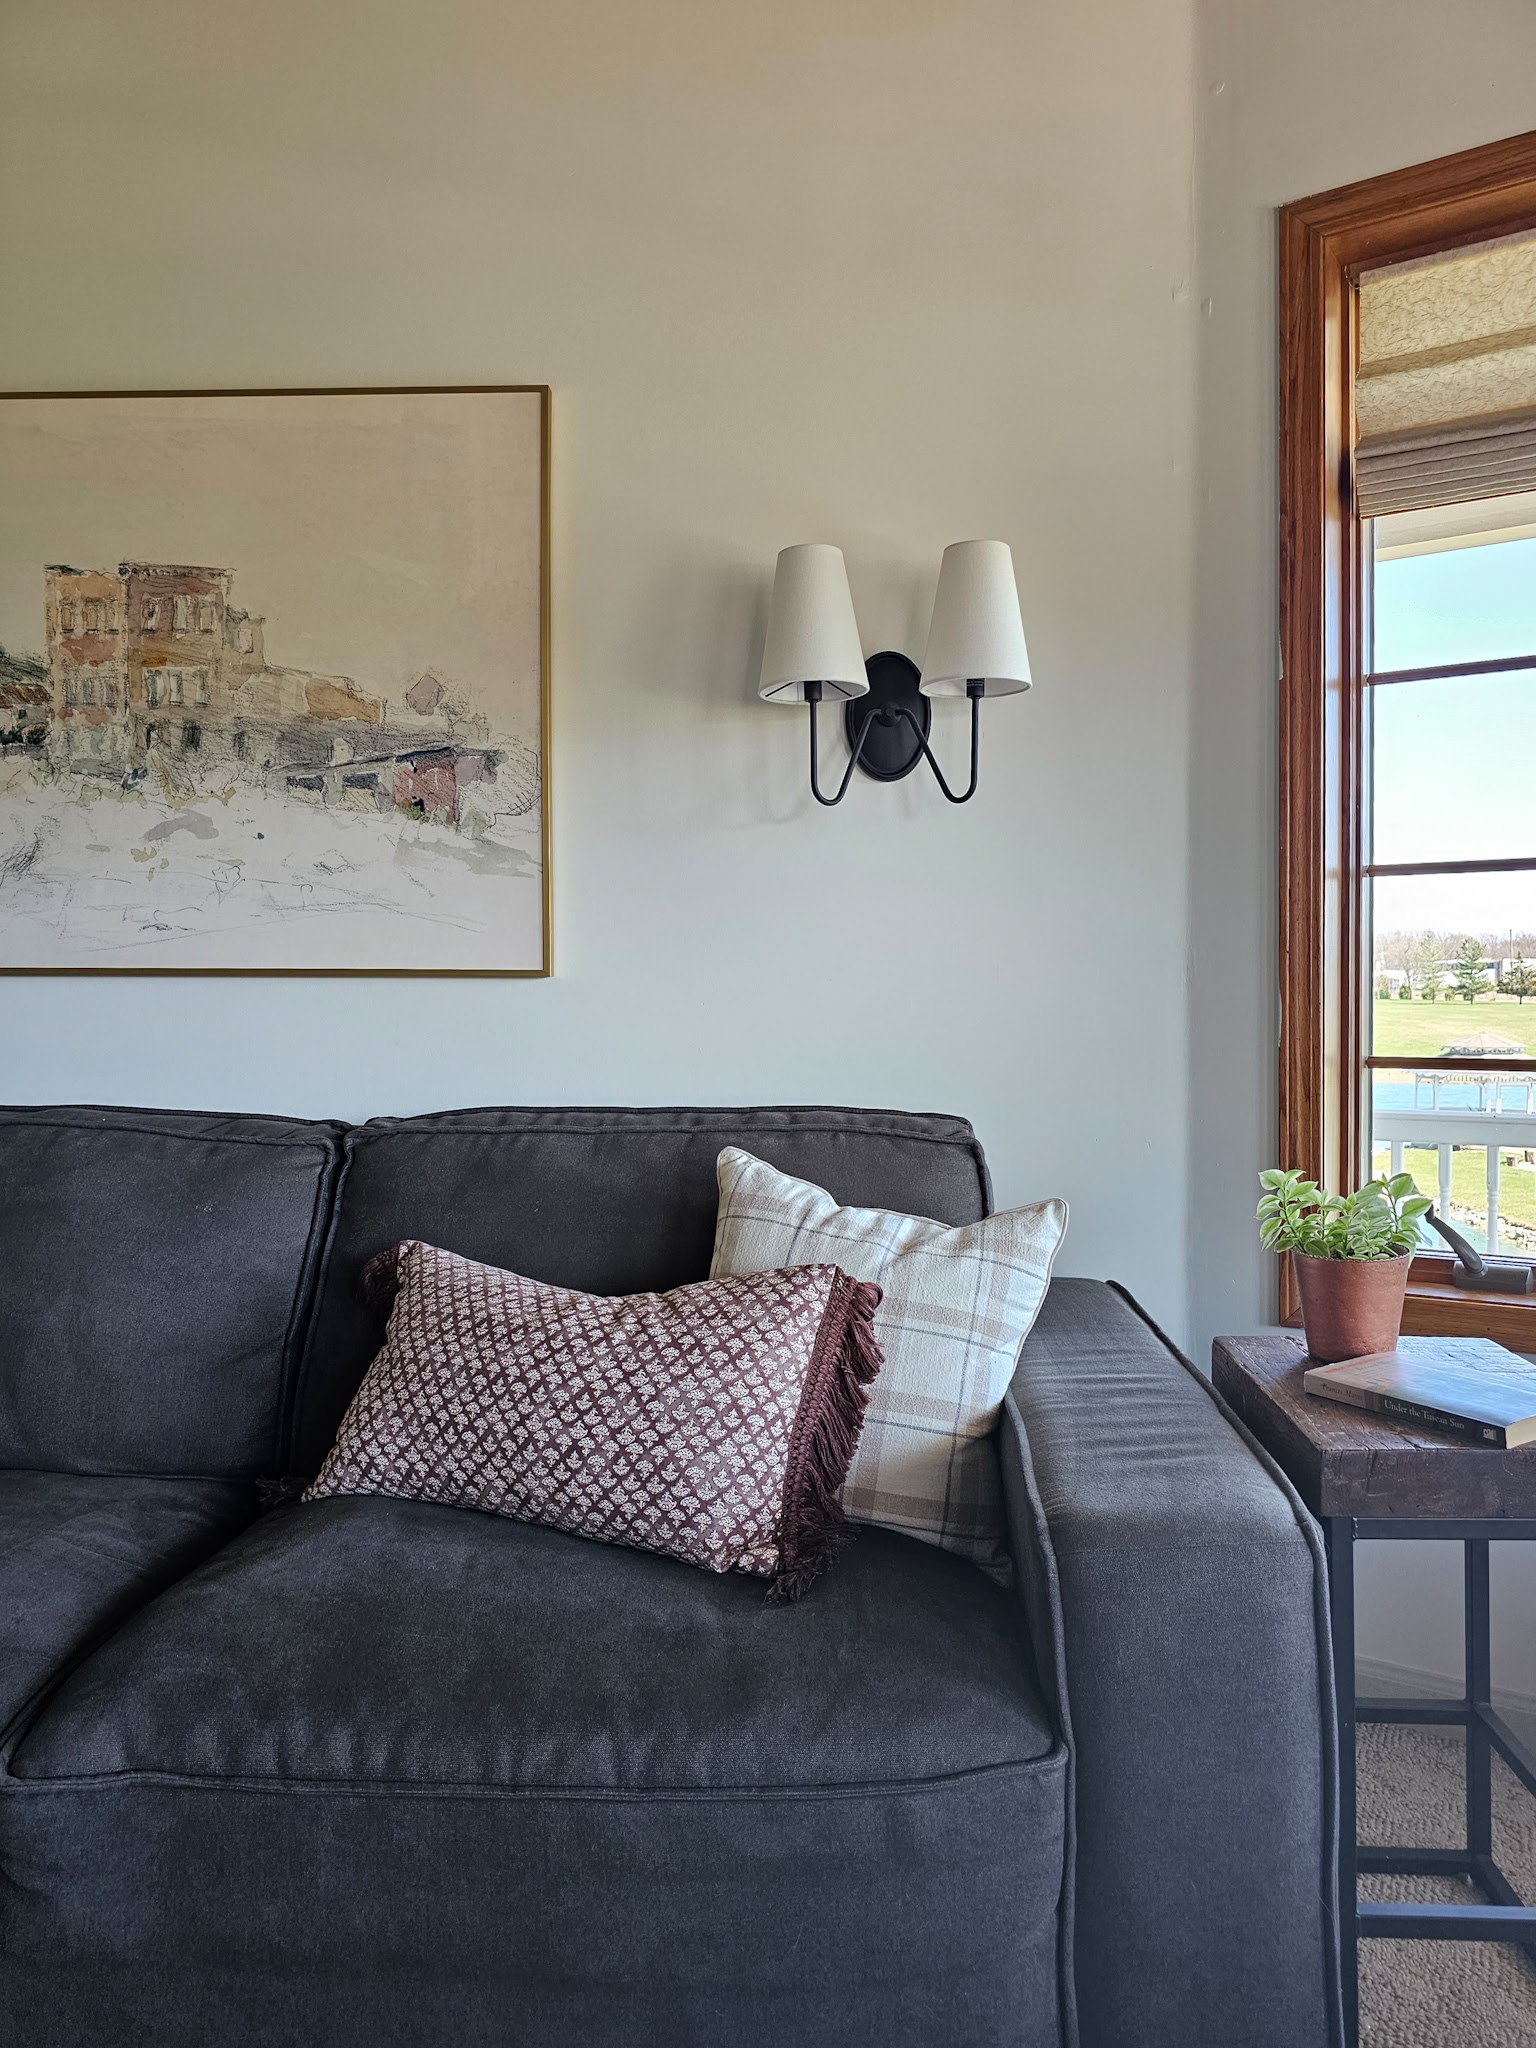
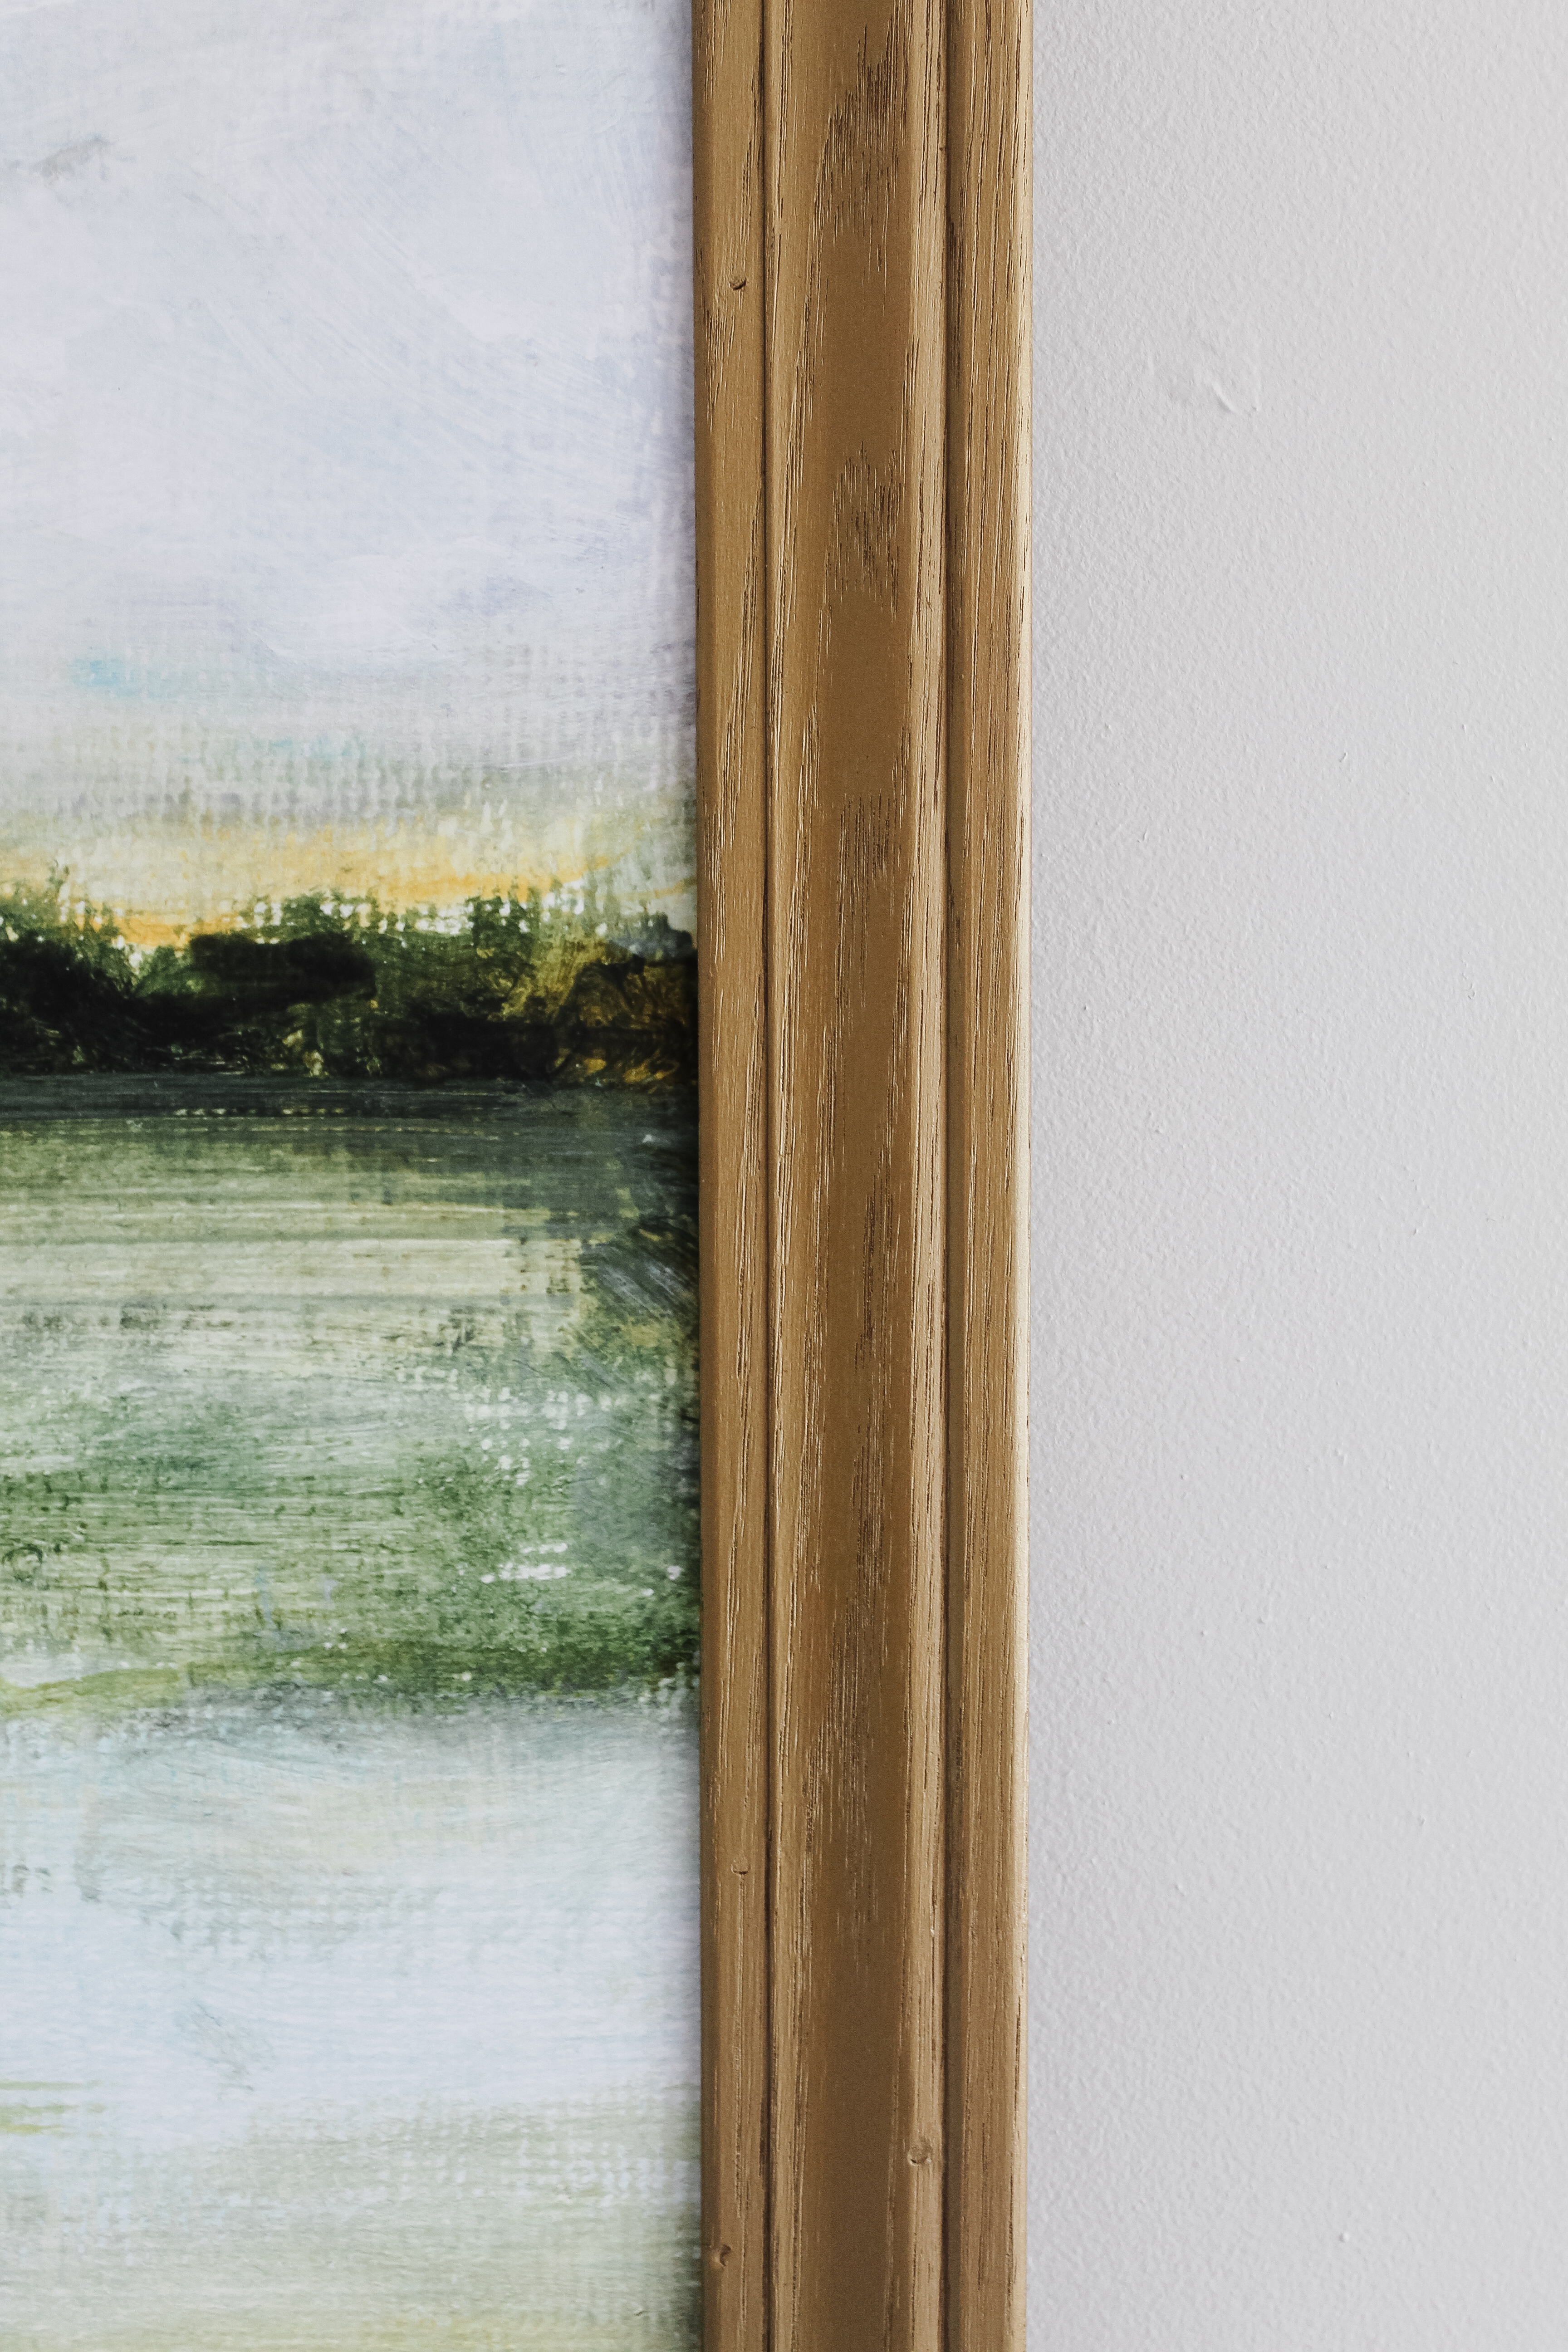
Let’s start with the artwork, as that was a driving force in all the other decisions with this view. From the start of planning this room, I had this print from Juniper Print Shop in mind. I like that it has interest, but it’s not overwhelming. The wall is huge and I had no chance of filling it; with a bold ceiling already I wanted to just have the art be a bridge between the couch and ceiling. It’s named Italian Hills and reminds me of Justin and my trip to Italy 7 years ago. I was drawn to the soft, muted colors used – it’s the same color palette that’s reflected throughout the rooms in the rest of the first floor so it felt like a great way to tie everything together.
I purchased the print as a digital download. Their website says their digital files are formatted to print up to 24×36 inches but I was able to have it printed locally at a larger size and I’m happy with the end result. (They do offer oversized prints too but I wanted a different size than they offer – more on that in a minute).
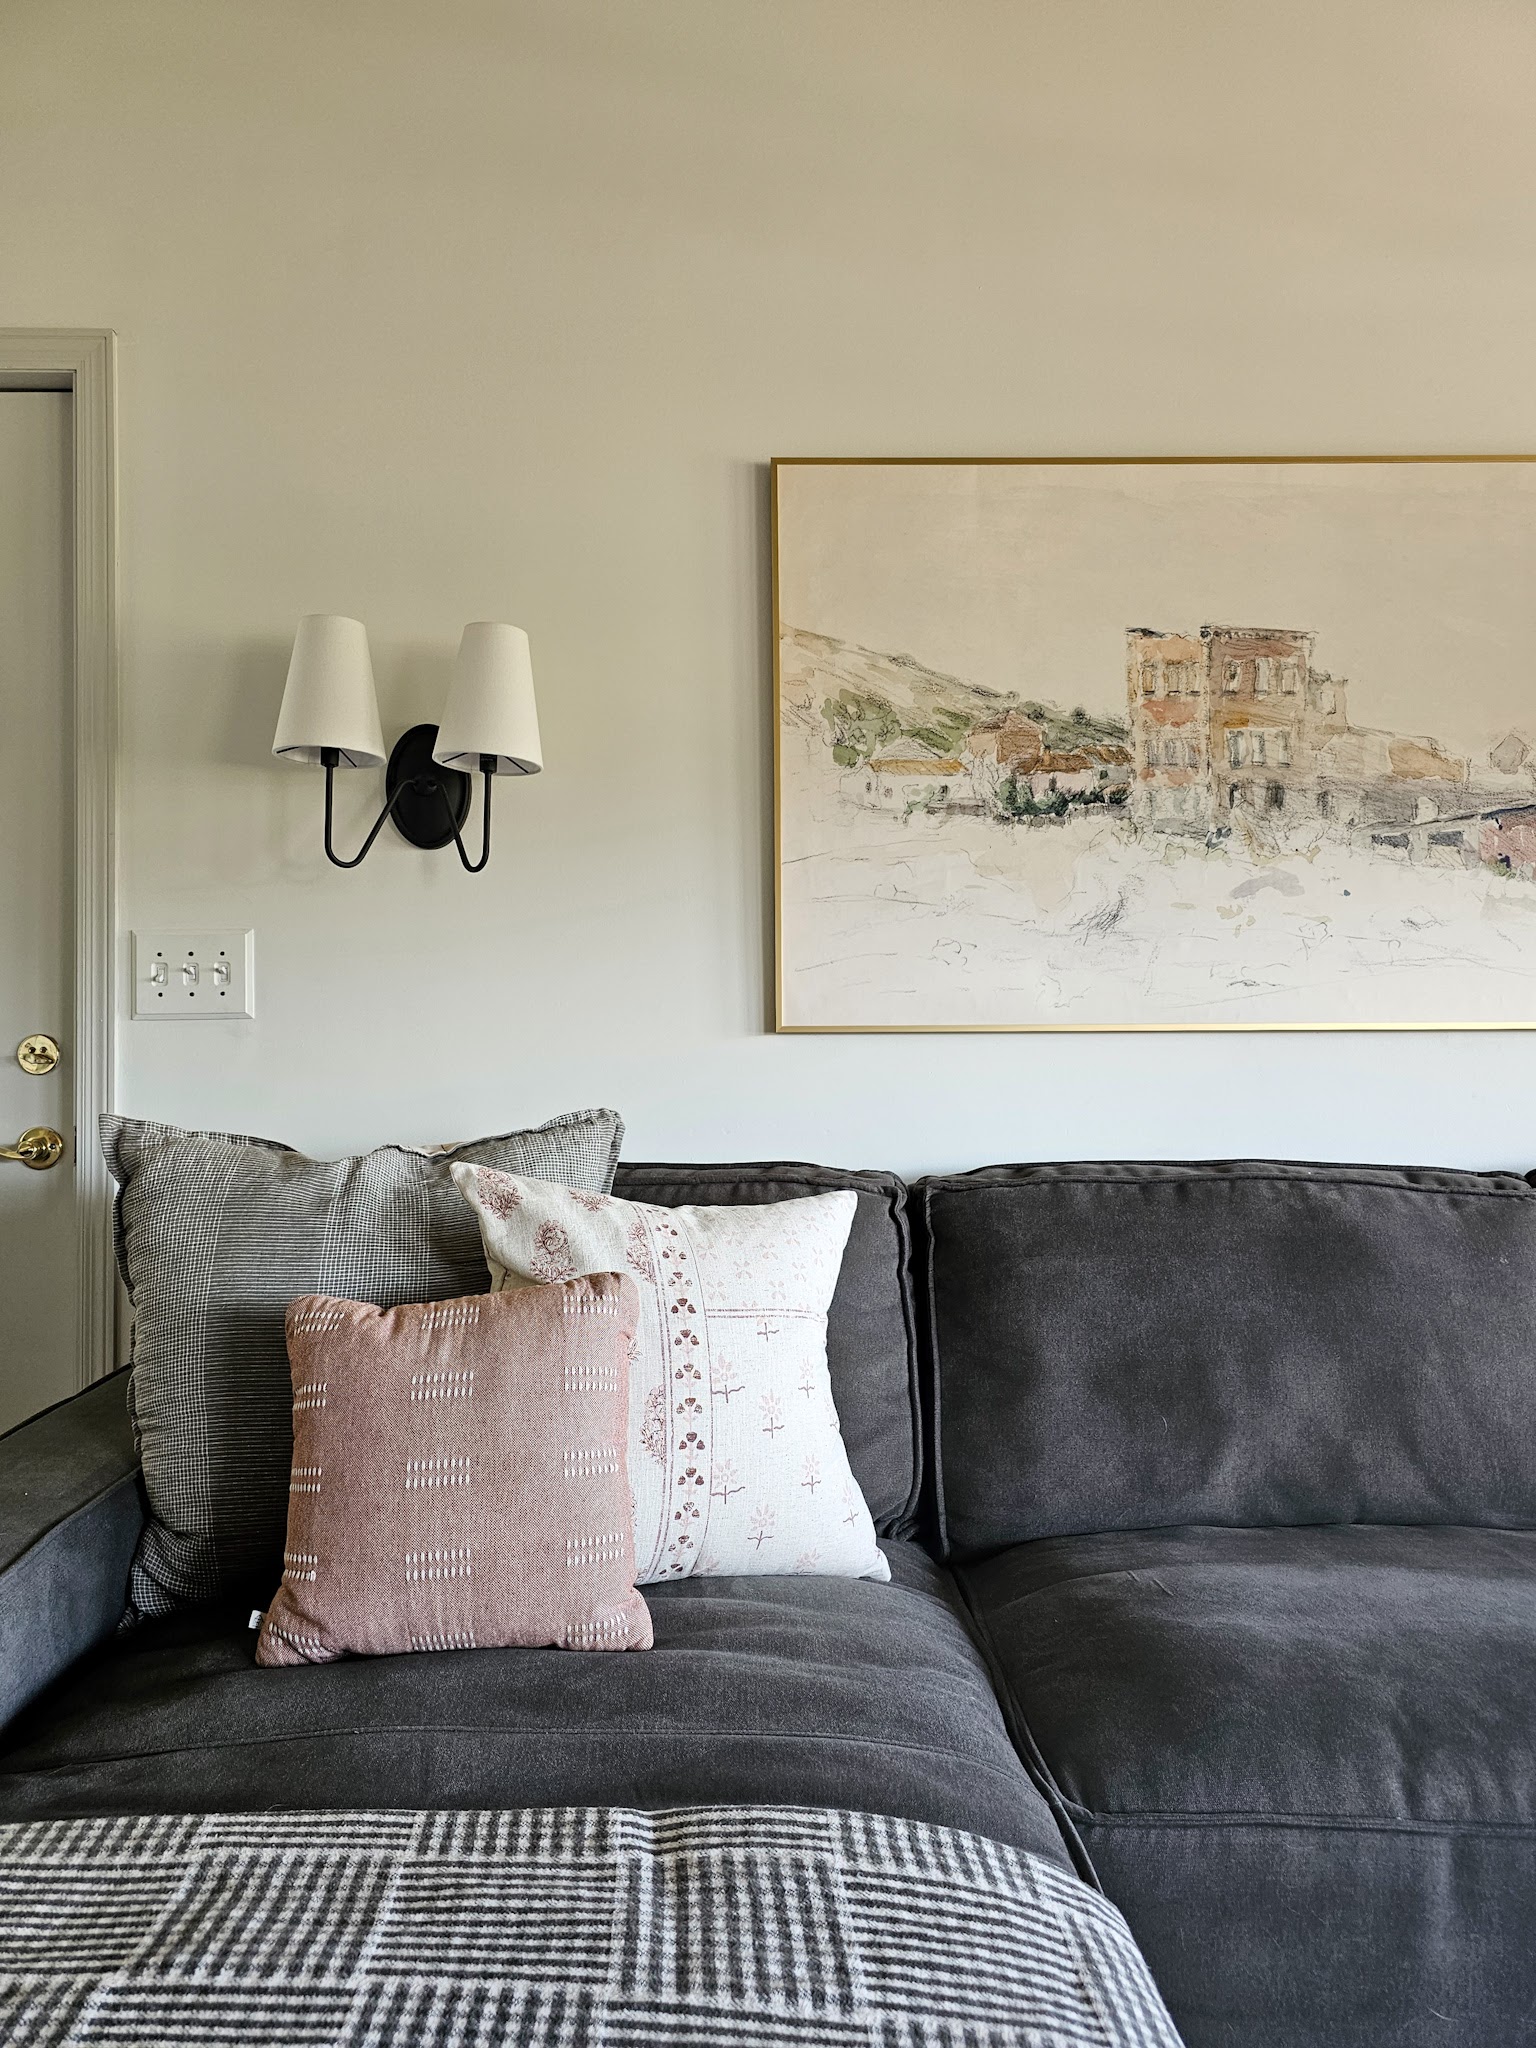
With the print in mind, I went a little bit crazy in Target and bought 13 different pillows to try out on the couch. I wanted to play off the colors in the artwork and chose patterned pillows with shades of green, taupe, and mauve. My vision was to have a mix of colors and patterns for a cozy, collected feel and I tried out numerous combinations before settling on these five.
Of the 13 pillows I bought, I’m only keeping 3. The large green pillow and small square pillow were actually two I already had – a reminder to always shop your own home first! A few new pillows gave a fresh feel to the ones I already have and I love how they all look together.
Because I was bringing in interest with the artwork and a mix of colored and patterned pillows, I wanted to keep the frame for the artwork pretty simple and streamlined. This gold frame from Frame It Easy was perfect for its understated elegance!

In the interest of full transparency, I received this frame from Frame It Easy in exchange for sharing on Instagram and providing them with photos for marketing. A blog post was not part of the contract, but I’m choosing to share about the frame and company here because I’m genuinely happy with the product and like how it looks in my living room.
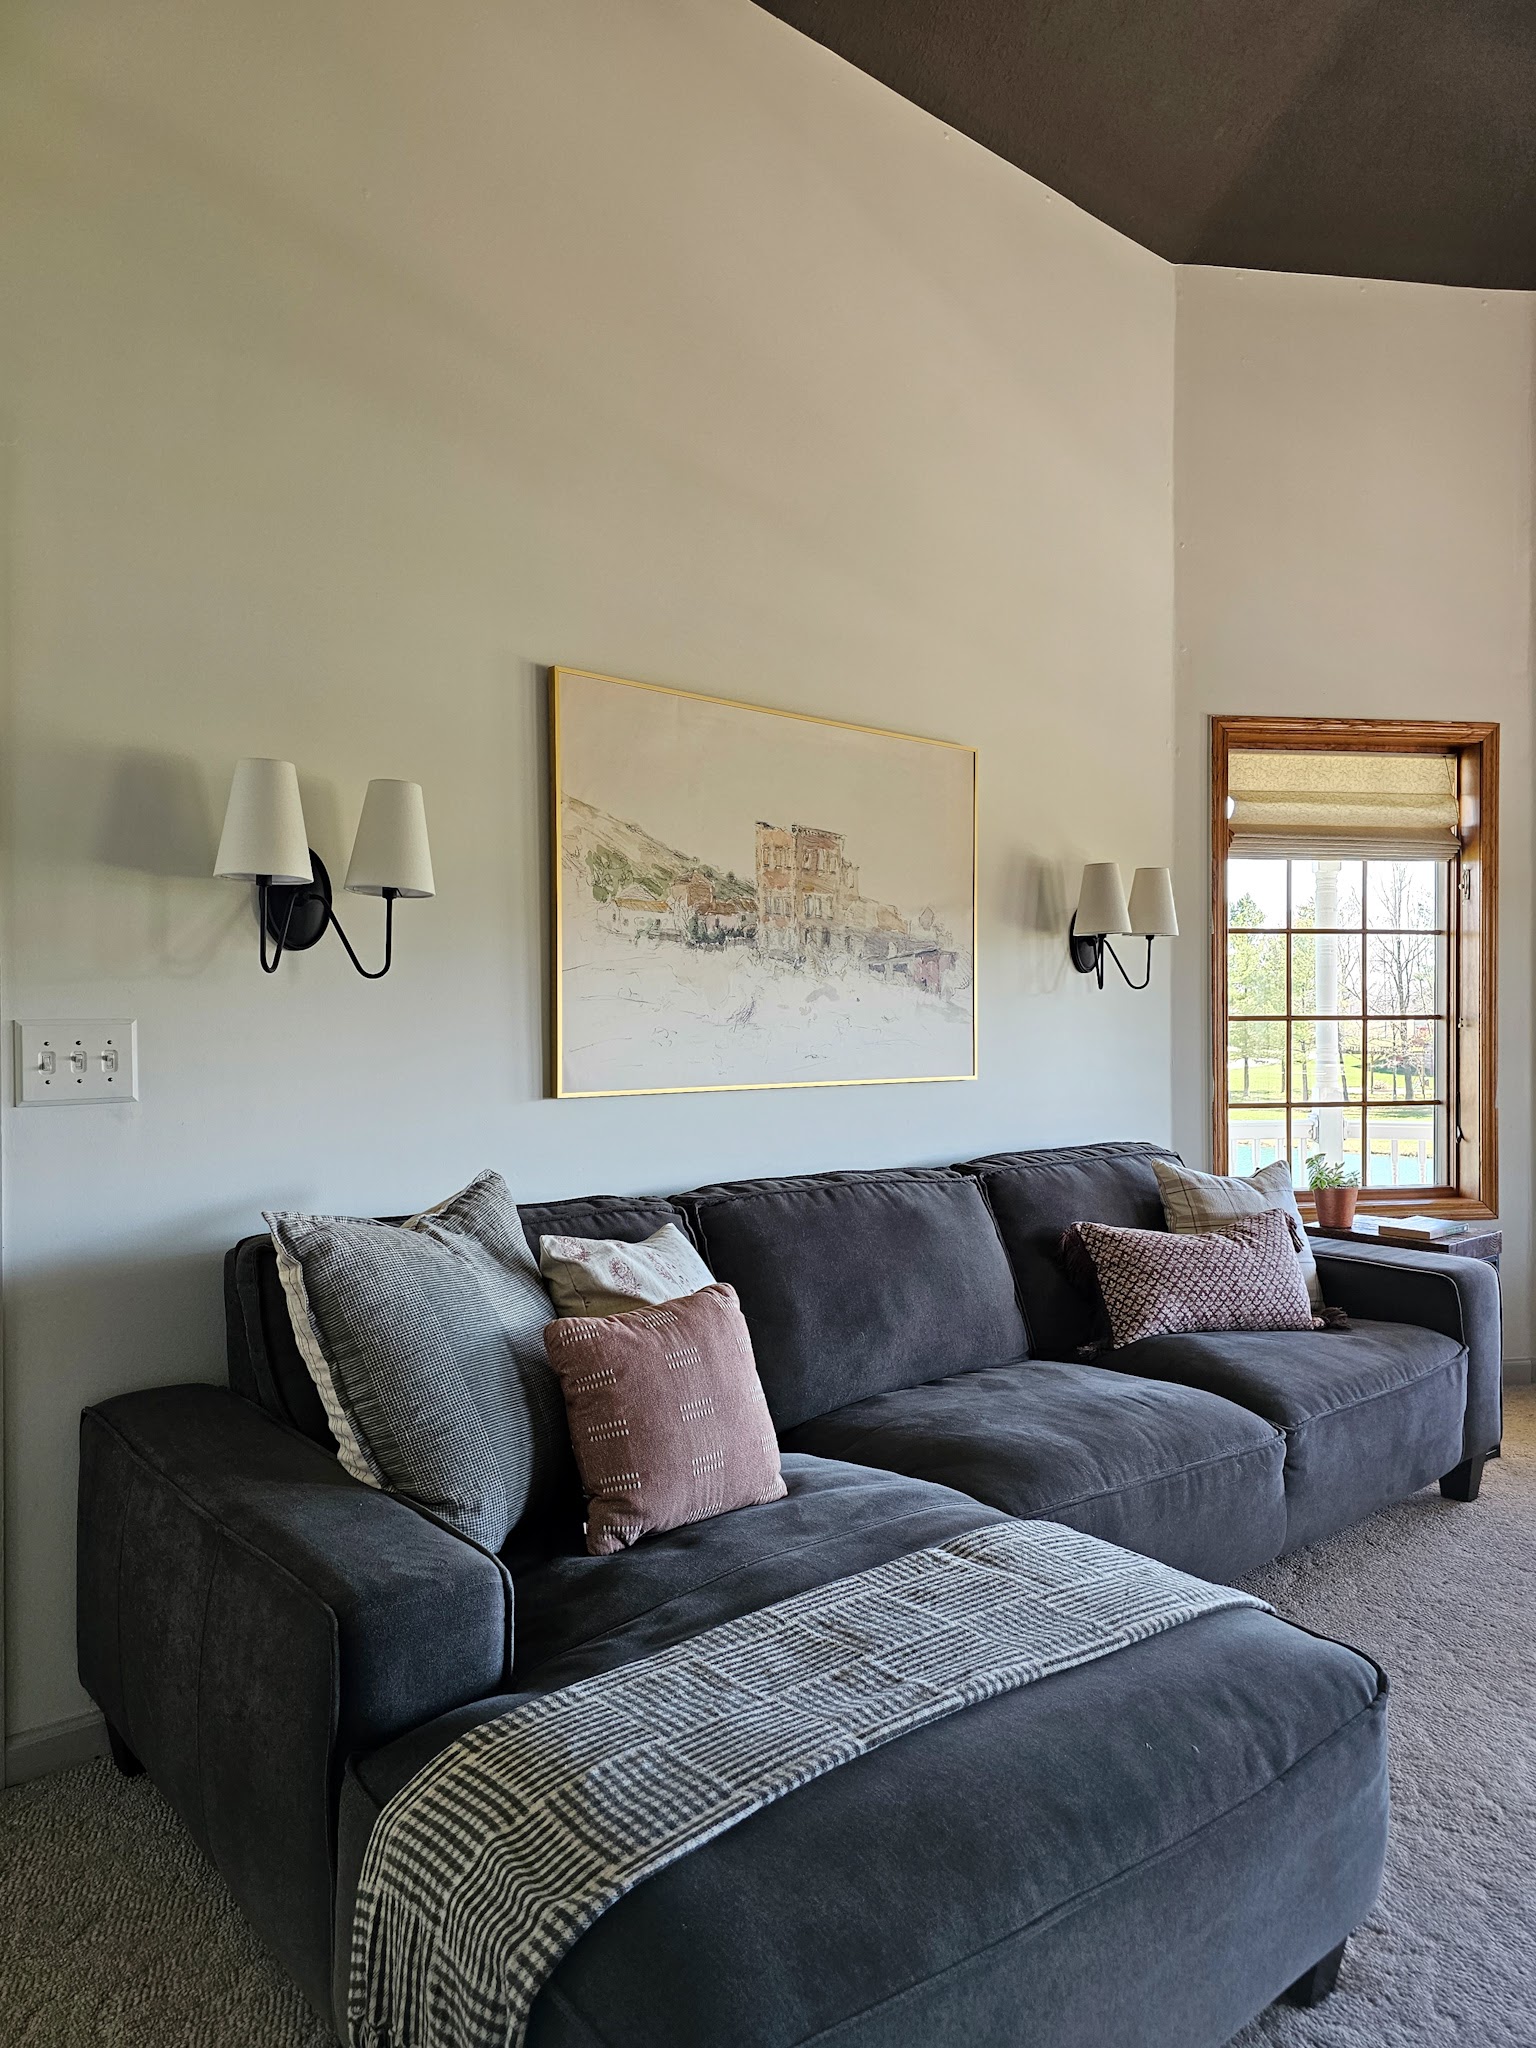
Frame It Easy can create frames in whatever size you want – even if it’s super unconventional, like 14 5/8″ x 31 1/4″. I mentioned before that I wasn’t able to use the oversized prints Juniper Print Shop offers and that’s because none of their offered sizes fit the wall space in between the sconces like I wanted. I used painters tape to measure out different proportions and settled on 51″ x 34″ as my desired size. Frame It Easy asks you to put in the dimensions of your artwork and then creates a custom frame to fit. You can also upload your photo or artwork and have them print it, but due to the size of mine (and the file size given by Juniper) I had it printed locally.

Frame It Easy provided me with a link to share – if you’re interested in ordering, you can access their website through this link and you will automatically get 10% off your order, no additional code required! (I do not make a commission off of sales).
I originally used the acrylic cover that came with the frame, but because of the large bay window area in the room, there was SO much glare no matter what angle you were looking from. It really distracted from the artwork and I knew it would always bother me, so I removed the cover and am much happier with it now. I know I run the risk of my kids getting their fingerprints on the print but it felt like a risk worth taking to get to actually see all the details in the art without the glare.
I’m super happy with this wall in the living room and feel like it’s in a good place for now. It does make it pretty obvious though that the rest of the room still needs some work – as you can see from this view, the windows stick out like a sore thumb. Painting them is next on my list for this room!
Sources:
Wall Color: SW Alabaster
Ceiling Color: SW Urbane Bronze
Trim Color: SW Agreeable Gray
Pillows: patchwork, lumbar, plaid
Frame It Easy Specs:
Art Size: 51″ x 34″
Outside Frame Size: 51 3/16″ x 34 3/16″
Style: Ashford in Satin Gold
Cover: Clear Acrylic (I removed)
Backing: Acid Free Foamcore
Order Here for 10% off your order (offer good through May 24, 2023)


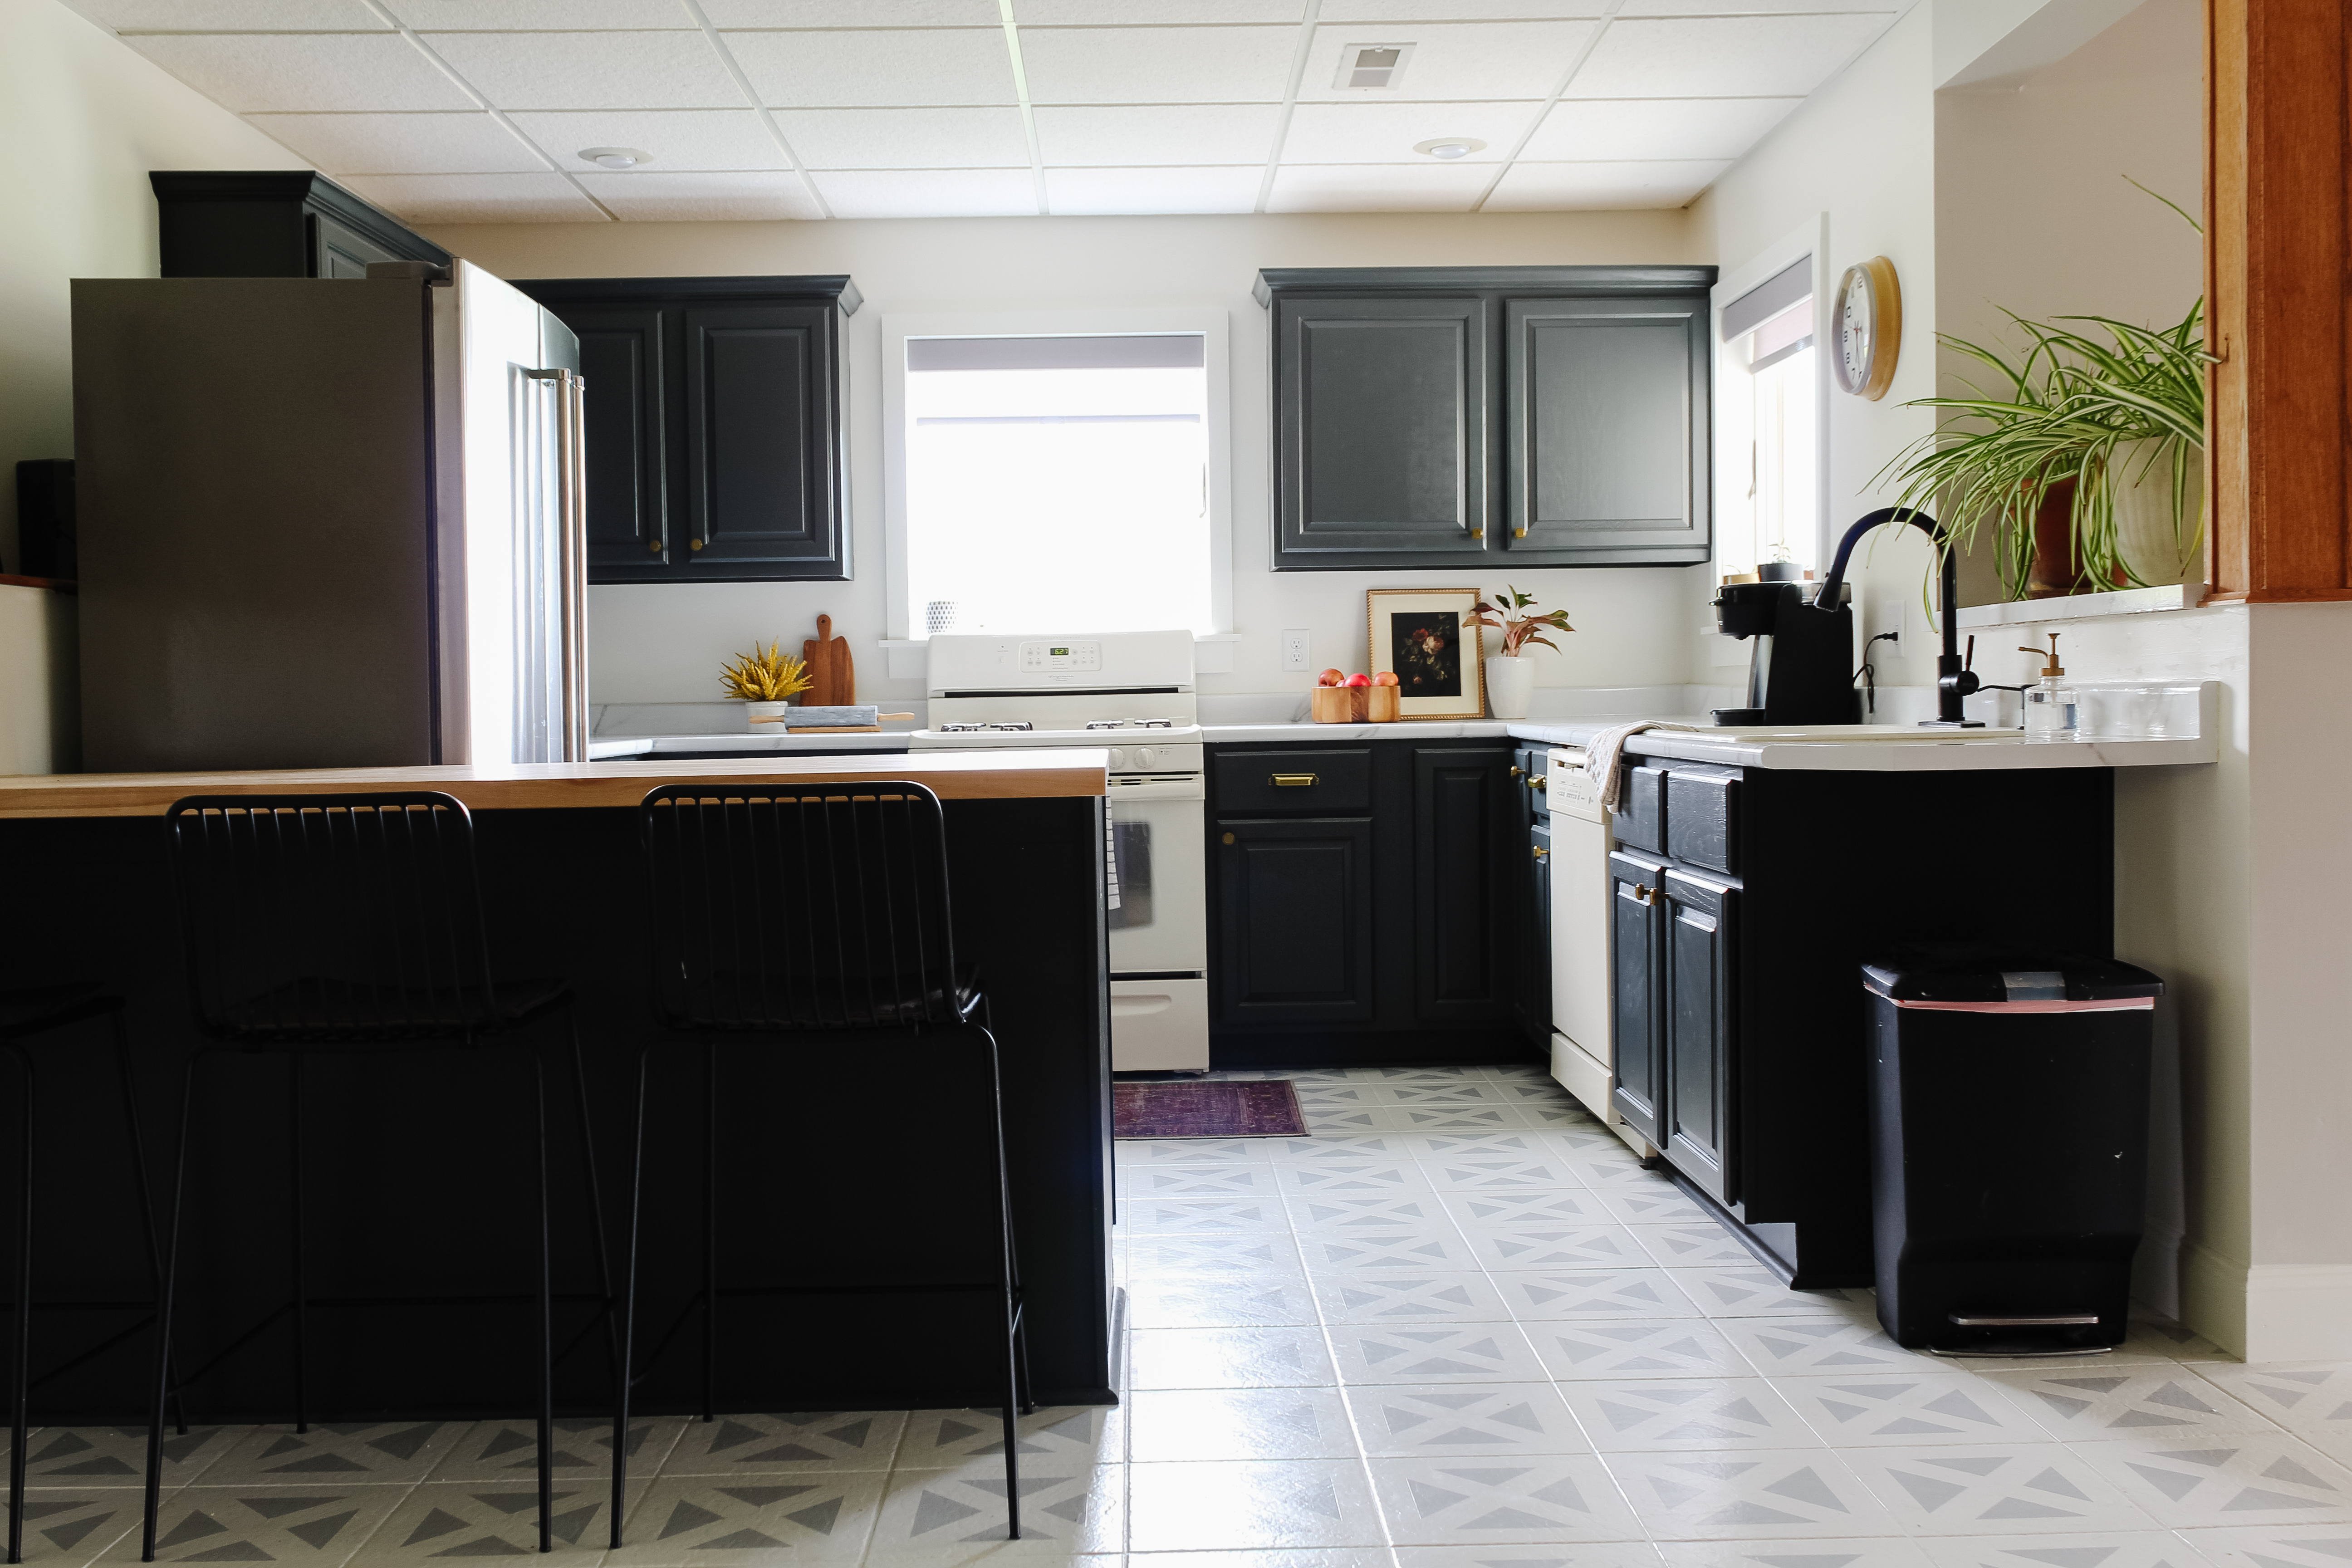


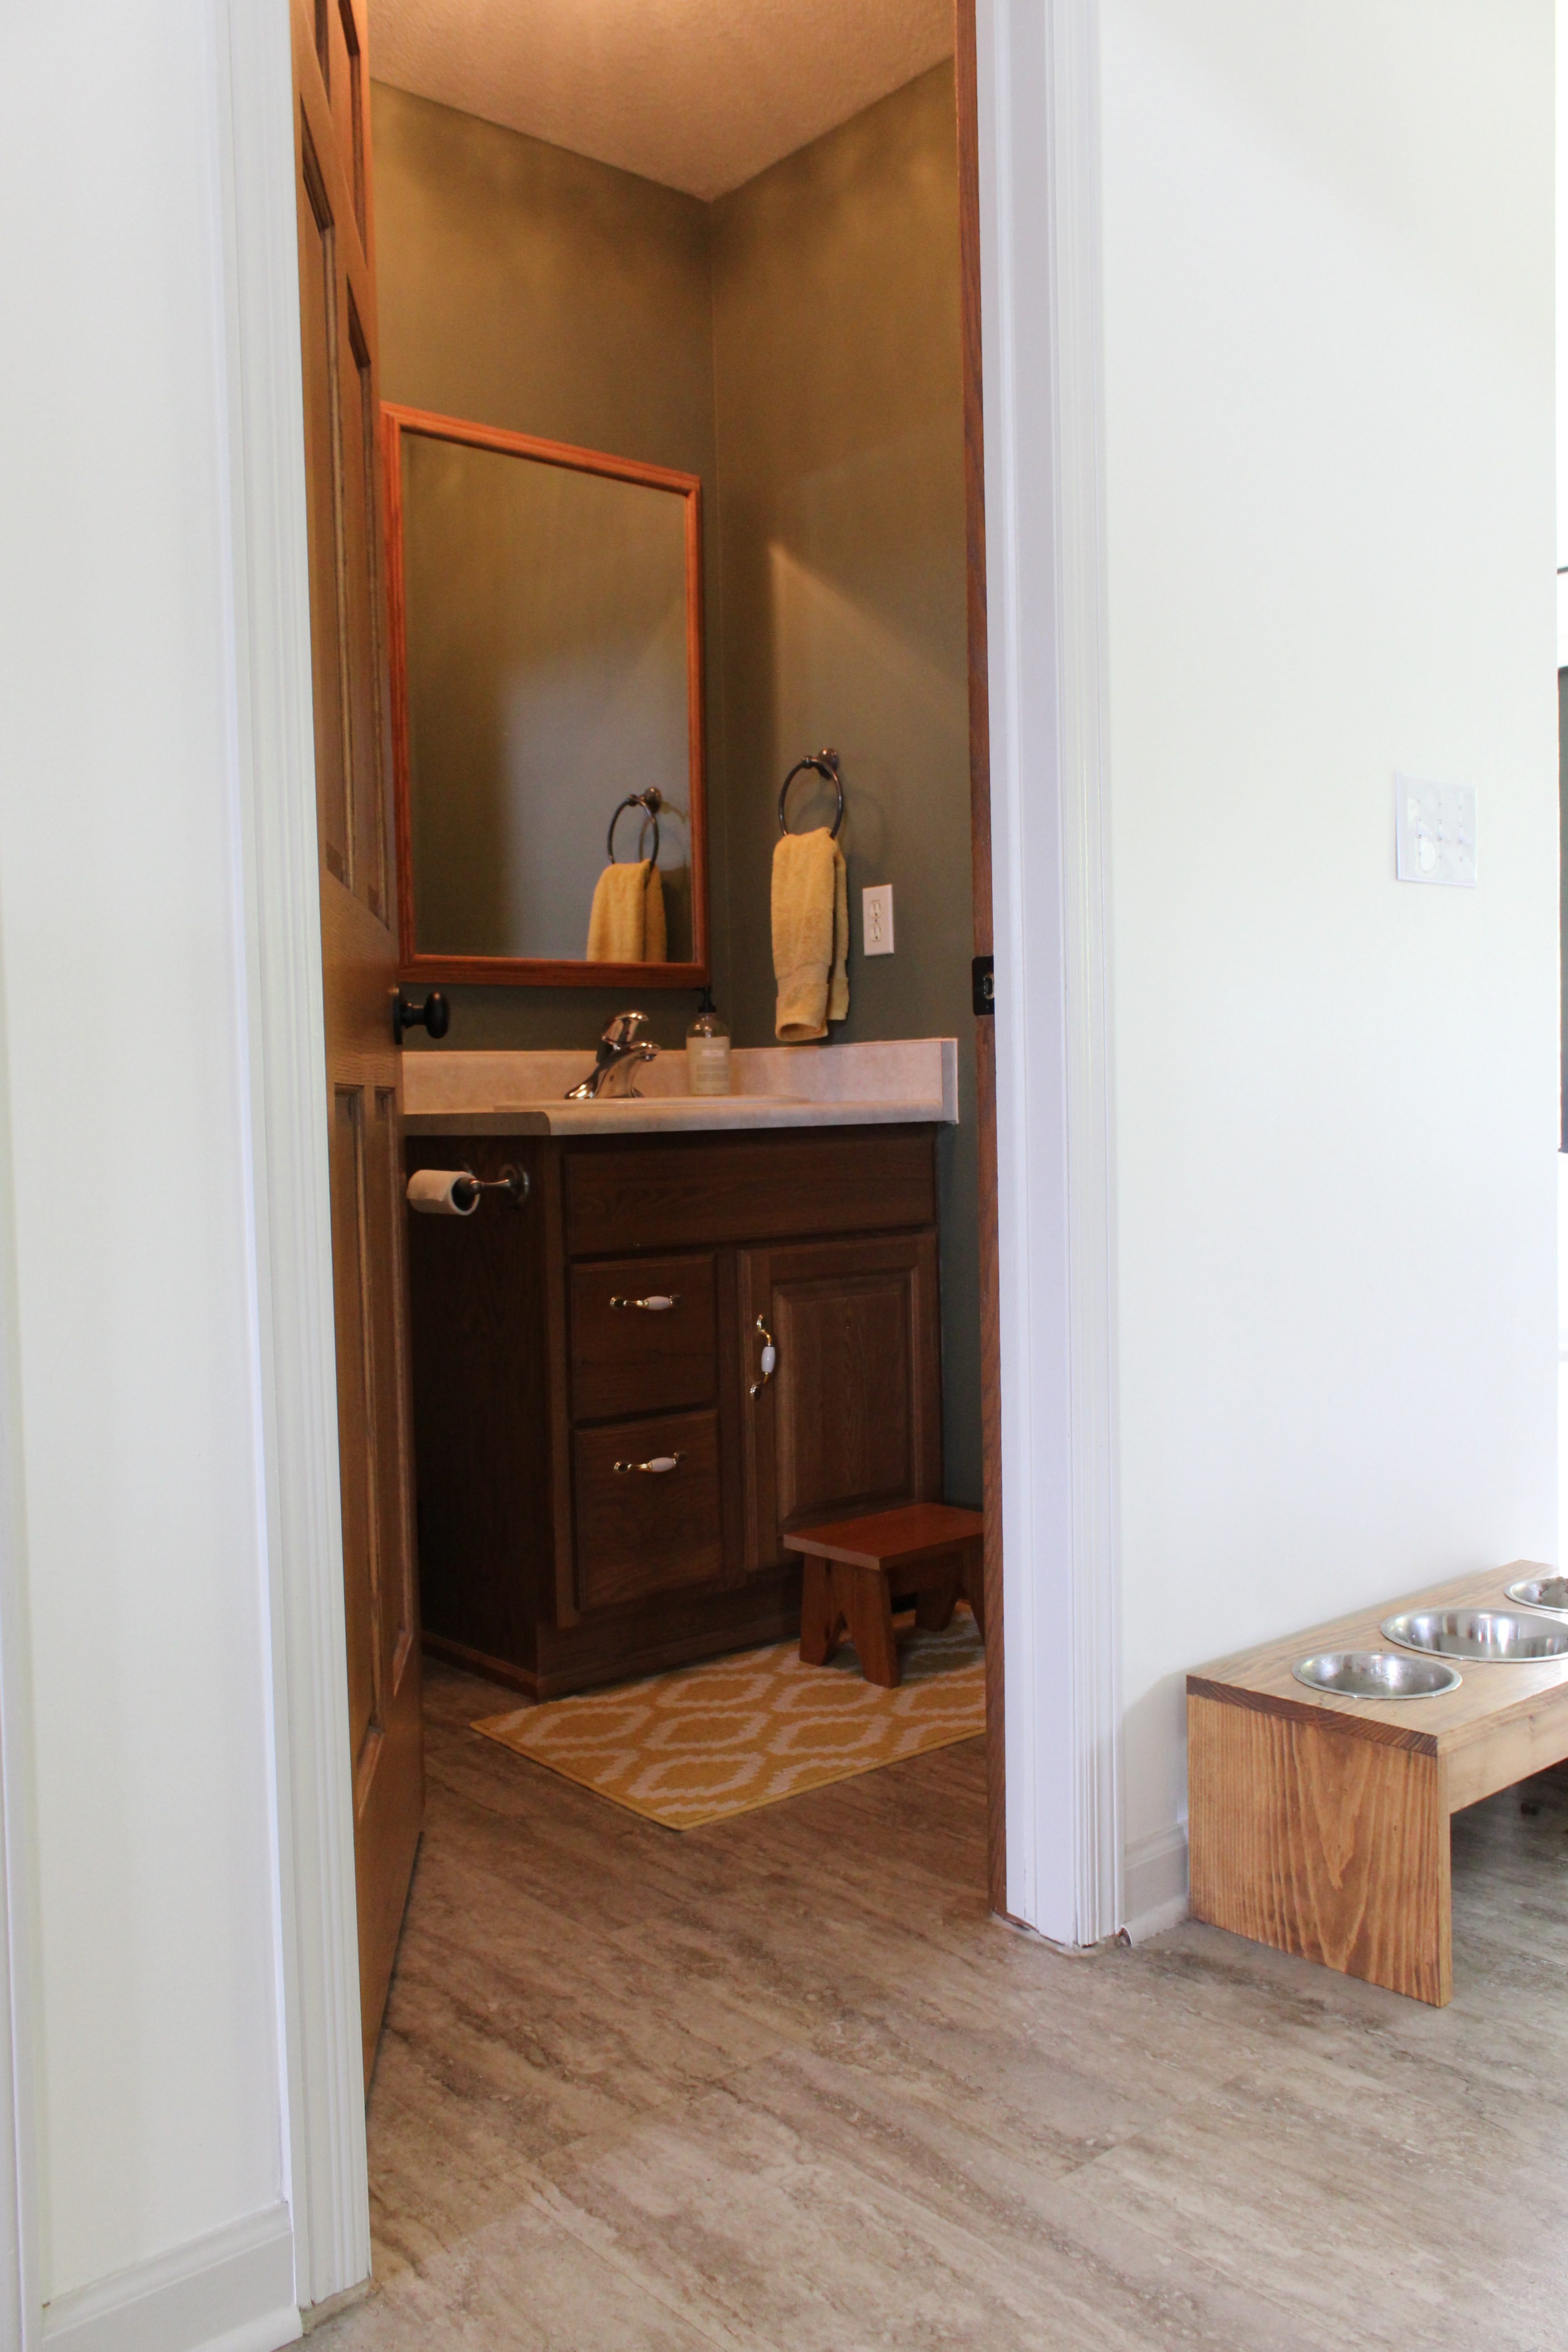


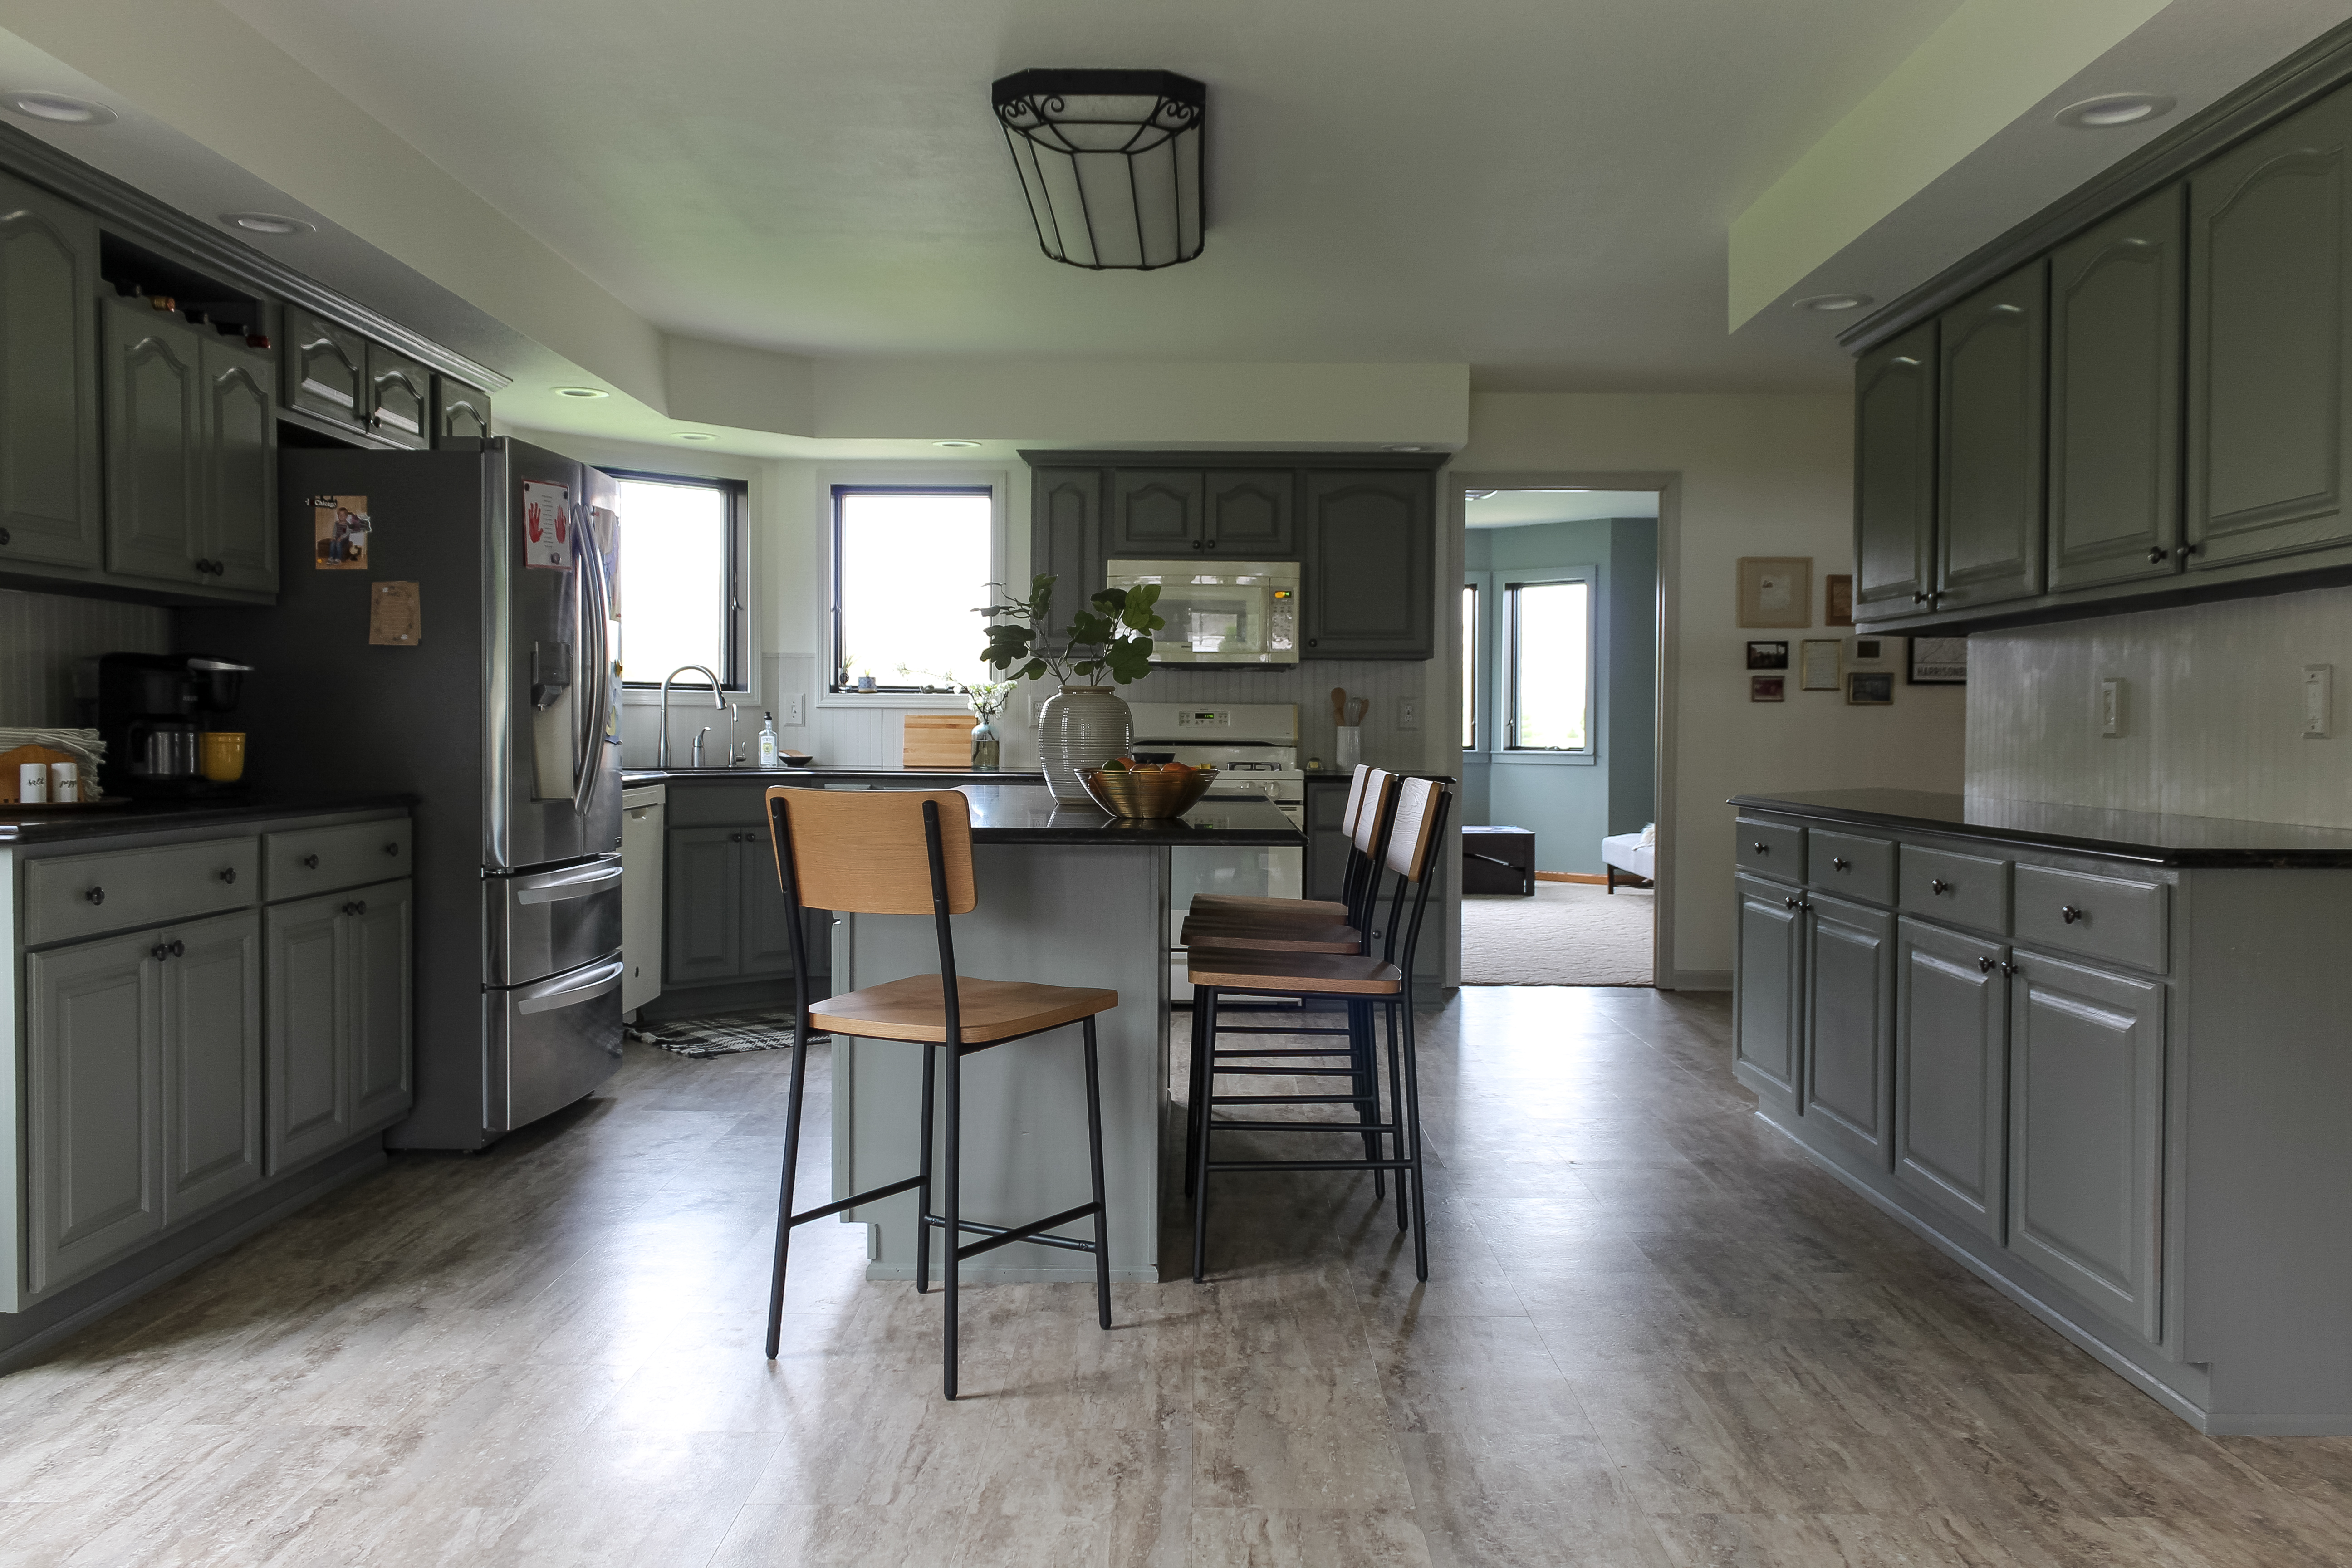
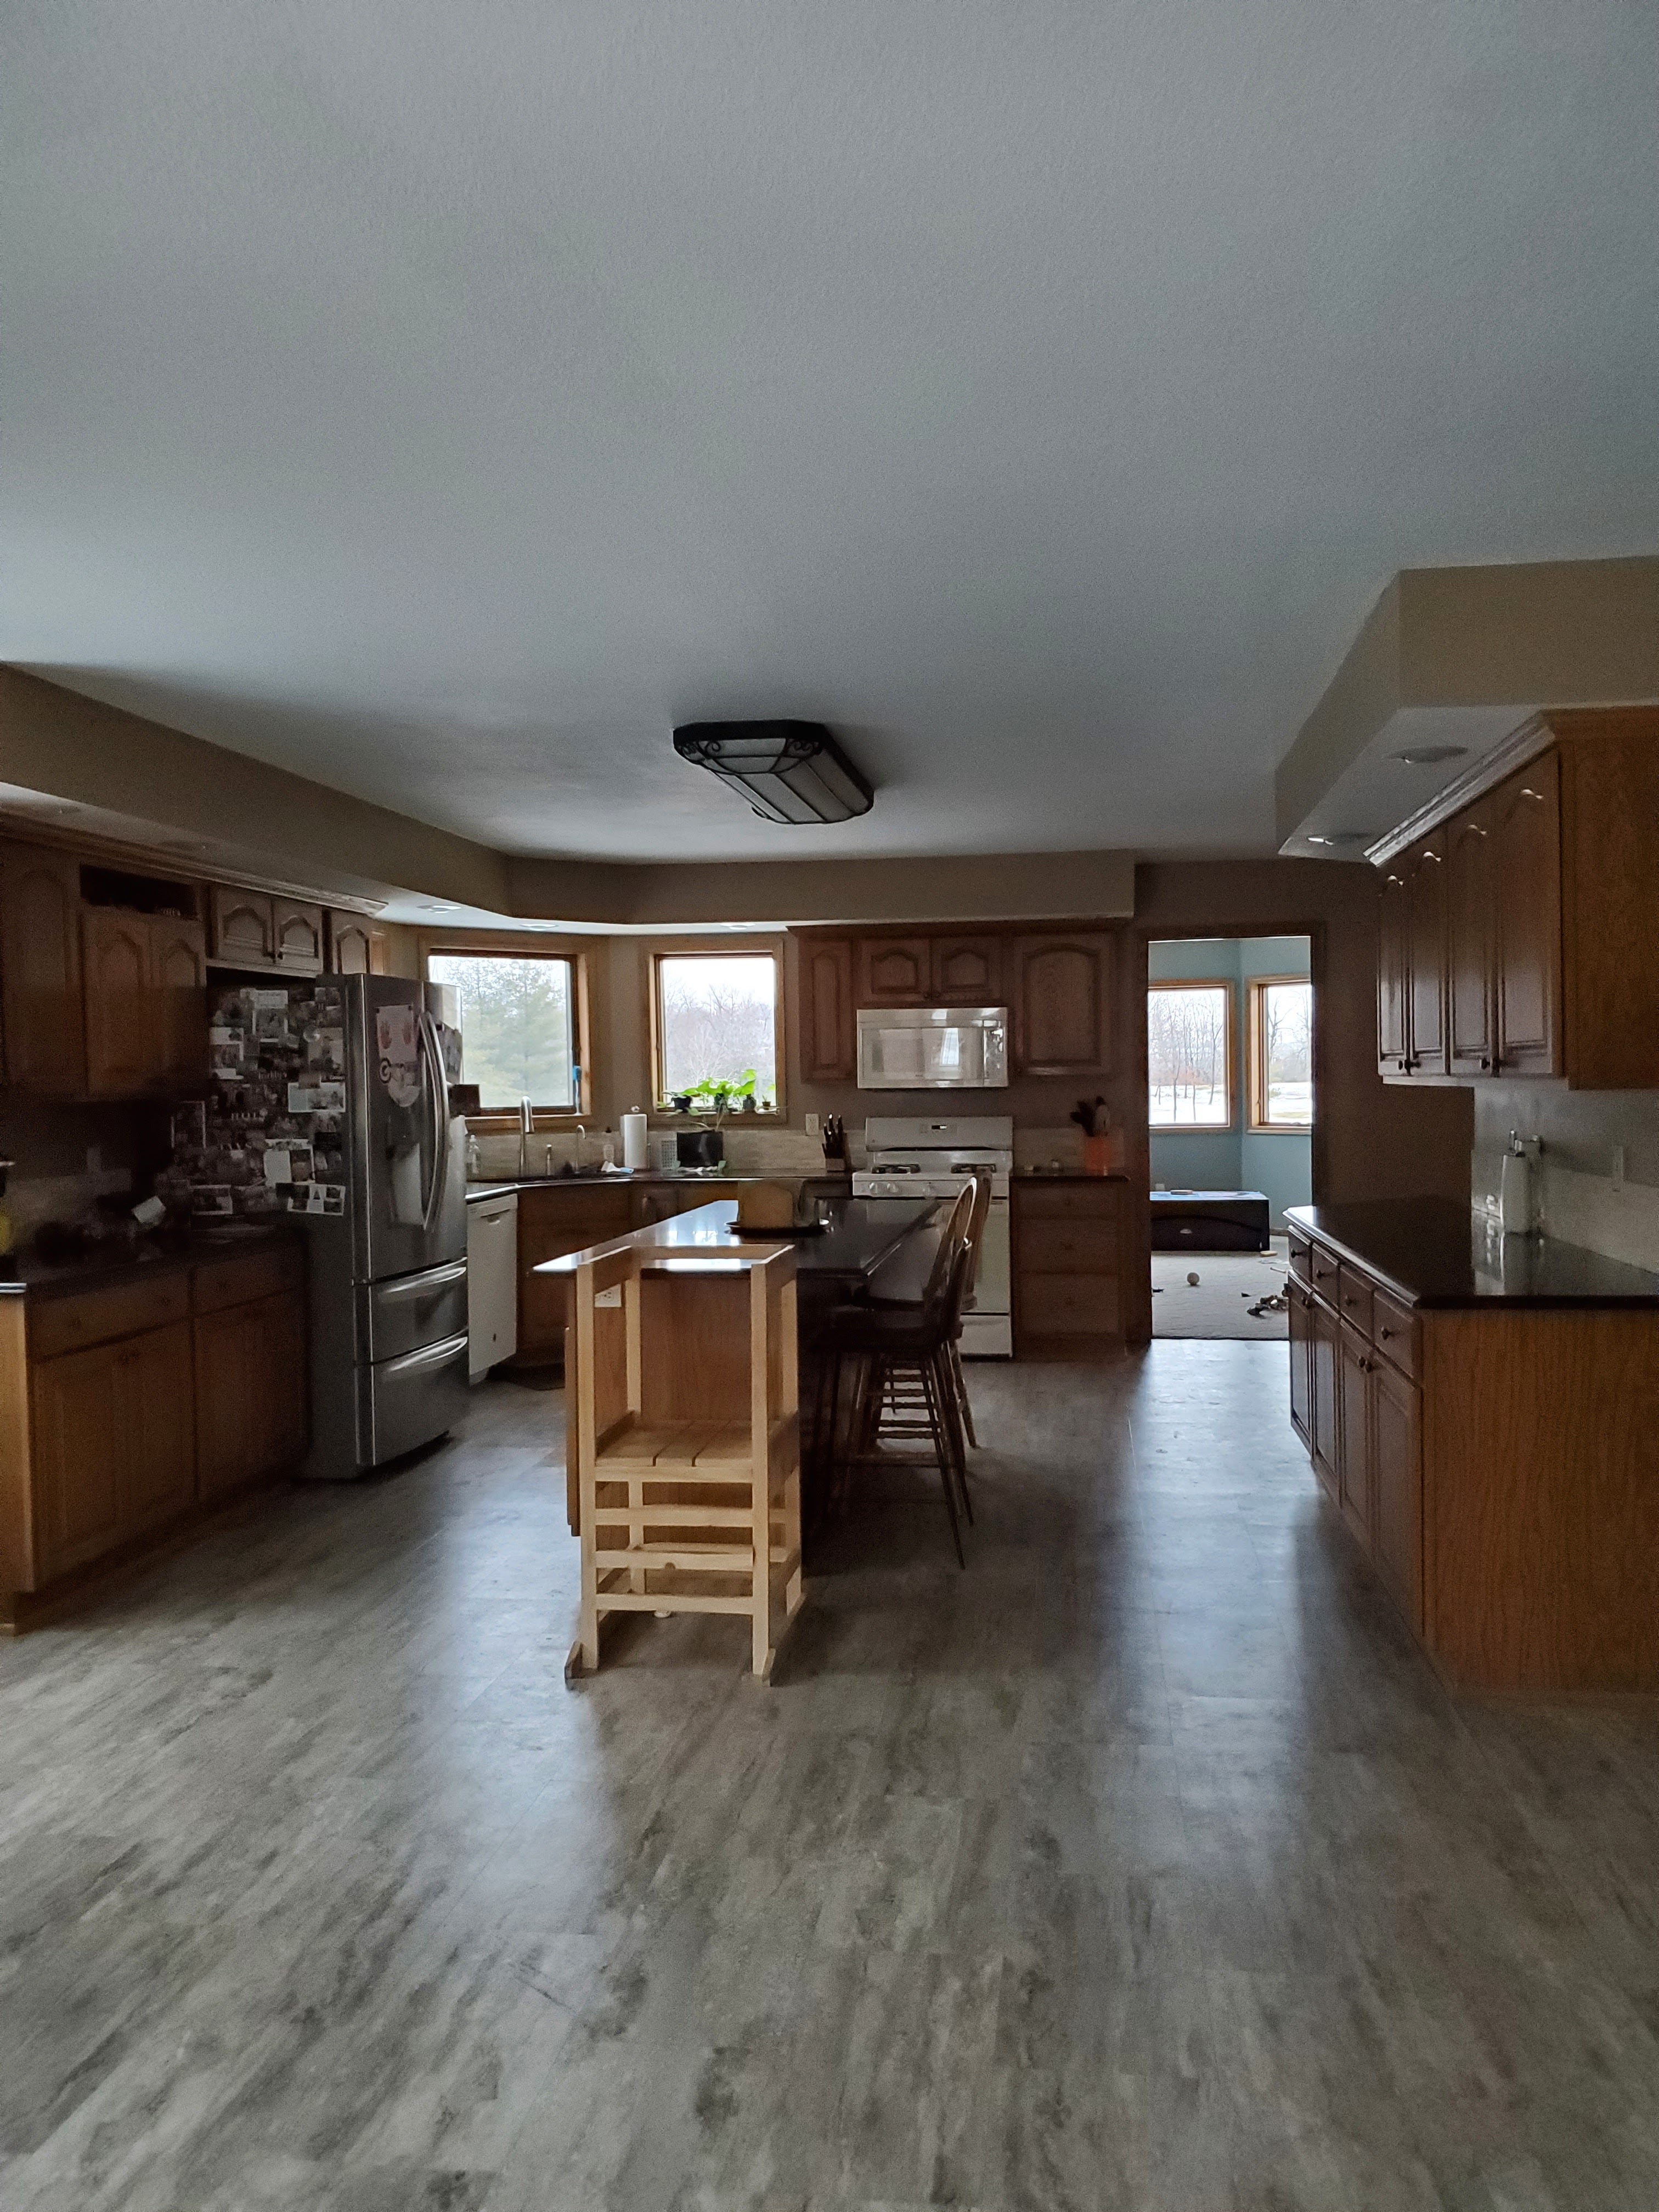


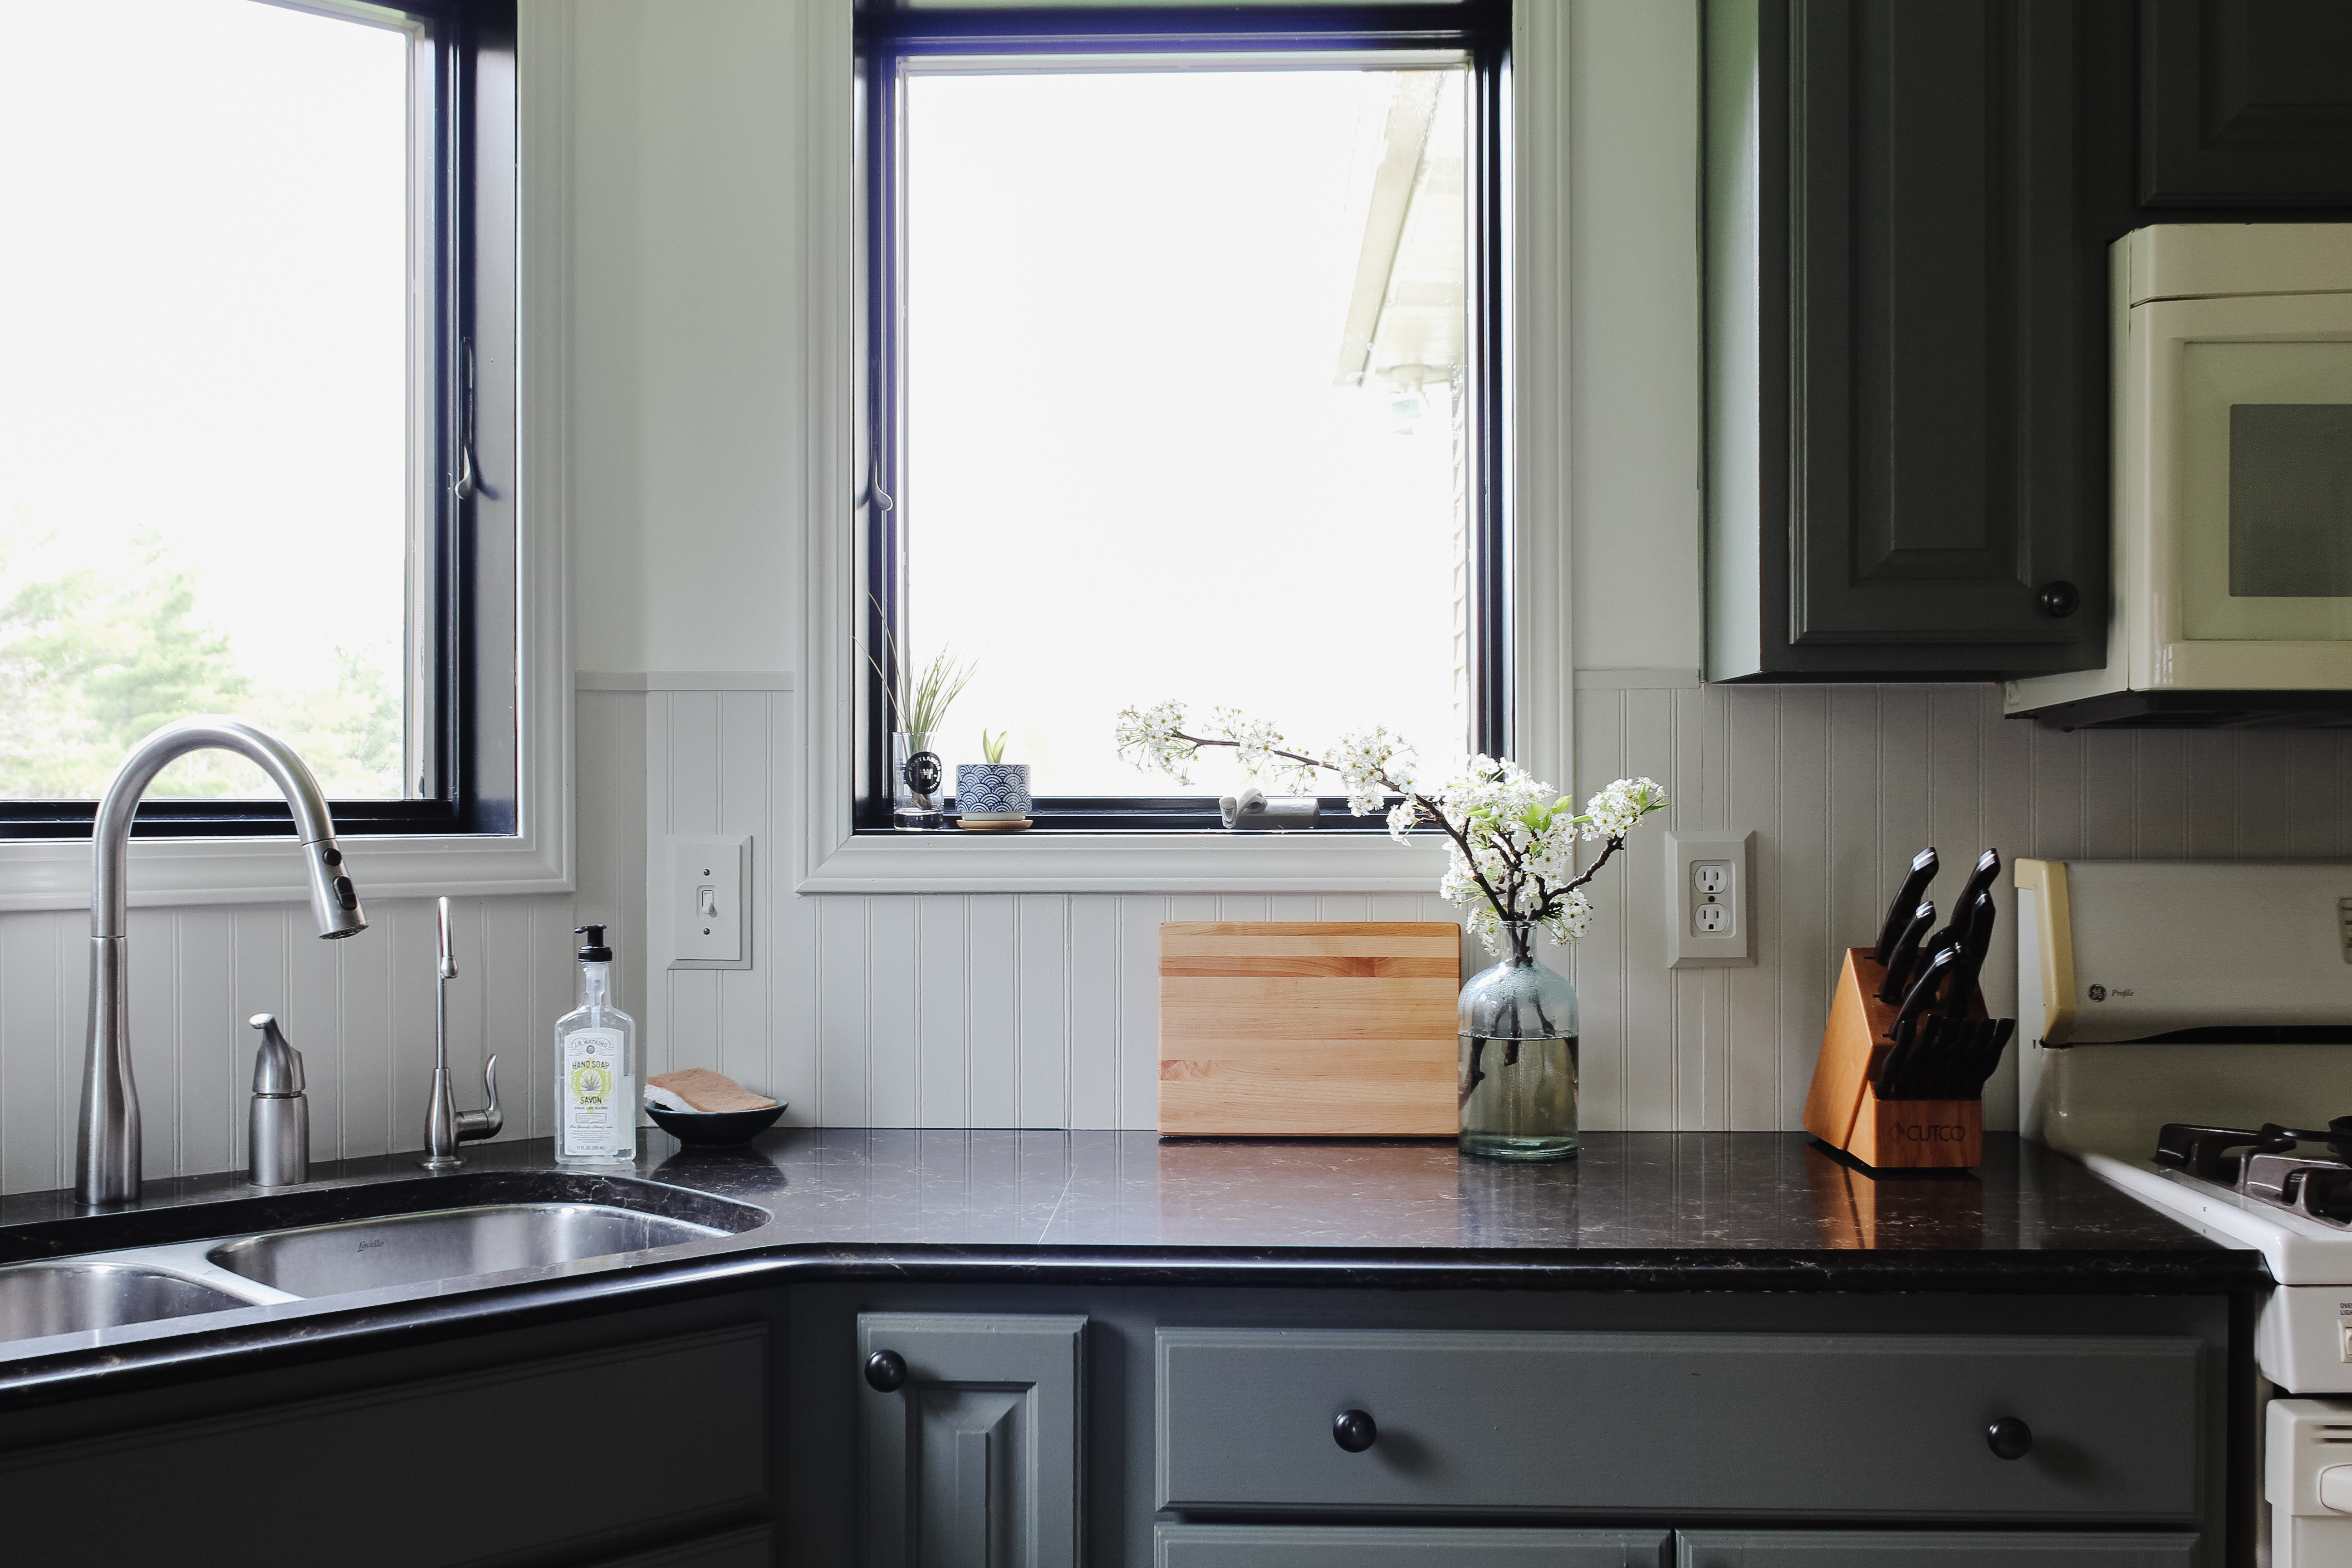

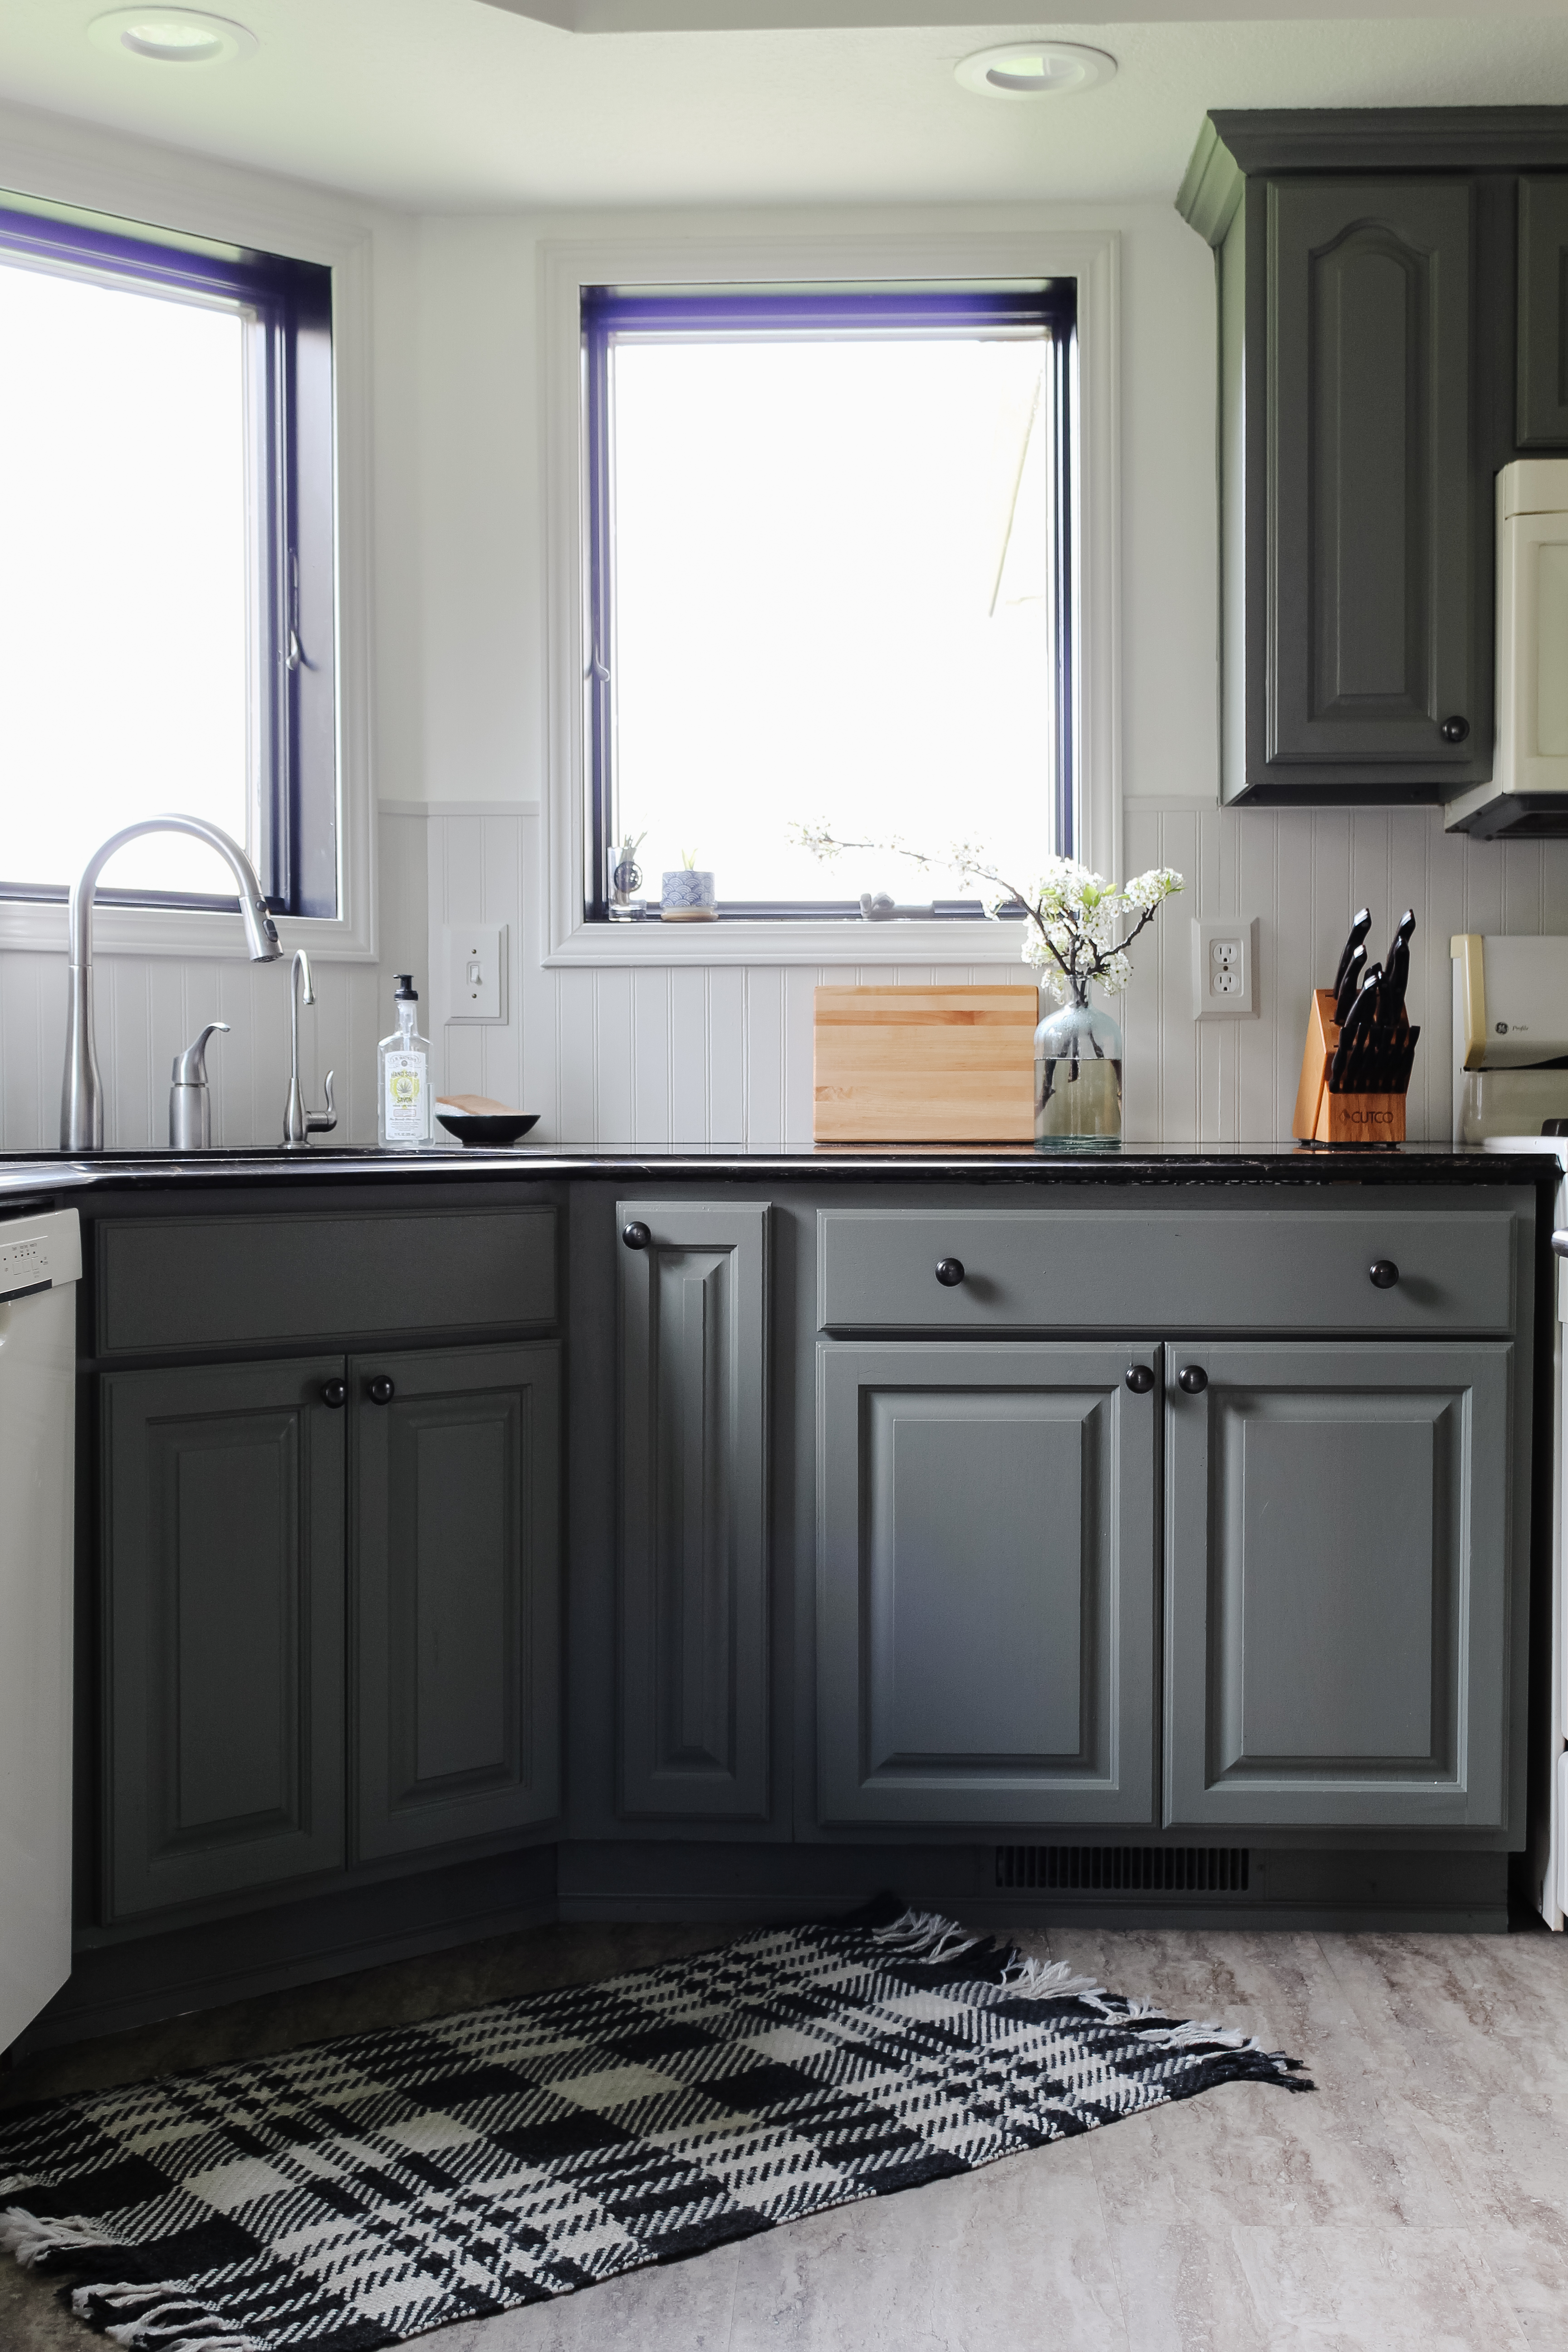


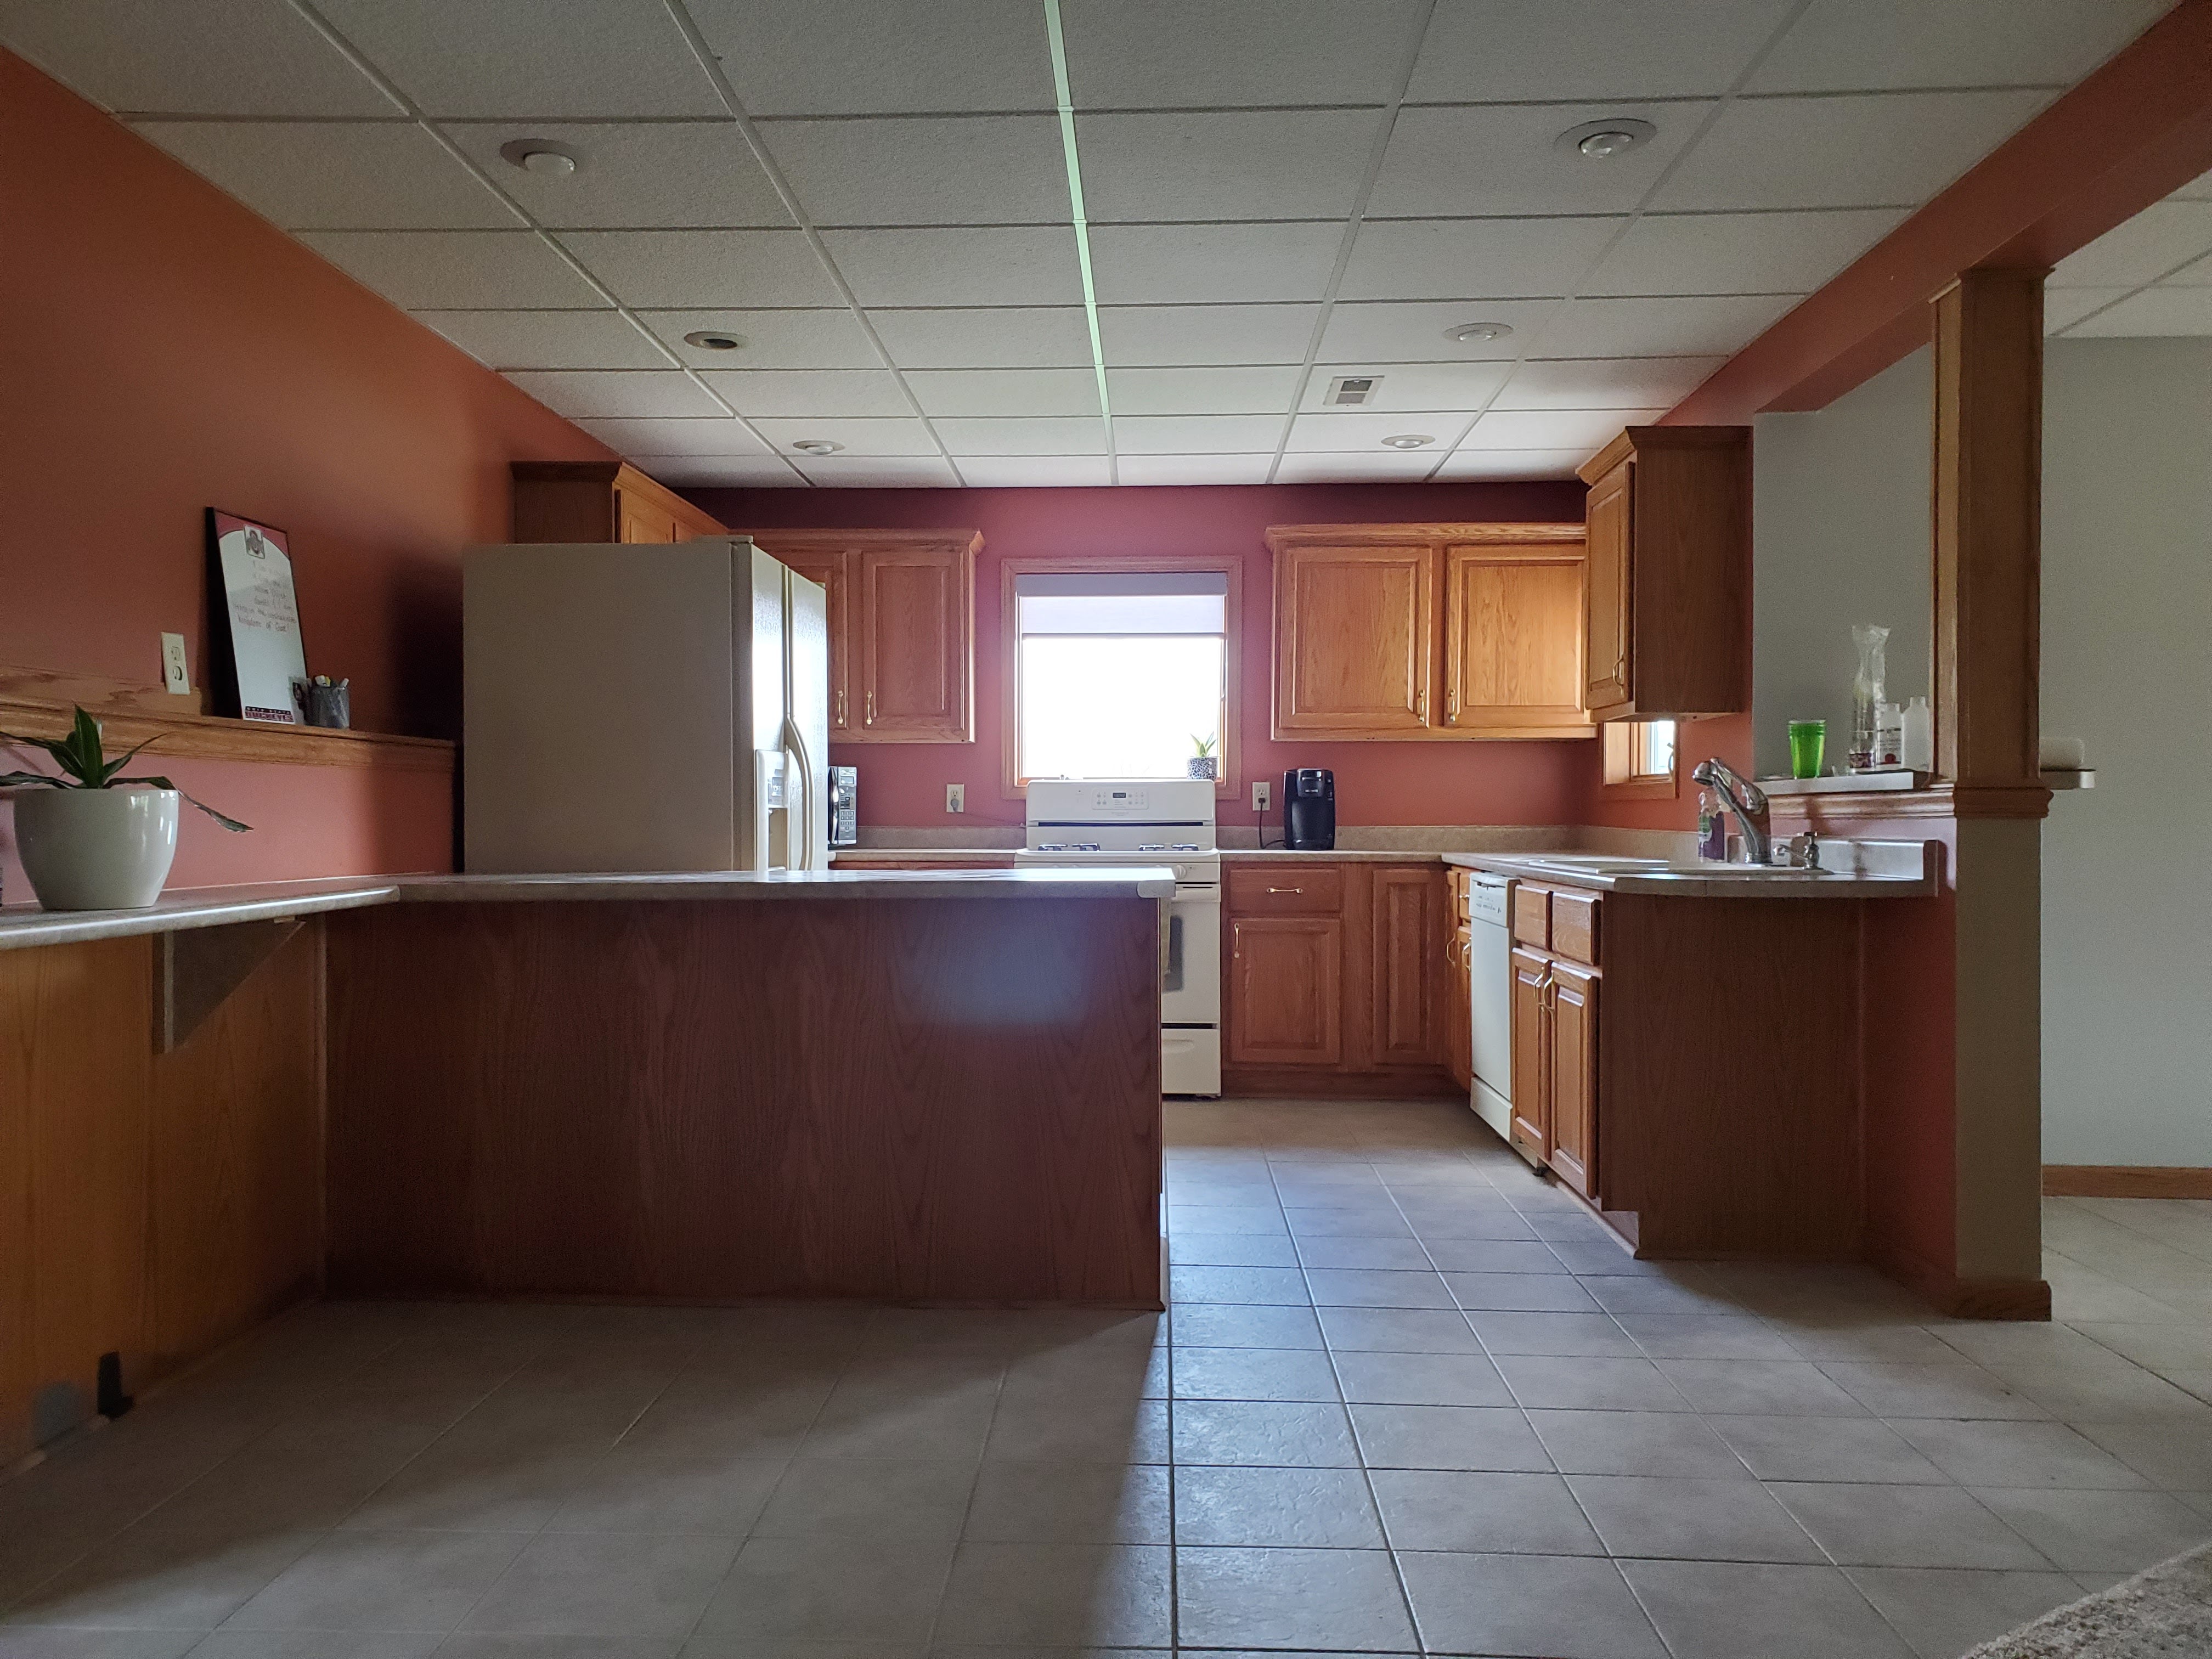

 Next up were the cabinets. Justin and I first chose to completely remove the single cabinet that was in between the sink and the window. We still have plenty of storage and this really helped open up the room a little bit more. It actually seems bigger without that cabinet blocking the way!
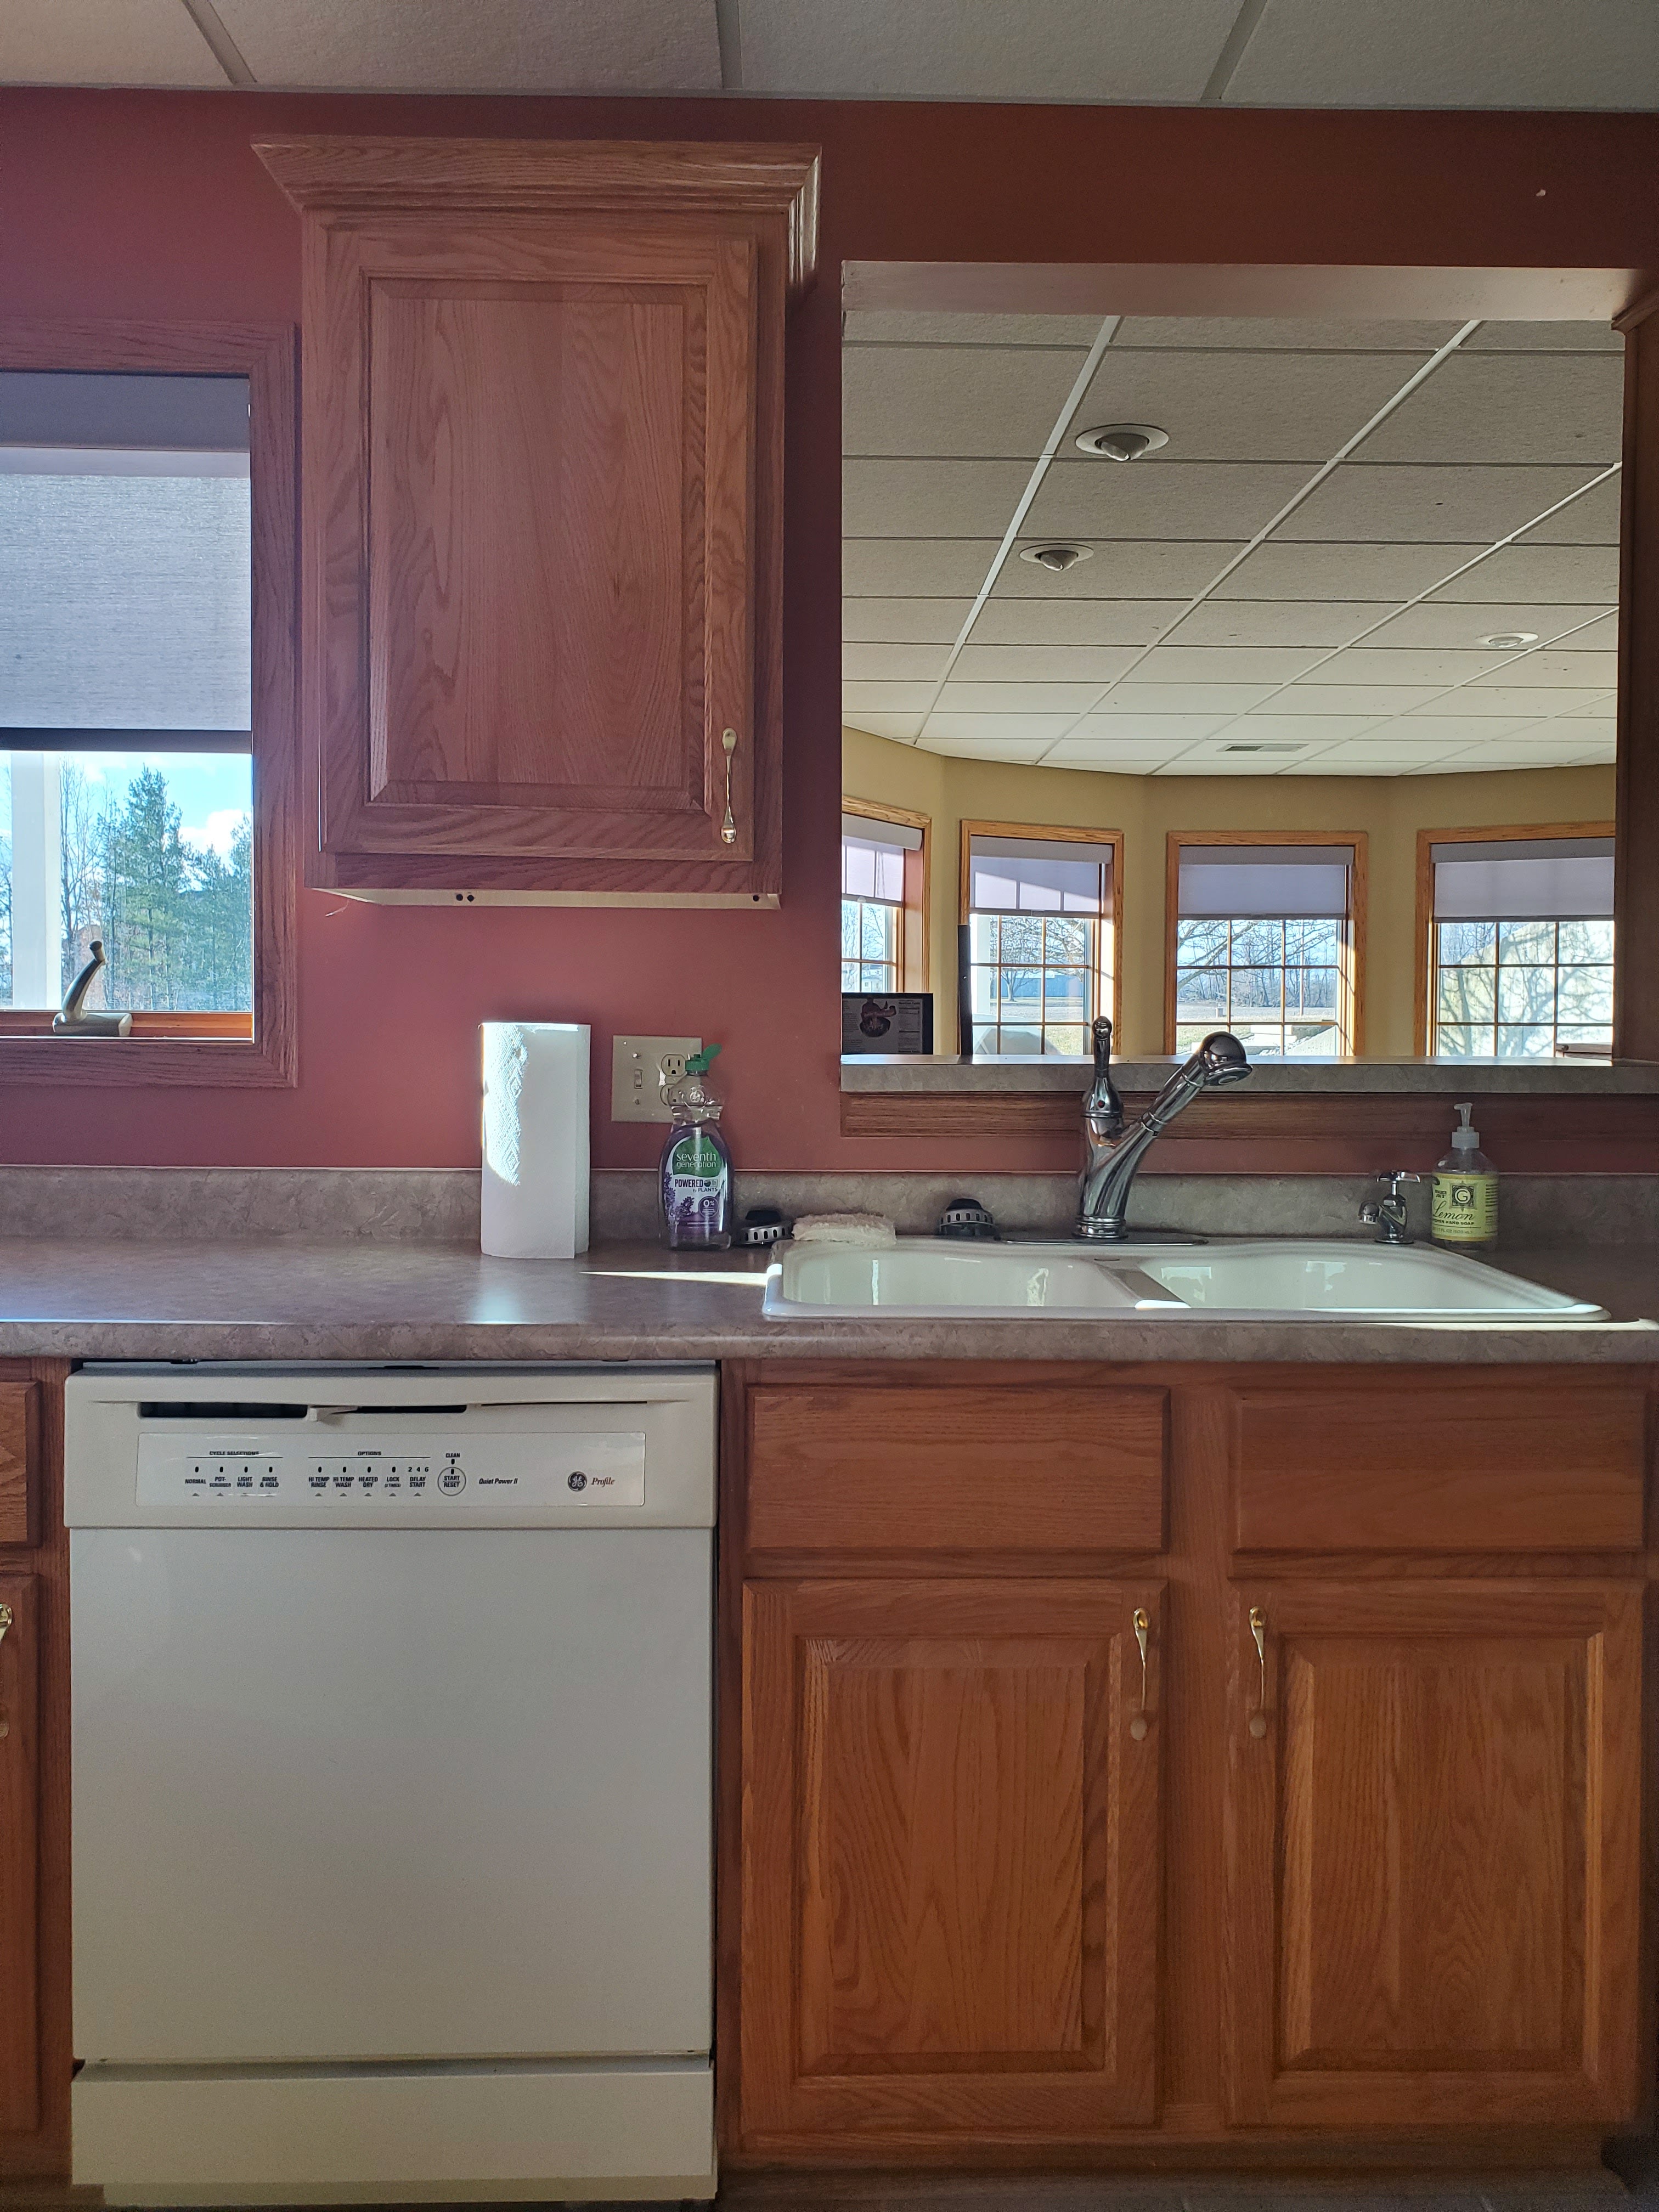


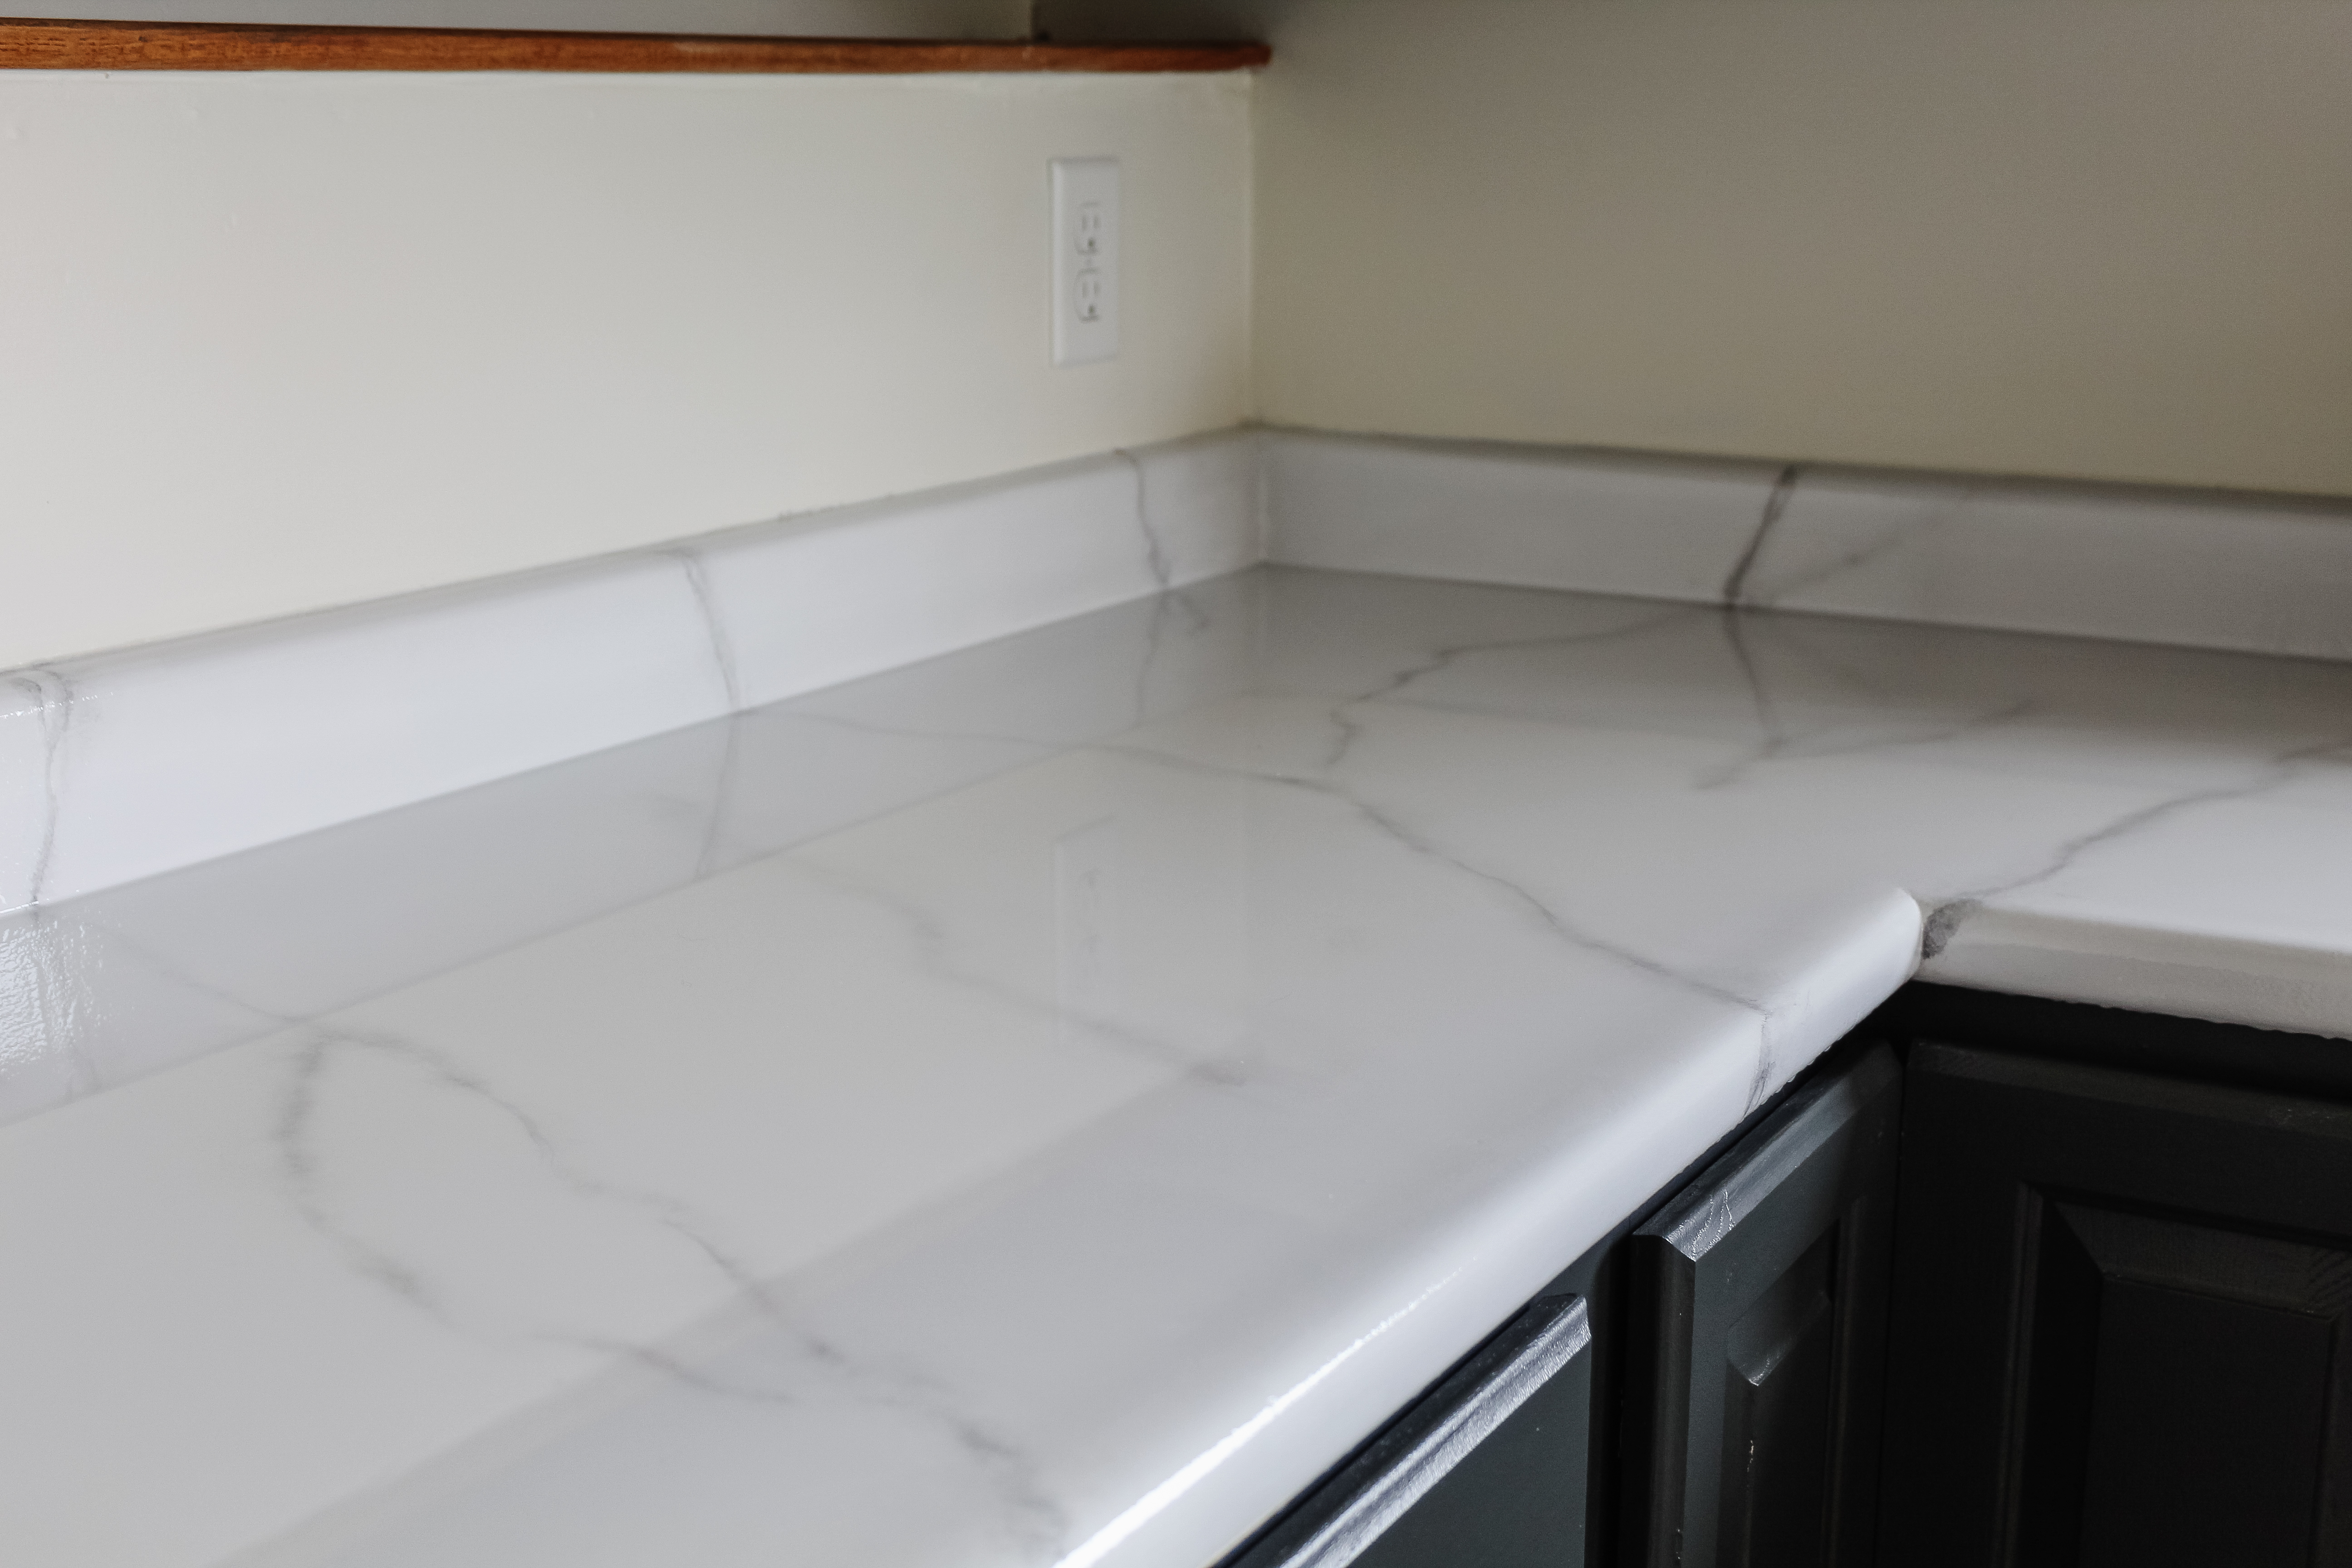


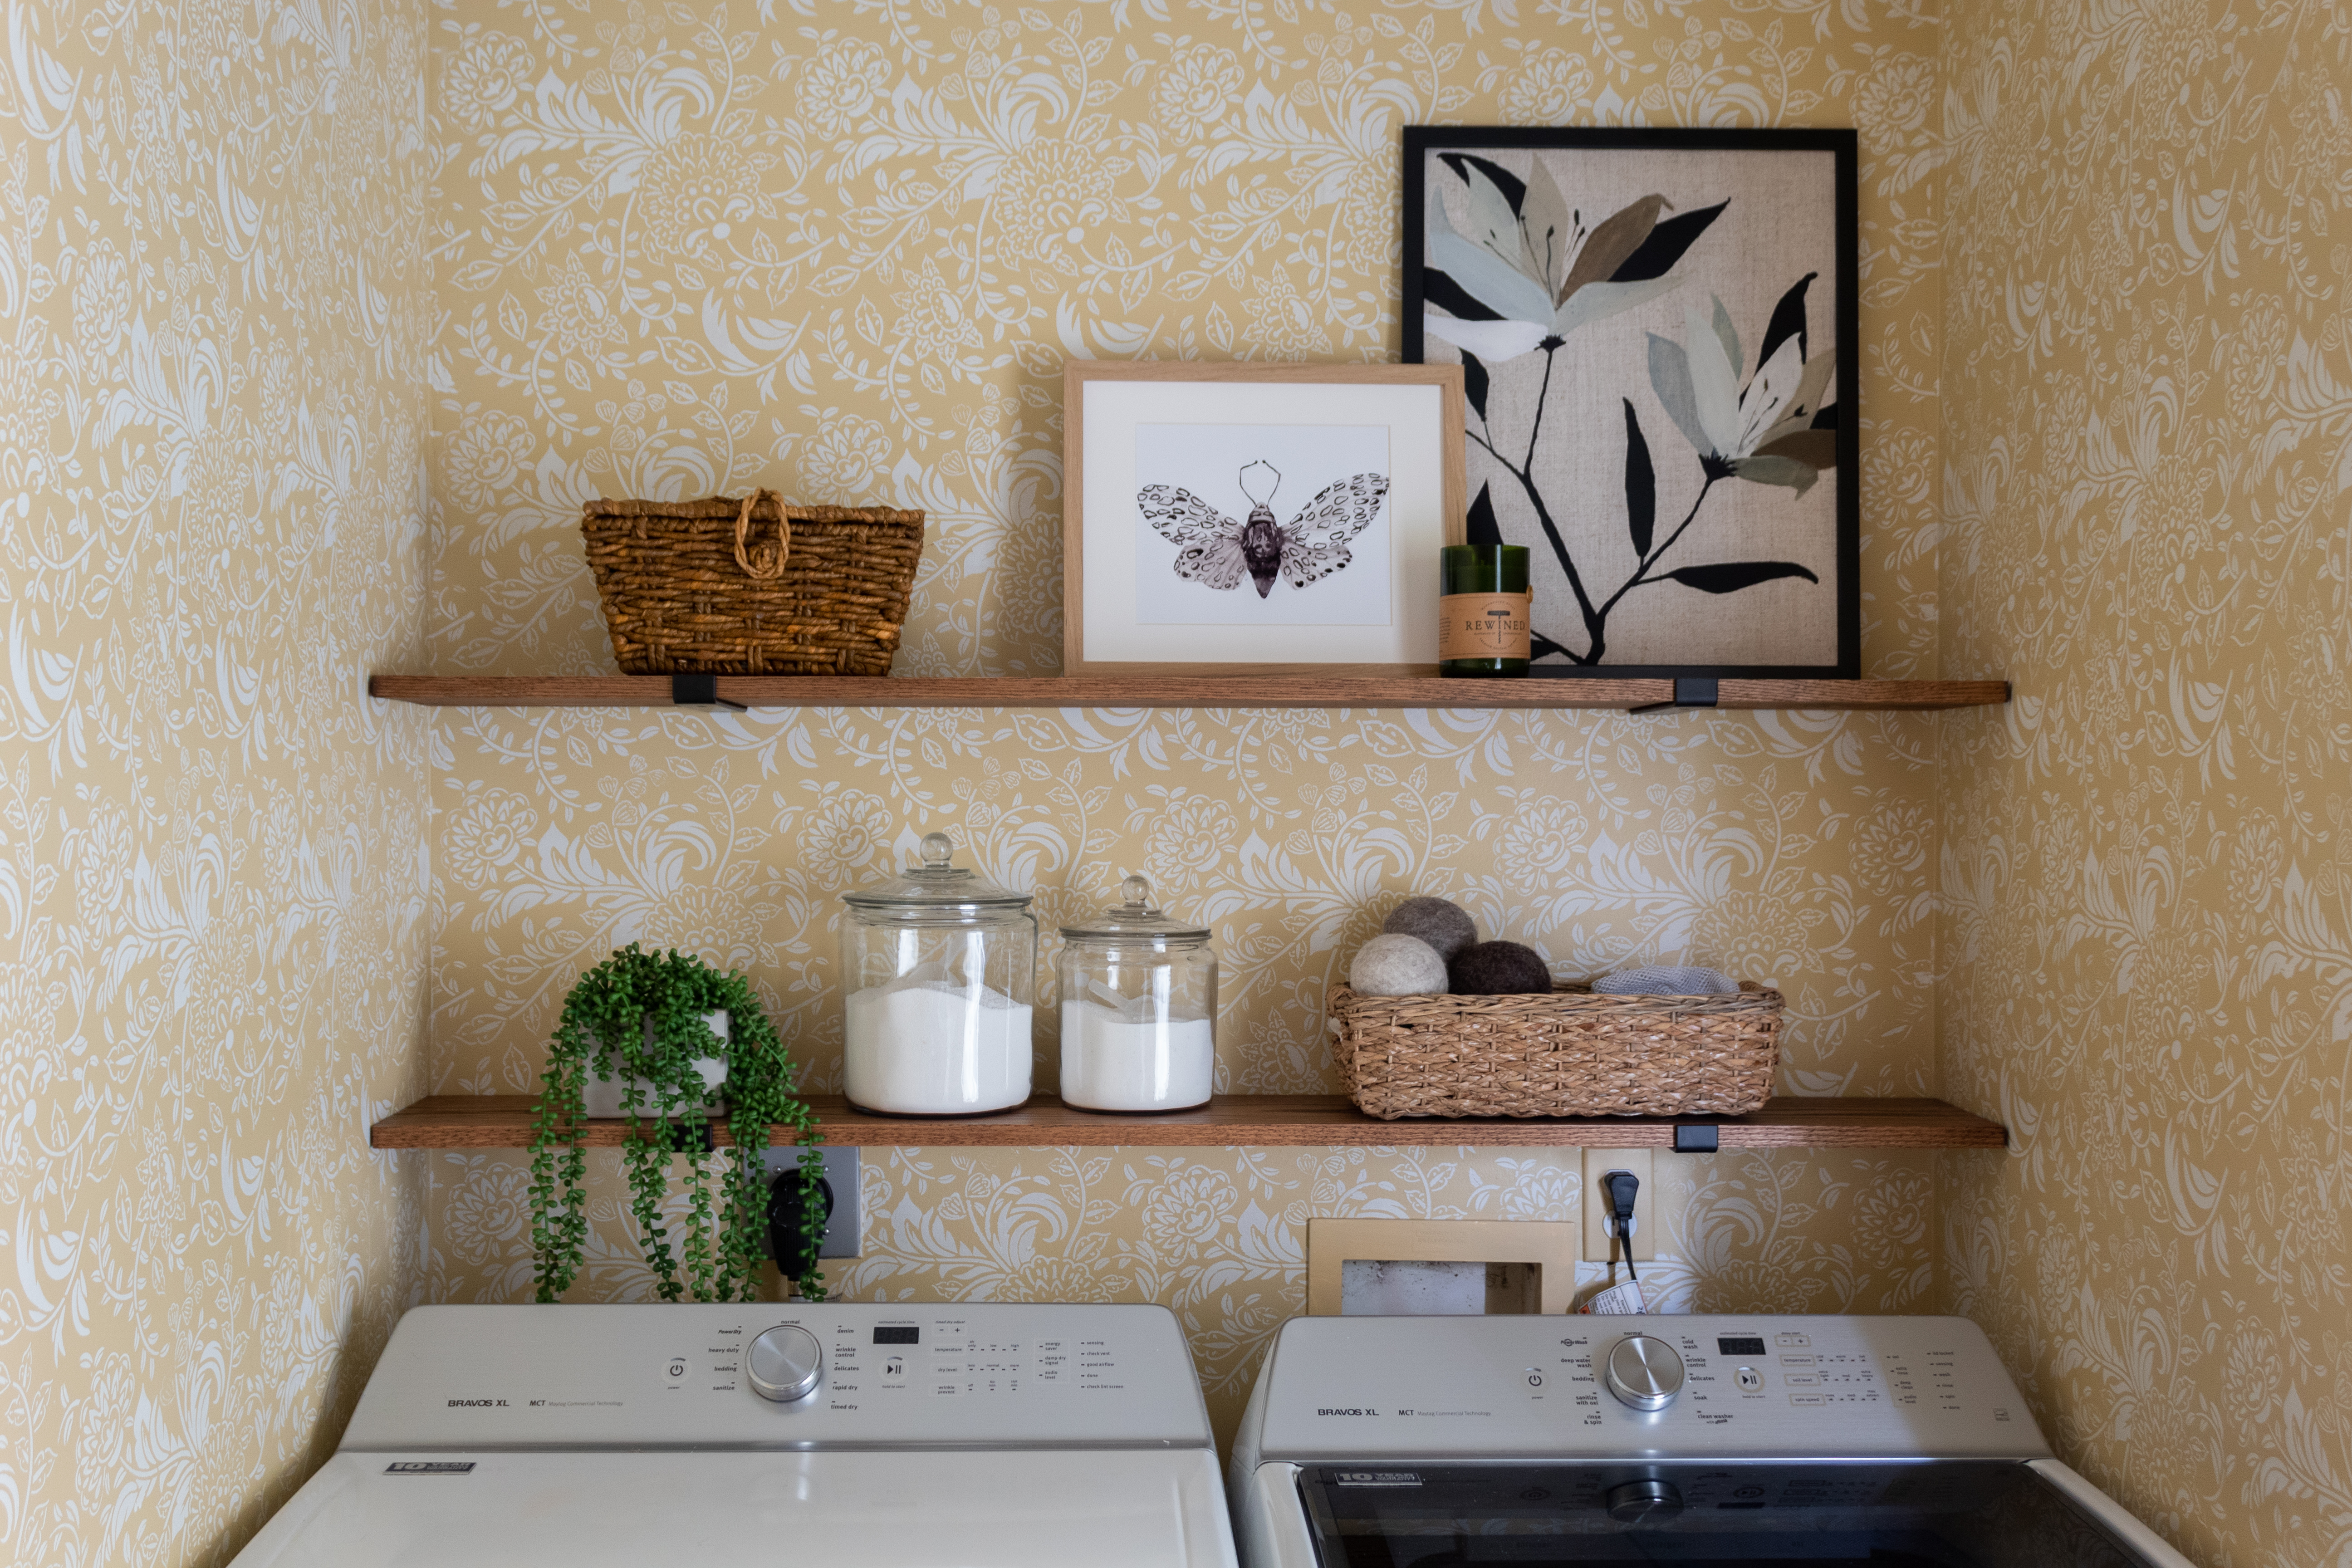
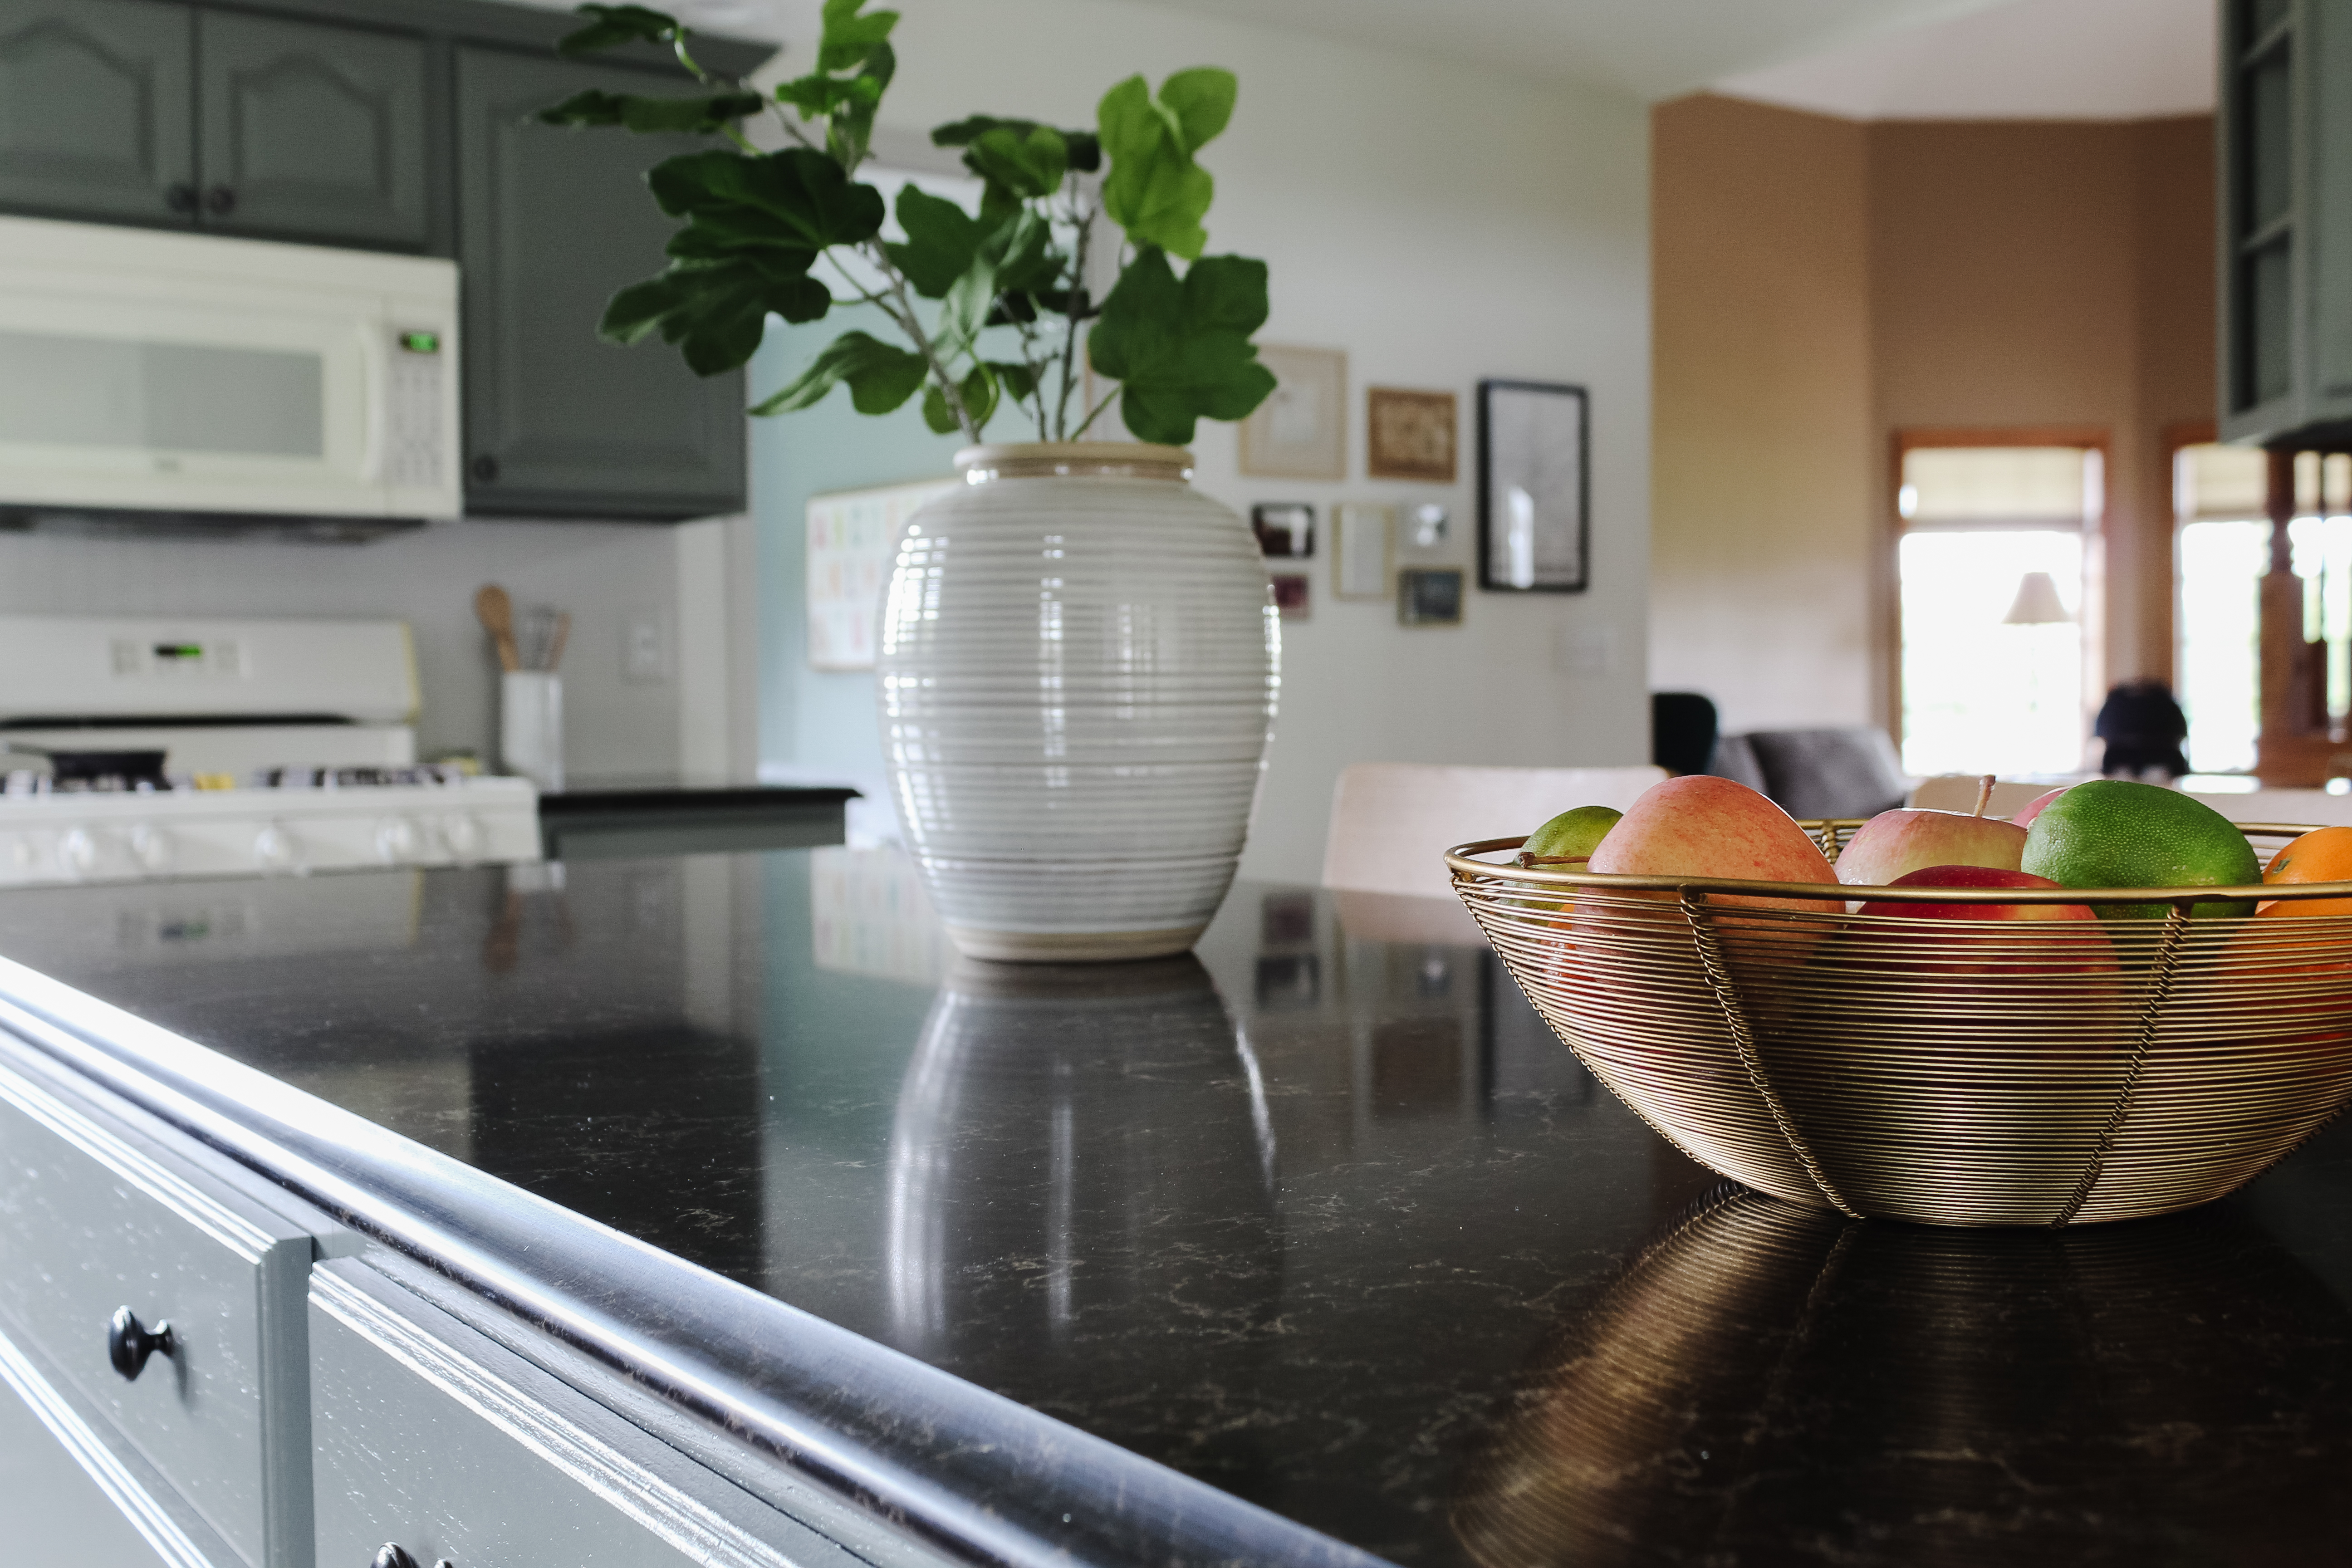
 I tried not to buy a ton of new decor for the space and instead shopped my own house for plants, art, towels, and other decor to put the finishing touches on. With the exception of


 I could go on and on about this space, but I’ll leave you with this. If there’s a change you want to make to your home, I encourage you to go for it! There were a lot of things with this project that I had never done before, and it can be intimidating to try new things, but you don’t know what you can do until you TRY. And while I stand by the fact that you can transform a room without a huge budget, even a teeny tiny budget can make a difference. Have $100? Try swapping out cabinet hardware. Have $30? Try painting the walls. Have $5? Scour your local thrift stores for a piece or two of decor to spruce up your space. It doesn’t have to be the biggest, fanciest, best renovation possible. I have been discouraged before watching people transform rooms and they gut it down to the studs and completely remodel everything. While that’s great, and I certainly hope to do that with a few rooms in our house, it’s very expensive and therefore not always a realistic option. But even if you can’t do everything, you can do SOMETHING. And each little thing you do can help you fall more and more in love with your home. ❤