The One Room Challenge (ORC) is a bi-annual challenge where twenty featured designers choose a room in their house to focus on renovating and finishing in a six week timeline. Because of the pandemic, this year’s challenge got postponed to May and the timeline is extended to eight weeks. The ORC always encourages guest participants to join in and I have decided to participate this time around!

I love that this is not a competition, but a way for everyone from top interior designers to little amateur DIYers like myself to inspire and encourage one another as they work to transform a space in a focused amount of time. I’m excited to join in and work on renovating . . .
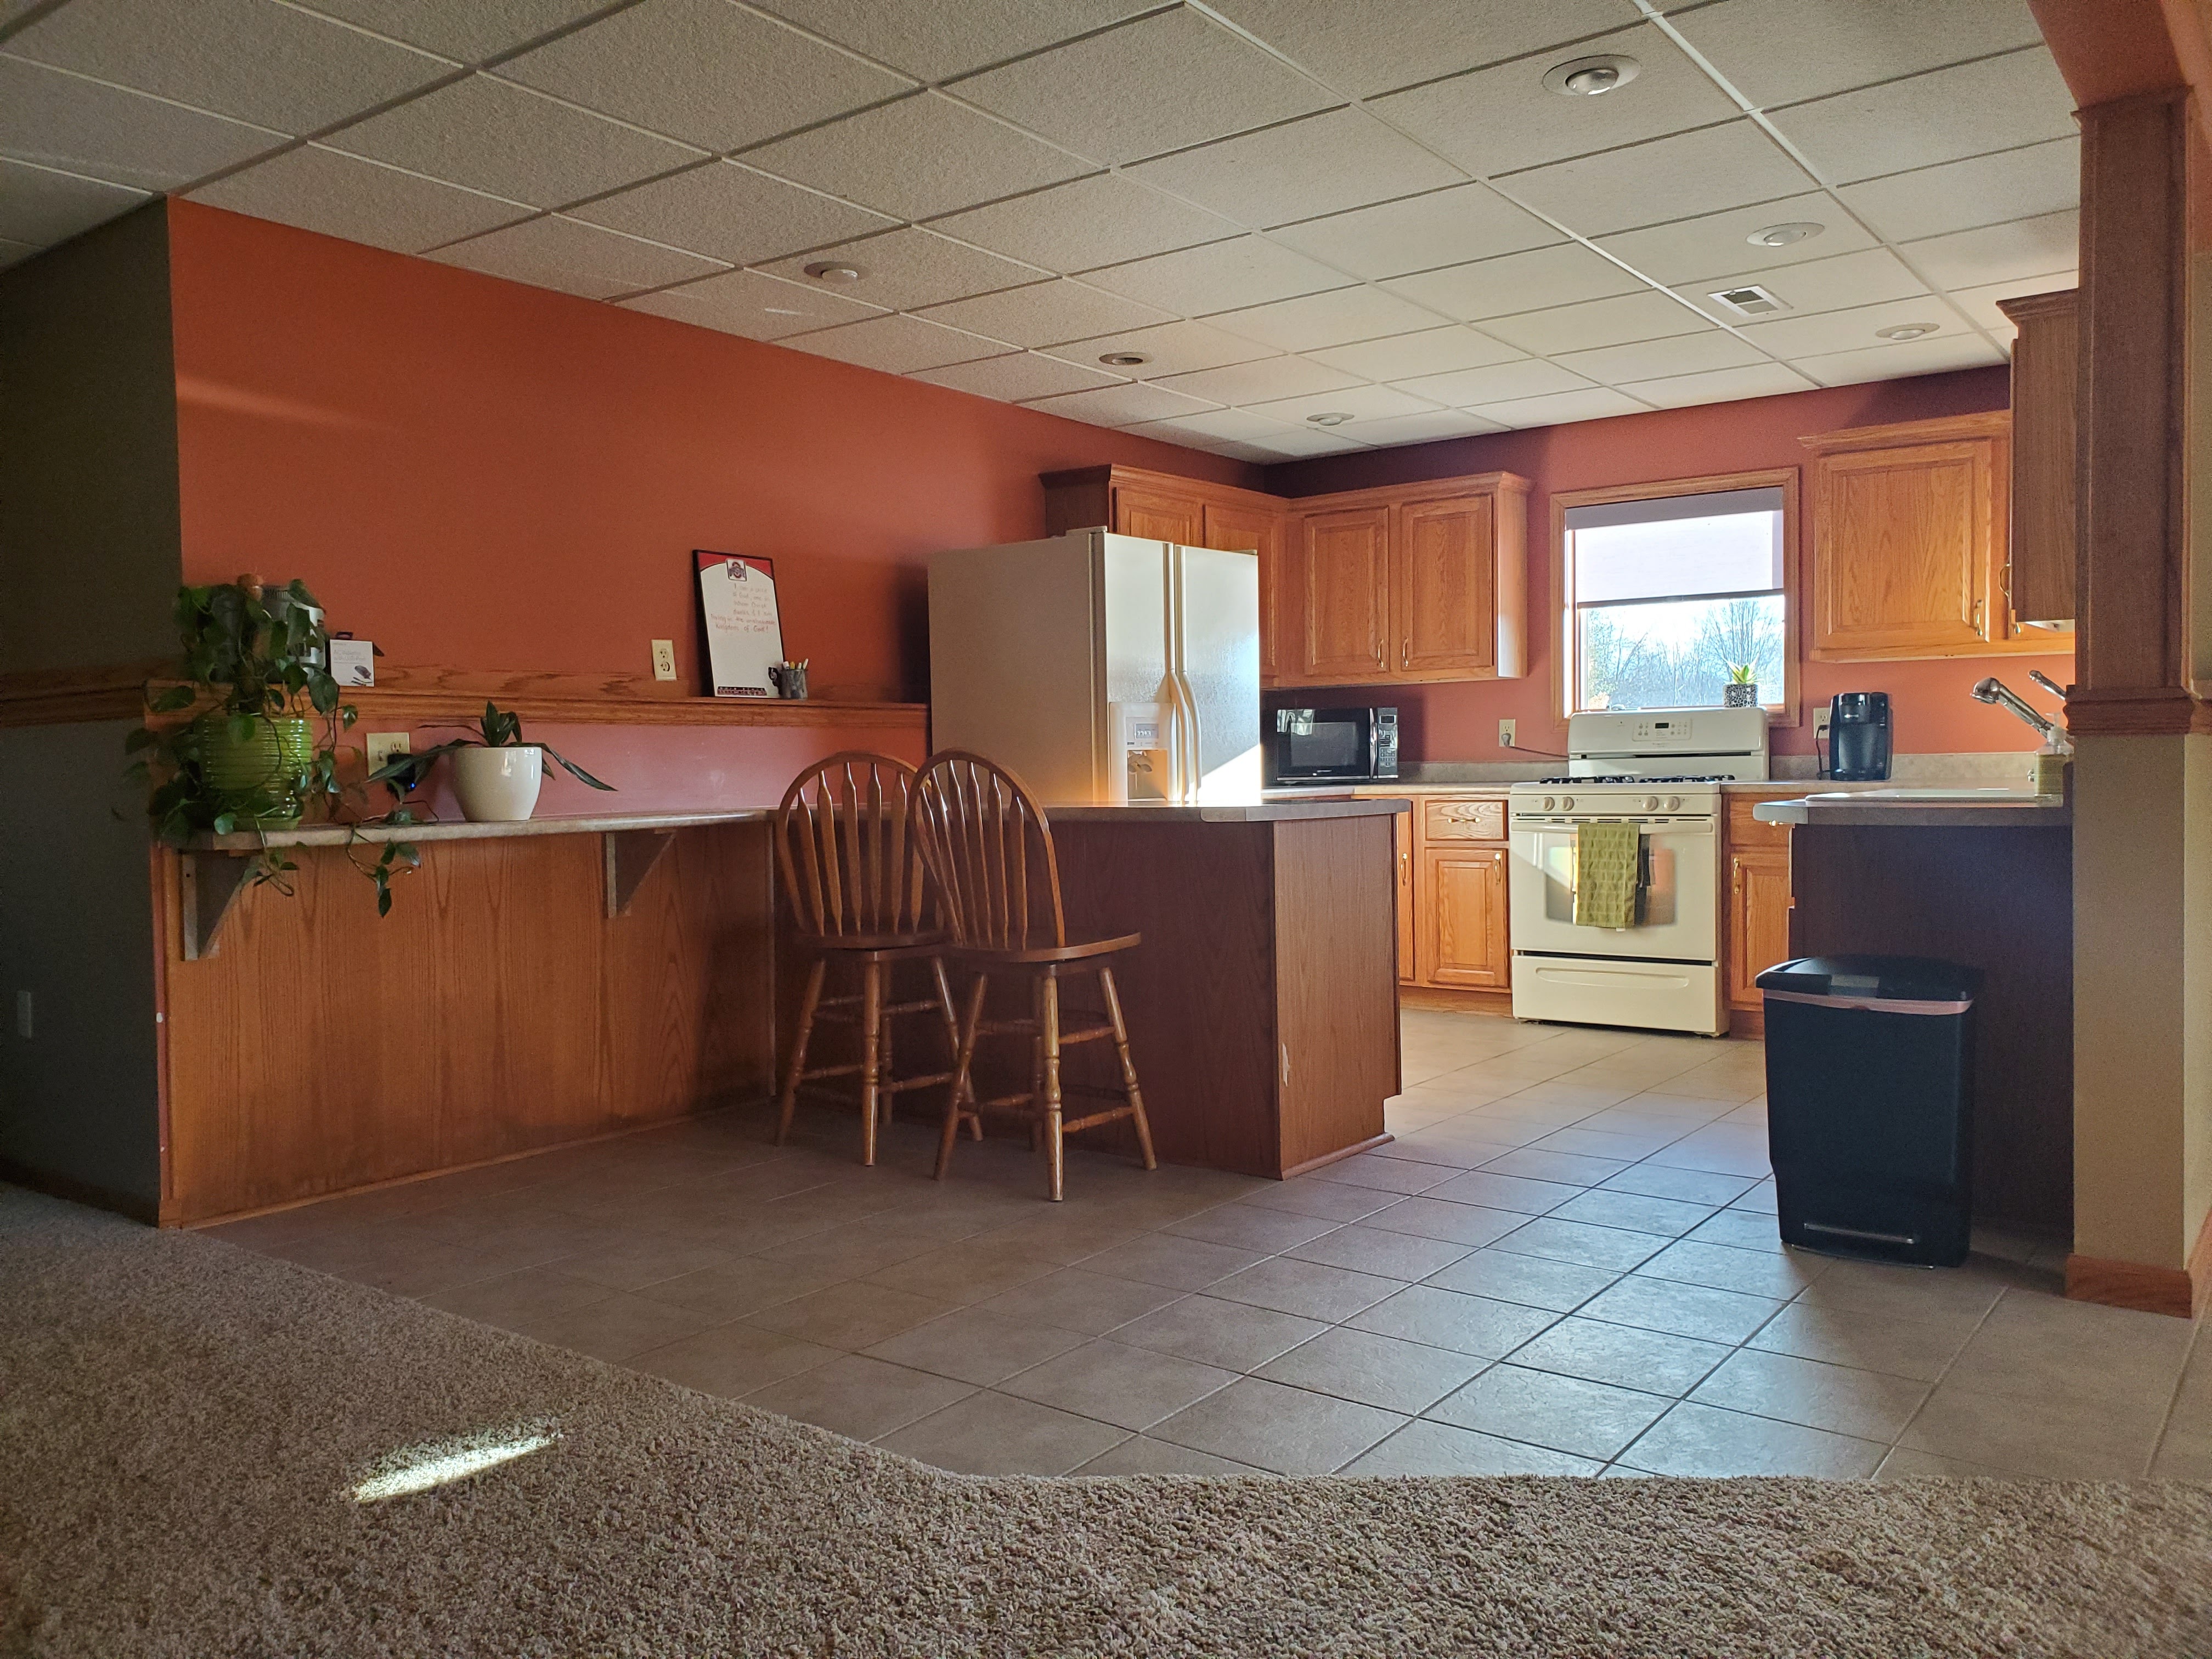
. . . our basement kitchen!
The Space
We love to entertain and host events, so this basement space was a huge selling point for Justin and I when we bought the house last year. The basement level is mostly comprised of a large, open-concept living space and this kitchen, although it does also have our guest bedroom + bathroom. There is potential for this level to be its own living quarters as an in-law suite or space for an adult child living at home, but for the foreseeable future we will use it as a gathering space for hosting friends and family. To the right of the kitchen is a door leading directly to our patio and pond, so it is definitely going to get a lot of use, especially in the summertime.
Truthfully, there are a lot of things I would love to change about this kitchen. The half wall + ledge along the refrigerator side of the kitchen isn’t ideal but it has to be there because it is part of the house foundation (that side of the house is built into a hill, while the other sides are not). I have a several ideas for larger projects that would make this space more functional and visually appealing and would love to completely re-work the layout, replace the tile, upgrade the appliances, the whole shebang. Since this not our primary kitchen though, I just cannot justify allocating a substantial budget to remodeling the space. It doesn’t make sense to pour a ton of money into a full remodel when there are many other rooms in the house that I want to address that we’ll use more often.
That being said, since this will be a major entertaining space, I don’t want it to feel dated. I want it to feel cozy and welcoming for our guests. I want it to feel like a reflection of us and fit in with the rest of our home. I want to freshen it up and make it shine, I just don’t want to spend a fortune doing that.
So I’m putting my own little spin on the ORC and issuing myself this challenge: incorporate budget-friendly cosmetic upgrades and DIY changes that are high impact but low cost.
The Plan
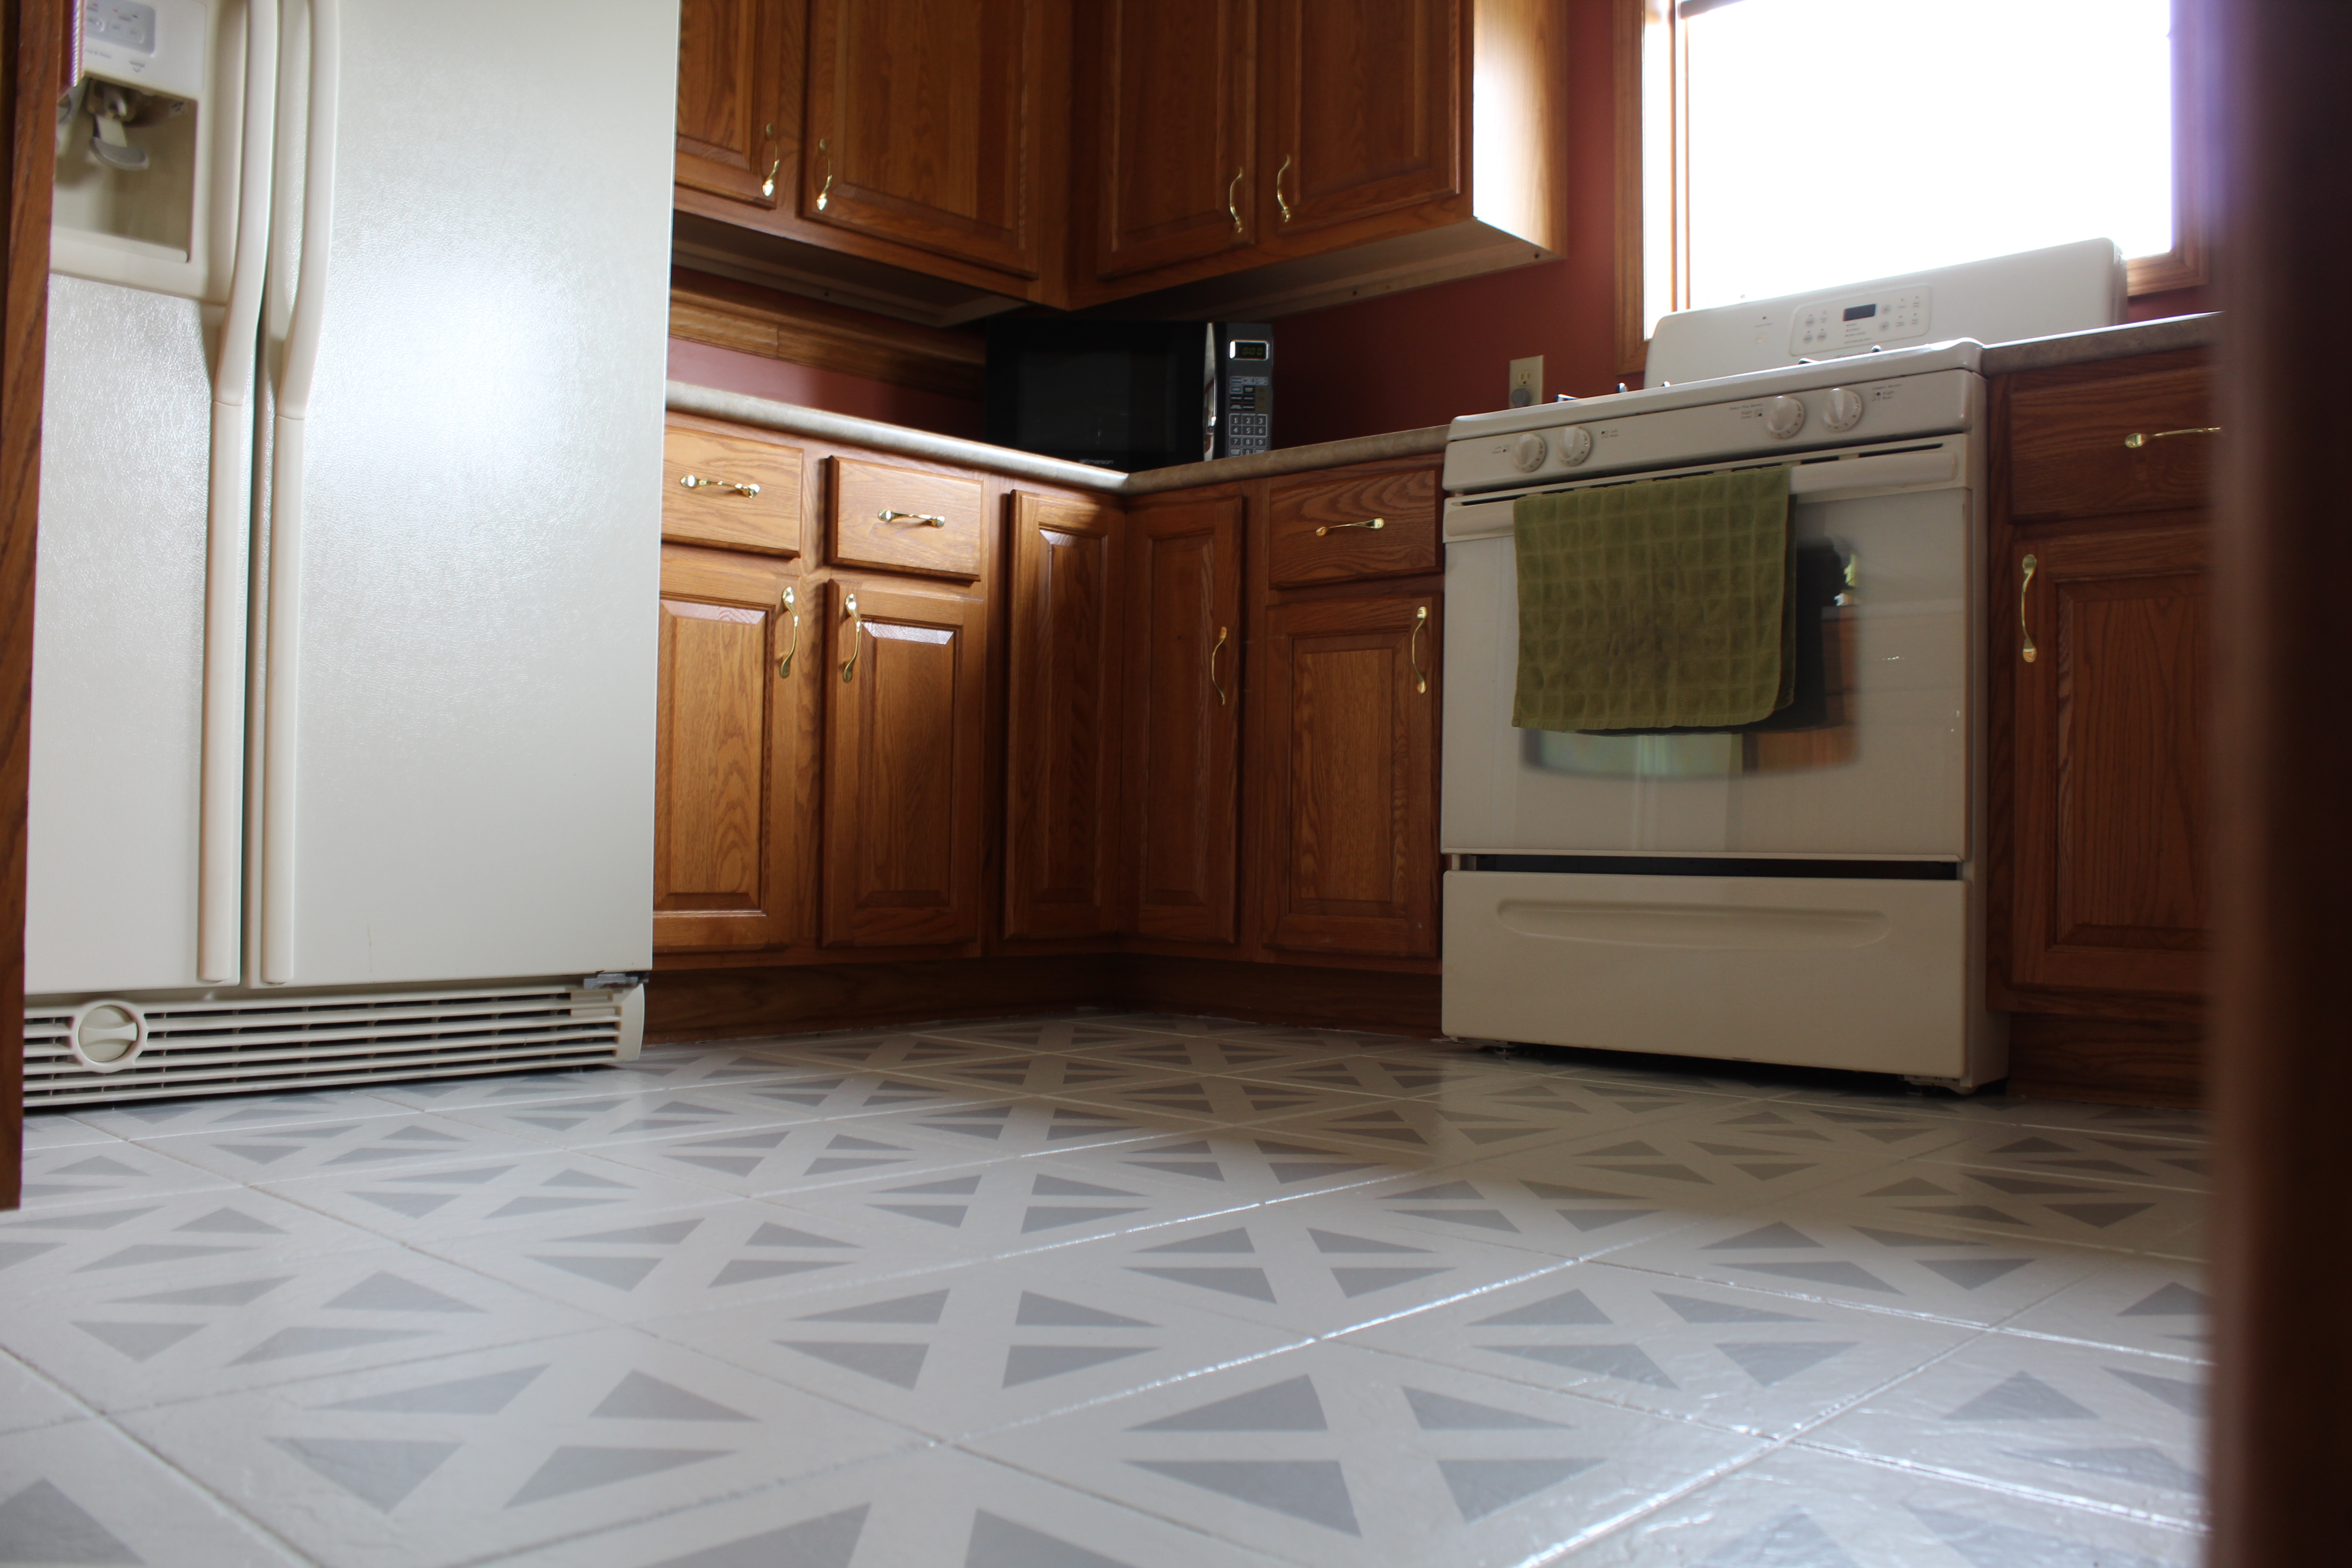
–Flooring: I actually have already worked on the flooring and upgraded our boring tan tiles using the power of paint! I used a Rustoleum system that required 7 days to fully cure, and I wanted to get that out of the way before I started working in the kitchen so I completed this last week and the floors finished curing yesterday. I plan to write up a blog post on the process I used so look for that next week, but in the meantime, here’s a peek at the new floors:
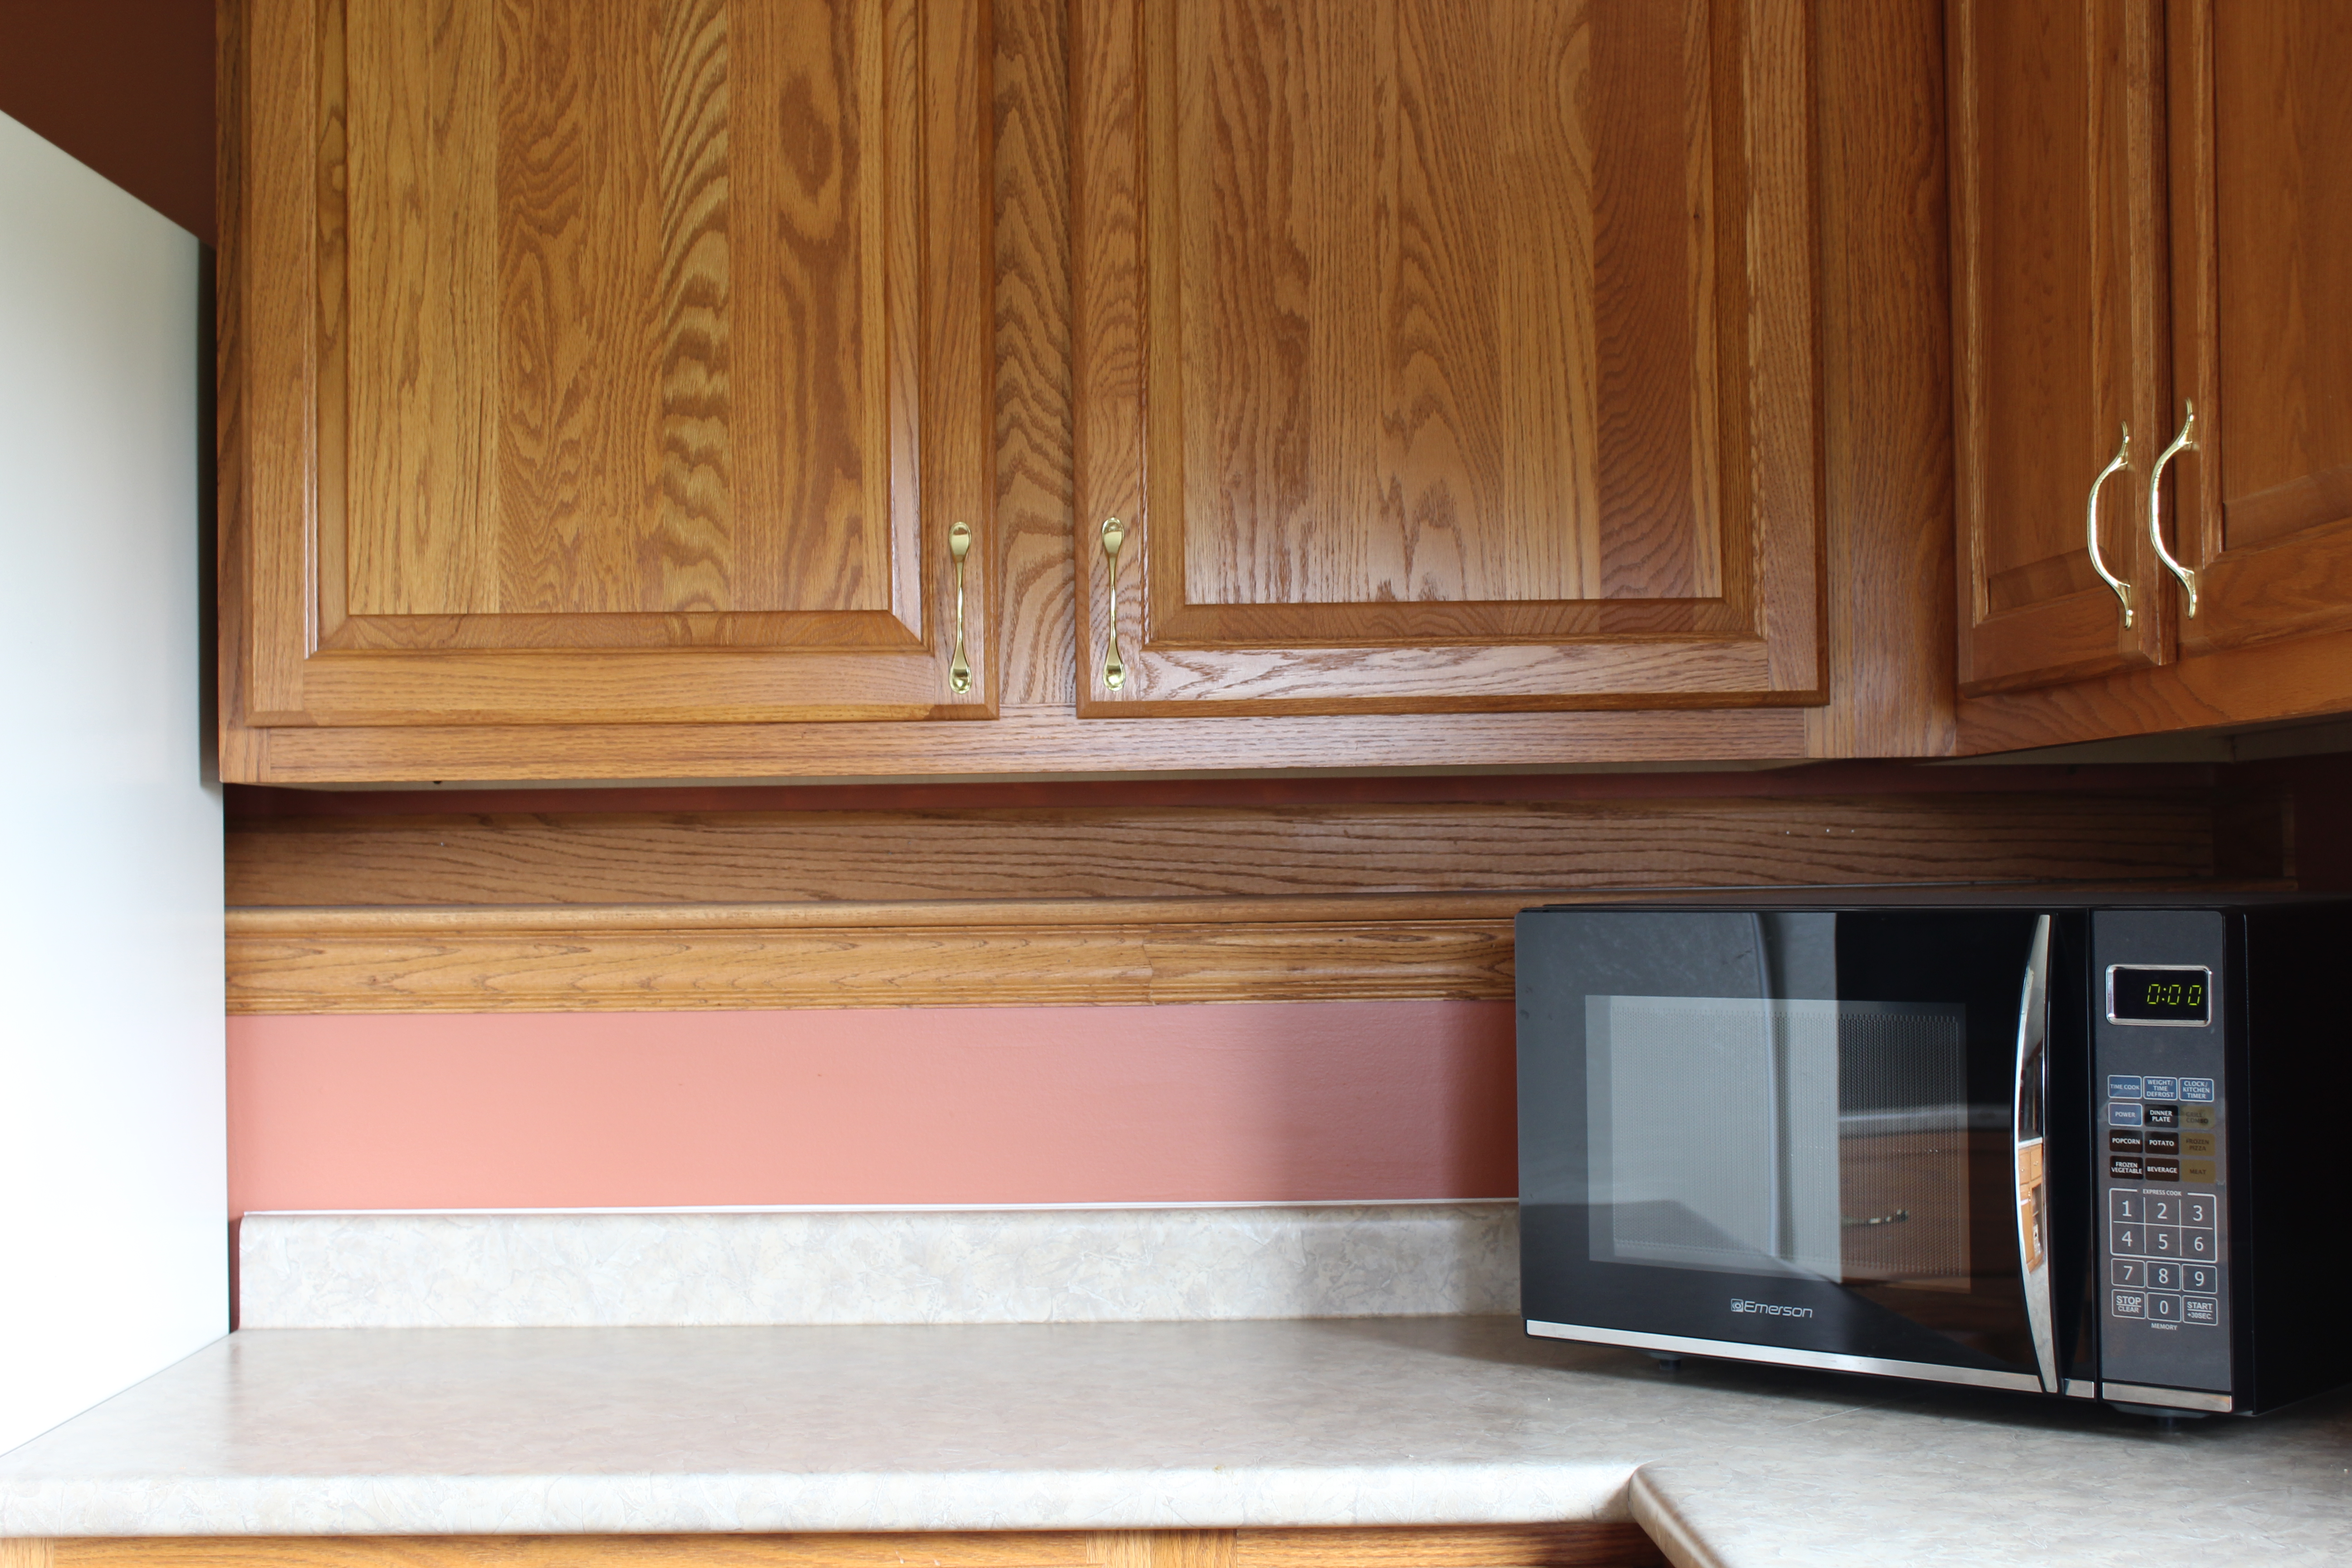
–Cabinets: The cabinets are in good shape, but I don’t love the wood tones. My plan is to give them a dramatic face lift by painting them a dark, moody color and upgrading the hardware on them.

I also want to make the space feel larger by removing the awkward single upper cabinet to the left of the sink and replacing it with artwork or possibly a small floating shelf.

–Walls: That burnt orange needs to go!
–Countertops: This is the item that is the most up in the air. I really dislike the counter tops, but my options for upgrading are limited with my budget. I may try a simple upgrade like painting them, or I may go for a DIY counter top option using butcherblock or even concrete. Or perhaps I’ll just learn to deal with them as is. I need to wait and see how the rest of the kitchen comes together before making a decision about them, but I would really like to do something.
–Remove trim around the half wall: The half wall + ledge extends through the whole length of the side of the basement, and while there’s nothing I can do about its existence, I can make it look a little more modern by ripping off the decorative trim on either side of the ledge and creating a cleaner, more streamlined overall look. I’ve already removed it from the living area ( wrote a blog post here about the process) and I plan to follow the same steps in the kitchen.
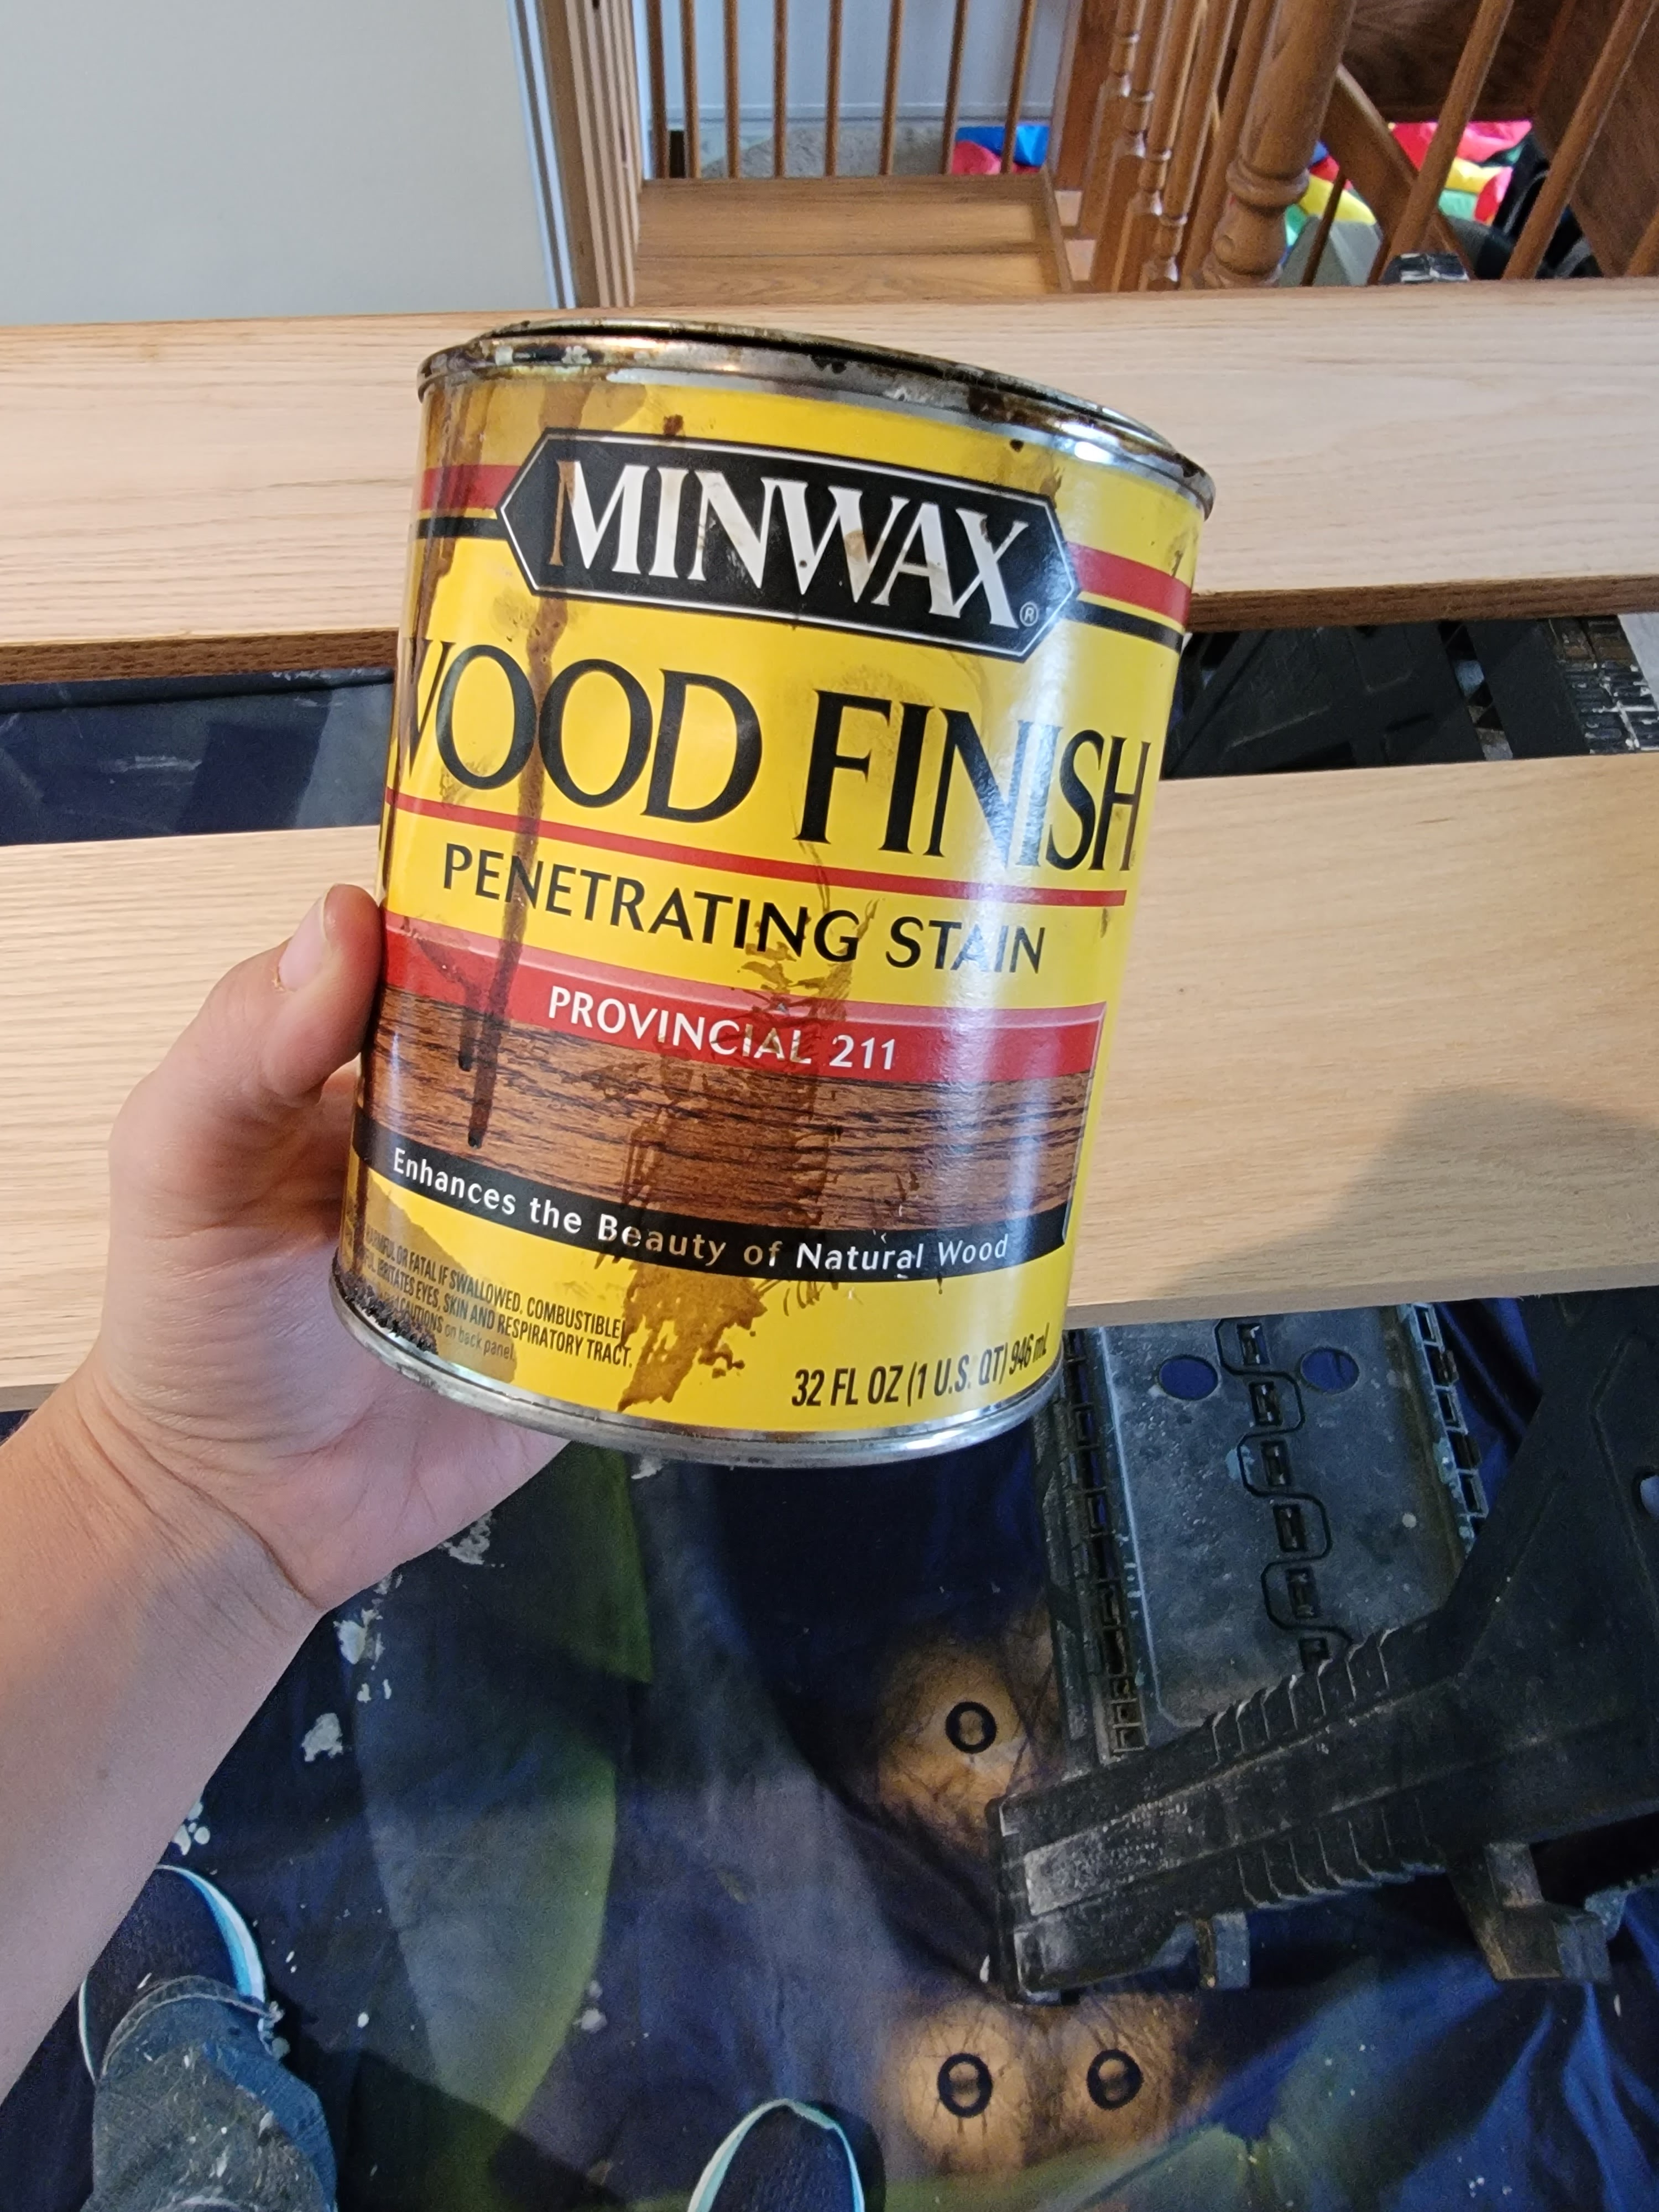
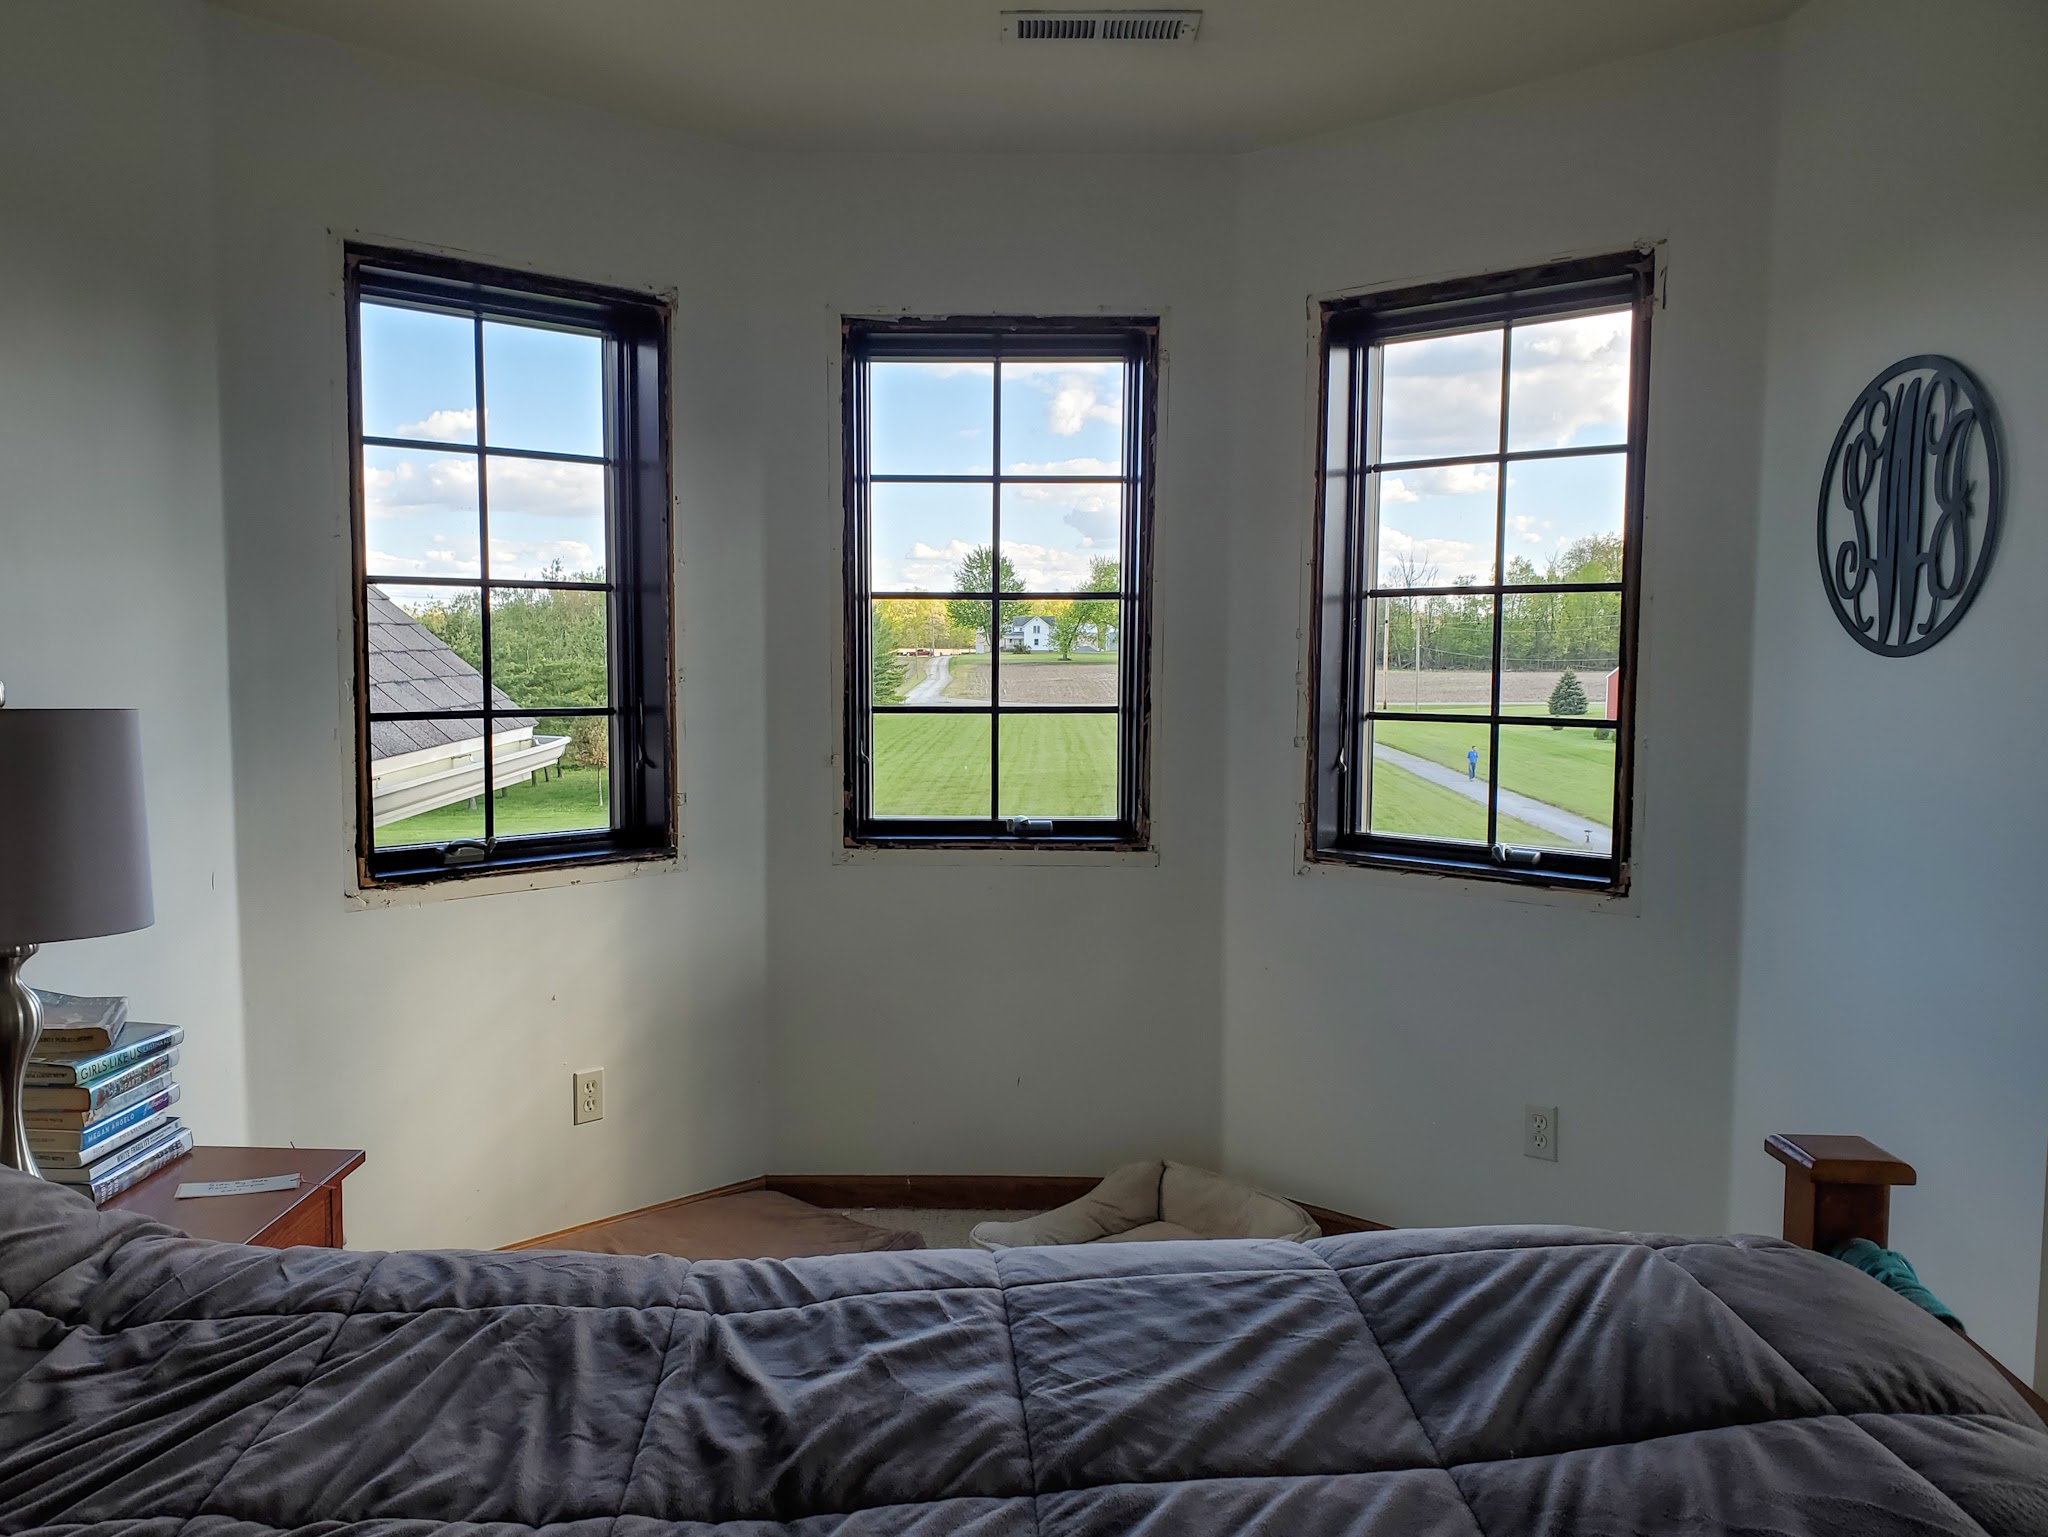
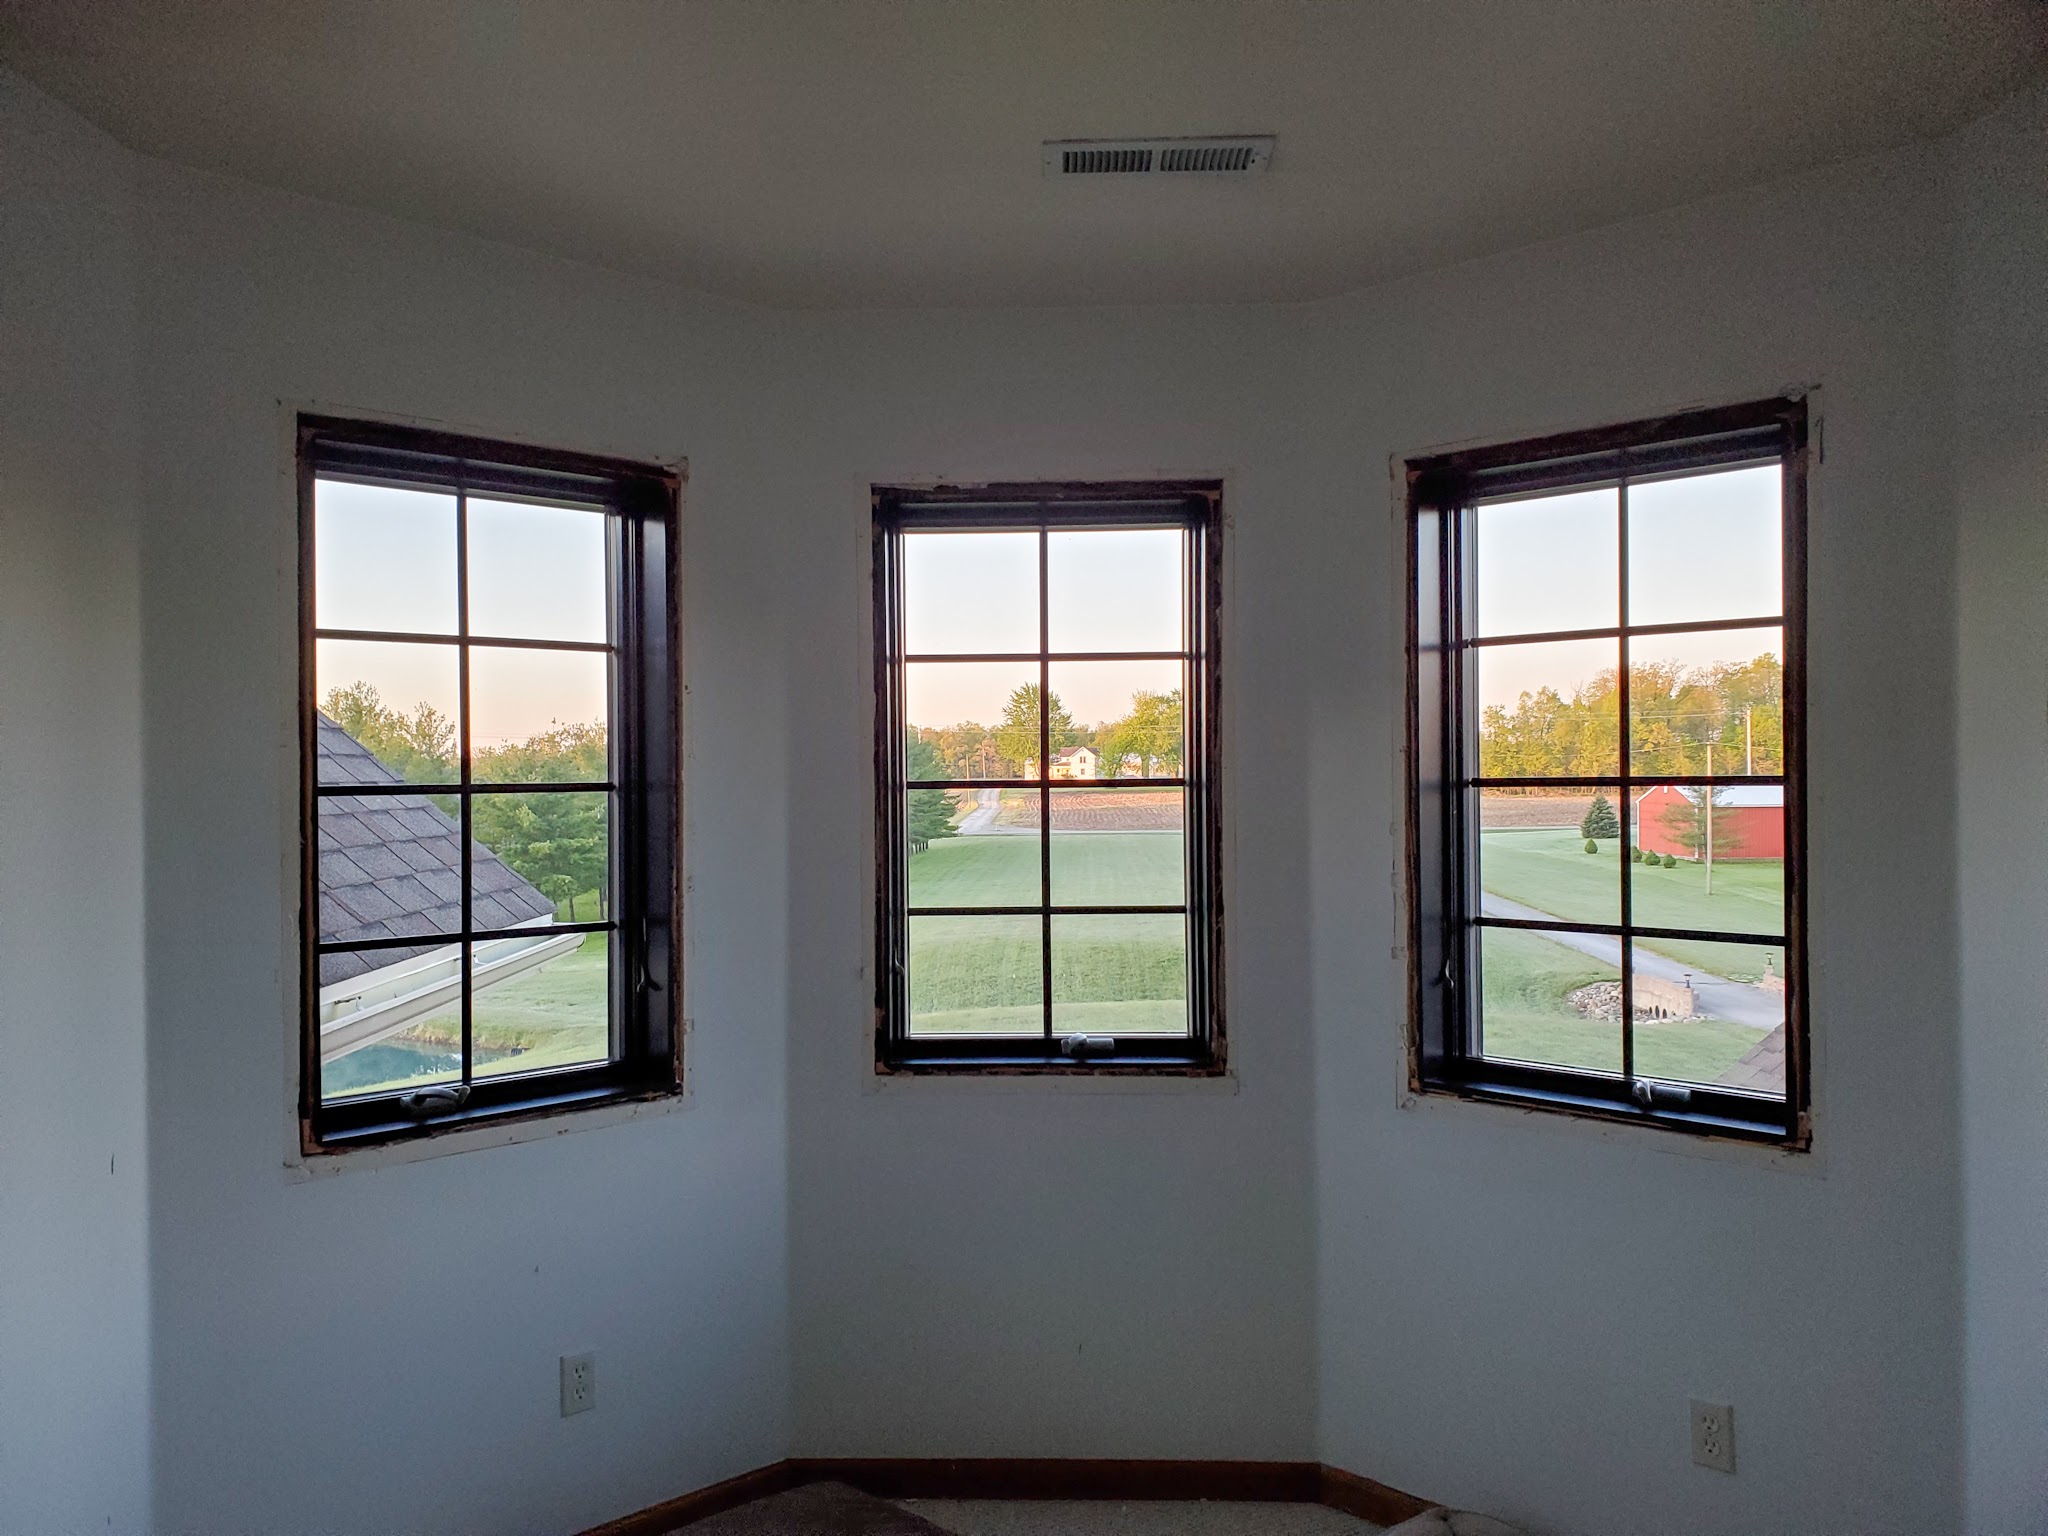
–Replace window trim: I want to change the look of the windows with a chunkier trim to match what we did in the guest bedroom and plan to enlist Justin’s help with this. 😉
–Finishing touches: Different barstools, some artwork, maybe a patterned runner . . . just a few little touches that finish off the space and make it feel complete and not like an afterthought kitchen.

The Challenges
Two big challenges with this project: the budget and the fact that I’m a stay at home mom to a 2.5 year old and an 8 month old. My goal is to spend $1500 or less on this entire project. That feels like a lot but is actually not much $ for a kitchen renovation. I really believe I can make a big impact on this space without blowing a ton of money! I think this will also challenge me to learn to love the space we have – it’s not going to be a brand new, shiny kitchen that was gutted to the studs and replaced with the best of the best, but that doesn’t mean it won’t be a great space when I’m done!
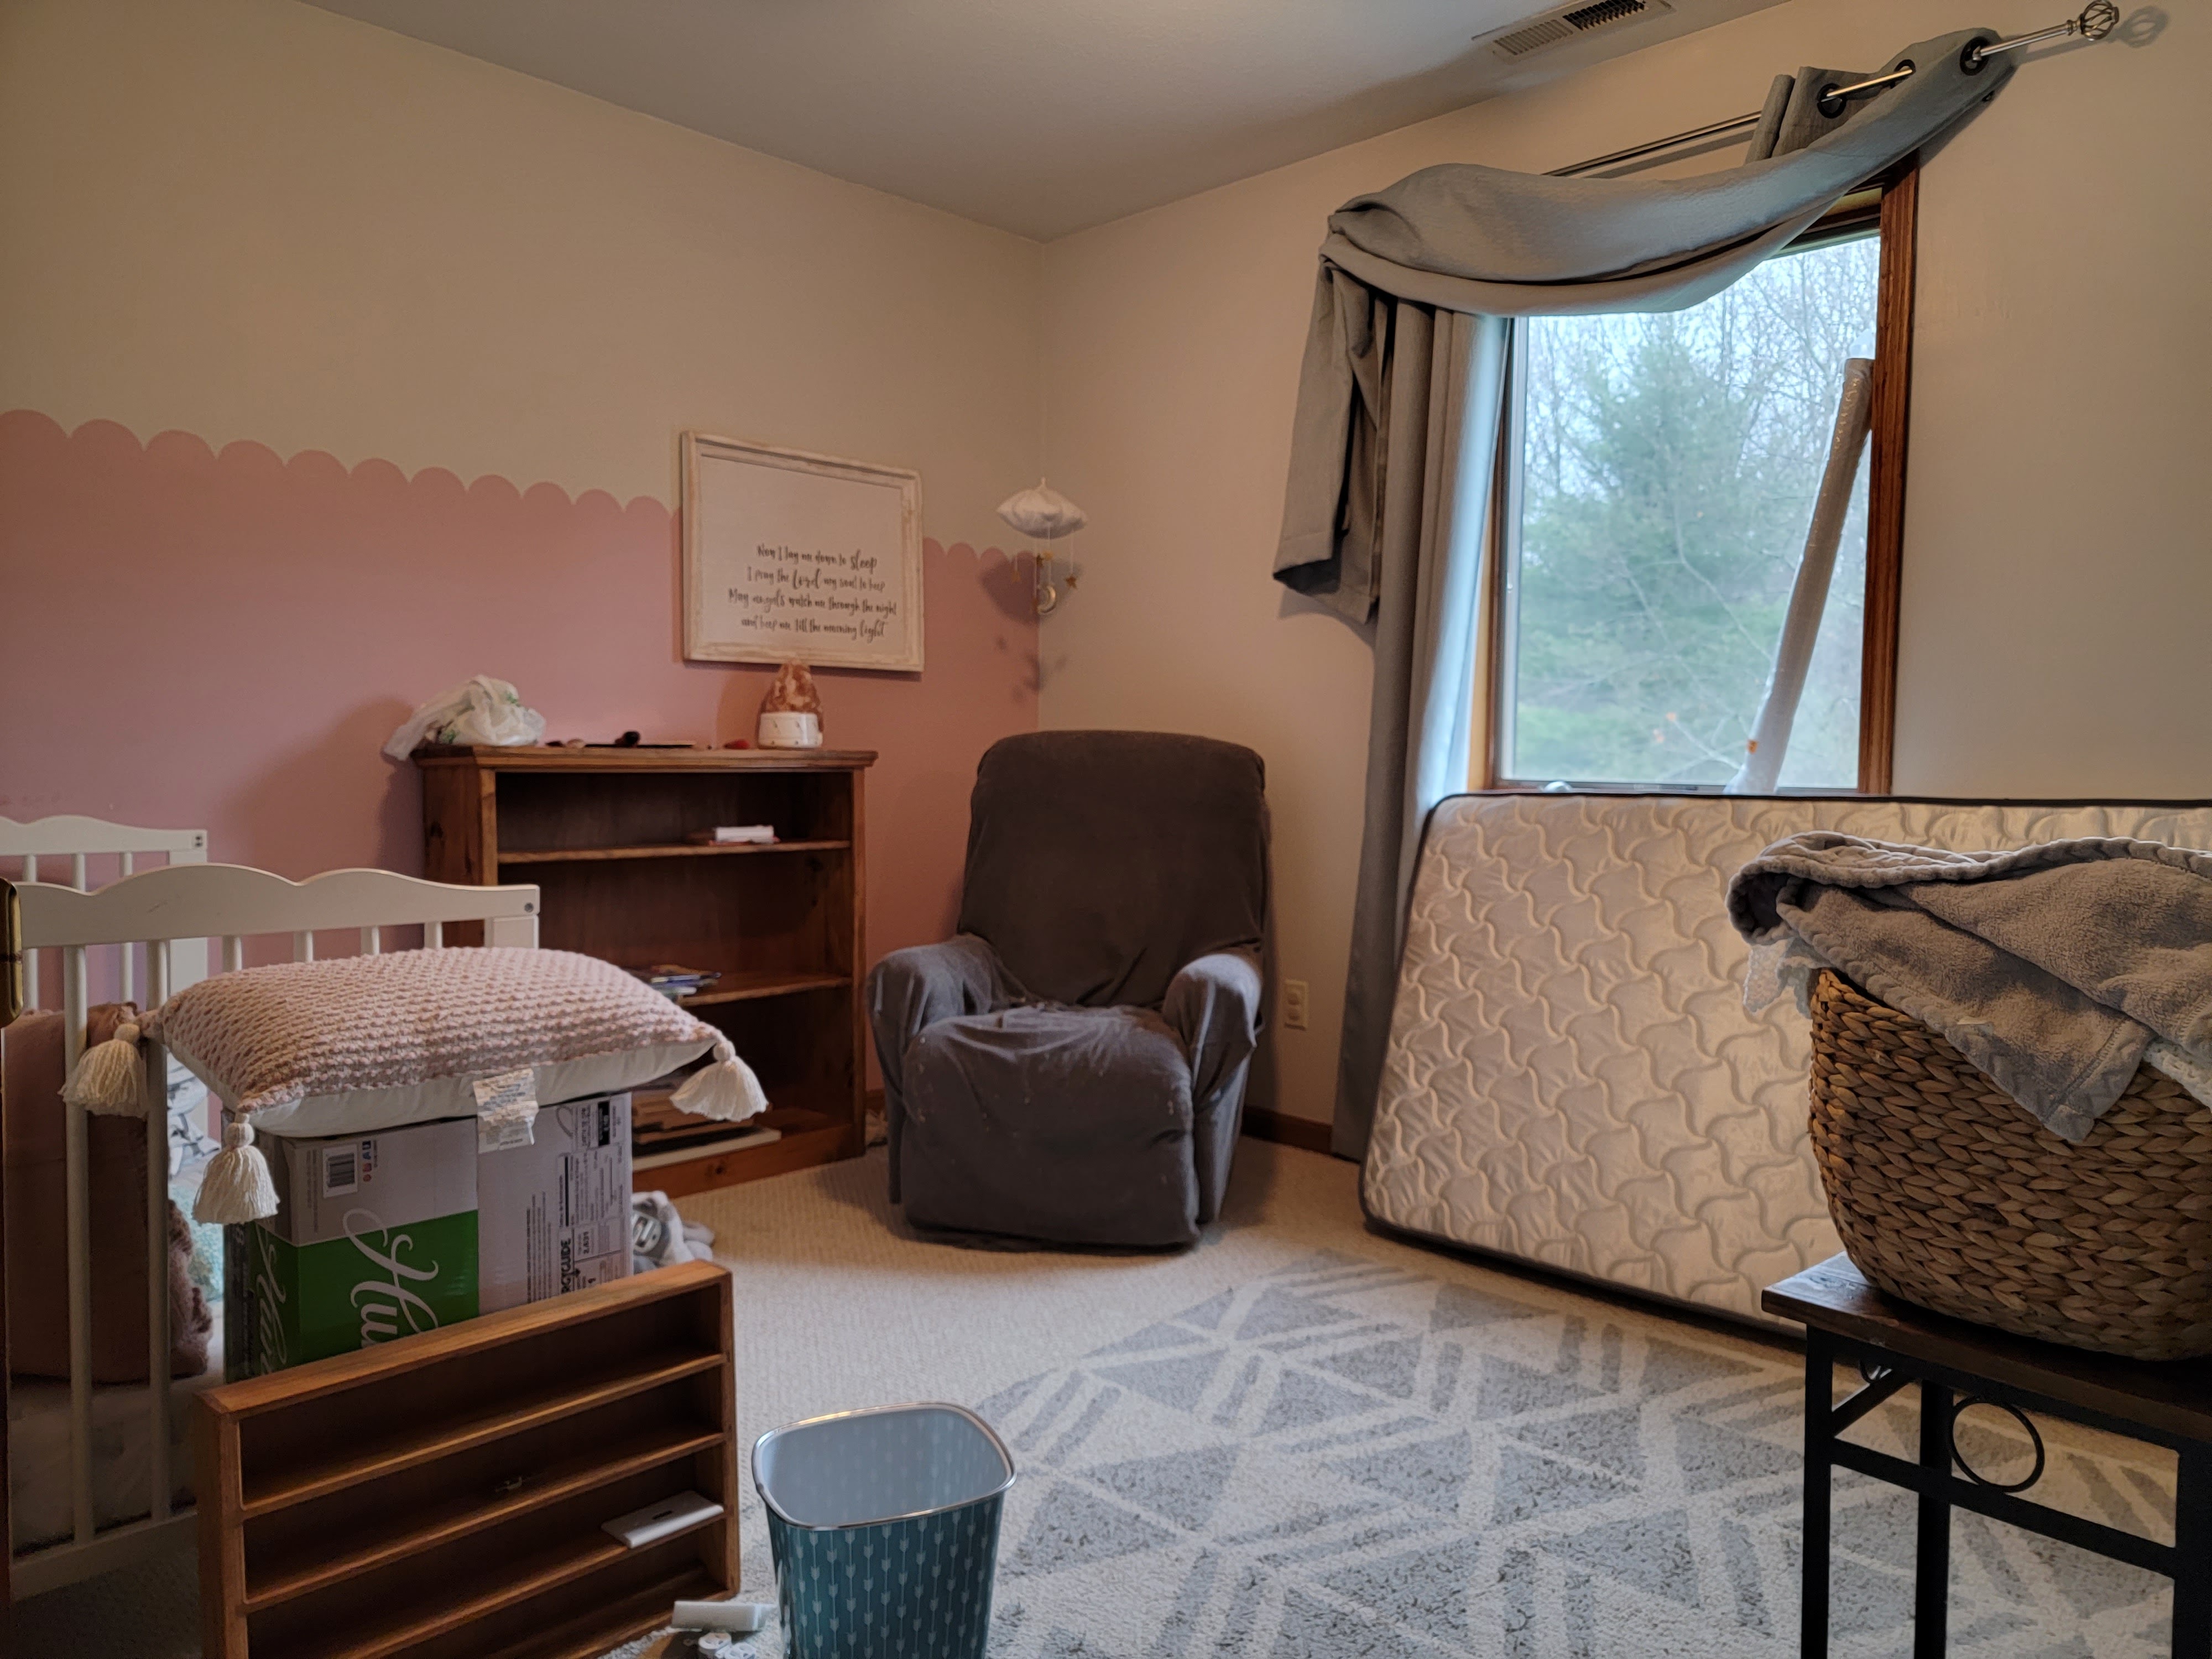
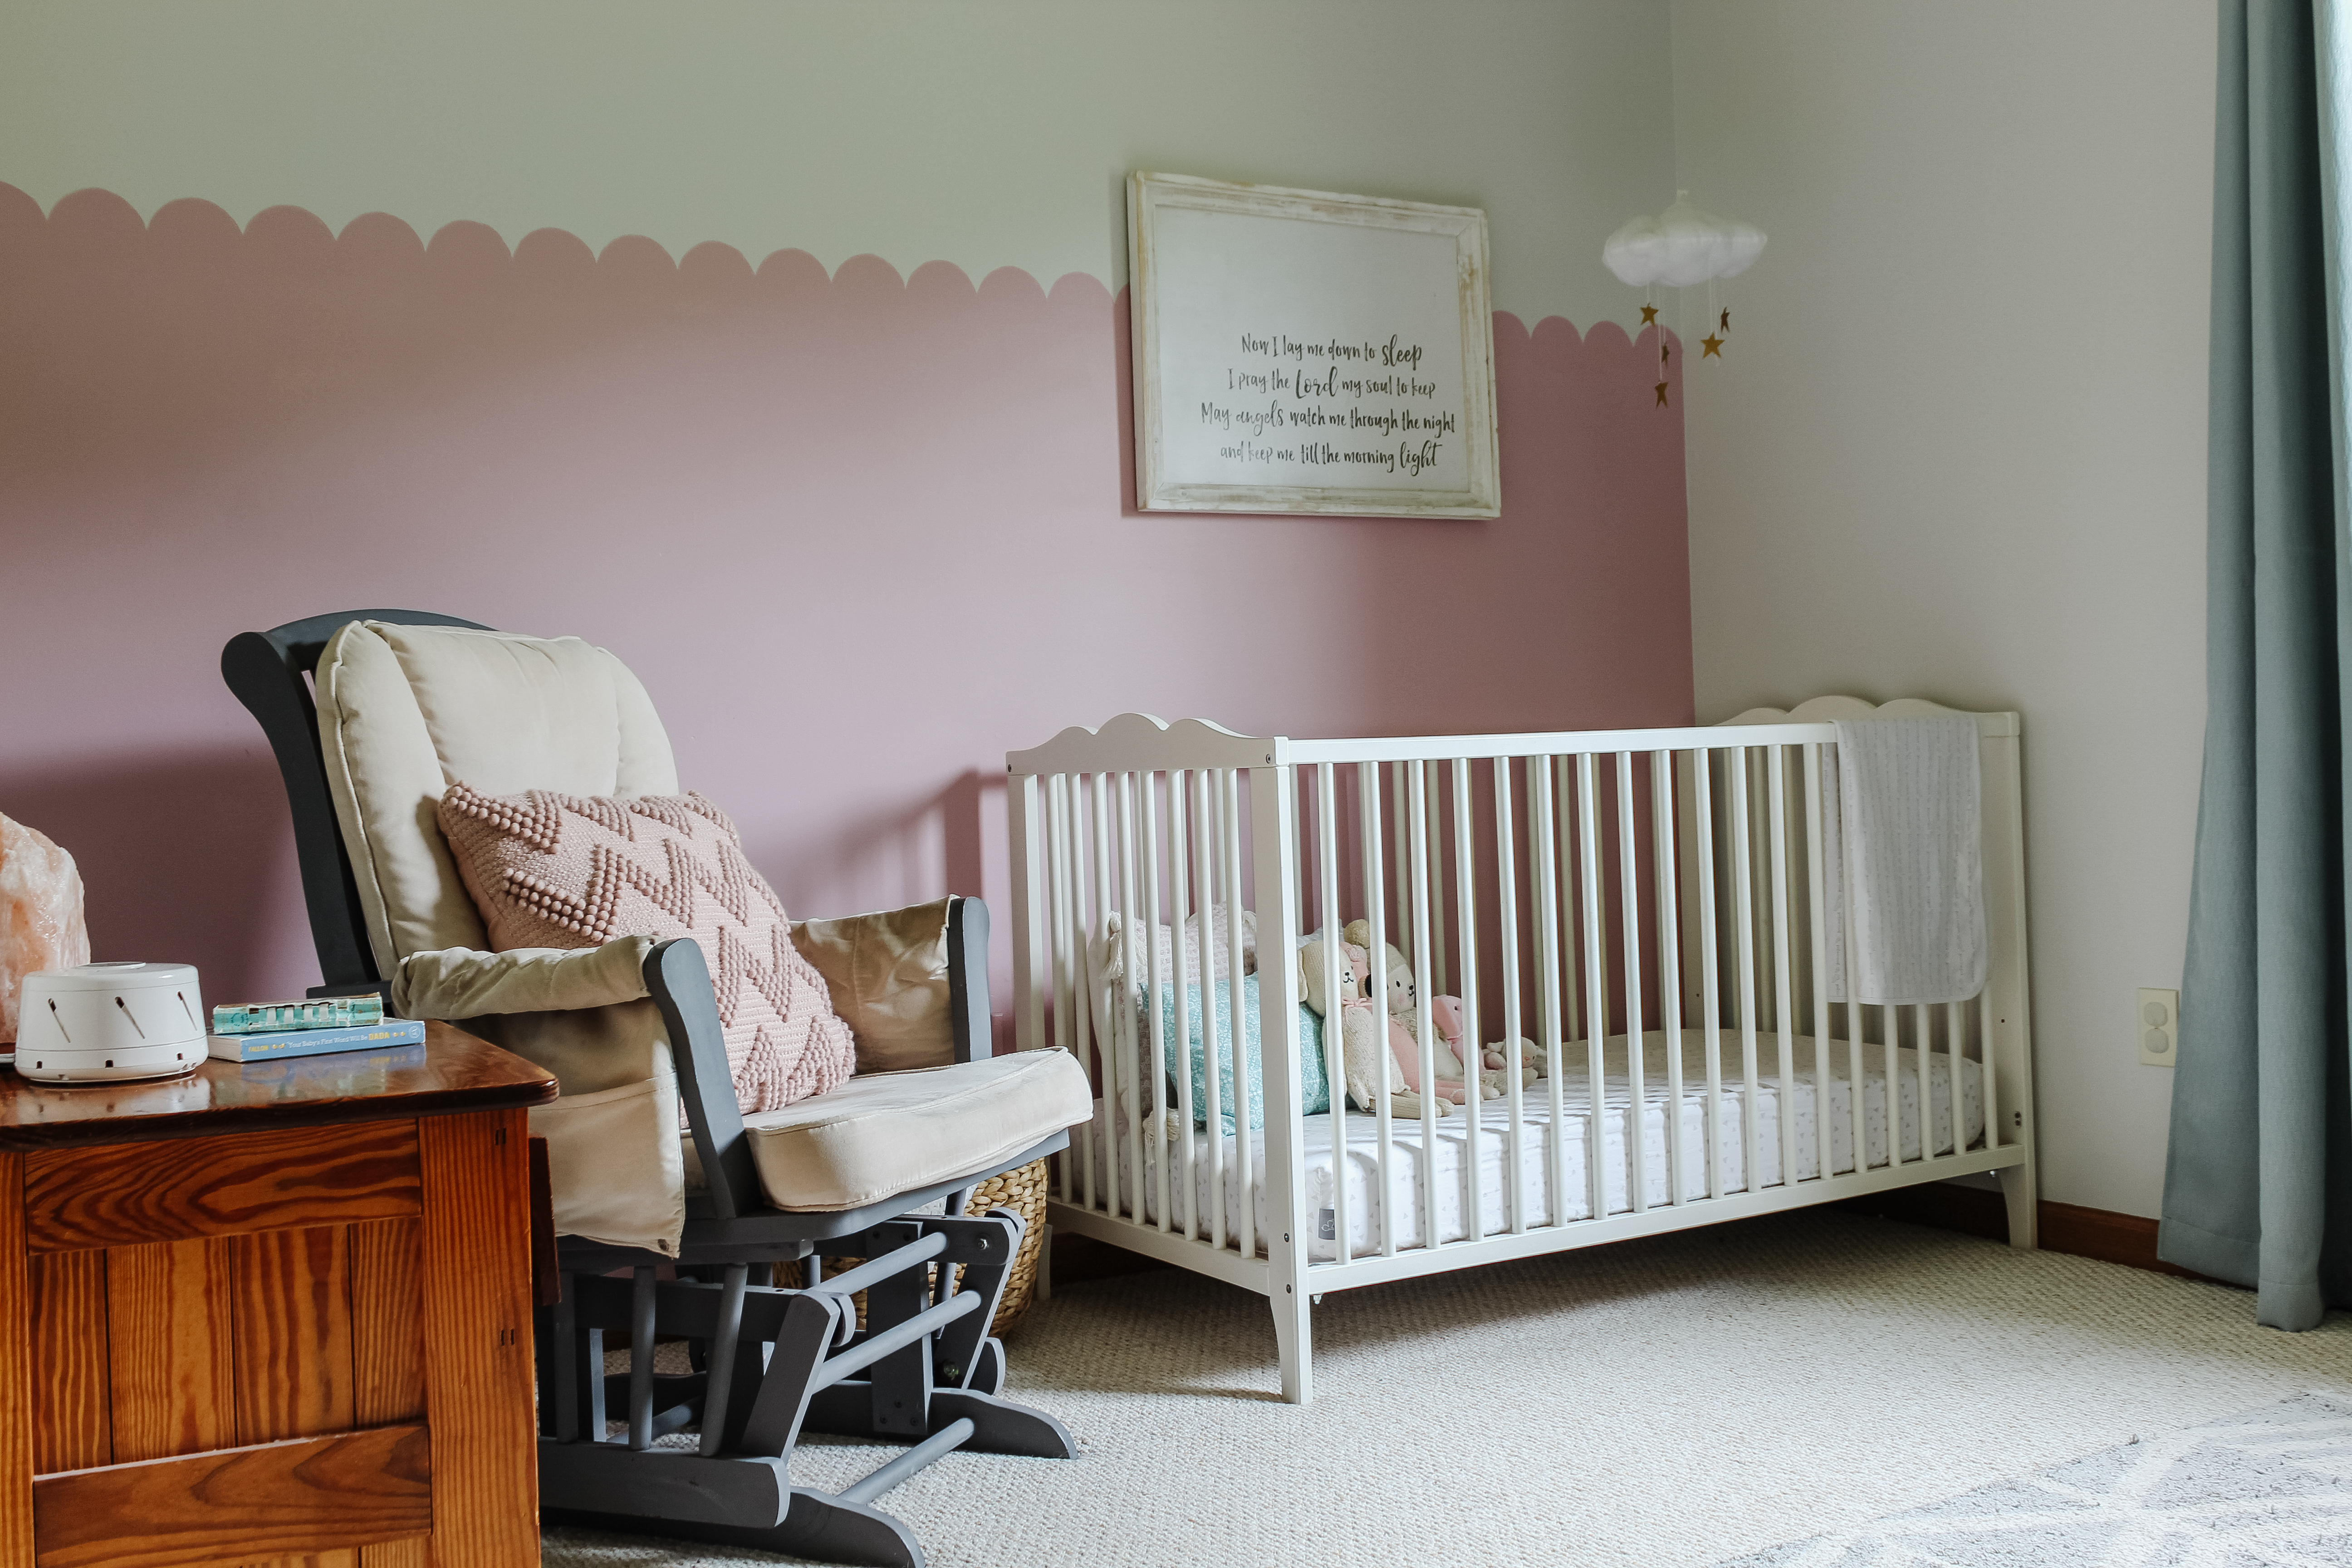
The fact that I’m going to attempt to do this as a stay-at-home mama to two very small children is no small thing. My kids are both in pretty needy stages of life, and they are definitely not at a stage where I can leave them unattended for more than a few minutes. The current pandemic means I don’t have the option to have my babysitter come over or swap childcare with a friend. This makes it tricky to get things done, but not impossible. I have built up confidence over the last few small projects I’ve tackled (our DIY date night, our basement updates, the height wall in the garage, this dresser makeover, the secret nook under the stairs, the scalloped accent wall in Vi’s room, the painted tile floors in this very kitchen) to feel like I’m ready to take on a bigger scale project with my kids at home. I know that I can get things accomplished in the small windows of time throughout the day, particularly if I utilize time well during nap time and after bedtime. I just need to stay flexible and keep my expectations managed: there will be days I can’t make a dual nap happen or someone wakes up early or is feeling sick and needs extra snuggles, etc. so I will just need to roll with the punches and know there will be days where I don’t accomplish much in the kitchen.

I’m really excited for this project and hope you’ll follow along with the transformation over the next eight weeks! And you can also see the other participants and their rooms by checking out the One Room Challenge blog. I think this will be fun!