When I was searching for dresser ideas for my primary bedroom renovation, I came across this dresser and it stopped me in my tracks:

I loved so much about this dresser: the clean lines, the black stain, the subtle wood grain, the leather drawer pulls. Really the only thing about it I didn’t like was the price. Yikes! At first I considered building my own dresser to mimic this one, but thankfully I was talked out of that. Instead, I decided to take a basic Ikea Hemnes dresser and recreate this look for a tiny fraction of the cost.
The Hemnes does come in a black-brown stain but it was out of stock so I bought it in a gray stain. At first, I covered it with a coat of paint in Sherwin Williams Tricorn Black, but I did not like the way it turned out at all. It looked like, well, a cheap dresser that was painted. Luckily, the latex paint sanded off very easily and I was able to start over with a different plan. Here’s what I did:
Materials
-Orbital Sander + 80 grit and 120 grit sandpaper
-Clean, dry cloth
-220 or 400-grit sandpaper
The first thing I needed to do was sand off the old gray stain. By far, this was the step that took the longest! I used an orbital sander and 80-grit sandpaper to get most of the stain off, then I went over the whole thing again with 120-grit sandpaper to smooth the coarse surface.

Before sanding down the drawer fronts, I filled in each of the drawer pull holes with plastic wood. This product only takes about 15 minutes to dry and then you can sand and stain it just like the rest of the wood.
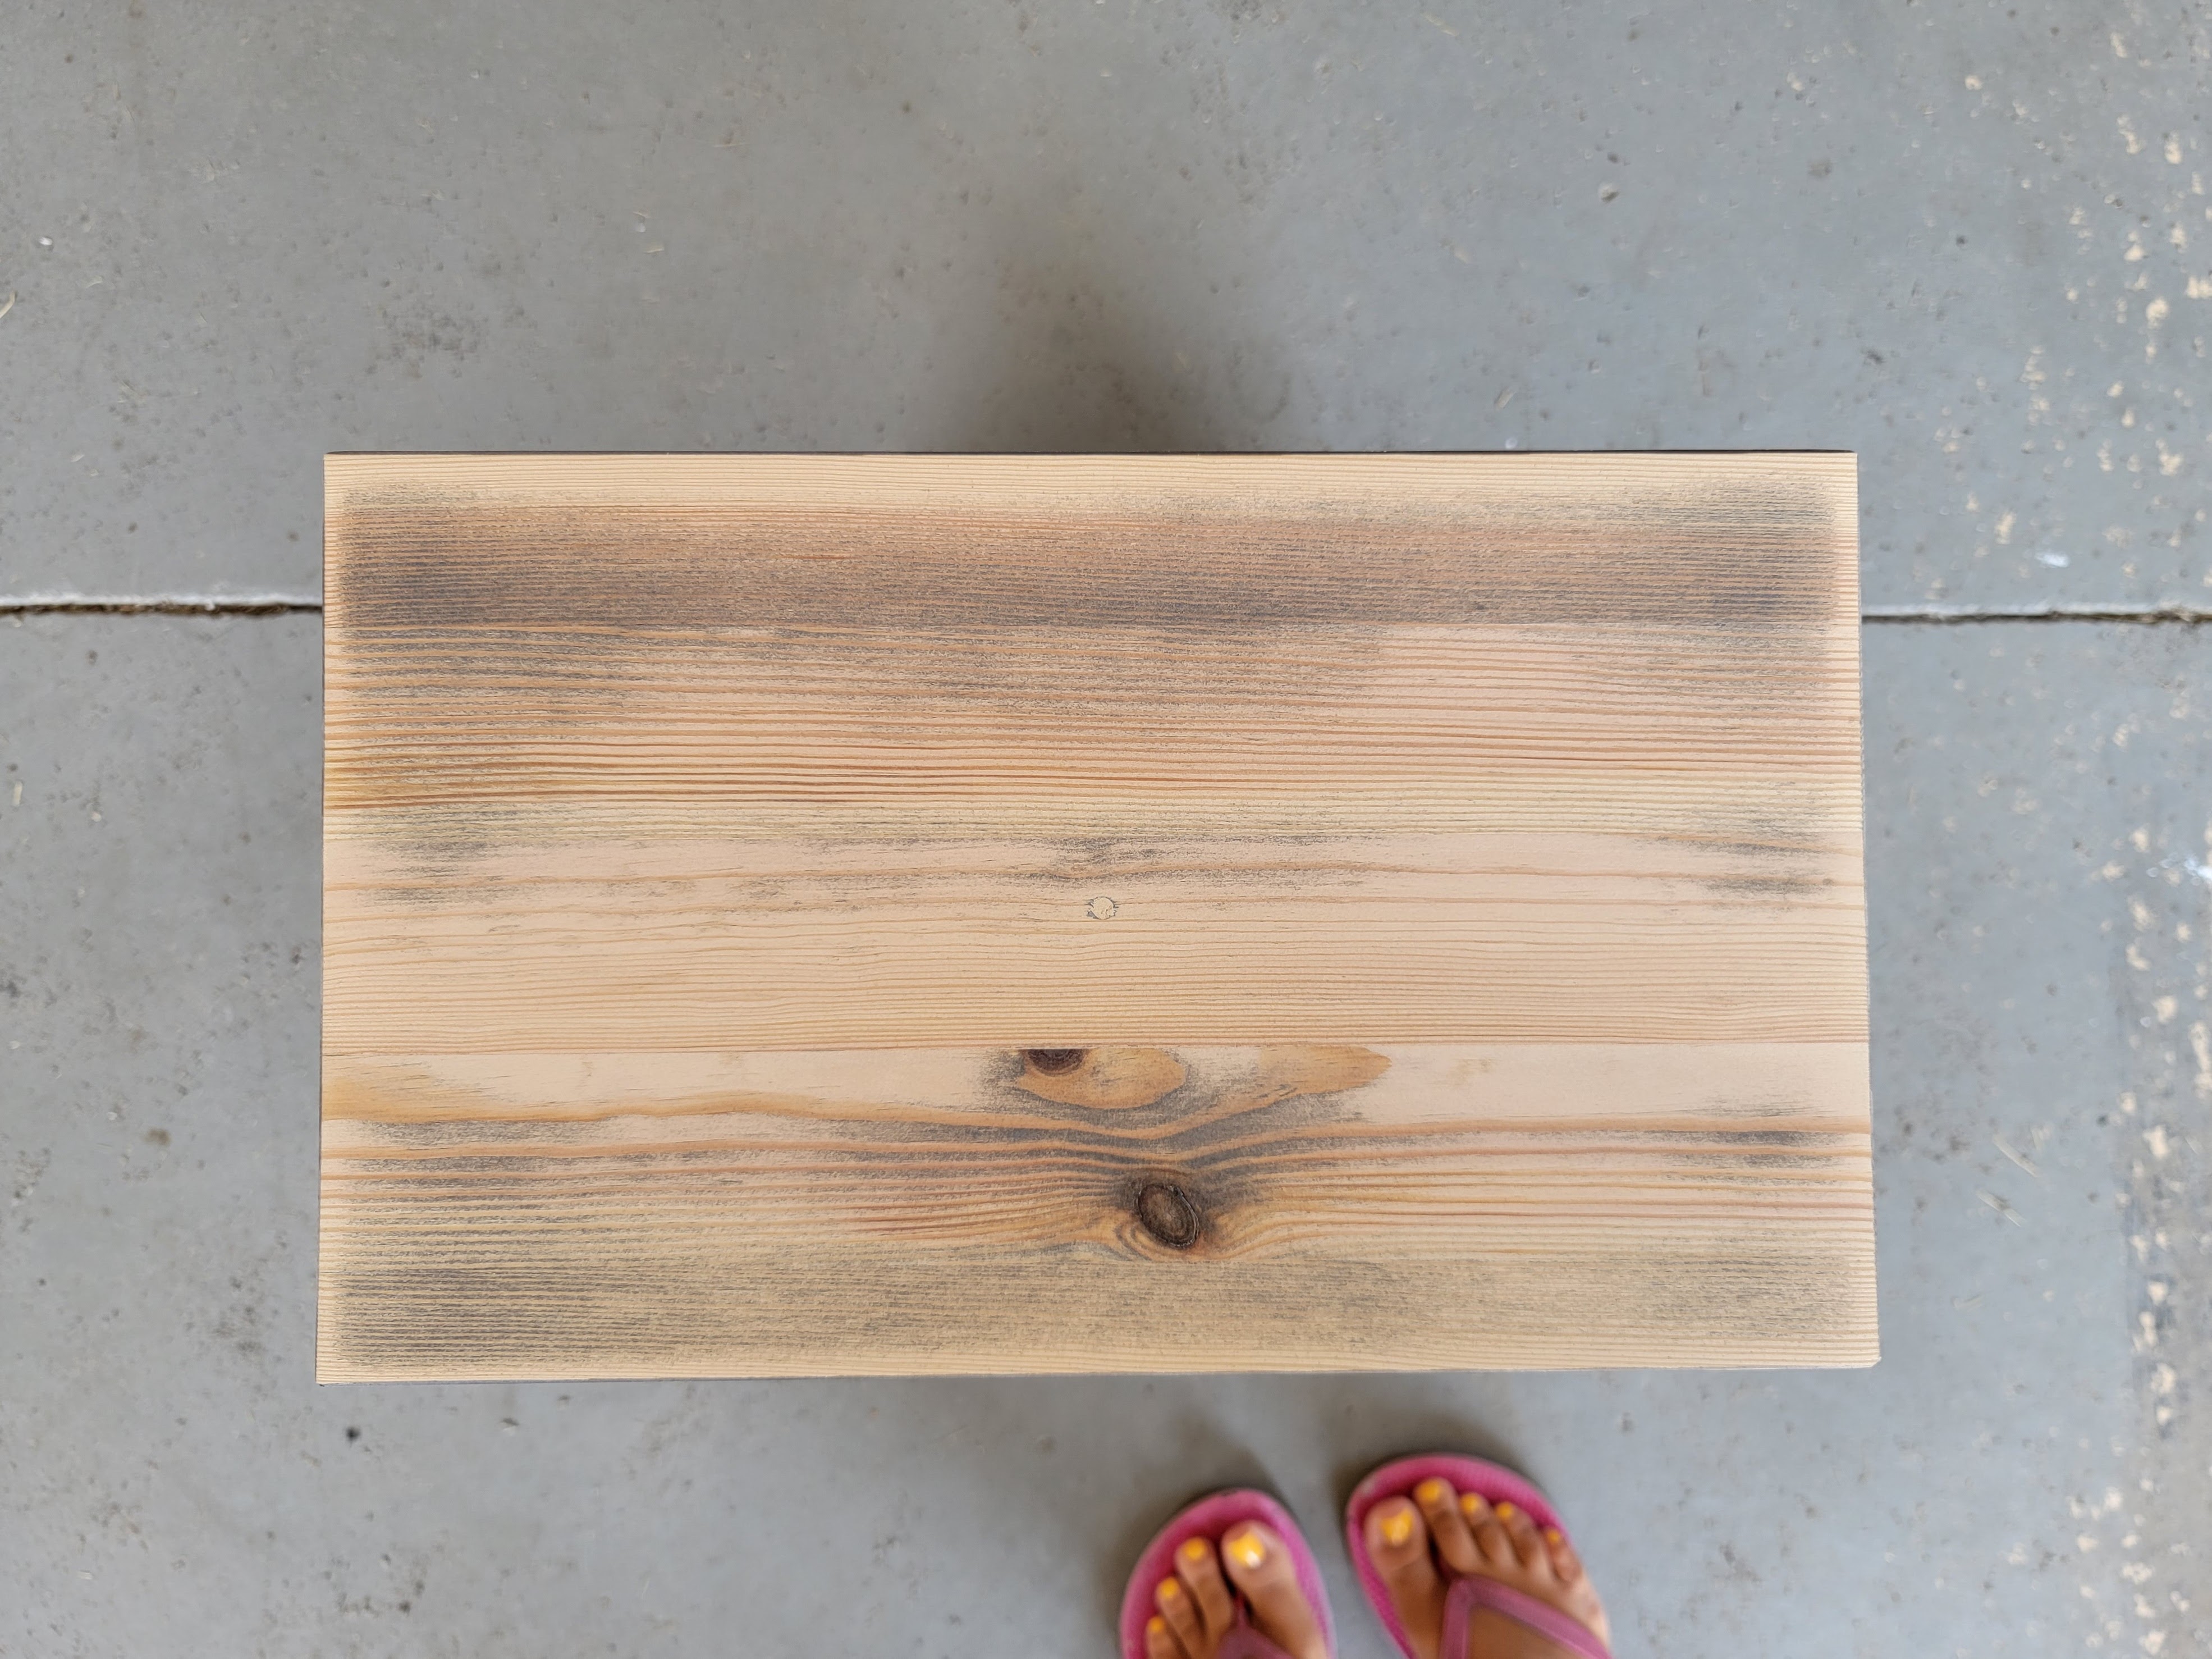
You can see that there are still some traces of gray stain left on the dresser above. I decided to save myself the time and effort of removing every tiny bit because I knew that the black would cover it up without anyone being able to tell it was there.
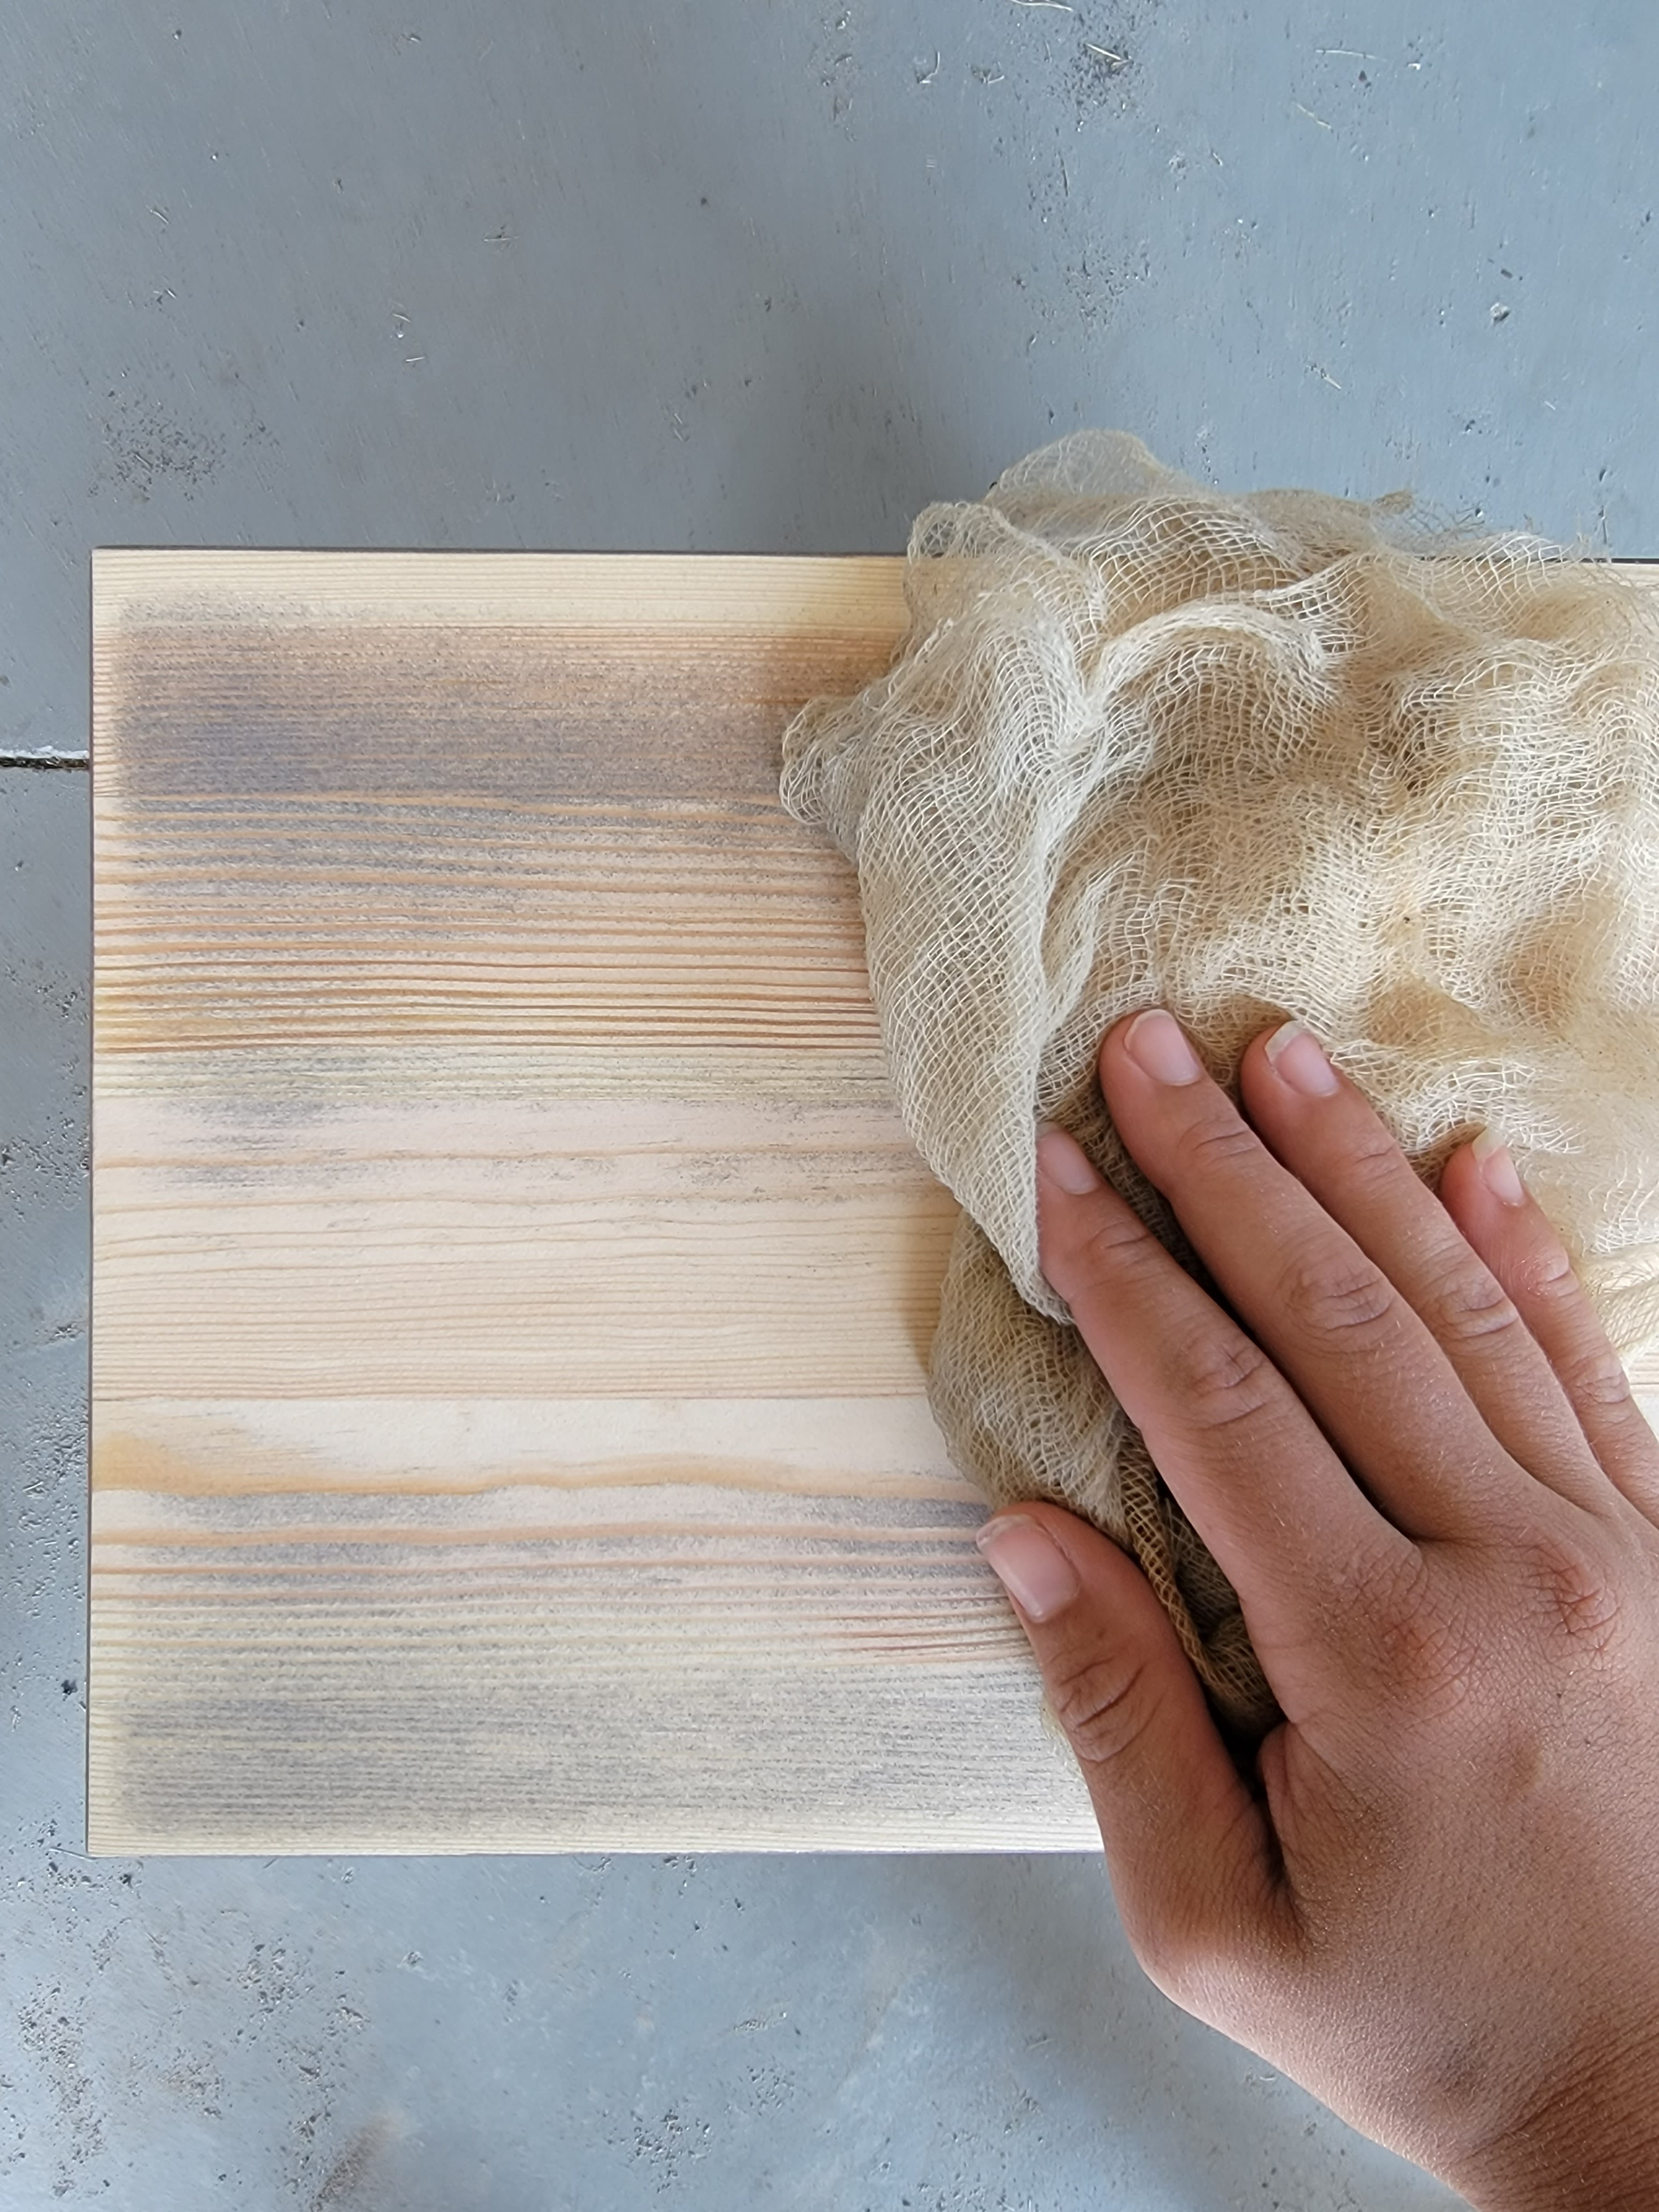
After everything was sanded with both grits of sandpaper, I wiped down every surface with a tack cloth to collect all the dust. I also used painter’s tape to tape off the bottom of the legs (making the top of the tape line even with the bottom of the dresser body) because I wanted to stain that part a different color. More on that later!
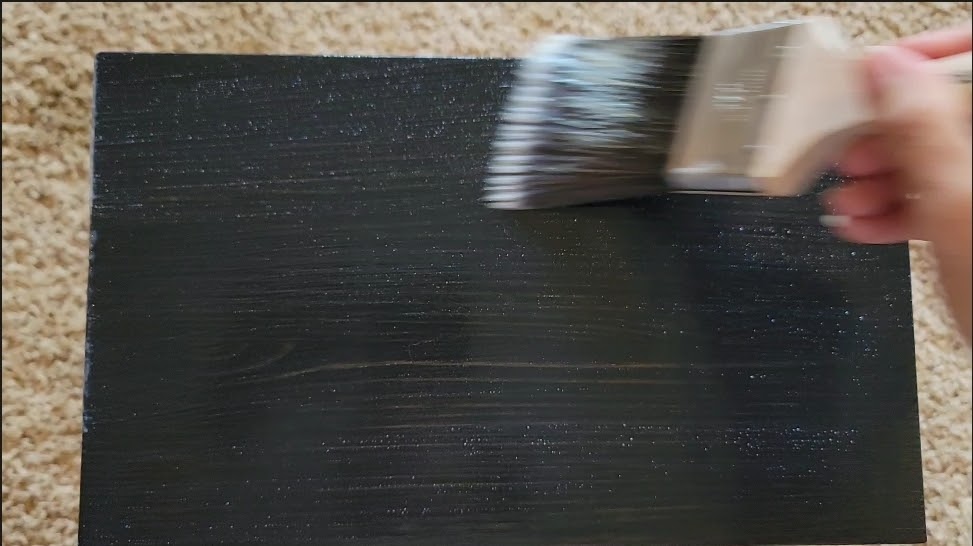
I tested out a few black stains and settled on this water-based solid color stain. I used a foam brush to apply the stain in long strokes, making sure to follow the direction of the wood grain. I like to wear latex gloves when staining to protect my hands.

This stain is thick and absorbs pretty quickly so I worked in small sections and wiped the excess stain off with a clean, dry scrap cloth.

You can see above what the wood looked like after one coat of coverage. I wanted to see less of the wood grain, so after letting the surfaces dry for about 2 hours, I reapplied a second thin coat of stain on top using the same process as before, except working in smaller sections so I could wipe the stain off a little quicker (thus, keeping it from penetrating too much and getting too dark). Here’s a good comparison of what one coat vs. two looked like:

After all the black stain dried, it was time for the bottom of the legs. I tore off the painter’s tape at the bottom of the legs and put new tape that lined up with the bottom of the black stain (note: for the bottom of the legs, I made sure to sand away all of the previous gray stain). I had a bunch of random stains leftover from previous projects and after testing them out, I settled on this provincial.

I set the legs on top of scrap wood so I could get all the way to the bottom without ruining the floor. I didn’t want the stain to be too dark so I applied a light coat of stain with a foam brush and wiped it off almost immediately. Then I removed the tape – I love a nice, crisp line!

After the provincial stain dried, the dresser was ready for topcoat. I chose this Polycrylic Protective Finish in a clear matte finish. After carefully stirring, I used a new synthetic bristle brush to apply a thick layer in long strokes, again following the direction of the wood grain.
Polycrylic looks white and bubbly when first applied. It dries clear, but the bubbles do leave a slight amount of a textured feel. After letting the first coat dry, I used a 400-grit sandpaper to very lightly (seriously, hardly any pressure is needed!) sand the surface smooth again.

After sanding the dresser and drawer fronts, I wiped everything down with a clean tack cloth and then repeated another round of Polycrylic + light sand + tack cloth. Once everything completely dried, I could pop the drawer back in and admire the (almost) finished result!

Even though I’m still waiting on the new drawer pulls to come in, I am so so thrilled with how this dresser is turning out. The picture truly doesn’t do it justice. It looks so chic! It has the same clean lines look and subtle wood grain that my inspiration dresser had and I love the added character from the stained legs. It definitely looks like a higher-end product and I’m so glad I went with my gut on re-staining this one!