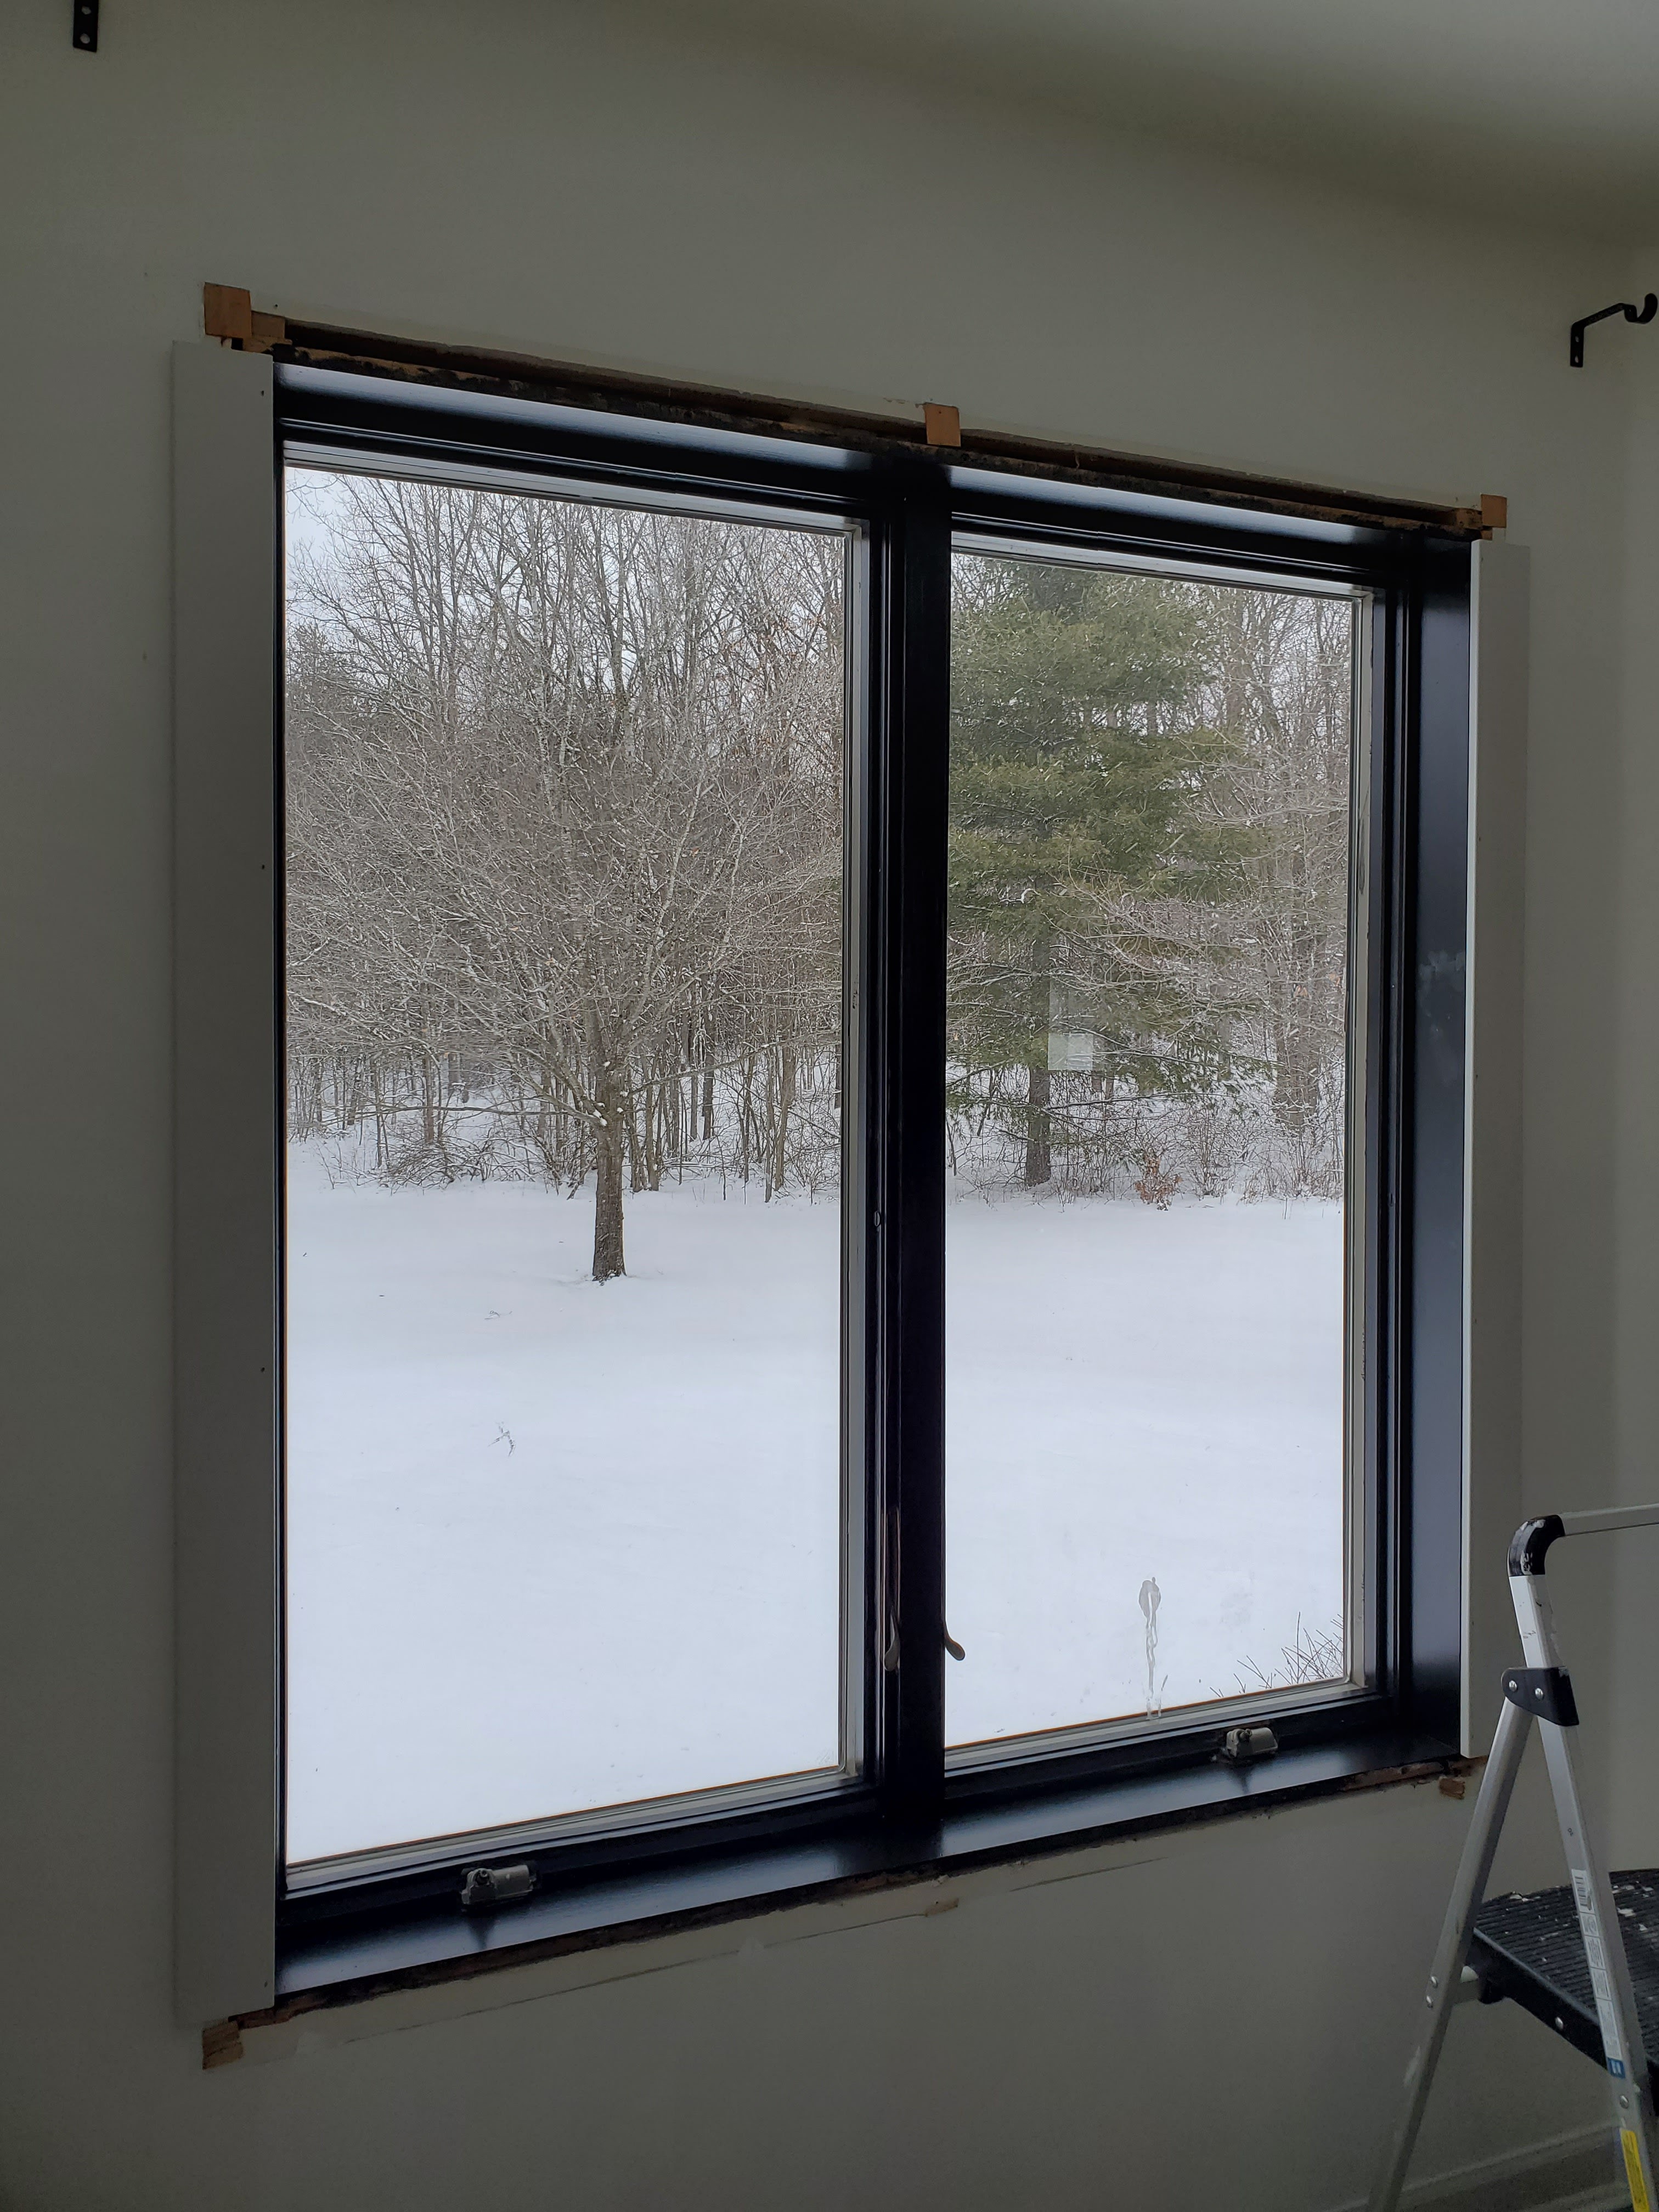
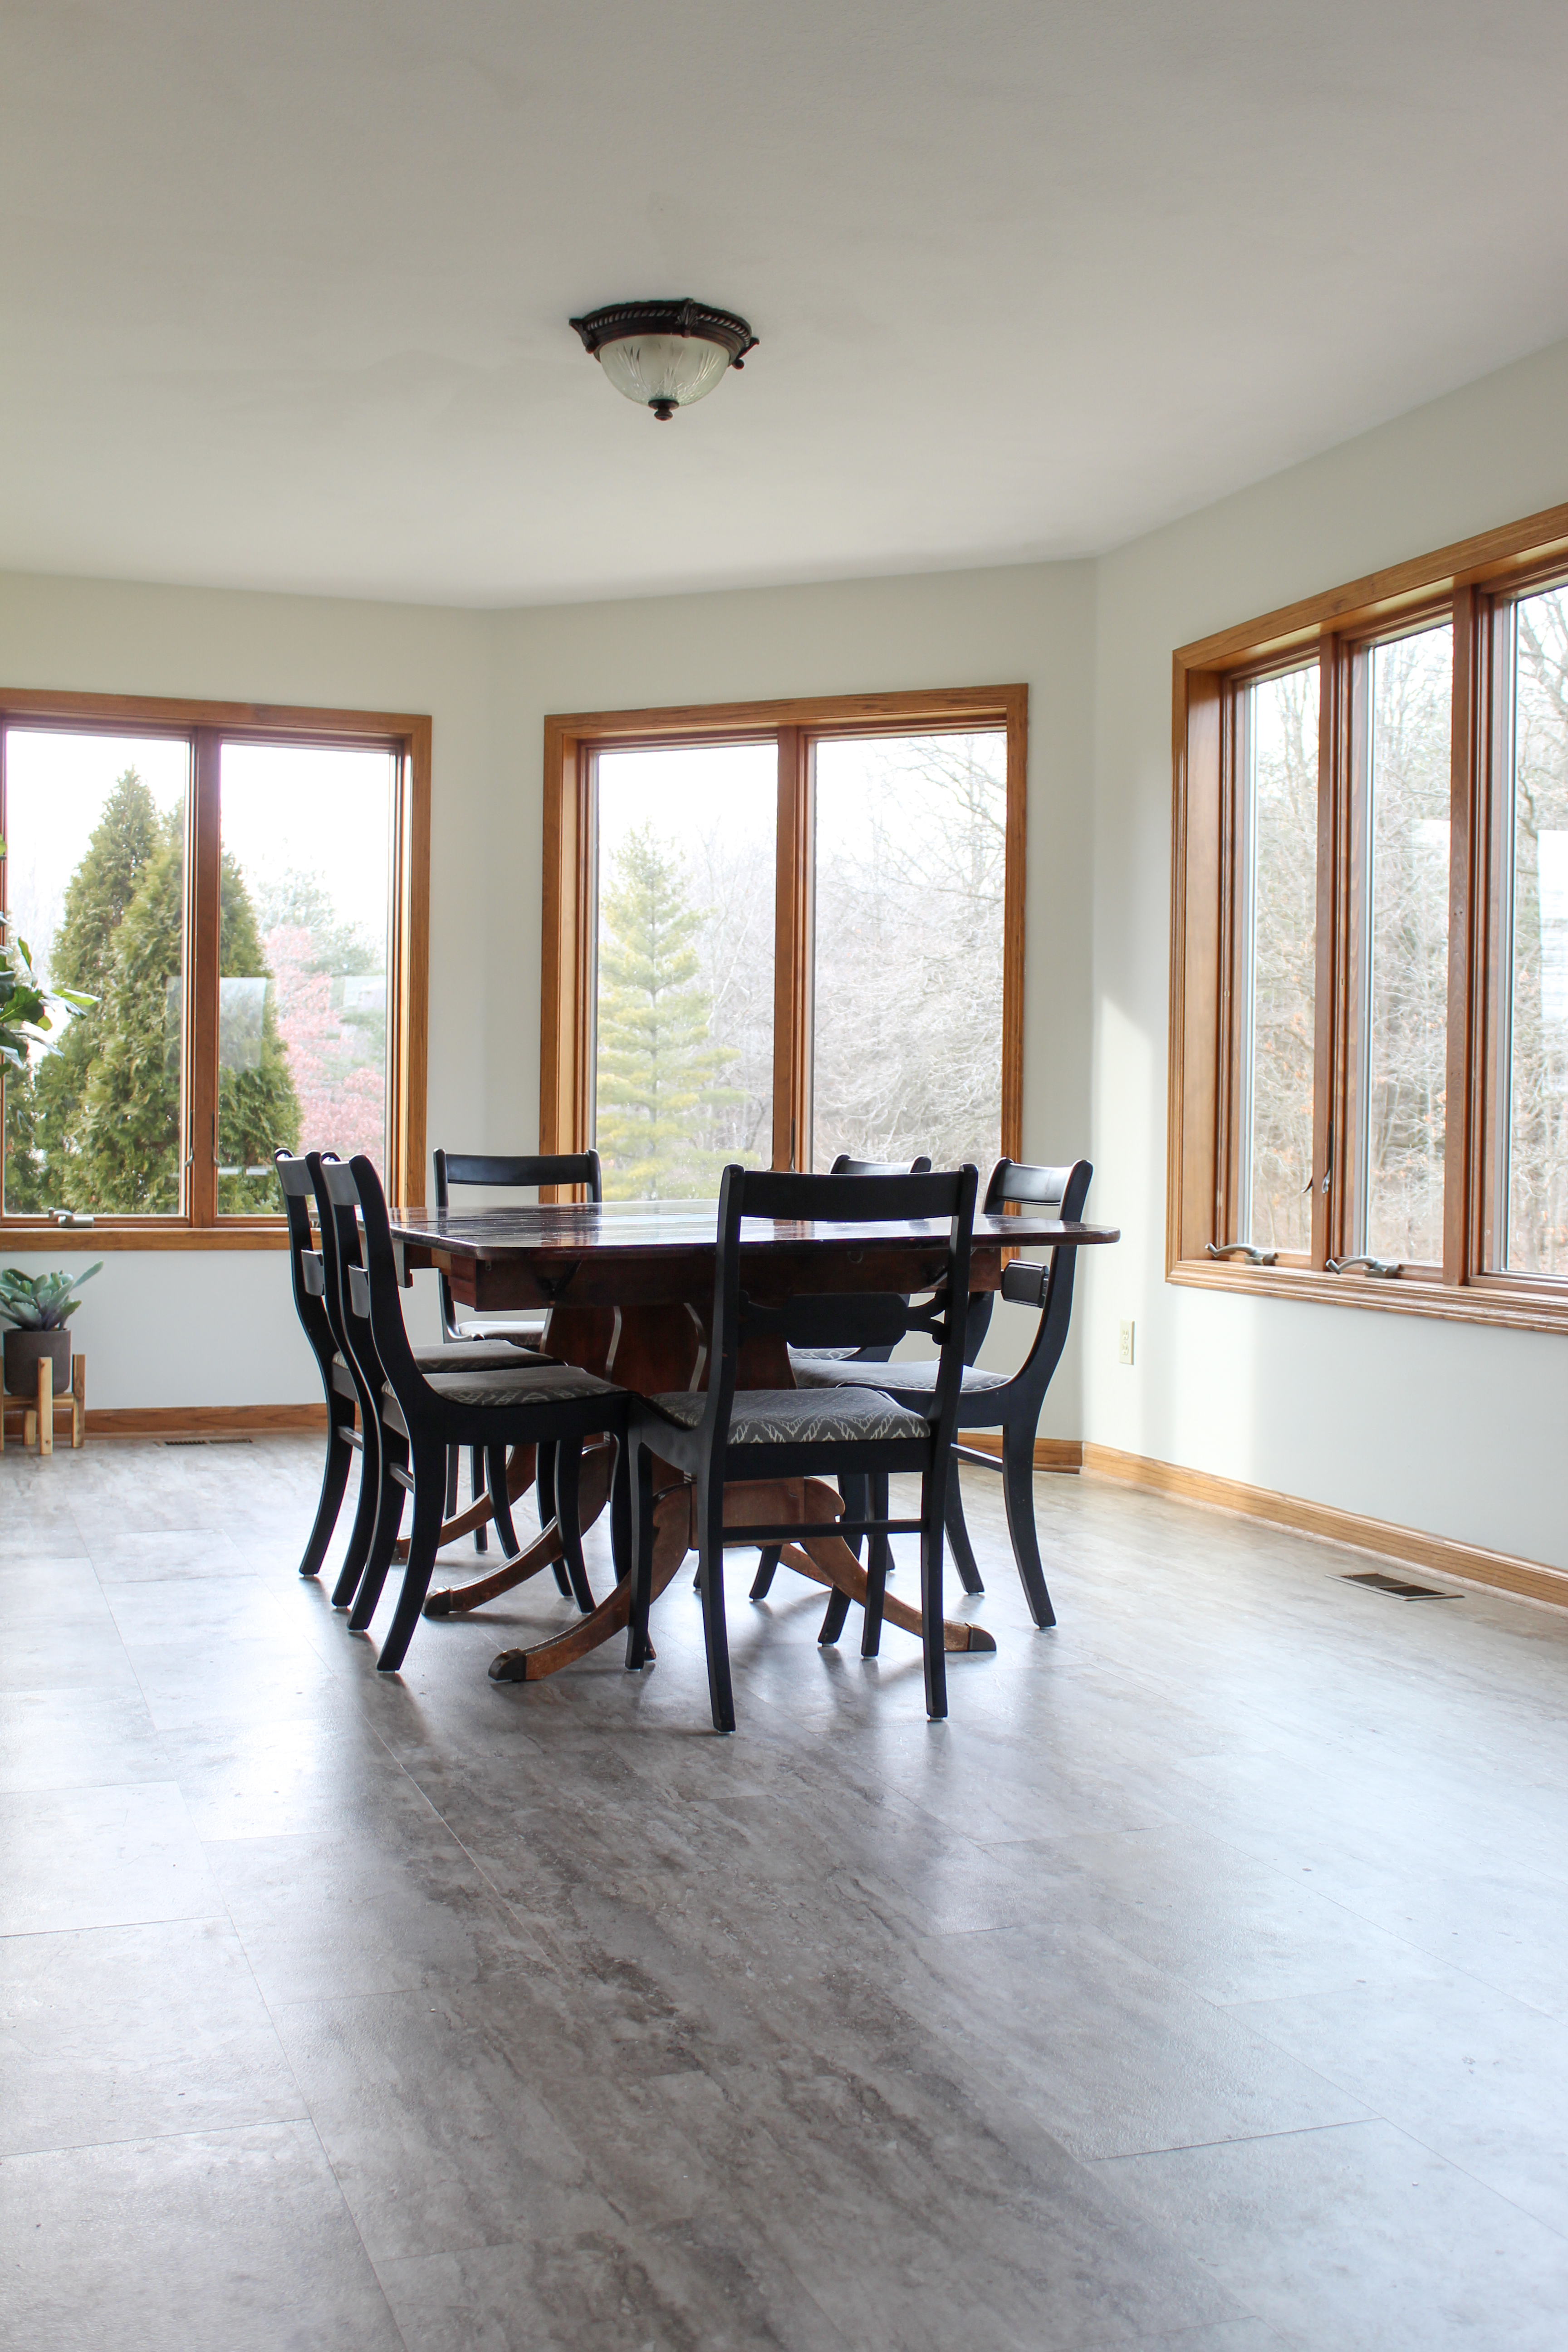
A few weeks ago, I shared the plans for some updates to our dining room and ever since then we’ve been slowly making progress. One of the things I was most excited to do was highlight the gorgeous view outside by updating the windows! I love the look of a nice chunky trim so we decided to take off the previous window casing and replace with thicker trim that would really draw your eyes to the outside. We finished this project last week and today I’m sharing all the details of exactly how we changed the window trim from this:

to this!
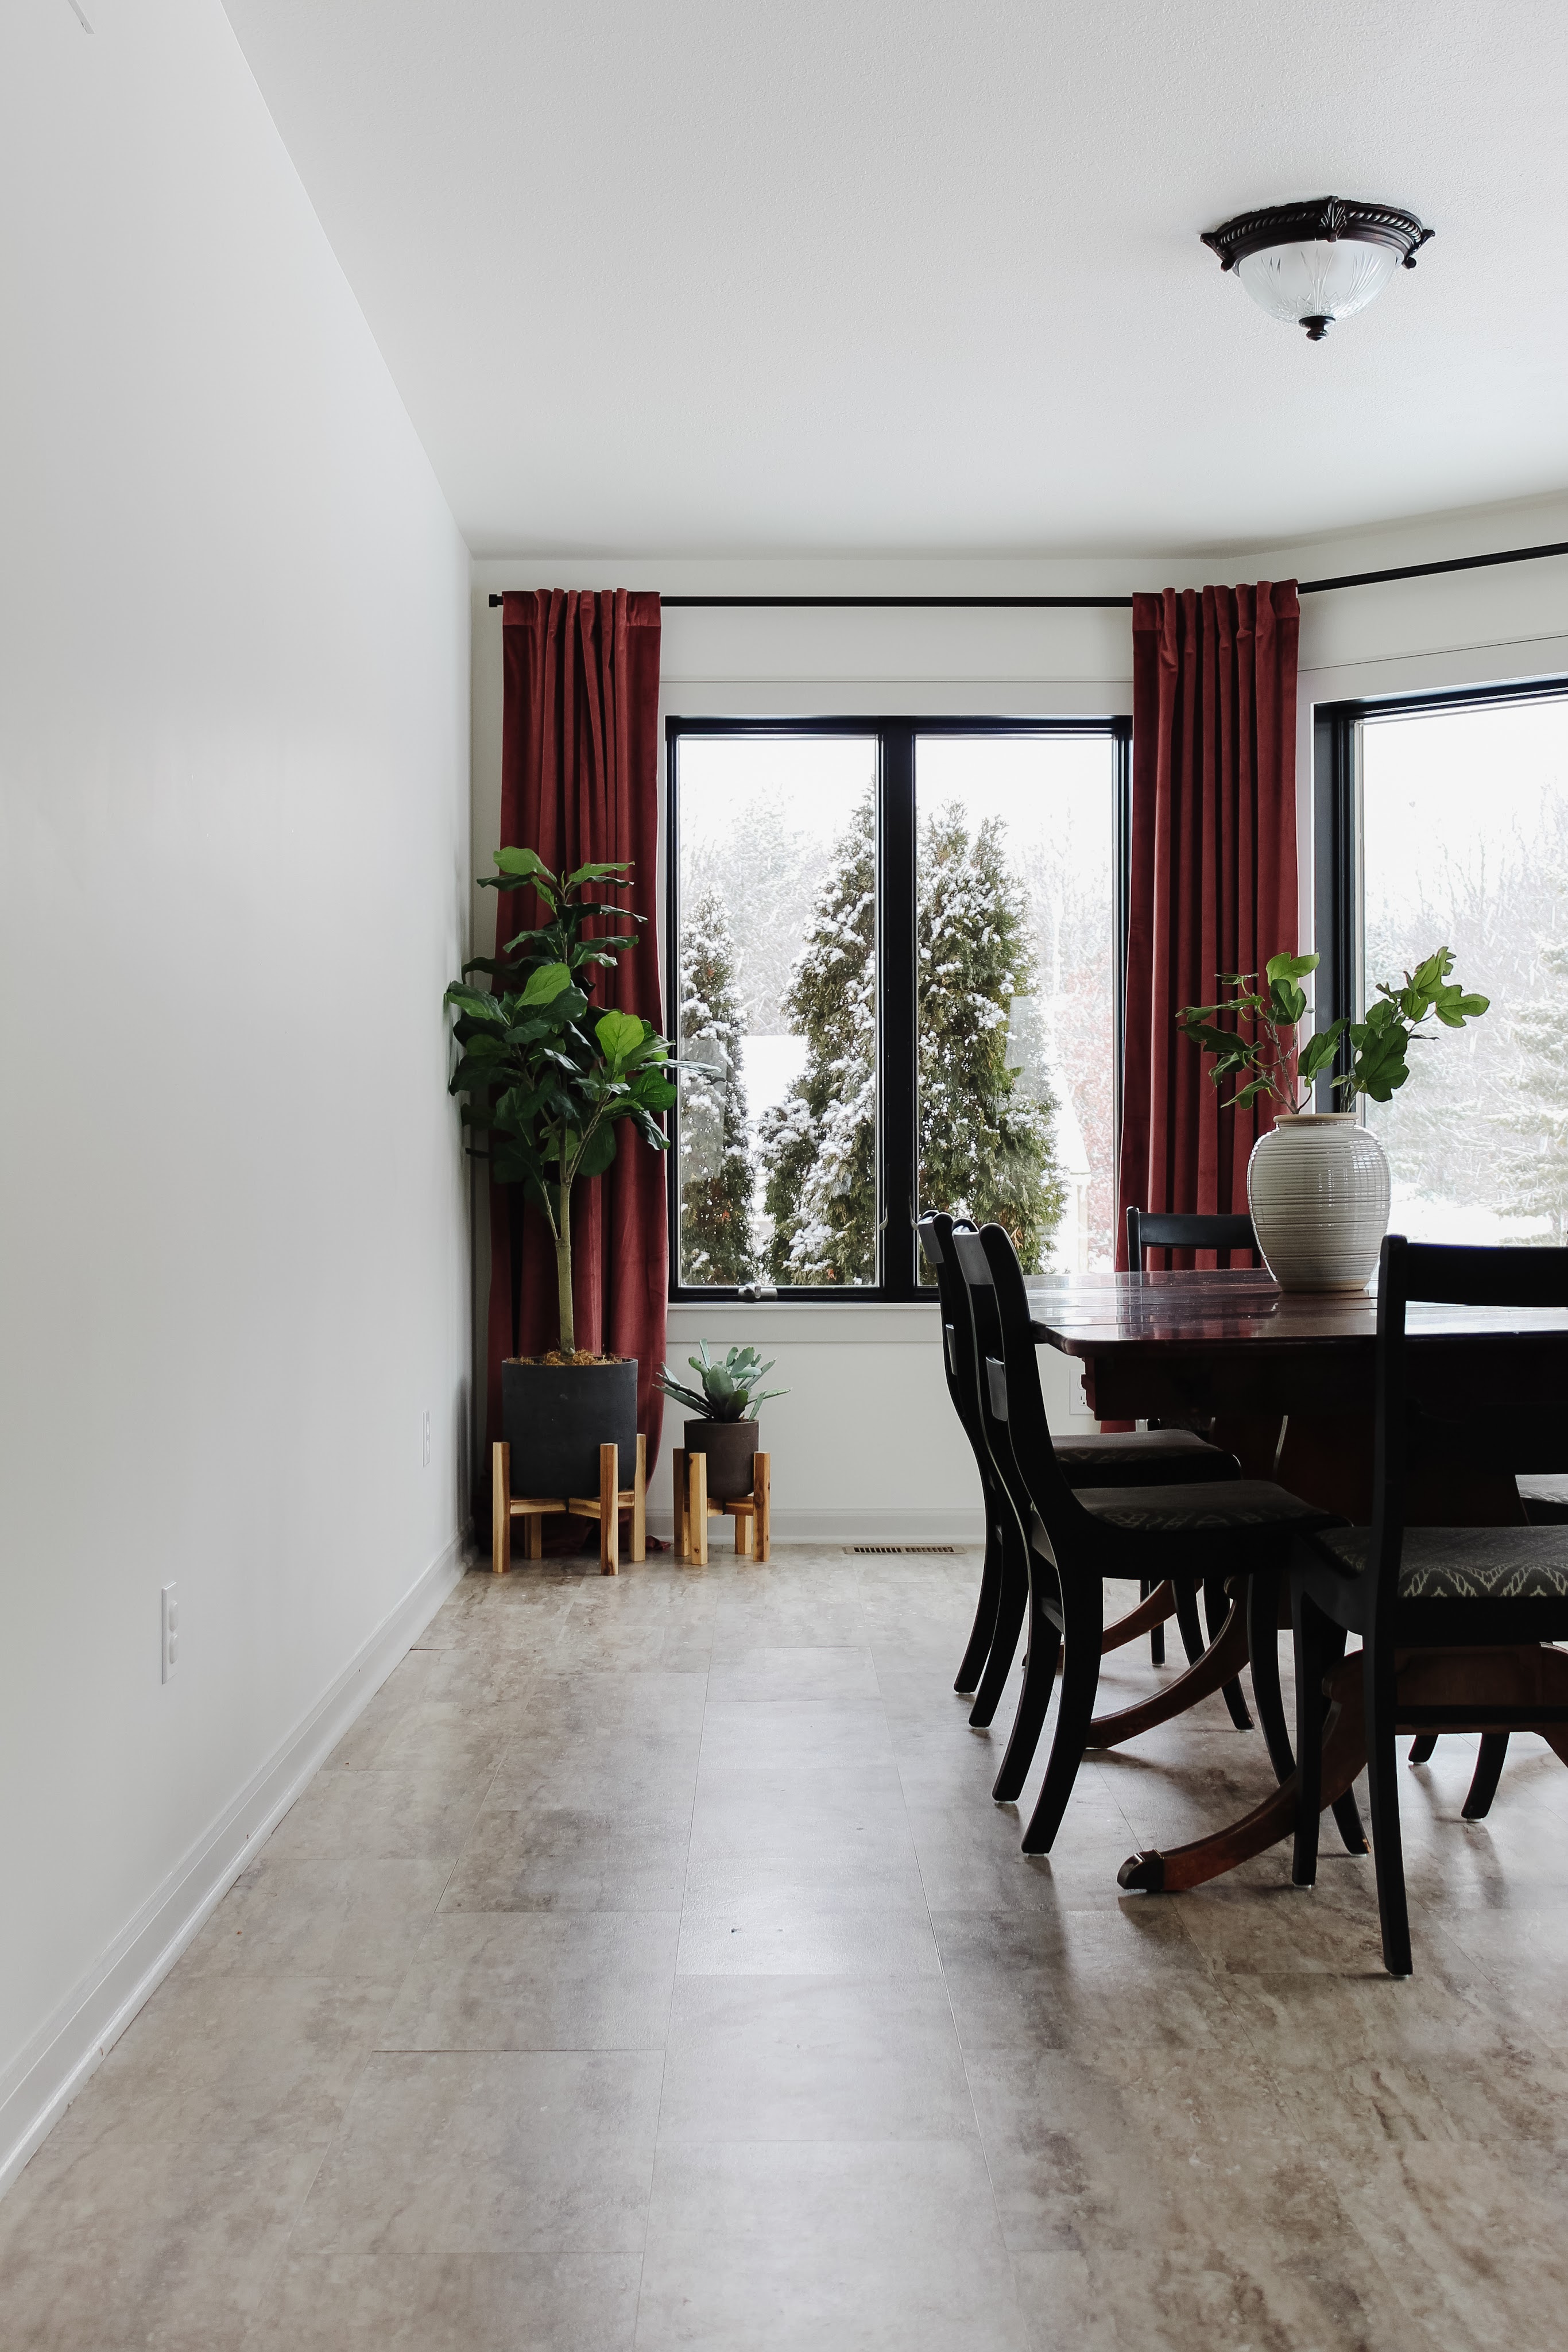
I mean, can you even!? In addition to new window trim, we also painted all the baseboards and finished painting the ceiling. All that contributes to this feeling like a brand new room and we’re not even finished yet!
DIY WINDOW TRIM
Materials
-pre-primed pine trim in the following sizes (we got ours at Menards):
- 3 1/4″ wide x 1/2″ thick
- 1 1/4″ wide x 1/2″ thick
- 7/8″ wide x 3/8″ thick
-nail gun and nails (we used 1.5″ nails)
-level
-measuring tape
-crowbar
-miter saw
-Drydex
-stud finder
-silicone caulk
This project is an example of a lot of prep work making the job itself go easier. Justin and I first measured all the windows and determined what type of board and lengths of each board we would need for all the sides. Then we calculated how we could buy lumber in the most effective way. For example, if we needed two pieces of the same width but different lengths, say 58″ and 62″, we could buy one piece of trim in a 10′ length and cut it in two rather than buy two smaller pieces. This prep work took some time but helped us get exactly what we needed in the quickest, most cost-effective (and least wasteful) way.

Once we got home with all our supplies, Justin used a small crowbar to carefully rip off all the previous casing from around the windows. We saved the casing as scrap wood in our barn – you never know when we’ll want it for a future project!

With the casing off, I took the time to first paint the edges of the window itself. Since the trim was going to be a different color than the window, it was easier to paint the window first without needing to tape anything off. I used one coat of my favorite primer and then two coats of Sherwin Williams Tricorn Black in Satin.
I also painted all the wood for the trim beforehand (again, easier to paint separately and avoid having to tape). I used a foam roller to apply two coats of Sherwin Williams Agreeable Gray to all the trim pieces and let them dry overnight.
We started with the 3 1/4″ wide trim to make the sides of each window. Justin measured from top corner to bottom corner of the window and used the miter saw to cut each board to length. (And yes, he definitely should have been wearing safety goggles!)

He then used a level to make sure each piece was framing the window straight and nailed it into place using a nail gun and 1.5″ nails.

He then repeated the same process for the trim on the other side of the window.
Next, he measured the distance from the left outside edge of the new trim to the right outside edge of the other side of the window and cut another piece of 3 1/4″ wide trim to length. He checked levelness again, then used his nail gun to install this piece on top of the window.

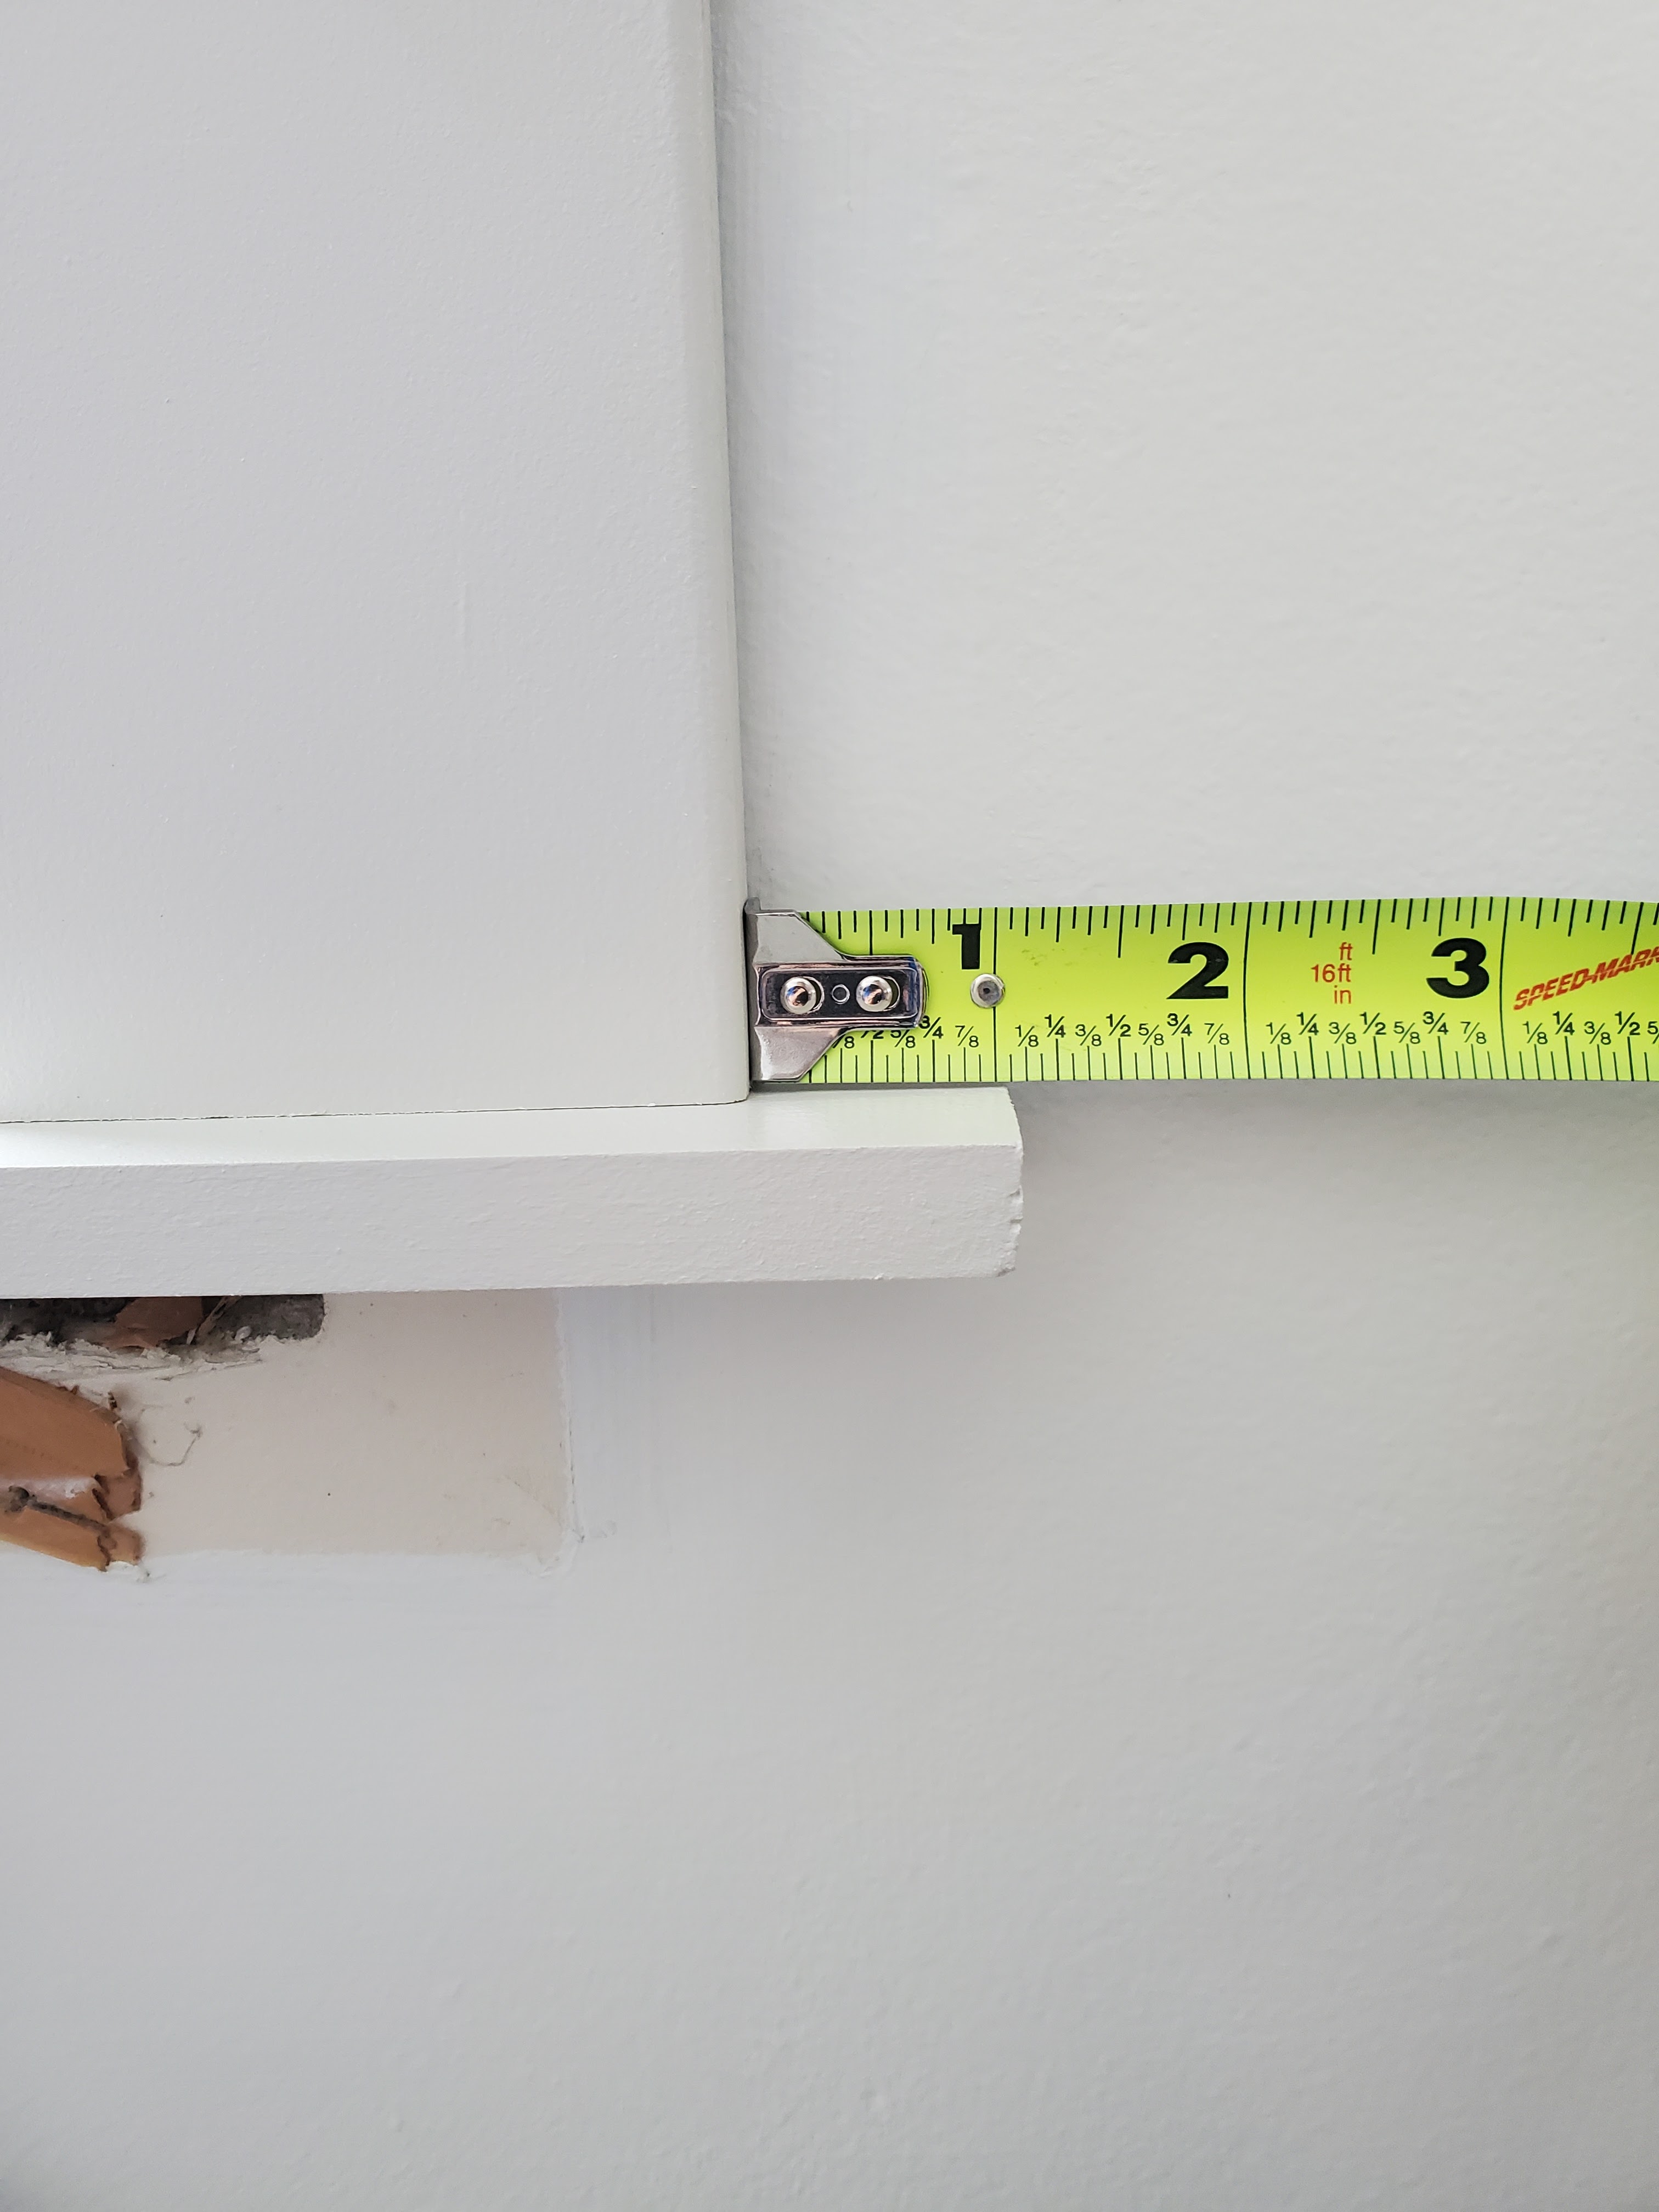
Next he measured from outside corner to outside corner on the bottom, added two inches for overhang (one extra inch to each side), and used his miter saw to cut a piece of the 1 1/4″ trim to length.

We used this piece to create a small windowsill ledge by installing the narrow side flush to the wall so it would stick out past the width of the other boards. We checked with a measuring tape to make sure it had the same amount of overhang on each side.
Justin positioned his nail gun on the bottom of the board to nail this piece up into the window side trim.

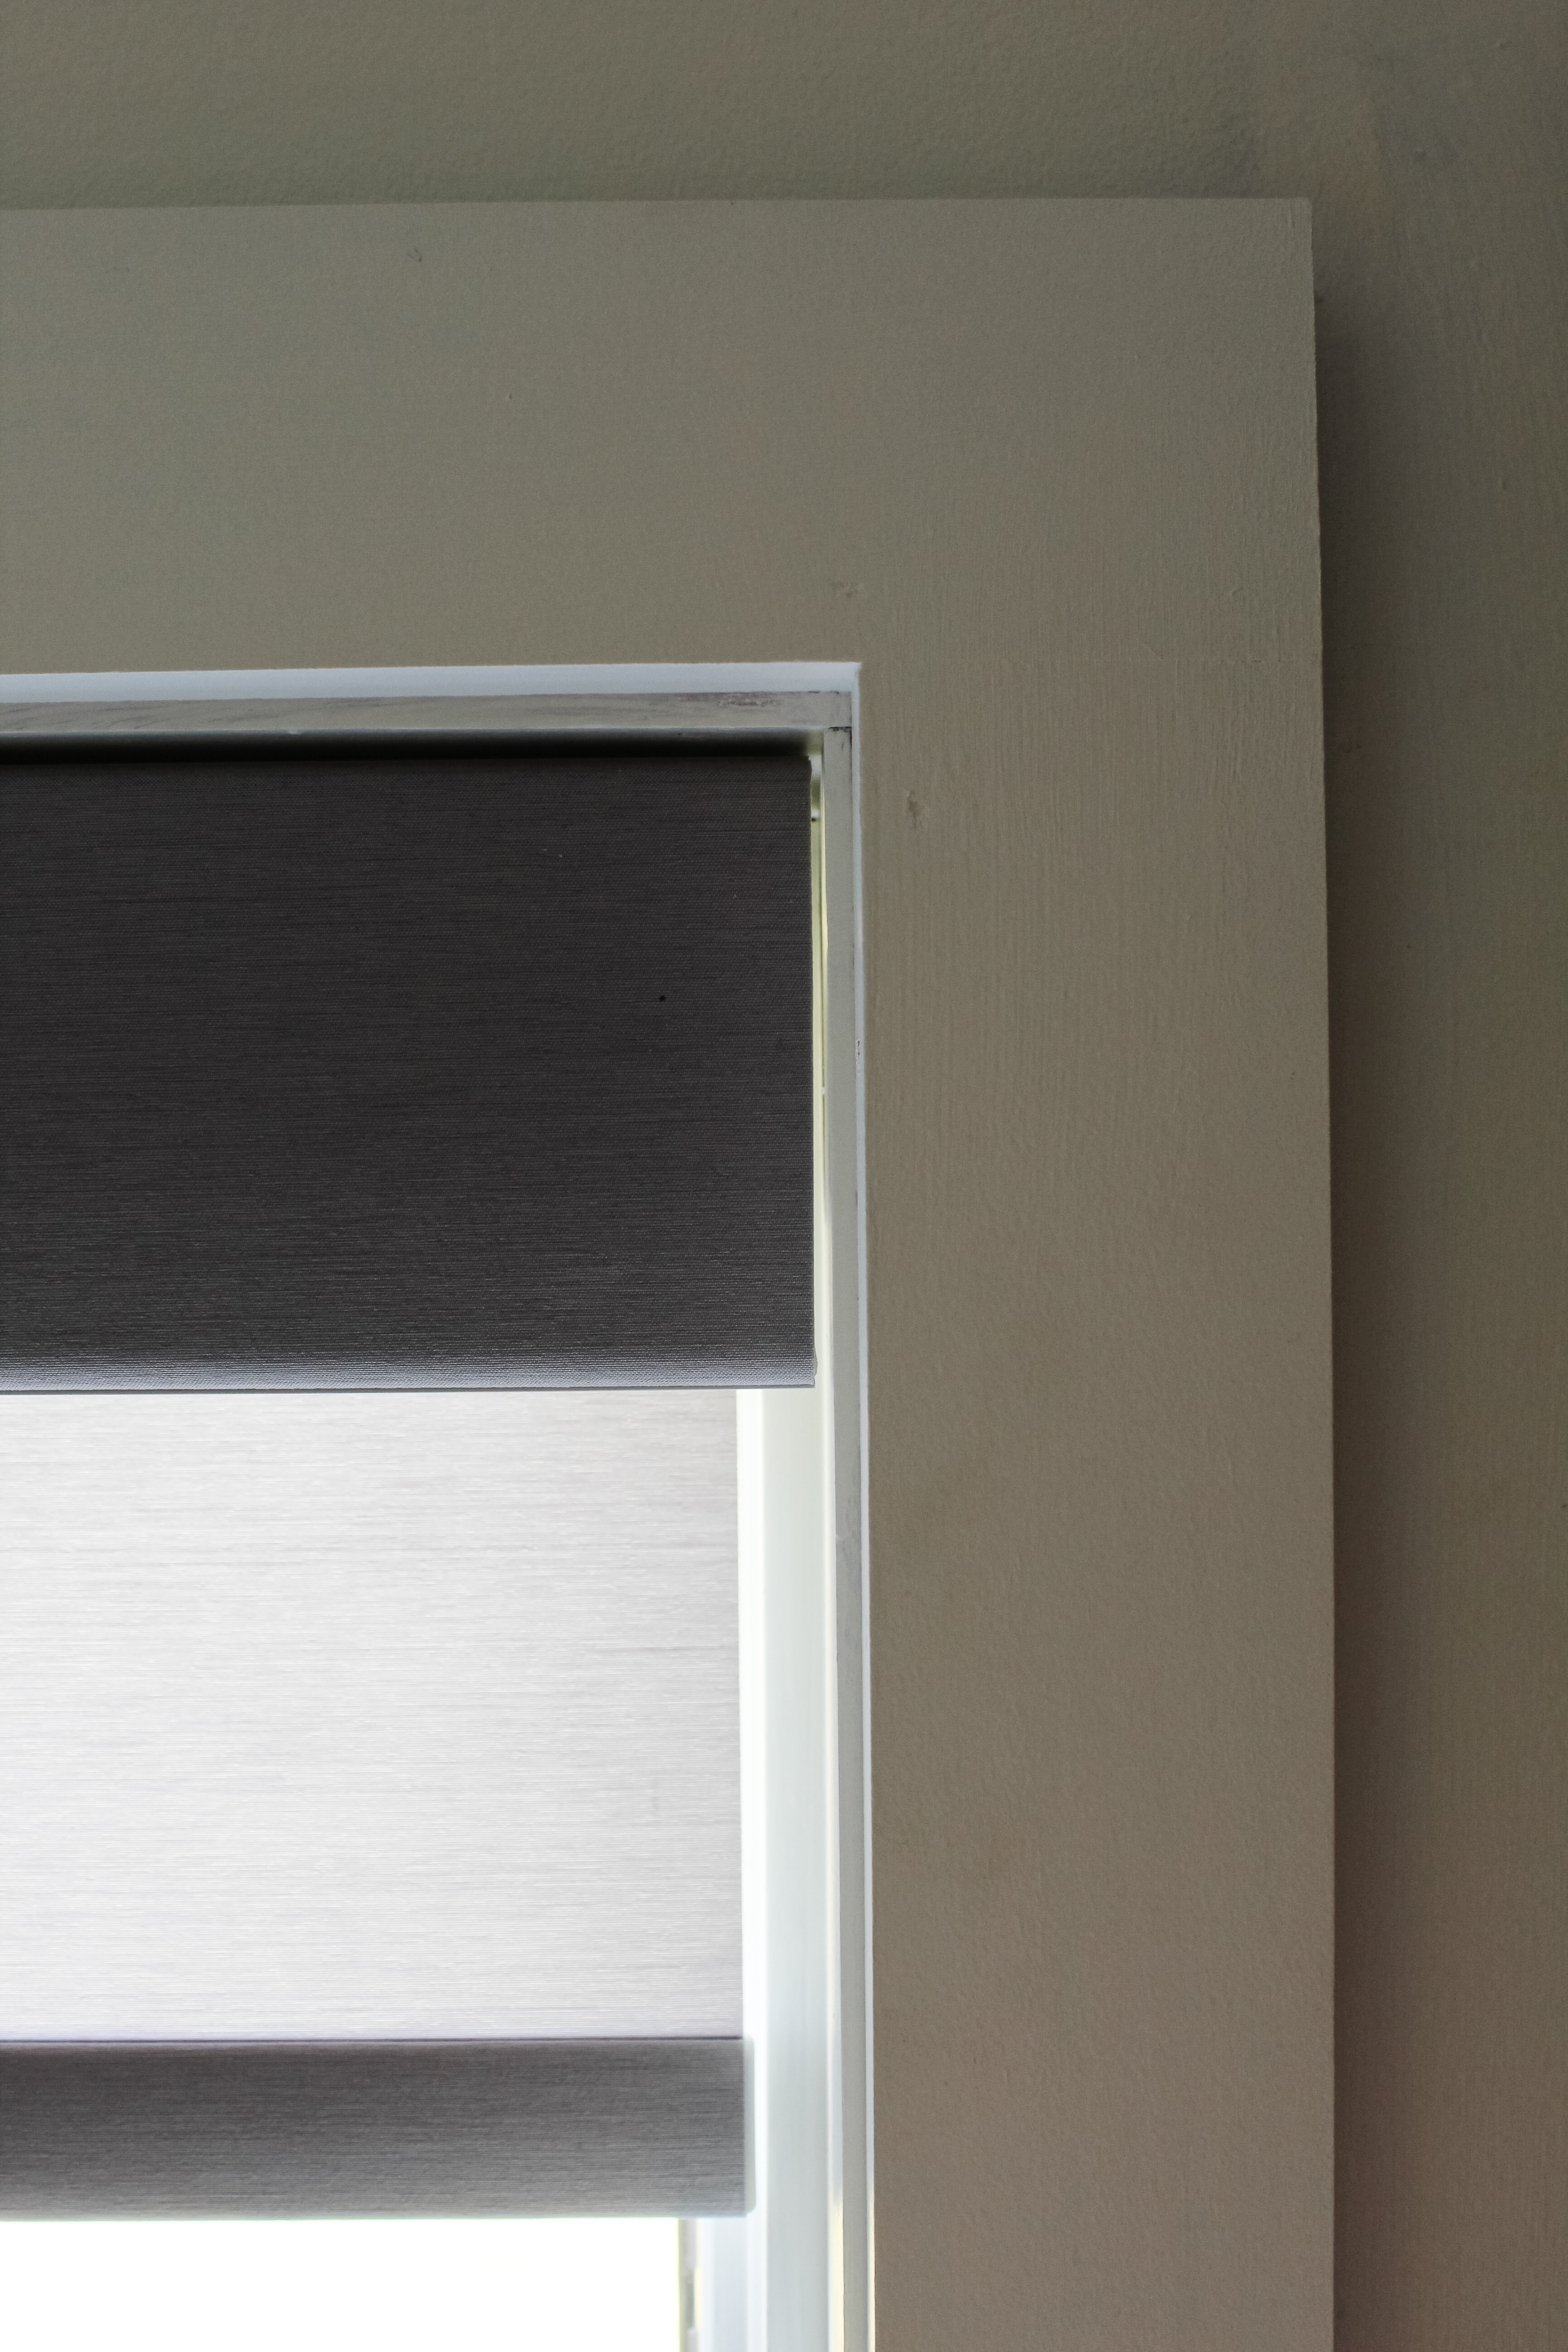
Next, we took the 7/8″ wide piece of trim and cut it to length for each side and the top. Justin repeated the same method he used for installing the wider pieces of trim: measuring top edge to bottom edge and cutting and installing each side piece, then measuring from outside edge to outside edge of the newest side trim and cutting and installing the top piece. As he did with the windowsill trim, these thin pieces were installed with the narrow side against the wall so the wider side would stick out perpendicular from the wall and create a little lip around the trim. He used his nail gun to nail each one from the outside edge into the already installed trim.

Here’s what everything looked after installation:

The last piece was another 3 1/4″ wide piece going underneath the windowsill. Justin measured the length of the windowsill trim, subtracted one inch (so it would be wider than the side trim pieces but shorter than the windowsill – just our preference for looks!) and cut it to length.
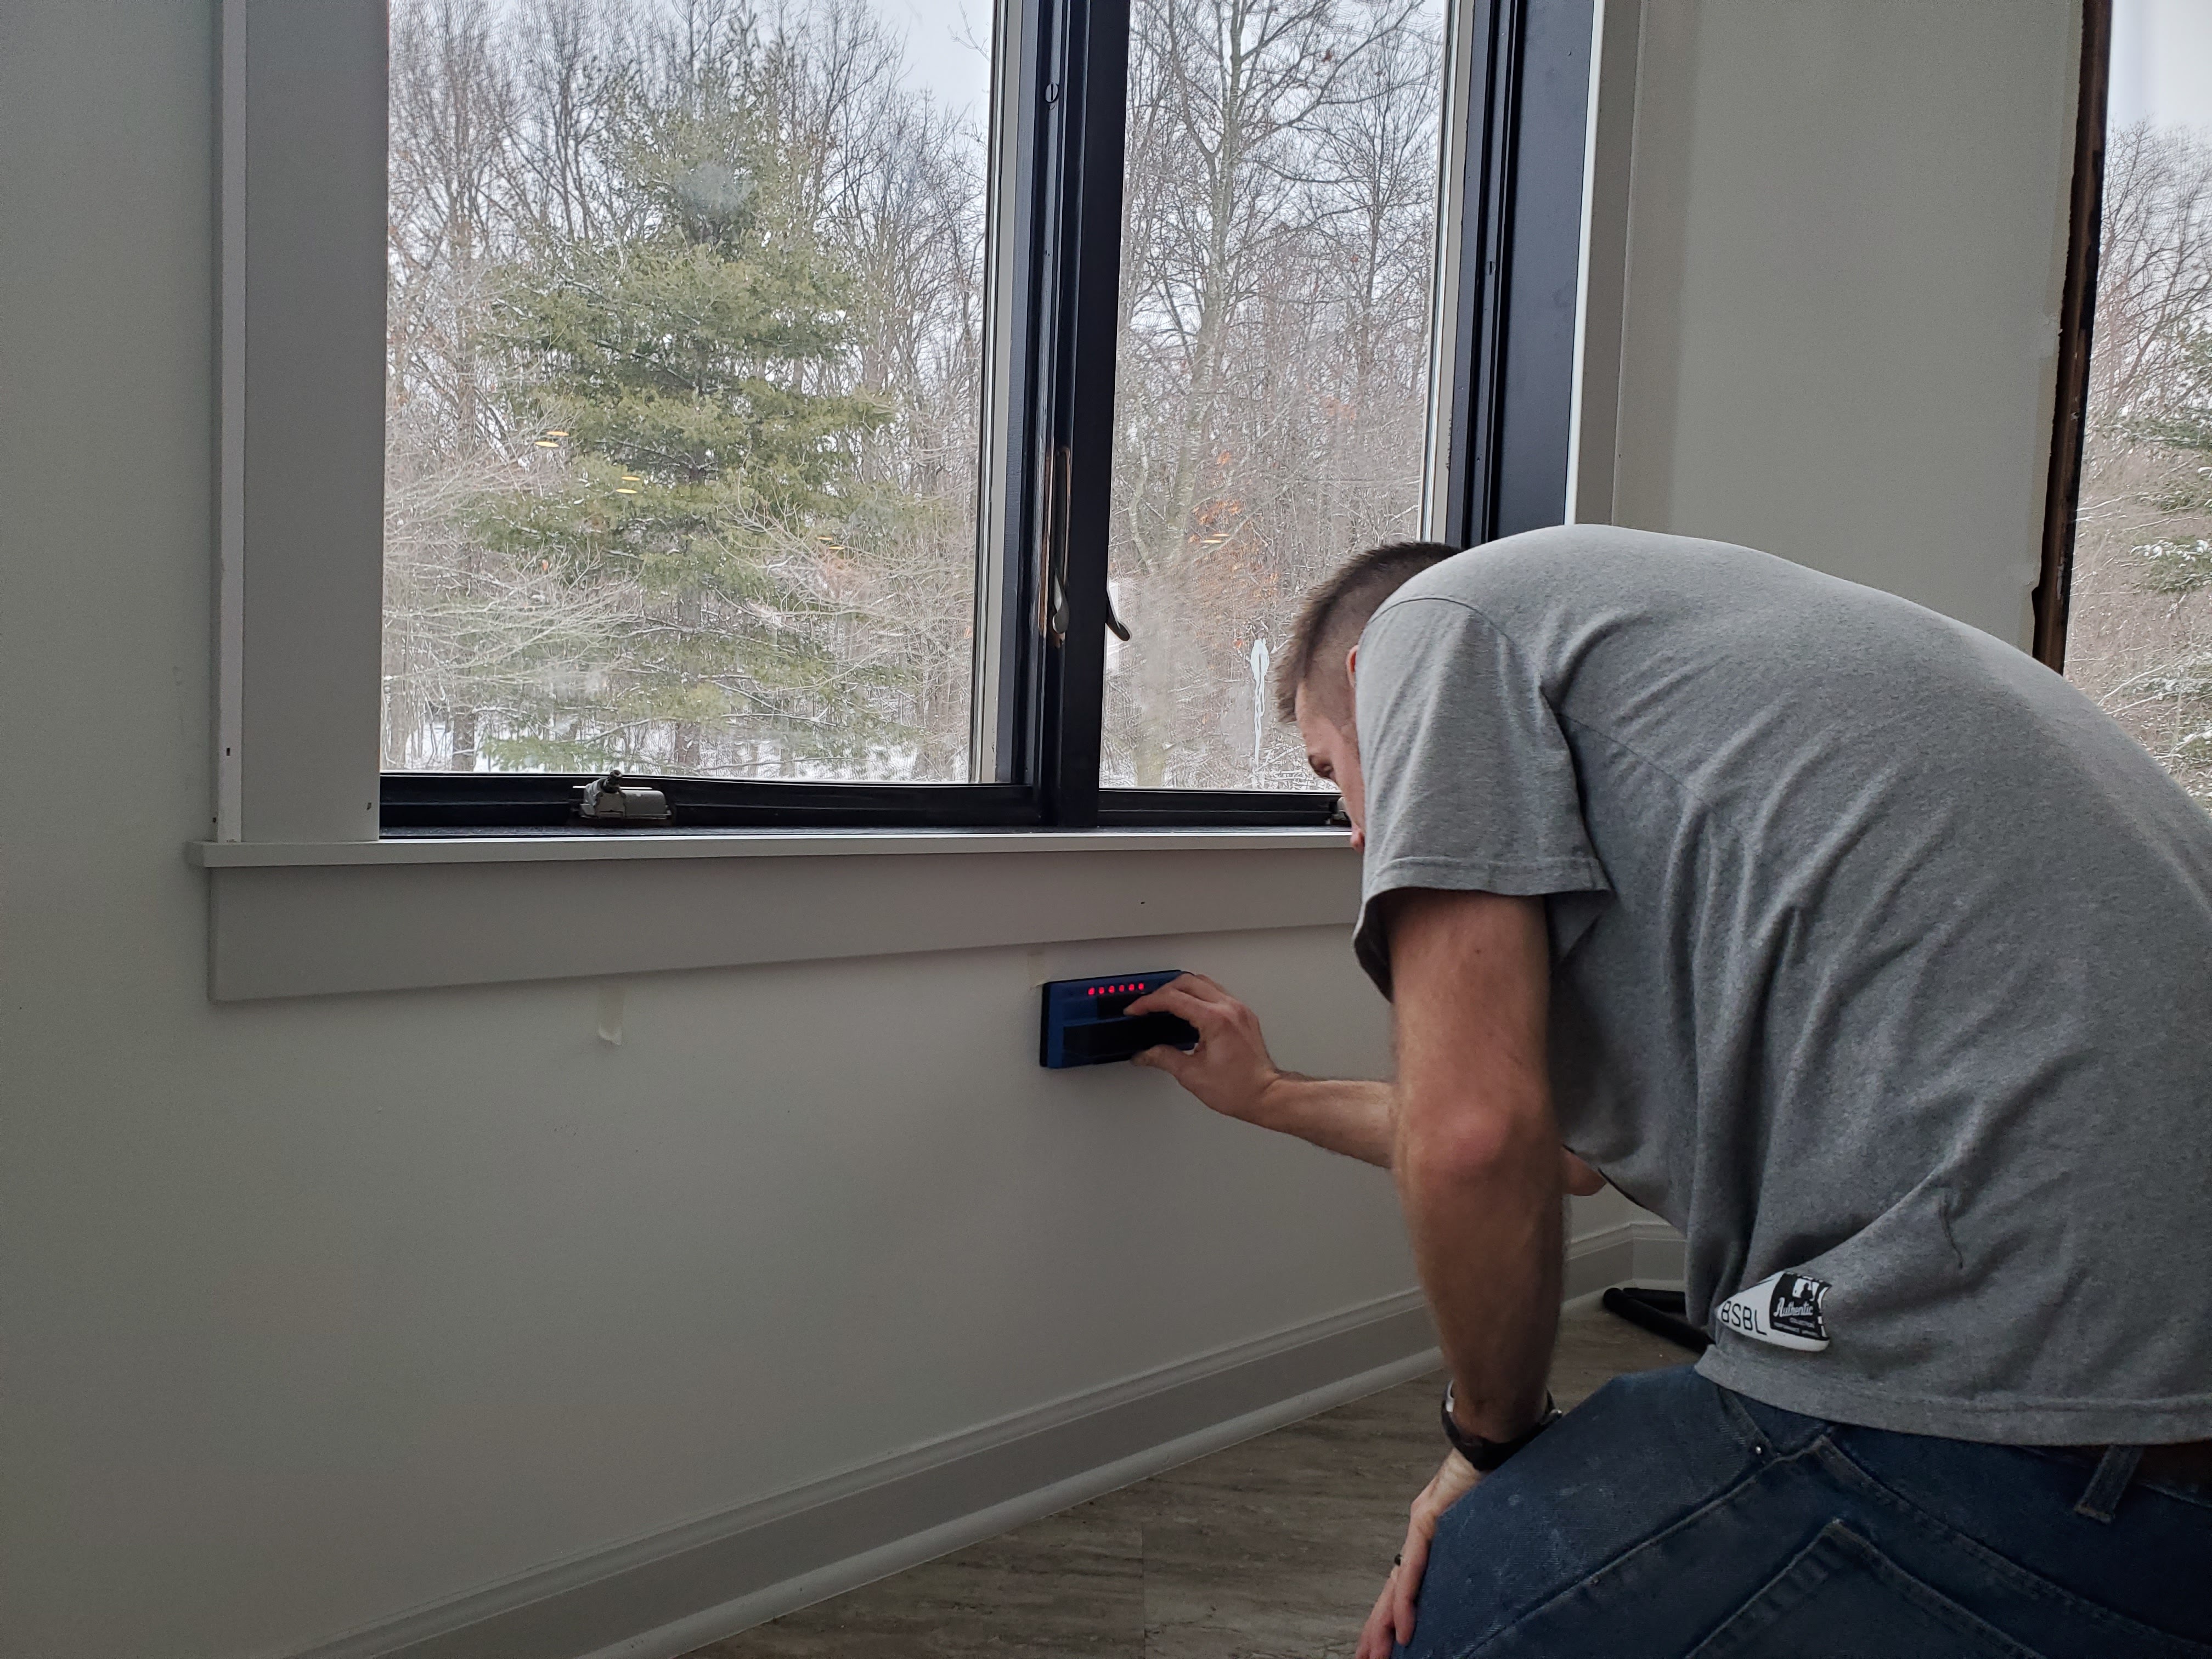
We have kids and dogs who hold and/or push down on the windowsill when looking out the window, so we wanted to make sure the bottom pieces were as secure as possible. Justin used a stud finder to locate studs in the wall so he could nail into them whenever possible.

Once the bottom board was installed, Justin also put a few nails from the top of the thinner windowsill piece down into the bottom board.
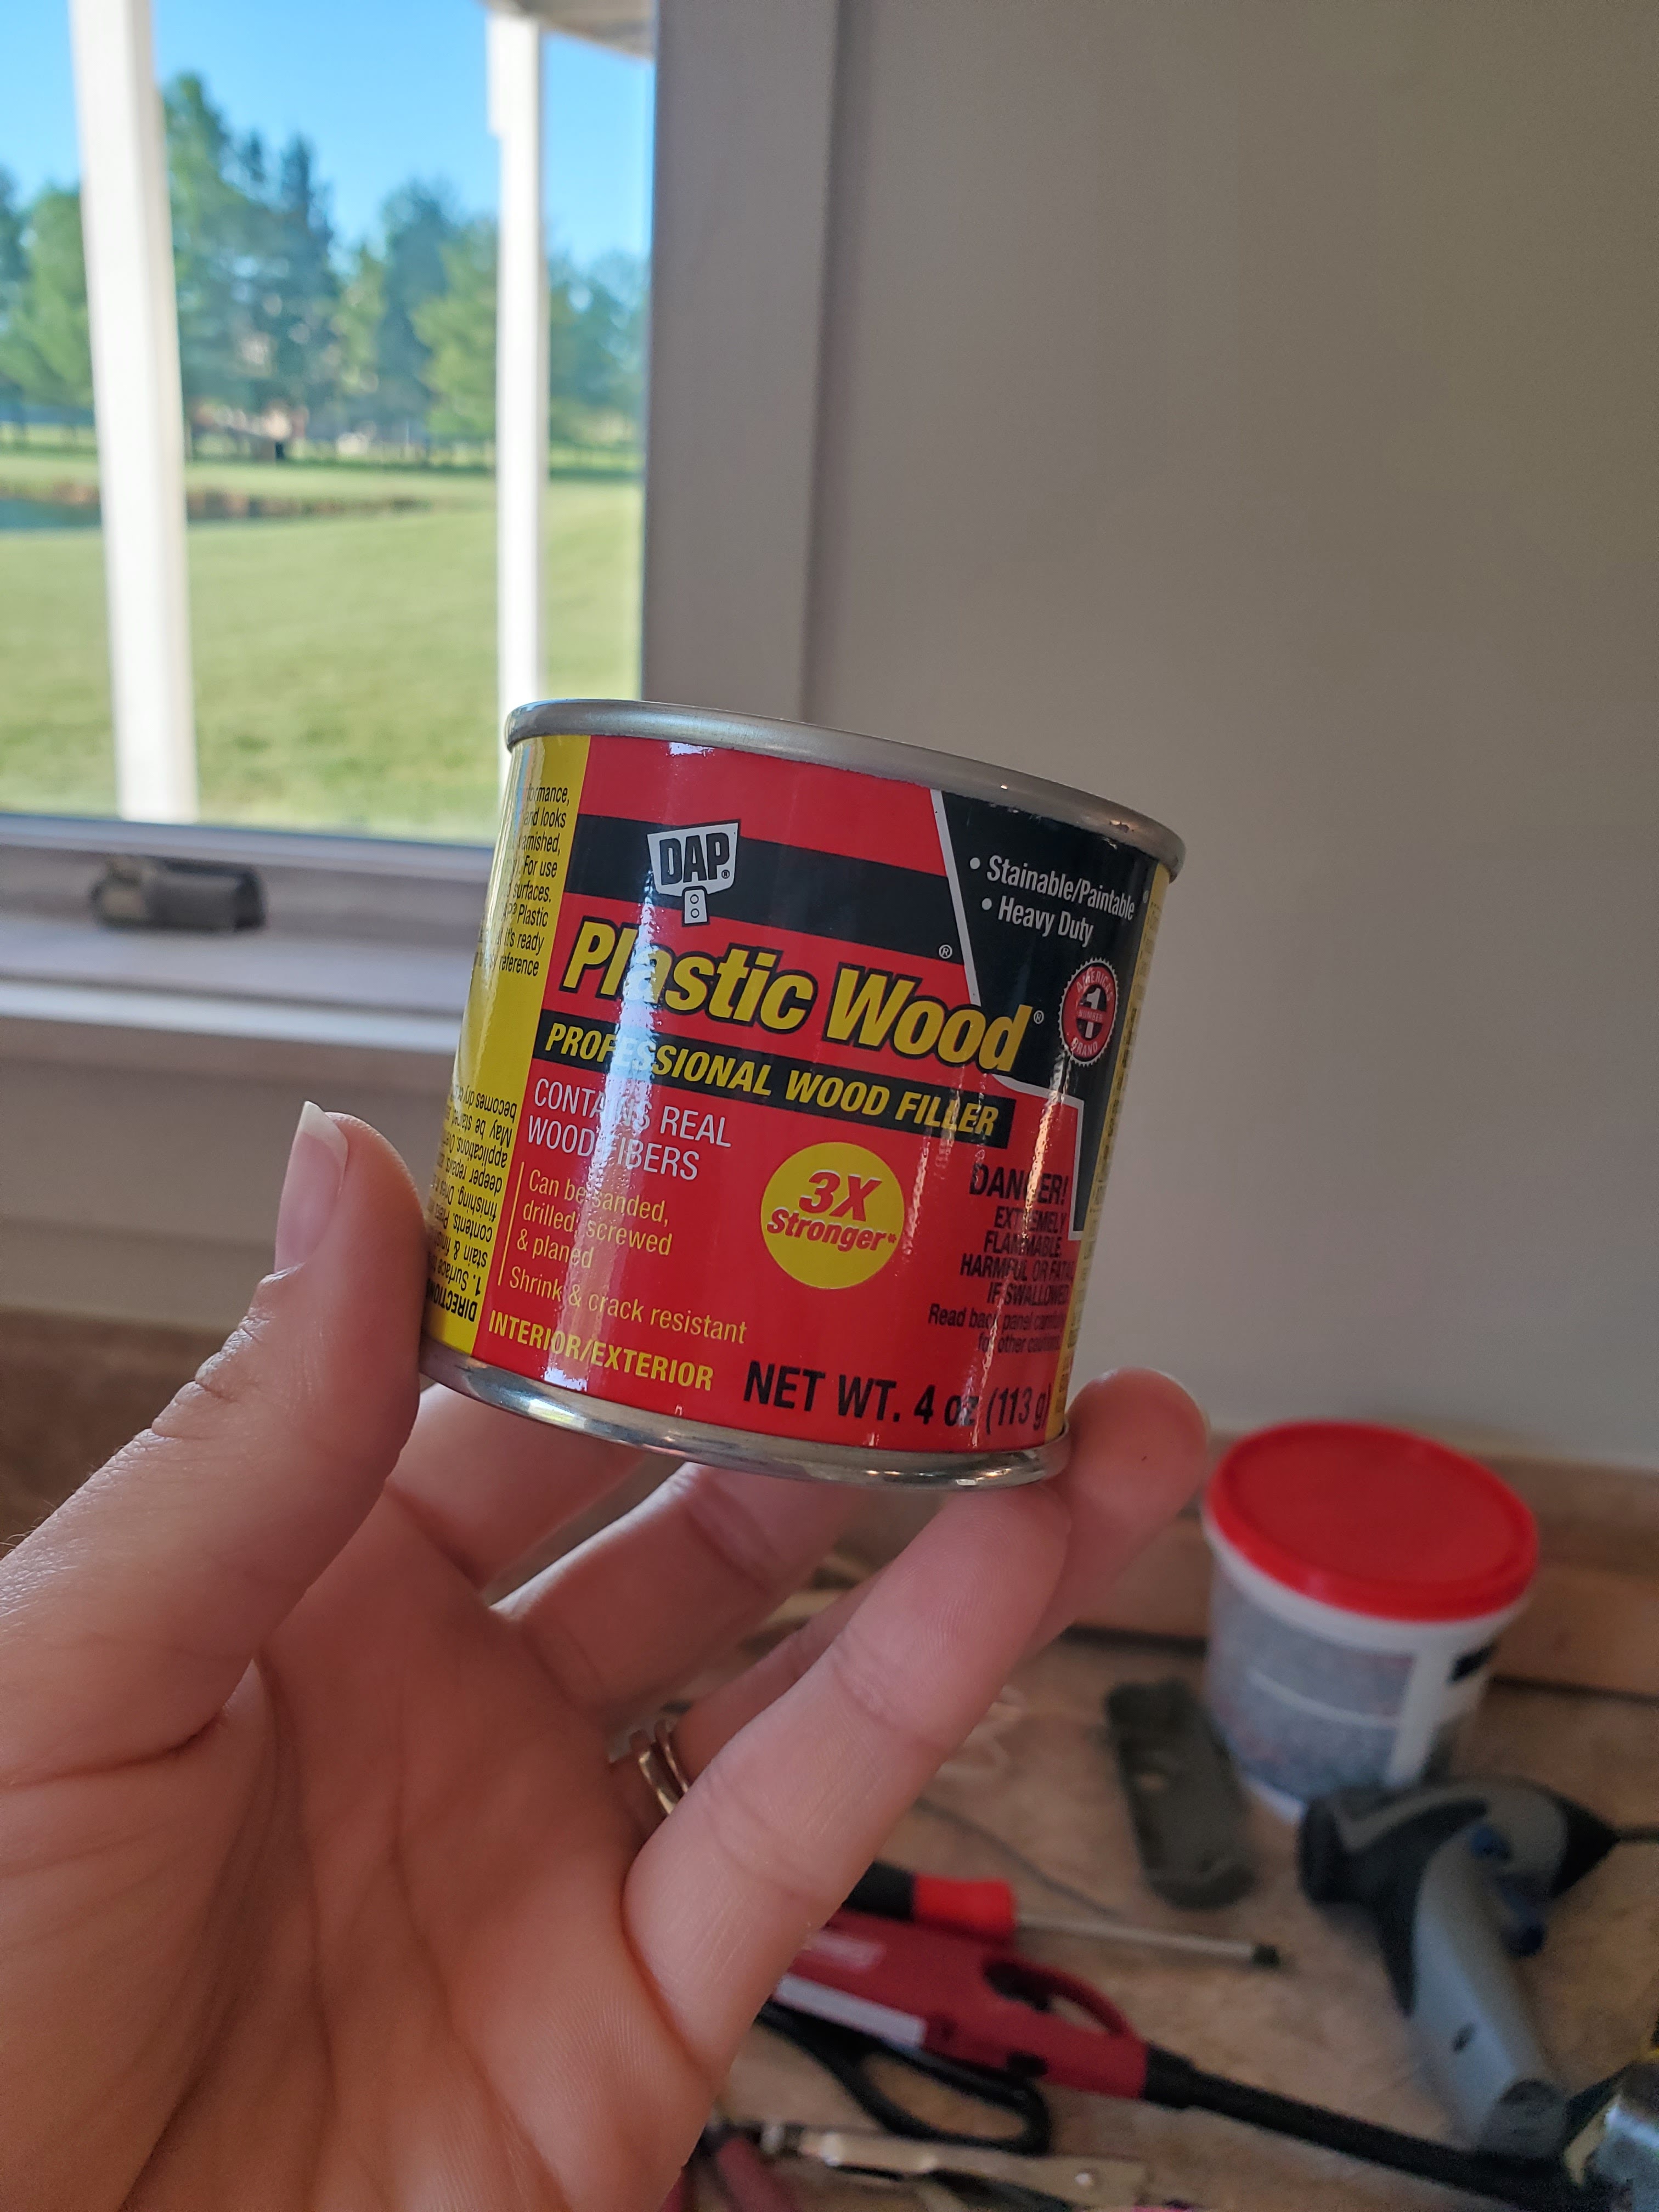
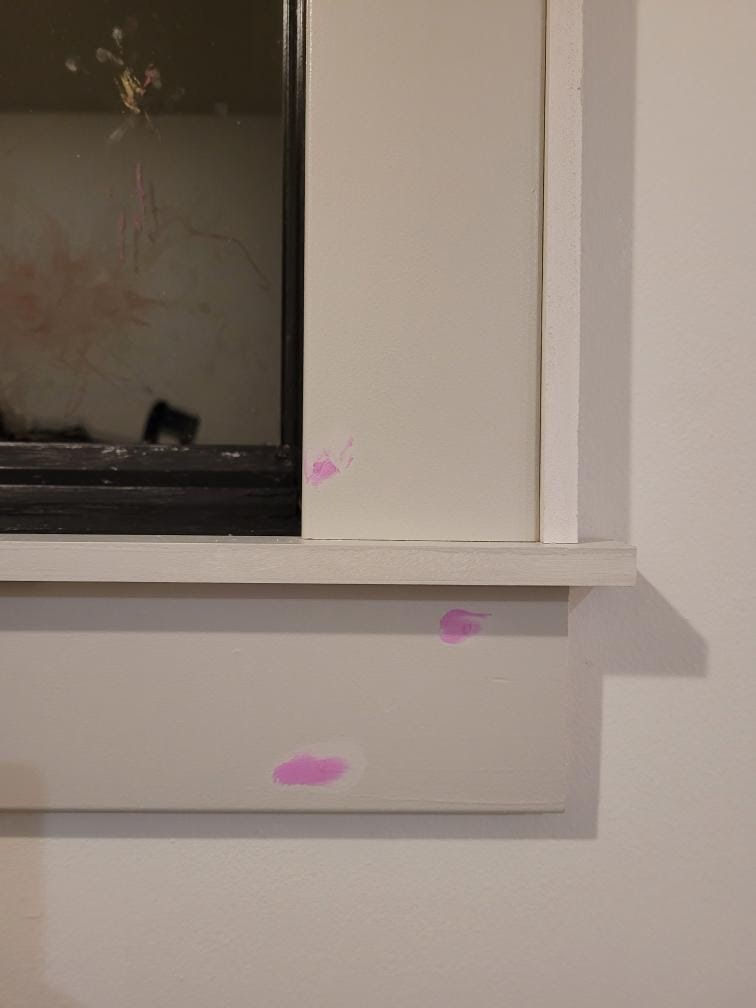
At this point, it was time to fill in all the nail holes. I applied a small amount of Drydex nail hole filler to each hole with my finger.

This product turns from pink to white as it dries. See how around the edges it’s already starting to change colors?
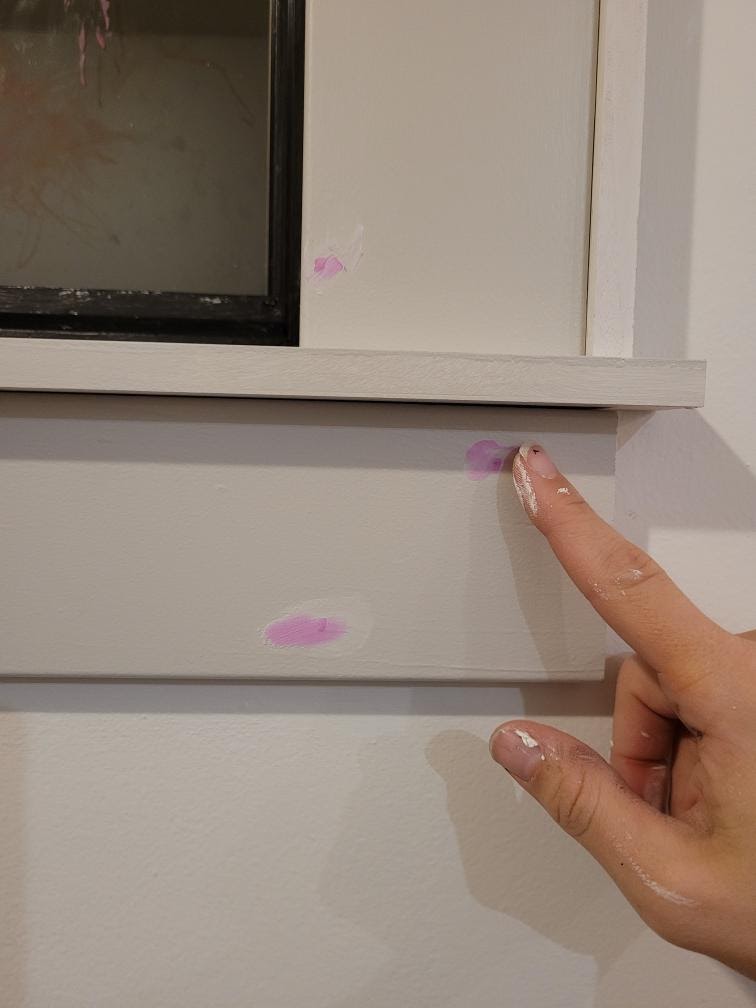
Once the edges had dried, but before the entire amount had dried, I gently took my finger and lightly sanded off the excess product. Then once it dried fully, I painted over it with the trim color.
There were a few places where the wall wasn’t quite flush and the trim had a gap between wall and trim. I ran a thin bead of caulk along those edges and smoothed it out with my finger. I then went over all the trim and touched up paint over all the dried Drydex and any other area that needed it. Then we were done!

I’m absolutely thrilled with how the trim turned out. The windows look totally different than before and really do make the view the star of the show. It helps that right now outside we have a snowy winter wonderland!
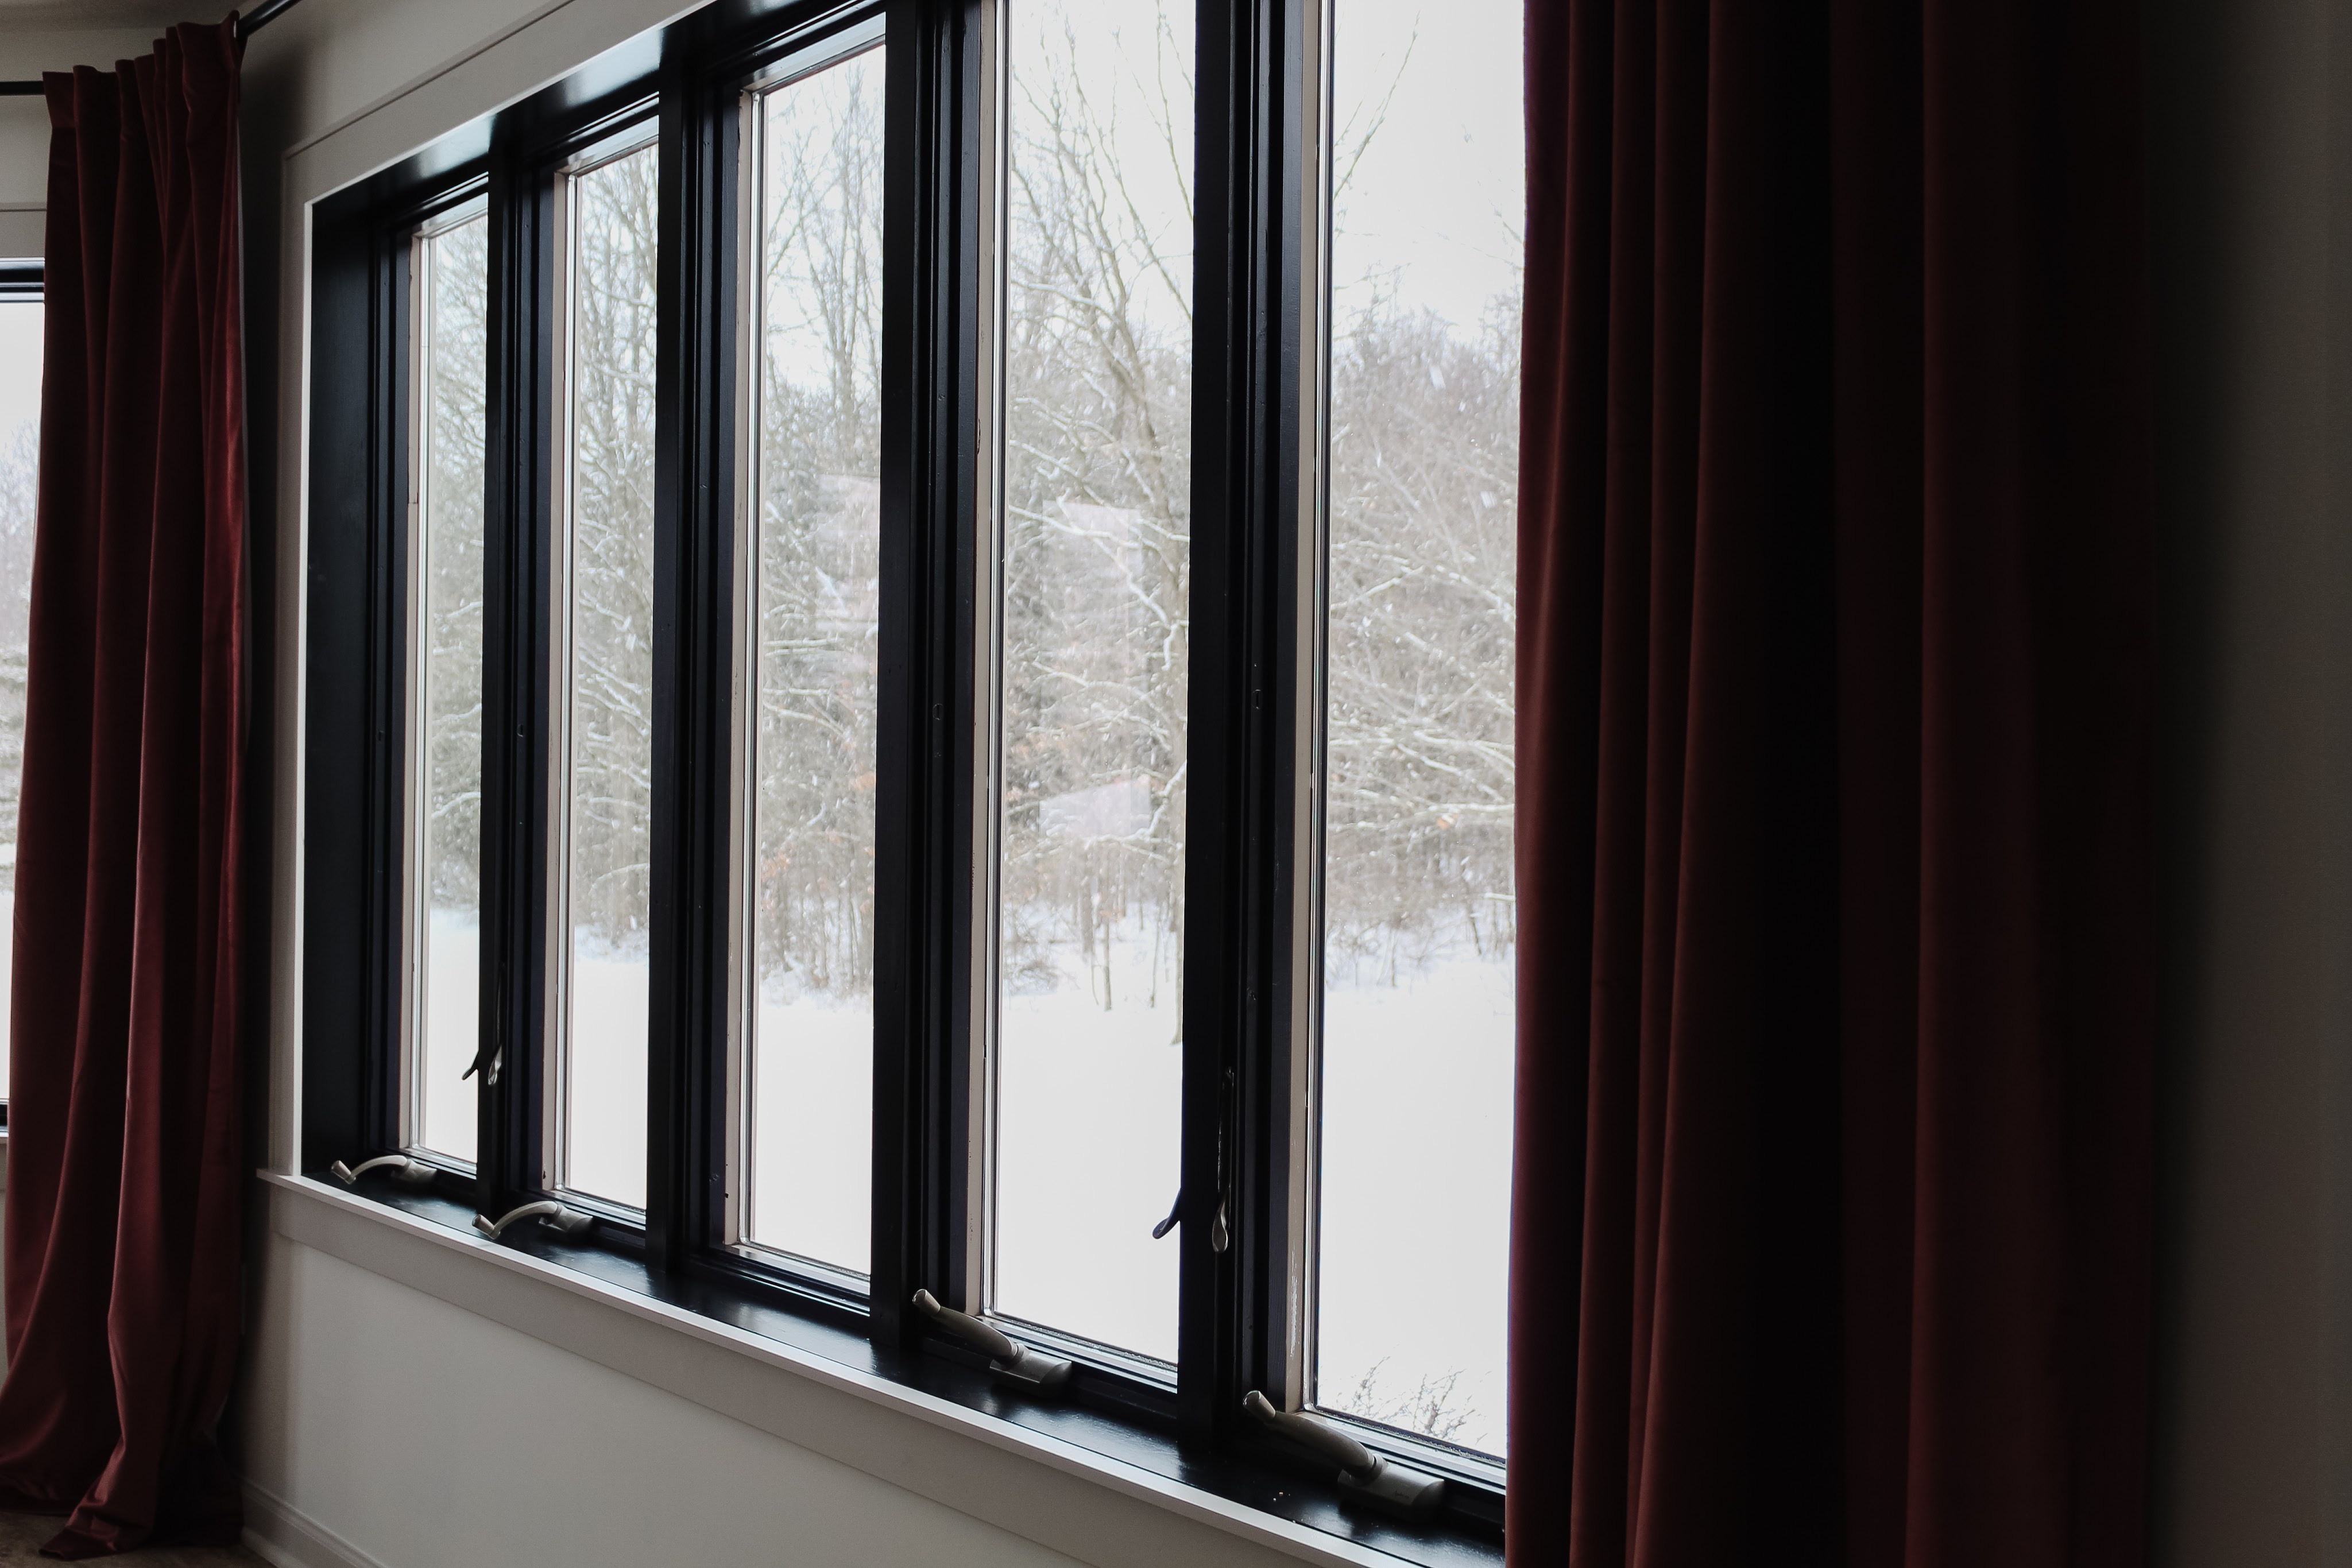
After all the touch up paint had time to dry, we hung curtain rods and used hinged connectors to give the look of a bay window curtain rod, then hung these curtains in wild rose to finish them off. I just love the new look so much!

I was finally able to decide on a new light fixture and it should arrive later this week. Eventually I plan to have a credenza and some artwork on the windowless wall but for now, I’m so pleased with the transformation of this room!

Sources:
Wall Color: Sherwin Williams Alabaster (satin finish)
Ceiling: Sherwin Williams Alabaster (flat finish)
Contrast Trim: Sherwin Williams Agreeable Gray
Windows: Sherwin Williams Tricorn Black
Curtains (wild rose color)
Everything else is either old, thrifted, or sold out!