After two months full of renovating, I am absolutely thrilled to say that THE BASEMENT KITCHEN IS FINISHED!

I started this project as part of the One Room Challenge and due to unexpected delays (hello mold) and a week off for our family vacation, I got it done just as the challenge ends today. Whew!

Before I dig deep into the finished space, let’s revisit where we started two months ago.
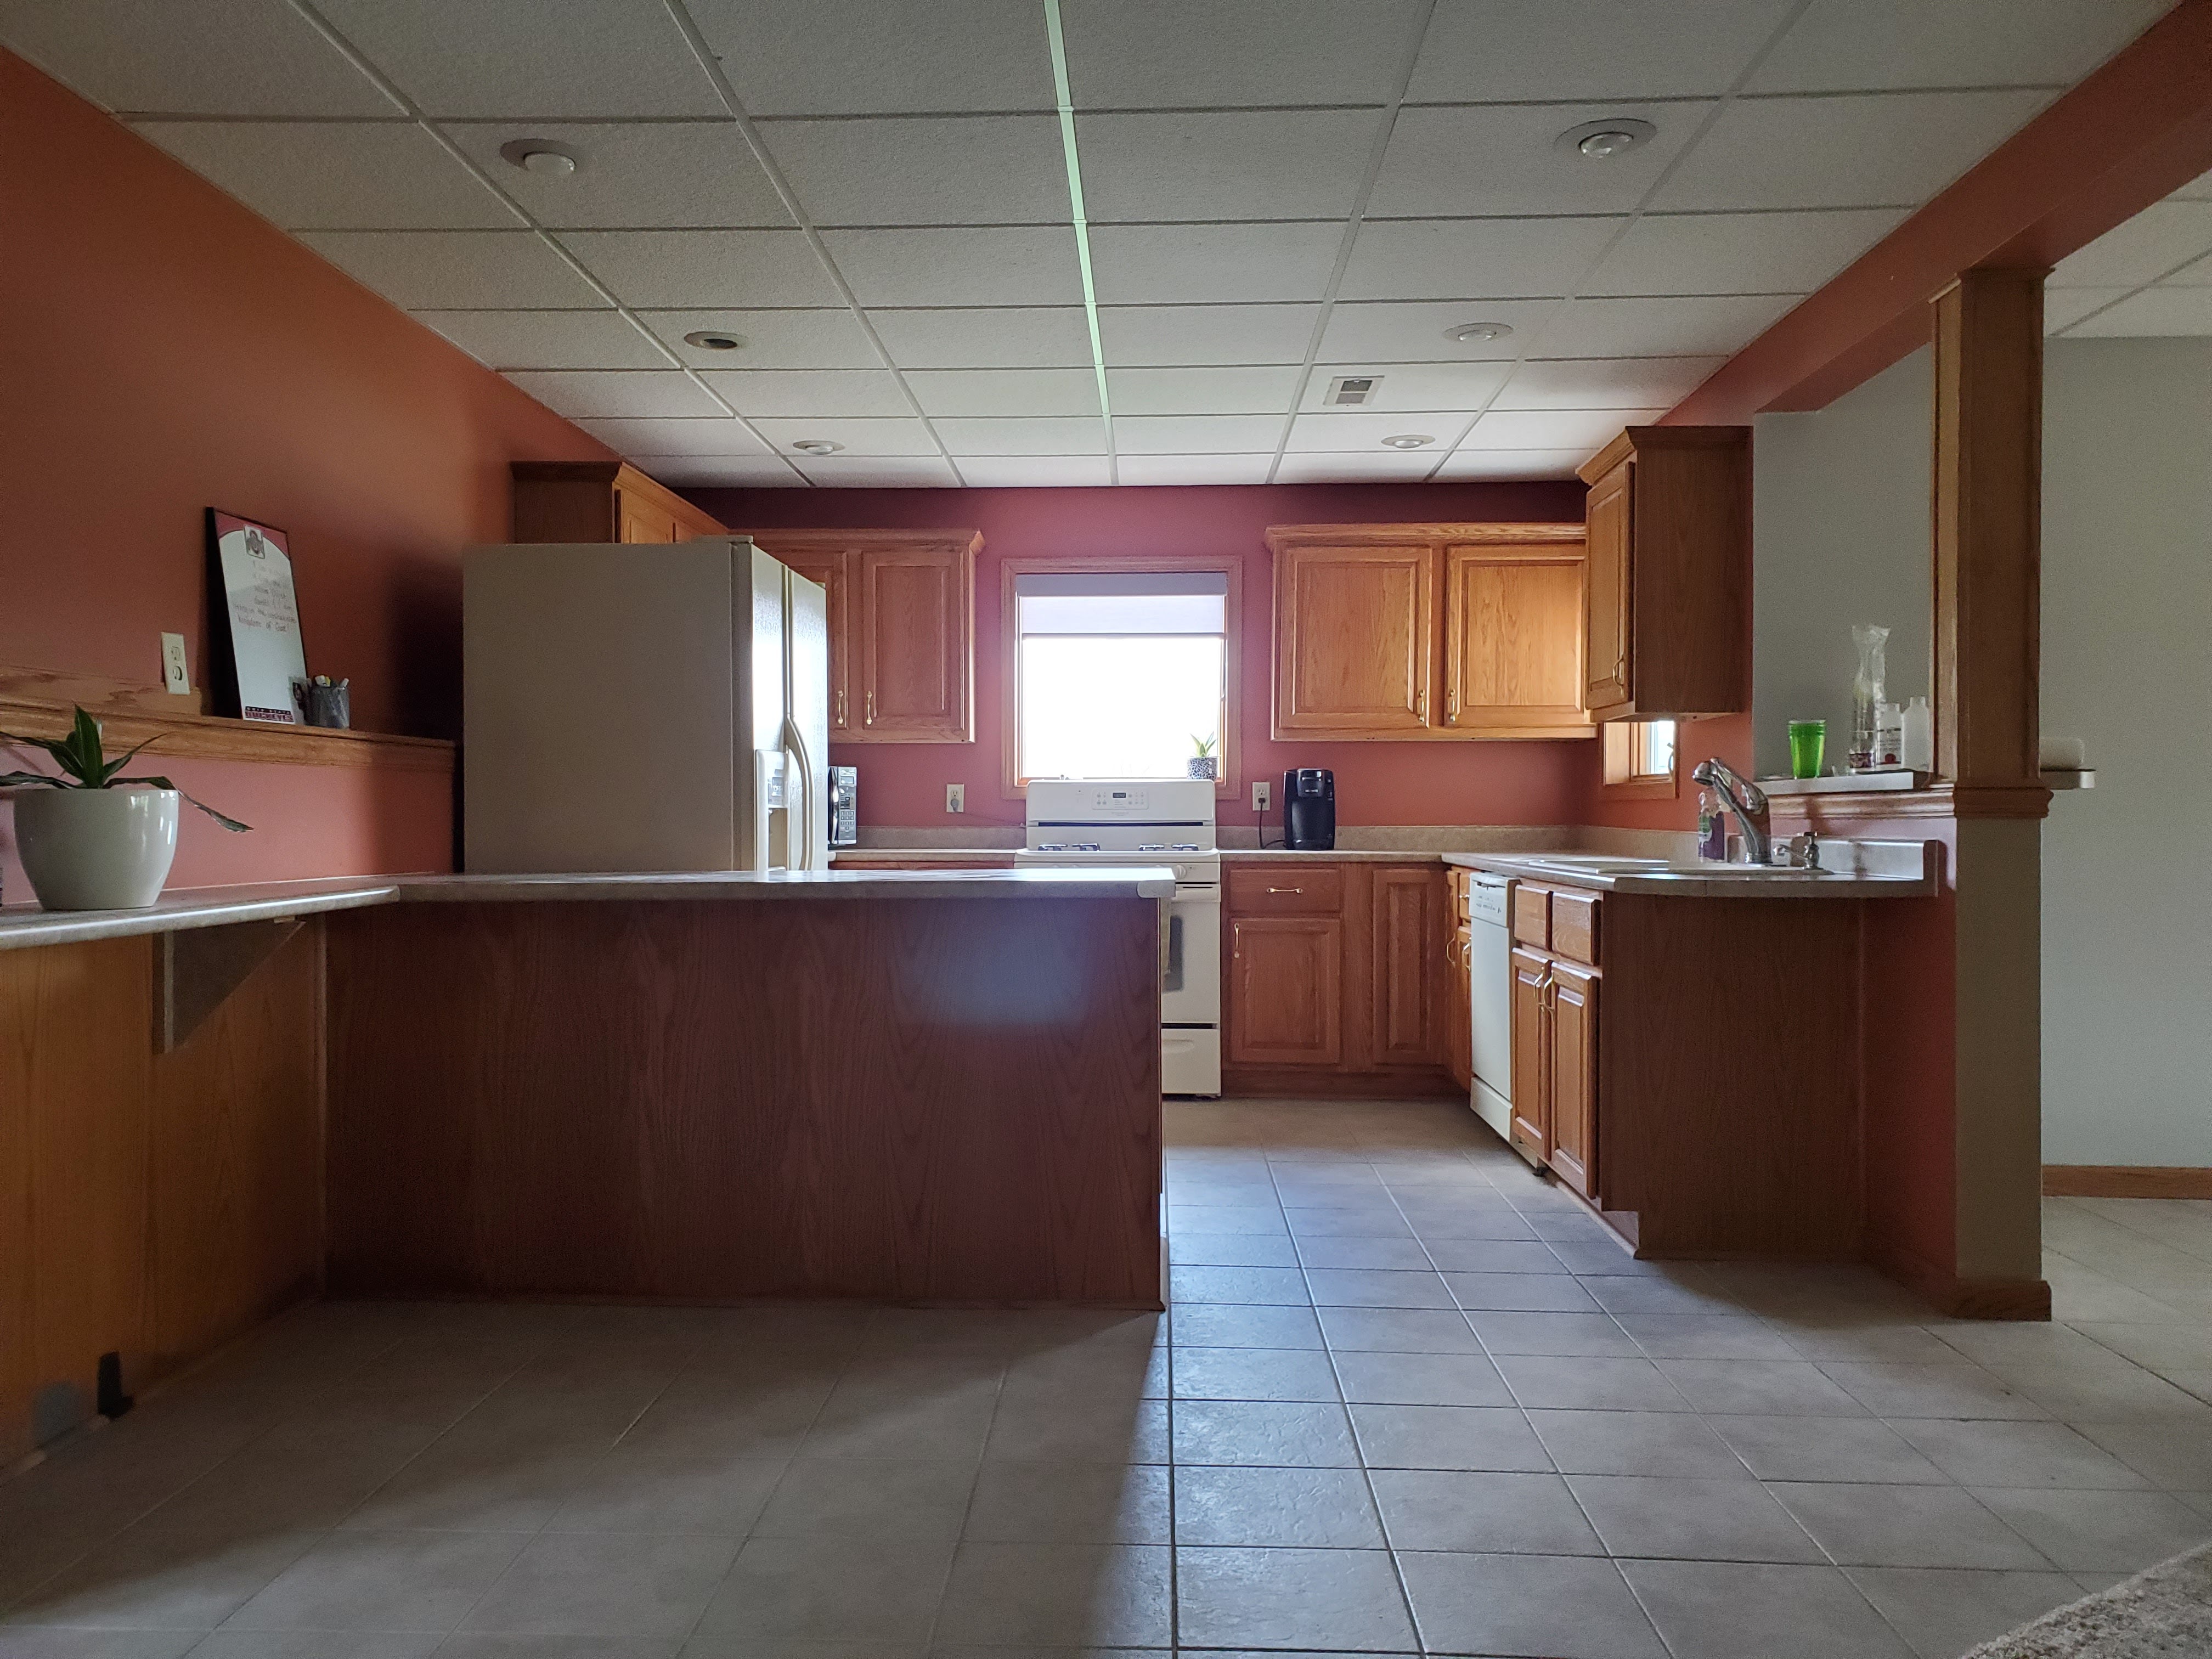
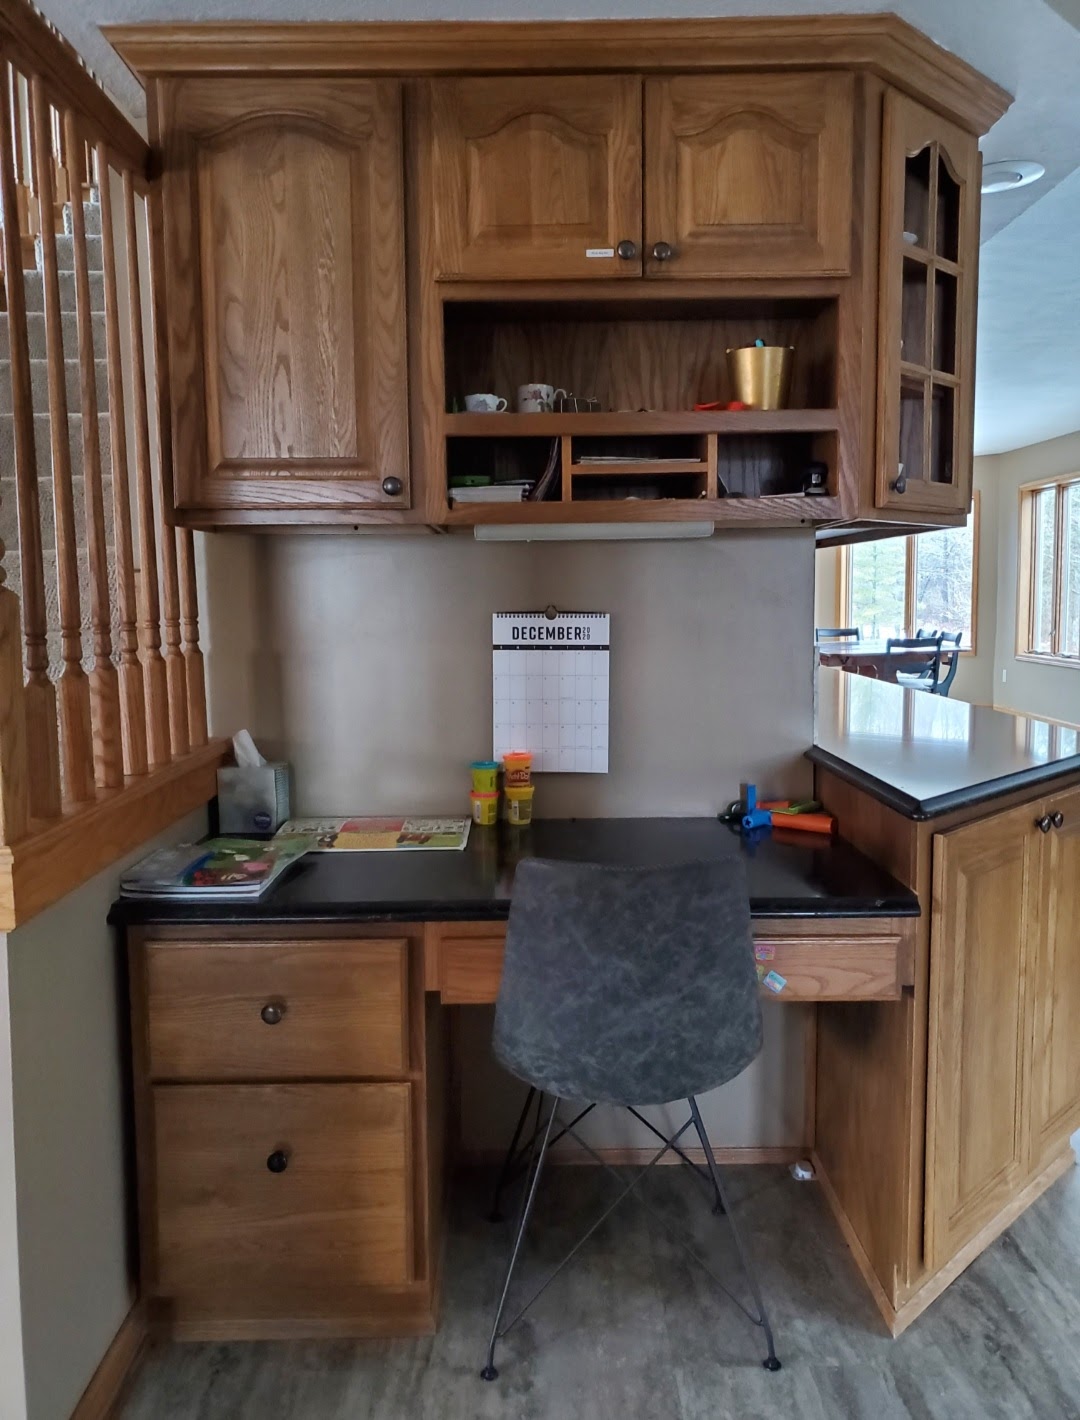
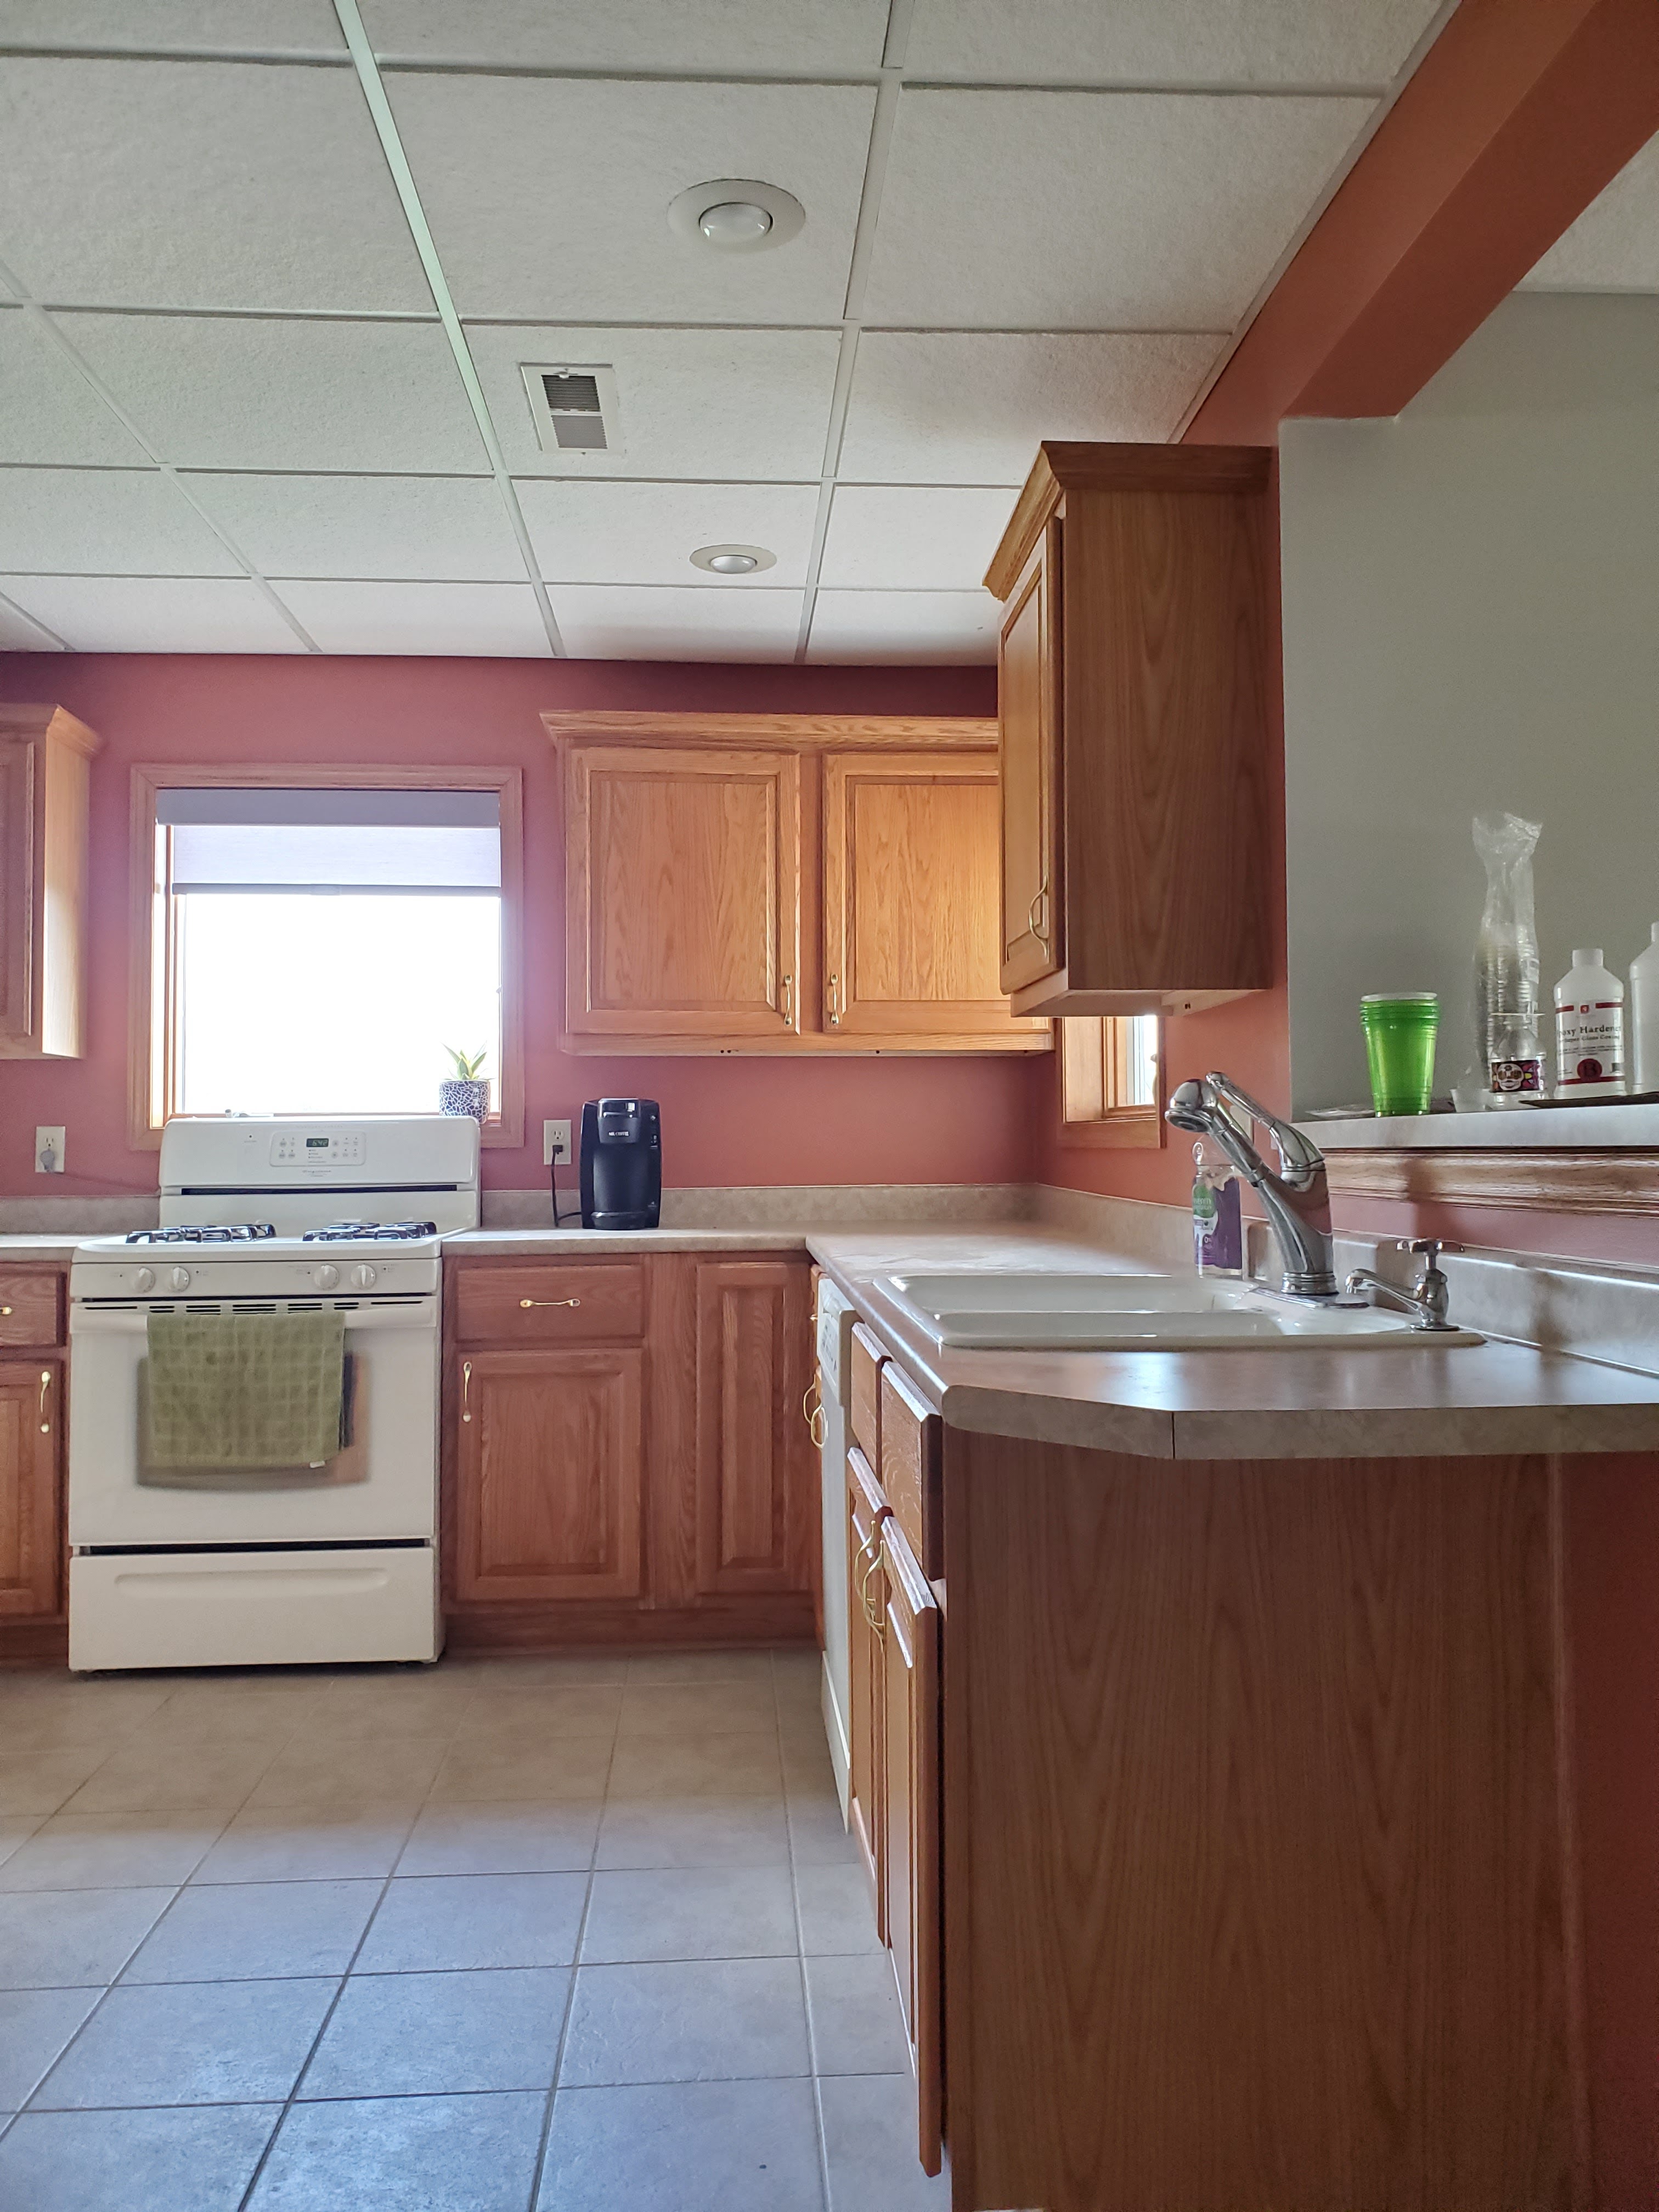
We were thrilled that the house had a full kitchen in the basement for guests and entertaining, but it was definitely a little lackluster and a lotta orange. I set out to transform this kitchen while sticking to a small budget of $1500 max, and while I knew the space had potential, the final result is even better than my wildest dreams.
The first project I tackled was painting the tile floors. I used a special paint made for flooring from Rustoleum and a whole lot of painter’s tape to create a simple patterned look and I love it! To read more about the process, you can check out this blog post. So far, the paint has held up really well and only needed some small touch ups after the drywall guys were not careful moving the stove.

 Next up were the cabinets. Justin and I first chose to completely remove the single cabinet that was in between the sink and the window. We still have plenty of storage and this really helped open up the room a little bit more. It actually seems bigger without that cabinet blocking the way!
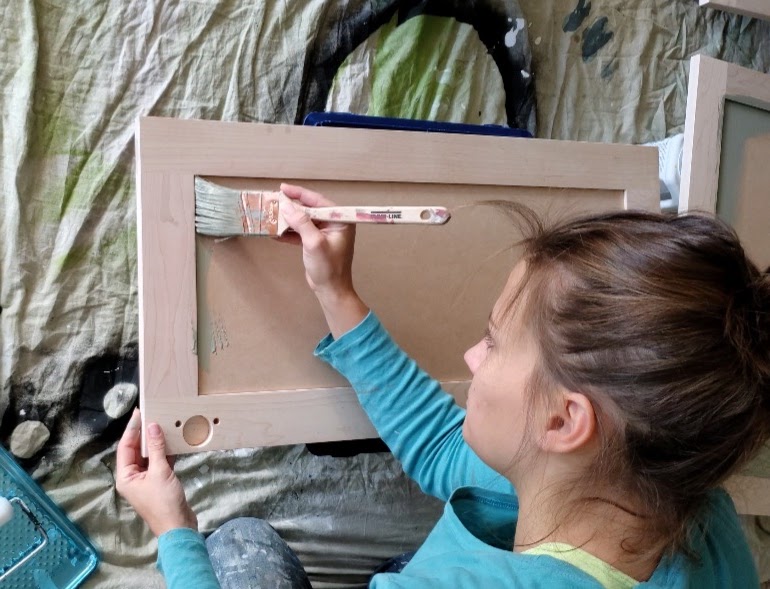
After removing all cabinet doors, drawer fronts, and hardware, deglossing and priming every surface, and debating color choices for a few days, I finally painted them Rock Bottom by HGTV Home by Sherwin Williams. It’s the perfect moody gray/green chameleon color and I love it so much! I chose a high quality paint so I only needed one gallon (and I still have paint to spare). You can read more about the painting process in this blog post. I did place these bumpers behind each door and drawer to keep the painted surfaces from sticking to one another and pulling off the paint. So far, everything has held up well!

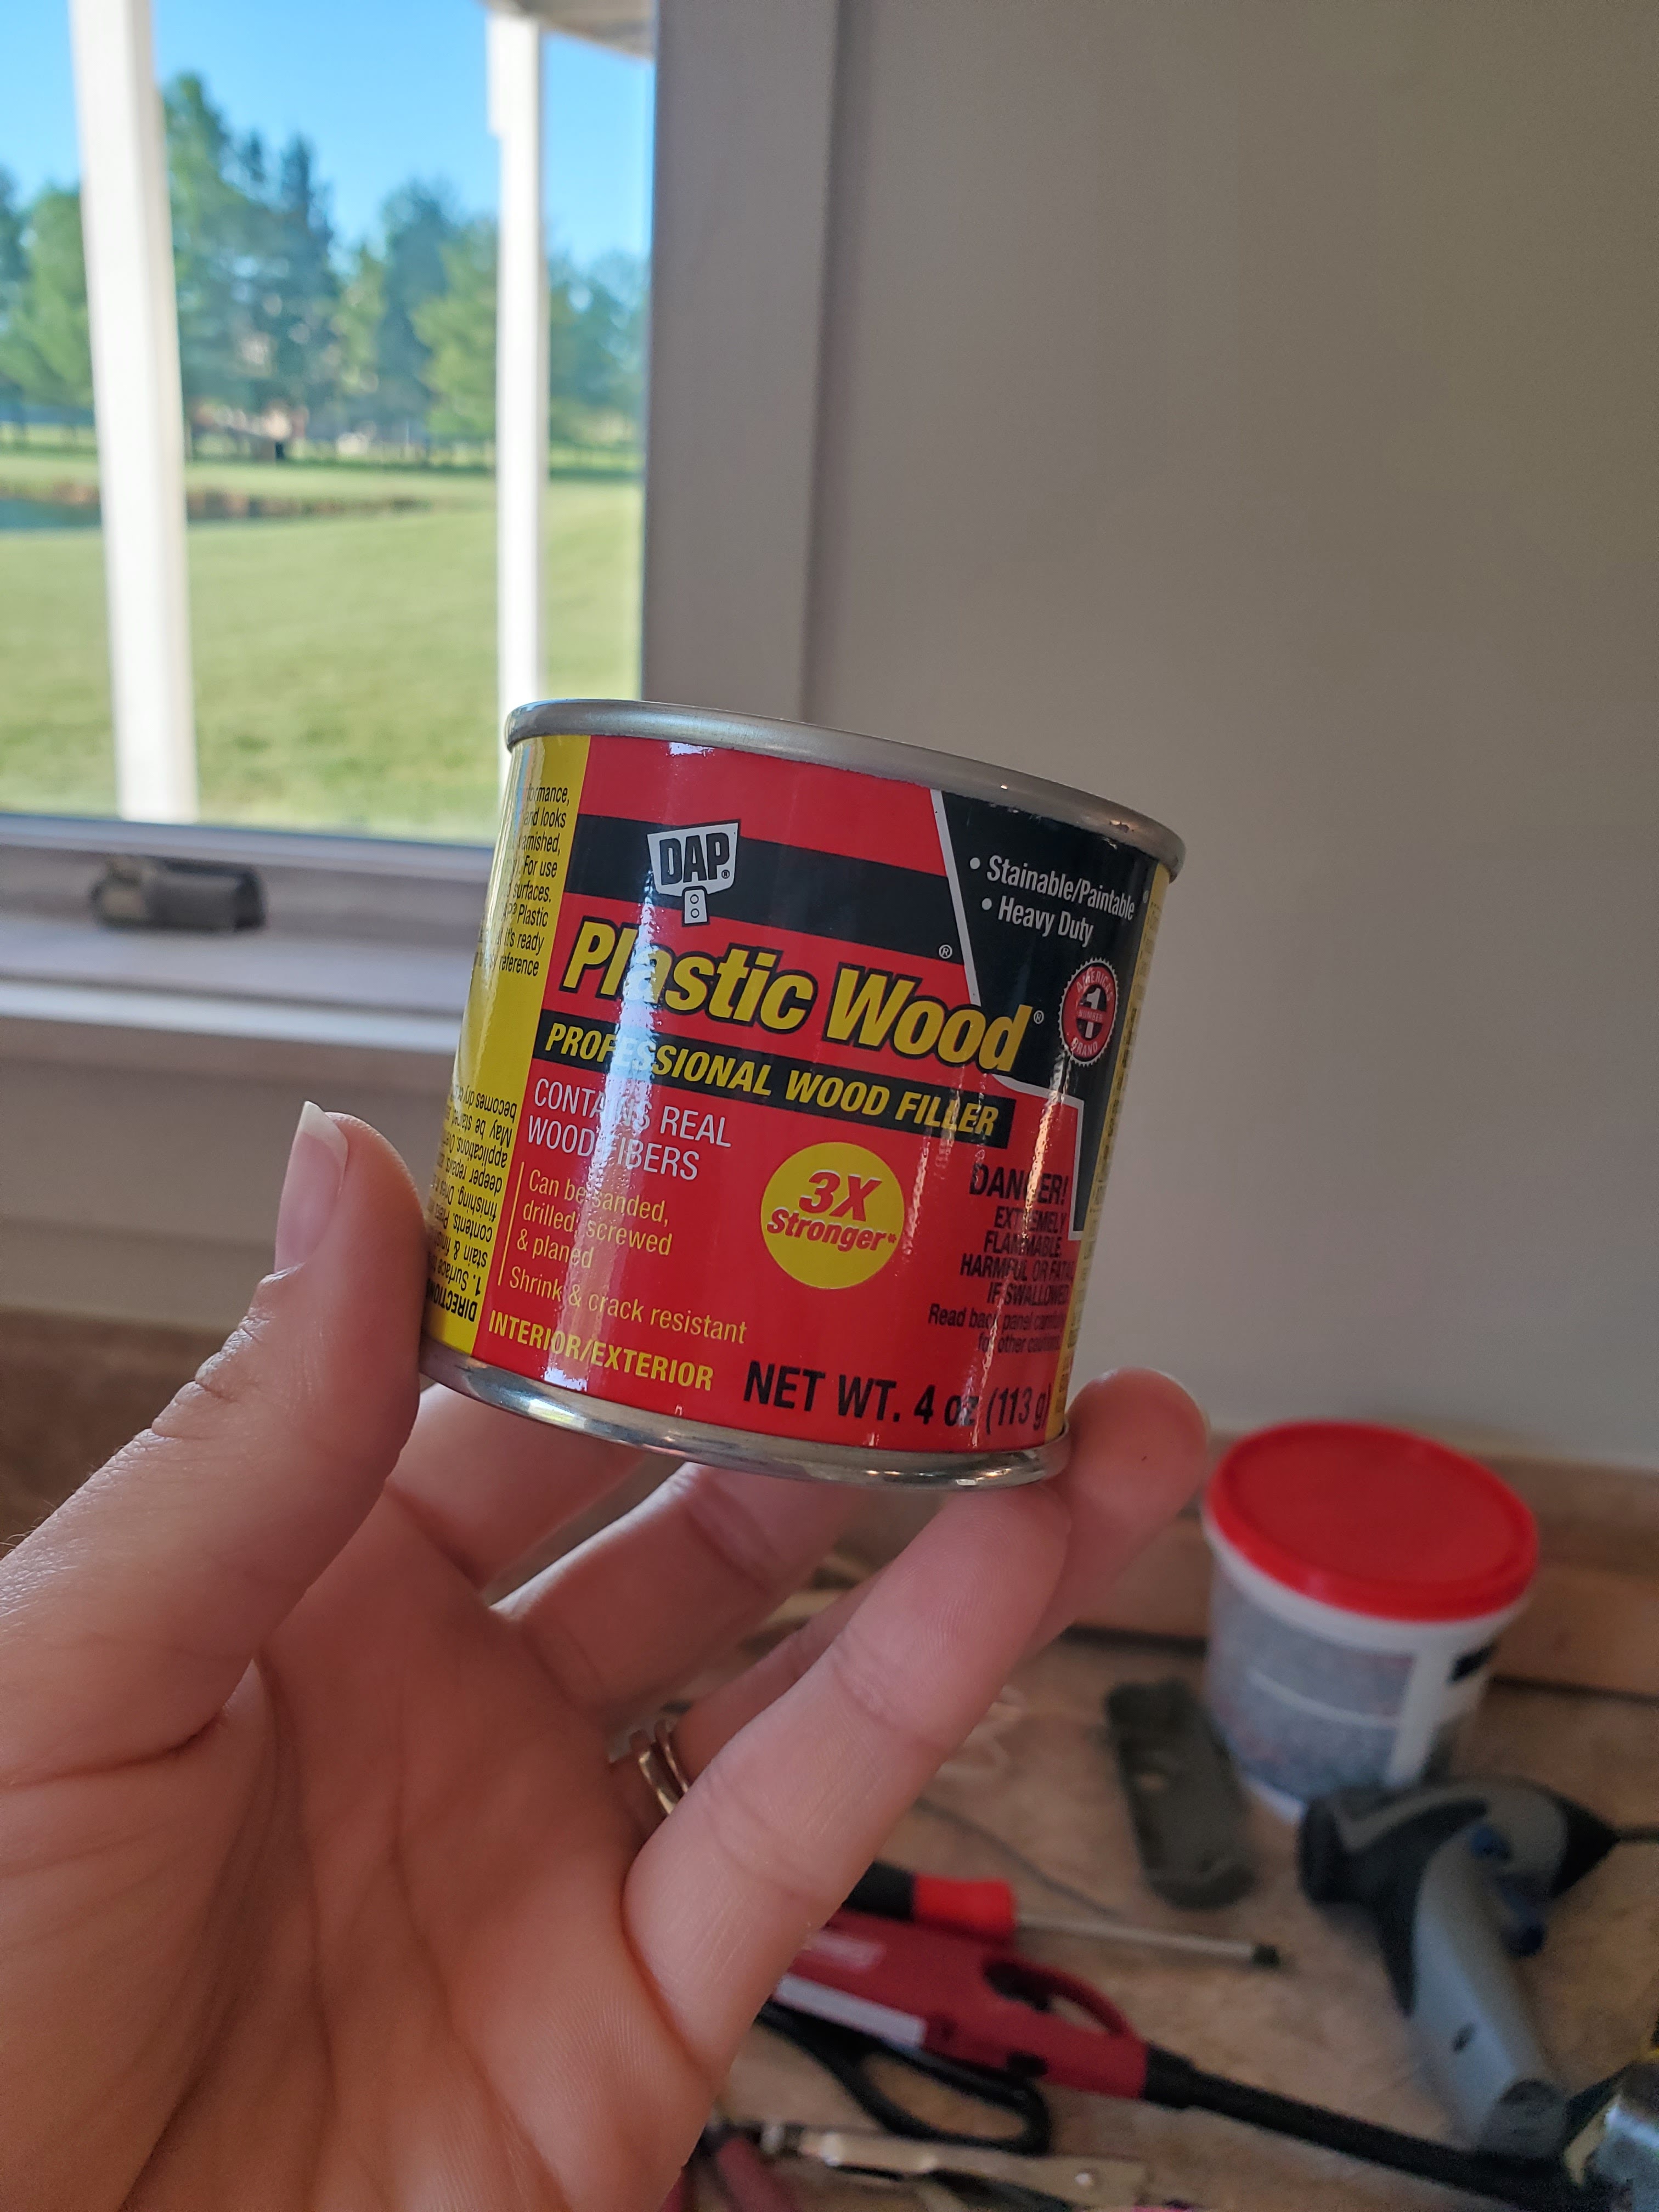
As for cabinet hardware, I wanted to change things up a bit from the previous look. I wanted the door handles to be single knobs instead of handles, so I used wood filler to fill in the extra holes and then painted over them – the holes are now practically invisible unless you know where to look for them. I found these knobs for the doors and these bin pulls for the drawers and I love the combined look!

When it came time for counter tops, I had to make some big decisions. In order to stay within budget, replacing all the counter tops was not an option, but I knew I wanted to at least replace the top of the “island” (it’s technically not an island but just go with it). The previous owners had created extra counter space by wrapping the laminate around to the wall to create a small ledge. While I can appreciate the function of this, I wasn’t a fan of the look, and I knew we wouldn’t miss that bit of counter space. Plus, without the ledge in the way, we would have room for three stools instead of two and that was going to be way more functional for our purposes anyways. There was no way to remove just that extra ledge of laminate, so we removed the whole thing and created an accent island look with a butcher block counter top.


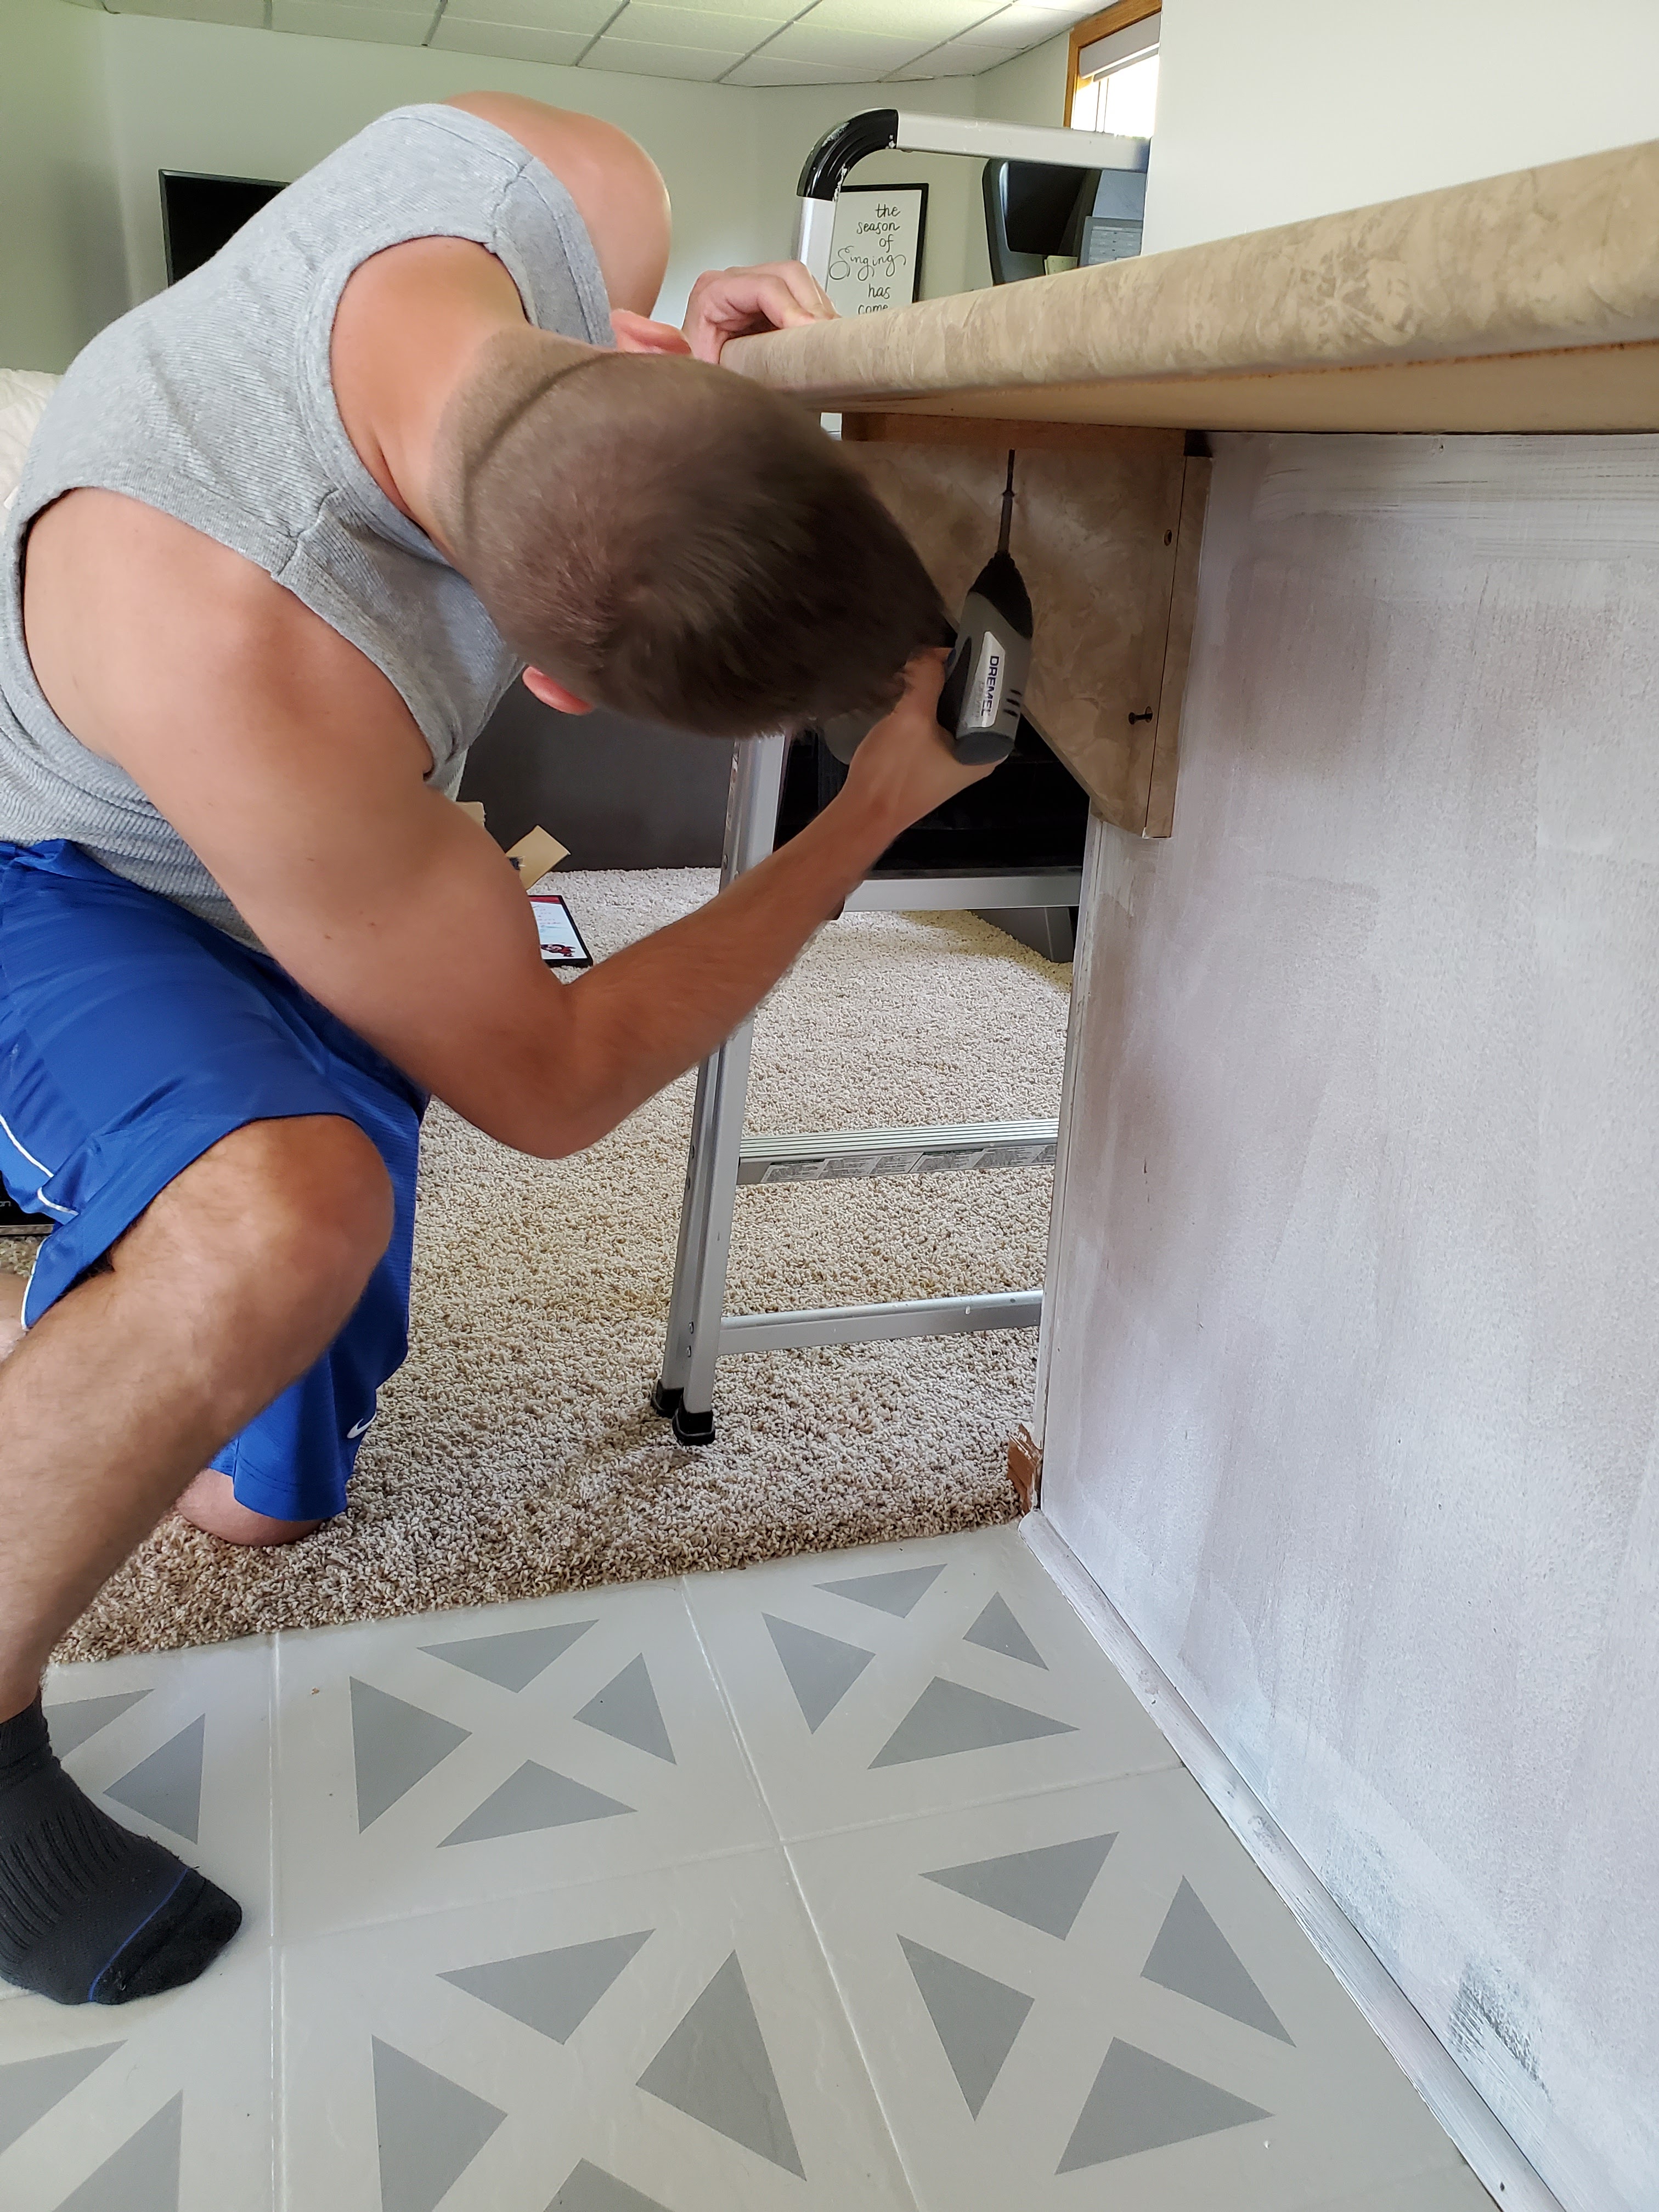
We got the butcher block counter top from Menard’s and I ADORE IT. It is exactly what I hoped for and I love the look so much. We did hit some major hiccups through this process though and it became quite the saga (mold behind old paneling, wonky cabinets that needed moving, tile needing to be cut away…) If you want to read more about how this transformation took shape you can read about it in this blog post.
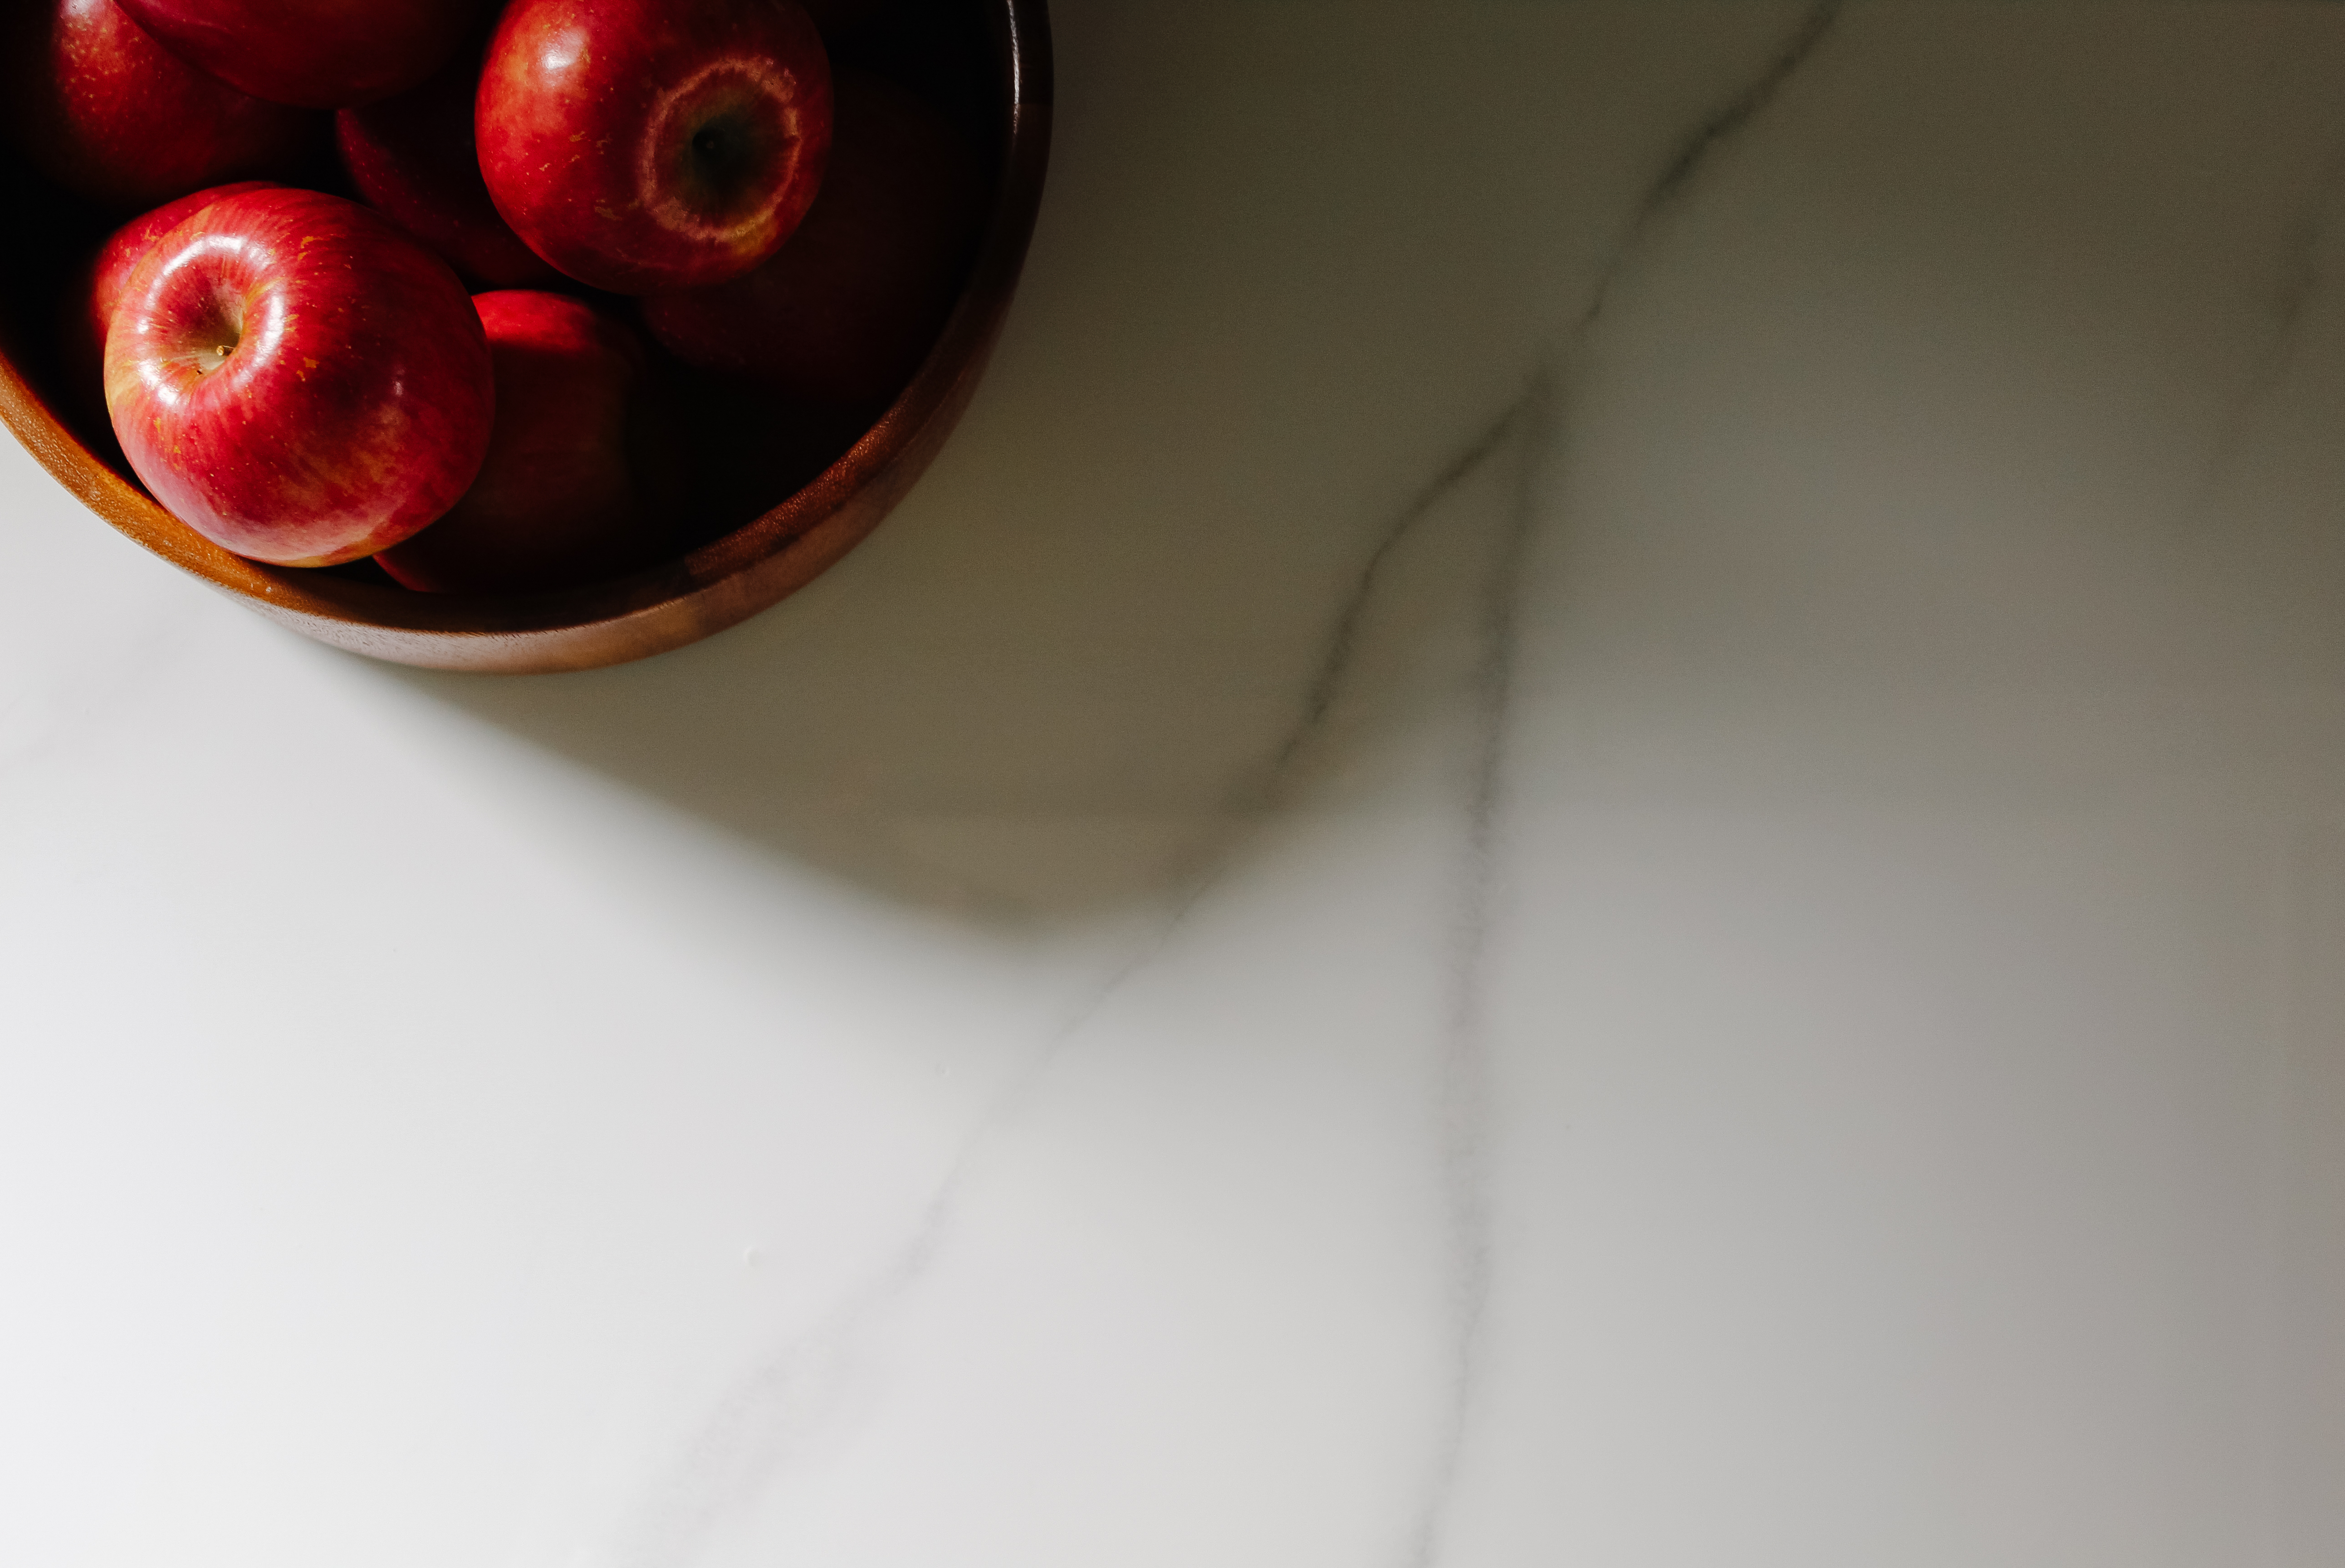
Since I couldn’t replace the rest of the counter tops, I decided to paint them instead. I ordered this kit to create the look of marble and while it certainly isn’t cheap, it came with absolutely everything needed to complete the project and it was still MUCH cheaper than replacing (the quote for new laminate came back at nearly $2000 including install, while this paint kit was just under $200. I’ll take that savings!)


I plan to write an entire blog post hopefully later this week that shows the process of painting the counter tops, but for now, I will just say that it was not at all as complicated as I expected and while it is far from perfect, I am very happy with the results. It really feels like I have new counters!
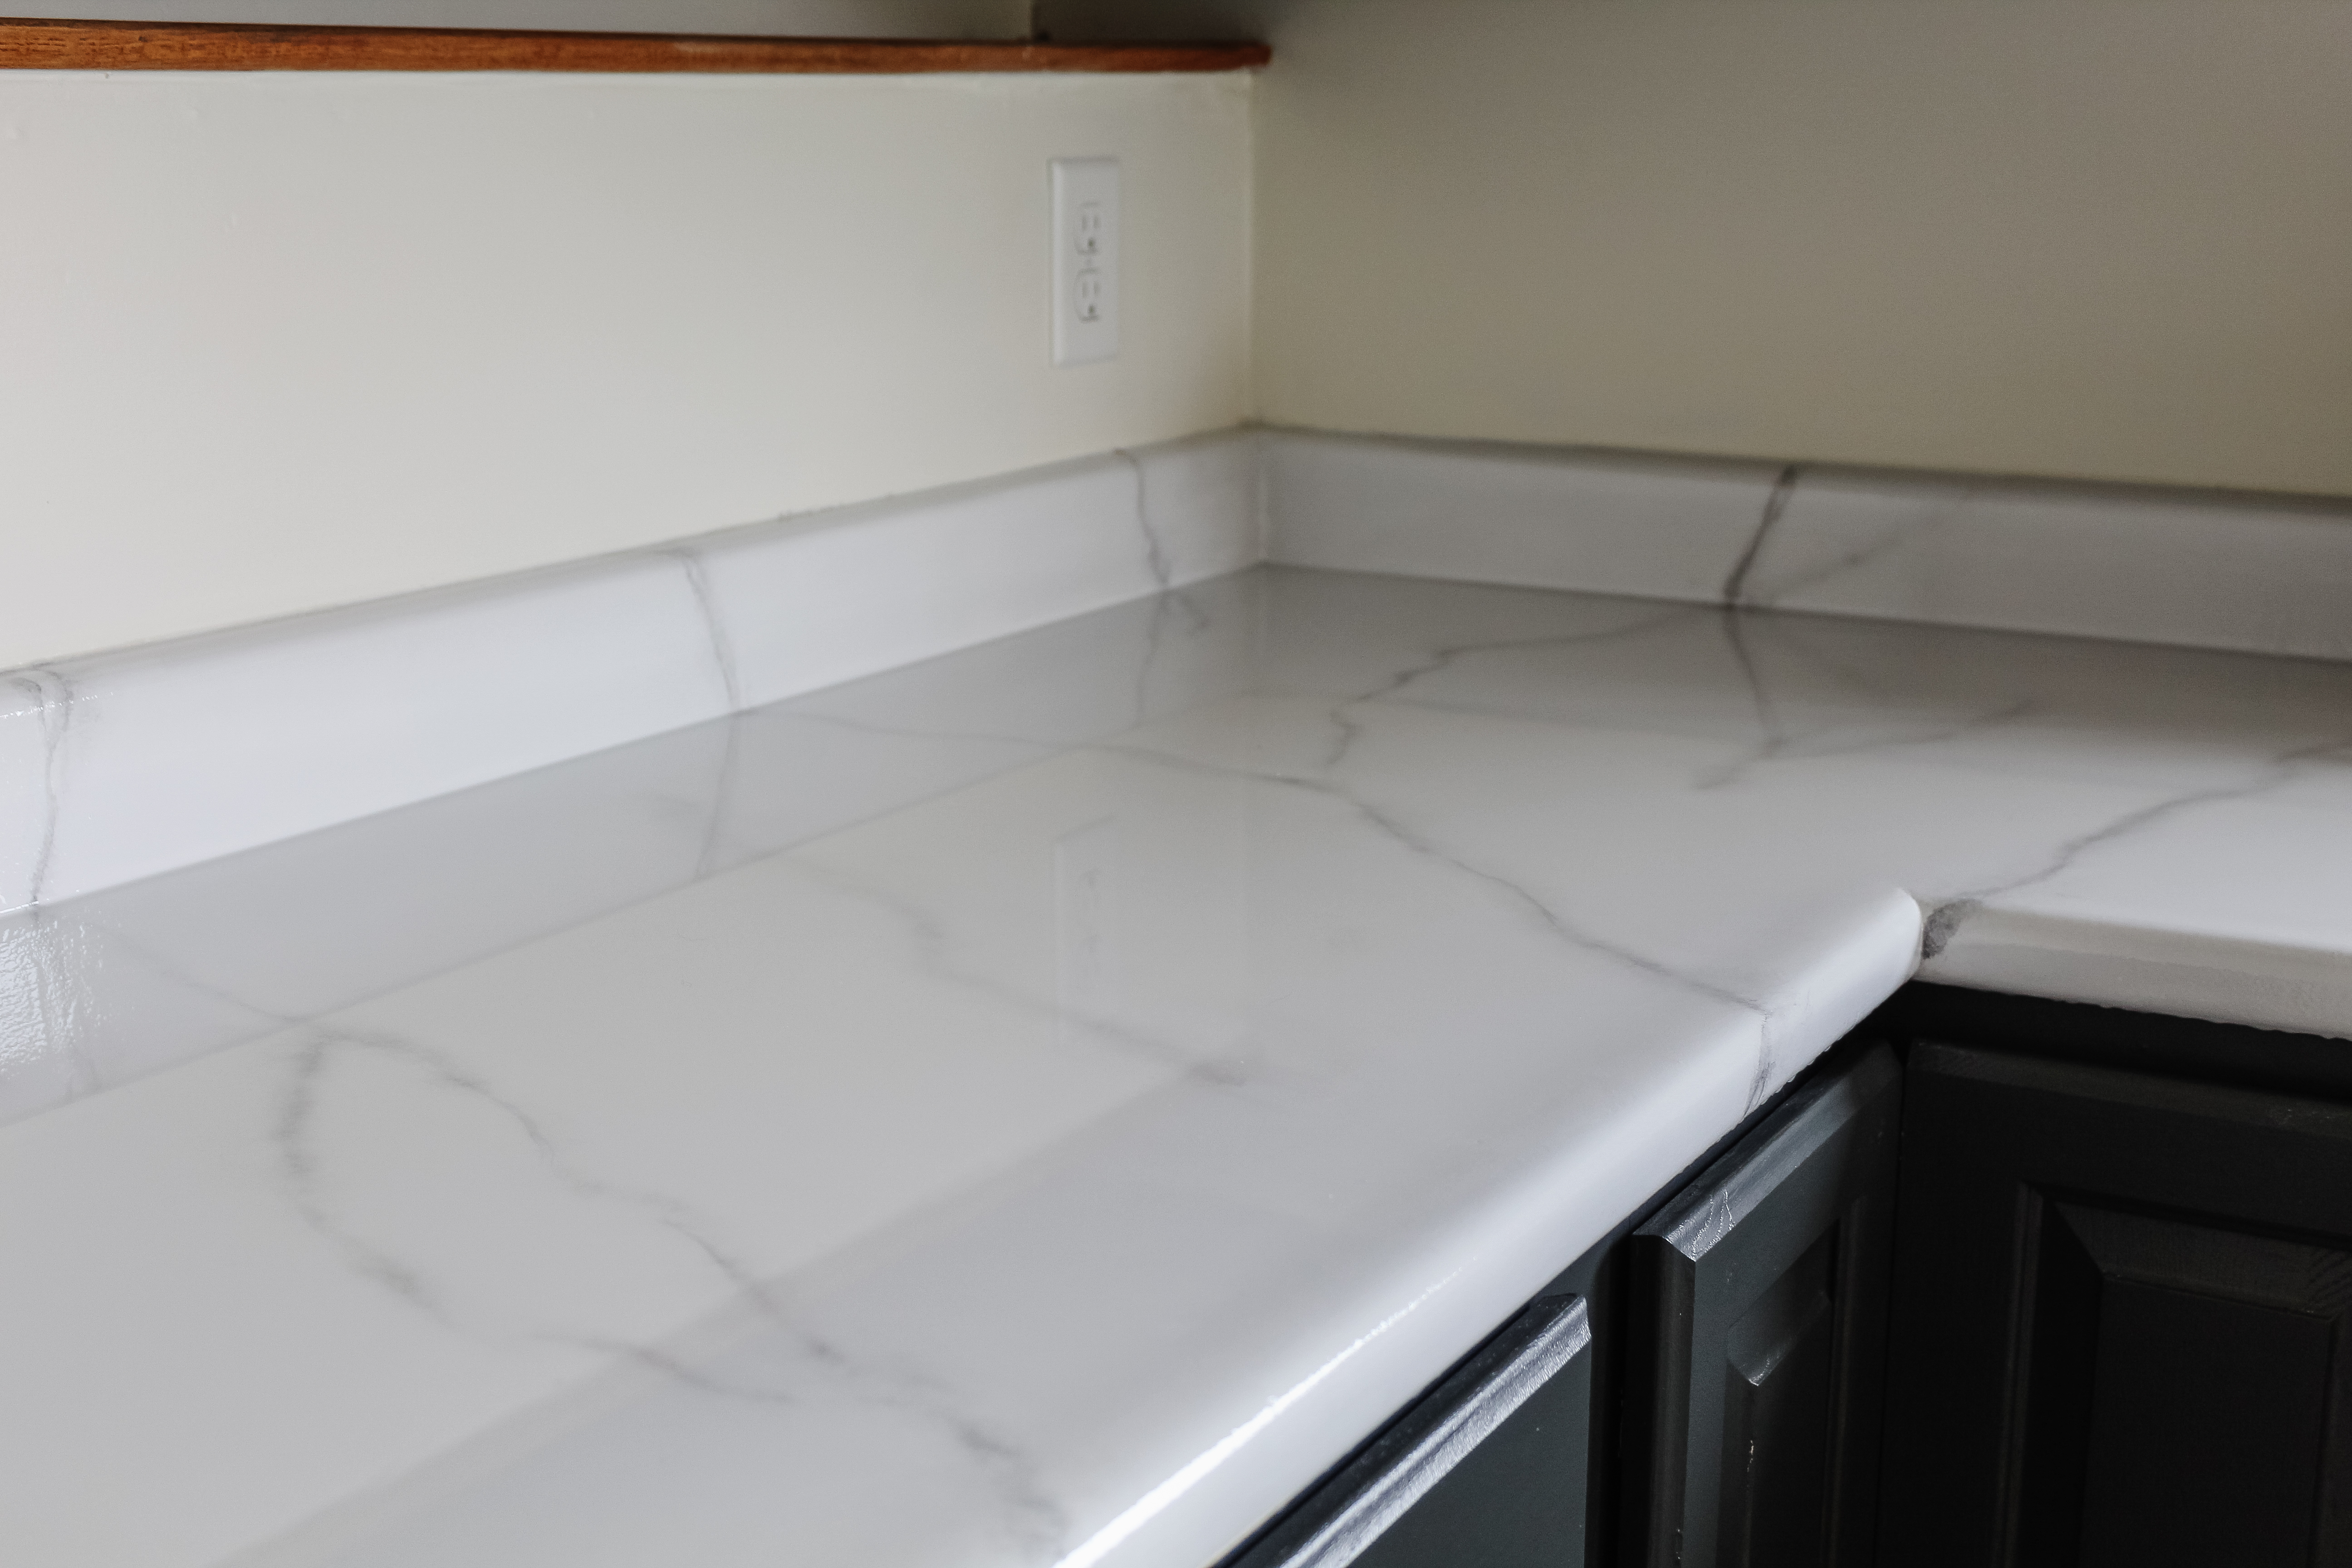
Now, no one would walk in to this kitchen and think that I got real marble installed, but I really do think it looks convincingly like I got new marble laminate. It is definitely better than the brown, pressed leaf pattern that was there previously so I am counting this as a major win. Stay tuned for a post with all the details!
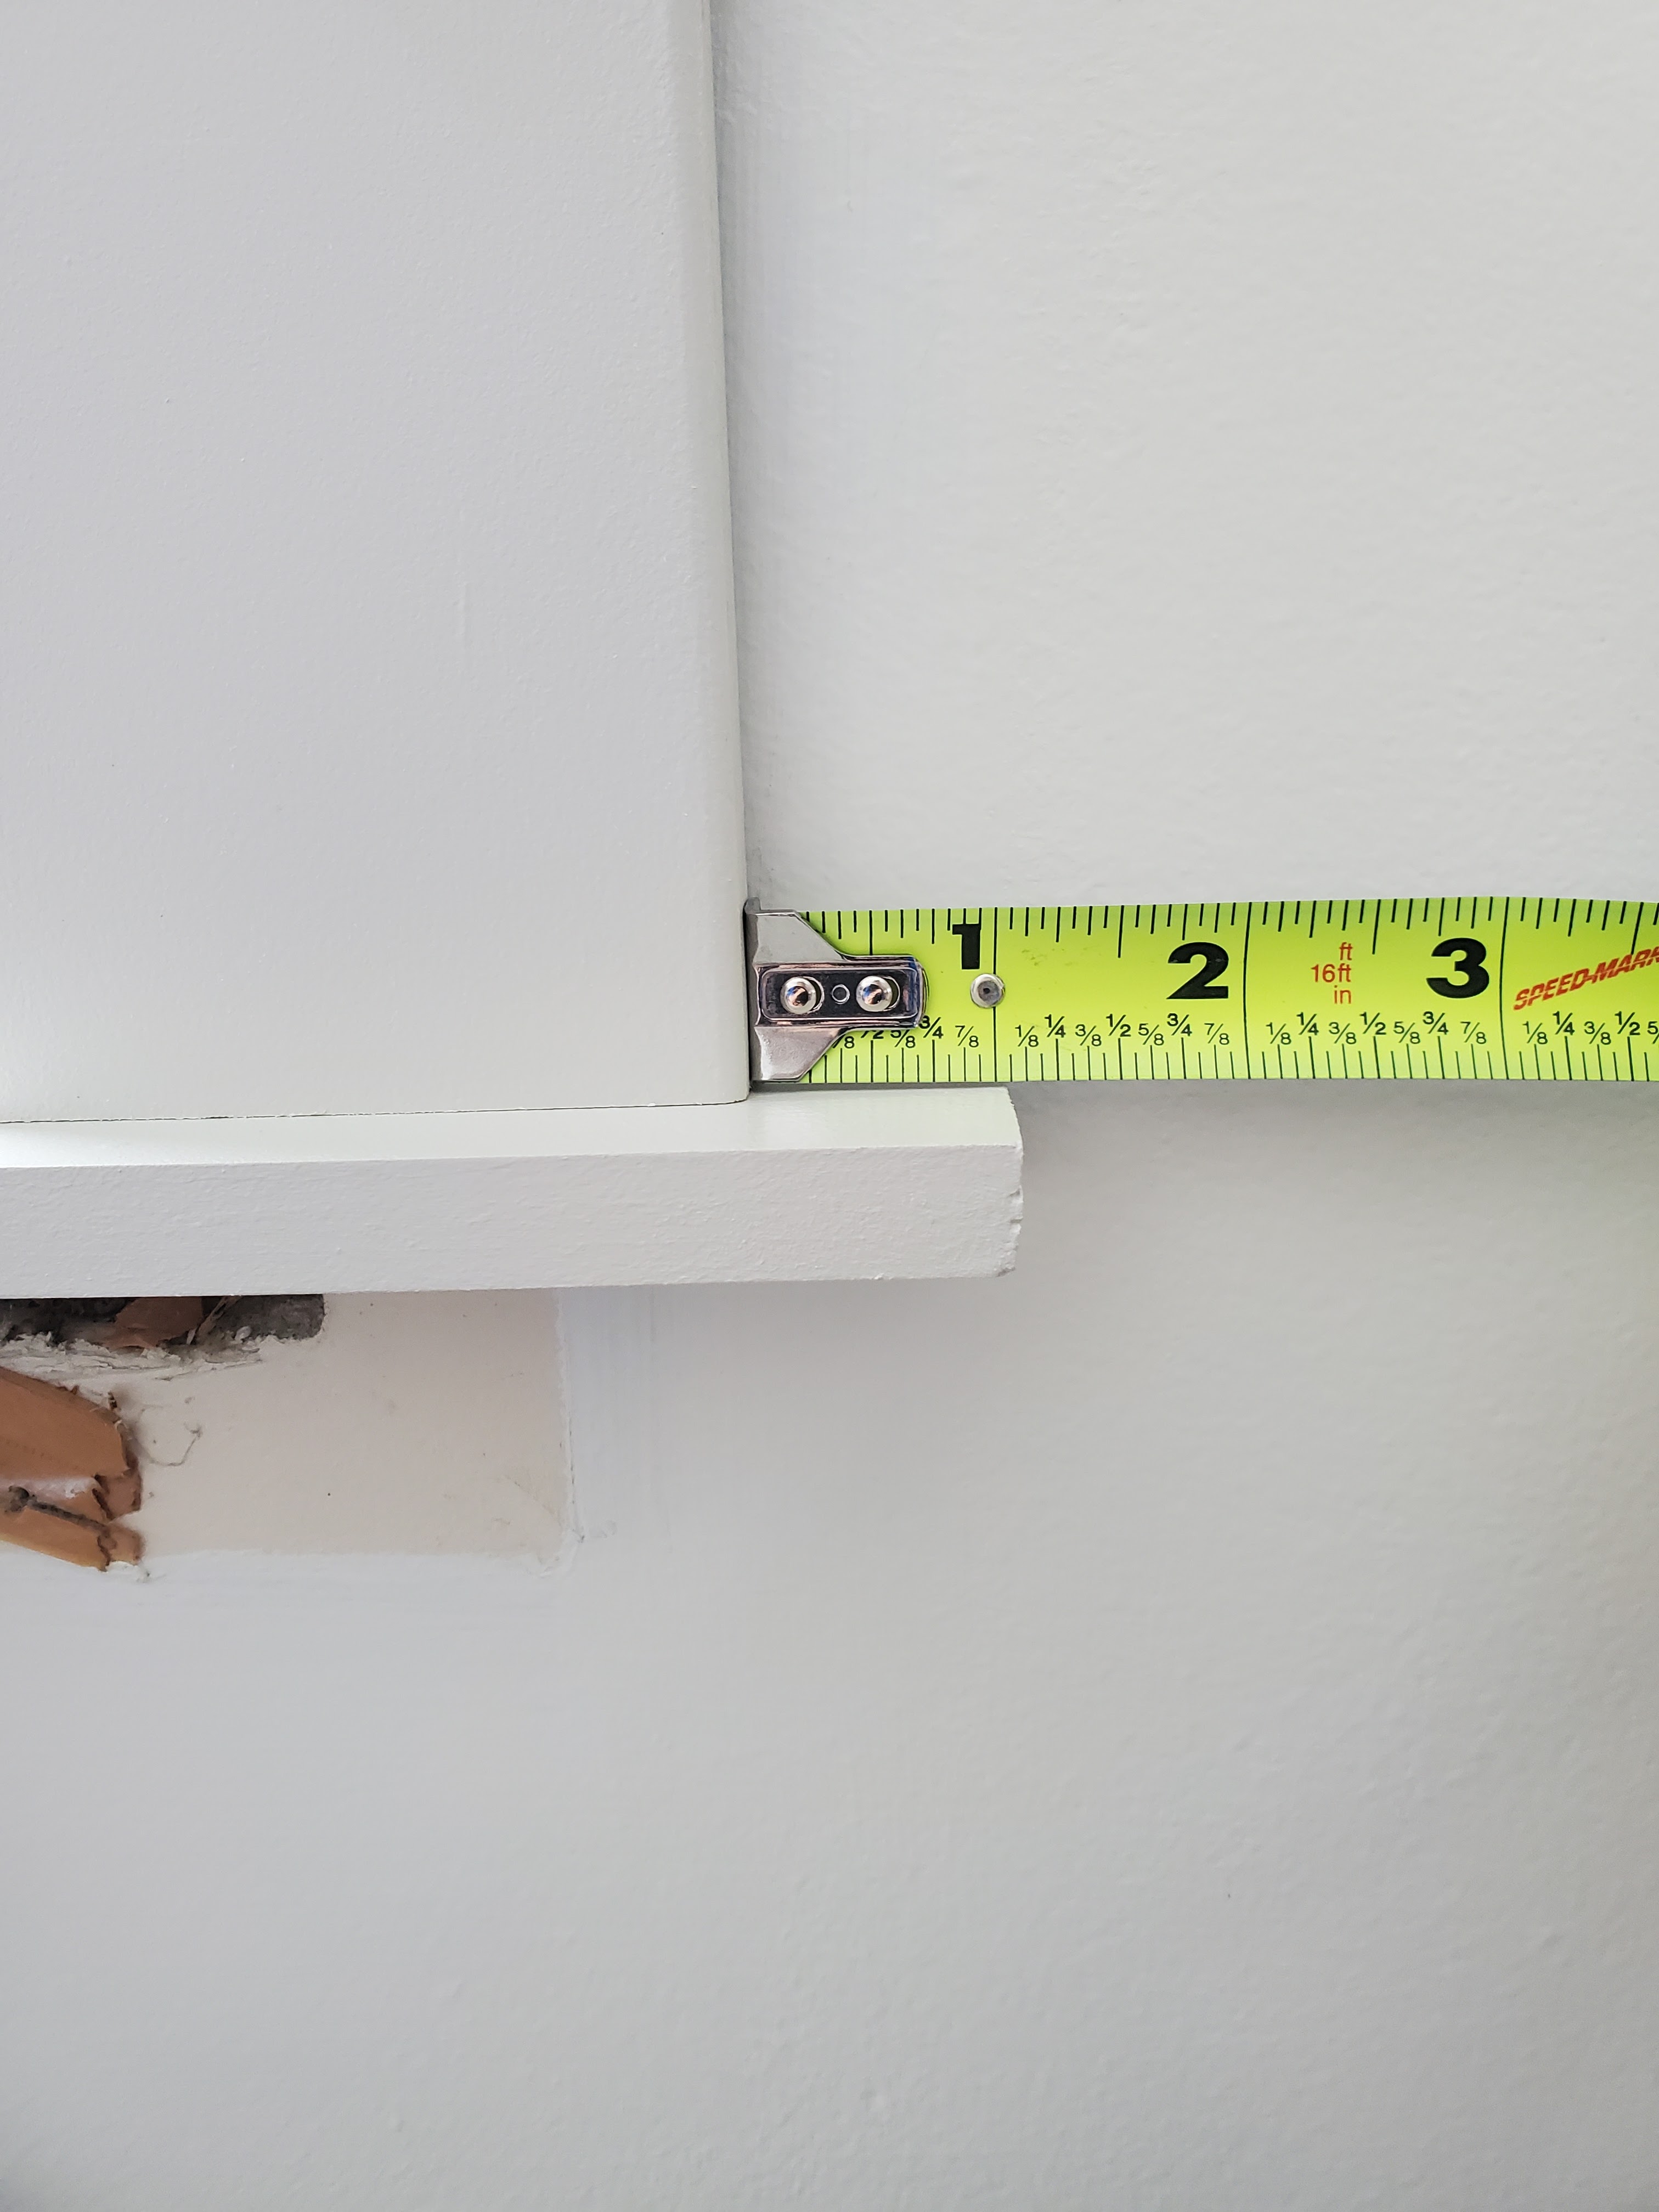
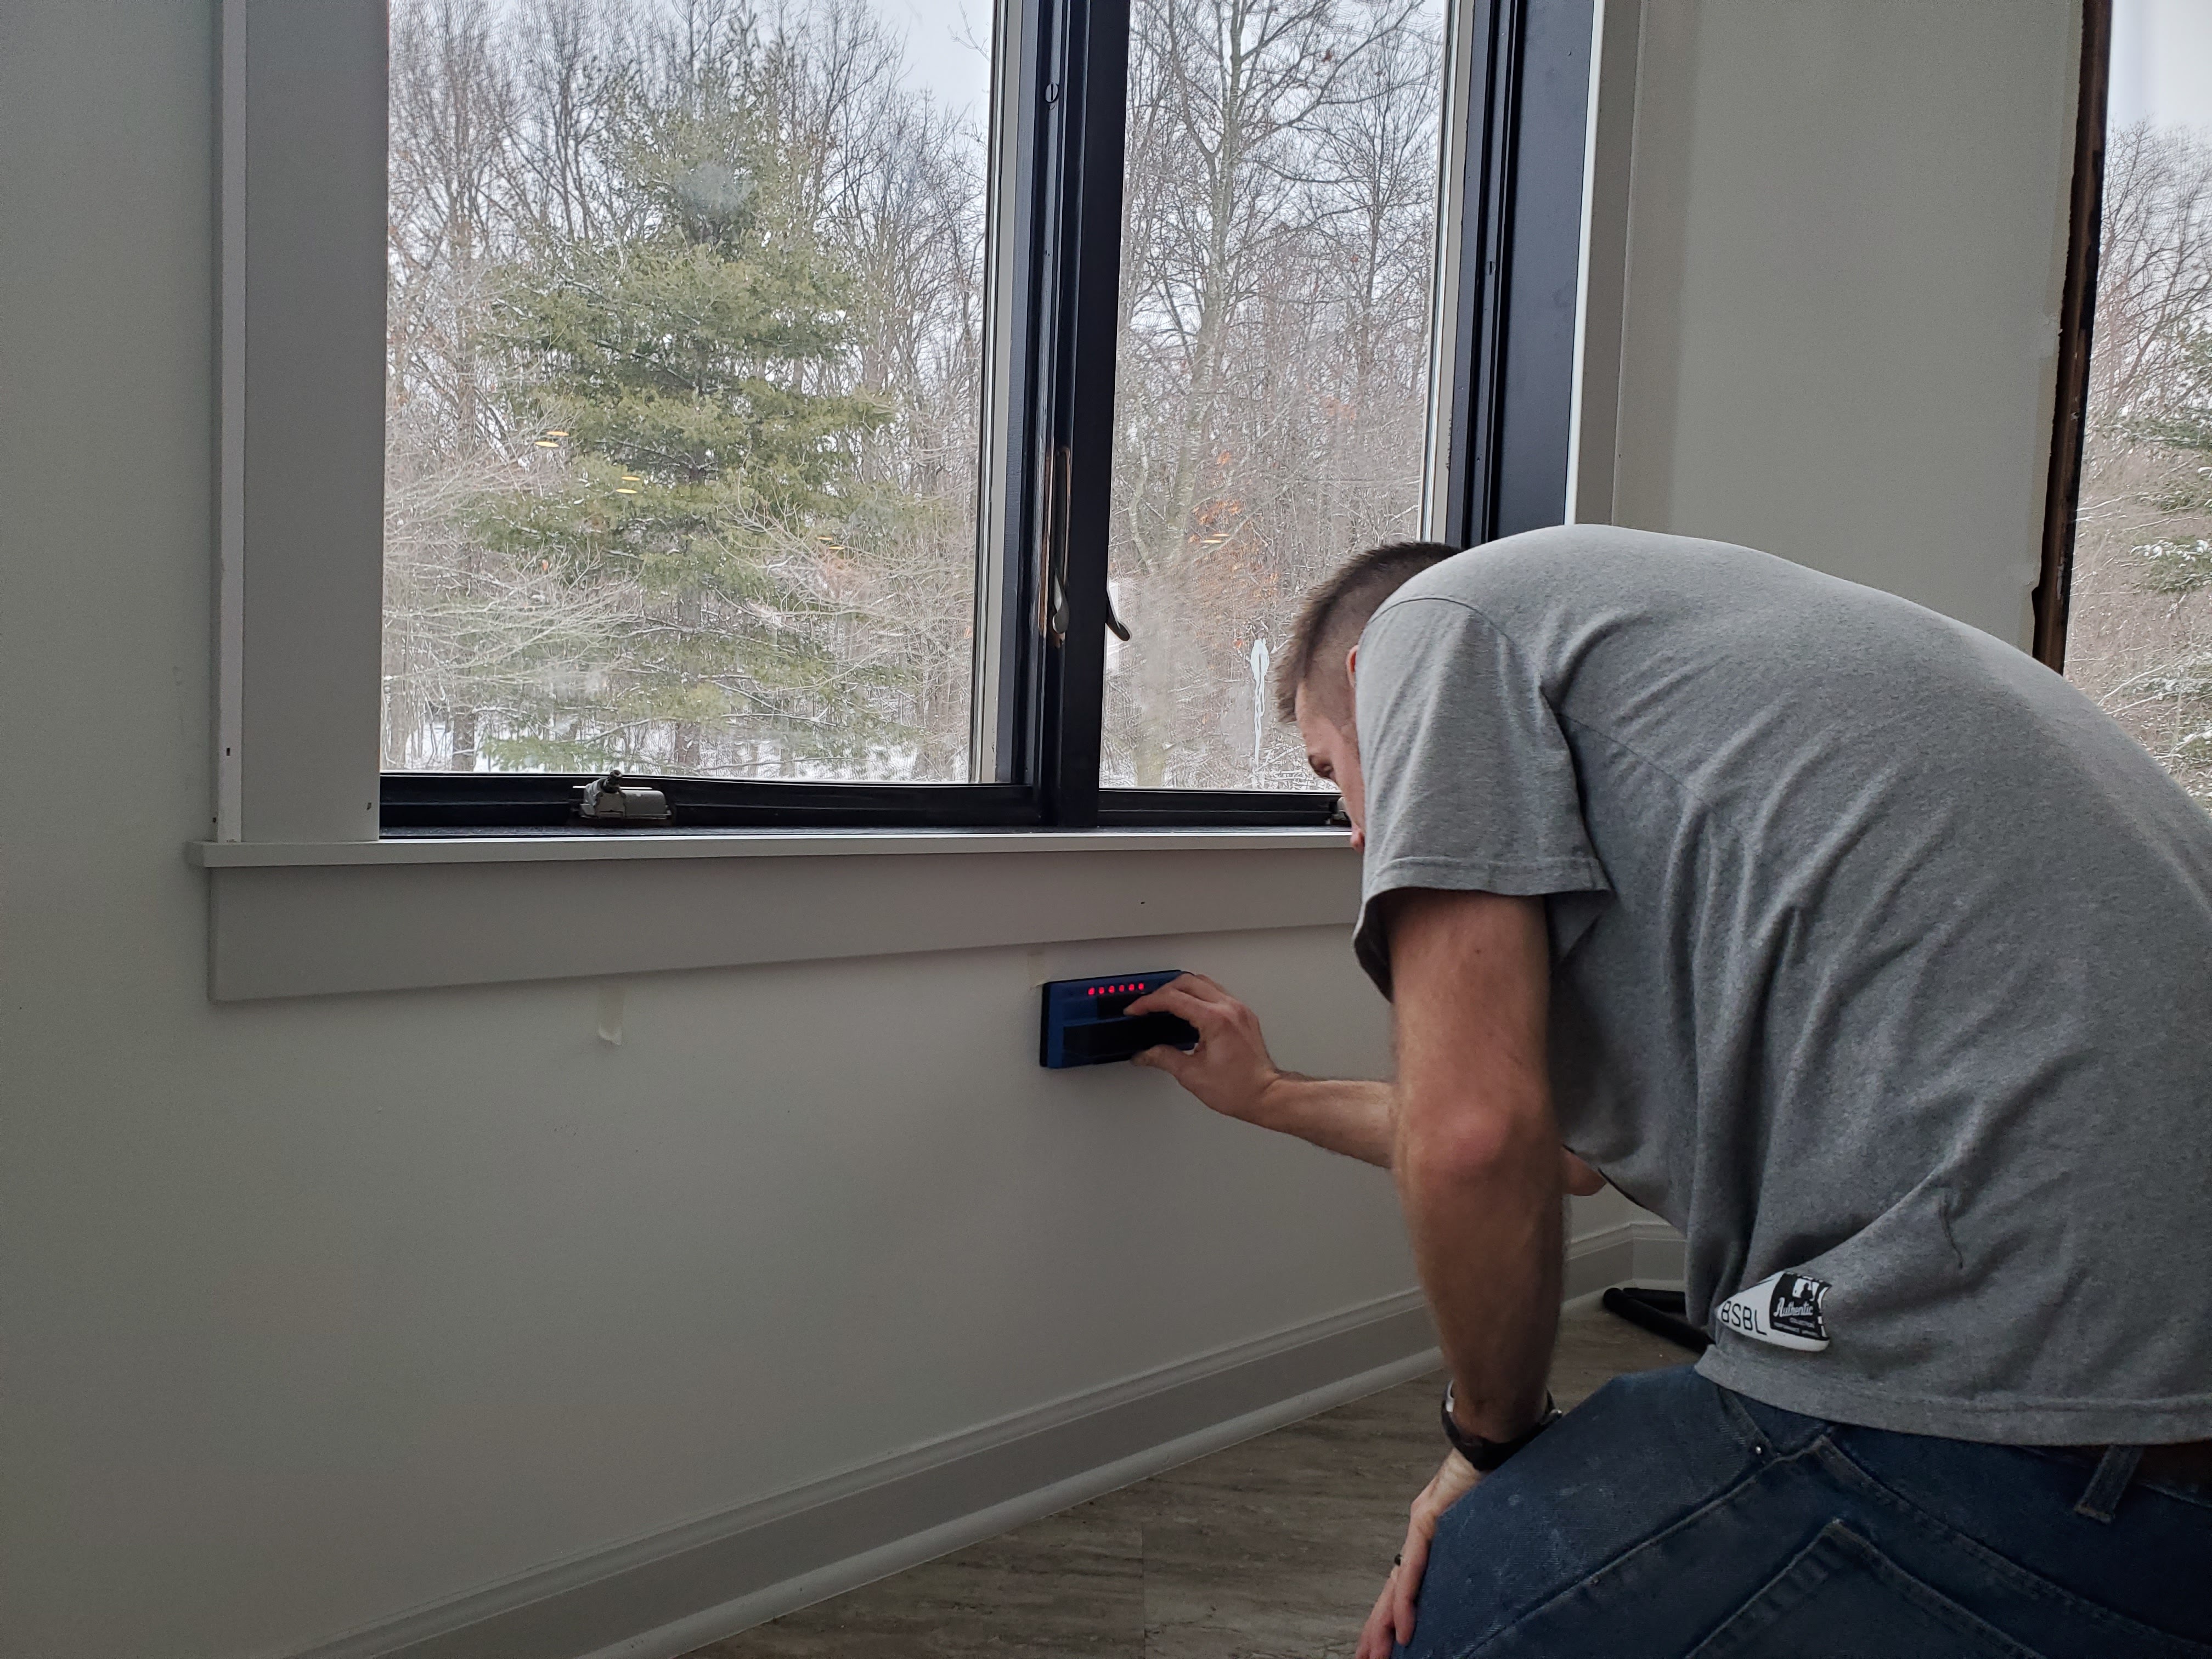
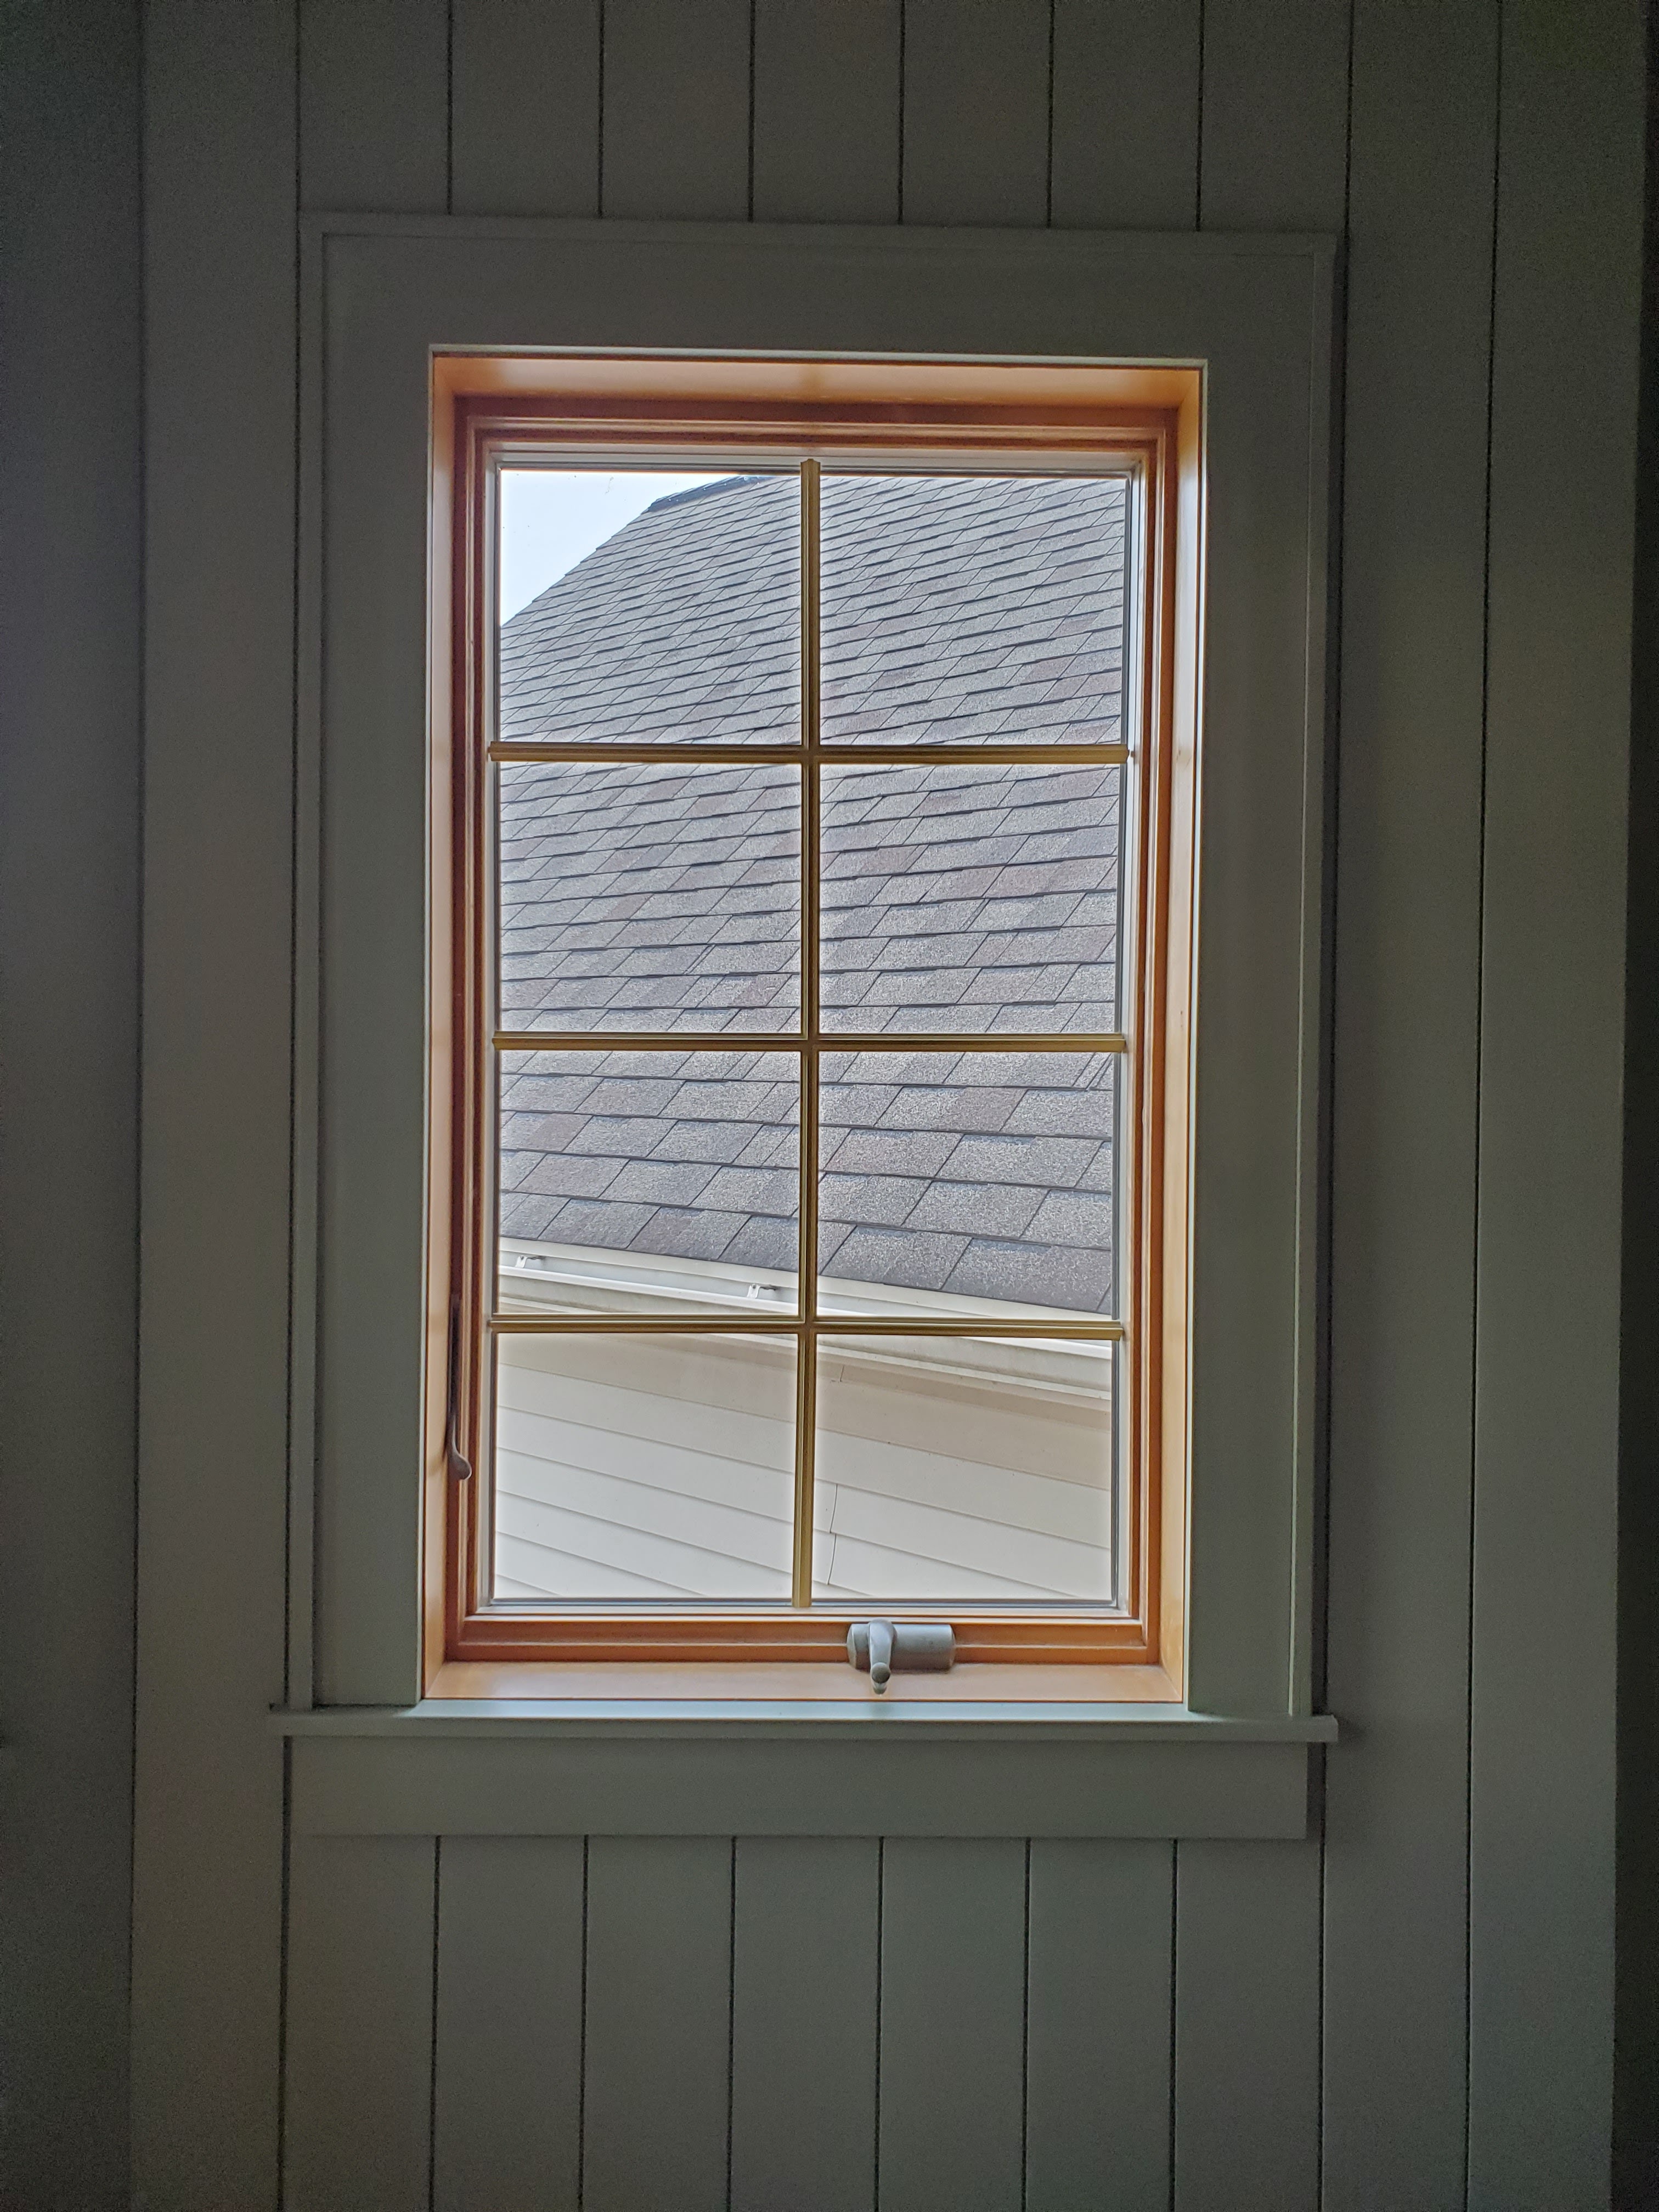
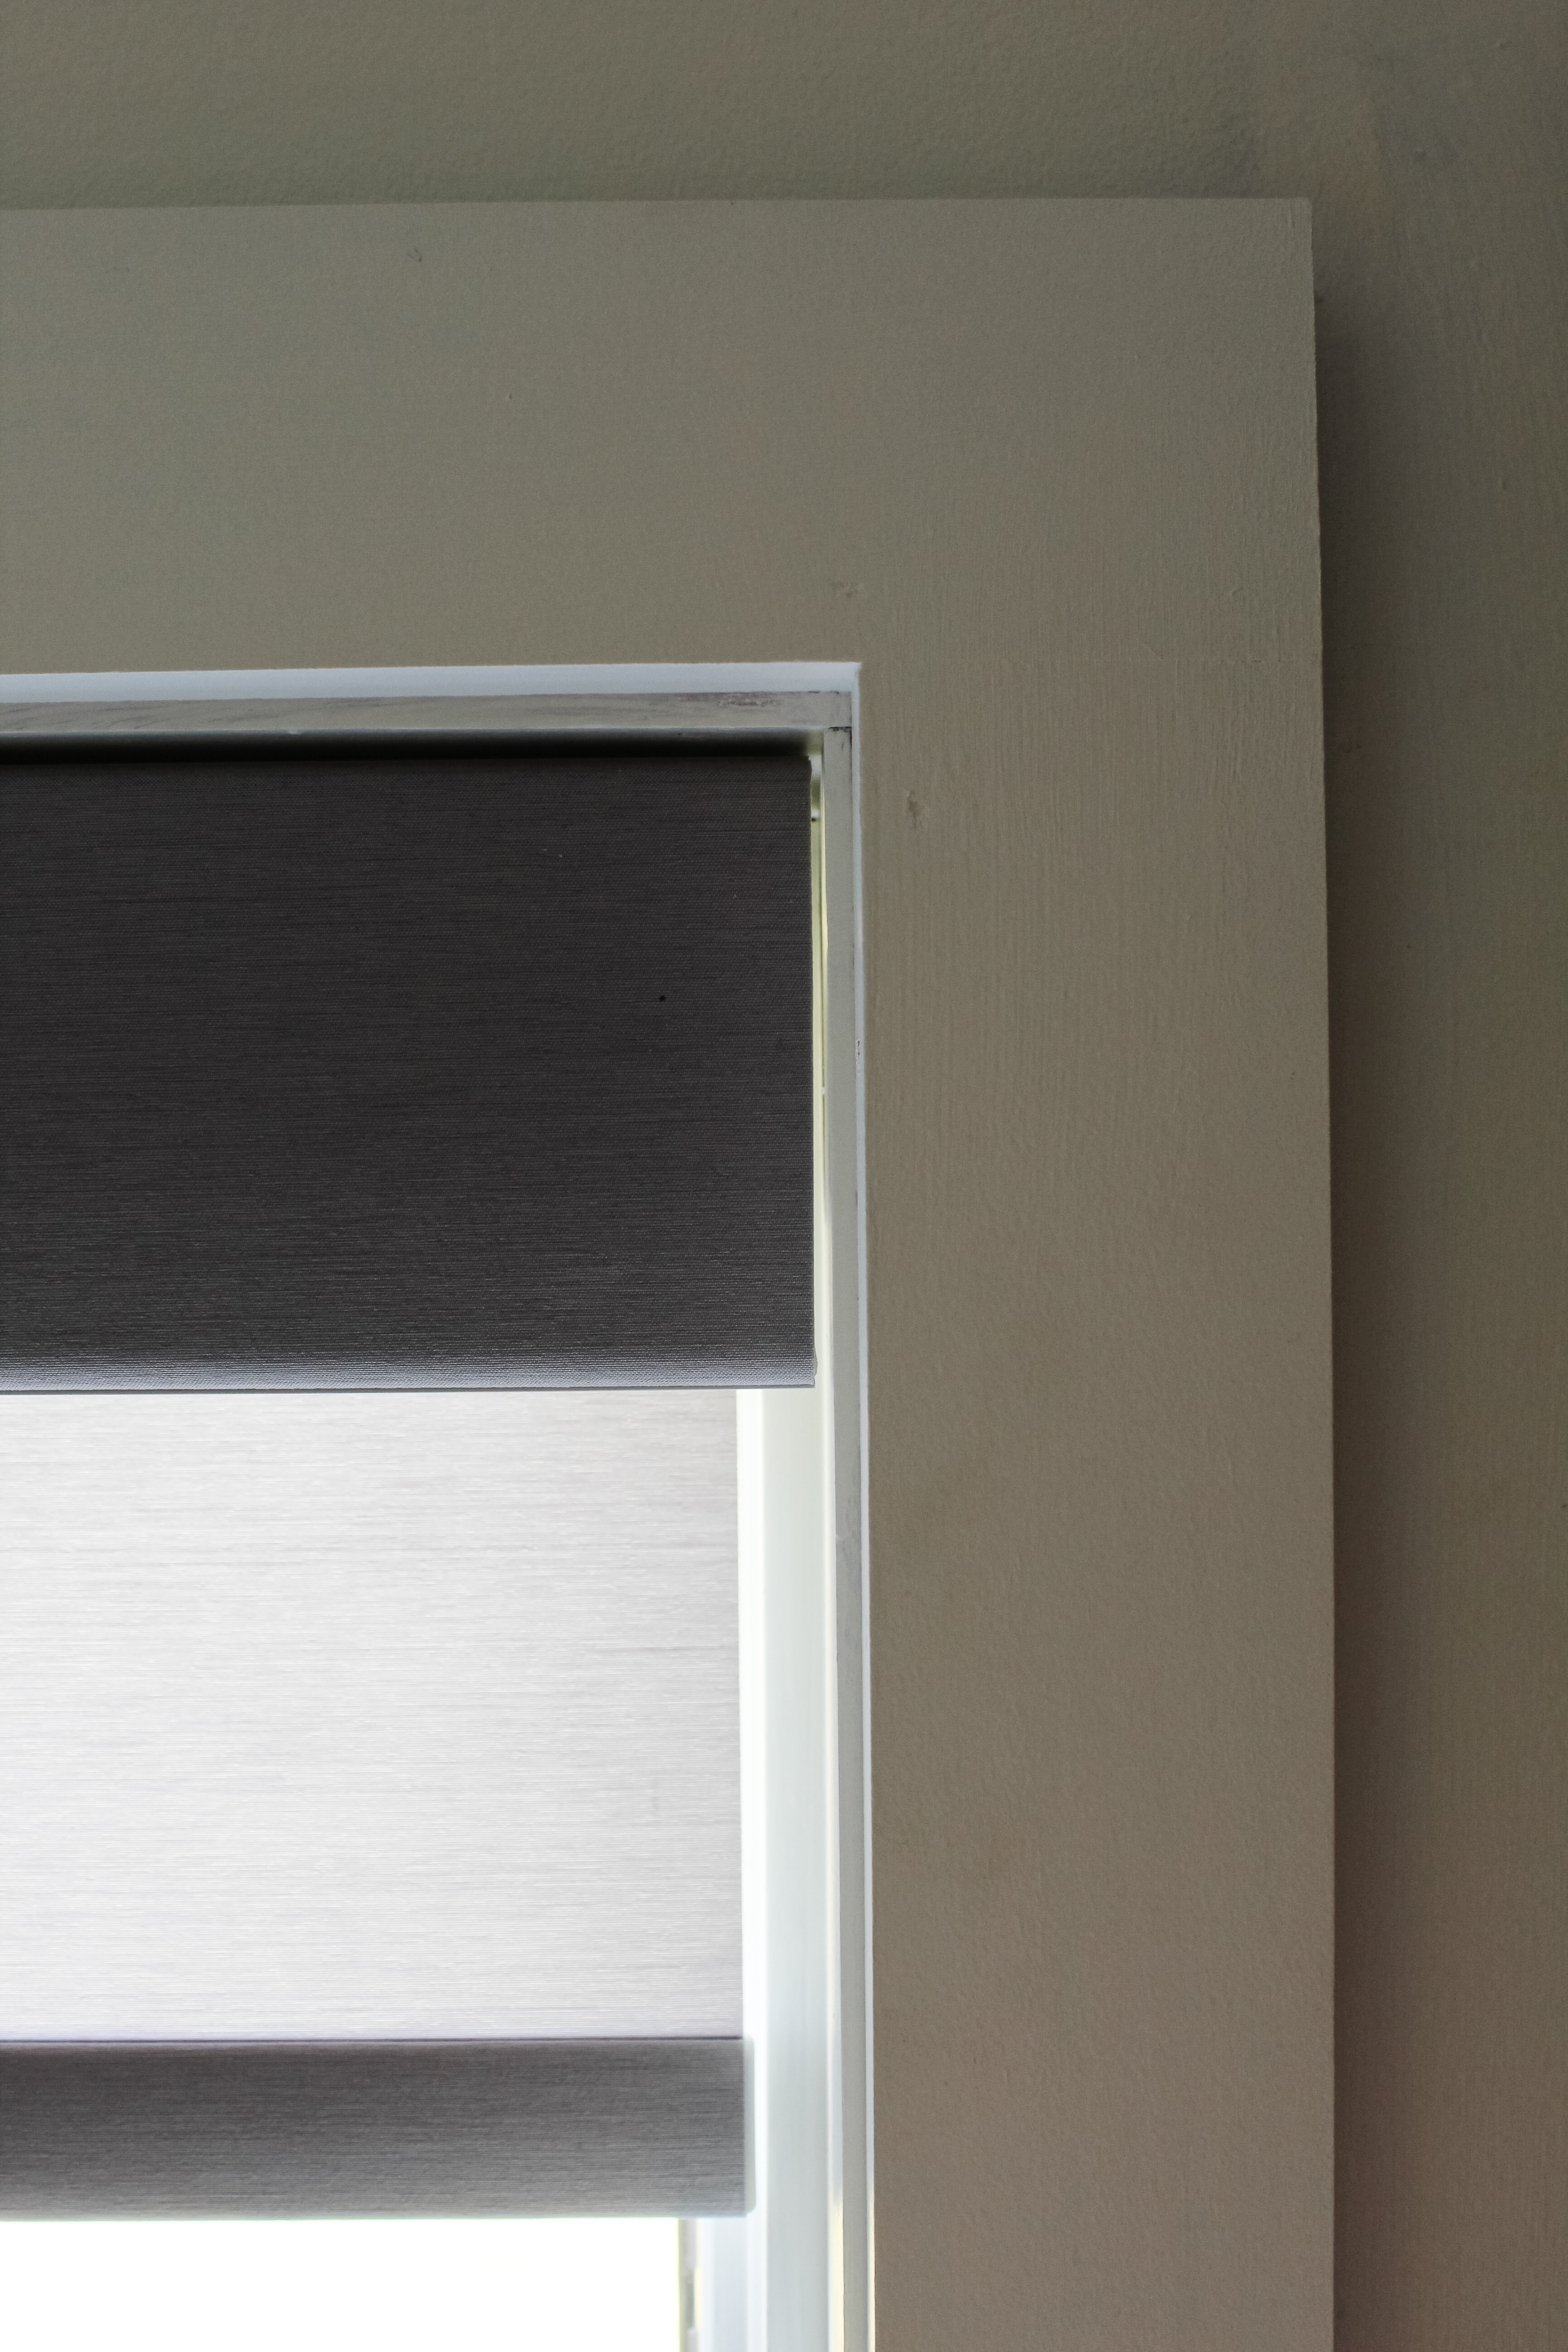
We also replaced all the baseboards and window trim in the kitchen. I wrote all about the DIY window trim we (okay, mostly Justin) installed and you can read about it here. I just wanted a simple trim that framed our gorgeous view of the outdoors without distracting from it and this was perfect.

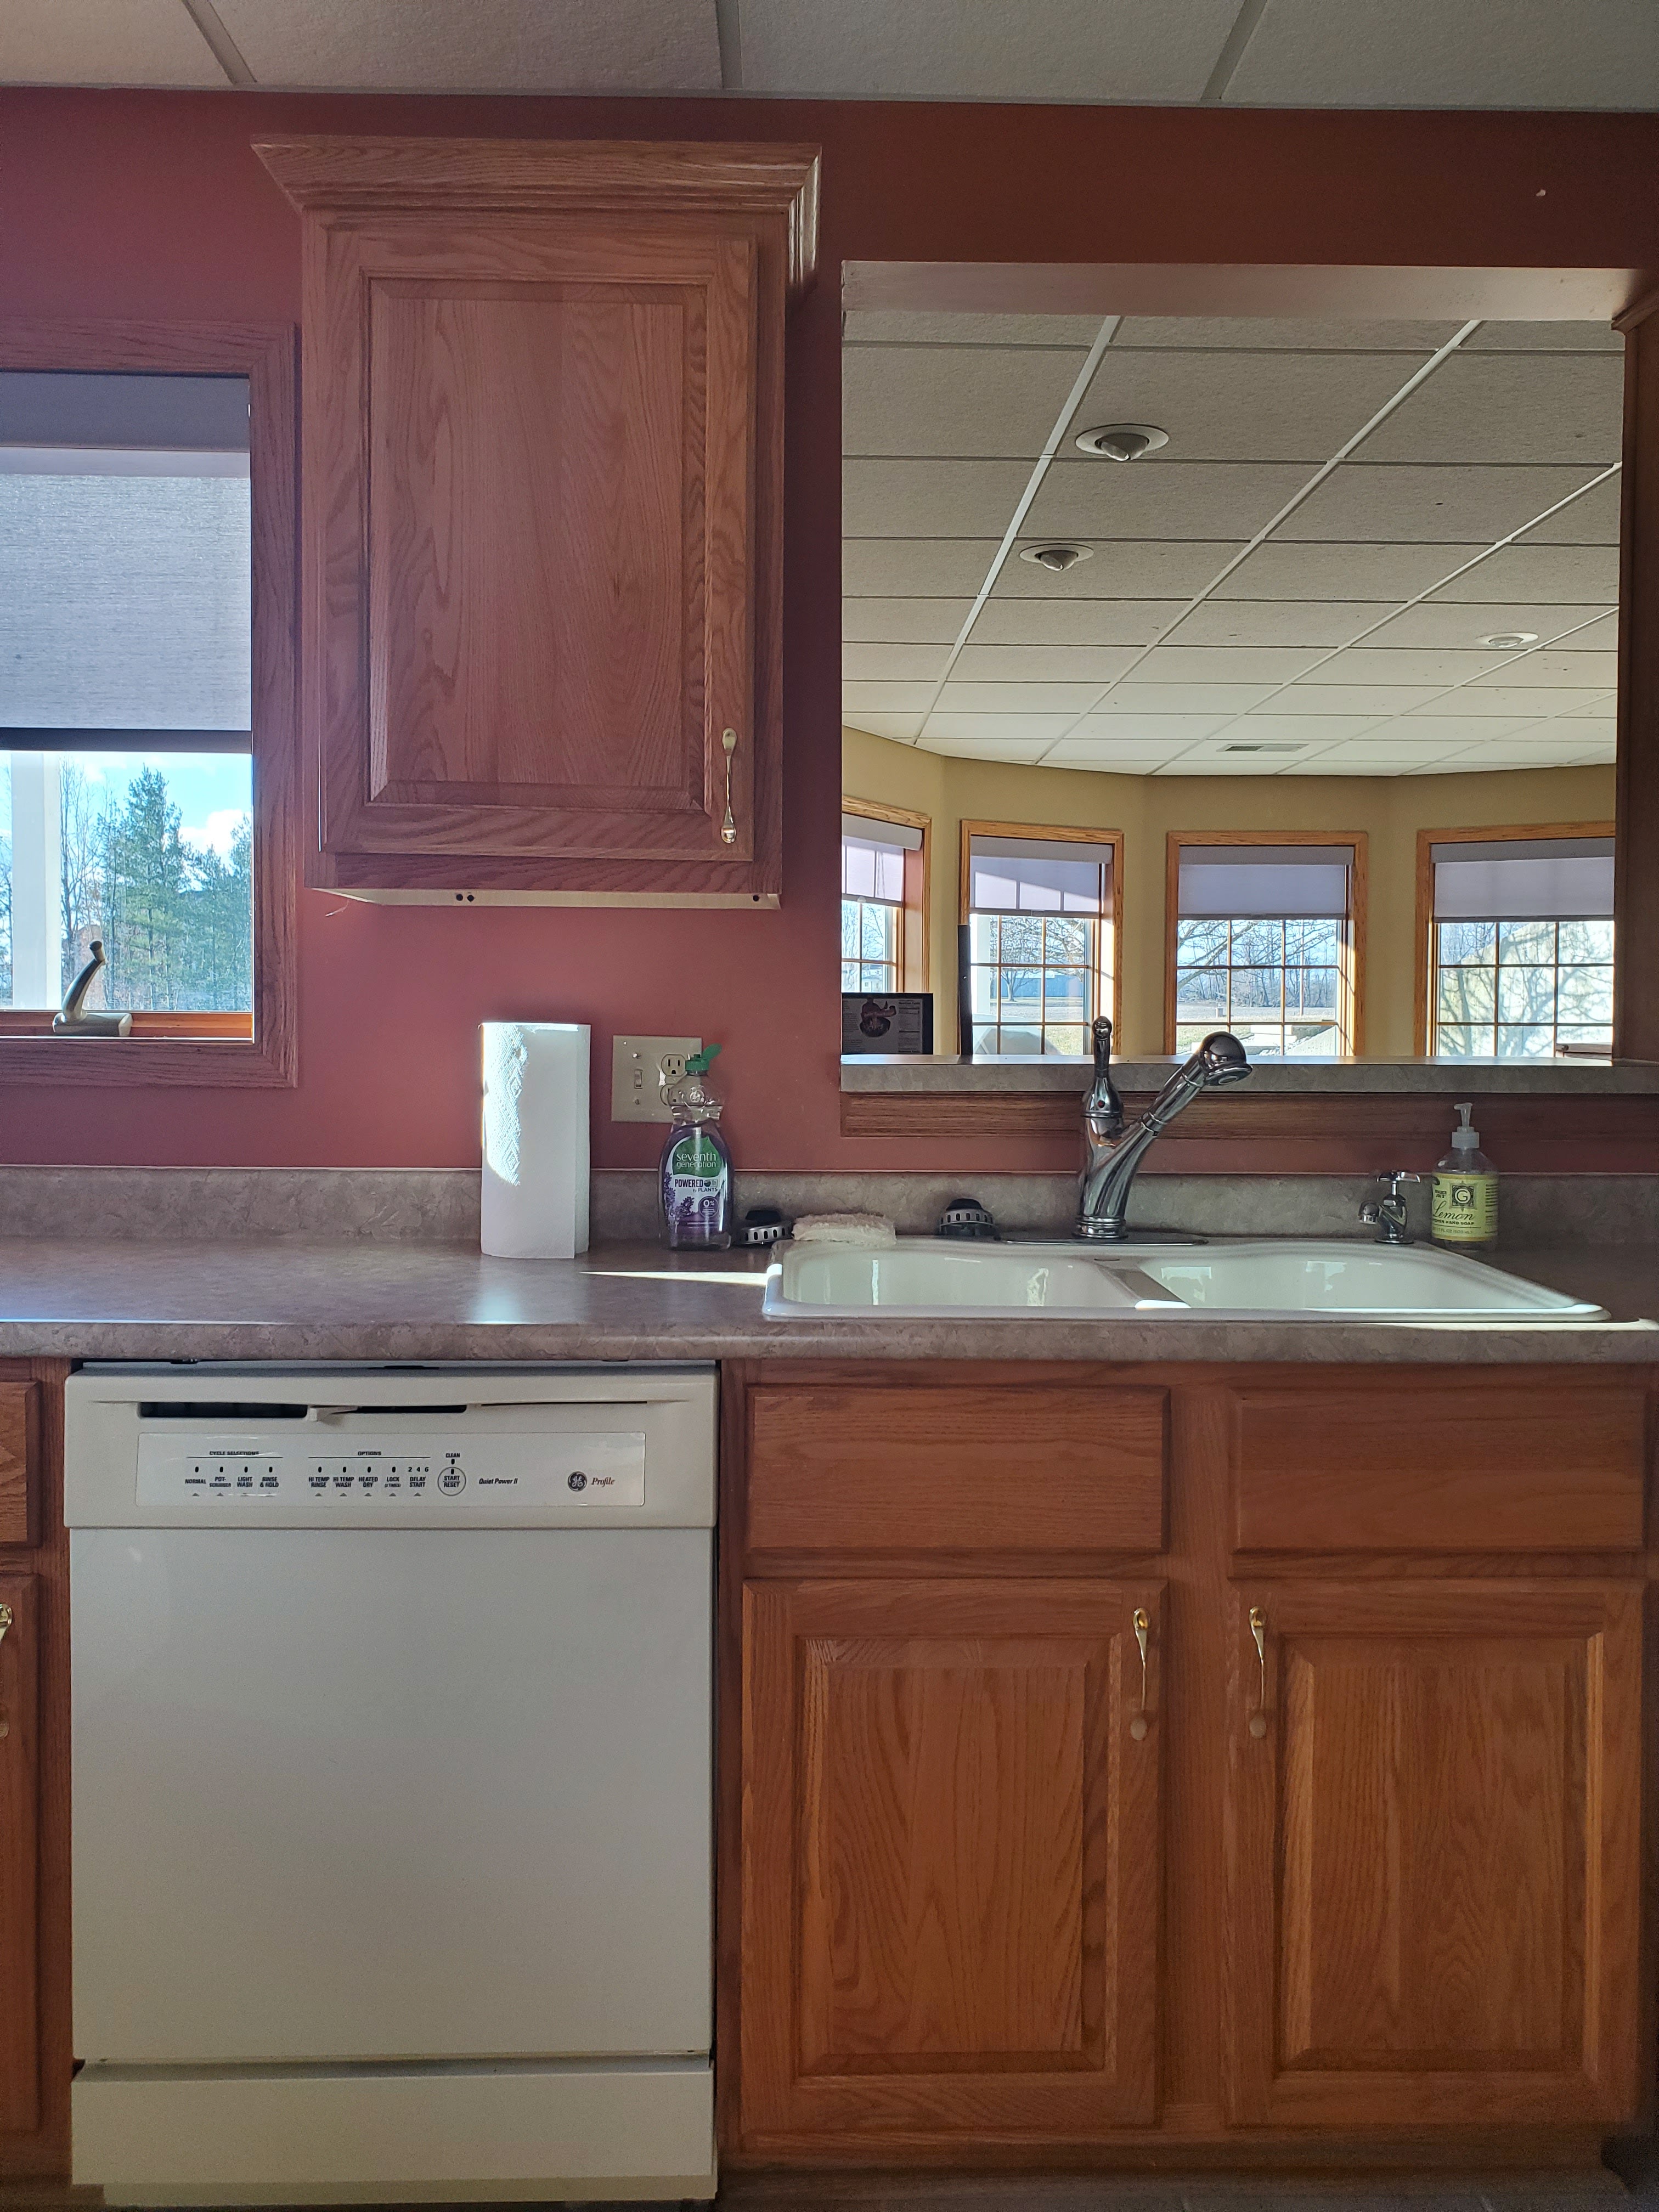
The sink faucets got upgraded as well. There were previously two faucets: the main one for filtered water and the little one for unfiltered well water (preference for the previous owner). The main faucet was replaced by this gorgeous matte black one, which I bought from the new and used options for a small discount, and we closed off the well water faucet hookup and installed a matte black soap pump for dishwashing soap instead.

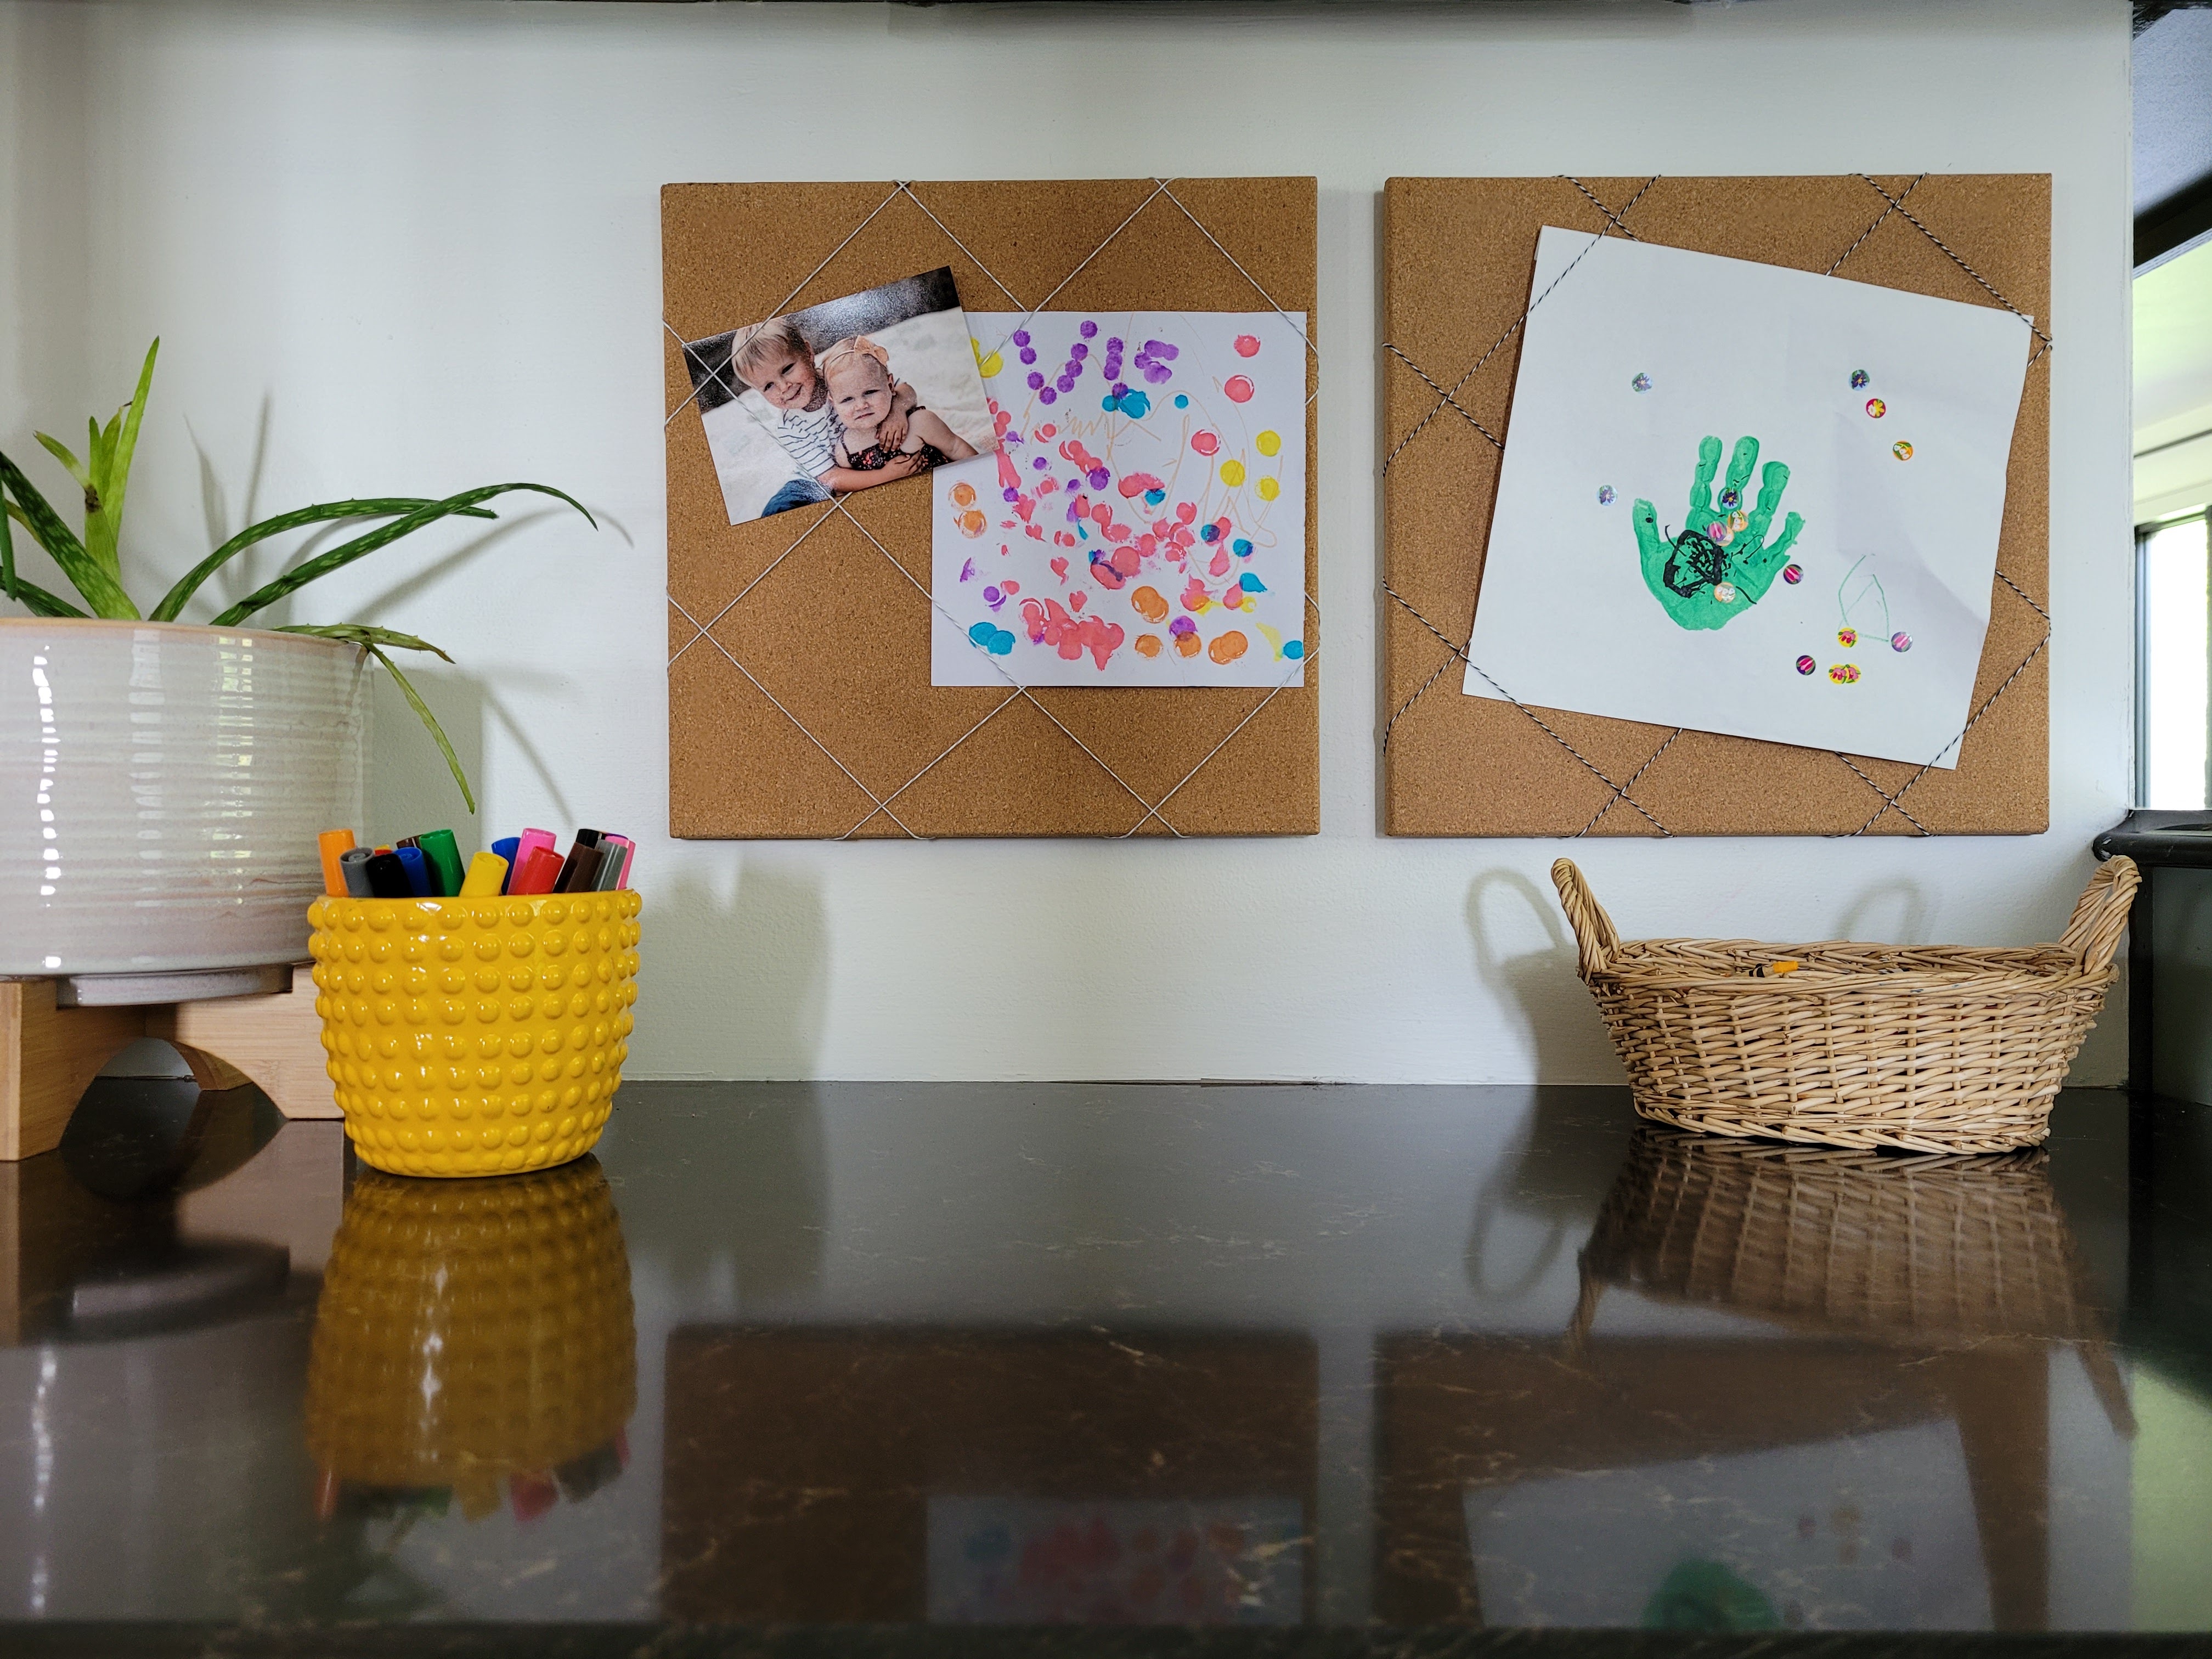
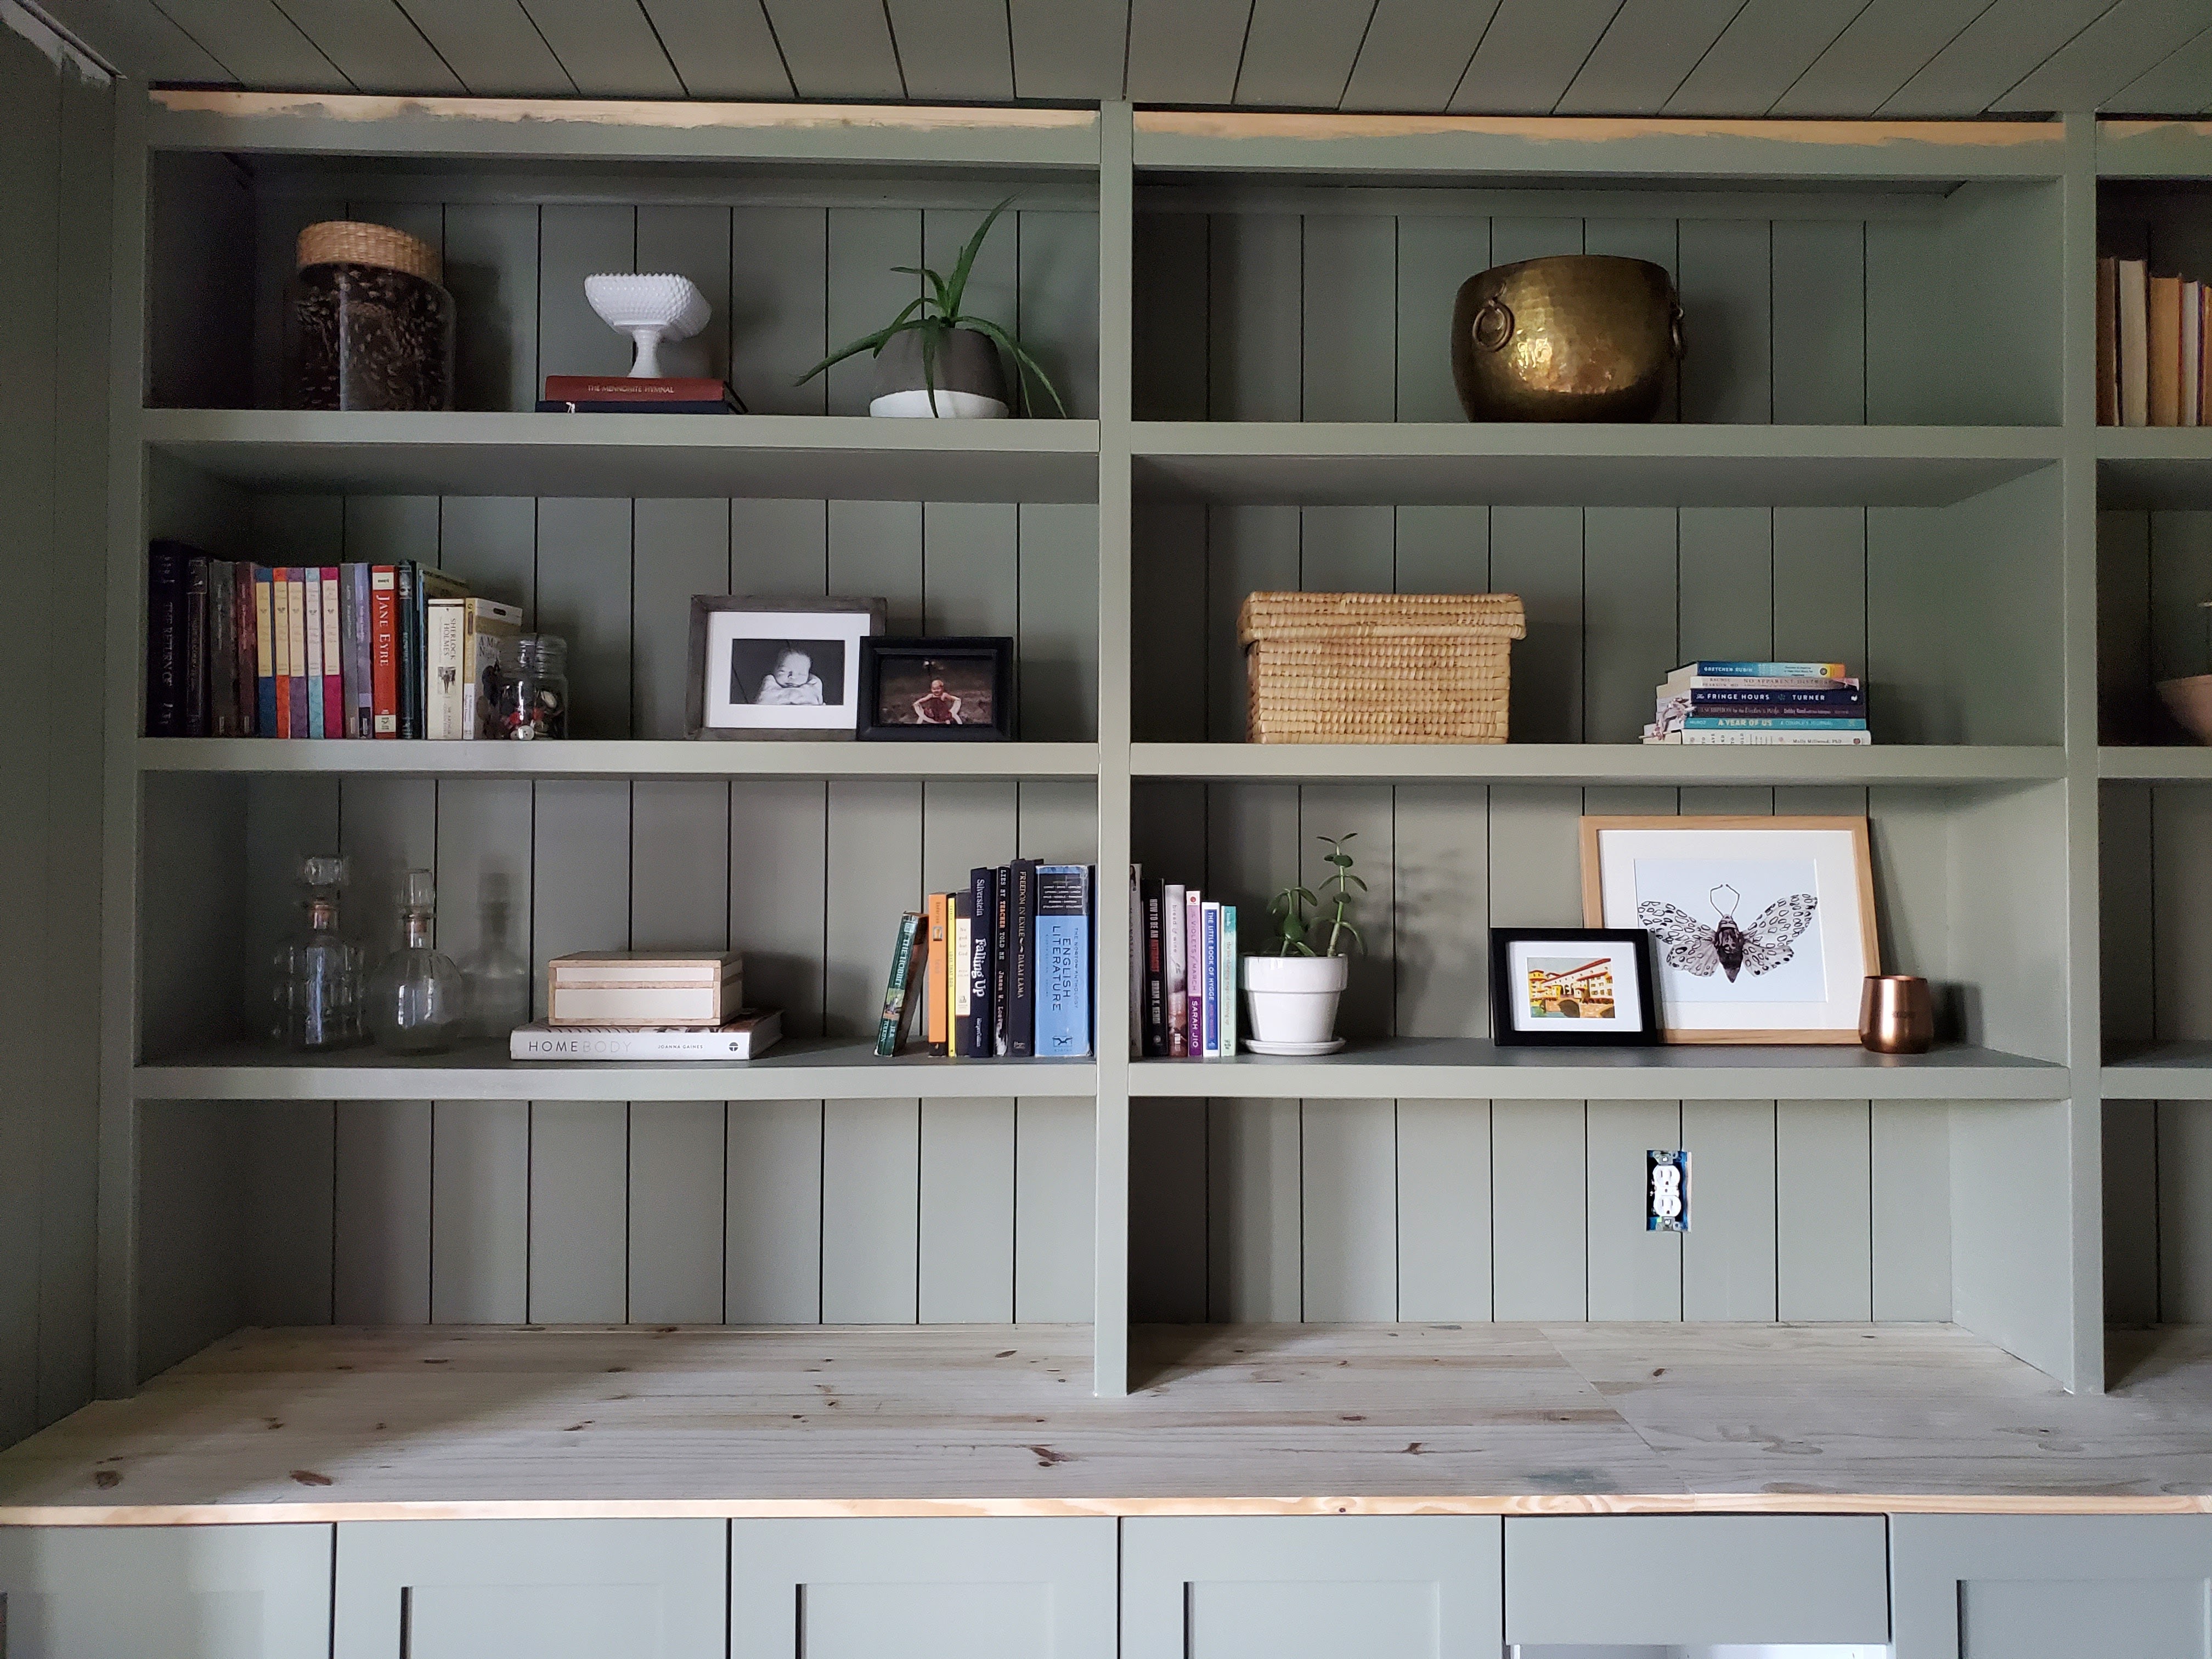
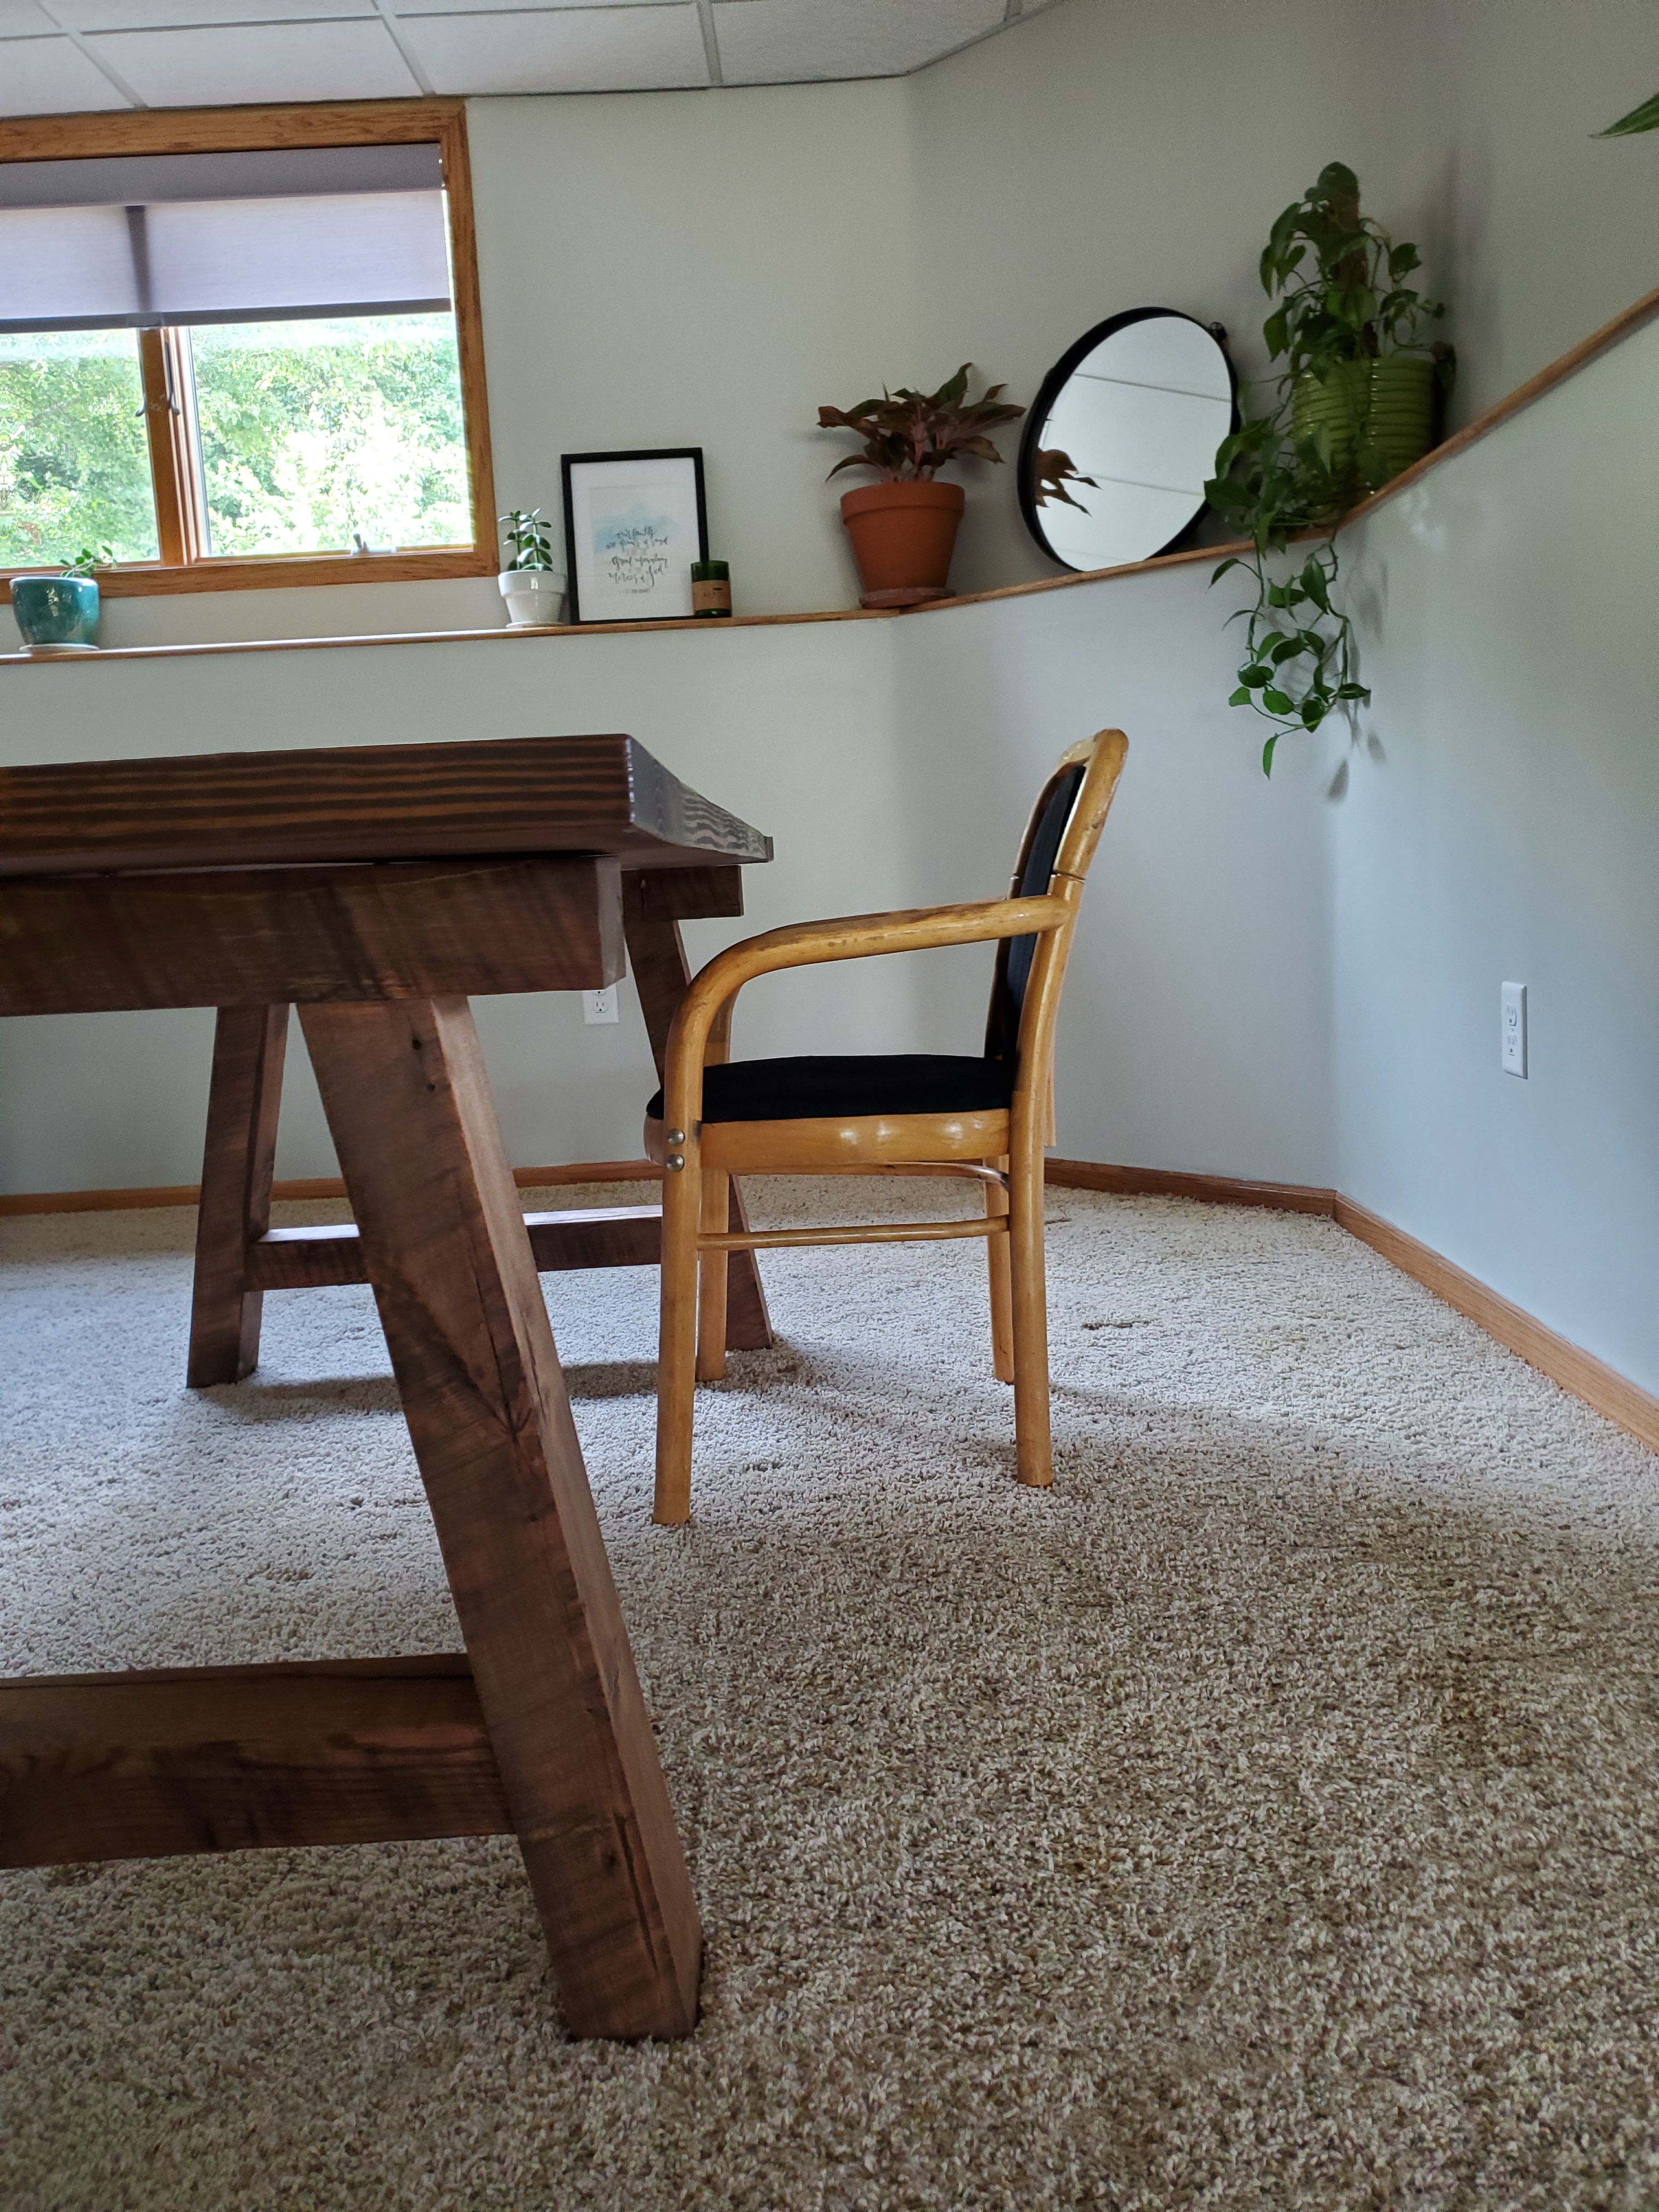
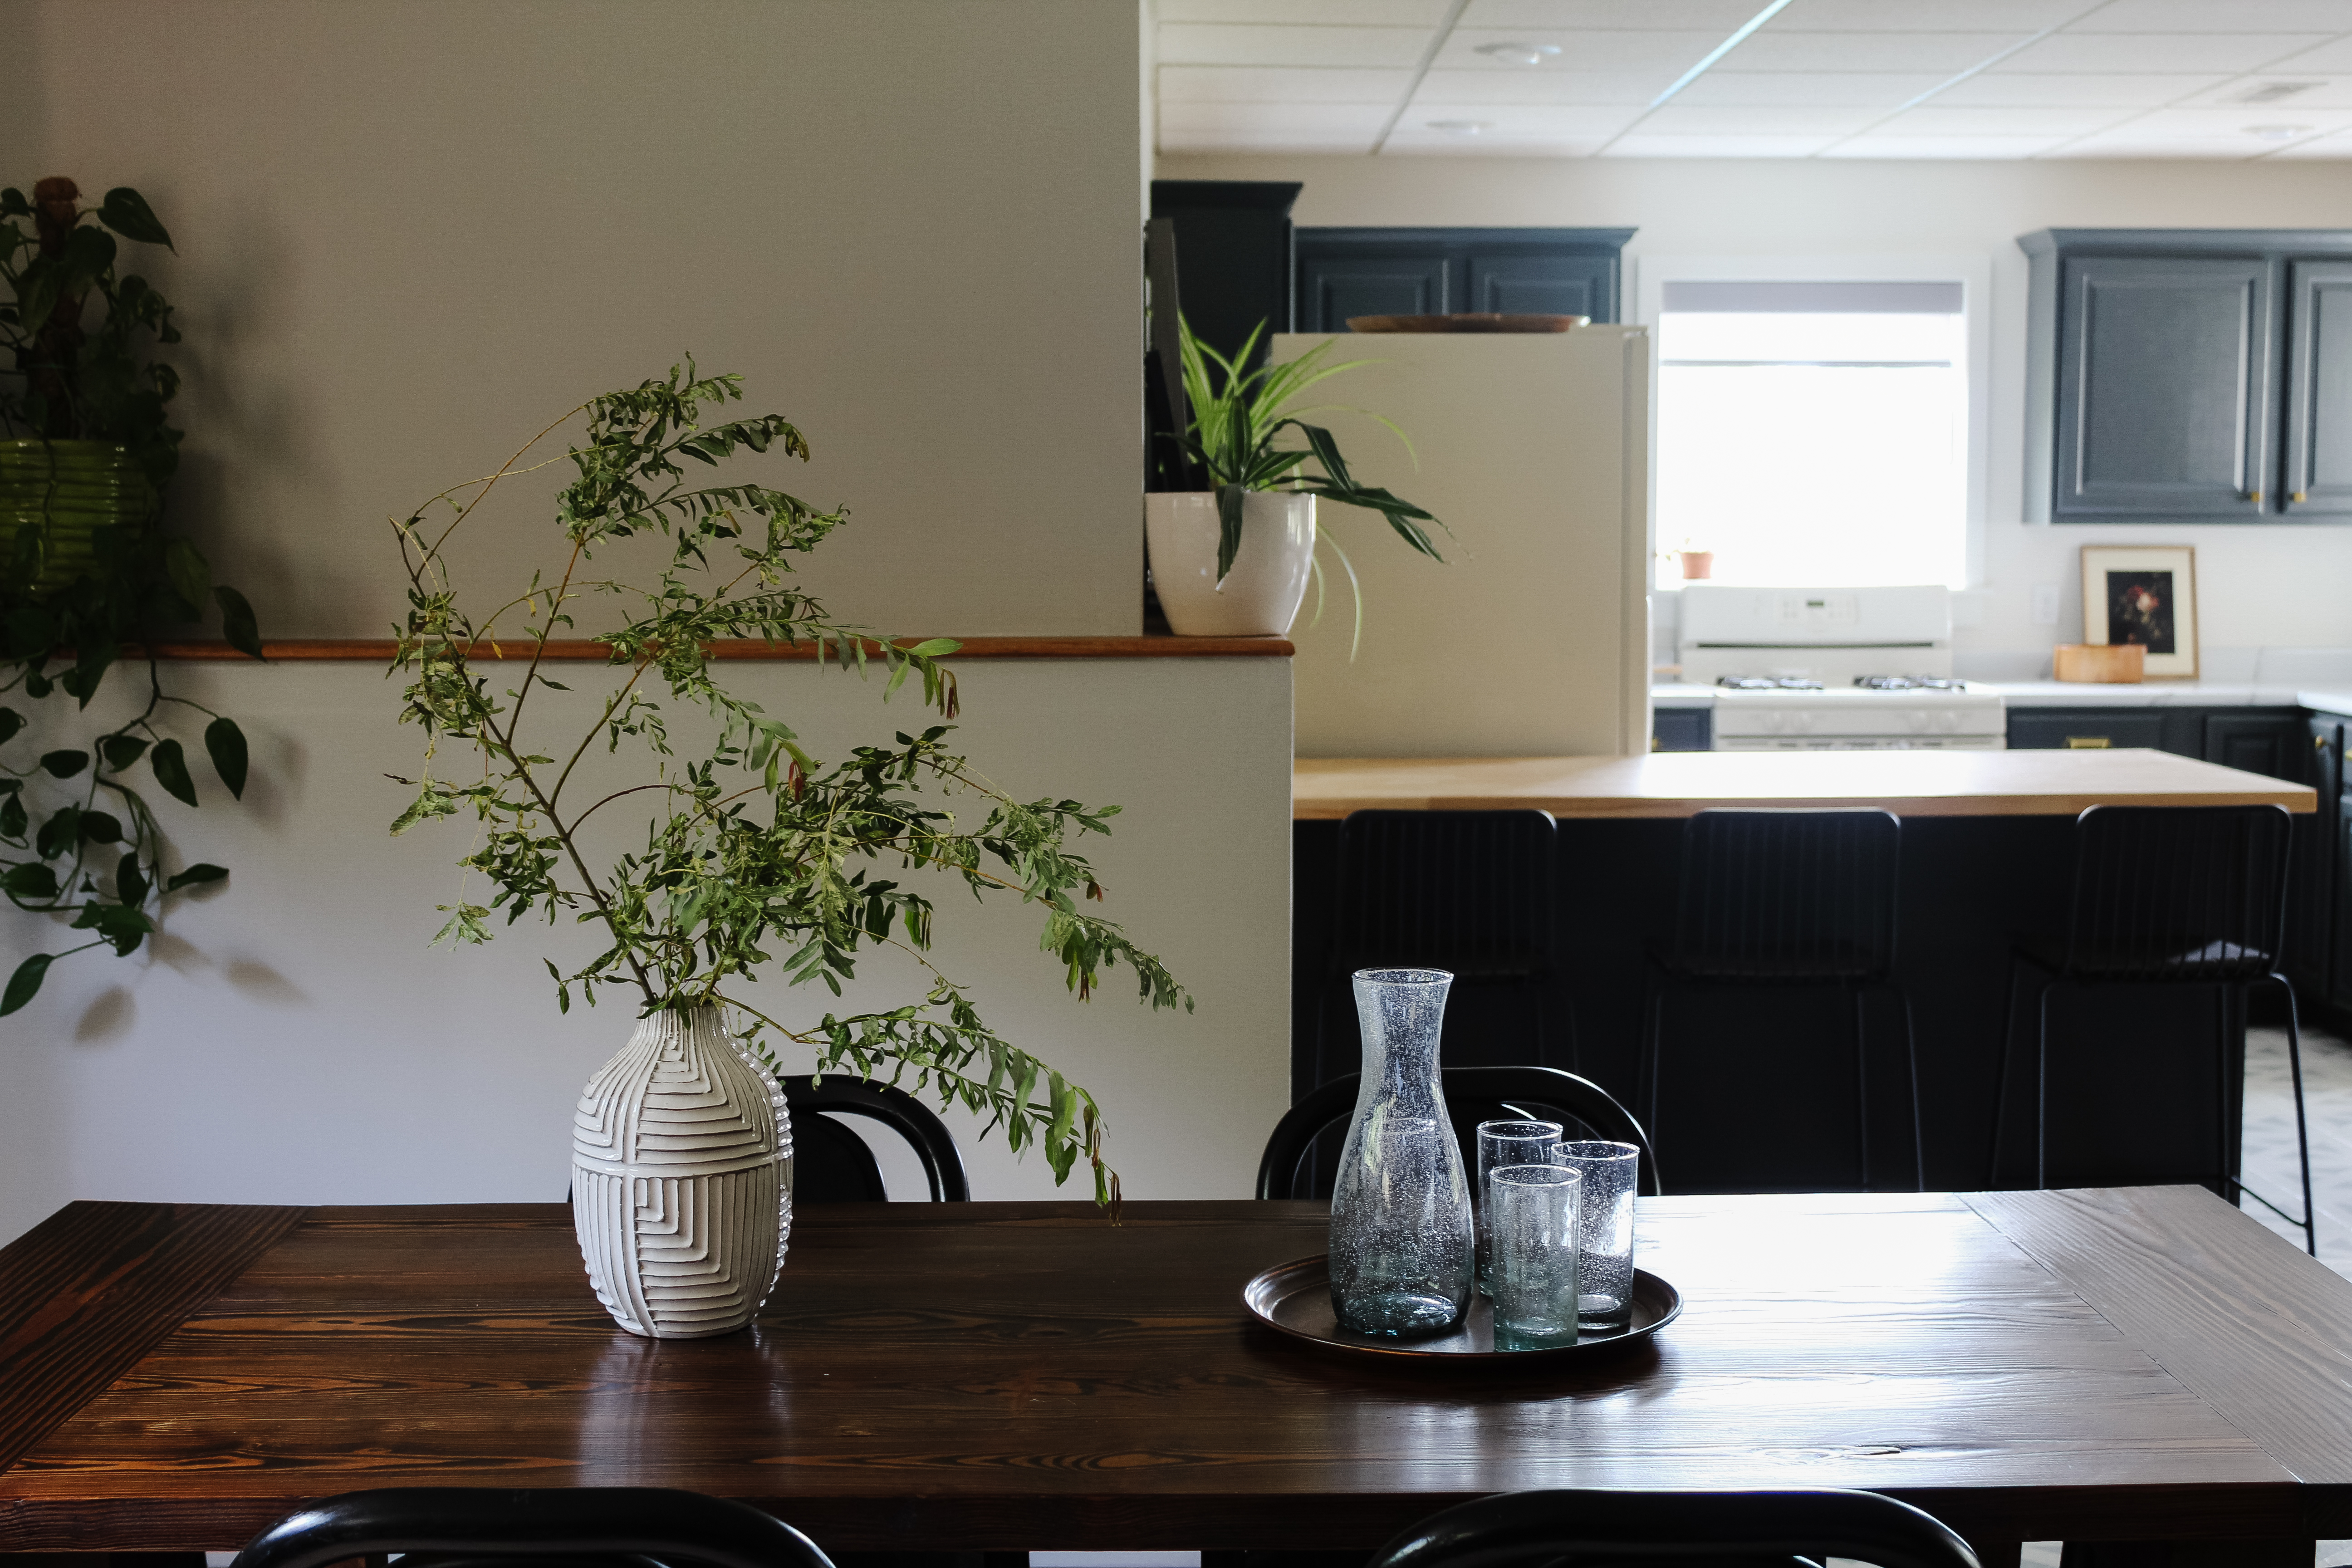
 I tried not to buy a ton of new decor for the space and instead shopped my own house for plants, art, towels, and other decor to put the finishing touches on. With the exception of this vintage floral print from BFF Print shop, I already had all of the framed artwork. I loved taking off the extra trim and using this ledge (where the house foundation is) as a functional place to stack lots of art and plants. It feels extra special because the artwork is all personal!

Overall, I could not be happier with how this kitchen turned out. I poured tons of hours and a lot of hard work into this and really had to stretch myself to solve some problems and come up with budget-friendly DIY solutions. I also have to give a huge shout out to Justin for all his help with many of my projects – he is so awesome! I’m so proud of how we made this kitchen come to life AND I’m extra proud that we stayed within budget. The grand total for this entire renovation was $1,494.27!! I am doing a happy dance over here!


 I could go on and on about this space, but I’ll leave you with this. If there’s a change you want to make to your home, I encourage you to go for it! There were a lot of things with this project that I had never done before, and it can be intimidating to try new things, but you don’t know what you can do until you TRY. And while I stand by the fact that you can transform a room without a huge budget, even a teeny tiny budget can make a difference. Have $100? Try swapping out cabinet hardware. Have $30? Try painting the walls. Have $5? Scour your local thrift stores for a piece or two of decor to spruce up your space. It doesn’t have to be the biggest, fanciest, best renovation possible. I have been discouraged before watching people transform rooms and they gut it down to the studs and completely remodel everything. While that’s great, and I certainly hope to do that with a few rooms in our house, it’s very expensive and therefore not always a realistic option. But even if you can’t do everything, you can do SOMETHING. And each little thing you do can help you fall more and more in love with your home. ❤
Sources + Budget Breakdown
Flooring
Rustoleum Home Floor Paint (Steam Gray & Haven Gray base coats; Top Coat): $160.44
Delicate Surface Painter’s Tape (6 rolls): $57.59
Misc supplies (rollers, Krud Kutter, etc.): $31.22
Cabinets
Kilz 2 Primer (already had – I buy a 3.5 gallon bucket at a time because I use this for so many projects!)
Liquid Deglosser: $8.53
Showcase Paint (in Rock Bottom by HGTV HOME by Sherwin Williams): $41.71
Hardware (cabinet knobs, drawer pulls): $99.90
Bumpers: $6.69
Paneling for island: $22.02
Counters
Butcher Block: $212.93
Giani Marble Paint Kit: $192.55
Misc Materials
Lumber for Window Trim: $36.02
Baseboards: $32.36
Wall Paint (Sherwin Williams Alabaster in Eggshell): $28.86
Window + Baseboard Trim (Sherwin Williams Alabaster in Satin): already had from previous project
Dish Soap Pump: $23.53
Faucet: $64.96 (bought from new/used)
Caulk: $7.89
Wood Filler: $5.33
Brushes: $12.79
Rollers: $4.98
Decor – anything not listed below was either thrifted or I previously owned!
Counter stools: $284.60
Rug: $83.67
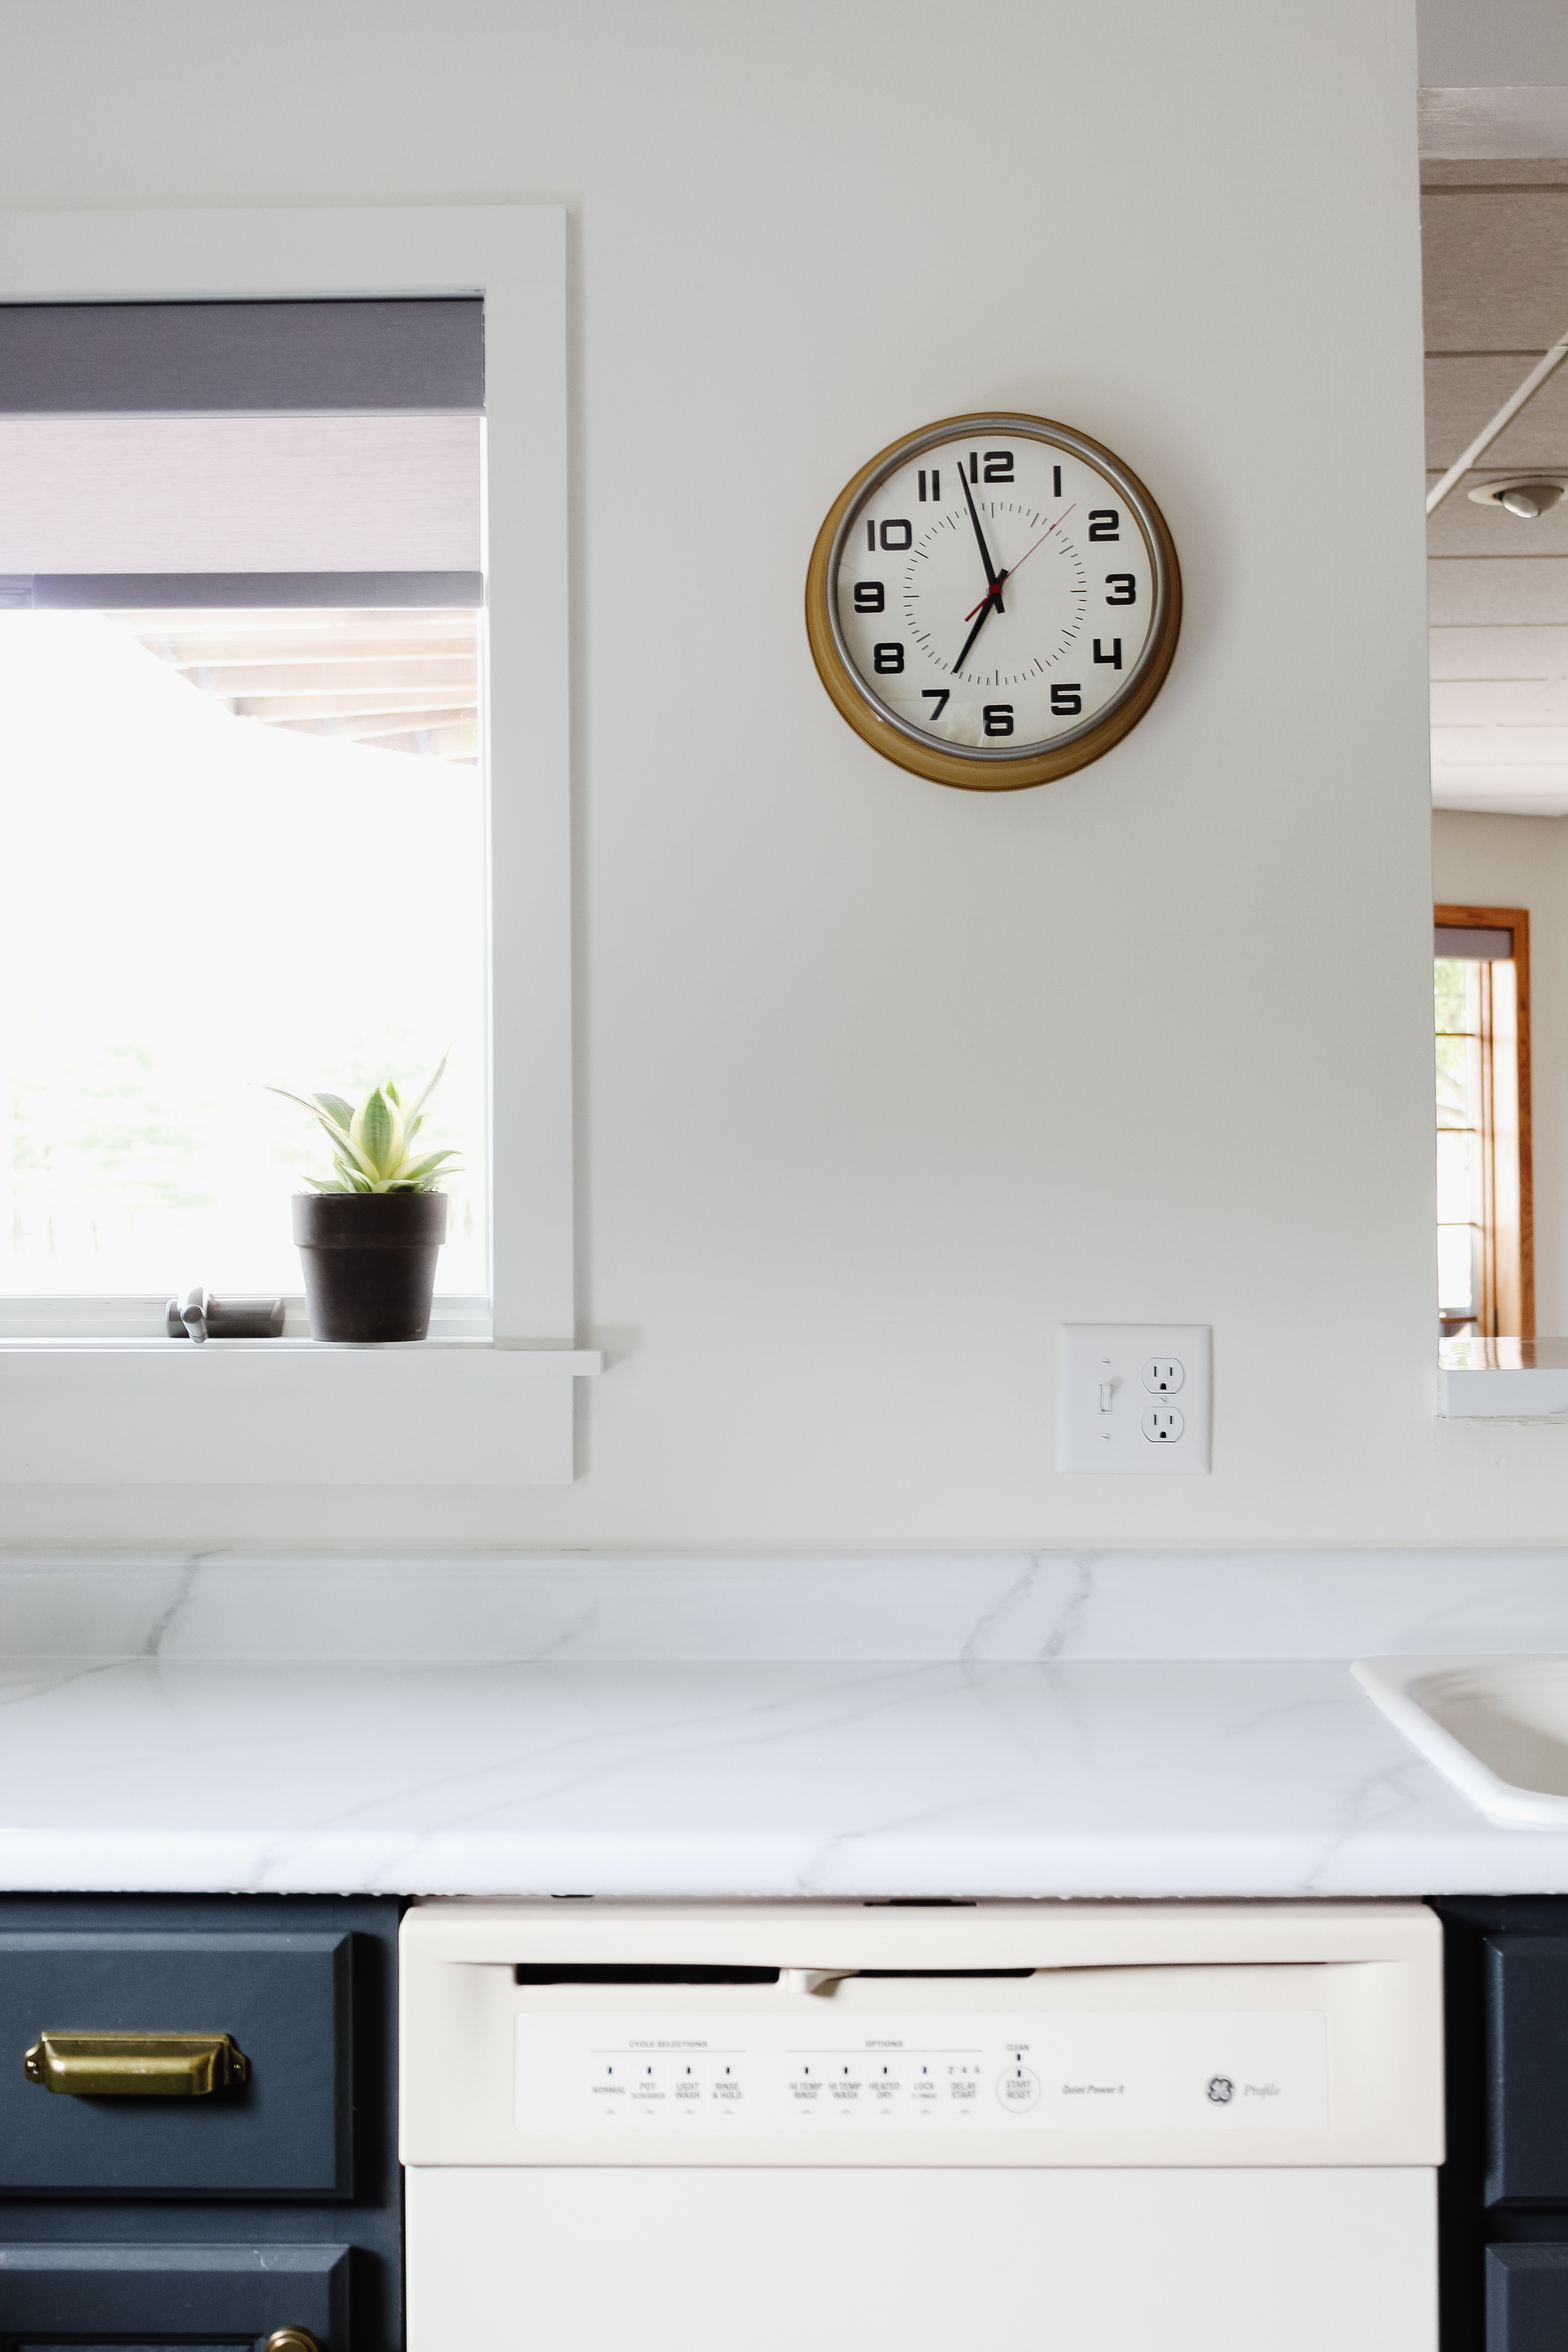
Clock: $25.48
Hand Soap Dispenser: $10.18 (used antique gold rub n buff to change silver to gold!)
Goldenrod faux plant: $20.04
Vintage floral art Print: $15 digital download + $5 printing
GRAND TOTAL: $1,494.27
*Note: we did not factor in the cost of having to hire drywallers to repair the mold because that was a repair our home needed (multiple areas of drywall needed repaired, not just in the kitchen) and that cost came out of a separate home maintenance fund. This is why it’s so important to have money set aside as a homeowner – you never know what will pop up!