A Modern Traditional Light for the Dining Room

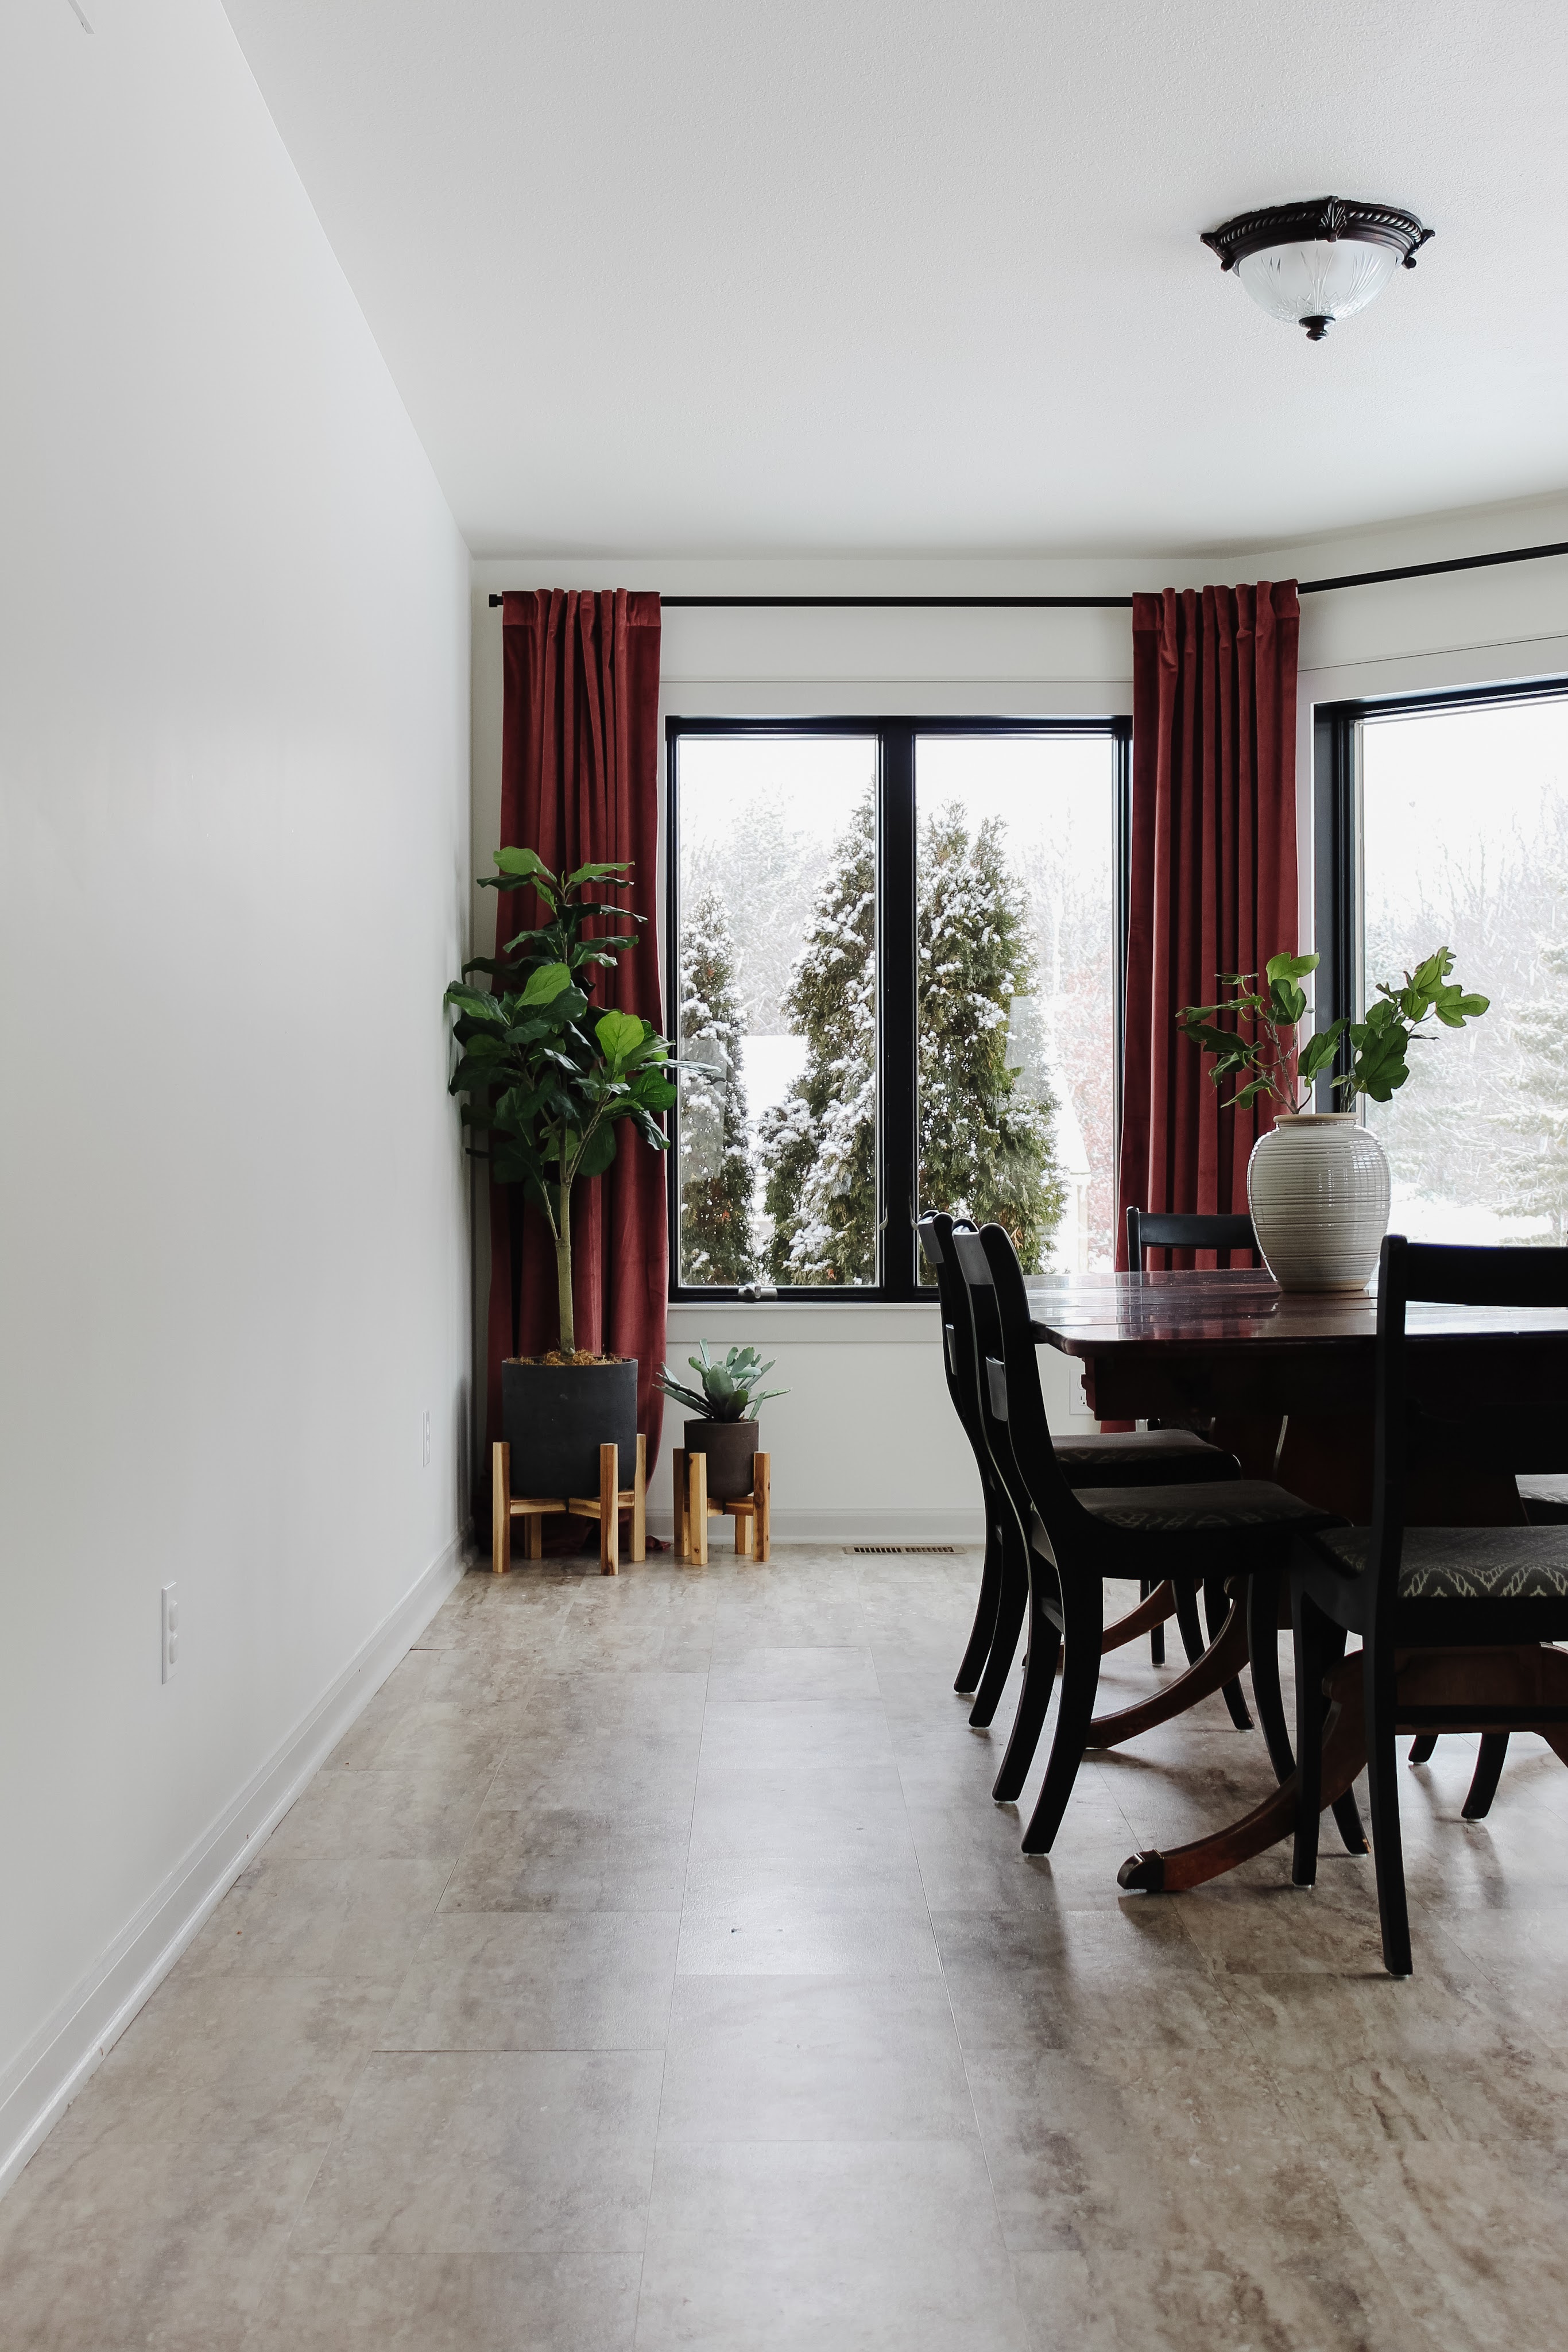
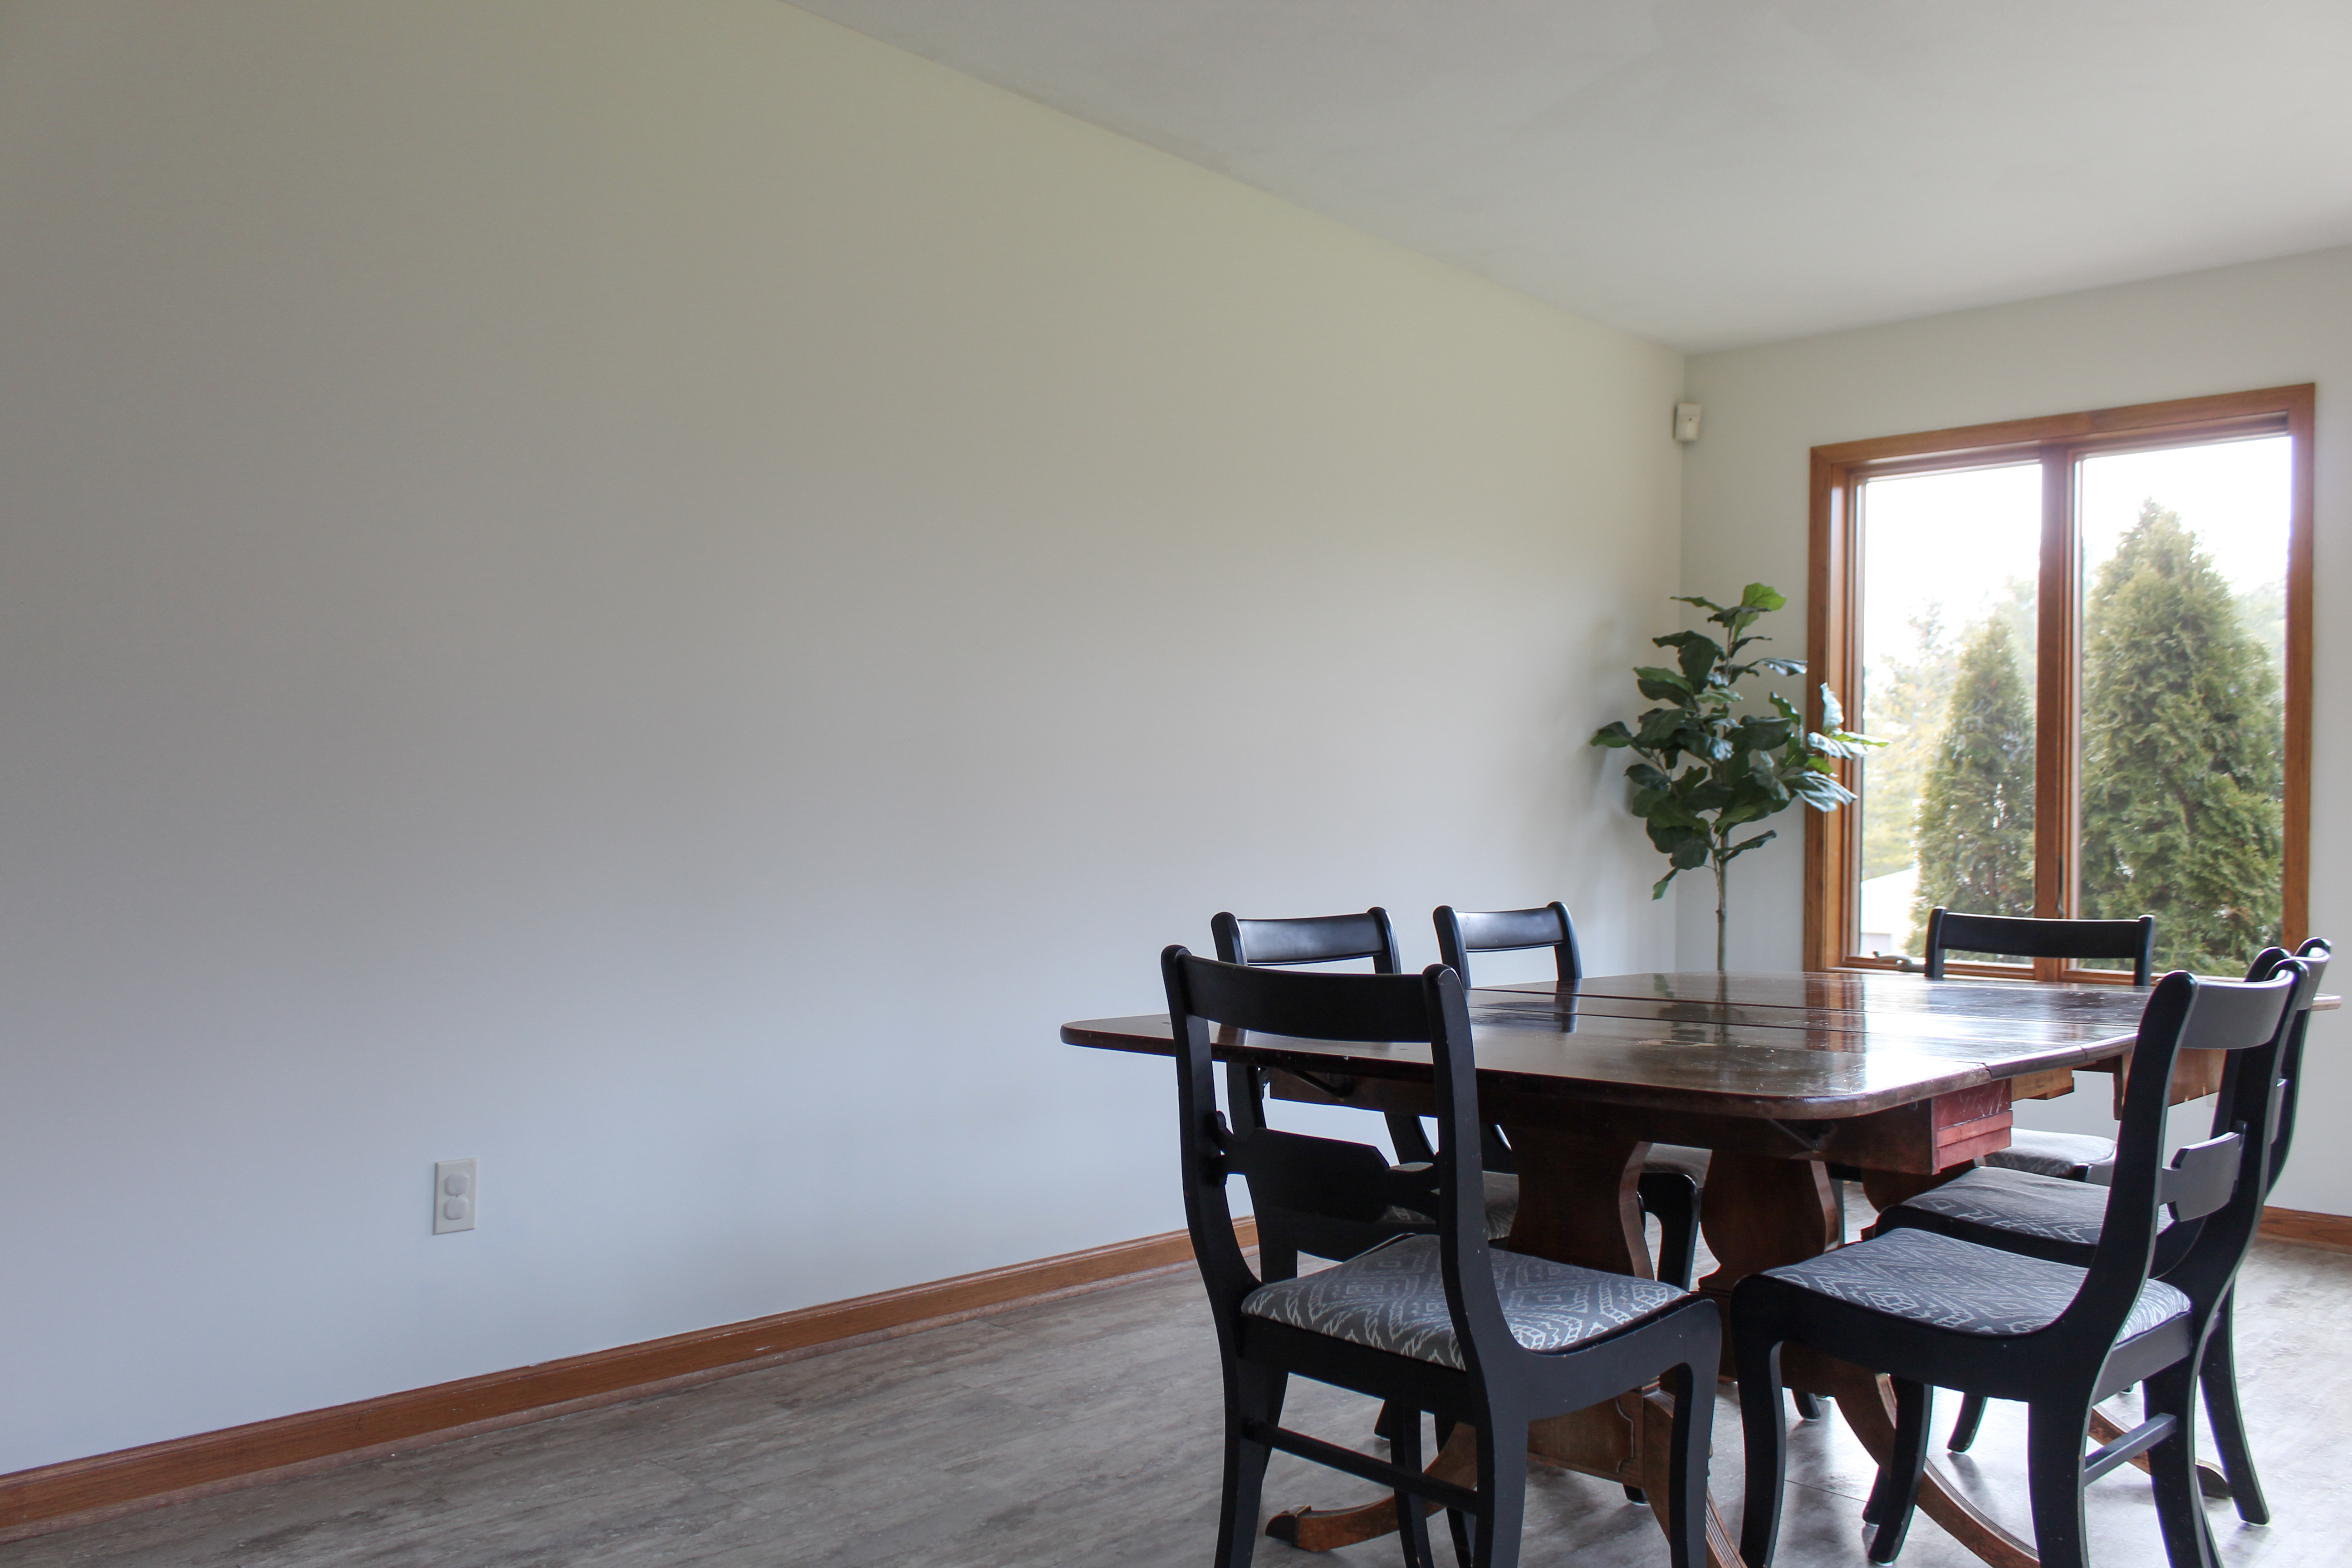
Earlier this week I wrote a blog post with all the progress we had made so far in our dining room renovation. Even though I was so pleased with the progress, there was still one thing that to me, stuck out like a sore thumb: the overheard light!

One of the items on my 21 for 2021 goal list is to replace the “boob lights” in our house (any rounded flush mount lights with a center knob to keep the fixture attached). To me these flush mounts feel pretty basic and dated and I was more than ready to see this one go. I think good lighting can make such a great statement in a room, and in this stage of life with two toddlers, it’s also a way to have some design impact in a room without putting something breakable within my kids’ reach. Win win!

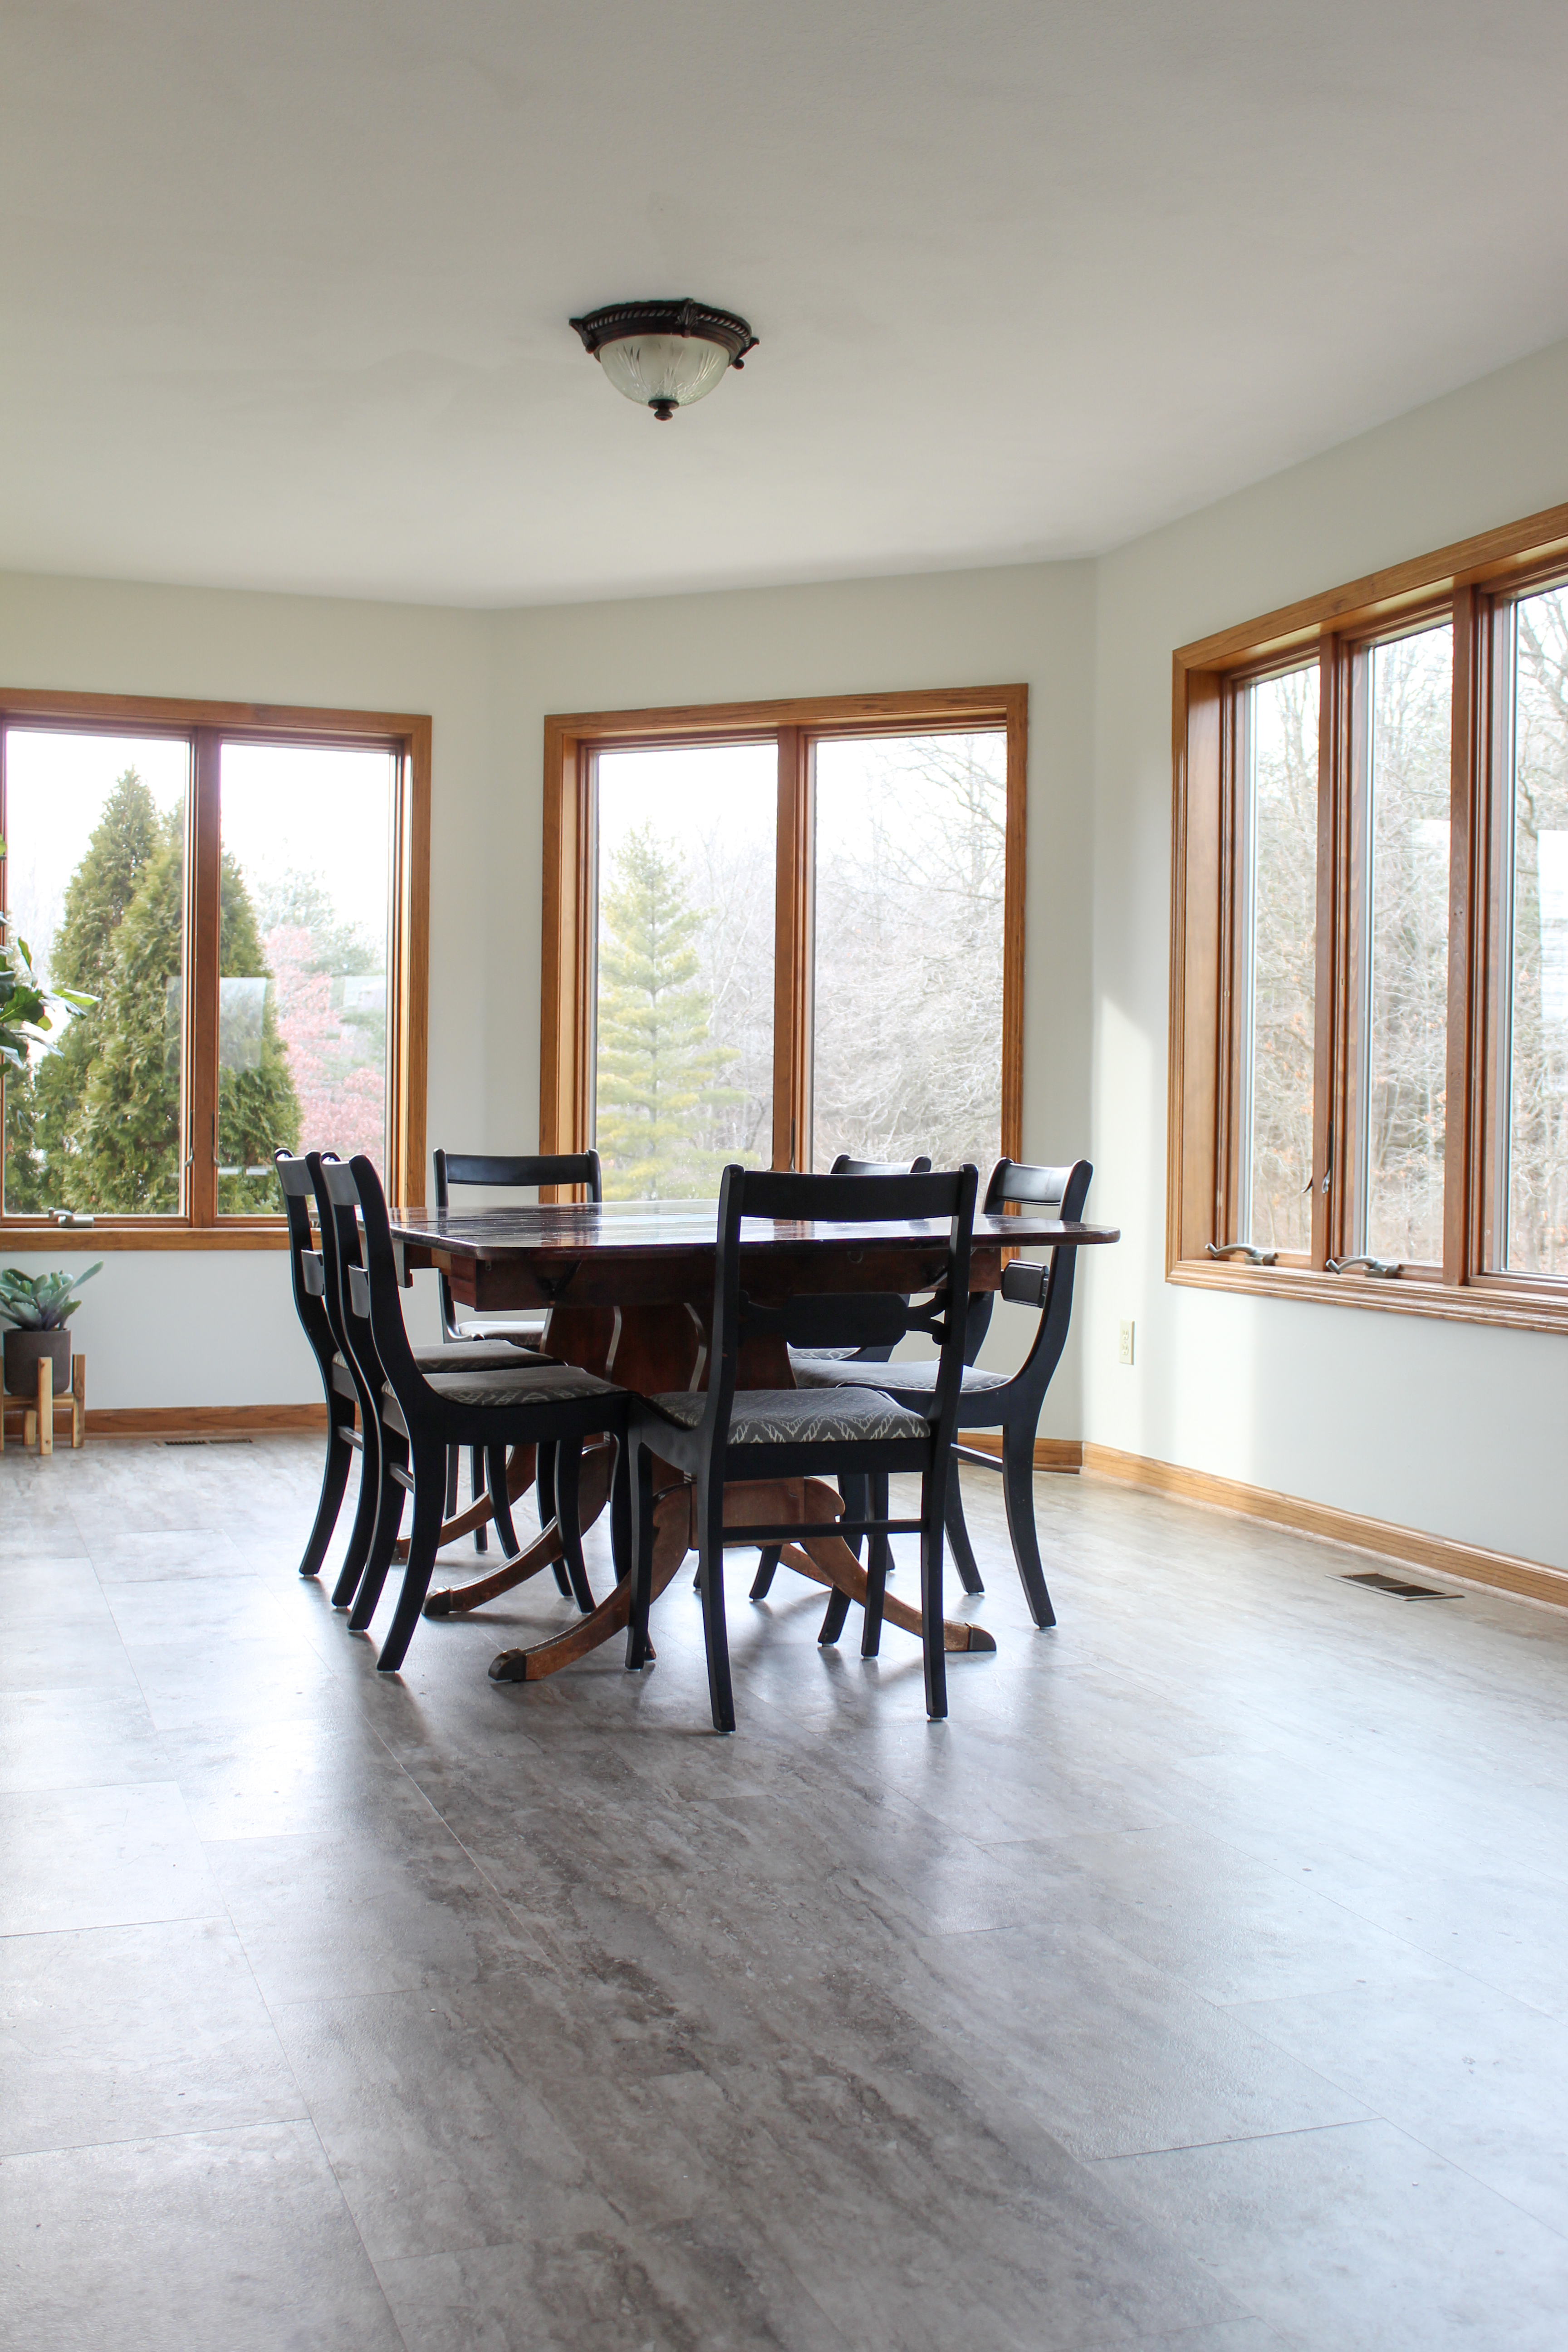
Aesthetics aside, the previous flush mount was also problematic because even with new lightbulbs and the dimmer switch turned on full power, the room always felt too dim. Our dining room is large and our table seats up to 10-12 people, so we wanted a light fixture that could pull some weight and provide a lot of light.

Our new fixture arrived yesterday and Justin and I spent last night installing this brass beauty!

We’ve tripled the amount of brightness and it is definitely noticeable! Justin even commented that we’ll probably rarely have the dimmer switch on full power now because with all these bulbs it is almost too much light. I will say, this light did not come with well-written instructions and the included screws were not the right size to attach to the box in the ceiling, so it is probably not a good choice to DIY if you’ve never installed a light by yourself before. I was very thankful that Justin had experience installing several different lights previously because we had to mostly figure this one out ourselves (and even so it took him a while to figure this one out). Just wanted to be upfront in case you want this light in your own home; it might be a good one to hire out installation to a licensed electrician!

I spent so many evenings searching for the perfect light fixture for the space. I had to consider several factors: I wanted something substantial so the light wouldn’t feel dwarfed by a long table, but the light couldn’t be too wide or taller guests might hit their head on it when standing up (this eliminated a lot of larger chandeliers). We needed multiple bulbs, which eliminated most pendant options. The dining room is open to the kitchen so I needed to consider the fact that I’m most likely going to use globe lights above the kitchen island – I wanted the lights in the two spaces to coordinate without matching. I also wanted something that felt traditional, but not too formal, and also updated, but not too modern. Haha! Overall, it was a tough list of criteria to meet. After countless hours of searching, I finally came across this light and it felt like the Goldilocks choice – finally just right!

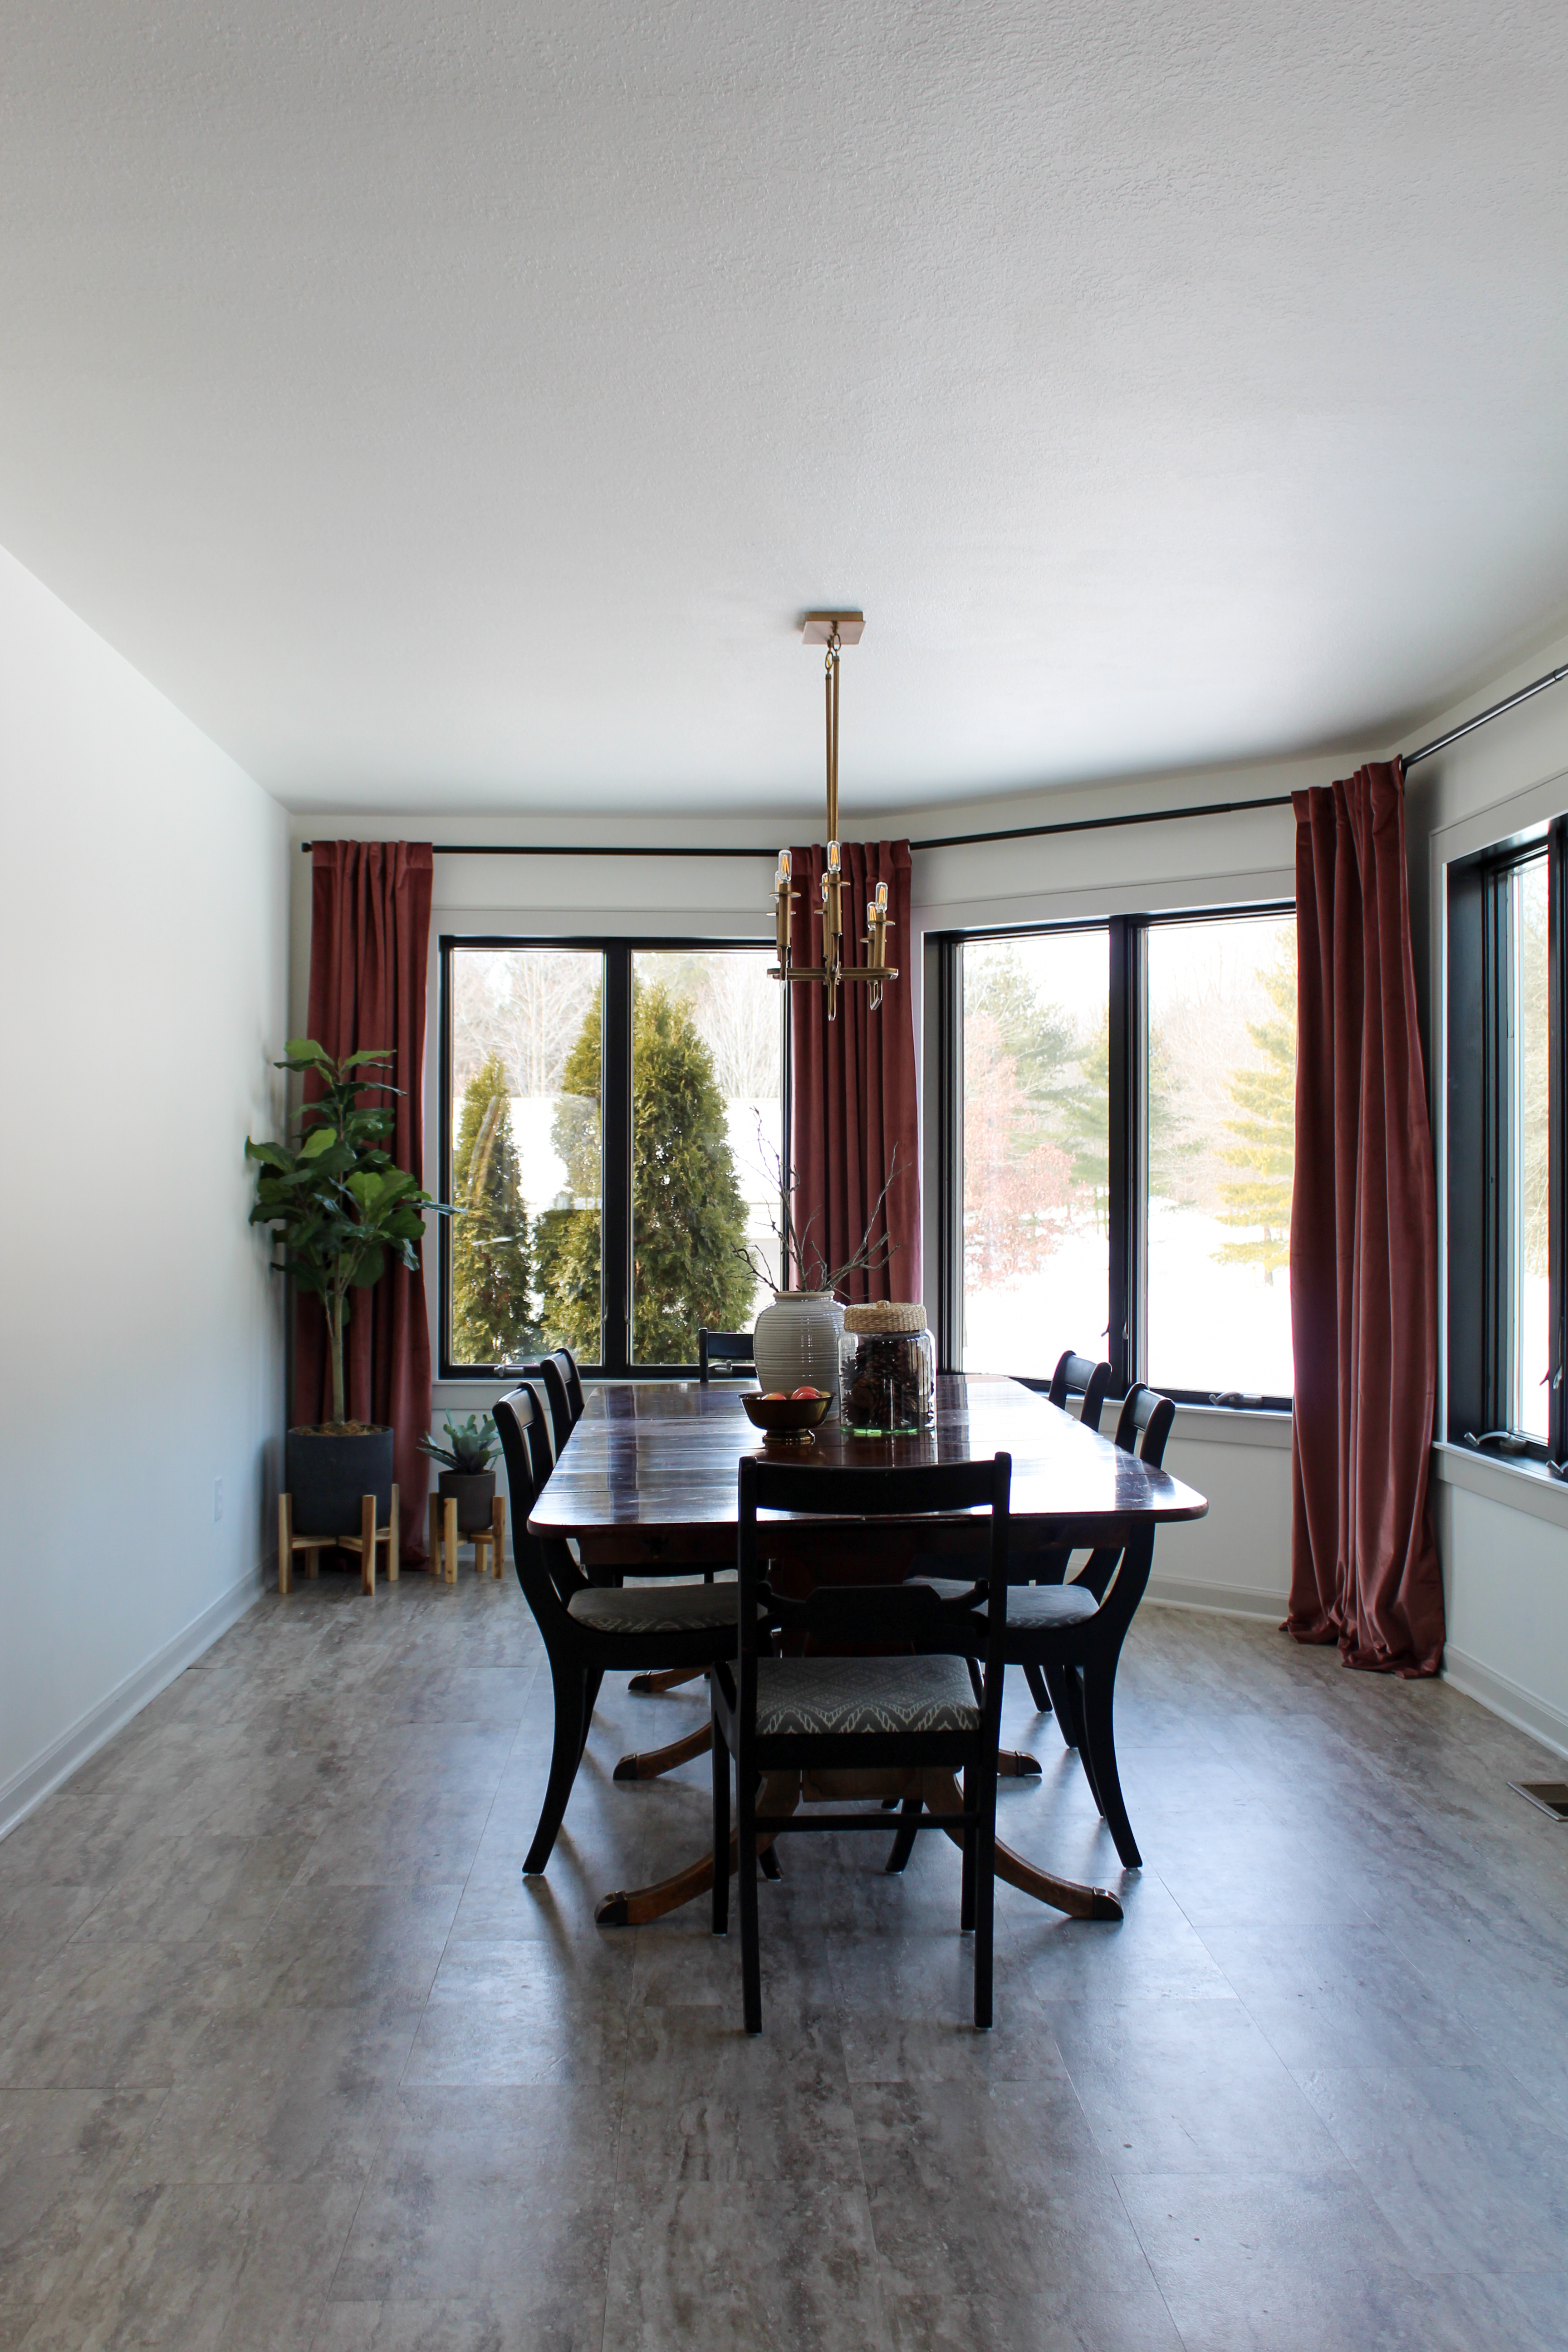
One of my favorite things about this light is how its looks change depending on the angle you’re looking at it. From the view from the kitchen (see above), it looks like three even rows of lights but from the view in the room (see below), it looks like a staggered chandelier. I also love the rounded edges that soften all the rectangular features. The candle-style chandelier feels somewhat traditional, but the offset lights and clean lines keep it modern at the same time. To me it feels like the perfect blend!

Last night after we finished installing, Justin made the comment that he couldn’t wait for game nights now. That comment made me so happy because my goal with these renovations is always to make our house feel like a home – one that is cozy, warm, and inviting. I want to have people over for dinner and linger around the table. I want to gather with friends, plenty of snacks and a stack of fun board games. I want this space to be somewhere we want to be, and I love that he is excited to spend time here now!

HouseTour2020-28

The light was the last thing we needed to finish this phase of the dining room renovation. I’m on the hunt for a credenza to place along the windowless wall, but I know that the search for the right one might take a while and I’m in no rush. For now, I’m really happy with the transformation this room has had!

Sources

Wall Color: Sherwin Williams Alabaster

Trim Color: Sherwin Williams Agreeable Gray

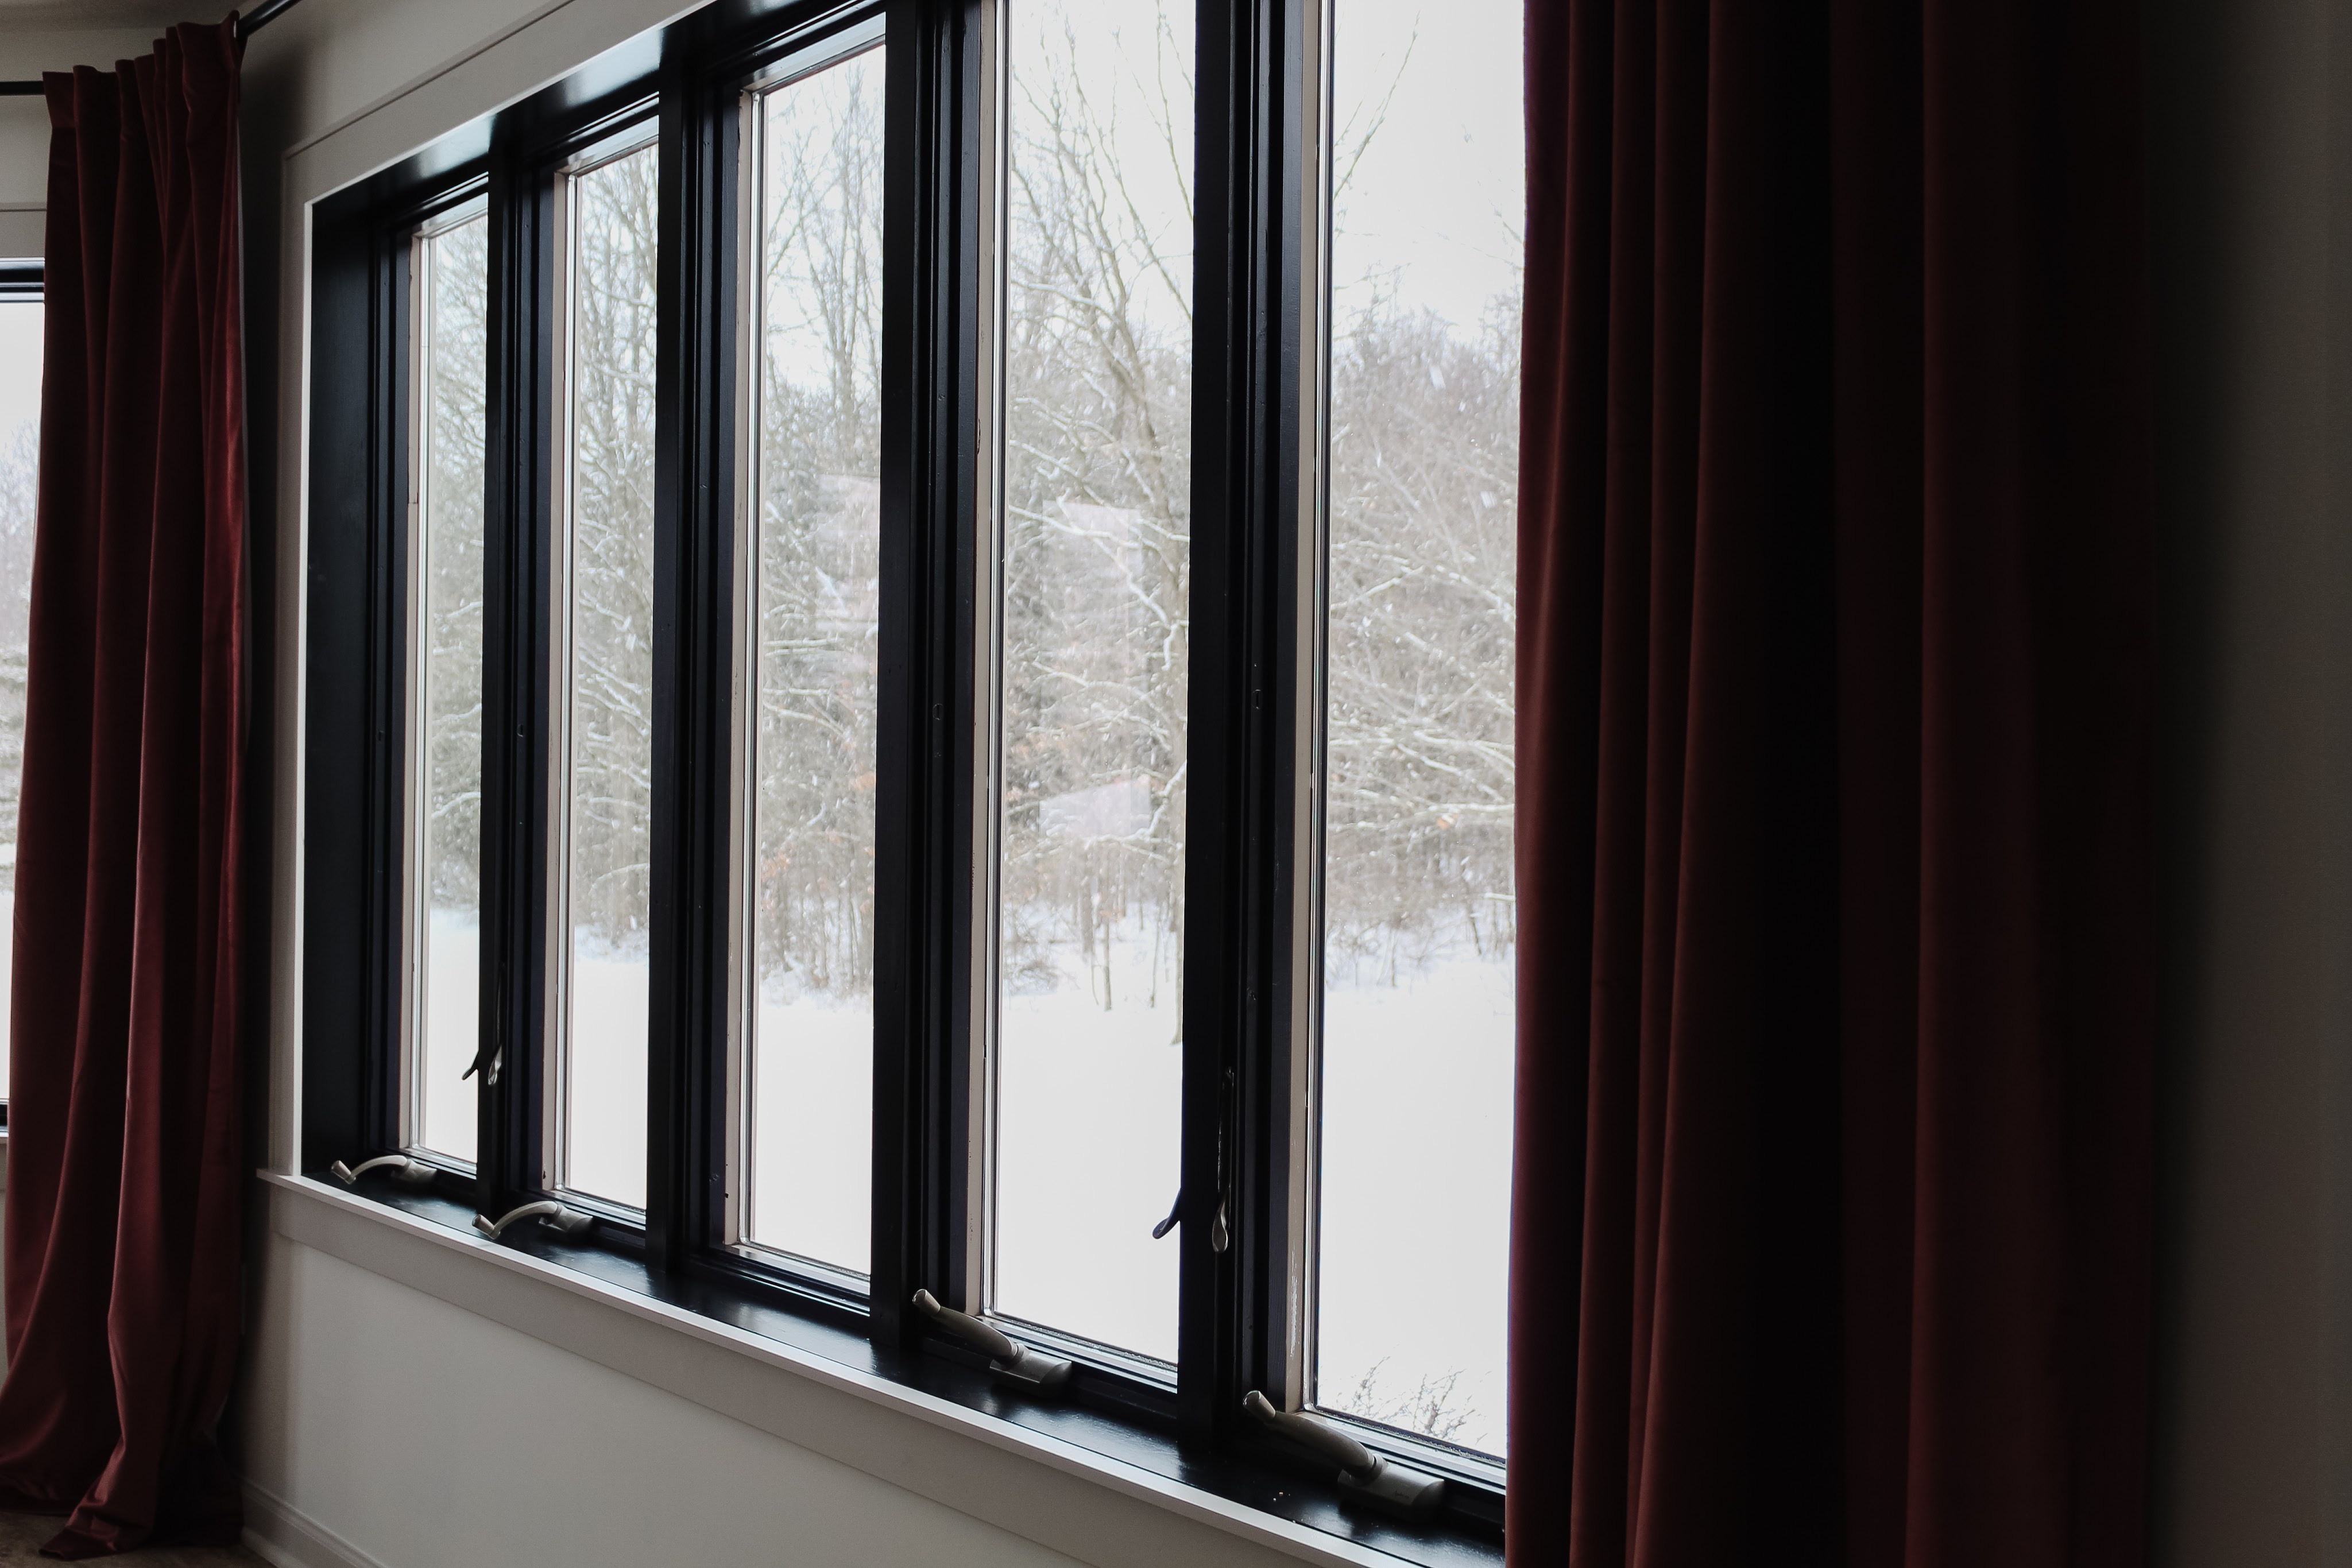
Window Color: Sherwin Williams Tricorn Black

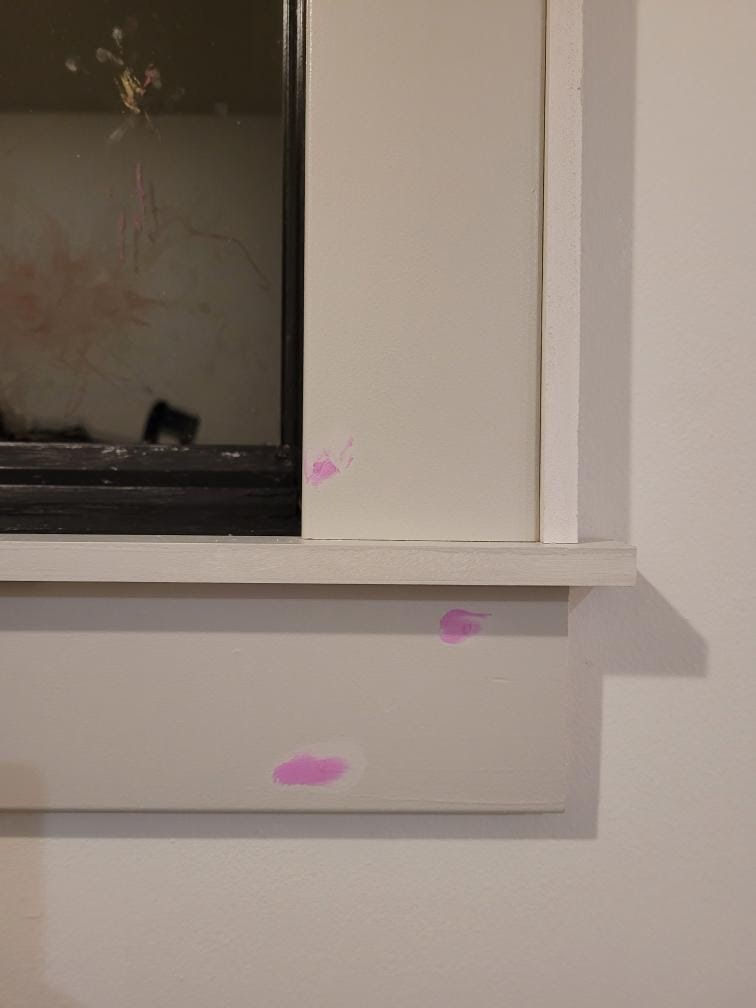
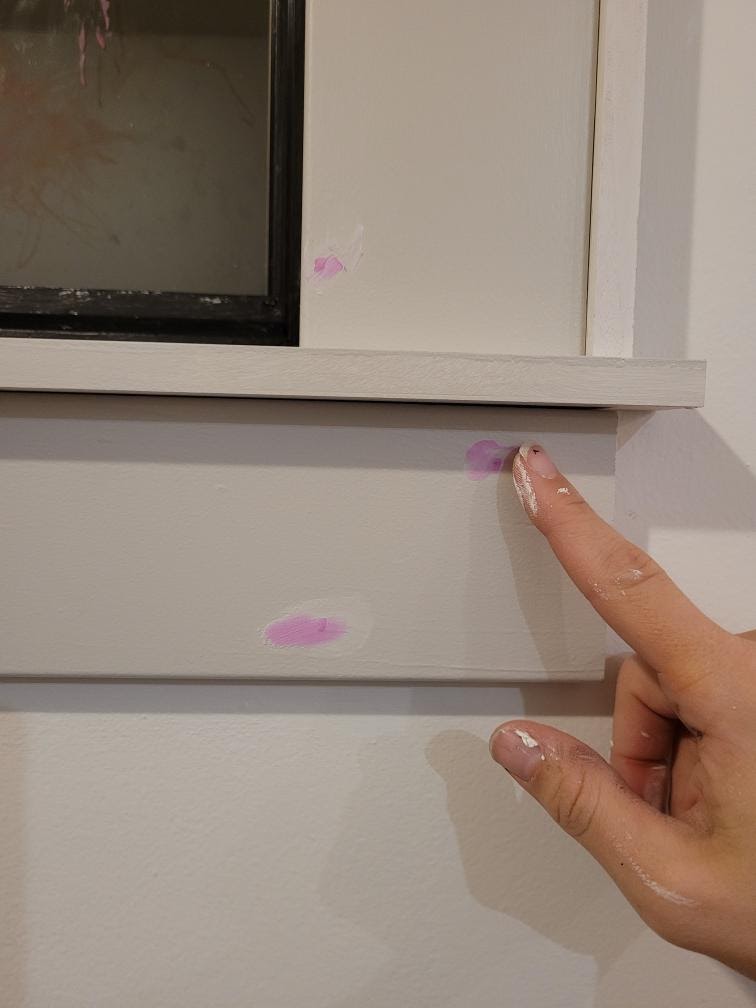
Curtains (color: wild rose)

Curtain Rod

Hinged Curtain Rod Connectors

Chandelier

Light Bulbs

How We DIYed our Dining Room Window Trim

A few weeks ago, I shared the plans for some updates to our dining room and ever since then we’ve been slowly making progress. One of the things I was most excited to do was highlight the gorgeous view outside by updating the windows! I love the look of a nice chunky trim so we decided to take off the previous window casing and replace with thicker trim that would really draw your eyes to the outside. We finished this project last week and today I’m sharing all the details of exactly how we changed the window trim from this:

to this!

I mean, can you even!? In addition to new window trim, we also painted all the baseboards and finished painting the ceiling. All that contributes to this feeling like a brand new room and we’re not even finished yet!

DIY WINDOW TRIM

Materials

-pre-primed pine trim in the following sizes (we got ours at Menards):

  • 3 1/4″ wide x 1/2″ thick
  • 1 1/4″ wide x 1/2″ thick
  • 7/8″ wide x 3/8″ thick

-nail gun and nails (we used 1.5″ nails)

-level

-measuring tape

-crowbar

-miter saw

-Drydex

-stud finder

-silicone caulk

This project is an example of a lot of prep work making the job itself go easier. Justin and I first measured all the windows and determined what type of board and lengths of each board we would need for all the sides. Then we calculated how we could buy lumber in the most effective way. For example, if we needed two pieces of the same width but different lengths, say 58″ and 62″, we could buy one piece of trim in a 10′ length and cut it in two rather than buy two smaller pieces. This prep work took some time but helped us get exactly what we needed in the quickest, most cost-effective (and least wasteful) way.

Once we got home with all our supplies, Justin used a small crowbar to carefully rip off all the previous casing from around the windows. We saved the casing as scrap wood in our barn – you never know when we’ll want it for a future project!

With the casing off, I took the time to first paint the edges of the window itself. Since the trim was going to be a different color than the window, it was easier to paint the window first without needing to tape anything off. I used one coat of my favorite primer and then two coats of Sherwin Williams Tricorn Black in Satin.

I also painted all the wood for the trim beforehand (again, easier to paint separately and avoid having to tape). I used a foam roller to apply two coats of Sherwin Williams Agreeable Gray to all the trim pieces and let them dry overnight.

We started with the 3 1/4″ wide trim to make the sides of each window. Justin measured from top corner to bottom corner of the window and used the miter saw to cut each board to length. (And yes, he definitely should have been wearing safety goggles!)

He then used a level to make sure each piece was framing the window straight and nailed it into place using a nail gun and 1.5″ nails.

He then repeated the same process for the trim on the other side of the window.

Next, he measured the distance from the left outside edge of the new trim to the right outside edge of the other side of the window and cut another piece of 3 1/4″ wide trim to length. He checked levelness again, then used his nail gun to install this piece on top of the window.

Next he measured from outside corner to outside corner on the bottom, added two inches for overhang (one extra inch to each side), and used his miter saw to cut a piece of the 1 1/4″ trim to length.

We used this piece to create a small windowsill ledge by installing the narrow side flush to the wall so it would stick out past the width of the other boards. We checked with a measuring tape to make sure it had the same amount of overhang on each side.

Justin positioned his nail gun on the bottom of the board to nail this piece up into the window side trim.

Next, we took the 7/8″ wide piece of trim and cut it to length for each side and the top. Justin repeated the same method he used for installing the wider pieces of trim: measuring top edge to bottom edge and cutting and installing each side piece, then measuring from outside edge to outside edge of the newest side trim and cutting and installing the top piece. As he did with the windowsill trim, these thin pieces were installed with the narrow side against the wall so the wider side would stick out perpendicular from the wall and create a little lip around the trim. He used his nail gun to nail each one from the outside edge into the already installed trim.

Here’s what everything looked after installation:

The last piece was another 3 1/4″ wide piece going underneath the windowsill. Justin measured the length of the windowsill trim, subtracted one inch (so it would be wider than the side trim pieces but shorter than the windowsill – just our preference for looks!) and cut it to length.

We have kids and dogs who hold and/or push down on the windowsill when looking out the window, so we wanted to make sure the bottom pieces were as secure as possible. Justin used a stud finder to locate studs in the wall so he could nail into them whenever possible.

Once the bottom board was installed, Justin also put a few nails from the top of the thinner windowsill piece down into the bottom board.

At this point, it was time to fill in all the nail holes. I applied a small amount of Drydex nail hole filler to each hole with my finger.

This product turns from pink to white as it dries. See how around the edges it’s already starting to change colors?

Once the edges had dried, but before the entire amount had dried, I gently took my finger and lightly sanded off the excess product. Then once it dried fully, I painted over it with the trim color.

There were a few places where the wall wasn’t quite flush and the trim had a gap between wall and trim. I ran a thin bead of caulk along those edges and smoothed it out with my finger. I then went over all the trim and touched up paint over all the dried Drydex and any other area that needed it. Then we were done!

I’m absolutely thrilled with how the trim turned out. The windows look totally different than before and really do make the view the star of the show. It helps that right now outside we have a snowy winter wonderland!

After all the touch up paint had time to dry, we hung curtain rods and used hinged connectors to give the look of a bay window curtain rod, then hung these curtains in wild rose to finish them off. I just love the new look so much!

I was finally able to decide on a new light fixture and it should arrive later this week. Eventually I plan to have a credenza and some artwork on the windowless wall but for now, I’m so pleased with the transformation of this room!

Sources:

Wall Color: Sherwin Williams Alabaster (satin finish)

Ceiling: Sherwin Williams Alabaster (flat finish)

Contrast Trim: Sherwin Williams Agreeable Gray

Windows: Sherwin Williams Tricorn Black

Curtains (wild rose color)

Curtain Rod

Curtain Rod Hinged Connector

Everything else is either old, thrifted, or sold out!

Plans for a Long-Overdue Dining Room Update!

One of my goals for 2021 was to paint the main areas of our house (kitchen, dining room, entryway/foyer, hallway, and living room) and if you follow me on Instagram, you know I’ve already started tackling this project! I decided to start with our dining room, which has remained virtually untouched renovation-wise since the day we moved in. As soon as paint started to transform the look of the room, my wheels started turning for a phase one renovation of the space! I thought it would be fun to take some time today and share what I’m thinking and some of the plans for the space.

Here’s what the dining room looked like to begin with:

HouseTour2020-28

Pretty uninspiring, huh? The first step was patching over the many holes, dings, nicks, and scuffs along the walls, then covering them with a coat of my favorite primer and two coats of Sherwin Williams Alabaster in an eggshell finish. Here’s what it looks like now:

The soft, slightly creamy white feels like a breath of fresh air after almost two years of dingy brown walls and already the room feels so different. I’m excited to give this neglected room some additional, and much needed, TLC!

I love the the idea of mood boards and I think they can be so helpful in visualizing a space, but this busy mama just never has the time to sit down and create one! For me, Pinterest boards quickly and easily give me direction and corral all my ideas and vision into one space. Here’s what my dining room “mood board” currently looks like:

While Justin and I both agree that we would LOVE to update the flooring, we’re holding off for now. The kitchen, pantry, dining room, entryway, powder room, and laundry room all have the same flooring, and they’re connected in a way that isn’t conducive to changing the flooring unless you are going to do it for everything. We know that in a few years we’re planning to change the layout of our kitchen, so it makes sense to hold off on flooring until then. That means the baseboards also stay for now (I’m slowly swapping out the narrow baseboards in our house for a chunky 5 inch version) so I’m just going to paint them in a contrast color. I’m leaning towards using a soft greige like Sherwin Williams Agreeable Gray. I am going to also update the window trim, probably giving it the same look as our home office windows, and paint it the same contrast color as the baseboards.

Once all that is completed, the fun will really start! The star of the room is actually not in the room at all: it’s the outdoors! The windows are the biggest statement in the room and they draw your eye outside to all the woods surrounding our house. It’s a fabulous view no matter the season and I’m going to add some window treatments to complement and highlight it.

Just look at the beautiful snow-covered trees that were outside in December!

The windows are large so I need pretty substantial, long curtain rods. I like the simplicity of these matte black ones! The walls come together at unusual angles so I’m also ordering two of these hinged curtain rod connectors to create one continuous curtain rod. As for curtains, I want to use them as a way to create a little drama and add some much needed color to the room – I’ve been debating between this soft rose color and this deep merlot color. I ordered a panel of each so I can see them in person before making my final decision but either way I’m excited for the texture that the velvet will bring to the space!

Since the windows are going to be the focal point, I’m keeping the rest of the room fairly simple. We’ll update the light fixture – I’m currently debating the simple elegance of this brass chandelier vs. the casual vibe of this modern bamboo pendant. I also want to add some artwork and center a large credenza along the window-less wall.

I’m loving the look of credenzas with reeded details but they are $$$$$ so I’m kicking around a few ideas for a possible DIY version…stay tuned for that!

The table and chairs are a big TBD. They are hand-me-downs and while they’ve served us well for the past 7.5 years of marriage, we’re not crazy about the look of them and we’re definitely ready for a change. That being said, this table extends to fit 14 people (!!) which is amazing for our large dining room, and as you can imagine, finding a replacement that is equally as expansive is incredibly expensive. I’m so afraid of dropping a ton of money on a new dining table only to find it clashes with our flooring when we finally update that. Yikes! So, we might keep what we’ve got for now, or we might find an inexpensive secondhand option that is more our style. We’ll see!

All in all, I think this will be a fairly budget-friendly makeover and will definitely tide us over until we’re able to do bigger changes like the flooring and table. Now that I’ve got a pretty clear vision moving forward, I’m excited to start ordering things and pulling this room together. I’ll definitely be sharing more of the day-by-day progress on my Instagram account (@simplifythechaos) so be sure to follow along there if you want more frequent updates!

Affiliate Disclosure: As an Amazon Associate, I earn from qualifying purchases. This means if you purchase something through an Amazon link I provided, I may earn a small commission. None of my recommendations or decisions are based on any commission I might receive from your purchases, but are all things I’ve either bought myself or am planning to buy. The decision to buy something is yours, and whether or not you decide to buy one through the link I provide is completely up to you. Thank you!