Fall 2021 One Room Challenge: Laundry Room + Mood Board!

It’s that time of year again – the Fall One Room Challenge is starting!

ORC-Guest-400x218.png

There is a room of my house that has been driving me bonkers since we first moved in. It’s a particular pain point in our days and it needs to function MUCH better for our family, especially with winter coming. I am finally ready to address: our laundry room!

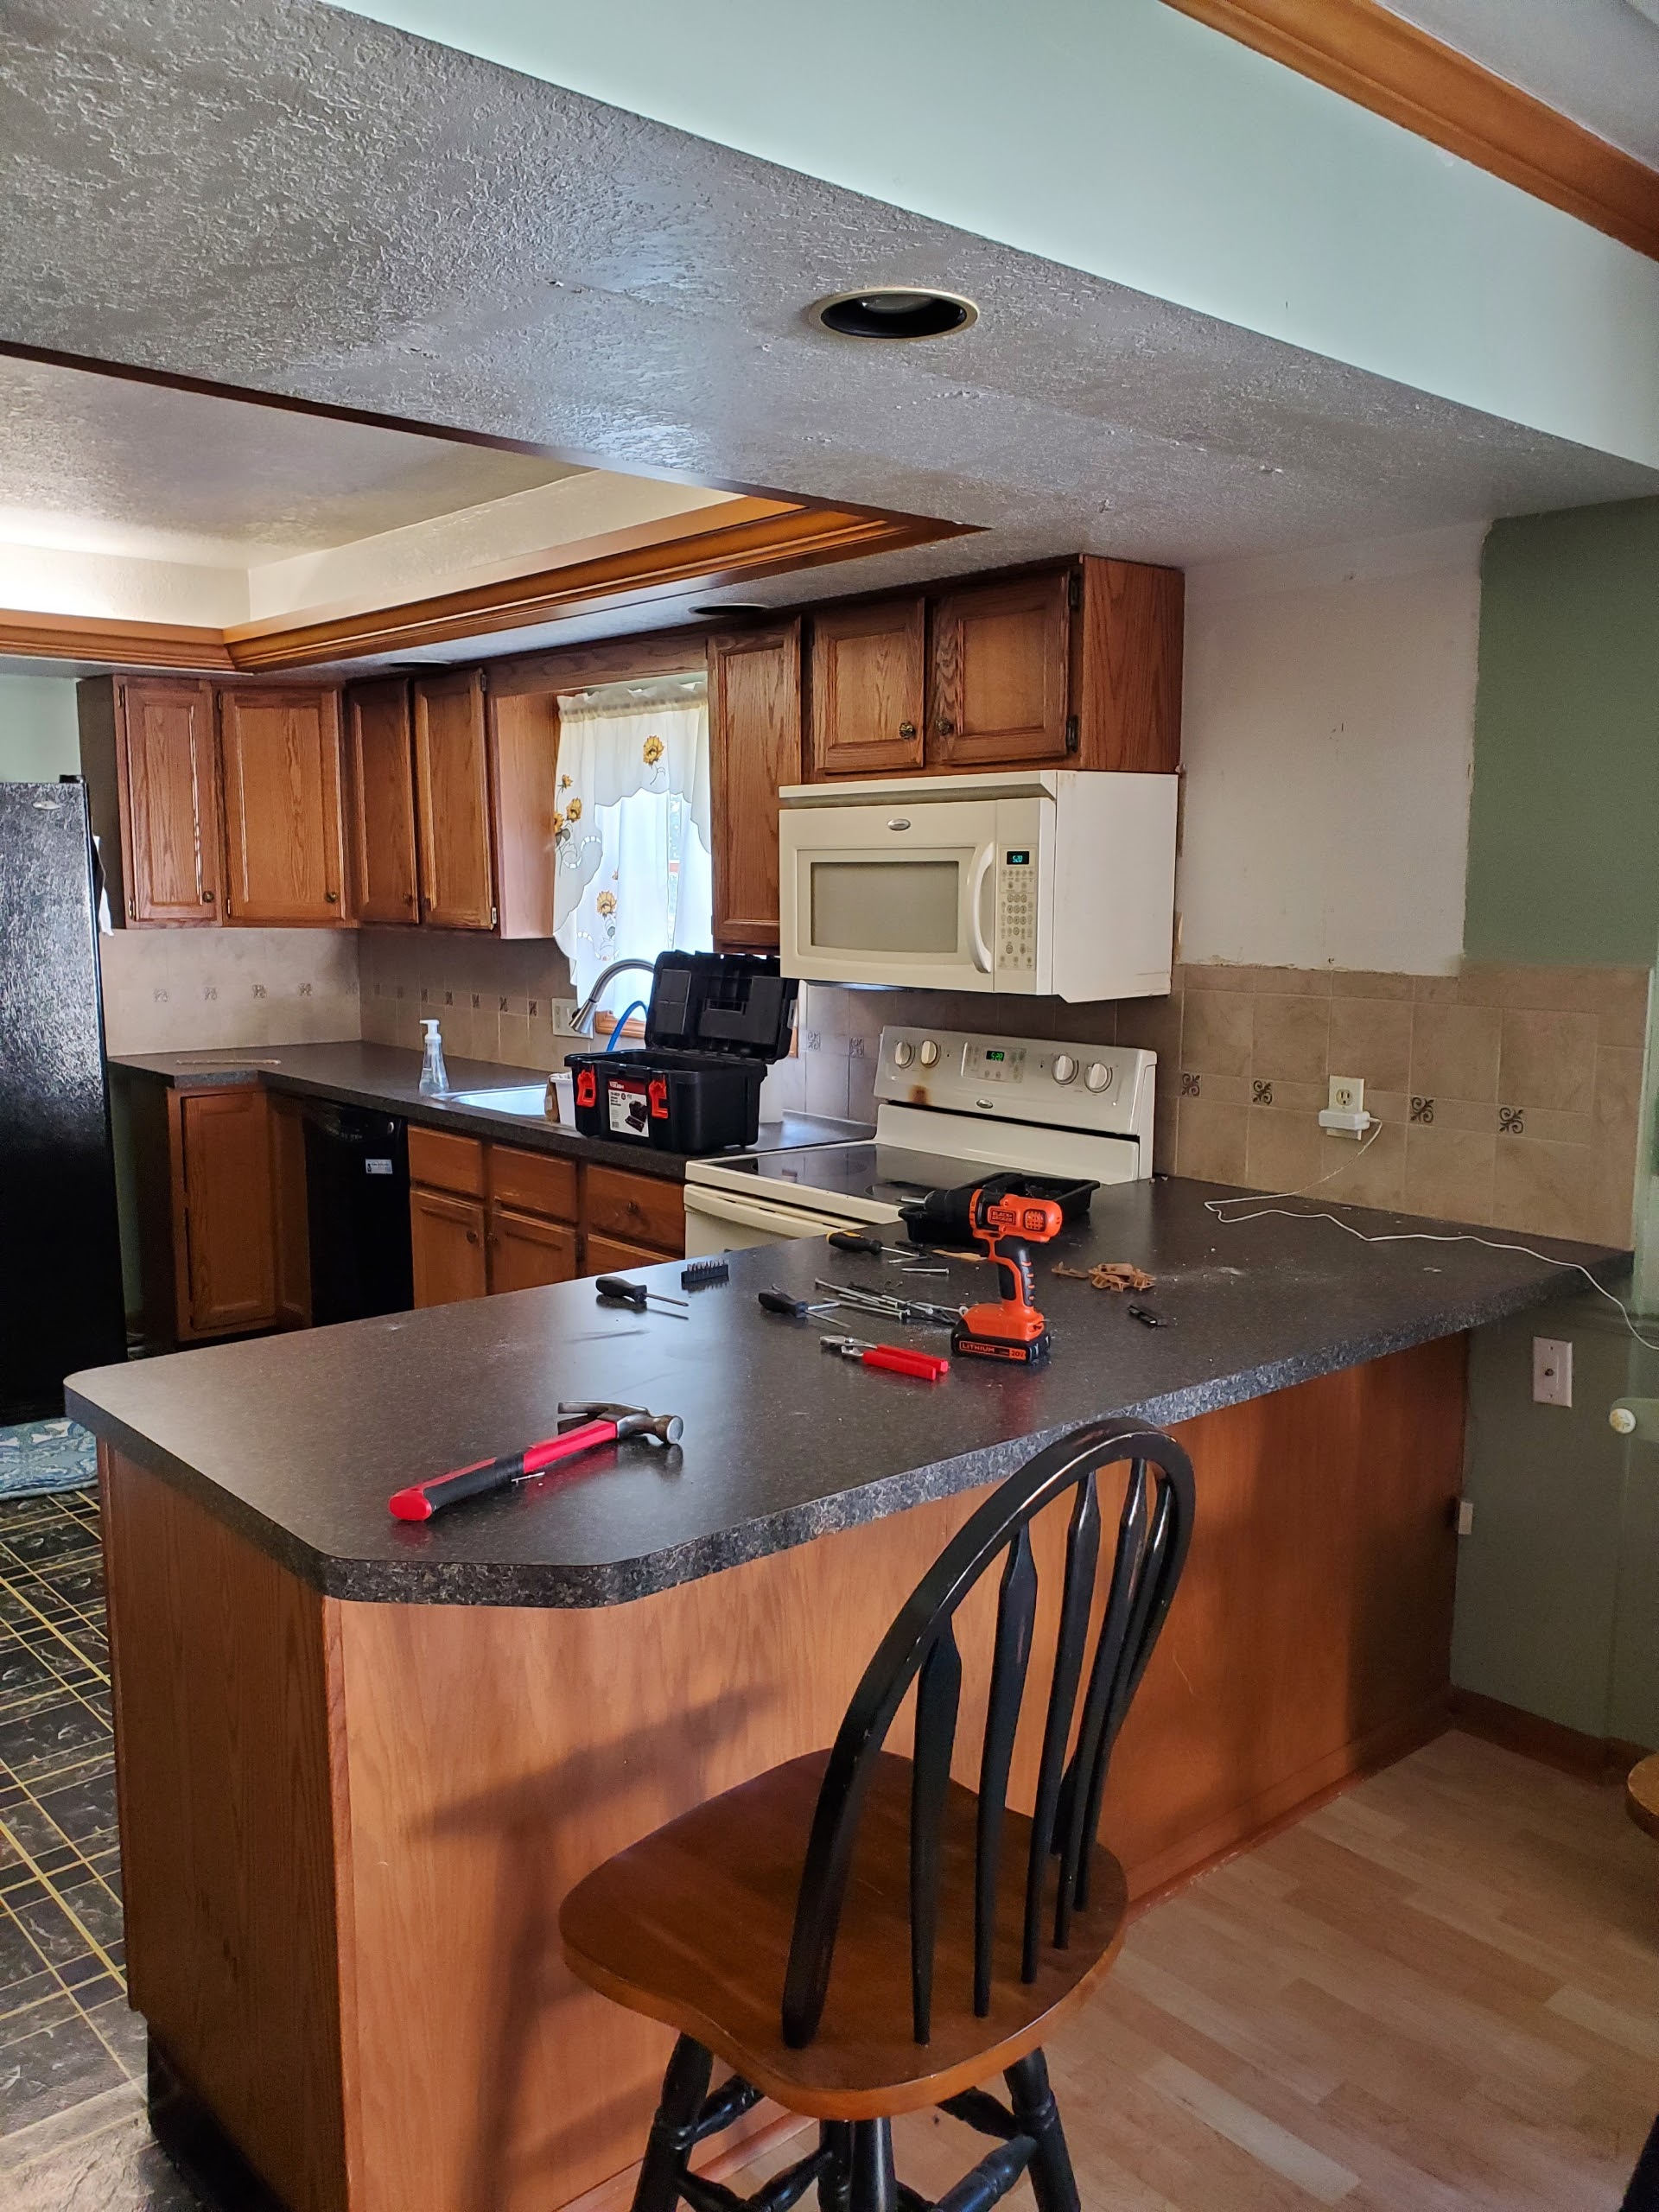
Yikes. I didn’t clean up at all for this picture. The top of the dryer is a landing zone for things that need to go out to the garage and the kids shoes are always all over the place. It’s a mess!

It’s probably very obvious by just looking at the pictures, but the biggest pain point is: it is a very small space trying to do way too many things. It’s not even a true room! It’s basically just an oddly-shaped hallway and yet it’s trying to function as a laundry room, mudroom, and storage for things like cleaning supplies, all the food and other necessities for our dogs, and overflow household items like lightbulbs. Unfortunately, there isn’t a more convenient place to store all these items in our house, so I need to find a way to make this space work.

I’ve been putting off addressing the laundry room because it is high on the list of spaces we want to completely remodel. The biggest thing we want to do is eliminate the full bathroom next to it (it’s been used twice in the 2.5 years we’ve lived here) and create a larger laundry room + mudroom that works for our family. We are planning to get a contractor out here soon to talk about the work to be done and start budgeting for that project, but it will likely be late 2022 or 2023 before we are able to tackle it. Even though a gut remodel is on the horizon, I don’t want to spend another year or more in this space without making it more functional. Winter is coming and that means even more boots, shoes, coats, gear, etc – this is the time to make improvements!

I put together a little mood board of what I’m envisioning for the space – even though it’s a temporary fix to hold us over until the remodel, I’m still going to have some fun with it!

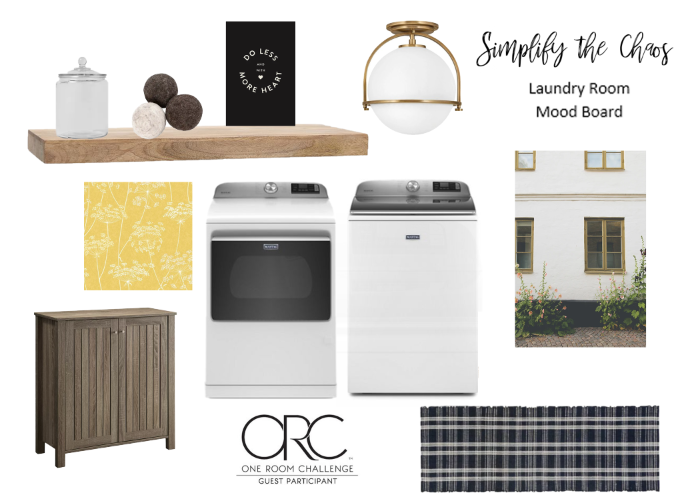
I do want to keep a fairly low budget since it’s not a long-term renovation, but there are several things I want to address:

More Organized shoe + coat storage

This was an extra shoe rack we had from a closet in our last home. it’s not really the right size for the space but it’s at least helped keep shoes (somewhat) corralled, although most of the time it looks like this with shoes on the ground. And the kids jackets and bags currently hang on some hooks that the previous owners left behind – they’re perfectly functional but my style. I want to come up with more organized storage that feels more my style.

More Storage

We never use the rod to hang clothes, so I either want to take down the cabinet and add long floating shelves spanning the length of the wall or just remove the rod and have floating shelves between the cabinet and wall. Either way – I need to better utilize that wall above the washer and dryer.

Create Flat Work Space

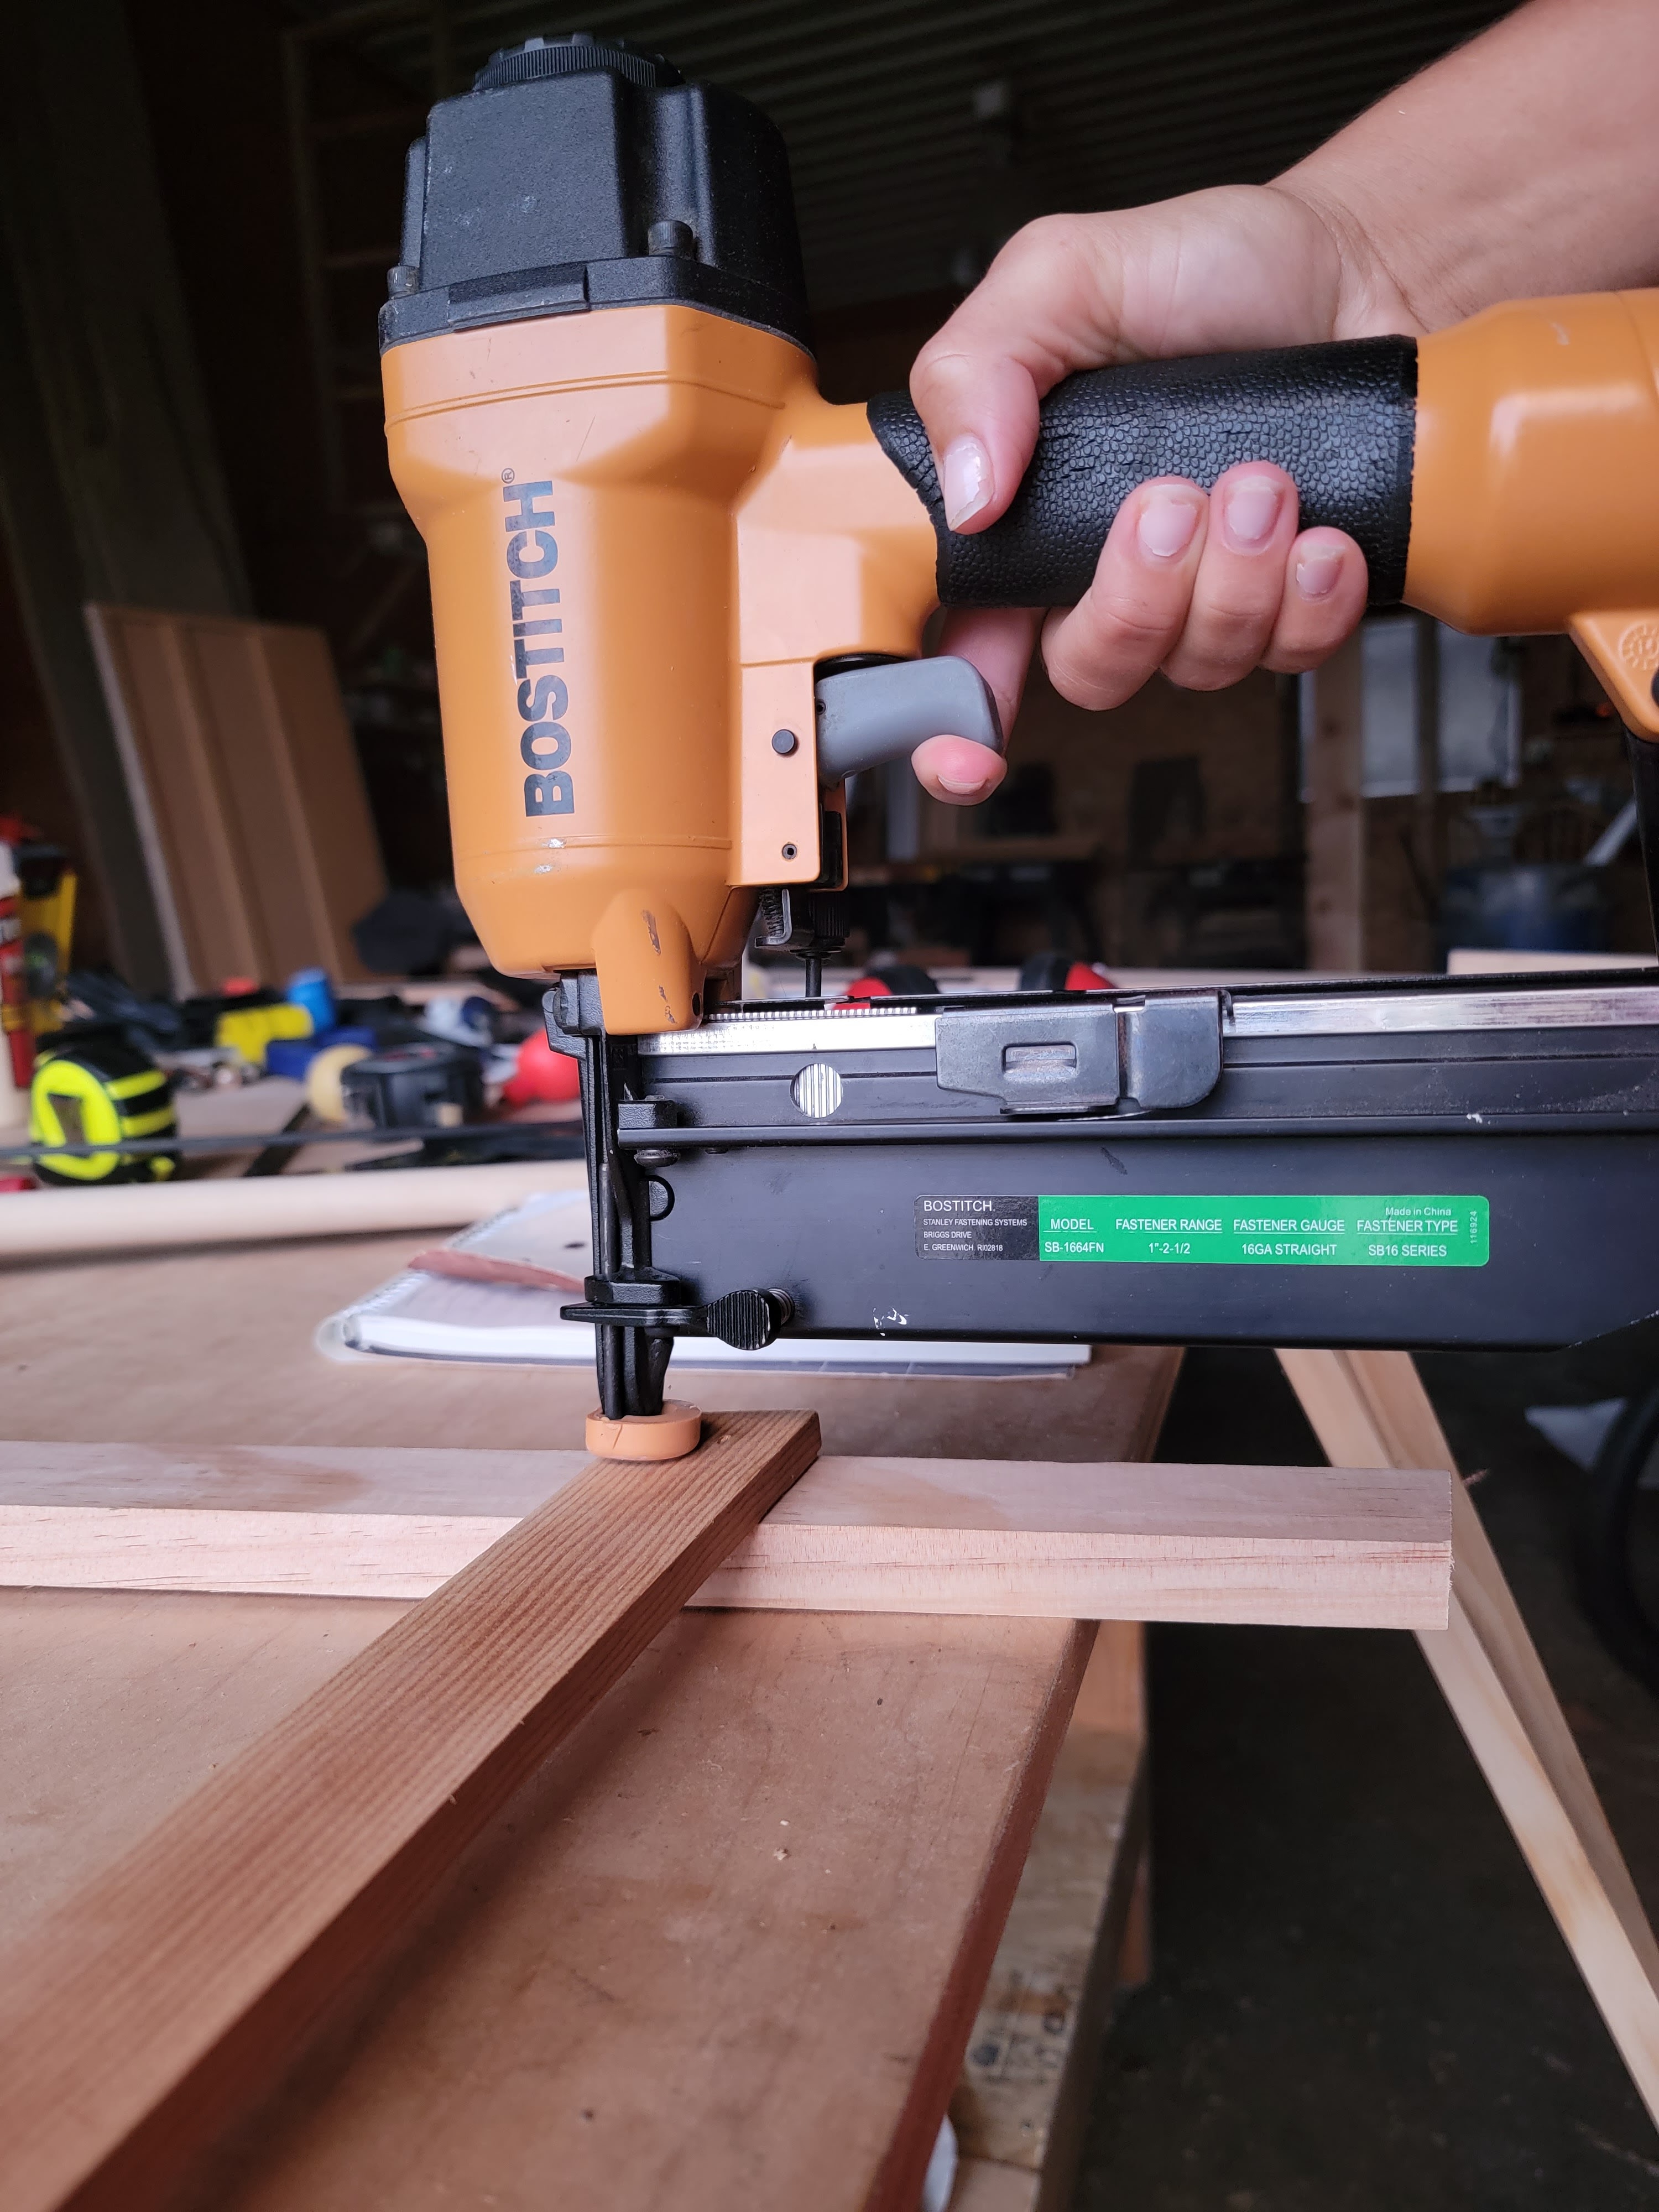
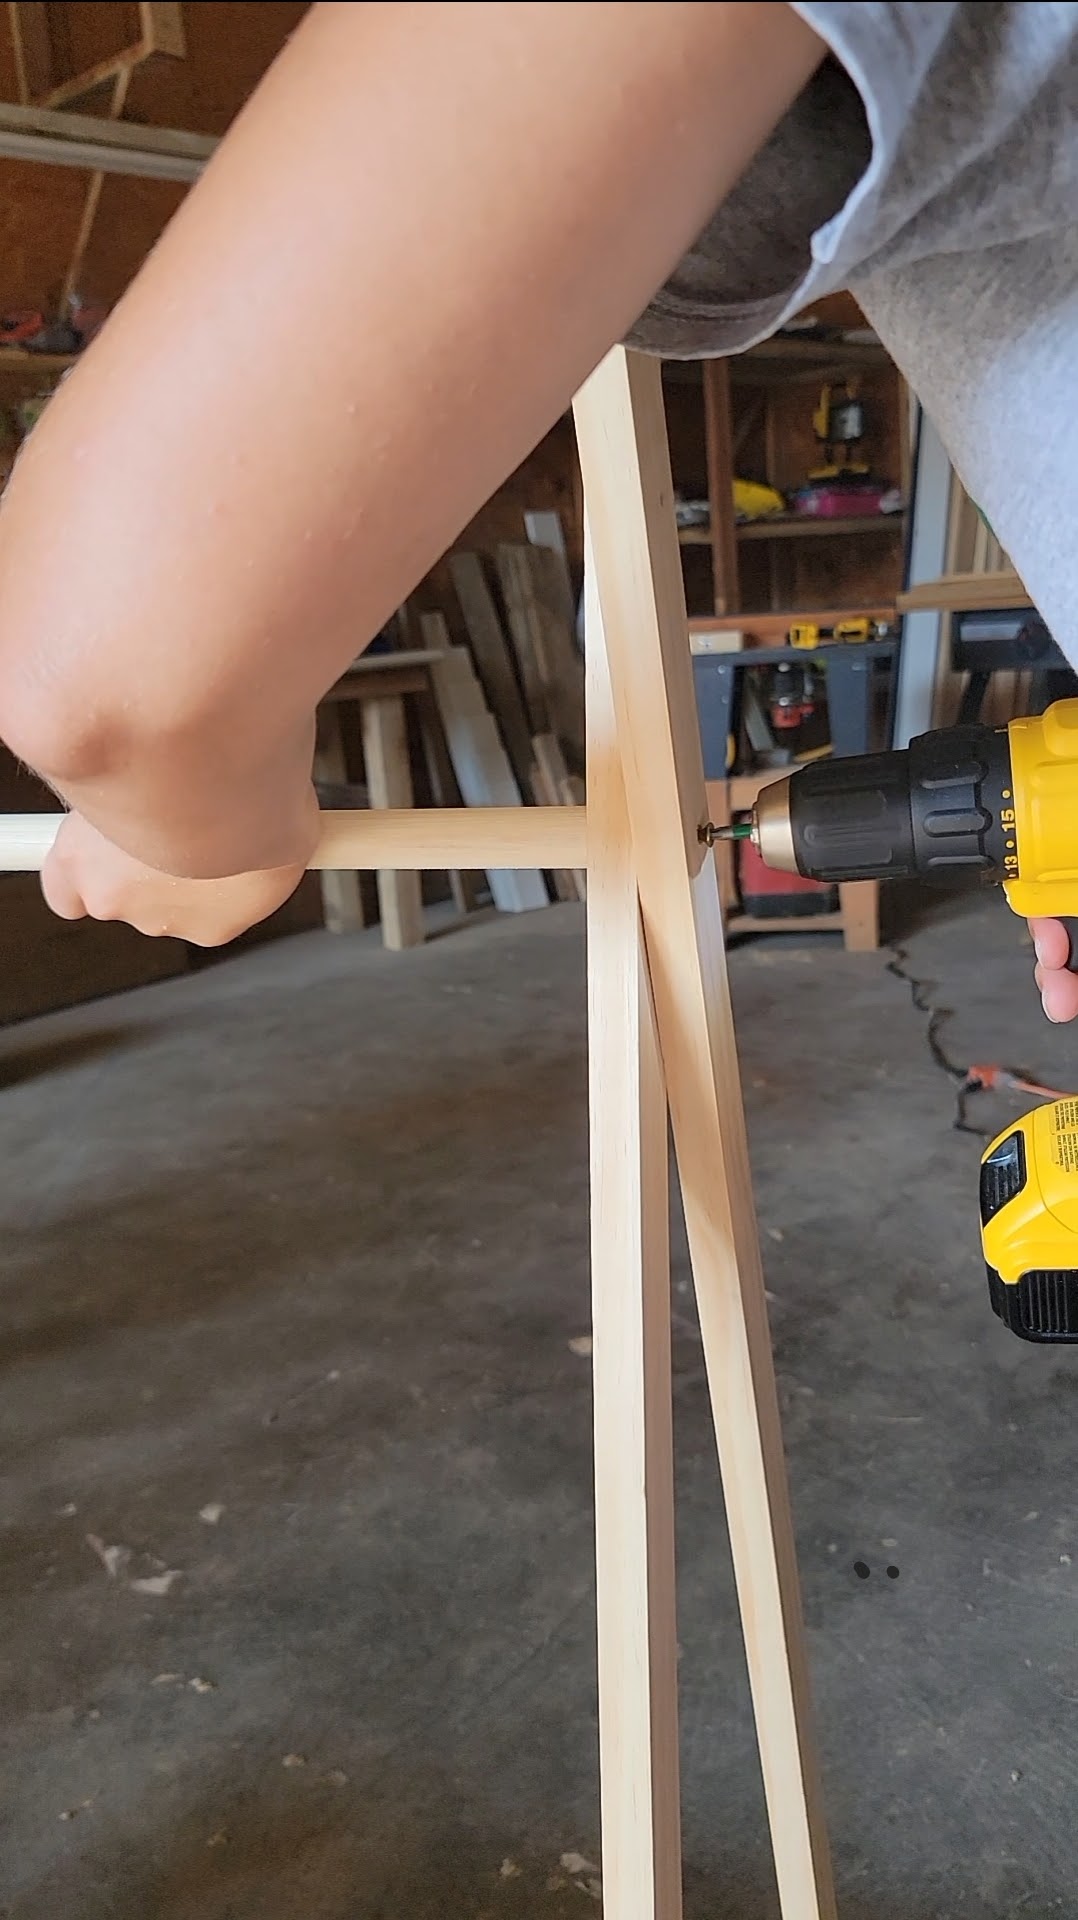
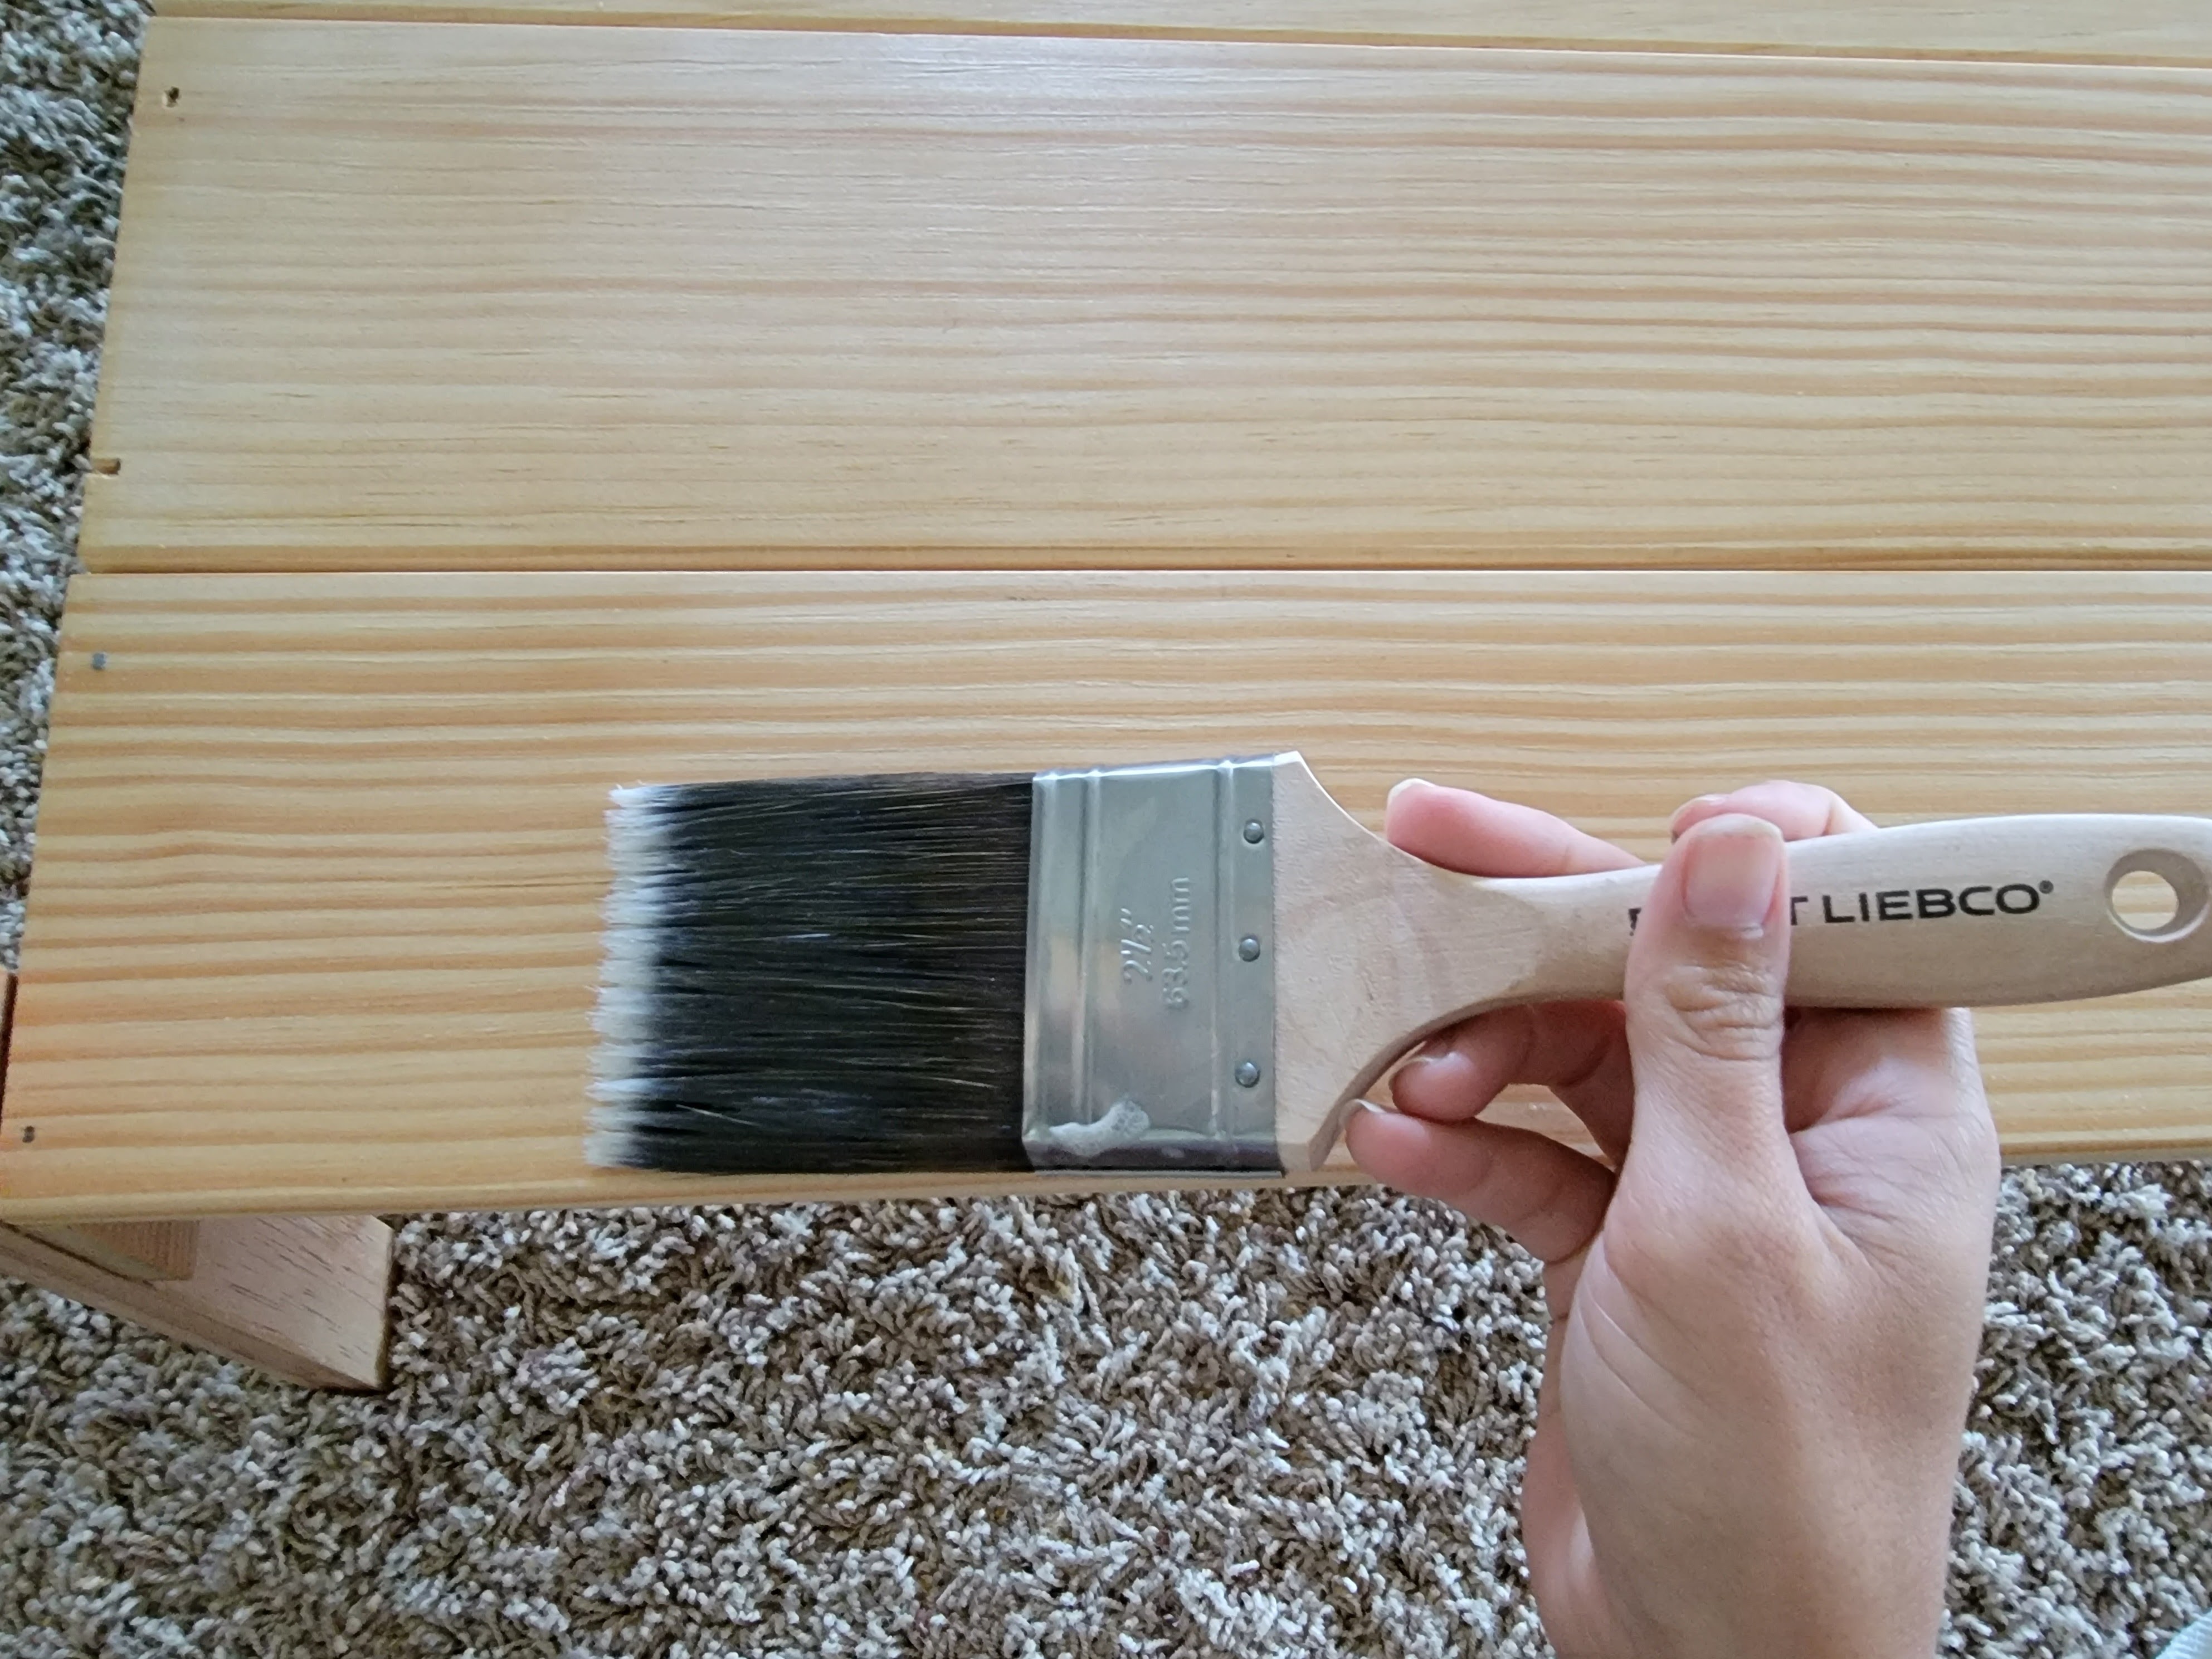
This one is tricky, but I really need some flat work space for when I need to spray stain remover/scrub stains. With two little ones running around playing all day, nearly every piece of their clothing has some sort of dirt or stain to address before it goes in the washer. The only space I have to do this is on top of the dryer, which isn’t much. I have some ideas for ways to create a small work space and I’m excited to use my creativity on this one!

Better Functioning Closet

The closet in the hallway has very large, deep shelves, but I really feel like this space could be better utilized for maximum storage potential!

And of course – I’m also continuing with my 2021 goal of removing the boob lights from our house and will be replacing the two in this hallway. I’m excited to improve this space in ways that make more sense for our family and our needs! Make sure to follow along on Instagram, where I’ll be sharing more real time updates and a video walk through of the space. You can also follow the other ORC guest participants here.

And if you missed my previous One Room Challenges, you can find all the reveals here:

Spring 2020: Basement Kitchen

Fall 2020: Home Office

Spring 2021: Primary Bedroom

Guest Room Debate: Accent Wall or Entire Room?

Over the weekend I was able to make major progress with the guest room stenciled wallpaper. I’m currently about 98% done with the first wall and I’m absolutely LOVING the way it looks (minus all the weird lighting shadows – basement bedrooms are so challenging to photograph!)

You’ll notice I have not finished off the very bottom or very top of the wall, and I also have not finished the edge of the wall on the left side of the door. Before I tackle these remaining areas, I need to make an important decision: should I keep this wall as an accent wall or should I continue all the way around the room?

The reason I wanted to do a wallpapered look in here is because the room had been feeling pretty boring with white walls. We needed some color and interest! But is an entire room of this stencil going to feel too busy? Will it feel like the pendulum swung too far the other way?

On the other hand, I’ve always planned on doing the entire room. I especially envisioned the wallpapered look above that board and batten half wall! The other walls, particularly the wall directly opposite the accent wall, feel underwhelming in comparison. There is no cost advantage to stopping now, as I still have plenty of paint and supplies to carry me through the rest of the room. The investment of time isn’t really a factor for me. Yes, it’s a time consuming process, but I truly have not minded and actually find it very therapeutic!

I guess at this point, the big question is: does an entire room of botanical wallpaper feel like overkill? Or will the multiple doors (bedroom door, bathroom door, furnace room door, closet door), board and batten half wall, window, and built in linen closet break up the pattern enough so it doesn’t feel like too much?

Until I decide this question, the project is at a standstill. The easiest way for me to finish off the top and bottom of the wall is to cut the stencil to fit exactly and just move it along down the wall, which I’m not going to do until I finish everything else. Speaking of the bottom – LJ saw me taking photos and wanted to take some of his own. I thought this one turned out quite well and gives a good example of how the wallpaper looks with the overhead light on!

What’s your vote: keep it an accent wall or continue throughout the whole room? Cost and time are not a factor so it’s really a matter of how busy it would or would not make the room feel. I’d love to hear your thoughts in the comments!

Eclectic, Retro Green Kitchen Cabinets!

Over the weekend, I drove out to Ohio to help my sister with some painting projects for her new house. Her house was originally built in 1900 but hasn’t been updated in years. She has a lot of things on her to-do list, but #1 on the list was updating her kitchen and main living space with some fresh paint!

Jenni has always wanted green kitchen cabinets and after trying out a few different options, she kept coming back to Sherwin Williams Palm Leaf. We described this to our other sister as “if an avocado and an olive had a baby.” It feels like a callback to the 70’s in a cool, eclectic way and brought a fun retro flair to the kitchen!

Unfortunately, we were so busy painting that we didn’t stop to take pictures along the way but I was able to grab a few blurry screenshots from a couple videos I took.

We followed the same process I used for painting my own kitchen cabinets and used two coats of the HGTV Showcase paint in a satin finish for the cabinets. Jenni isn’t crazy about the knobs on the cabinet doors and plans to eventually replace them, but we both agreed that spray painting them with a few coats of my favorite gold spray paint was a good budget-friendly way to make them work for the time being. She chose Sherwin Williams Ivory Lace for the rest of the space and we painted the walls in eggshell, the trim and window in semi-gloss, and the ceiling (including the trim around the tray ceiling) in flat.

I think it’s really easy to get caught up in wanting a “big reveal” with everything 100% updated and perfect, but the reality is most renovations aren’t like that. They are slow, with intentional choices plus budget and time factoring in. Jenni has a lot more plans for the space – she wants to rip out the old vinyl flooring and update it with a fresh pattern (she’s thinking of this one which I think would look so cute!) and possibly paint the backsplash too. She also plans to add floating shelves to the wall next to the microwave where they took down some hanging cabinets. But progress is progress and it’s my belief that we should celebrate the journey and transformations along the way! This space may not be “done” but it feels so much different than just a few days ago and that is worth celebrating.

Weekend Project Alert: A Quick Kitchen Update!

My sister Jenni and her husband just closed on a house that has sooo much potential . . . it just needs a little TLC. They move in next weekend but before they move in she wants to tackle a quick, budget-friendly kitchen renovation. She came out to help me when I painted my kitchen cabinets and I’m more than happy to return the favor now. I’m heading out this afternoon for a weekend of painting!

Here’s where their kitchen started out:

Underneath the very dated styles, I see so much potential! There’s a lot they can (and likely will) do here for a bigger update down the road, but for now, our plan is just to help the space feel a lot more like them from the start.

They have already made one very impactful change by removing the kitchen cabinets above the island!

It takes away a bit of their storage, but it makes such a huge difference in the space! Jenni loves how open it feels now.

Our #1 goal this weekend is to get all the cabinets painted. Jenni and her husband are both creative and artistic with a really lively, kind of eclectic style – it’s going to be a lot of fun translating their unique style into this dated kitchen. Here’s some of the inspo Jenni has sent me – bring on all the green!

I’ll be sharing the finished project back here on the blog on Monday, but make sure to follow along on Instagram for real time updates throughout the weekend. I’m so excited to get this project started!

Progress on the Guest Bedroom “Wallpaper”

A few weeks ago, I shared how I wanted to update our guest bedroom by painting a “wallpaper” with stencil. I was pretty optimistic about the scope of the project and hoped to be done by the time our guests came for my birthday weekend (September 11). And now that my birthday weekend is over and our guests have come and gone, all I can say is HAHAHAHAHA to that wishful thinking!

Once I actually started, I realized how big of a project this is. Like, it’s a really big project. Because I’m using five different colors and have some tiny details to paint, it takes me about fifteen minutes to complete one stencil. At this point, I still plan to do the whole room, so this is a long haul project!

It took me a while to work out my techniques for the best results, and the top right corner of the wall is definitely going to need a LOT of touching up before I’m done, but I’m feeling really good about how the latest stencils have turned out and can’t wait to see the whole wall done.

Additional updates coming to the room:

1 – New ceiling light fixture. This room currently has an unattractive boob light (if you know you know,) and it’s one of my 2021 goals to replace all the boob lights in my house. The one tricky thing here is the ceiling tiles, which force the light to be off-center. It’s currently not that noticeable because the light is the same color as the ceiling, and I’m going to strive to find another light fixture that works with out drawing too much attention to the off-centeredness.

2 – Fresh bedding. The wall color palette doesn’t quite match the existing bedding anymore, plus I’d like to update it anyways. When we originally did the guest room renovation, I chose a comforter set with lots of pillows. While this looks nice on the bed, it’s just not a practical choice for guests. They have to remove six pillows just to sleep and then those pillows compete with their luggage for space on the floor or closet. I want to edit the pillows down to just what they need plus maybe one decorative option.

3 – Add a bench? I would really like to try to find a storage bench for the foot of the bed. There’s plenty of space for it and it would create a space to sit to put on shoes or elevate a suitcase, plus double as storage for extra blankets.

4 – Carpet (eventually). This so badly needs to happen, but it’s a big ticket budget item since we will be doing the entire basement at once. I’m really hoping we can replace it within the next year!

Now back to work – I’ve got some stenciling to do!

Easy DIY: Thrifted Frames + Printed Artwork

There is a DIY that I’ve done at least 10 times in the past two years and am currently doing once again as I tackle our bedroom gallery wall. It’s one of those projects that is so quick, simple, and easy that it almost doesn’t even feel like a project: printing digital downloads to use as artwork.

When it comes to making changes in your home, everyone has to start somewhere. If you’re new to DIY, this is a very straightforward and simple DIY that is perfect for beginners!

The first step is pretty obvious: choose artwork! I shared in this post some of my favorite places to find artwork and one of them was digital downloads. While it varies a bit depending on where you buy the print, in most cases once you purchase the print, you receive an email with instructions for downloading. I especially like that Juniper Print Shop gives you a few different ratio options so you can use the one best suited for the size print that you want!

Once I download the file, I’m able to upload it to whatever site I’m using to print it off. I’ve used both FedEx printing for large prints (bonus: I can do local pick-up within one day!) and Mpix for prints both large and small and have been really happy with the quality of both services. For this particular batch of prints, I chose Mpix and had everything printed on their Giclee Deep Matte Photographic paper.

While I have my fair share of frames from places like Target and TJ Maxx, one of my favorite things to do is find frames at thrift stores and use them in gallery walls. I can usually find frames between $1-$3 and that price is just hard to beat!

Sometimes I like the original finish of a frame, but in most cases, I rely on spray paint to upgrade the frame a bit. I remove the glass and the back first; if the back is hinged, I will use painters tape to tape it off so I don’t get spray paint on the back (which can make it tacky and stick to whatever is in the frame).

I love using Rustoleum spray paint and my go-to colors are matte black and Satin Bronze. I make sure to be in a well-ventilated area for spraying, and I’ll give the frame multiple rounds of light coats, making sure to keep the can moving while spraying so paint doesn’t pool in any one area.

Once the frame finished drying, I can pop in the print. I usually choose to remove the glass from the frame so there’s not a glare on the print.

That’s it! How easy is that? It honestly takes less than an hour of active work start-to-finish and the cost is usually pretty comparable to piece of mass-produced artwork from a place like Target. My budget breakdown was:

Digital Download: $18 (I got a small discount!)

Mpix Printing: $0.89 for a 4×6

Thrift Store Frame: $3.99

I already had the spray paint and painters tape (they’re staples I always stay stocked up on for projects) so my total cost was around $23 for this print.

I love that this DIY allows me to fill my house with artwork that I really like in my choice of sizes, styles, and frames. While the prints aren’t originals or one-of-a-kind, they still feel personalized and unique and bring just the right touch finishing touch to whatever room I’m working on. If you’re looking for a way to elevate a space in your house, this is a great DIY to try!

DIY Clothing Rack for Kids

On Monday, I shared my inspiration for a DIY clothing rack to store dress up clothes, which I planned to make as a birthday gift for Vi. Thanks to Justin’s day off Wednesday and a little childcare help from my babysitter yesterday, I was able to finish it up just in time for her party tomorrow!

I shared all the progress in real time on Instagram, but I also wanted to write out a full tutorial for how I made this clothing rack to permanently be a resource on the blog. This was really a pretty simple DIY and I would estimate it only took about 5 hours of hands-on work time (mine took more time with stopping to take photos and video of everything). It’s definitely a project you could do in one day!

Materials

-2 8 foot pine 1×2’s

-2 8 foot pine 1×5’s (I used a base floor trim that was 7/16 x 4 1/4 x 8 for a thinner look)

-4 foot dowel rod, diameter 3/4″

-two wood screws, size 9 x 2 1/2

-1 inch nail gun nails

-sandpaper (80 grit, 220 grit, 400 grit)

Polycrylic

Synthetic Bristle Brush

Tack Cloth

-I used thin scrap wood for the shelf supports, but you could also use roughly 4 feet of another pine 1×2

Tools used: miter saw, power drill, nail gun, clamps, straight edge, right angle, measuring tape, level

I started out by measuring out the space where I wanted to put the clothing rack so I could get a feel for the dimensions to use.

I used the miter saw to cut down my 1×2’s into four pieces, each 48″ long.

I laid two of the pieces on the ground and fiddled with the angle of teepee shape until it looked the way I wanted it to. Then I took a straight edge and ran it from tip to tip of the bottom outside corners.

I then took a pencil and traced along the straight edge. This marked a line that I needed to cut in order for the pieces to sit flush on the ground. Once the line was marked, I was able to use that + a right angle tool to determine the angle I wanted was 15 degrees.

I set my miter saw to make a 15 degree cut and trimmed off the edges on both the bottom and top of all four pieces, making sure the top and bottom of each piece were cut in the same direction.

Next, I took the pieces and got them back in the teepee shape I wanted and then used clamps to secure the wood to my workbench to make sure it didn’t budge. I also took my pencil and lightly traced along both edges of the piece on top, so just in case the boards did slip, I could easily line them back up again.

I marked the center of the wood overlap (for me, it was 8 inches down from the top of the wood) and used a 3/32″ drill bit to drill a small pilot hole all the way through.

I then used a wood screw (size 9 x 2 1/2) and a star bit on my power drill to attach the two pieces together.

I flipped the pieces over, re-clamped them (the line I traced came in handy for making sure they were back at the right angle!), and then measured out a scrap piece of wood for the bottom shelf. I wanted the bottom of the shelf support to be five inches off the ground, so I measured and cut a piece of scrap wood to fit. I trimmed off the edges at 15 degrees so it would run flush with the side pieces and I attached the support to the side pieces using a nail gun and 1 inch nails.

I repeated those steps until I had two identical side pieces. (Side note: I now wish I had made them mirror images of each other instead of identical. It doesn’t change anything structurally, but just aesthetically I think I would have preferred that look)

Next up was the bottom shelf. I took pine boards (7/16 x 4 1/2 x 8) and cut them down to my desired shelf length: 30 inches.

I used my nail gun and 1 inch nails to nail down each shelf into the shelf support. Four boards fit perfectly across! I wanted a little extra support in the middle since the shelf was pretty long so I got a piece of sturdy scrap wood and nailed it to the center of the bottom of the shelves.

Last up was attaching the dowel rod. Remember the wood screws I used to attach the criss-crossed part at the top? These actually went all the way through the wood and stuck out the other side. I measured from screw to screw across the top and cut the dowel rod to length (because of the way the wood overlapped, it was not the same length as the bottom shelf boards!)

I used my power drill to reverse the screw out until it was no longer visible on the inner part of the teepee, then held the dowel rod tightly up against the 1×2 and drove the screw back in. I recommend using a small level to make sure that your dowel rod is going straight across!

I then took some sandpaper (first 80 grit, then 220 grit) and sanded down any rough areas. I wiped it down with tack cloth and applied two coats of a clear matte polyurethane (giving it a light sand with 400 sandpaper in between coats).

I’m really pleased with how this turned out and I know Violet is going to love it. I can’t wait to see it full of fun dress up clothes after her party tomorrow! This little clothing rack is about to get lots and lots of fun use!