ORC Week Eight: Laundry Room Reveal!

We made it to the end of the laundry room renovation and I am so thrilled with how this room came together!

It might be little more than a laundry hallway, but the view sure has changed from eight weeks ago. I can’t believe how dark and dingy it felt looking back!

I’ve said it multiple times throughout this process, but many of my decisions were based on keeping this project very budget-friendly since this renovation is somewhat temporary. Justin and I still plan to eventually gut the adjacent bathroom and expand the laundry room, which will also create a true mudroom space. Since that remodel is still a couple years down the road, I wanted to find inexpensive ways to update the existing space in the meantime, making it more functional and beautiful.

I loved the look of wallpaper but found that a gallon of paint and a couple $12 stencils gave me the look of wallpaper for much less. You can read the full tutorial here.

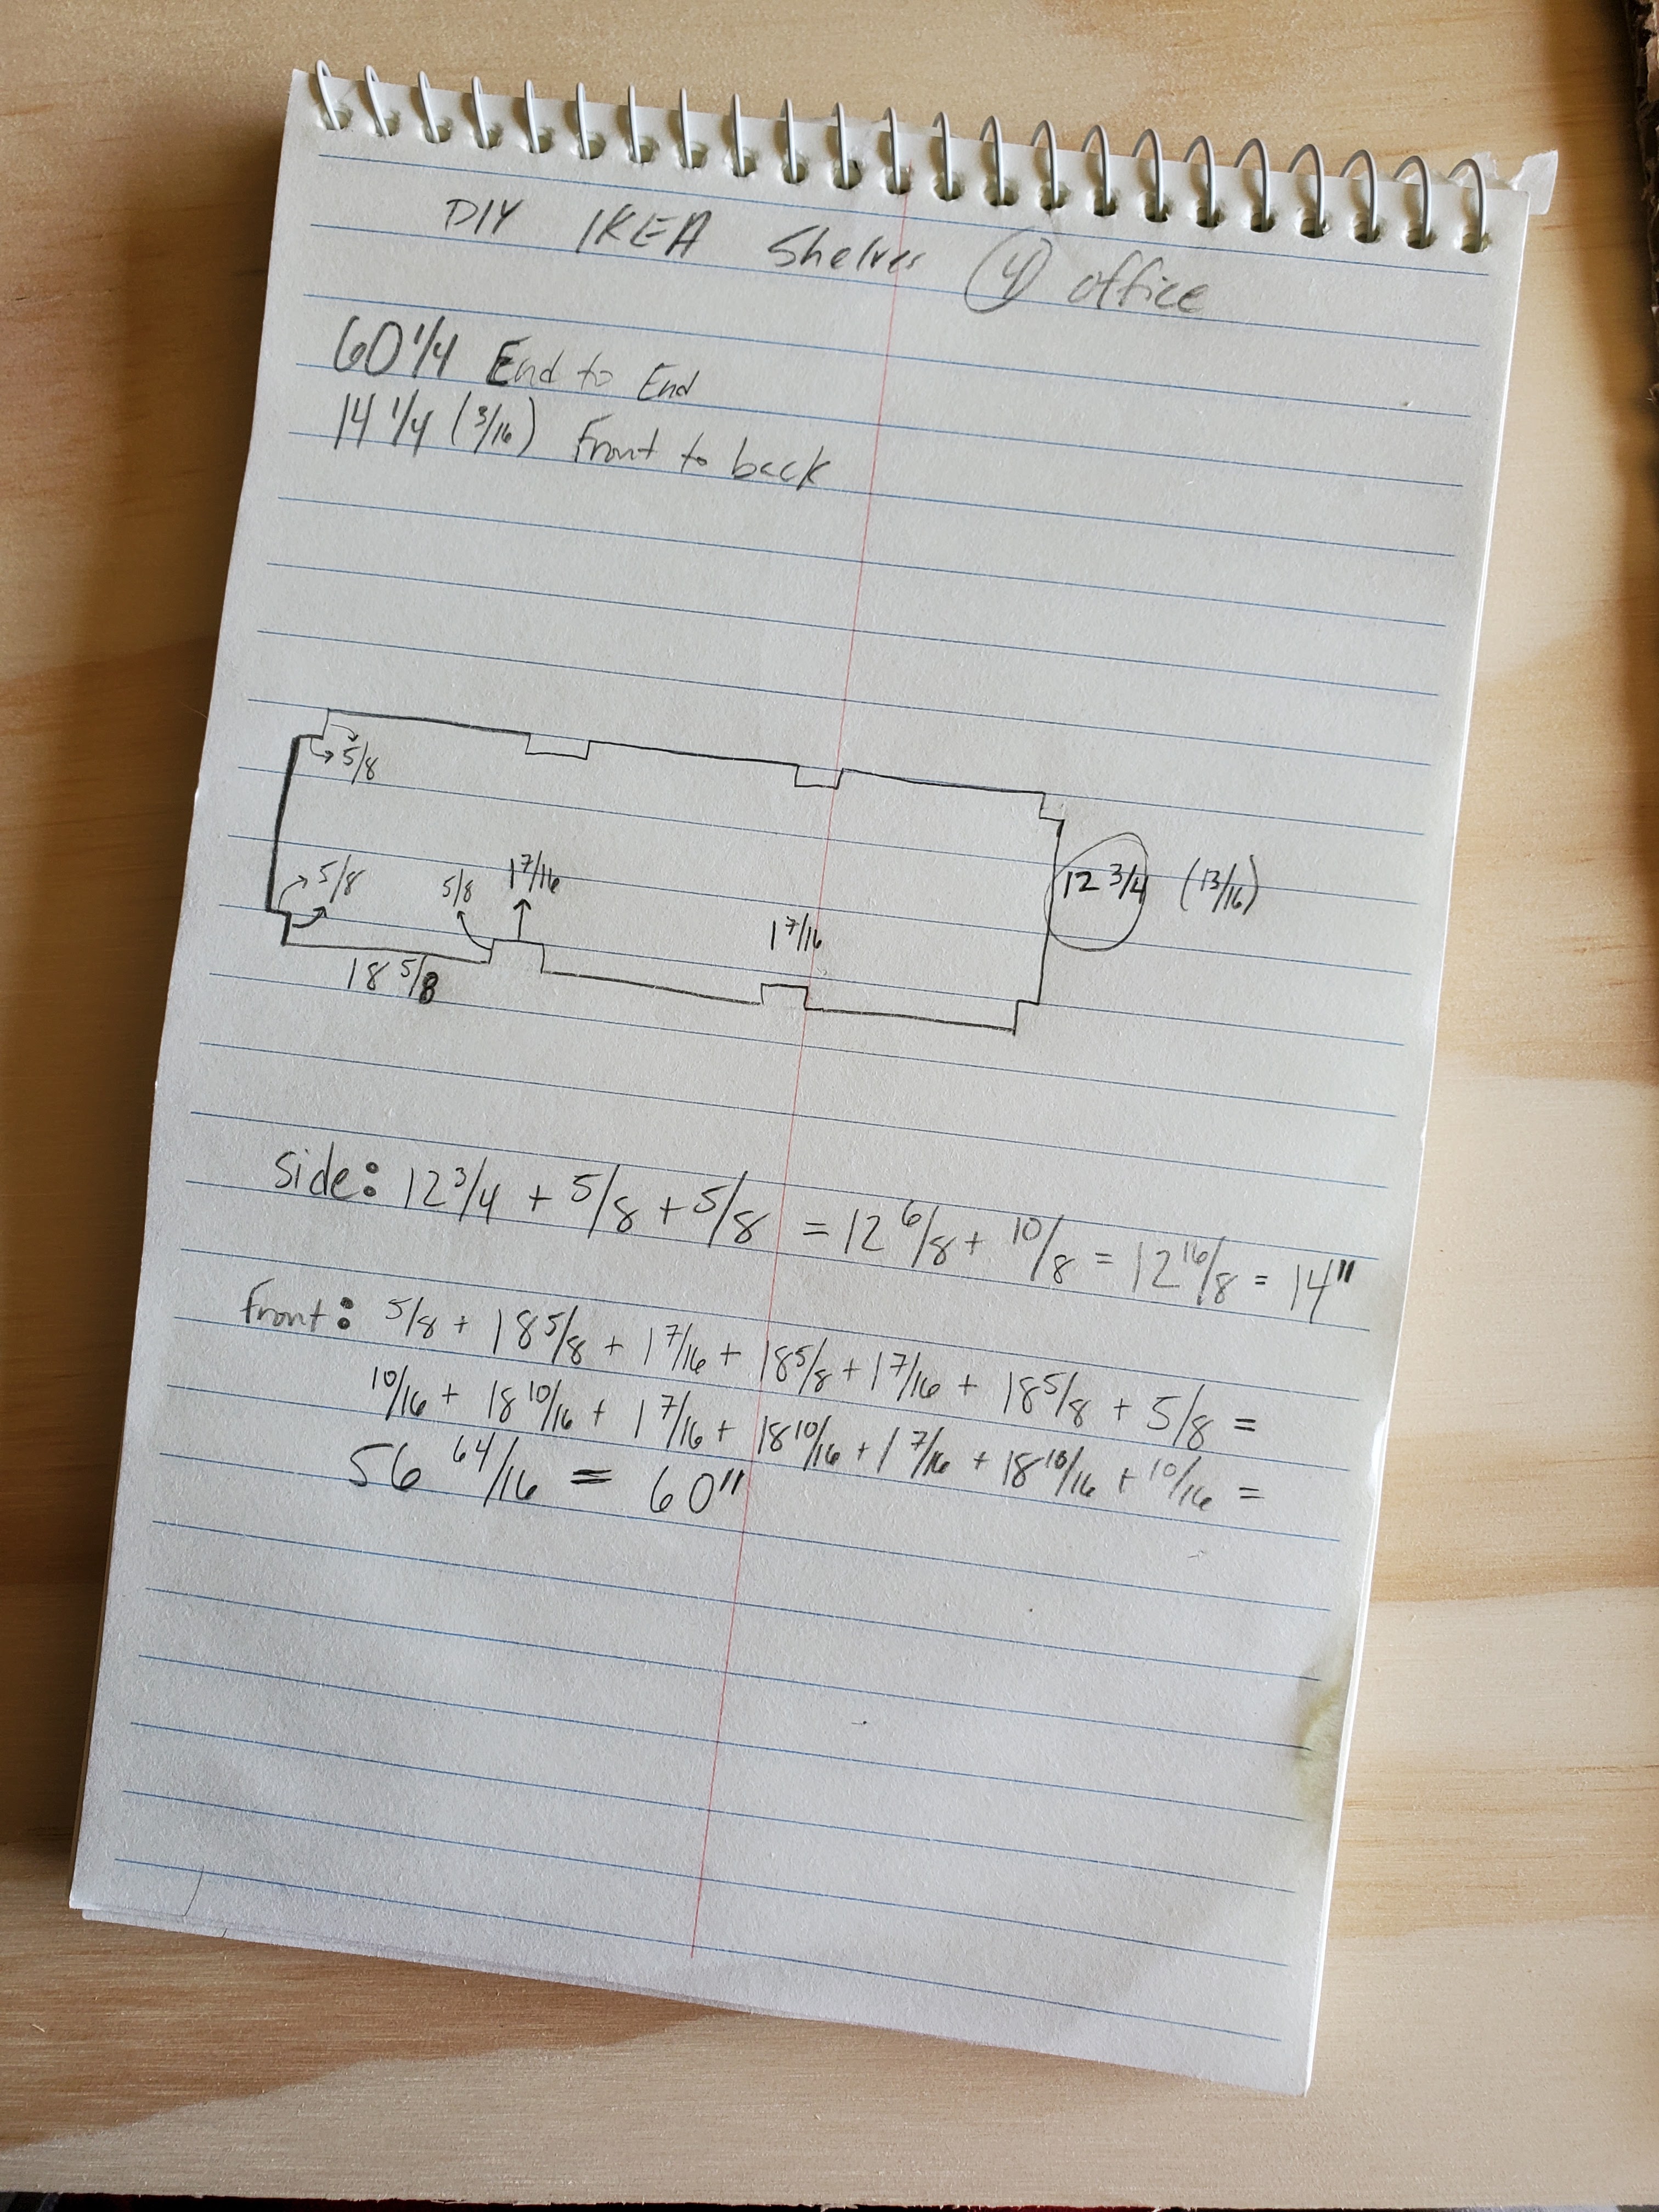
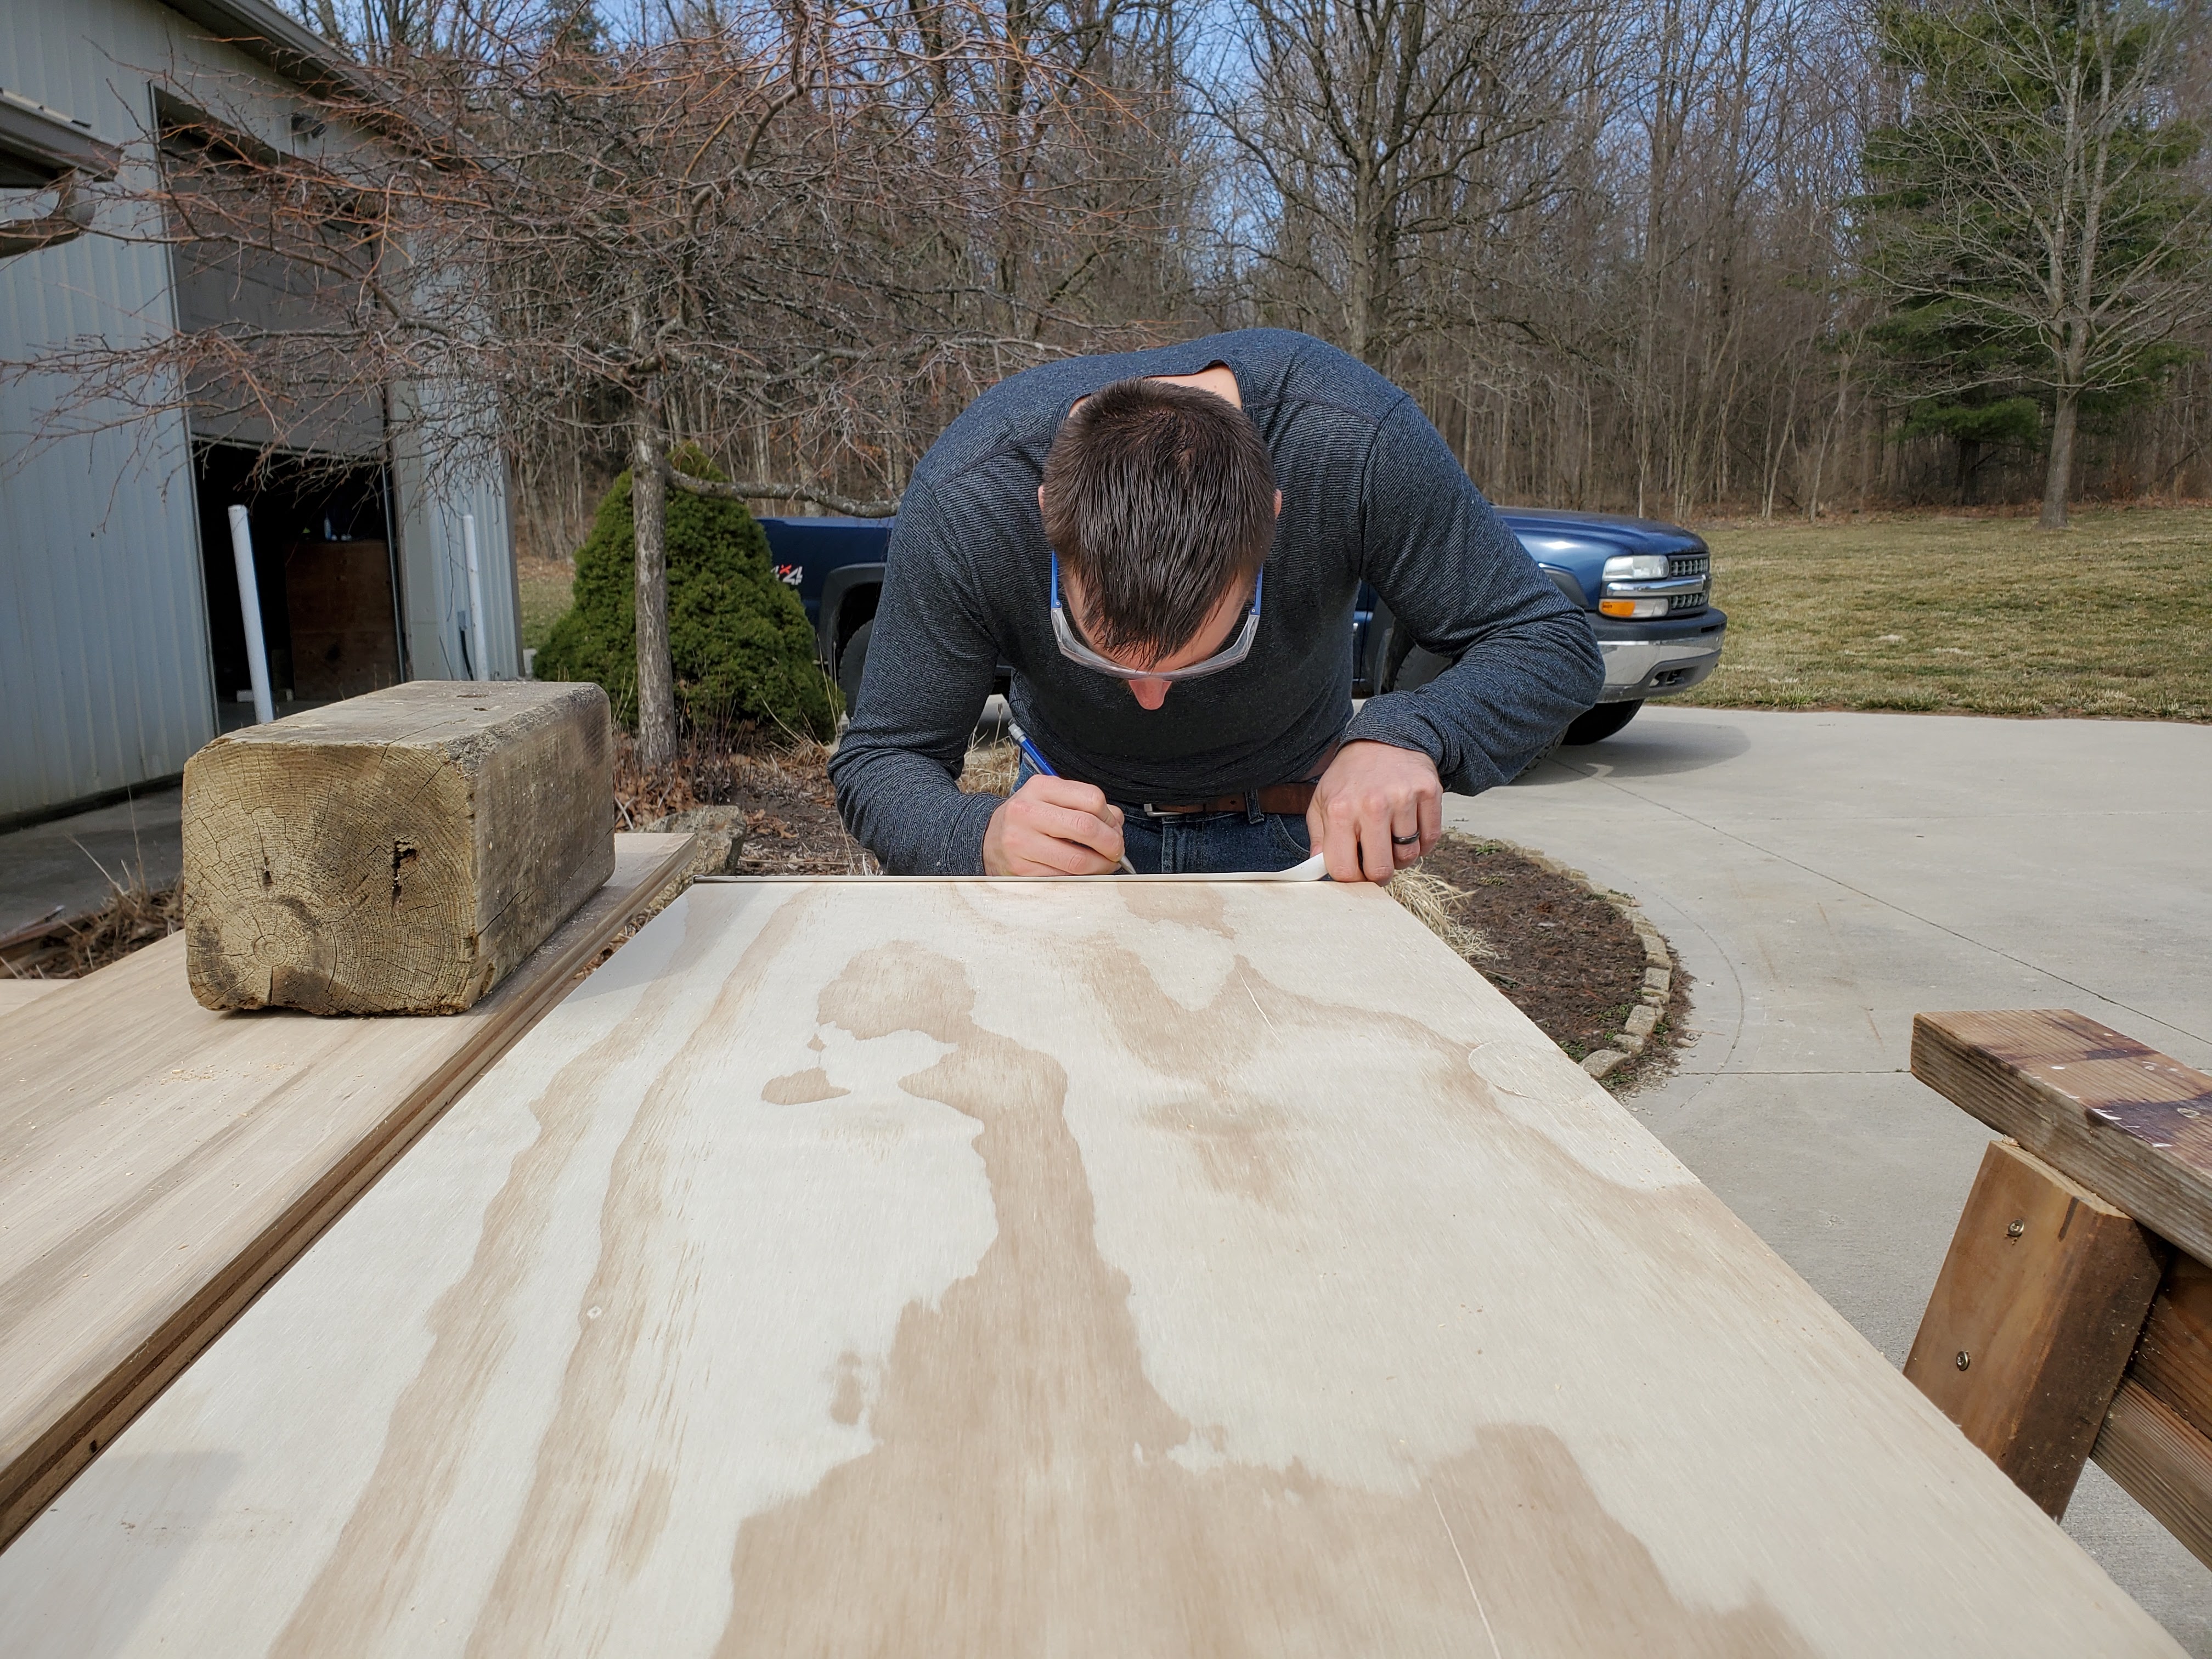
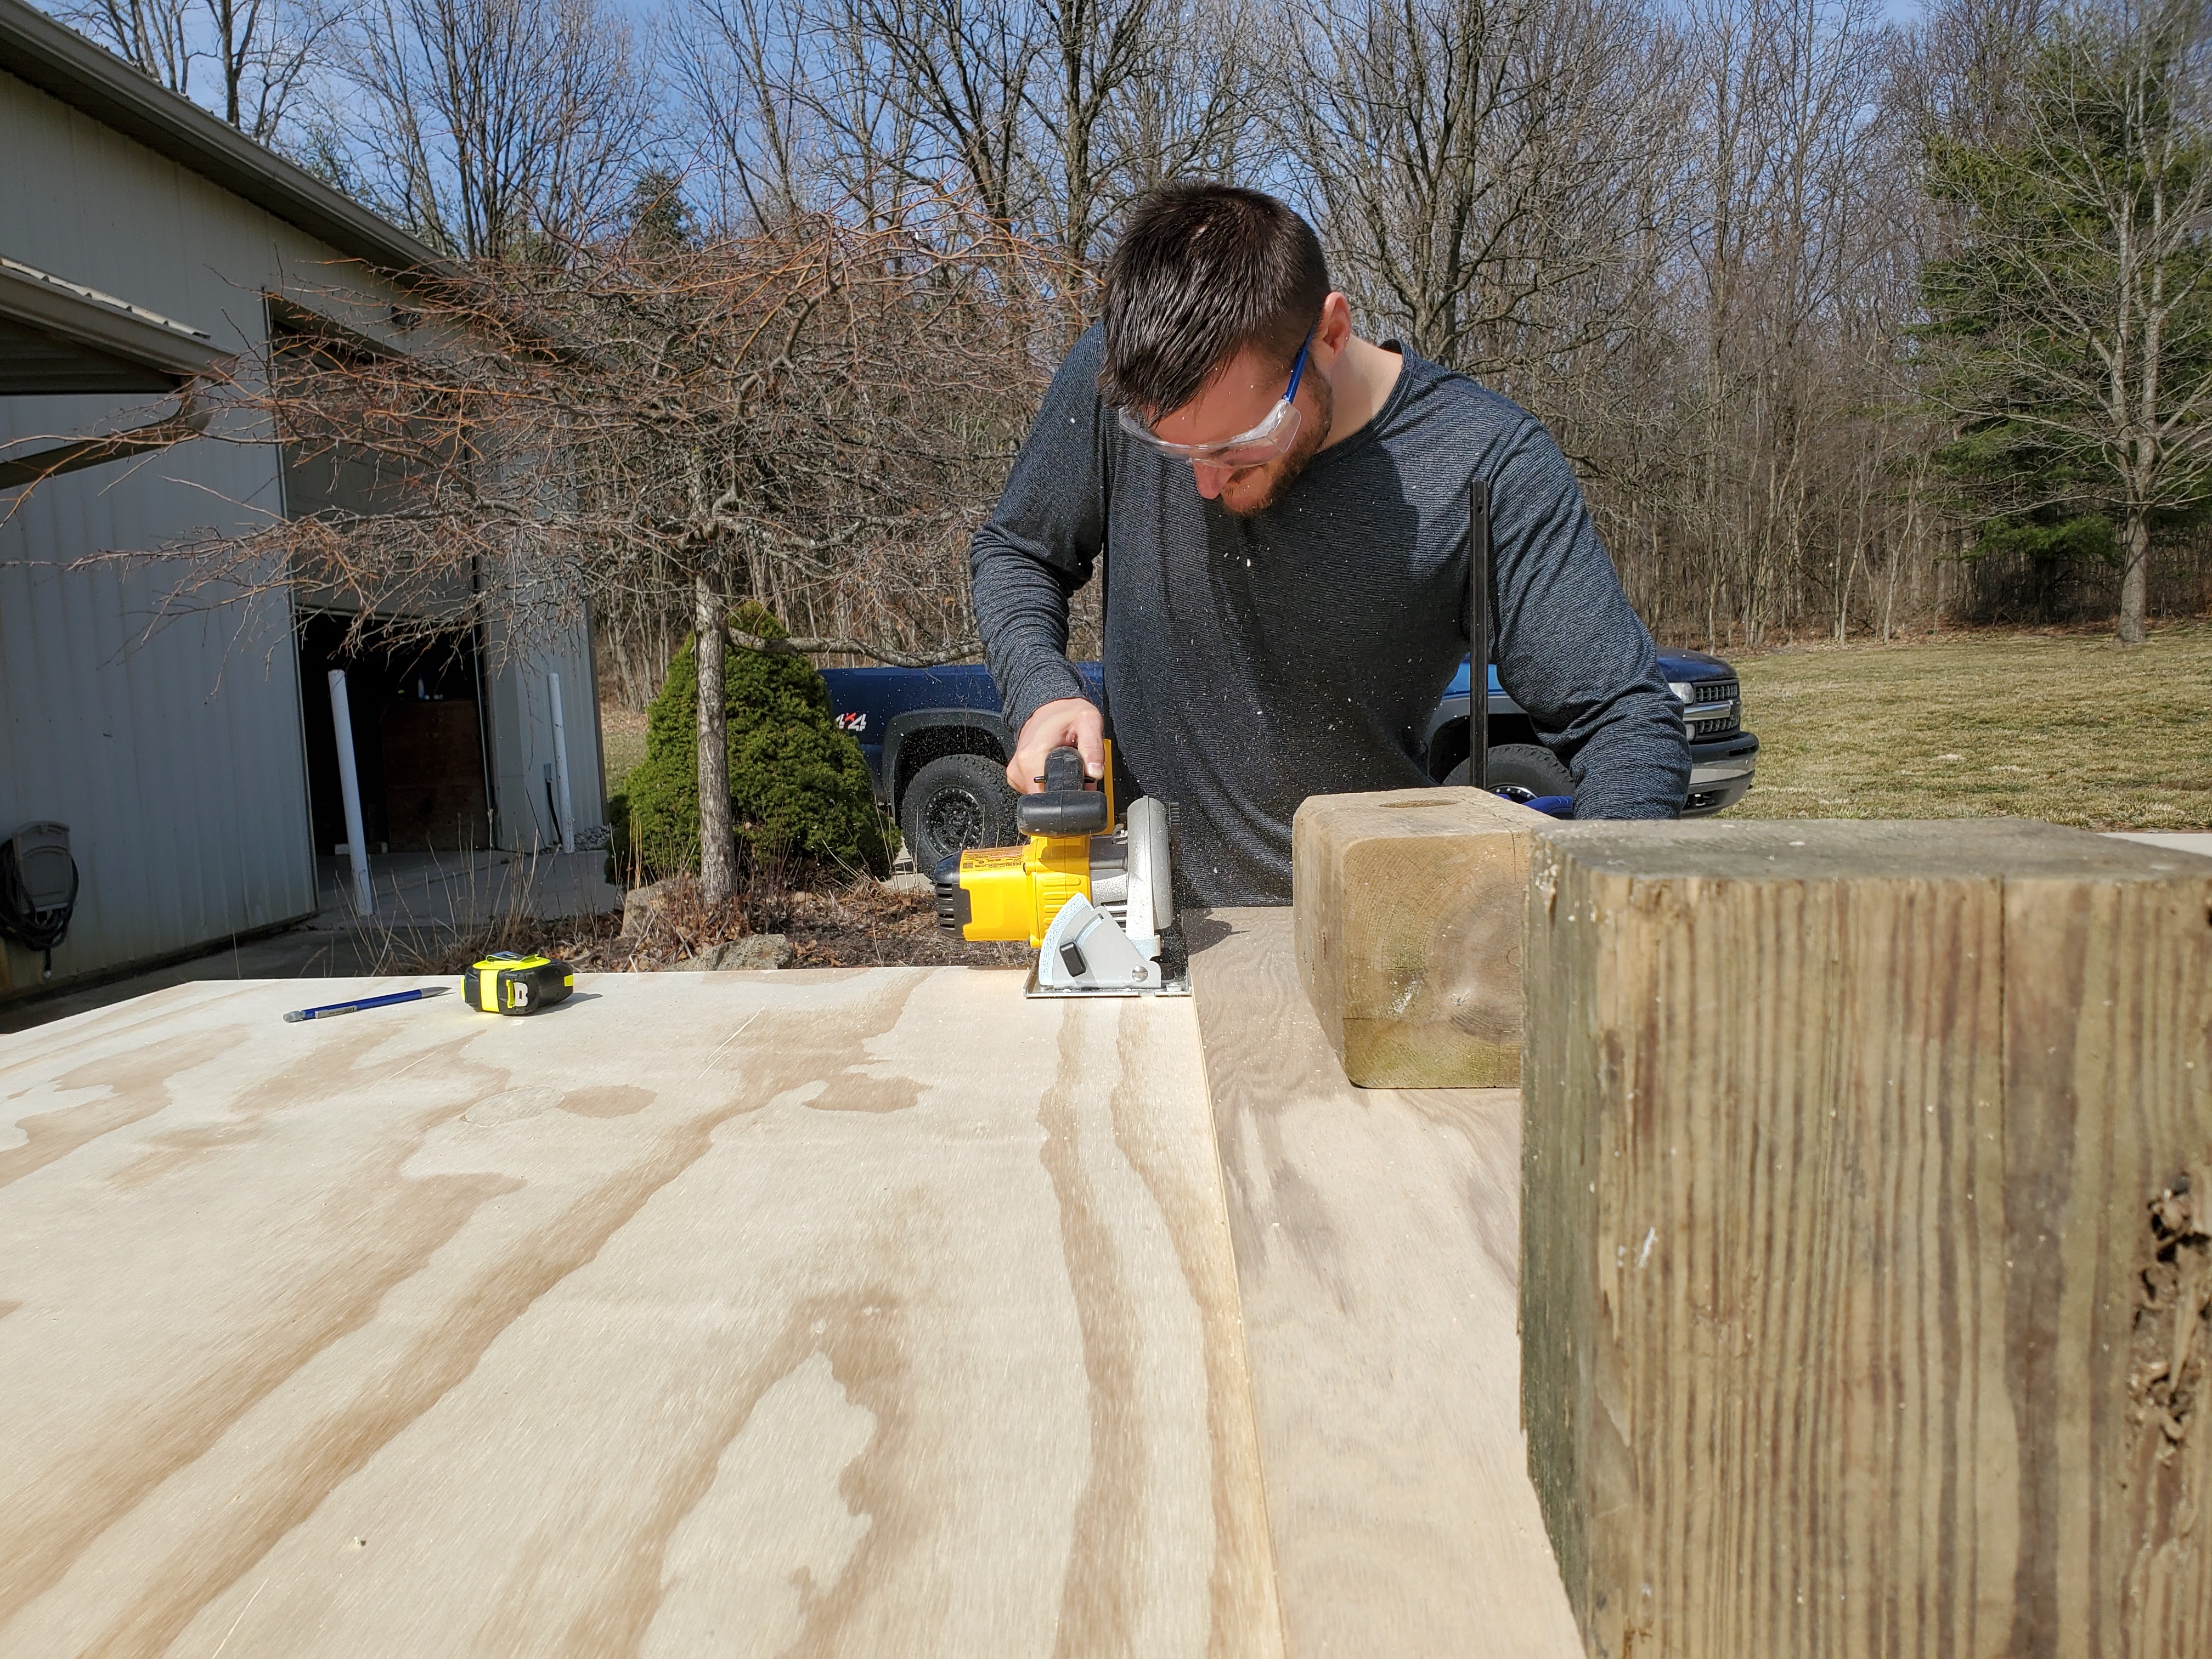
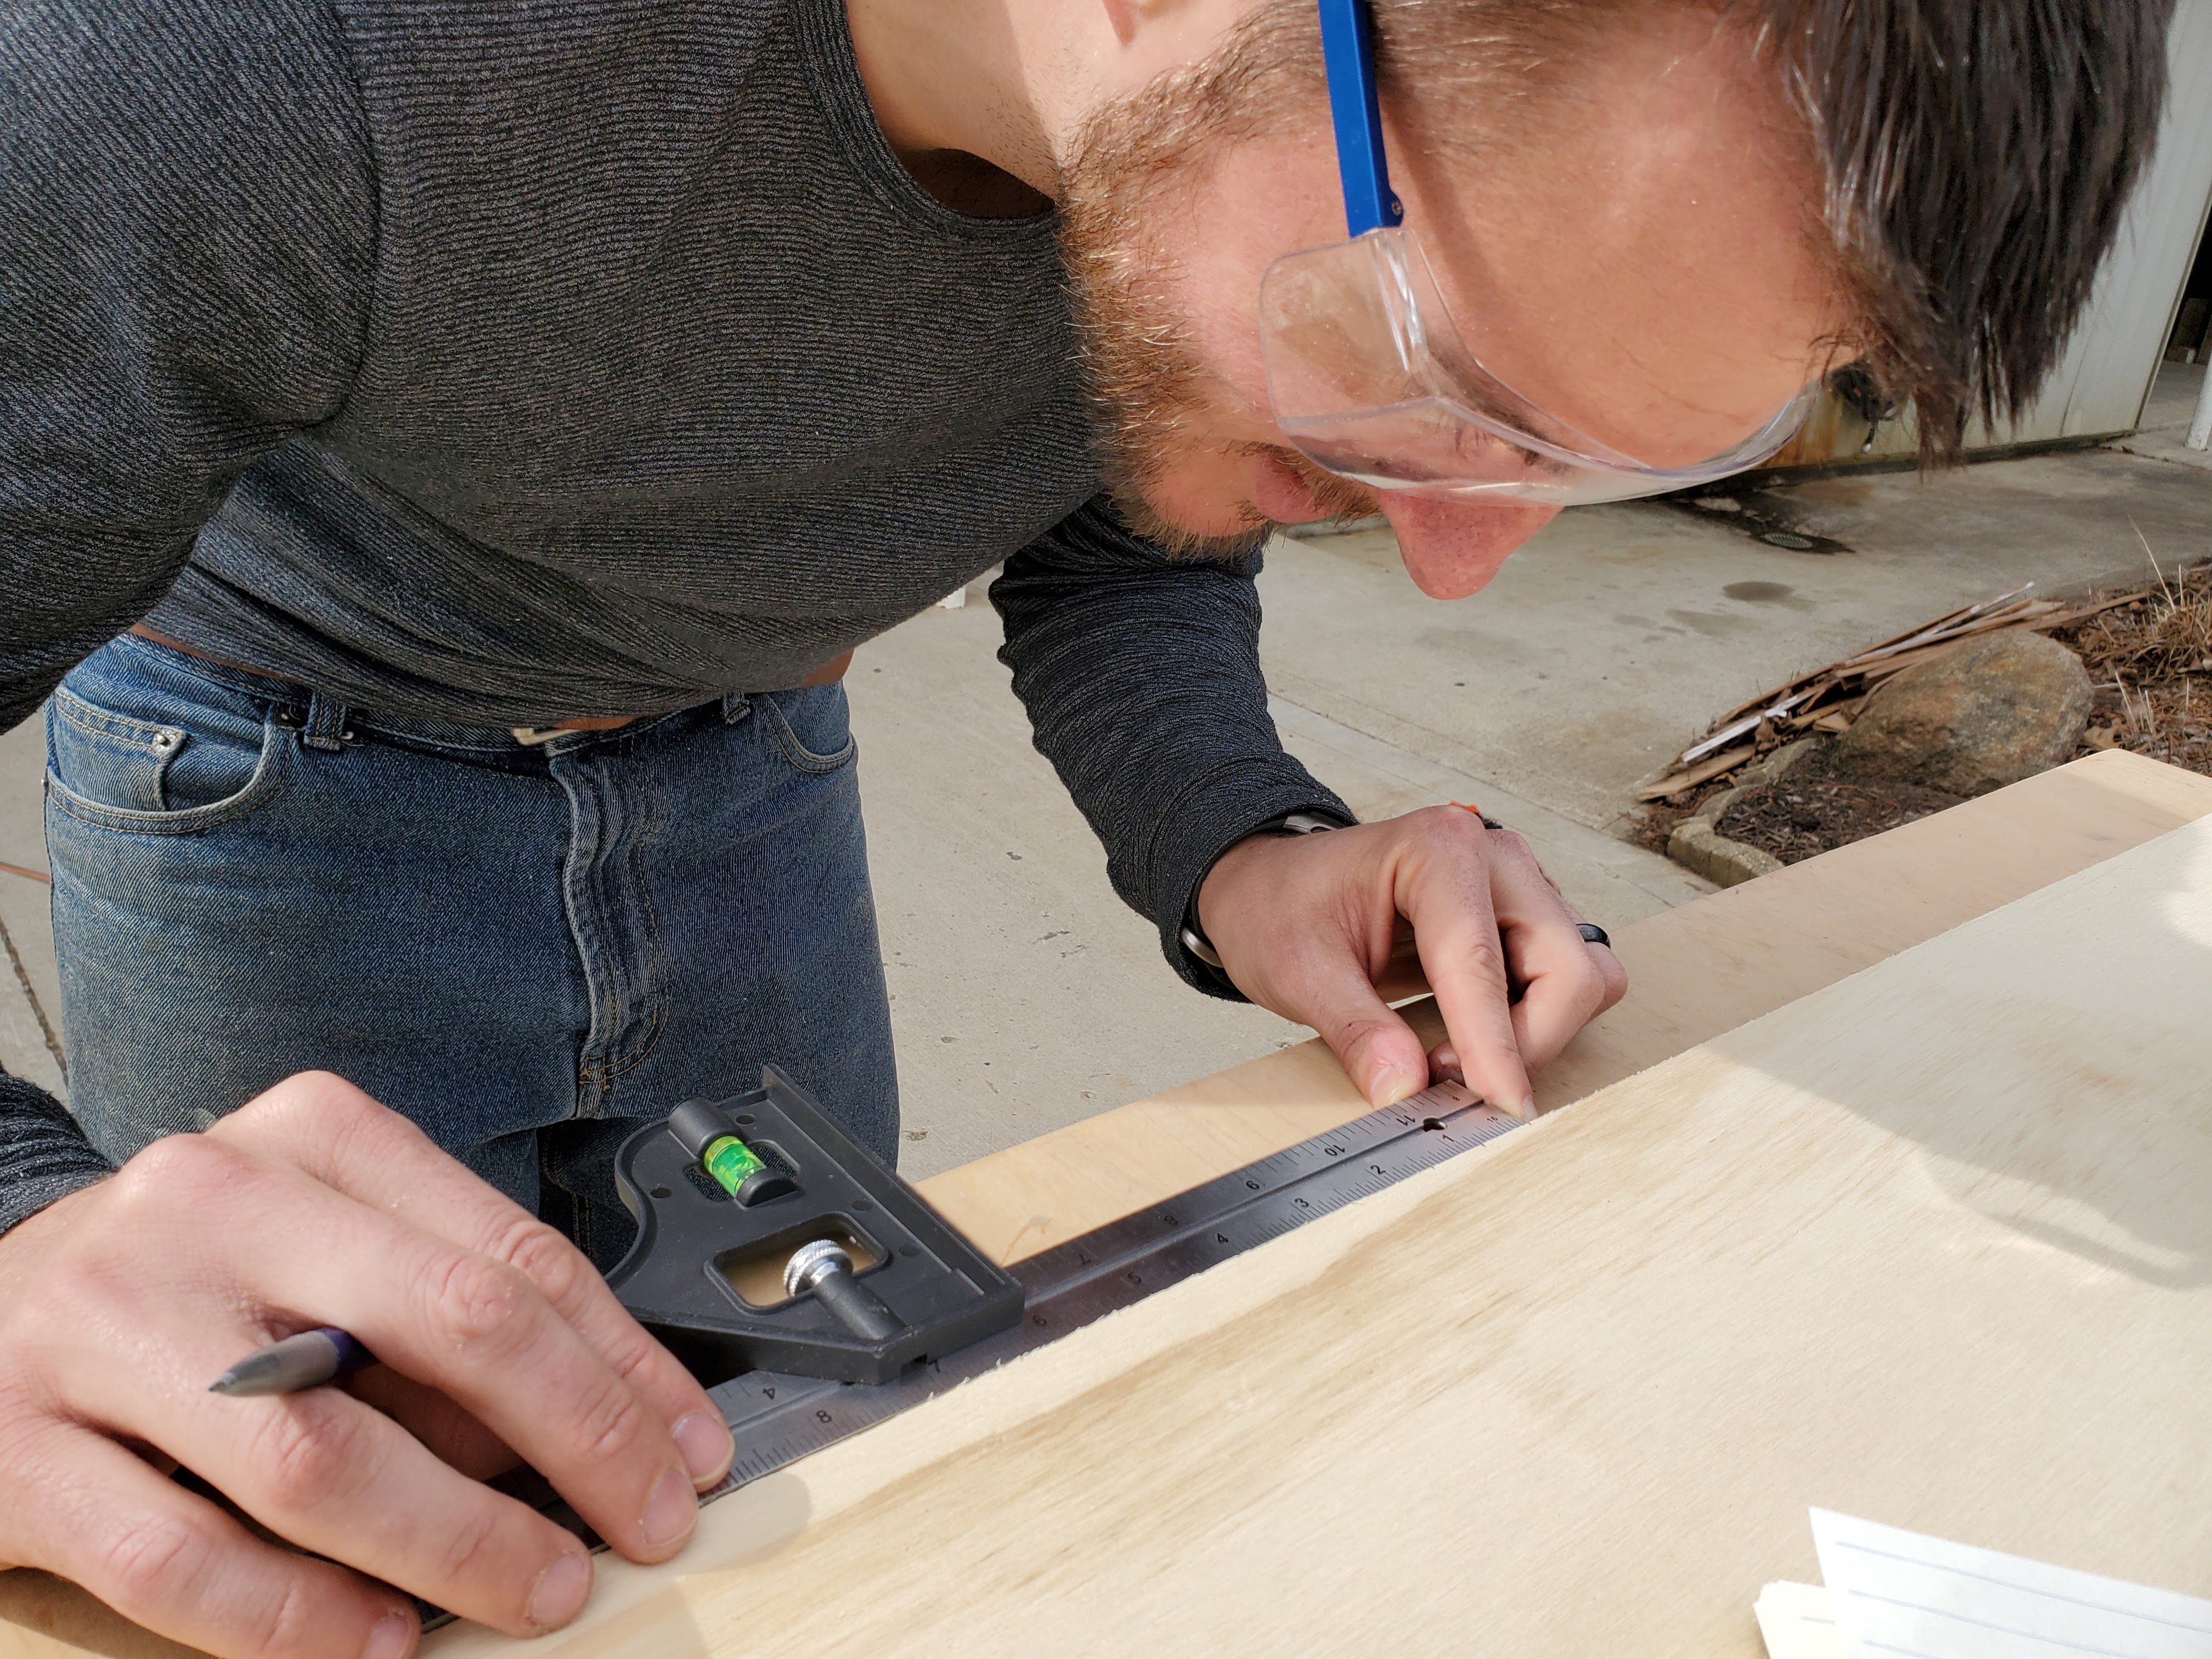
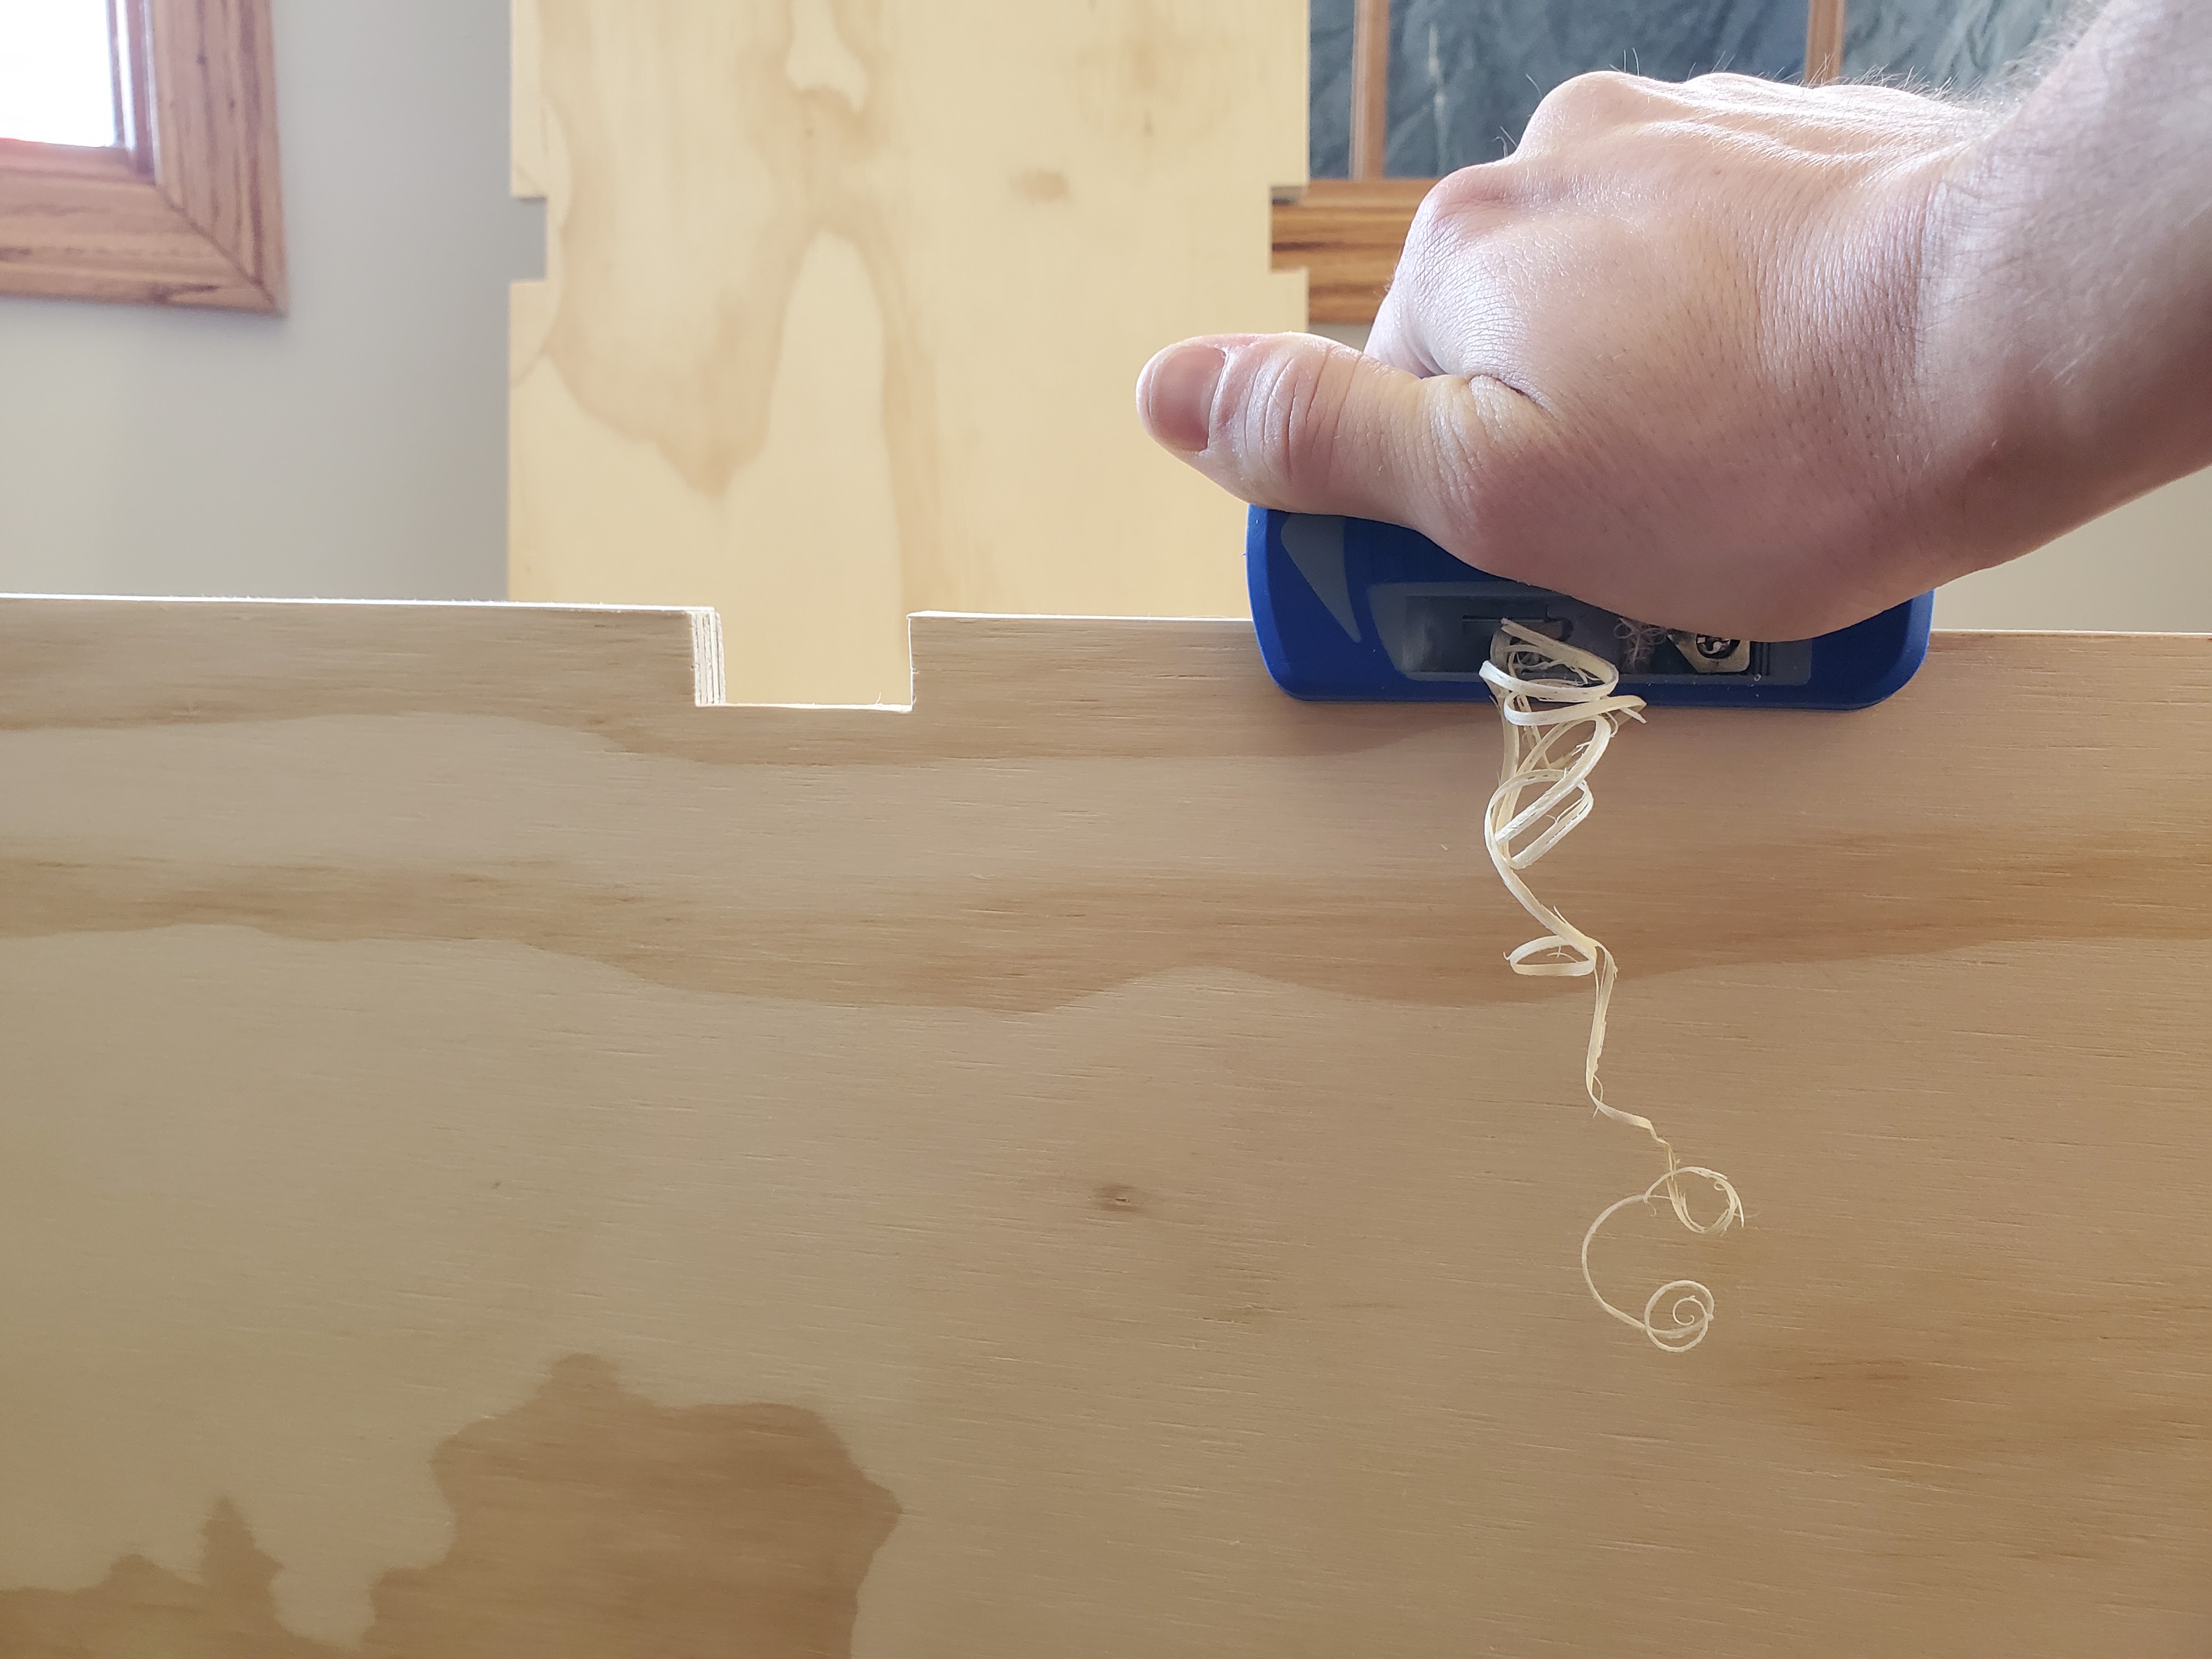
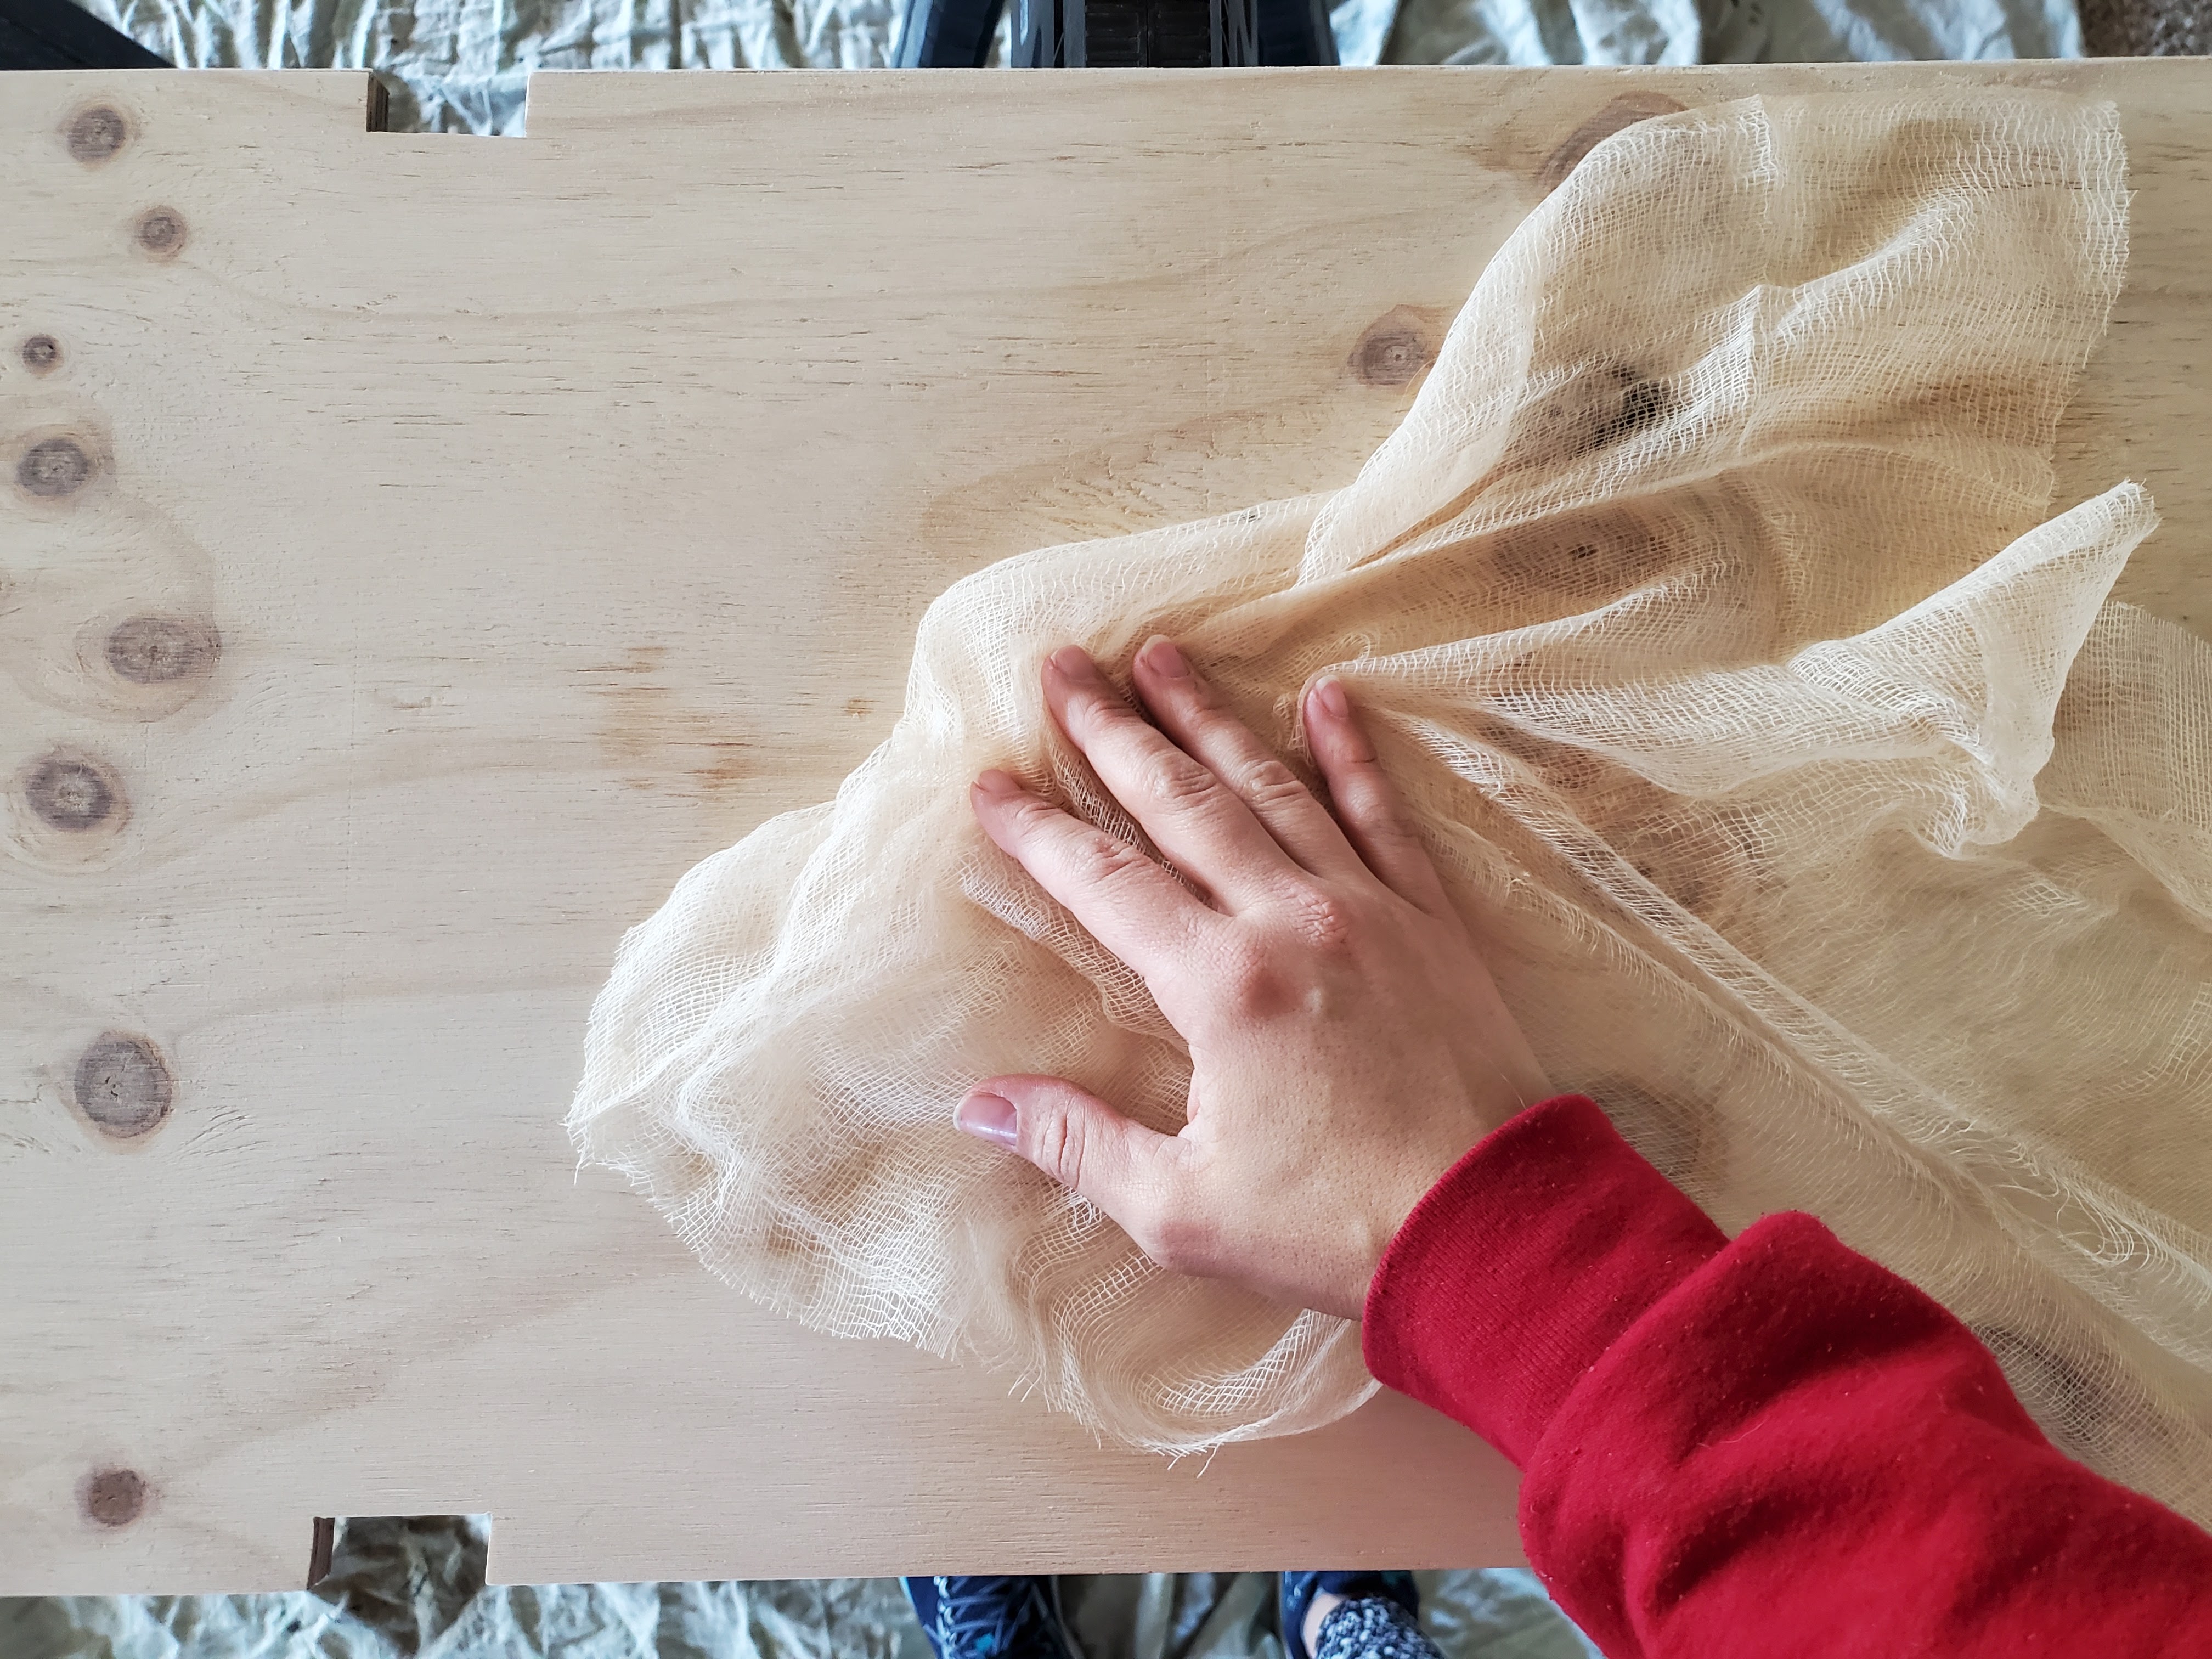
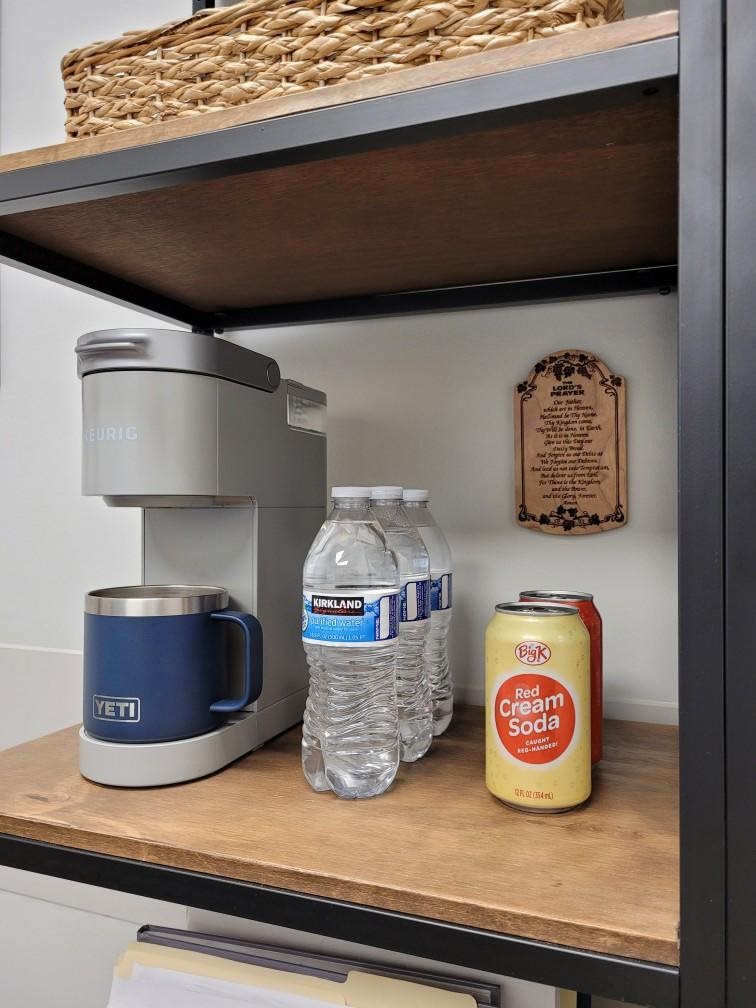
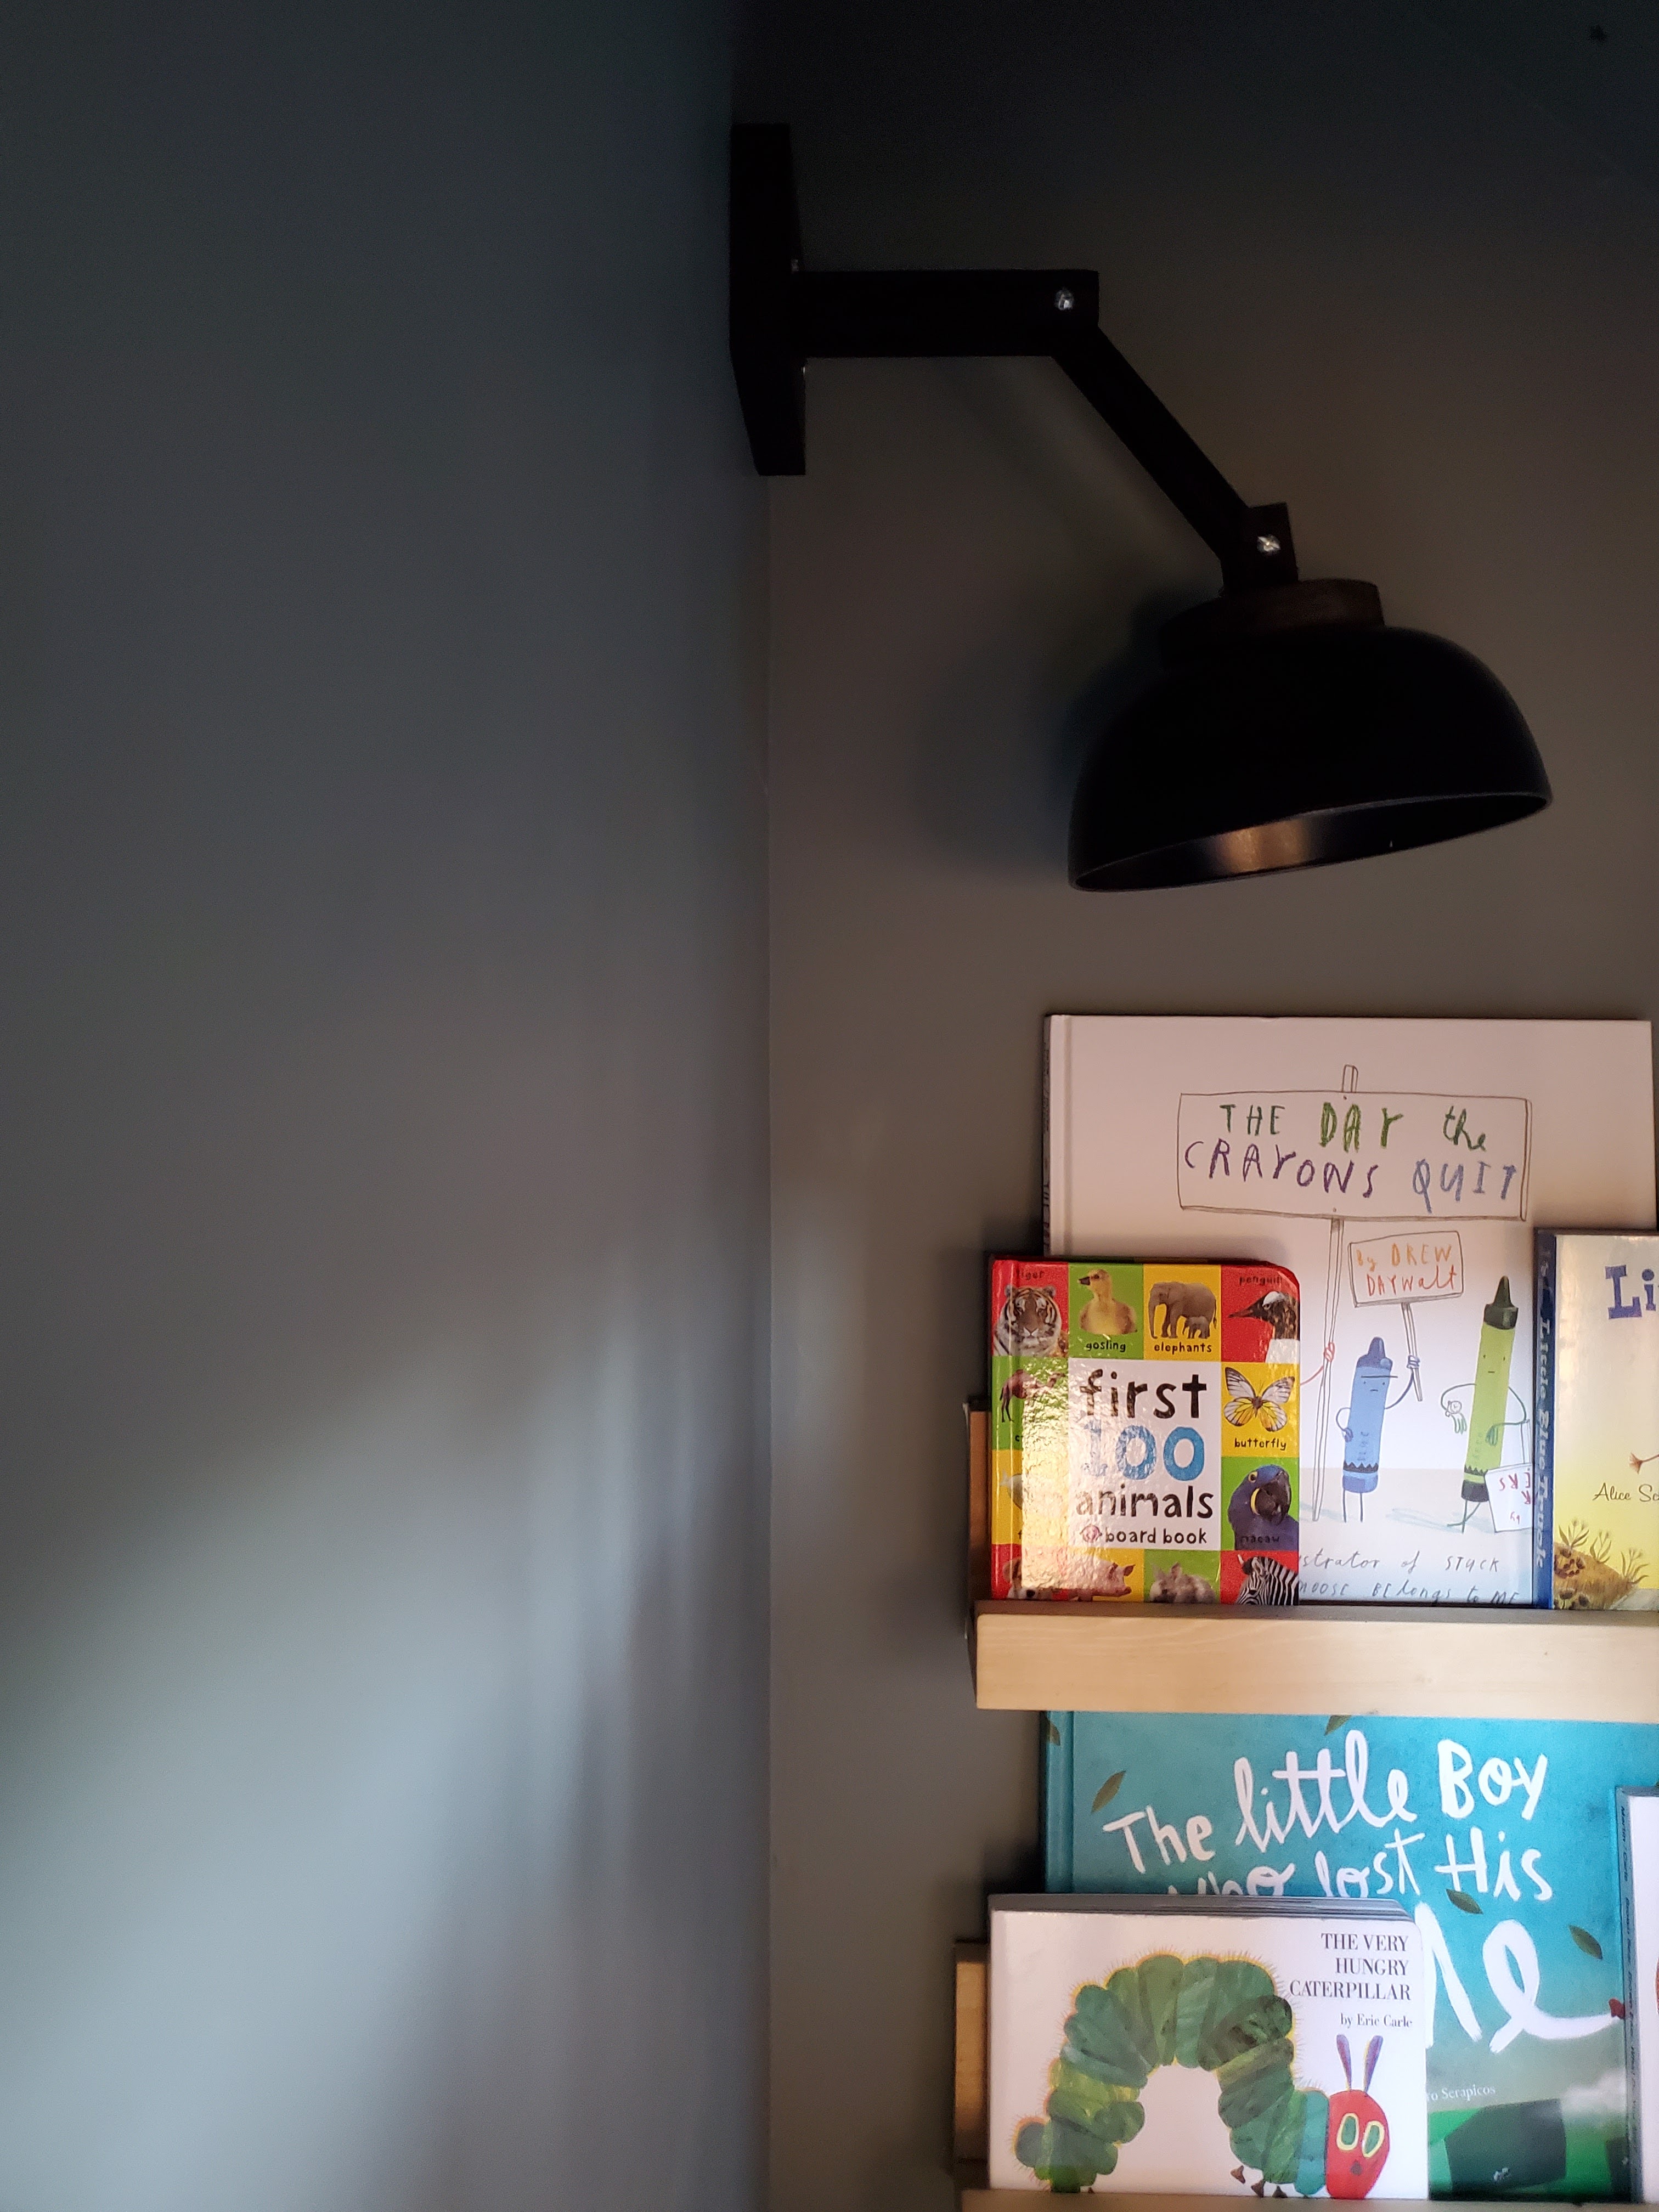
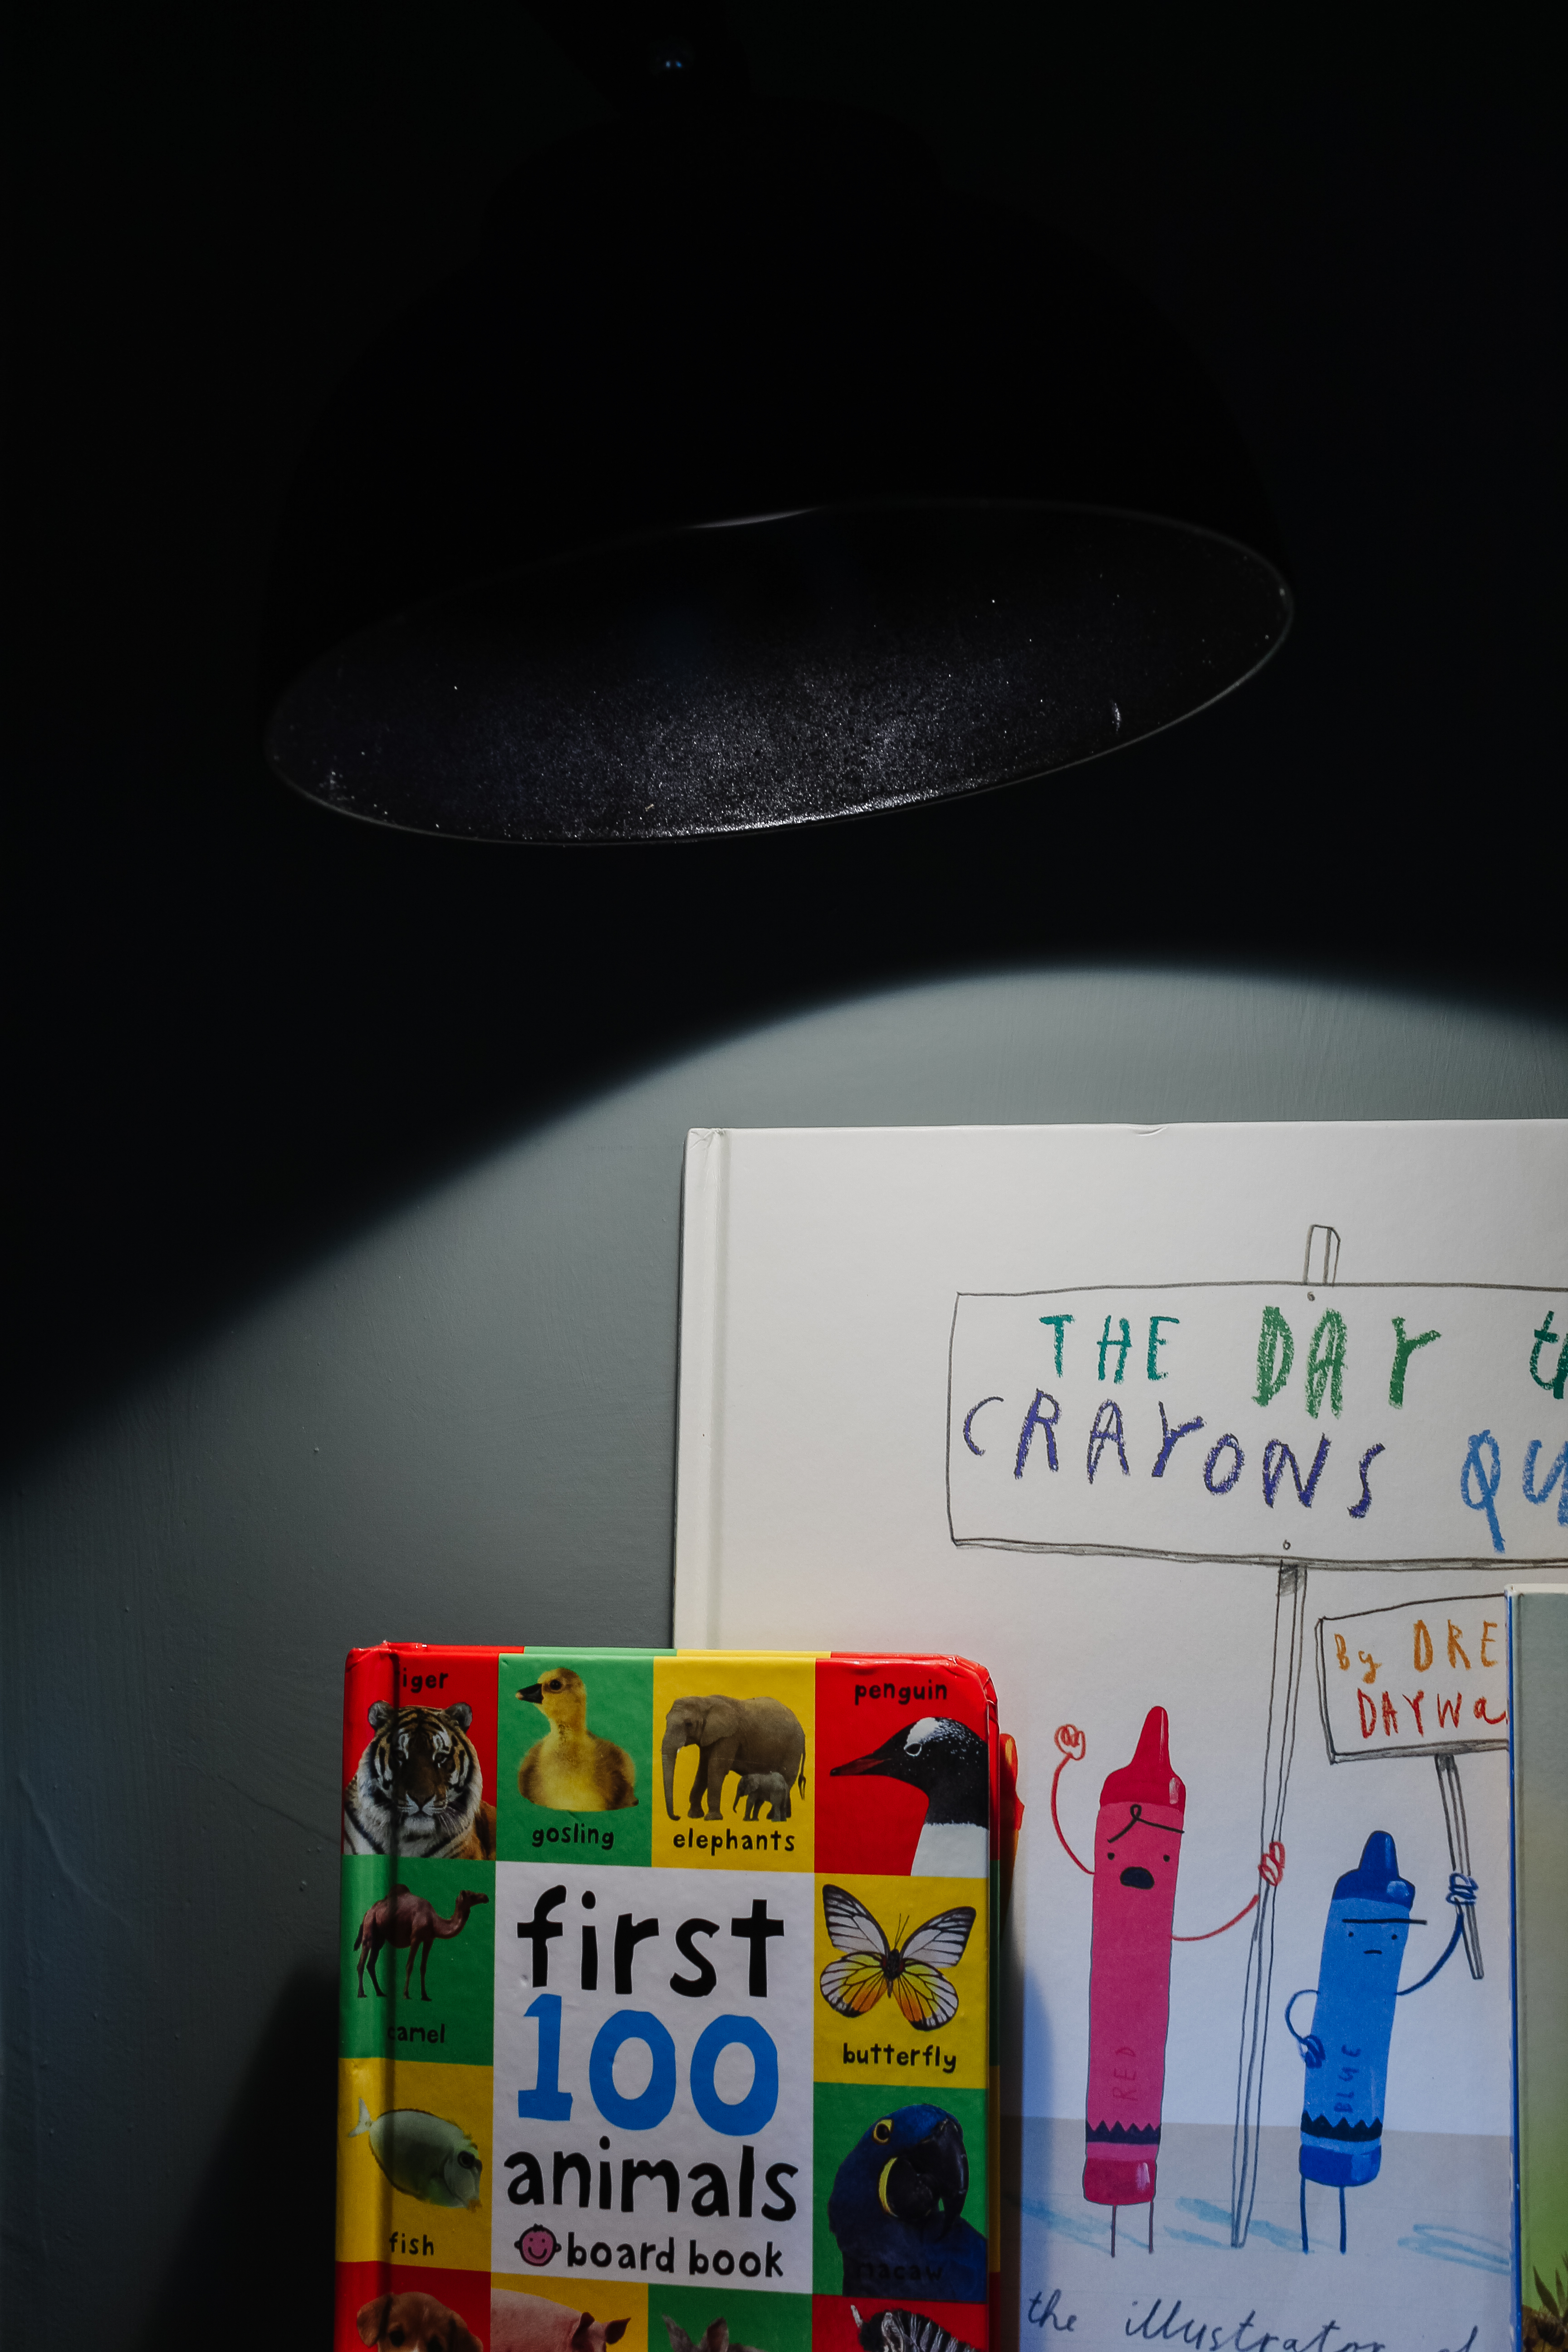
I took down the cabinet + rod combination that previously hung above the washer and dryer and replaced with some simple shelves. I cut down, stained, and sealed two 1 x 8’s and Justin installed them on top of simple black brackets. A mix of baskets + decanted jars and bottles keep all my laundry supplies looking chic while staying within easy reach.

I felt pure joy in taking down the two ugly boob lights and replacing them. The hallway light got replaced with a simple low profile mount and the light above the laundry was a simple DIY dupe. An inexpensive white shade got a couple coats of spray paint and elevated the look for less! You can read more about that process, and the process of making and installing shelves, in this post.

The mudroom nook also got a few simple upgrades. An accordion rack gives me extra hooks for all the jackets and coats my kids have and a shoe bench with built-in storage provides plenty of space for shoes, gloves, and hats.

Since that bathroom is rarely used, I am borrowing the hooks in there for some extra bag storage (you can see a tiny glimpse in the mirror!) It also helped that I cleared out the adjacent closet to create space for the dog food and purged all the shoes we weren’t using! And speaking of the closet, all the doors and trim got painted SW Blonde in a satin finish and I upgraded all the hinges and levers to matte black. Justin also swapped out all the receptacles and switches for white ones and I replaced all the switch and outlet covers with painted wooden ones. Little details make a big difference!

I know there are likely some people who would make the argument “Why go to all this trouble if you’re just going to redo the laundry room in two years? Why not just live with it the way it was?” And on the one hand, I get it. But on the other hand, two years is a long time to live in a space that doesn’t work well for us and I don’t even like to look at. We use the mudroom portion daily and the laundry portion at least once a week, often more. Over the course of two years, 100+ uses as a laundry room plus 700+ uses as a mudroom . . . that’s well worth the time, effort, and approximately $400 I spent on this entire reno. I could’ve spent less and chosen fewer things to update (the most expensive part was actually new door levers!) and it still would have felt fresh. It’s also worth saying: a lot can happen in a year or two and who knows if we’ll be able to proceed with our plans in the future. The good news is, a full remodel doesn’t feel urgent now. If the two year plan for the laundry room becomes a five year (or longer, or never!) plan, I’m now okay just living with the room I have.

ORC-Guest-400x218.png

I’m thankful to the One Room Challenge for the motivation to push through and get this room finished! If you’re interested in checking out all the other guest participants, you can do so here.

Sources

Wall Color, Trim, & Door Color: Sherwin Williams Blonde (eggshell on walls, satin on trim and doors)

Stencil Color: Sherwin Williams Alabaster

Stencil

Shelf Brackets

Accordion Rack

Bench

Rug

Low Profile Flush Mount

Semi-Flush Mount (shade is spray painted Krylon Fusion Matte Pale Sage)

Art: Flower Print, Abstract Print, Do Less Print

Clear Jar

Gray Ceramic Box

An Ikea Hack for Vittsjo Shelves

On Monday I shared Justin’s work office reveal and without question the star of the show was his shelving unit! Today I’m sharing all the details about the hack that took these three Ikea shelves and kicked them up several notches.

We bought three of these Vittsjo shelves from Ikea. Initially I had hoped to use this double Vittsjo, which is a bit more cost-effective, but it was out of stock in my store. This ended up being a blessing because I actually love the look and scale of three even better! The units came with glass inserts to create the shelves, but I was inspired by the chunkier look that Kim and Scott from Yellow Brick Home gave their Vittsjo and we decided to create a similar look. (Note: If you’re interested in doing this hack for yourself, I’ve included a full list of all the materials we used at the bottom of this post!)

Once all three units were assembled, we lined them up against the wall and Justin took measurements of the total length and width of one shelf spanning all three units and sketched out an outline, making sure to include all the places we would need to make notches to accommodate the vertical posts.

Each shelf would have a length of 60″ and a width of 14″. We bought a sheet of 1/2″ plywood, which was enough to make three long shelves and three small pieces for the bottom shelf . The sheet was 4′ x 8′, so our first step was to cut it down to the correct length. It was a gorgeous day, so Justin wheeled his work table outside!

Justin planned to use his circular saw for cutting the plywood to length so after measuring and marking the 60″ length, he also measured and marked out exactly where the edge of the circular saw’s guide would be when it cut the length. We clamped down a piece of scrap wood with a straight edge right where the circular saw guide would run so that Justin would have a solid wall to keep the saw’s guide flush against. This ensured a super straight cut! He also tossed a couple of larger blocks of scrap wood on top to keep the guide wood firmly in place.

After taking this picture, I was in charge of holding the side of the plywood hanging off the work table (since the saw couldn’t be directly over the table or it would have cut into it) and catching the part getting cut off. We saved that excess piece to make the bottom shelf pieces later!

Once the sheet was cut to length, the next step was cutting the width of each shelf. We repeated the same process as before – measuring and marking the width (14″) and also making a mark where the edge of the circular saw guide would be.

Here’s a close-up of the two marks he made. Can you see the little mark right on the edge where the guide wood is placed? That is exactly where the edge of the circular saw will be when Justin cuts the shelf to length. The other pencil mark along the edge is marking where the saw blade will cut the shelf to the correct width.

We repeated this process two more times to create three shelves with a 14″ width.

Next up was marking and cutting out all the notches. Using the outline he had drawn with all the shelf measurements, Justin used his combination square to mark where each notch should go.

This step took the longest, but creating a precise outline of the notch was necessary so he would know exactly where to cut. We highly recommend double checking measurements! Justin initially measured to the wrong spot and the notch would have been off but I noticed it in time and we were able to correct it before cutting. Measure twice (or three times!), cut once!

To cut out the notches, Justin used his jigsaw. He first cut the two parallel lines coming in from the edge.

Before cutting the top line, he drilled a small hole near the top of the notch.

This hole served as a place to start the jigsaw for a more precise cut on the final line at the top of the notch.

Justin repeated this process for all the notches and then lightly sanded all the edges and corners with 120-grit sandpaper. We tested this shelf to make sure it fit on our Vittsjo units (it did!) and then this one served as a template to trace notches on the remaining two shelves.

Once all the shelves were cut and we made sure they all fit, I started applying this 1/2″ edge banding on all the exposed edges. This step is definitely optional if you like the look of the layers of plywood, but we used it for our DIY play kitchen and I liked the cleaner look that edge banding provided.

The edge banding has dried glue on the back that is activated by heat. I turned my iron on to the cotton setting (a pretty high heat – around 400 degrees), placed the banding glue-side down on the side of the plywood, and ran the iron over the banding.

I kept the iron moving the whole time, rubbing back and forth over the same small area for 4-5 seconds, working my way slowly down to the end.

When I got near the end, I used a scissors to snip the band right at the edge of the plywood, and continued ironing to seal the end.

The nice thing about edge banding is if you get a little off and your band is crooked or slipped a bit, you just run the iron over it again to heat up the glue and then you can slide it to adjust positioning or even totally take it off and re-apply. I think it’s a very beginner-friendly DIY trick to elevate the look of plywood!

The edge banding was slightly wider than the plywood so we got this edge banding trimmer to shave off the excess. We had to adjust the blades so it didn’t shave too much off and the tool itself required quite a bit of forearm strength to use so Justin handled this task. 😉

Once all the edge banding was trimmed, Justin did a quick round of sanding with 220-grit sandpaper on his orbital sander to give the shelves a nice smooth finish. I wiped them down with a tack cloth . . .

. . . and proceeded to stain them. We used stain and polyurethane we already had on hand and I used foam brushes to apply one coat of stain and two coats of polyurethane to the shelves.

After letting them dry, I very lightly buffed by hand using 400-grit sandpaper. Then it was time to assemble them in their new home in Justin’s office and style them!

You’ll notice we also cut three individual pieces to fit the lowest shelf. These were much more straightforward than the other shelves because the Vittsjo units came with a piece of rectangular wood to fit in each bottom shelf and we decided to keep that recessed look rather than cut another shelf like the other three. Justin just traced the wood three times onto the excess plywood we had after cutting the other three shelves to length, cut out each rectangle, and I stained them. No funky cuts or edge banding required!

We are thrilled with the way the edge banding looks. It creates the look of a solid piece of wood instead of plywood and looks so streamlined!

One of the shelves holds Justin’s coffee maker and some drink options, so we’re glad we put two coats of polyurethane on top to help with durability in case of a spill.

The wood look also brings in a lot of warmth and contrast to a room that otherwise was pretty bland and sterile-looking. It also provides a great base for displaying a variety of pieces that reflect Justin’s personality and profession.

We’re so happy with the results of this Ikea hack! It gave the simple black shelves an elevated look full of character and was just what this space needed!

Materials Used (for a complete list of sources on the shelves, check out this post!)

-1/2 inch sheet of 4′ x 8′ plywood

-circular saw

-jigsaw

-drill

-measuring tape

-combination square

-sandpaper (we used 120 grit, 220 grit, and 400 grit)

1/2 inch edge banding

-steam iron

-scissors

-stain

-polyurethane

foam brushes

optional materials:

-clamps

-scrap wood with a straight edge

-orbital sander

edge band trimmers

The Completed Secret Nook!

The tiniest room in our house just got a dramatic makeover! Welcome to our little secret nook under the staircase.

Secret Nook 3

My goal was to make a big impact with a tiny budget, and I am absolutely thrilled with how it turned out.

Secret Nook 2

As a refresher, here is where this room started. Seven square feet of potential!

20200327_071337

Since it’s so small, it just made sense to go through paint that I already had to find something that would work rather than buy more. After trying out a few colors on the wall, I settled on the leftover paint from our guest bathroom renovation: Benjamin Moore Smoky Mountain (color matched at Lowe’s). I painted both the walls and the trim the same color and I love the effect that had.

IMG_0746

About a month ago, Justin and I had a DIY Date Night and built these cute little book ledges using scrap wood from our garage and stain we already had. This project was so fun (and free!) and I think they look great in this space!

Secret Nook 3-1

I really wanted to trick out this space as best I could and have some little secret surprises that you can only see if you’re inside. I’ve always pictured it as a Harry-Potter-style cupboard under the stairs, so I wanted to make it seem a little magical without actually being Harry Potter themed. One thing that kept coming back to me was stars on the ceiling – when I found these metallic gold constellation decals on Etsy, they really stood out to me as the perfect option!

IMG_0715

The set I bought came with nine constellations and then a bunch of extra stars. I may have gone full nerd and actually looked up online to see how each constellation should be oriented and where they appear in general relation to one another if you look outside in our specific geographic location…is my type-A showing? Once I figured out where I wanted everything, these decals were super quick and easy to apply!

Another thing I’ve always wanted to do in here is make a chalkboard wall – the triangular wall above the door was the perfect space for it. A friend of mine had some chalkboard paint she was willing to let me use so I didn’t have to buy another jar and I picked it up off her porch. I primed and painted 2 coats and voila!

IMG_0717

Justin used a scrap piece of wood and a router to create a ledge for chalk to sit above the door frame and it worked perfectly. We initially thought we’d have to glue it to the frame but he made the wall-to-wall size so precise that we were able to just push it in and it’s very securely wedged.

IMG_0709

The last thing this space really needed was a light source. There is no plug and we didn’t want to spend the money to hardwire lighting, so I came up with a plan for a DIY sconce using a 79 cent plastic bowl, scrap wood, black spray paint, and a puck light. Justin and I (ok, mostly Justin haha) created this in another DIY Date Night – it turned out so well and works perfectly for providing a little light to read or play.

20200504_073950

Such a big difference just having a light source!

IMG_0862

I wanted the space to feel cozy and comfortable, so I finished it off with a microfiber floor mat that had a little extra squishy padding and a cute textured pillow that was 30% off at Target.

IMG_0744

Because of all the DIY projects using leftover materials from other rooms and projects, the total cost of this entire room makeover was right at $75. I’m so pleased with what a huge difference it makes and imagine our kids will spend many hours entertained in this space!

Secret Nook 3-4

Sources

Wall Color: Benjamin Moore Smoky Mountain (color matched at Lowe’s)

Chalkboard Paint: Benjamin Moore Chalkboard Latex Paint

DIY Bookshelves: Tutorial here

Constellation Decals

Pillow

Floor Mat