I cannot believe I am typing these words, but in one week from today, Vi will turn TWO. YEARS. OLD. What!?
We are having a small birthday party on Saturday with family to celebrate our sweet girl. I’ve shared this before, but until our kids turn three (in my opinion, the age they start to actually understand birthdays) we keep birthday celebrations very low key. Gatherings are small and family-only, food is simple, decorations are minimal, and we get a little creative with gift-giving.
To be clear, I’m throwing zero shade at people who like to go big on baby/toddler birthdays or shower their young children with gifts. Truly, you do you; we’re not judging anyone else’s choices. For me personally, planning an elaborate party feels like a lot of work and stress for low reward (my one year old is as happy with a single balloon as an entire balloon arch). And when it comes to gifts, which are generally toys, Justin and I just personally want to keep things at a level that is manageable for our family. Our house feels better when it’s not overrun with toys, our kids play with toys longer when they aren’t overwhelmed with choices, and at ages one and two, our kids don’t realize what they’re “missing out” on by not receiving toys anyways. Cards are always appreciated though and our kids love receiving them!
Today I thought I’d share what we do for their first and second birthdays (at age three, we ramp things up a bit – LJ had balloons and gifts and understood enough to be so excited to celebrate!) I’m also sharing our plans for Vi’s birthday gift this year, which also just happens to be my next DIY project.
First Birthdays: No gifts, but donations are appreciated!
A straight-up “no gifts” request can be awkward. Some people feel bad showing up with no gift, so they bring a little something anyways; unfortunately, this can then make those who listened to the request and didn’t bring a gift then feel bad because others brought gifts and they didn’t. It’s uncomfortable for everyone and can be frustrating for the hosts who truly didn’t want gifts. We have found that a solution that works for everyone is donations. No one feels uncomfortable arriving empty-handed, but no gifts are given and a great cause is supported. Win win win!
For their first birthdays, we asked that in lieu of gifts, anyone who wanted to could bring donations for a cause that was special to us. We are so thankful that our families were super supportive and happy to donate instead of buying gifts. For LJ’s first birthday, we collected books for a local organization that distributes them to hospitalized children and for Vi’s first birthday, we collected household items (paper towels, cleaning supplies, basic hygiene items, etc) for our church’s ministry supporting local families in need.

I especially like this because it works for many budgets. People could bring one small, inexpensive item or multiple items. We didn’t unwrap them, there wasn’t a big production – just a table set aside for people to put donations on when they arrived.
I think it helps people to honor your requests if they can hear your reasonings for it and understand the impact they can have with their donation, so we send an email with the party details ahead of time. I usually say something like “While we are requesting no gifts for [child], if you would still like to bring something, we ask that you consider bringing a donation to xyz. This organization is important to us because of ____ and we’re looking forward to making a donation in [child]’s honor.”
Second Birthdays: One “big” gift + family participation
For LJ’s second birthday, we decided to give him one big gift – a secondhand train table – and we asked everyone in our family to decorate a train to go with it. This was actually a really fun way to get our families involved without getting a ton of gifts, and we loved seeing everyone’s decorated train. We have some super creative family members and it’s a truly unique train set that is so special! LJ loves it and has gotten SO much use out of it – much more than he would’ve gotten out of 15 individual toys.

Which brings me to Vi’s birthday! We wanted to find a big gift that family could contribute items to in a way that fit her unique needs and interests. I came up with the idea to gift her with a small clothing rack (she is currently obsessed with trying on all my jewelry and shoes!) and ask family members to consider contributing something to a dress up collection.
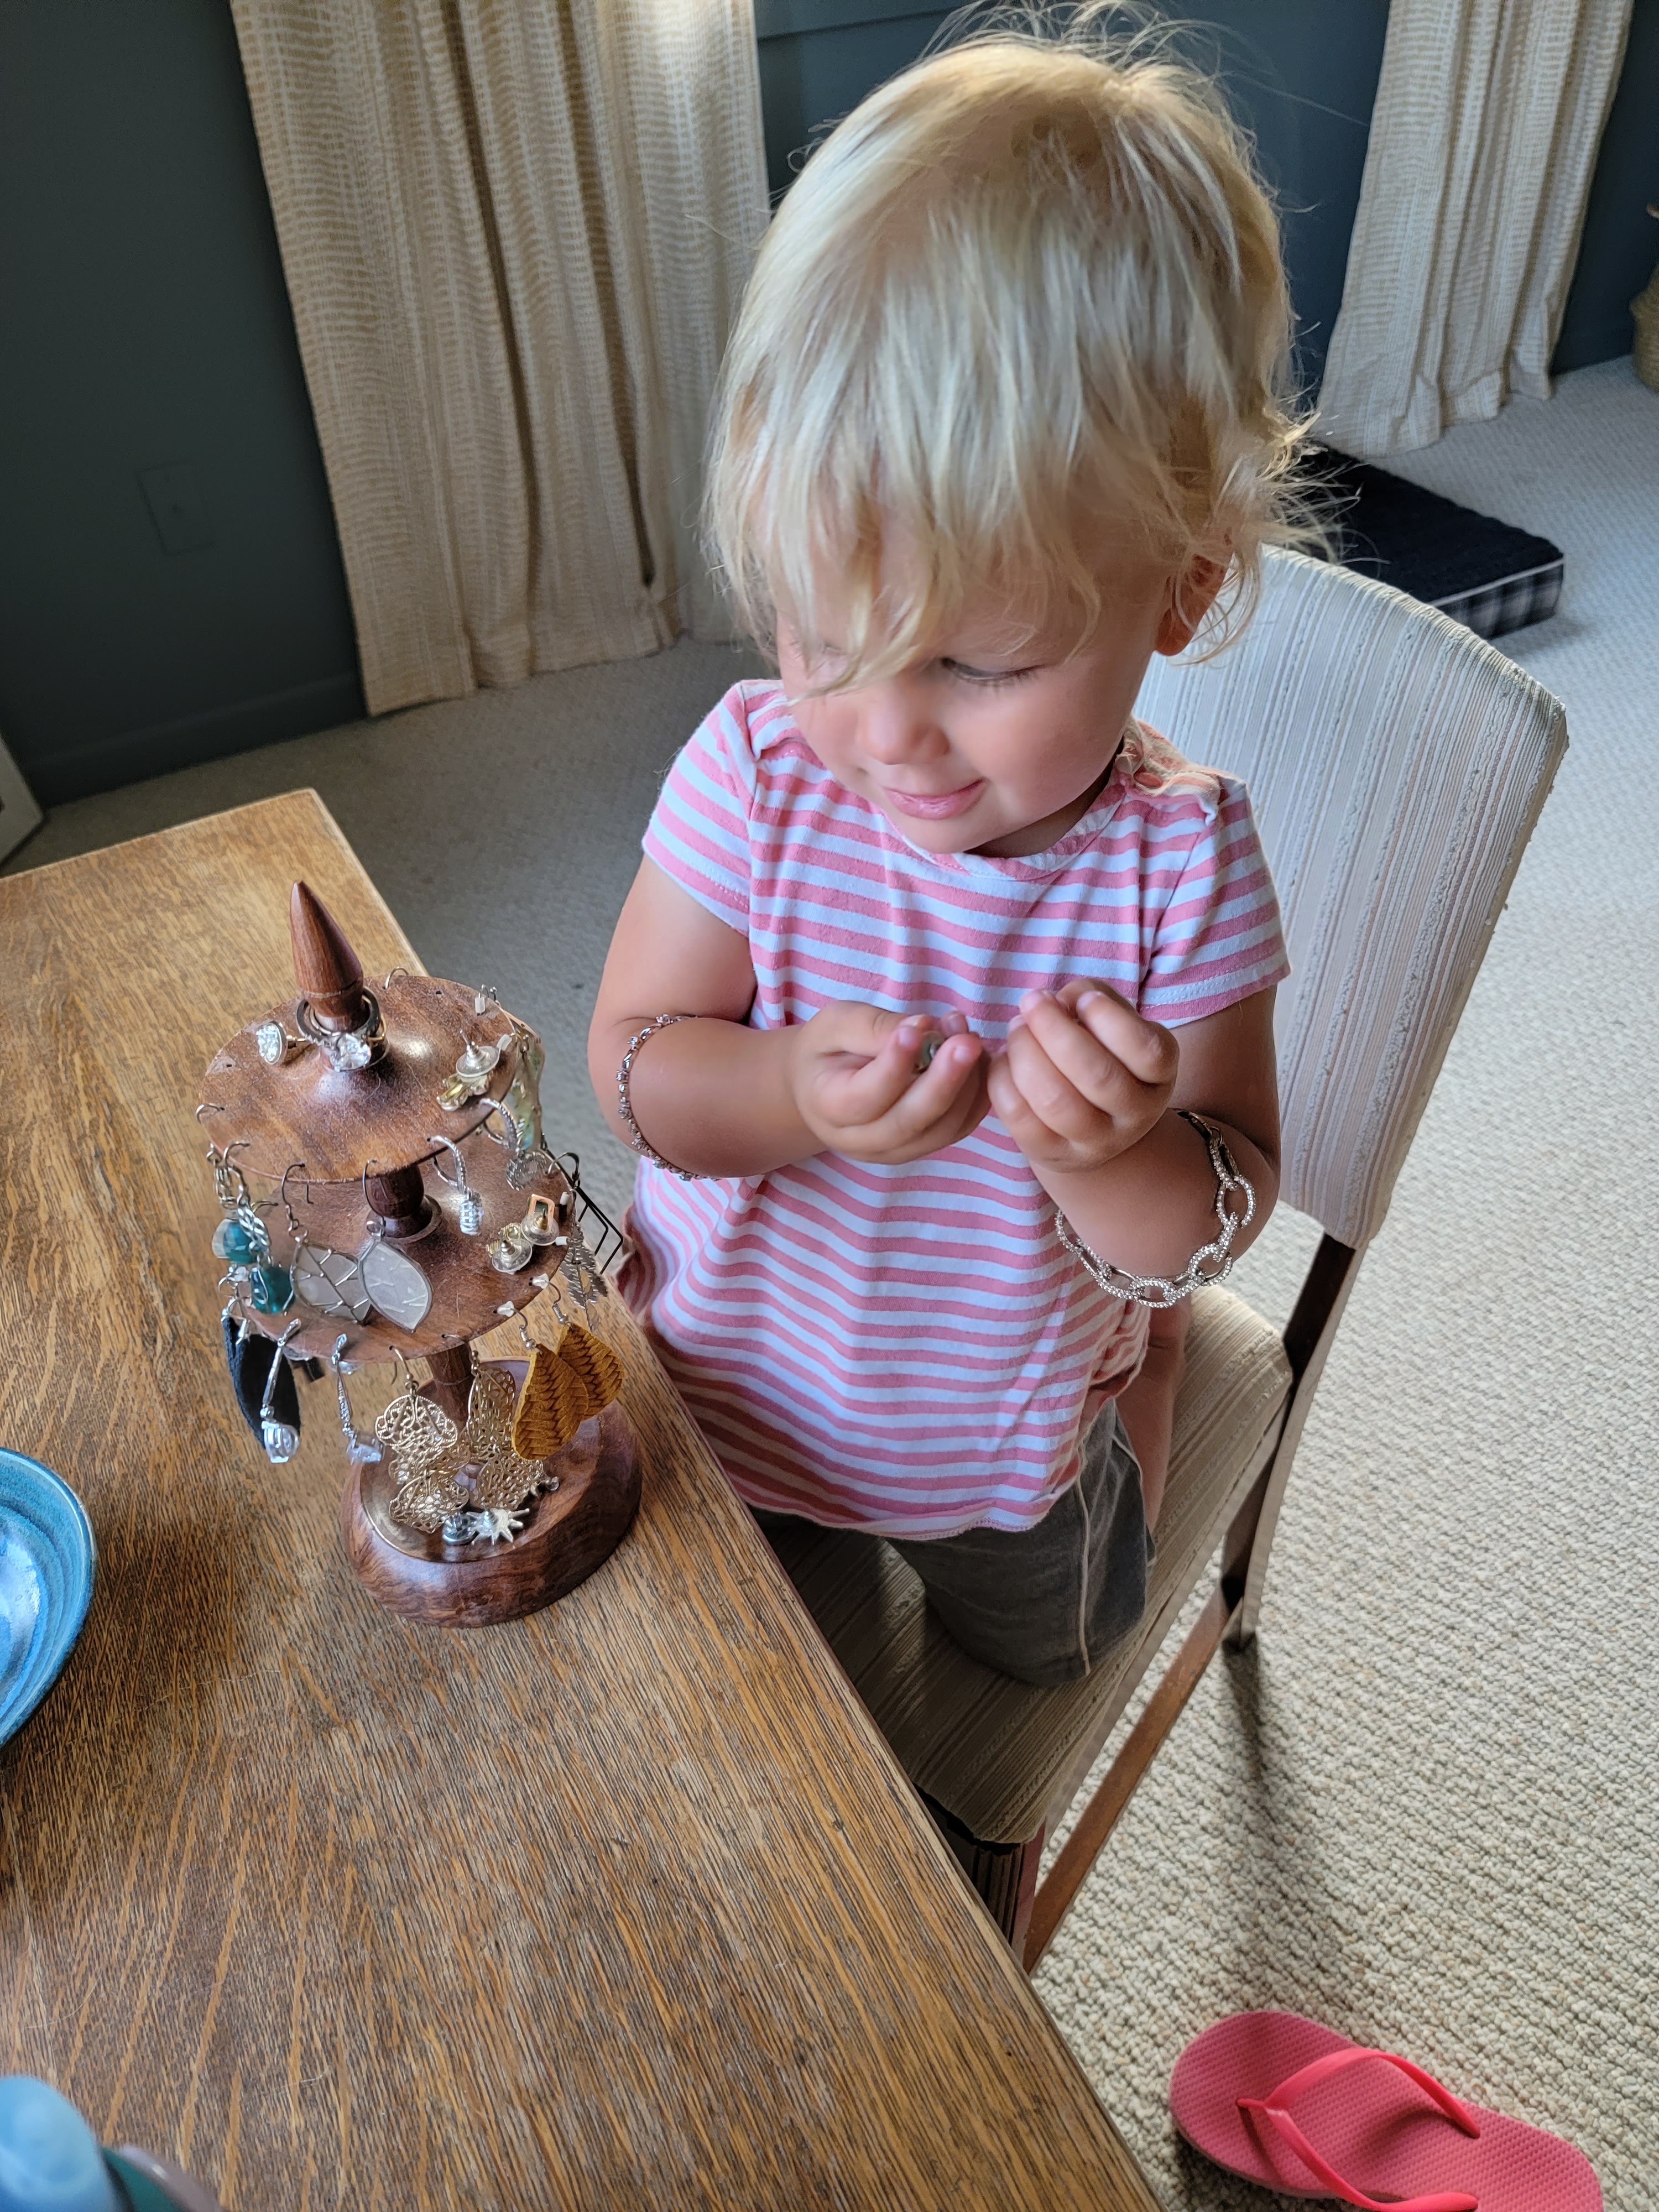
As I said in my email to the family: “This can be a costume, play shoes, accessories, whatever! It can be new, it can be hand-me-down, it can be found secondhand, it can be an outfit, it can be a small item like a necklace or hat or something.” I didn’t want anyone to feel an obligation to spend lots of money or find something fancy because she will honestly love anything.

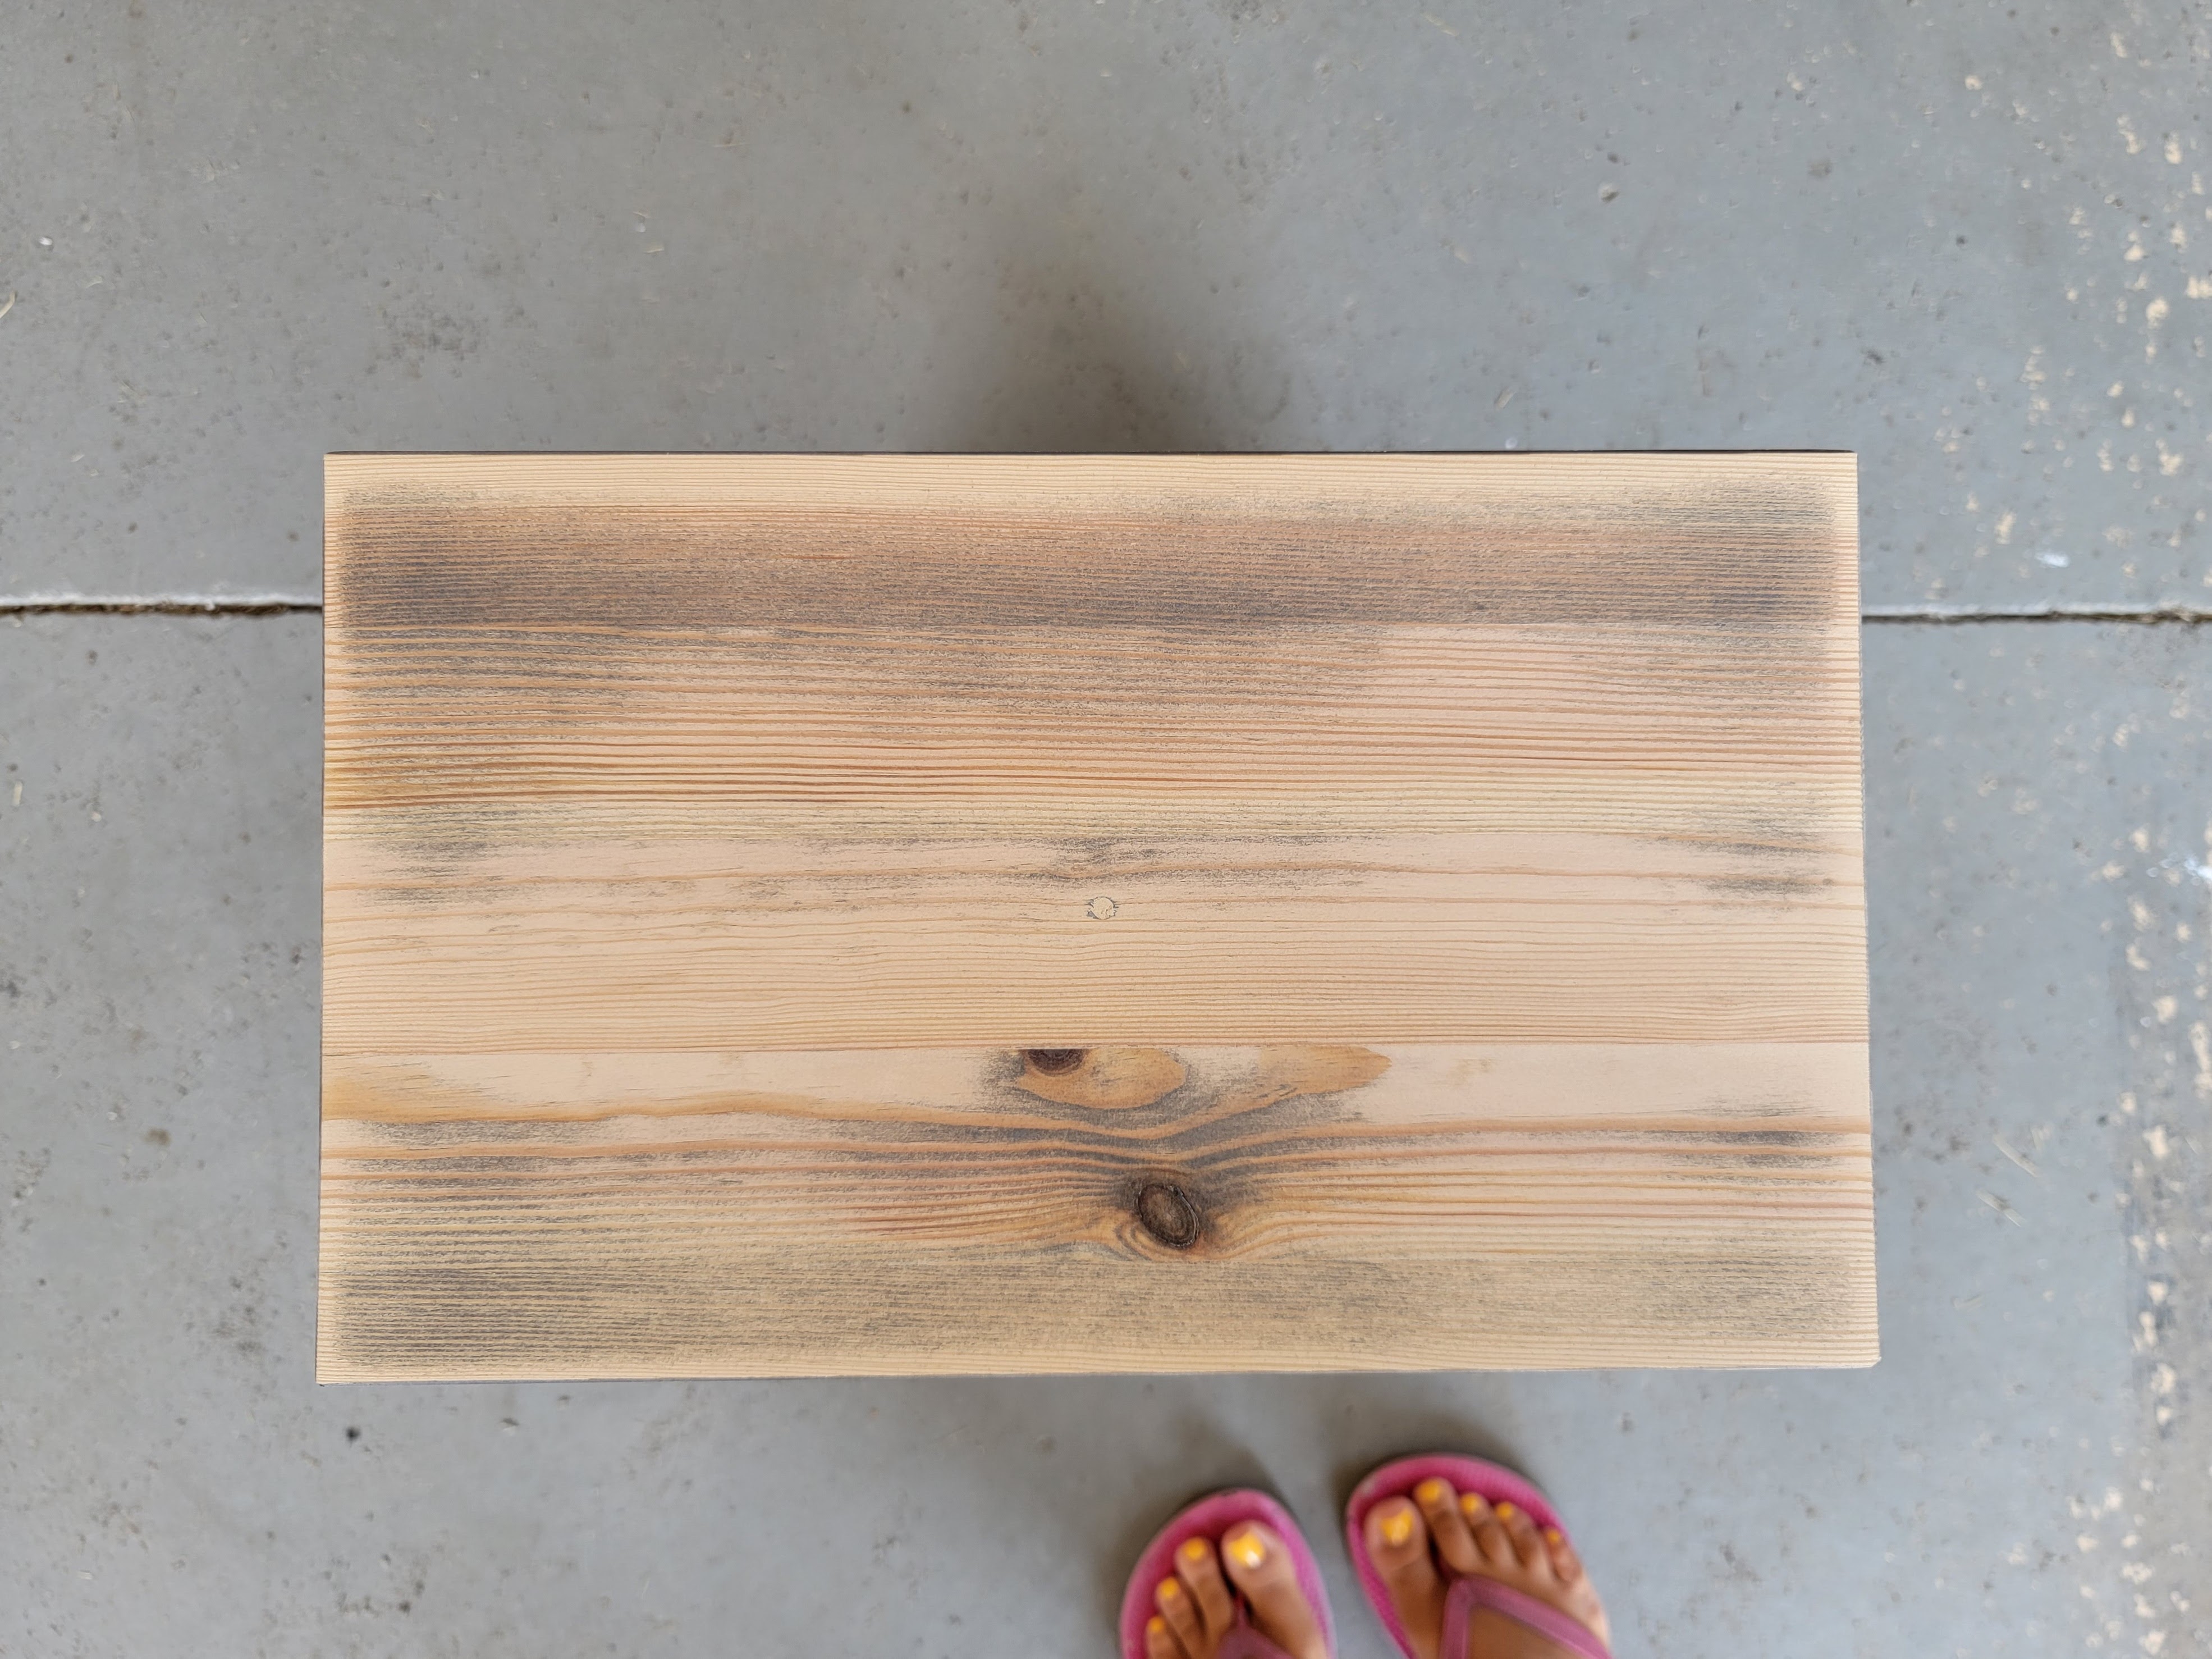
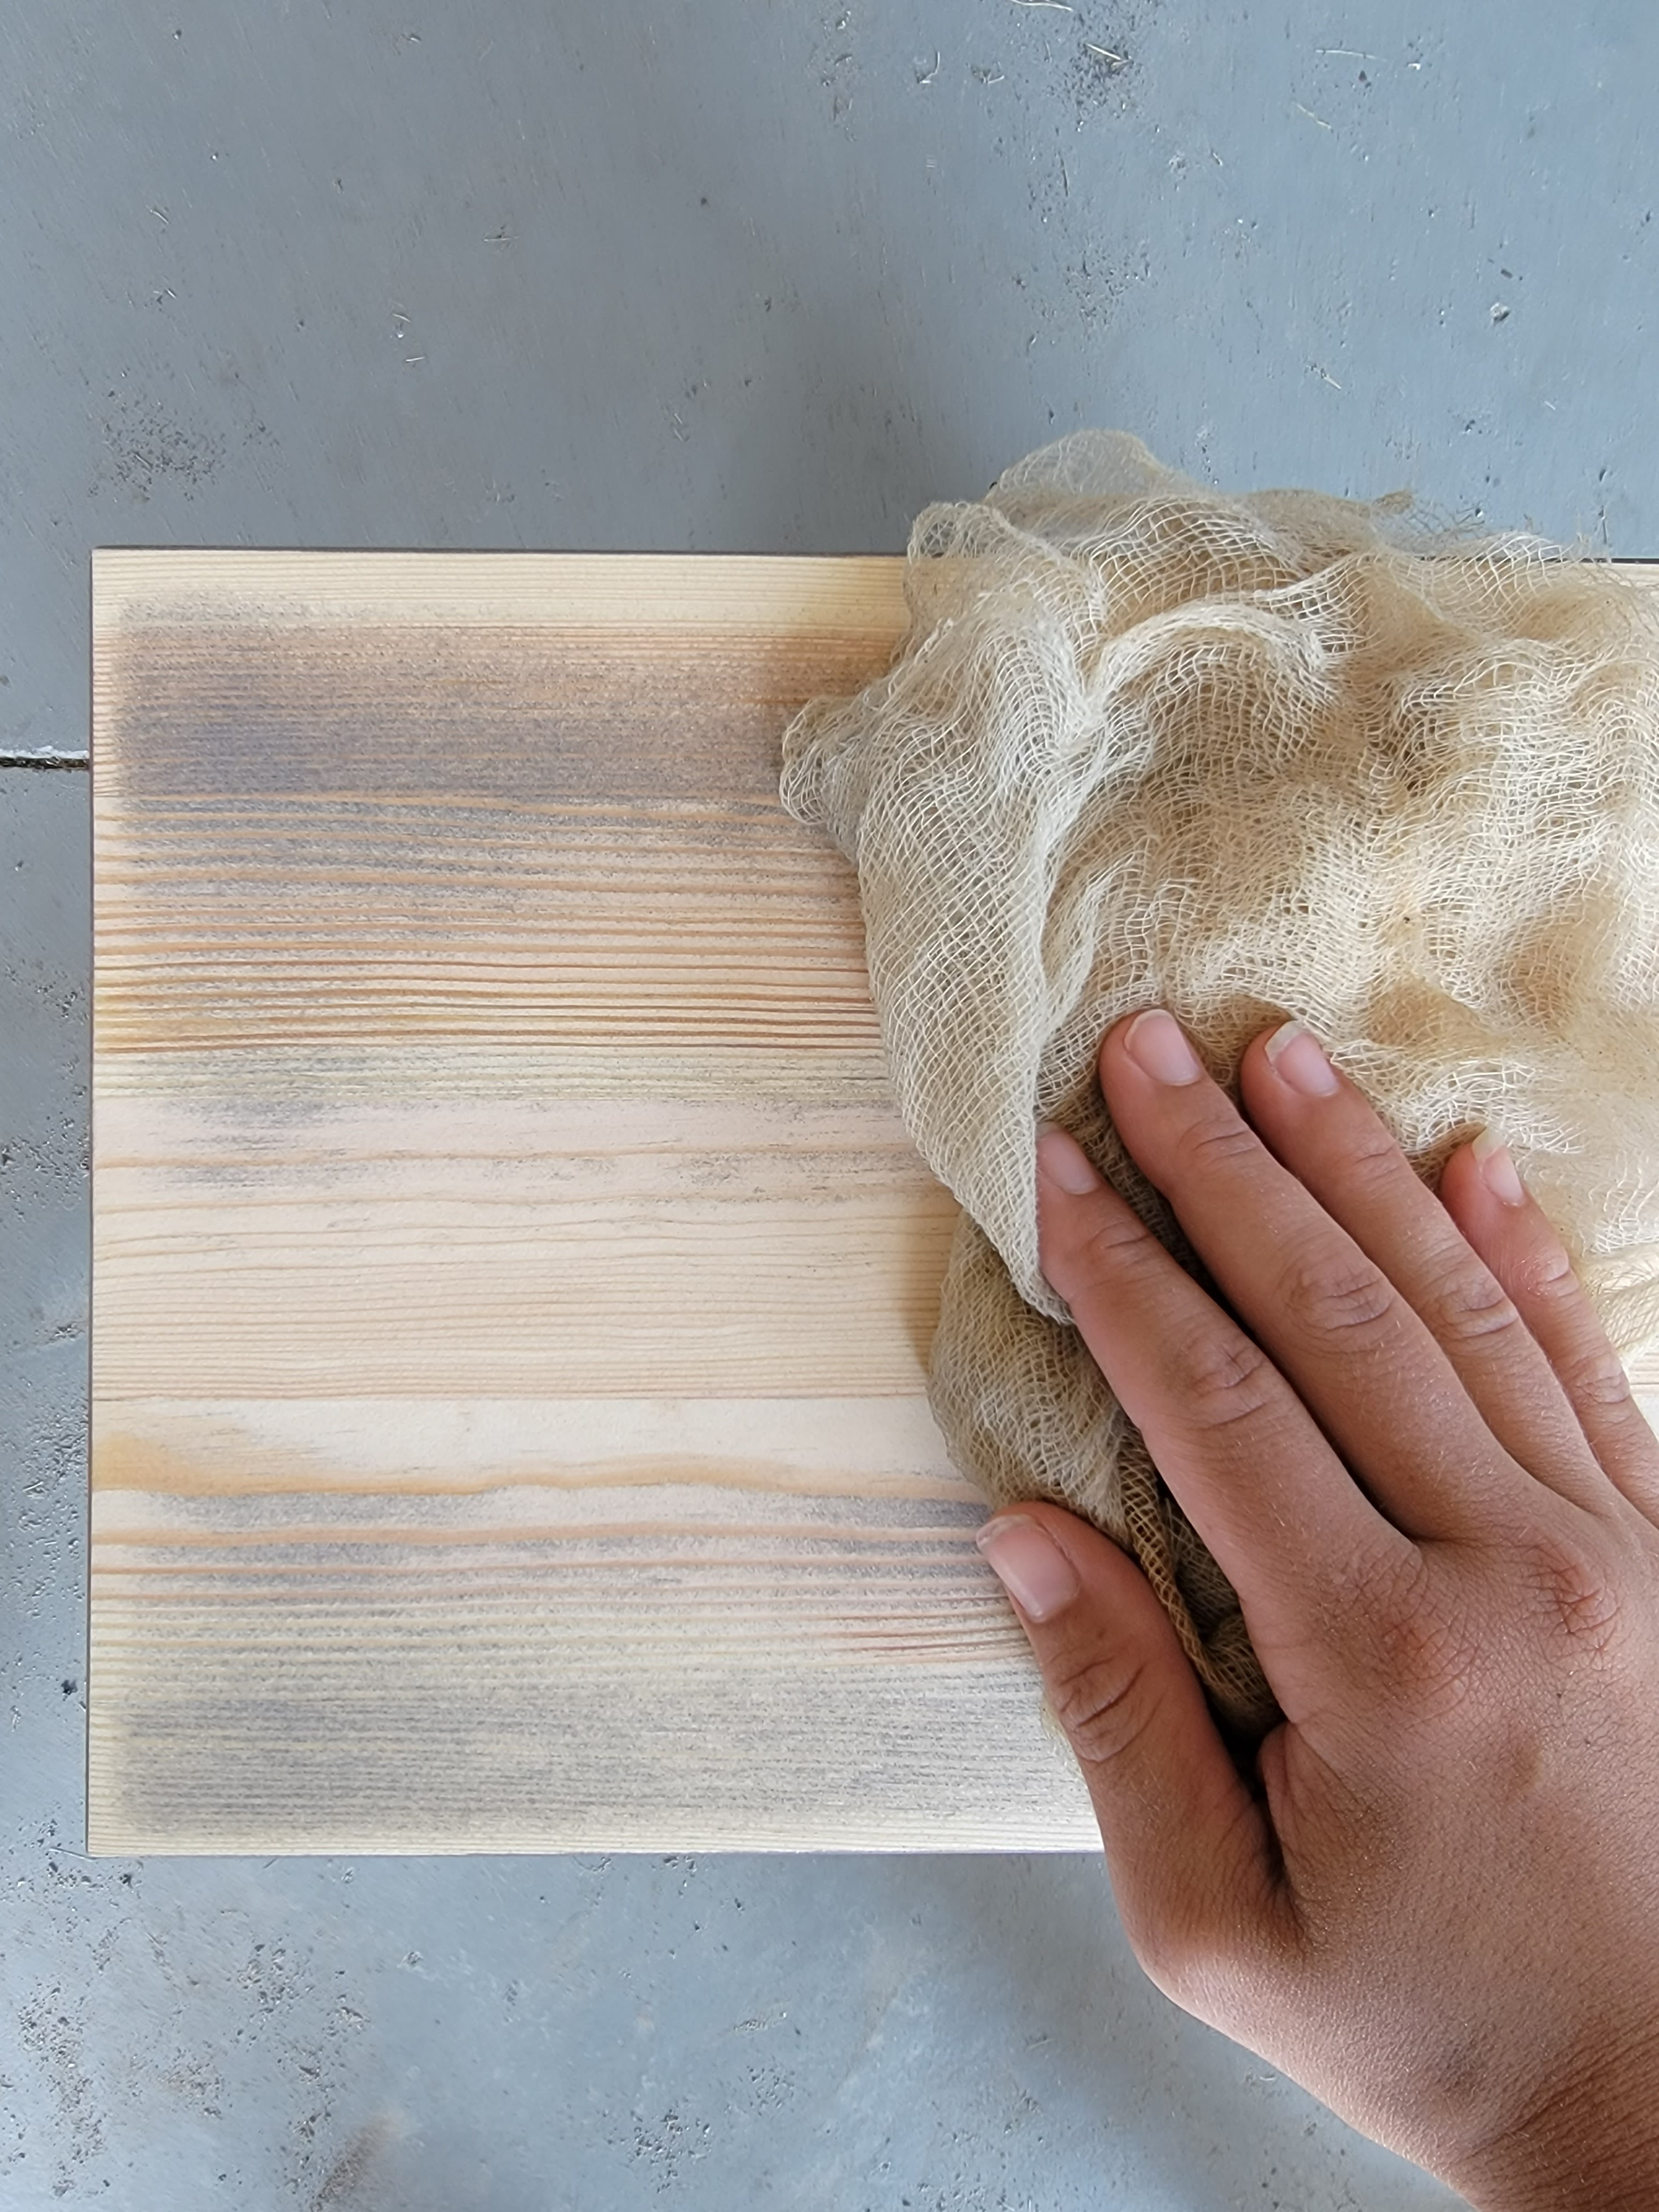
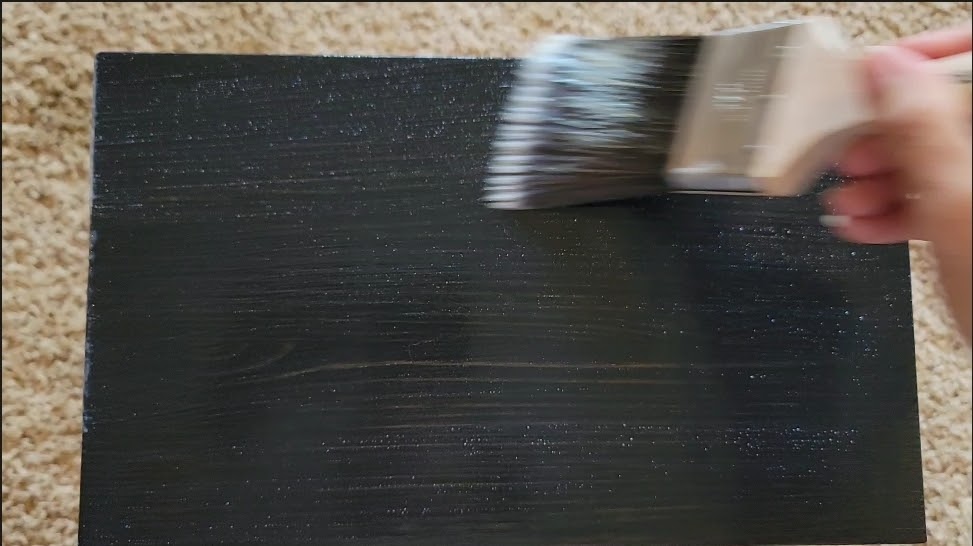
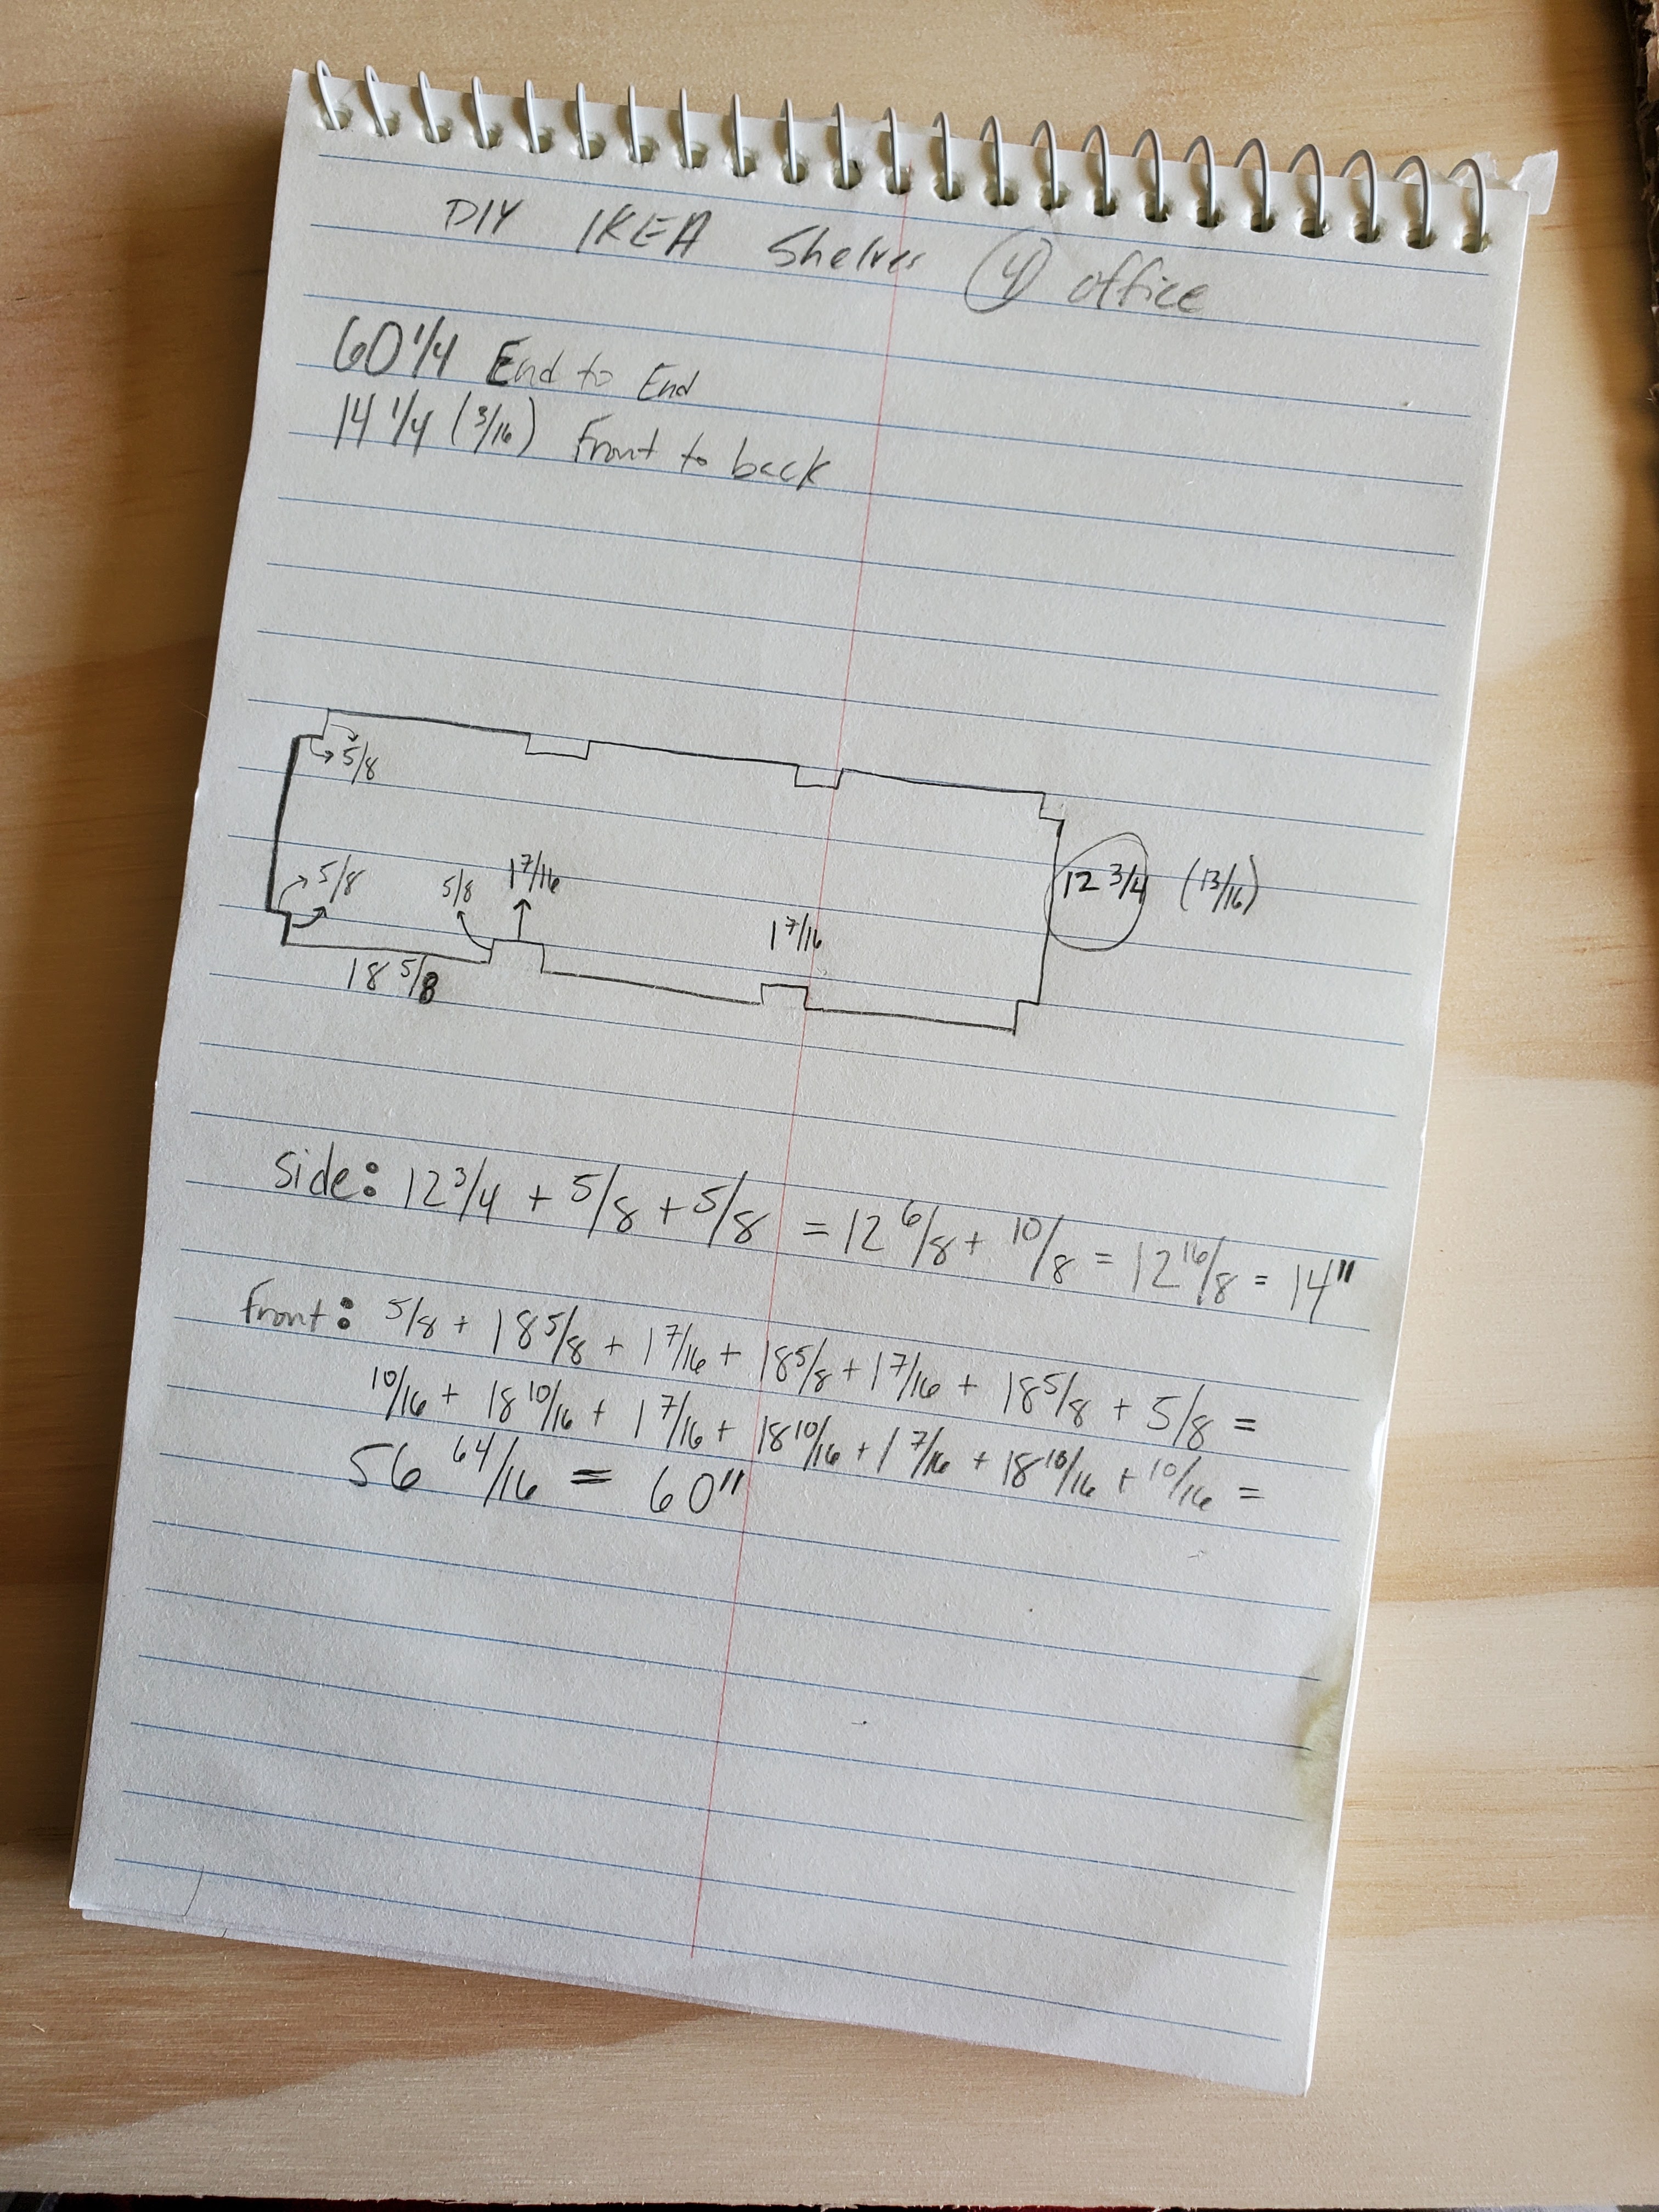
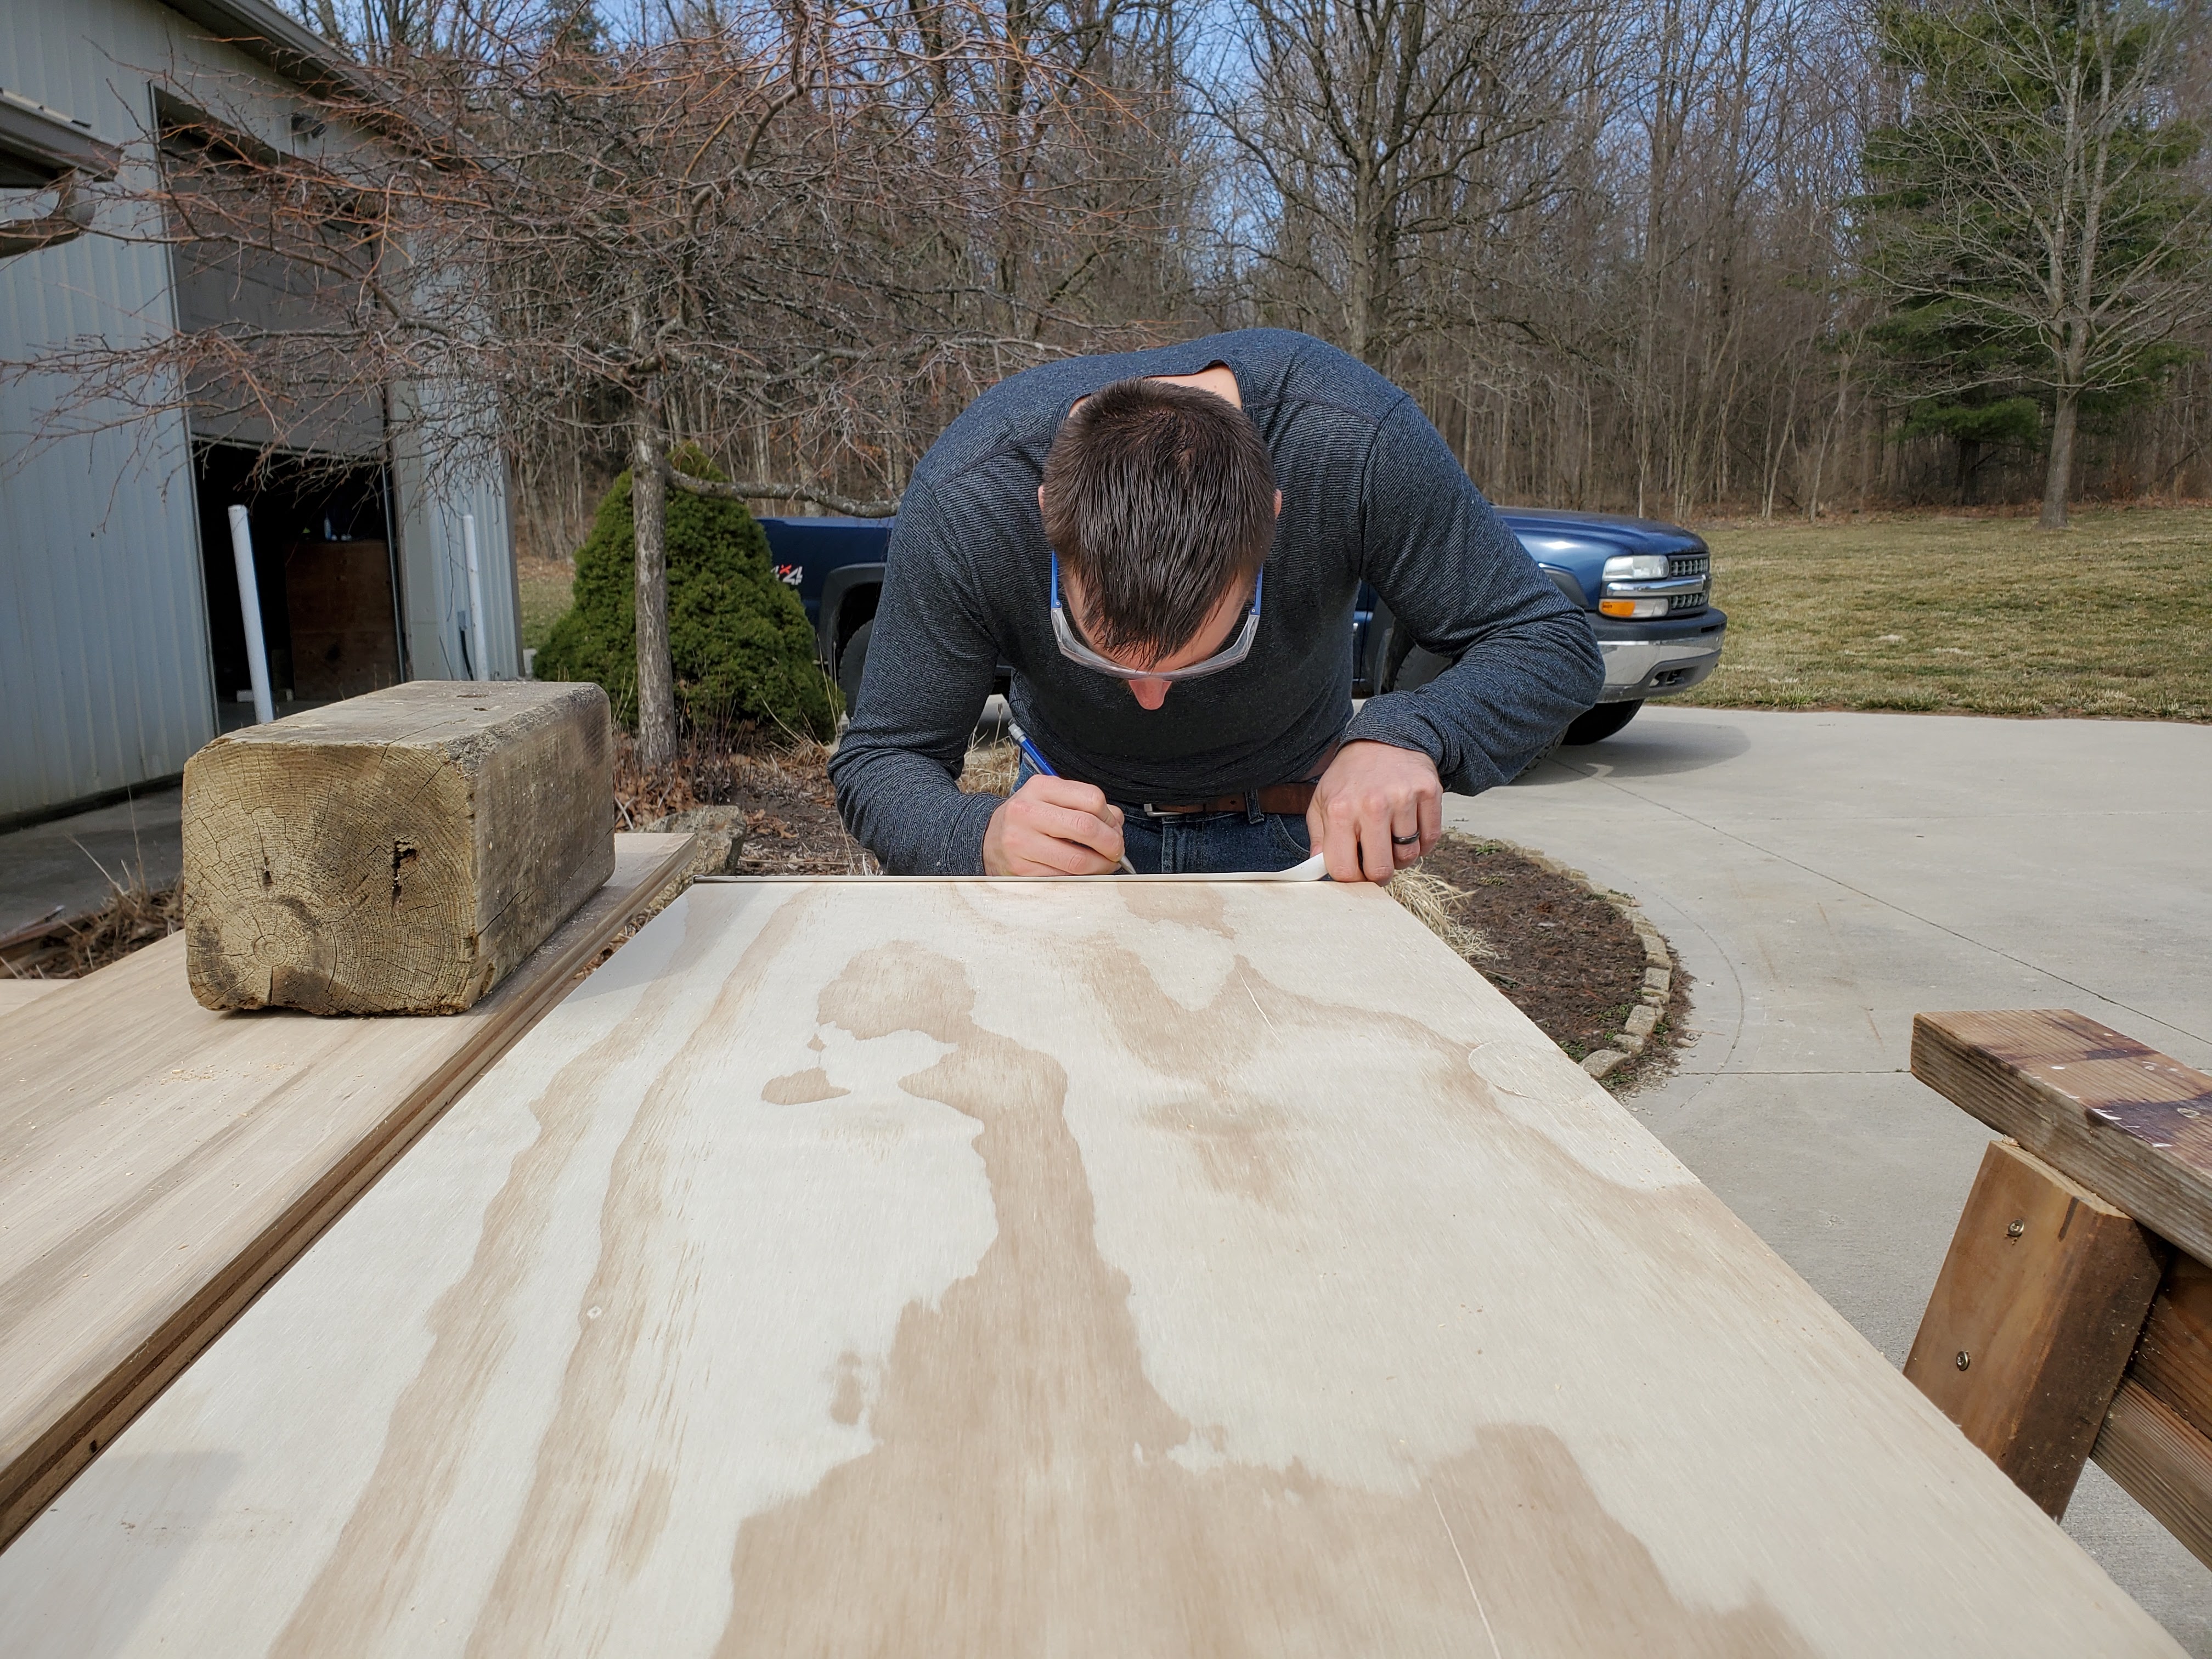
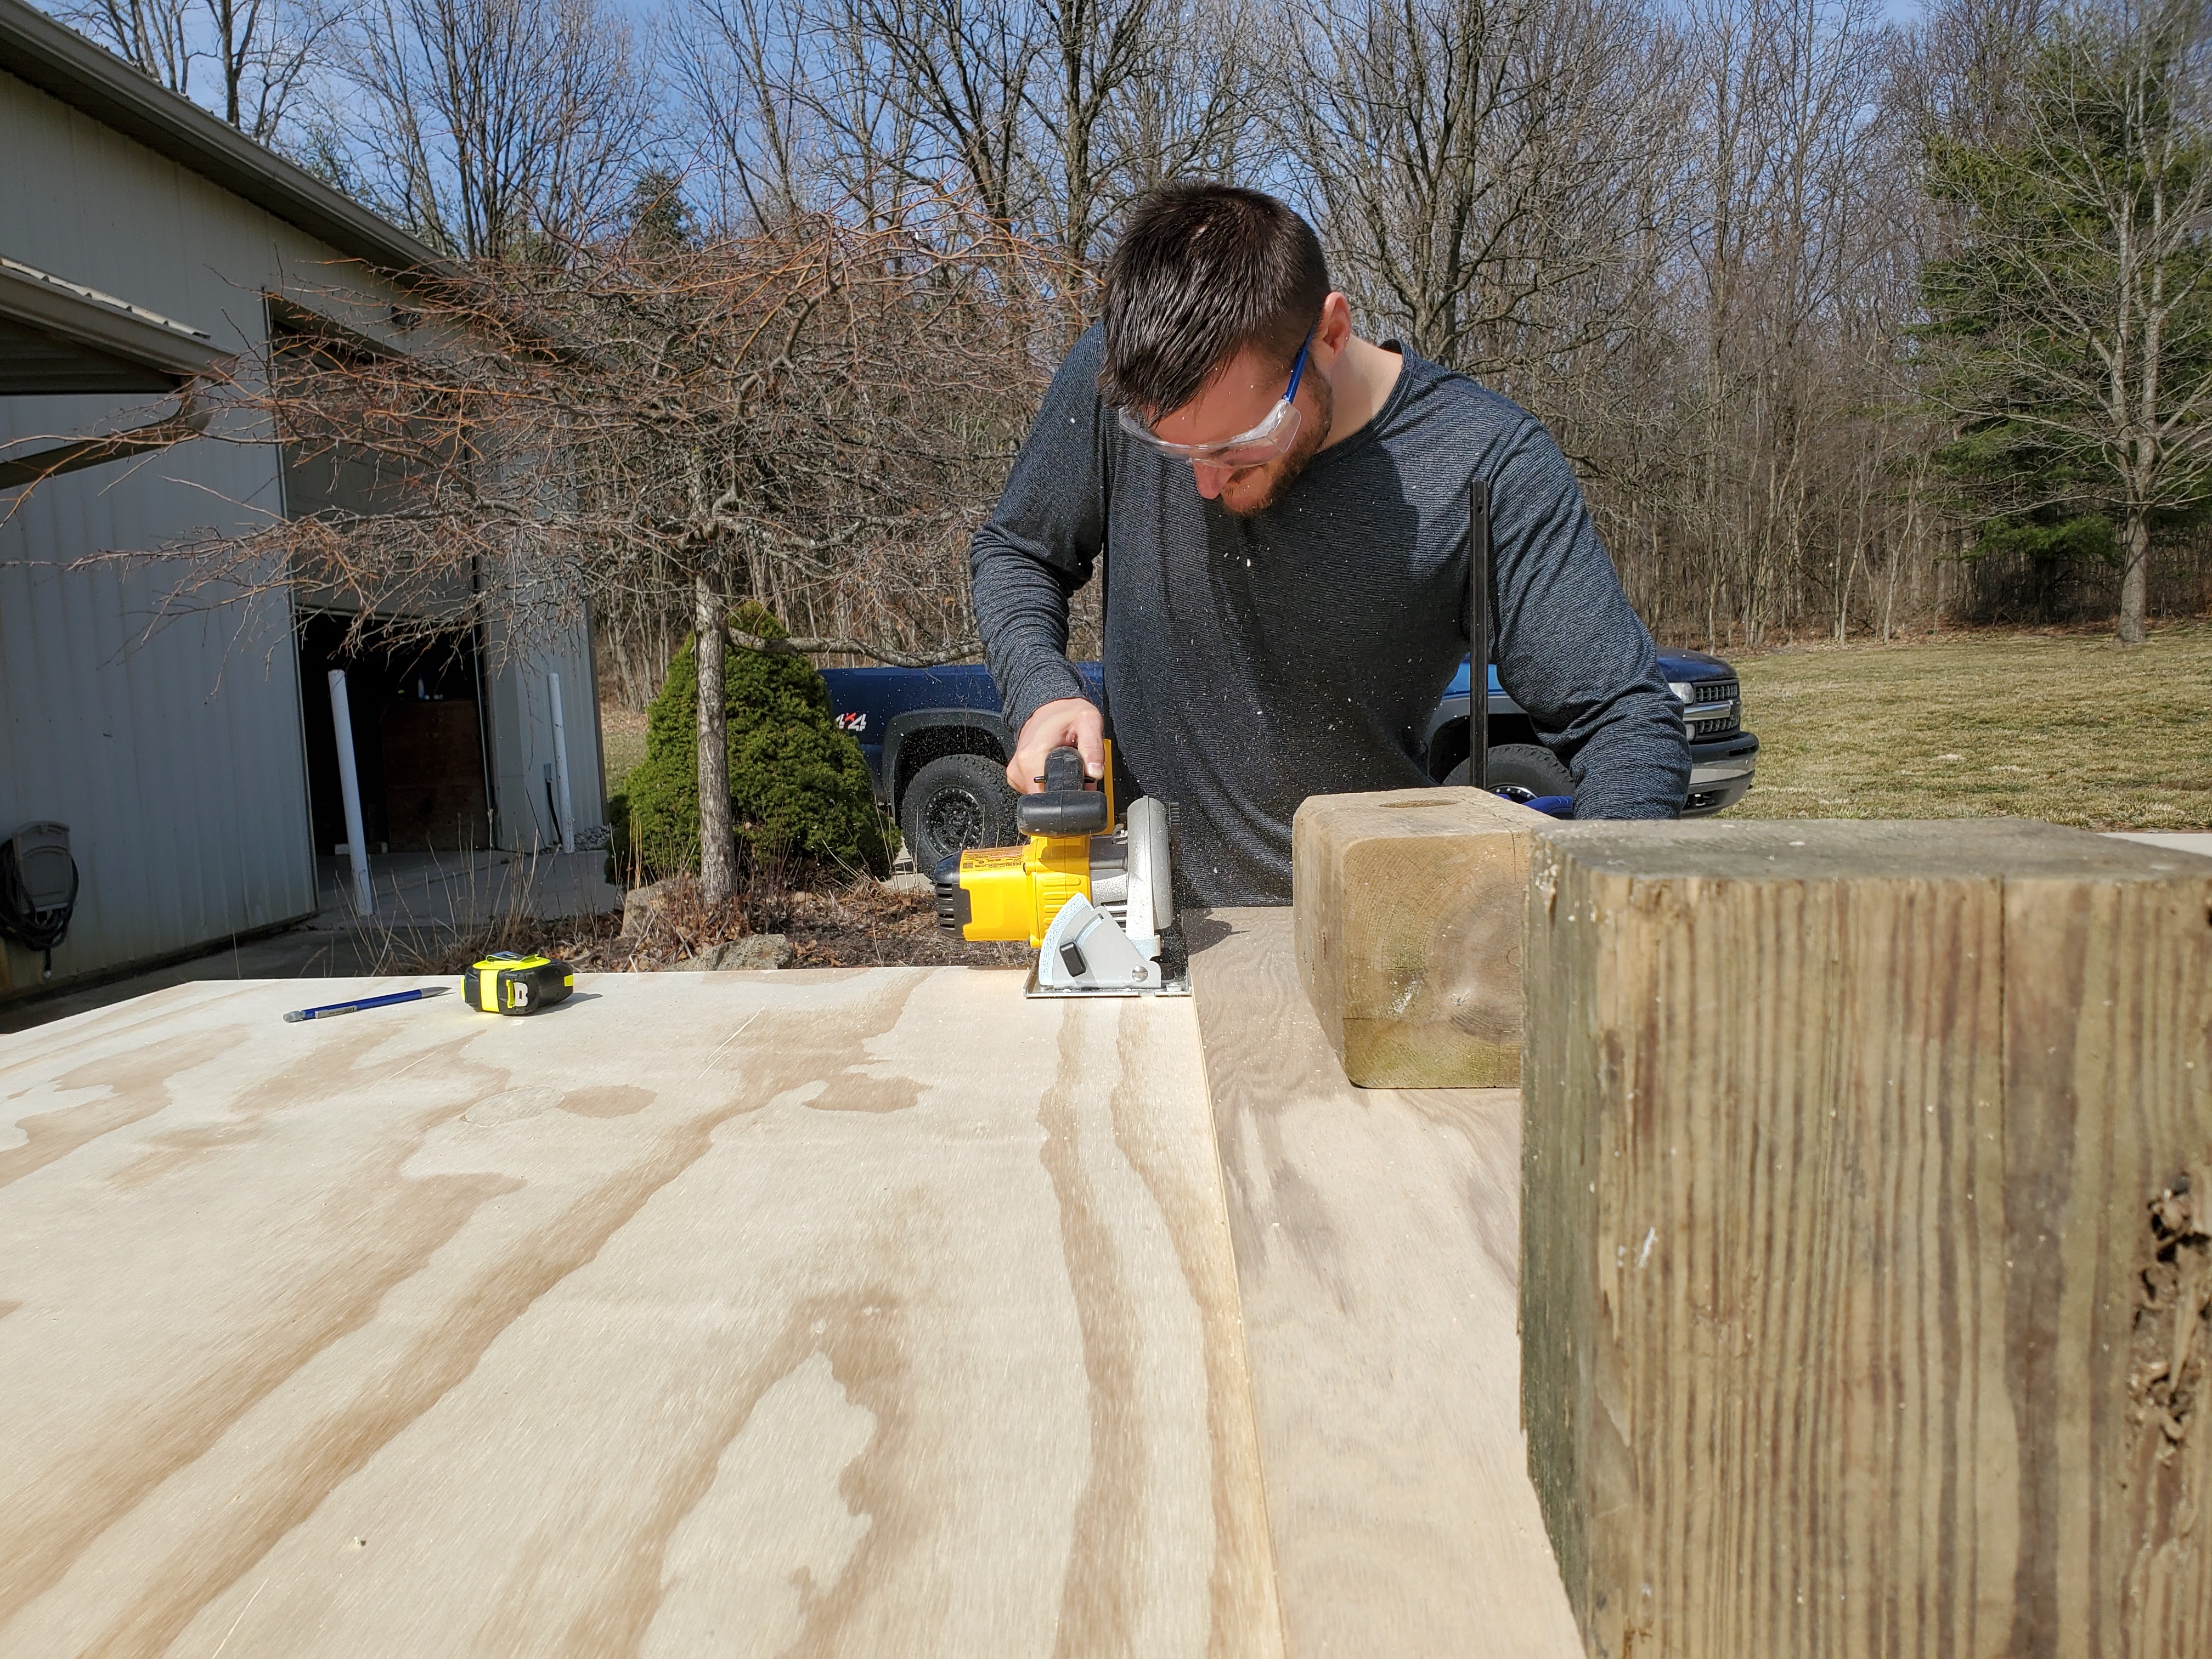
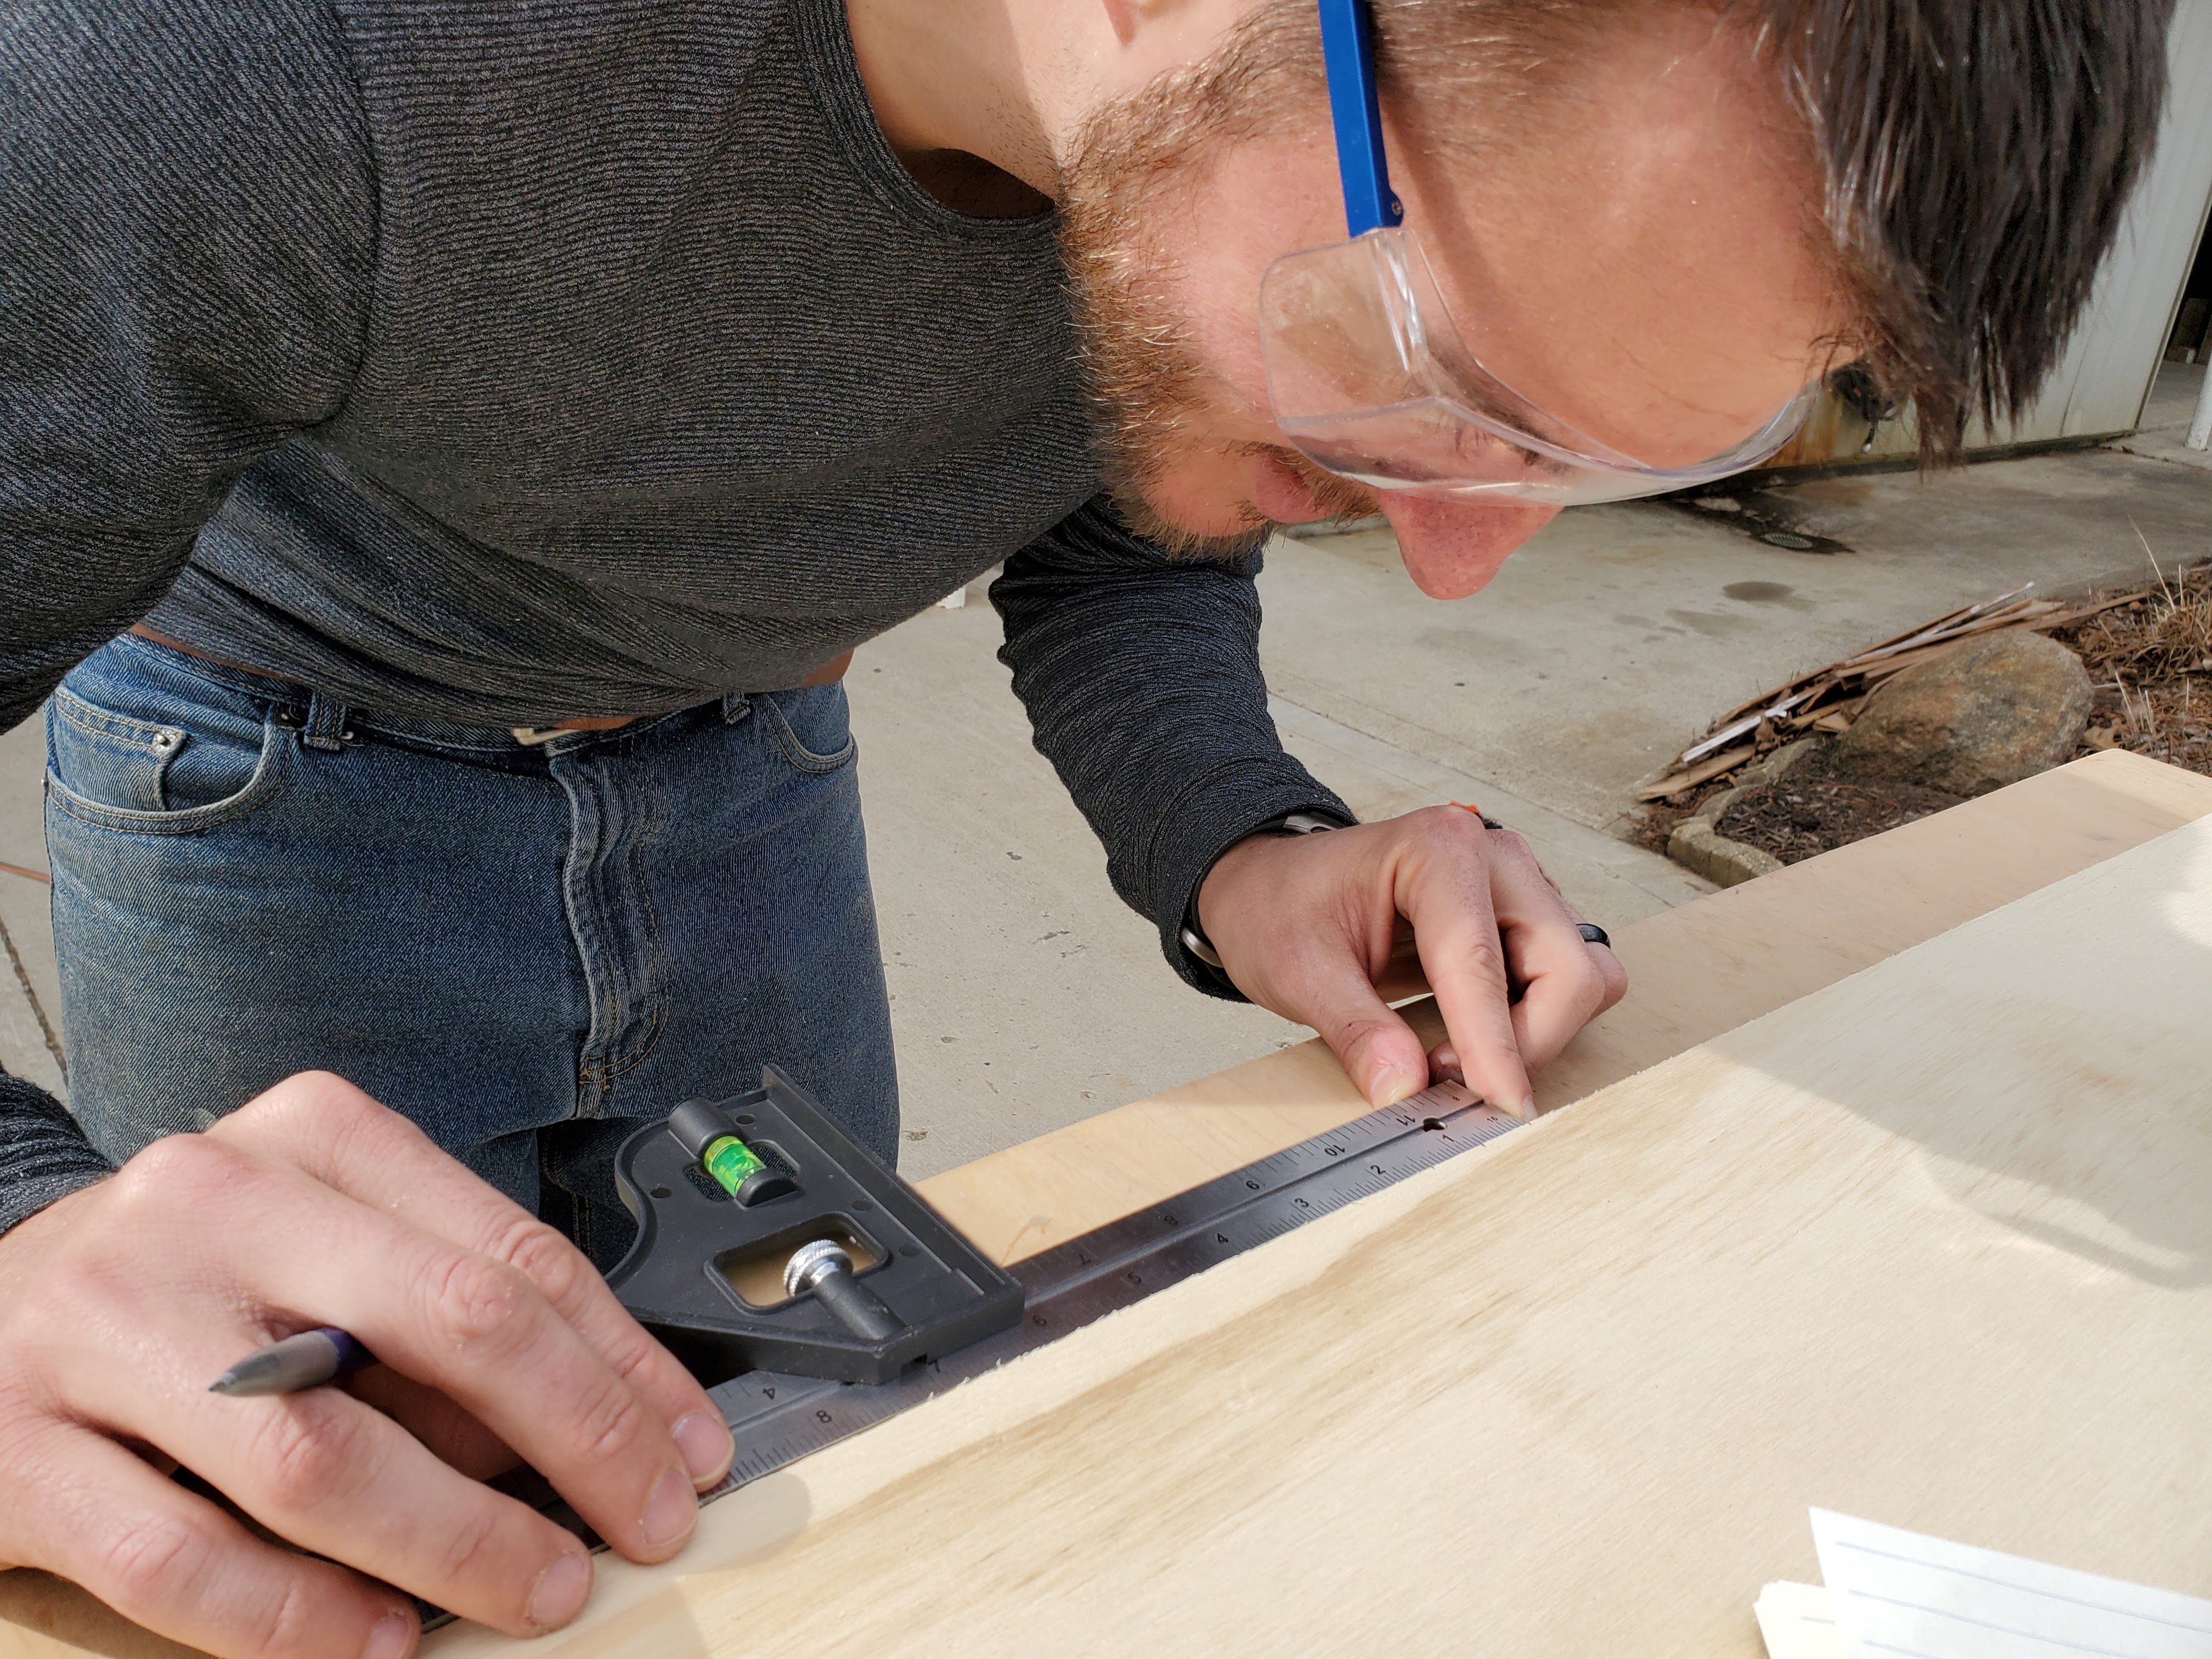
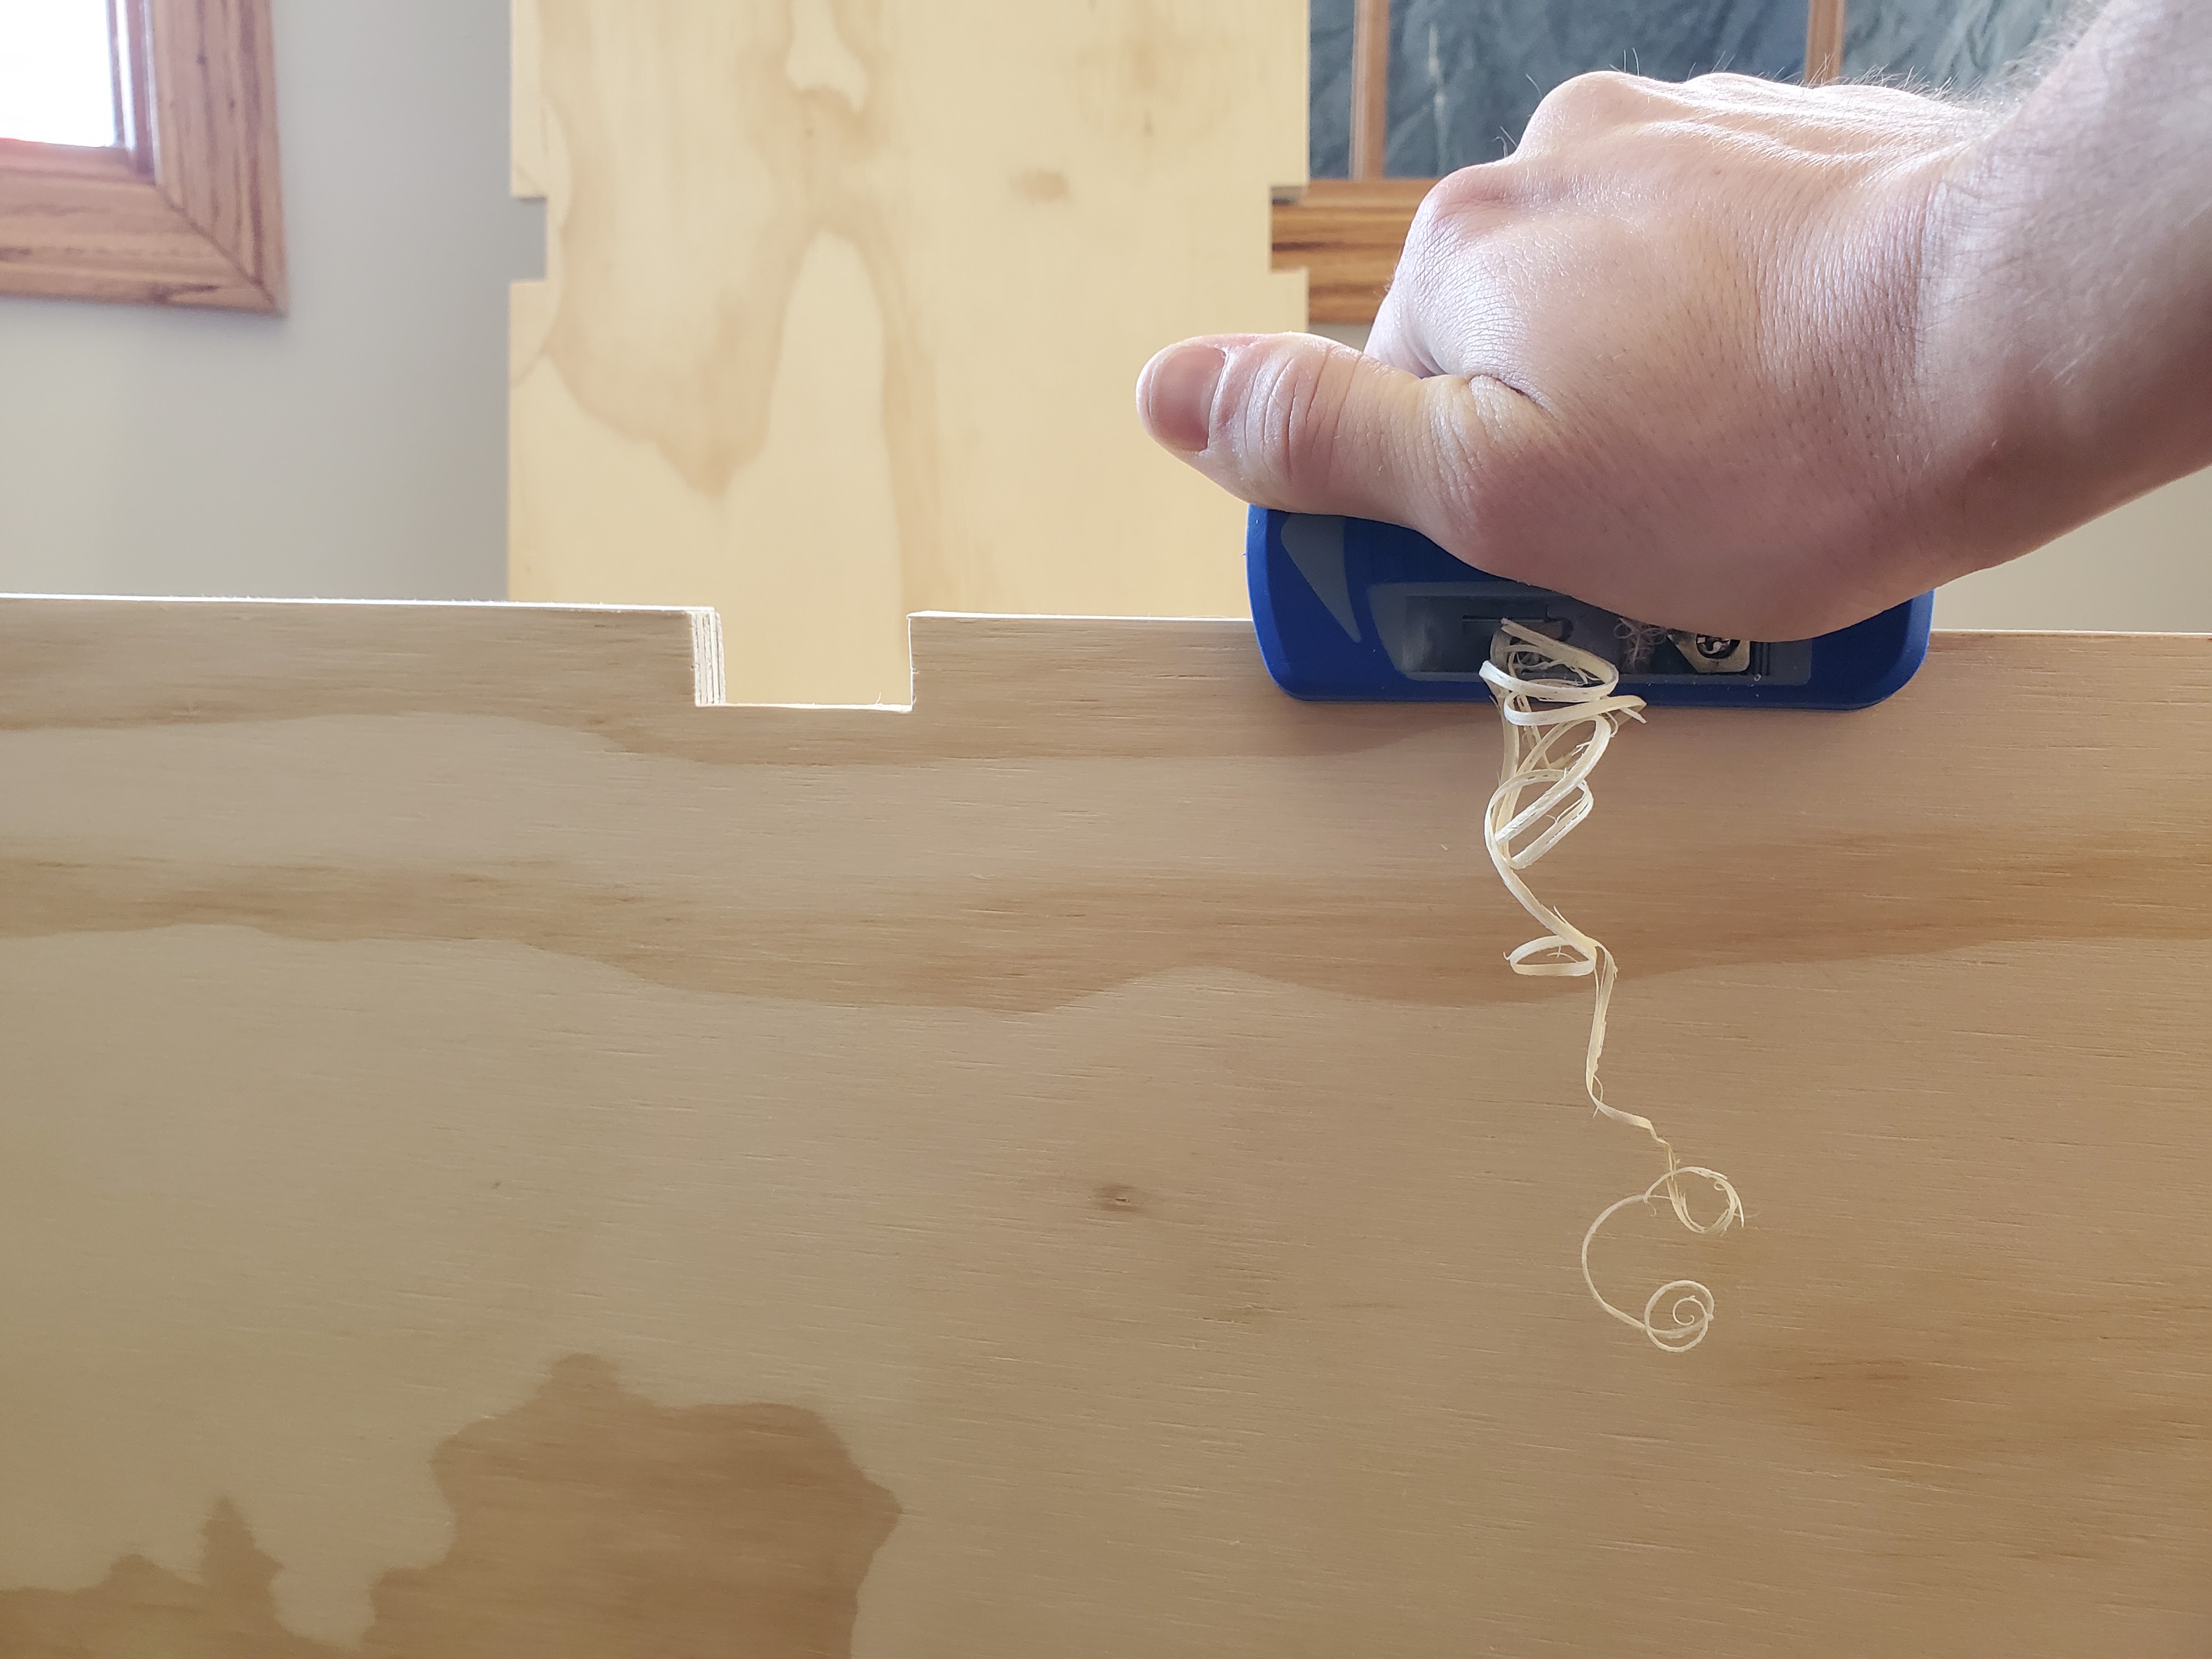
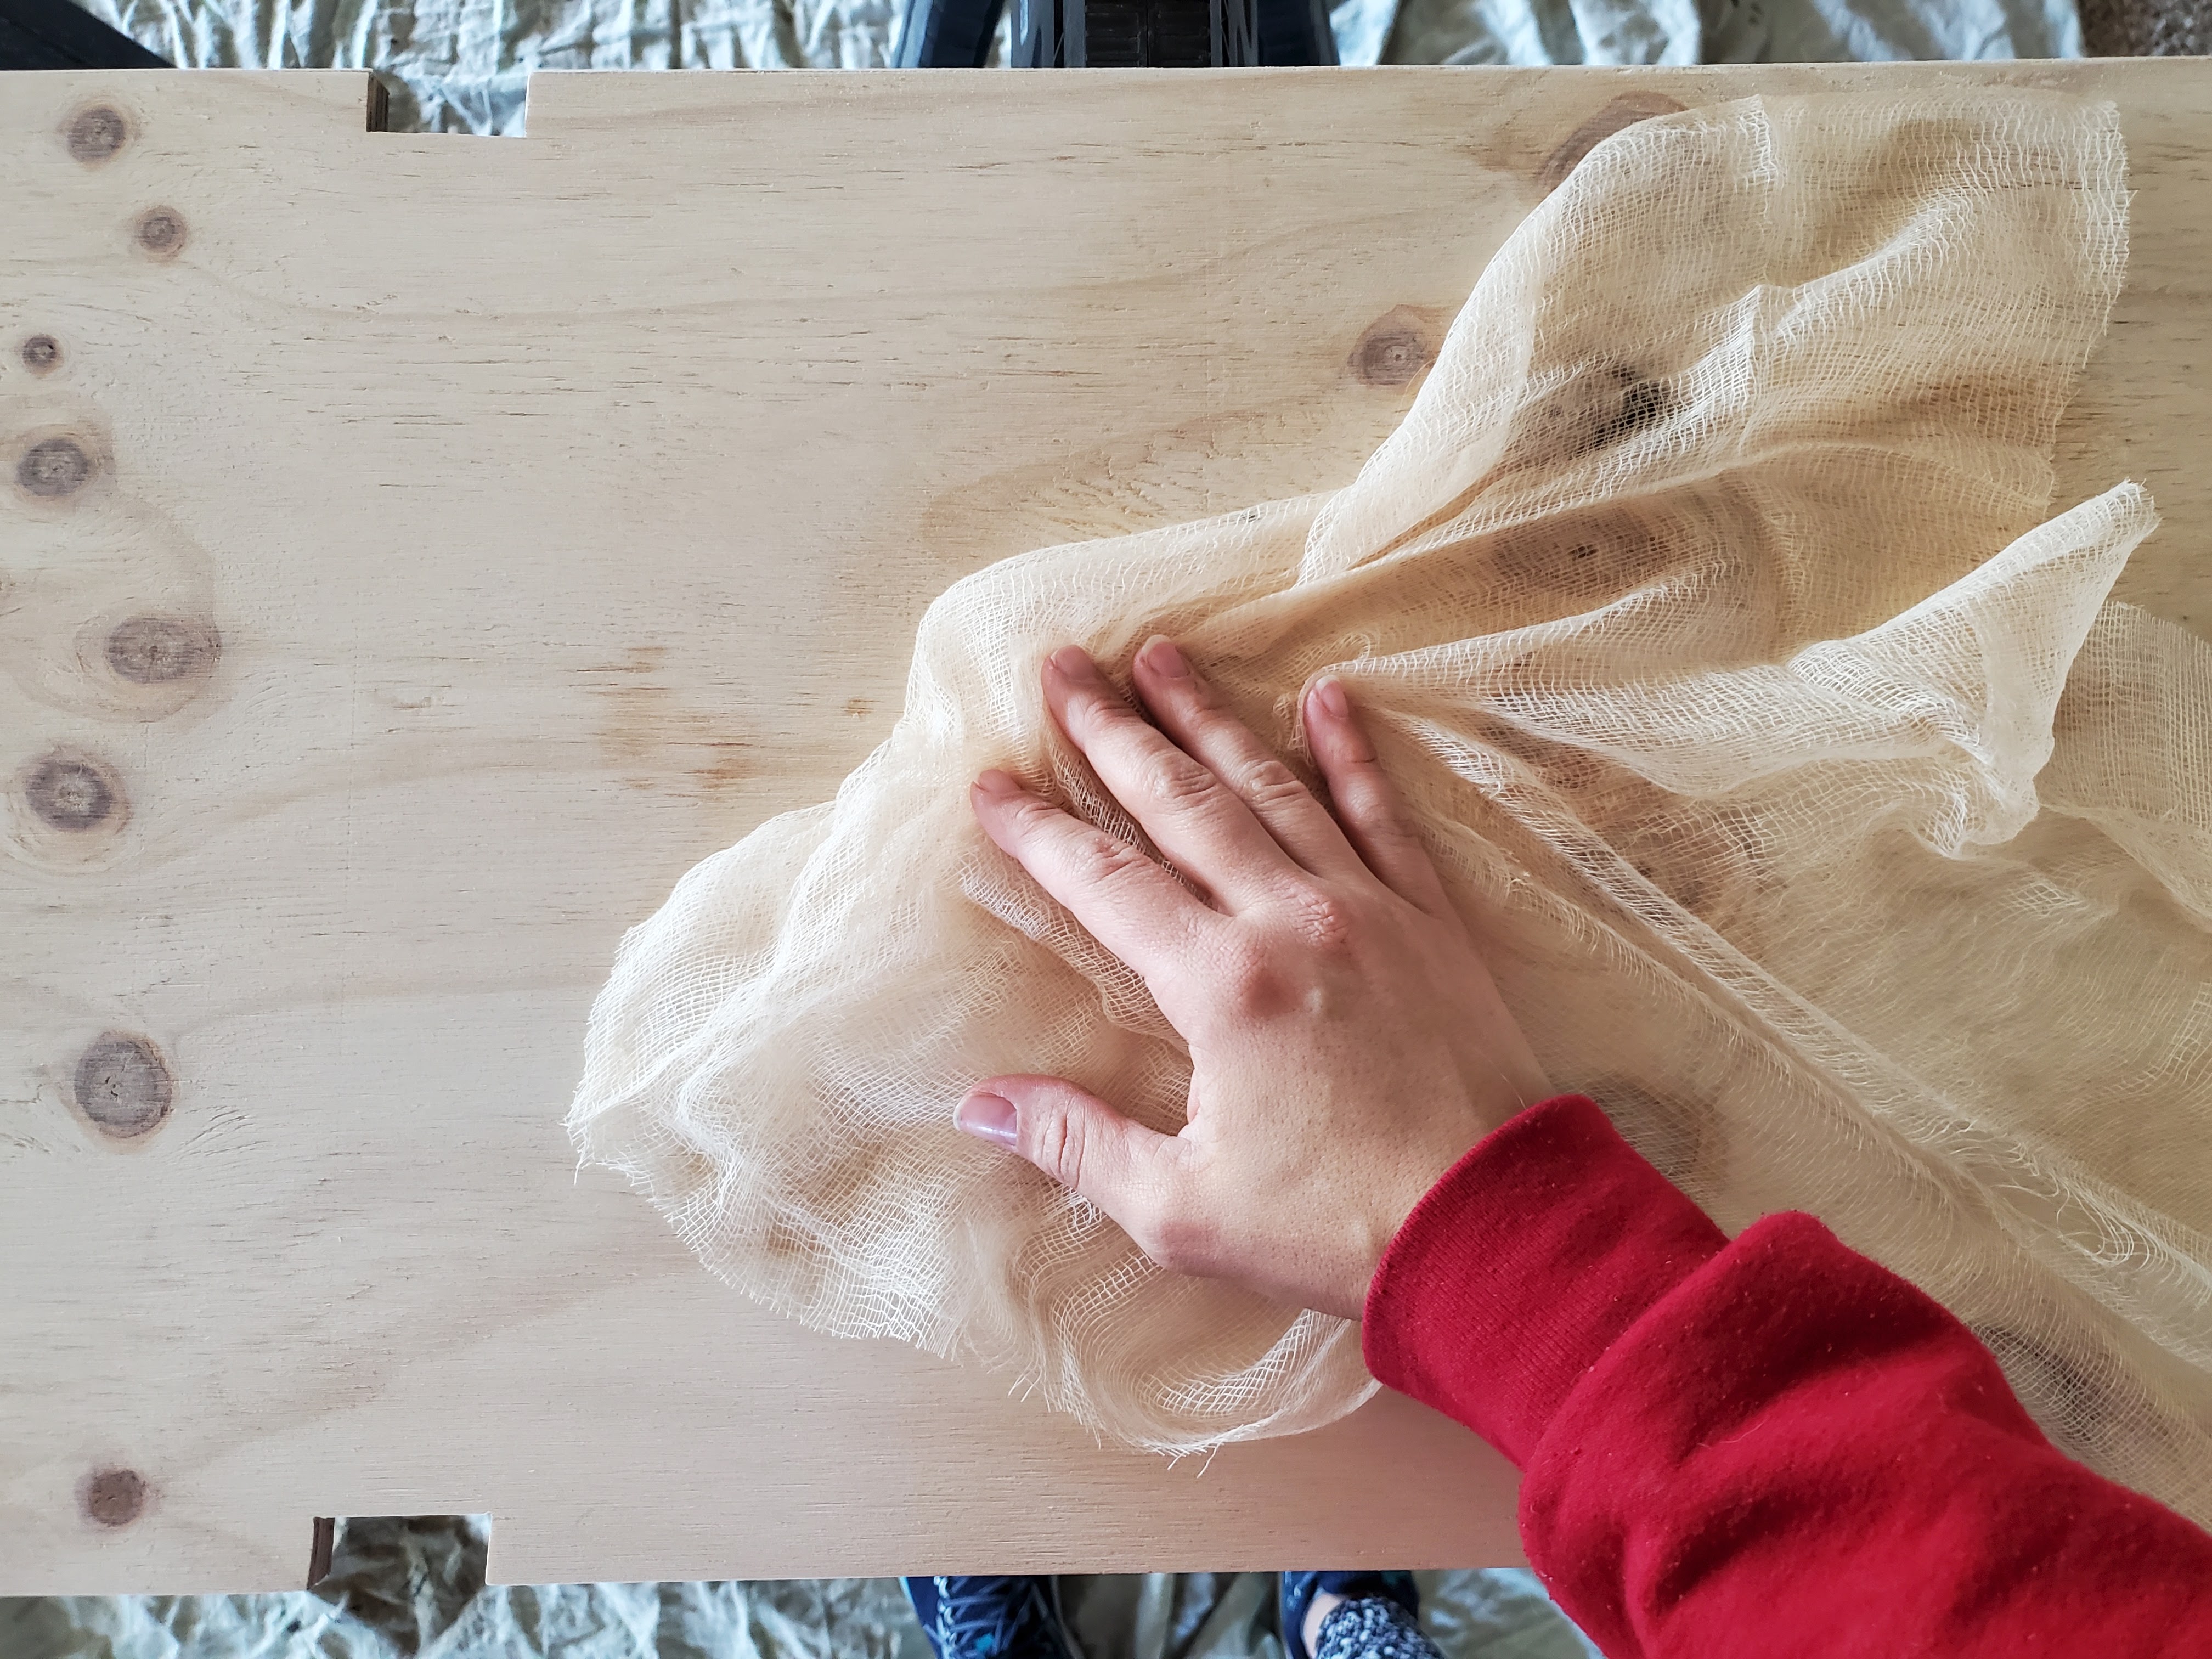
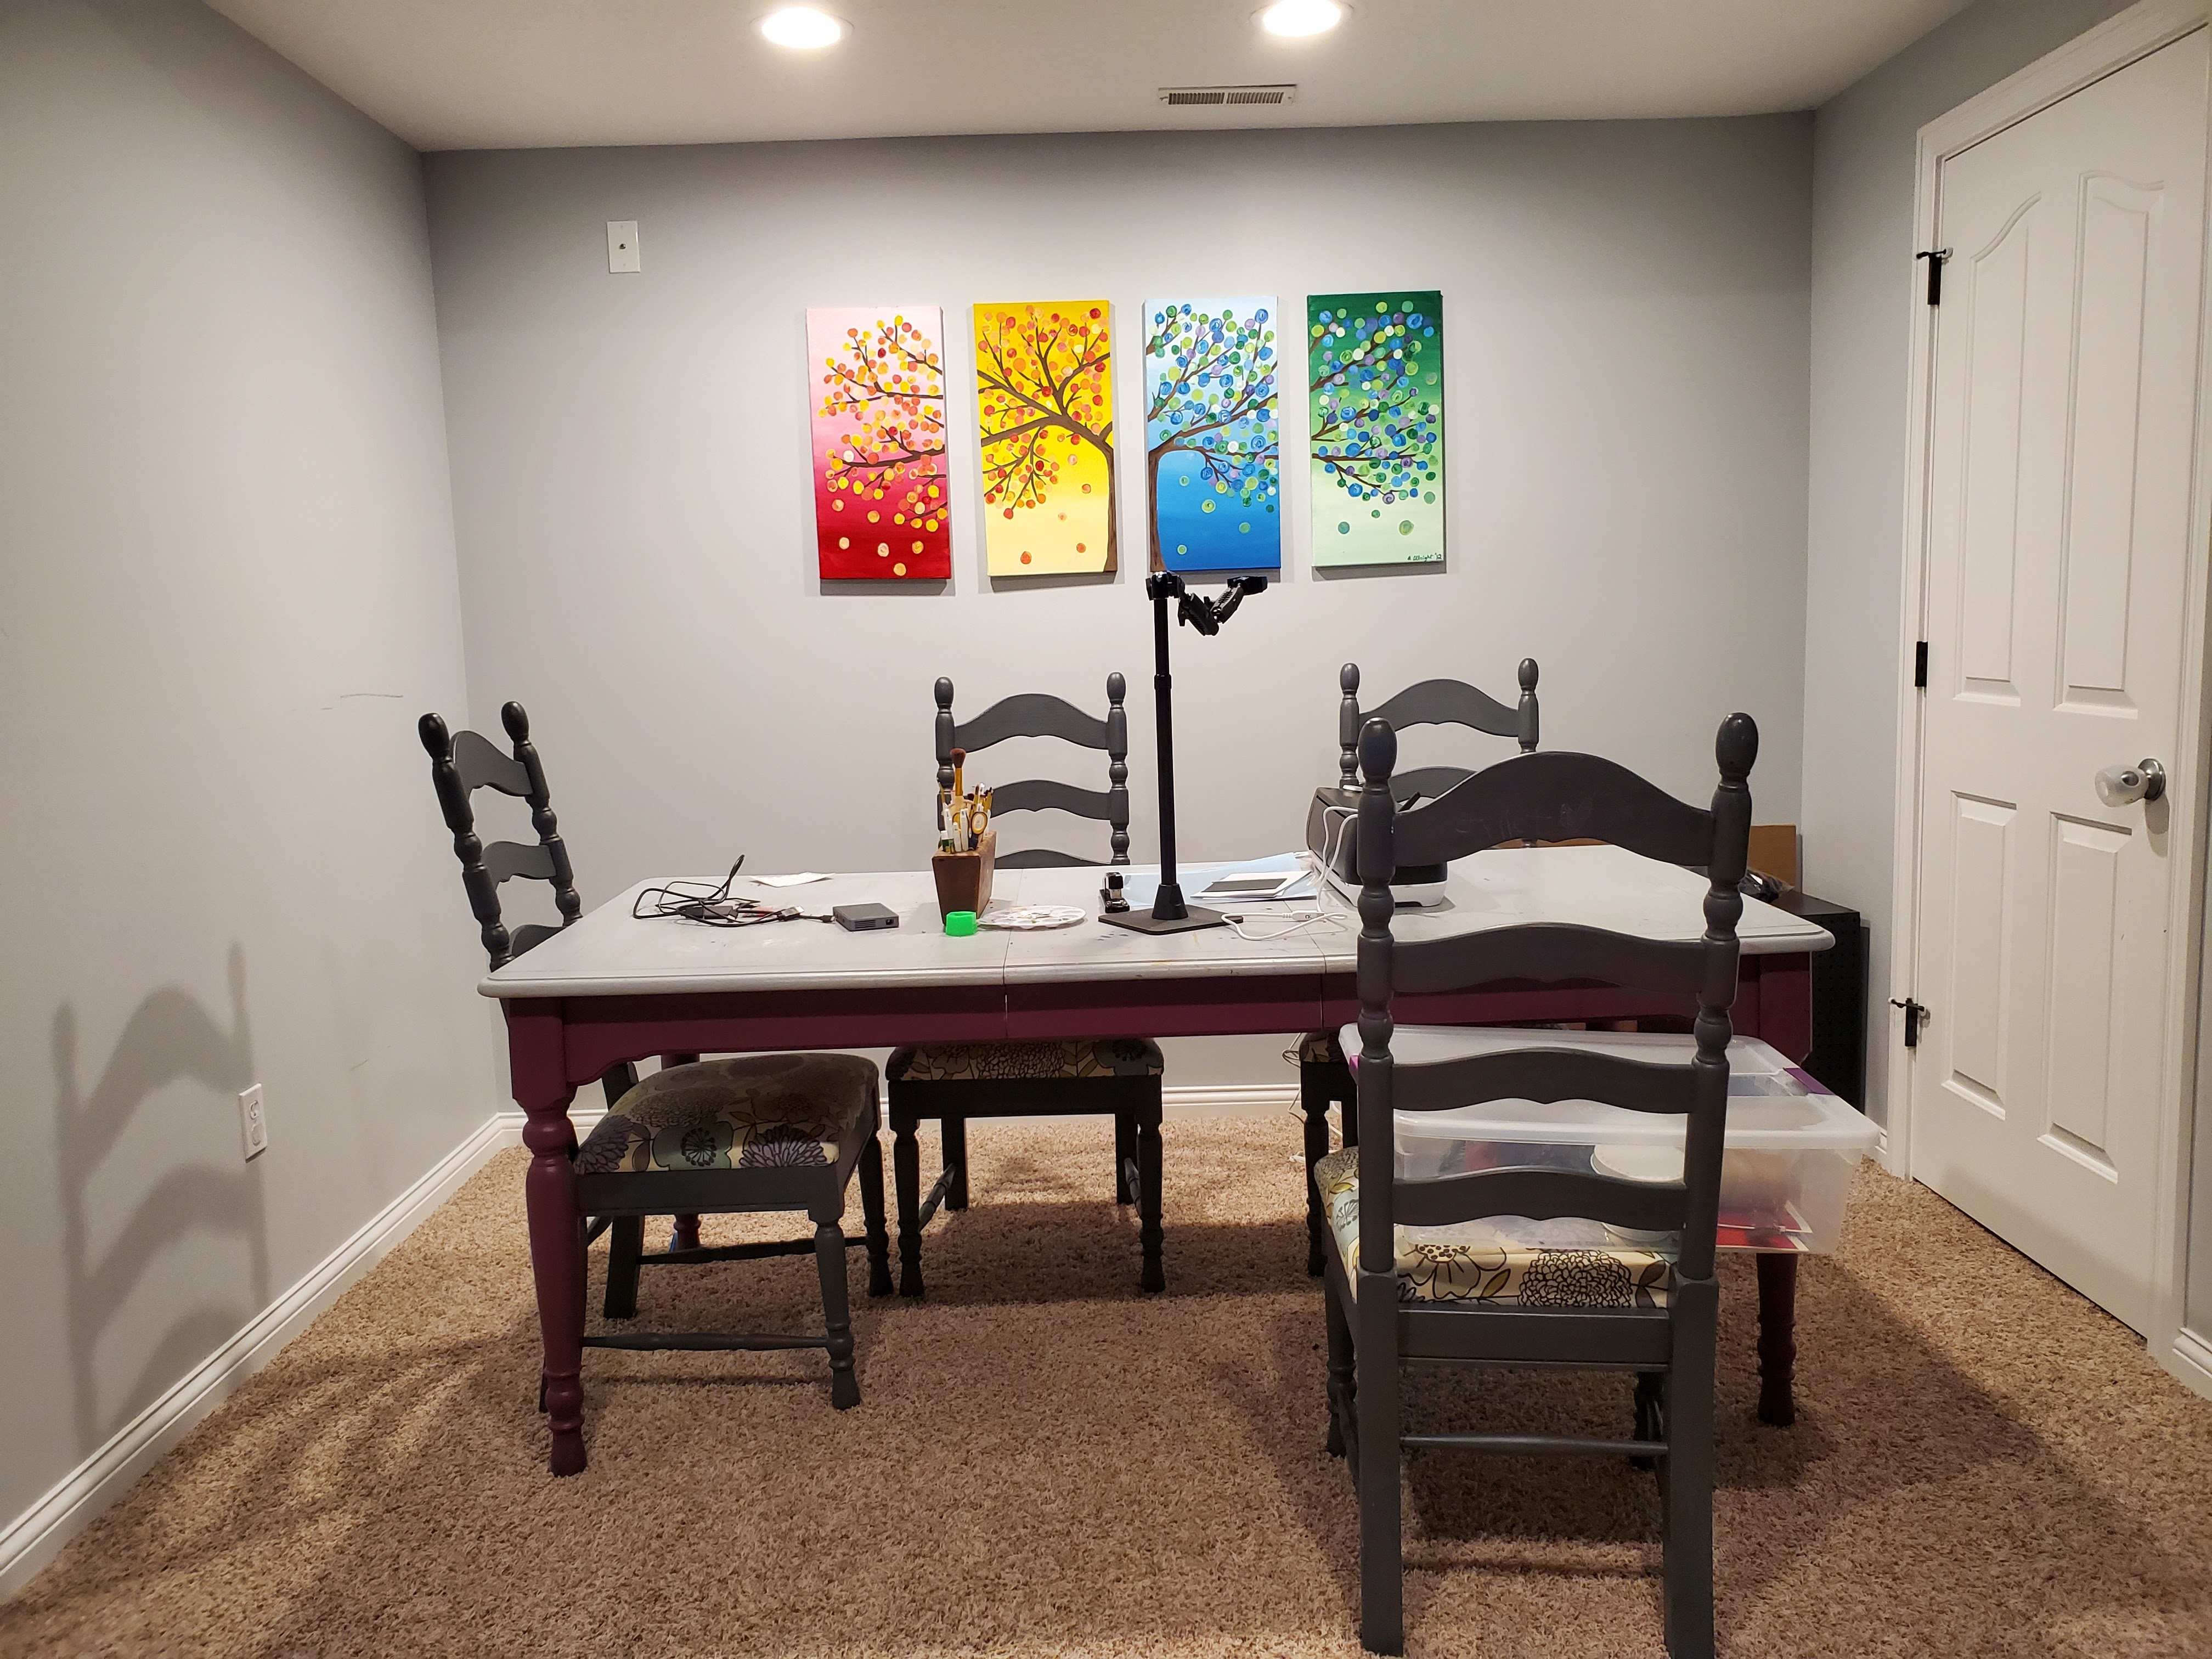
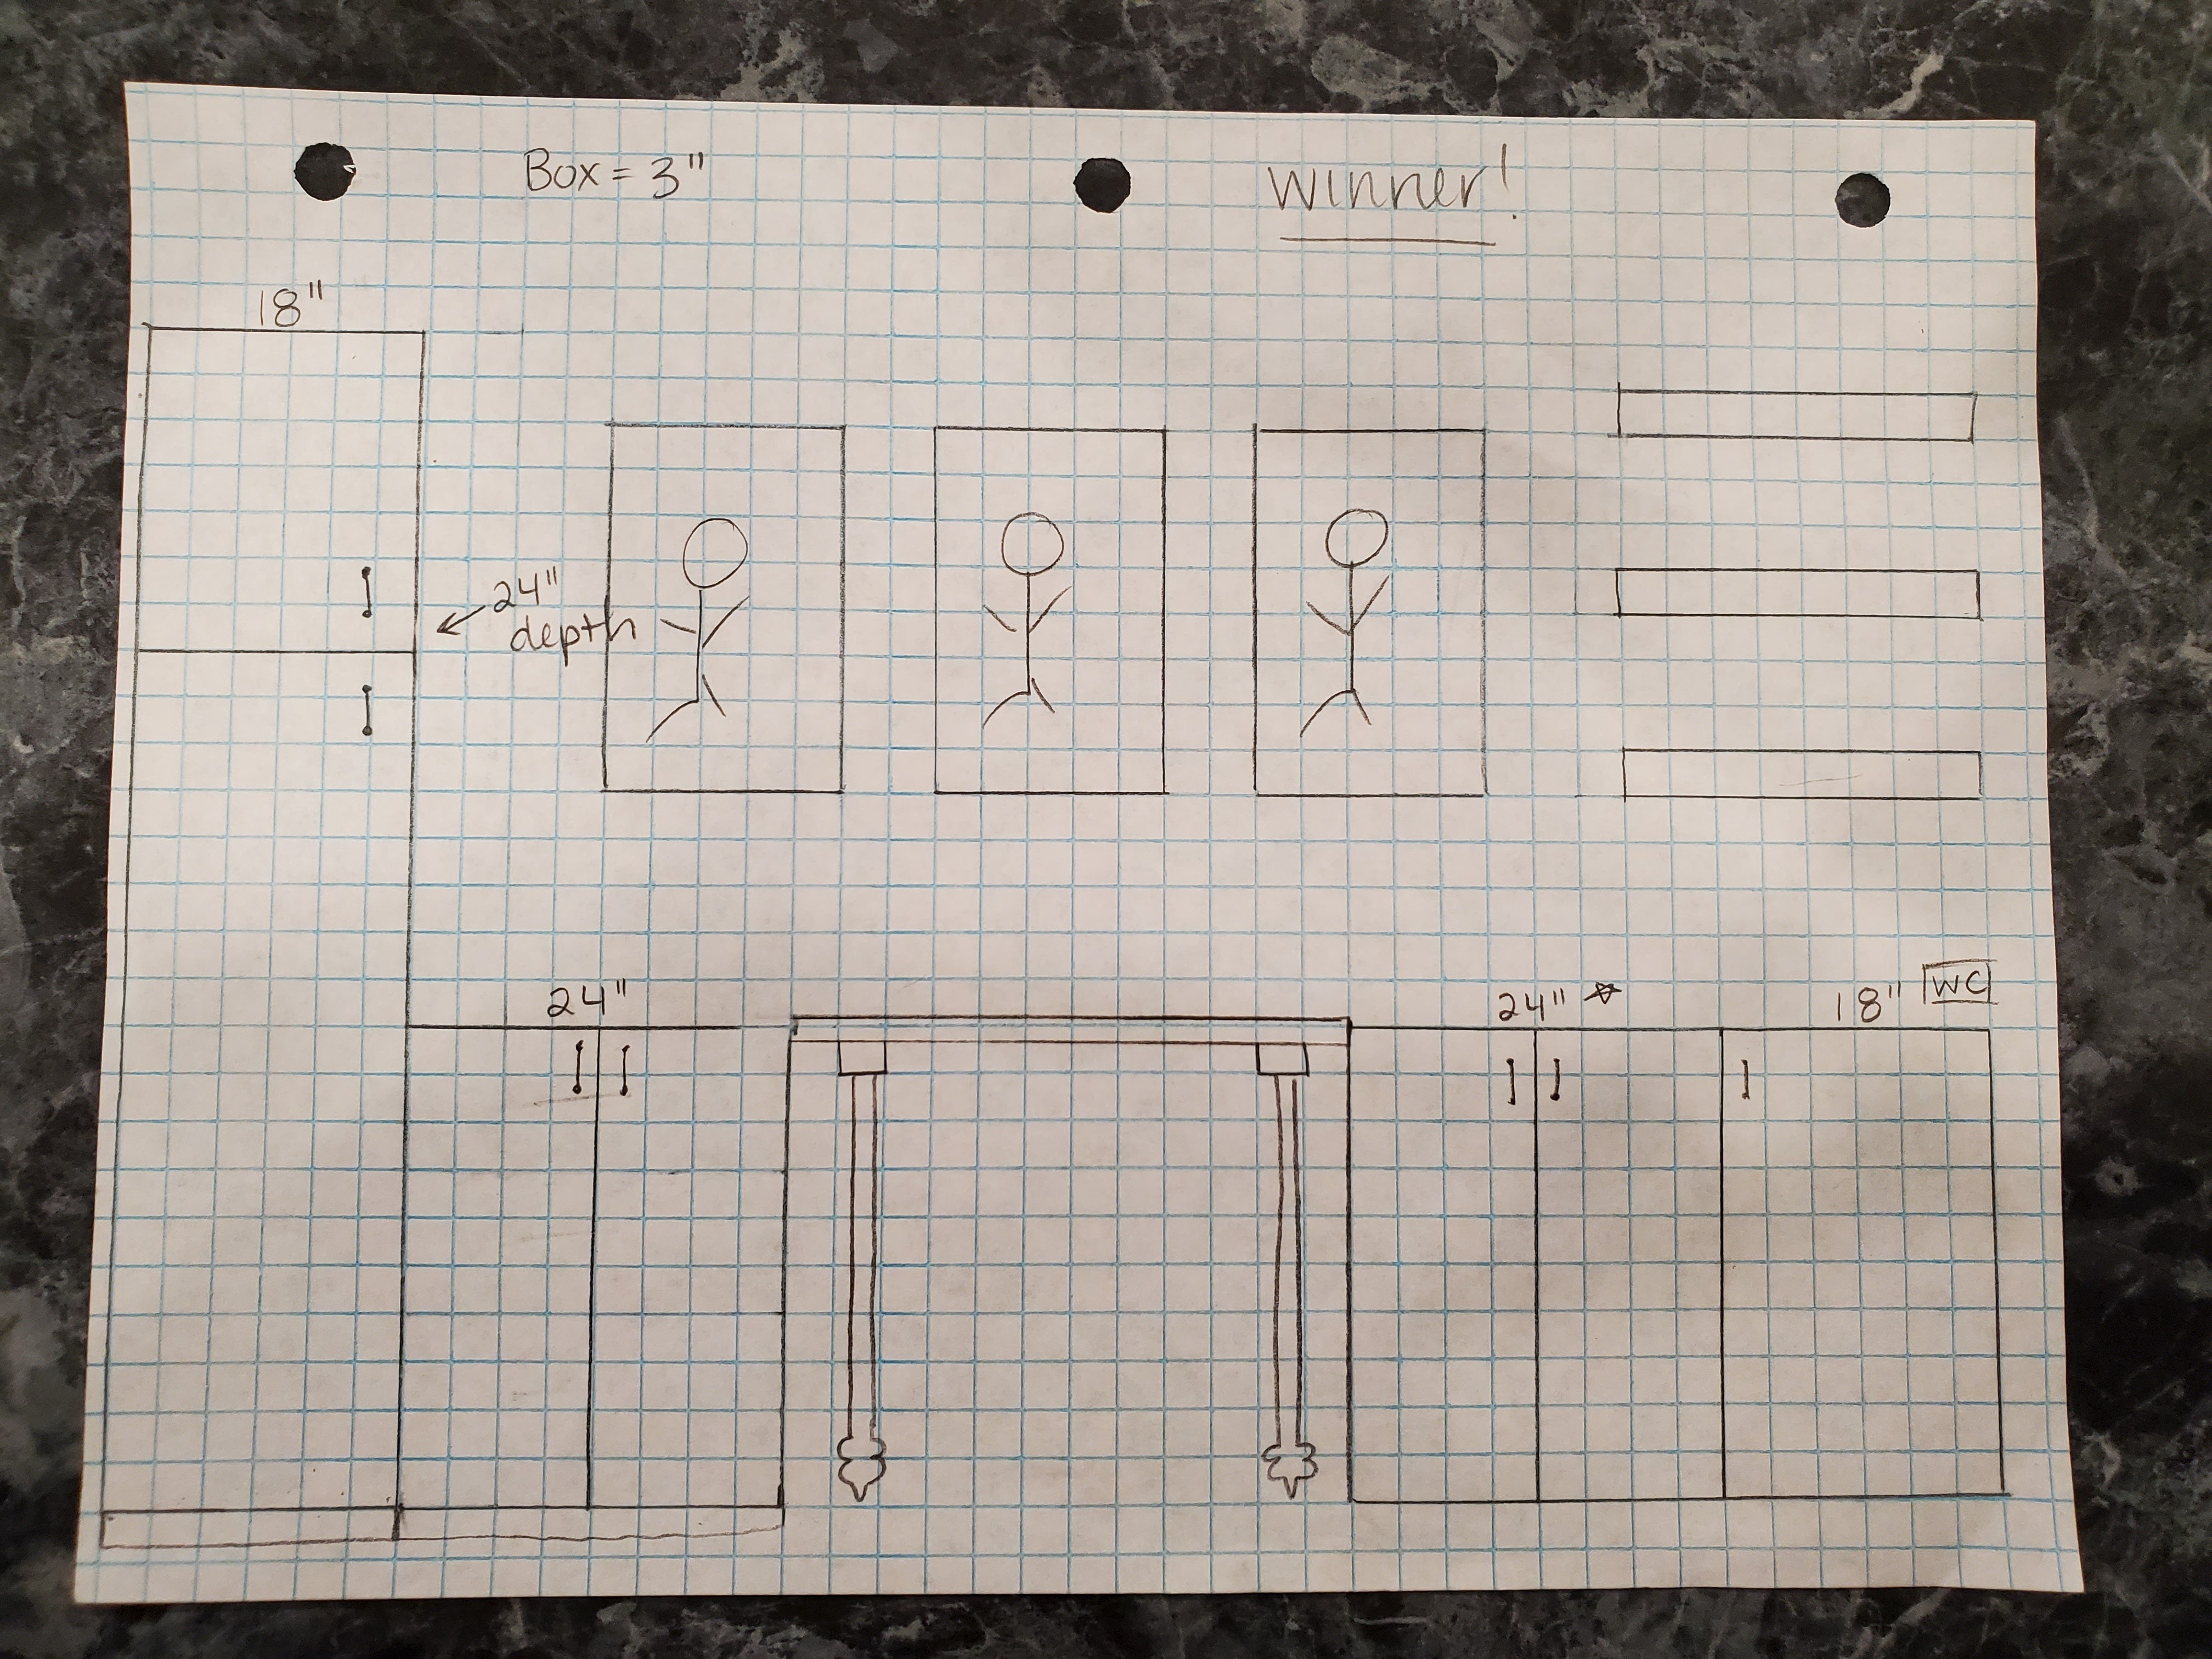
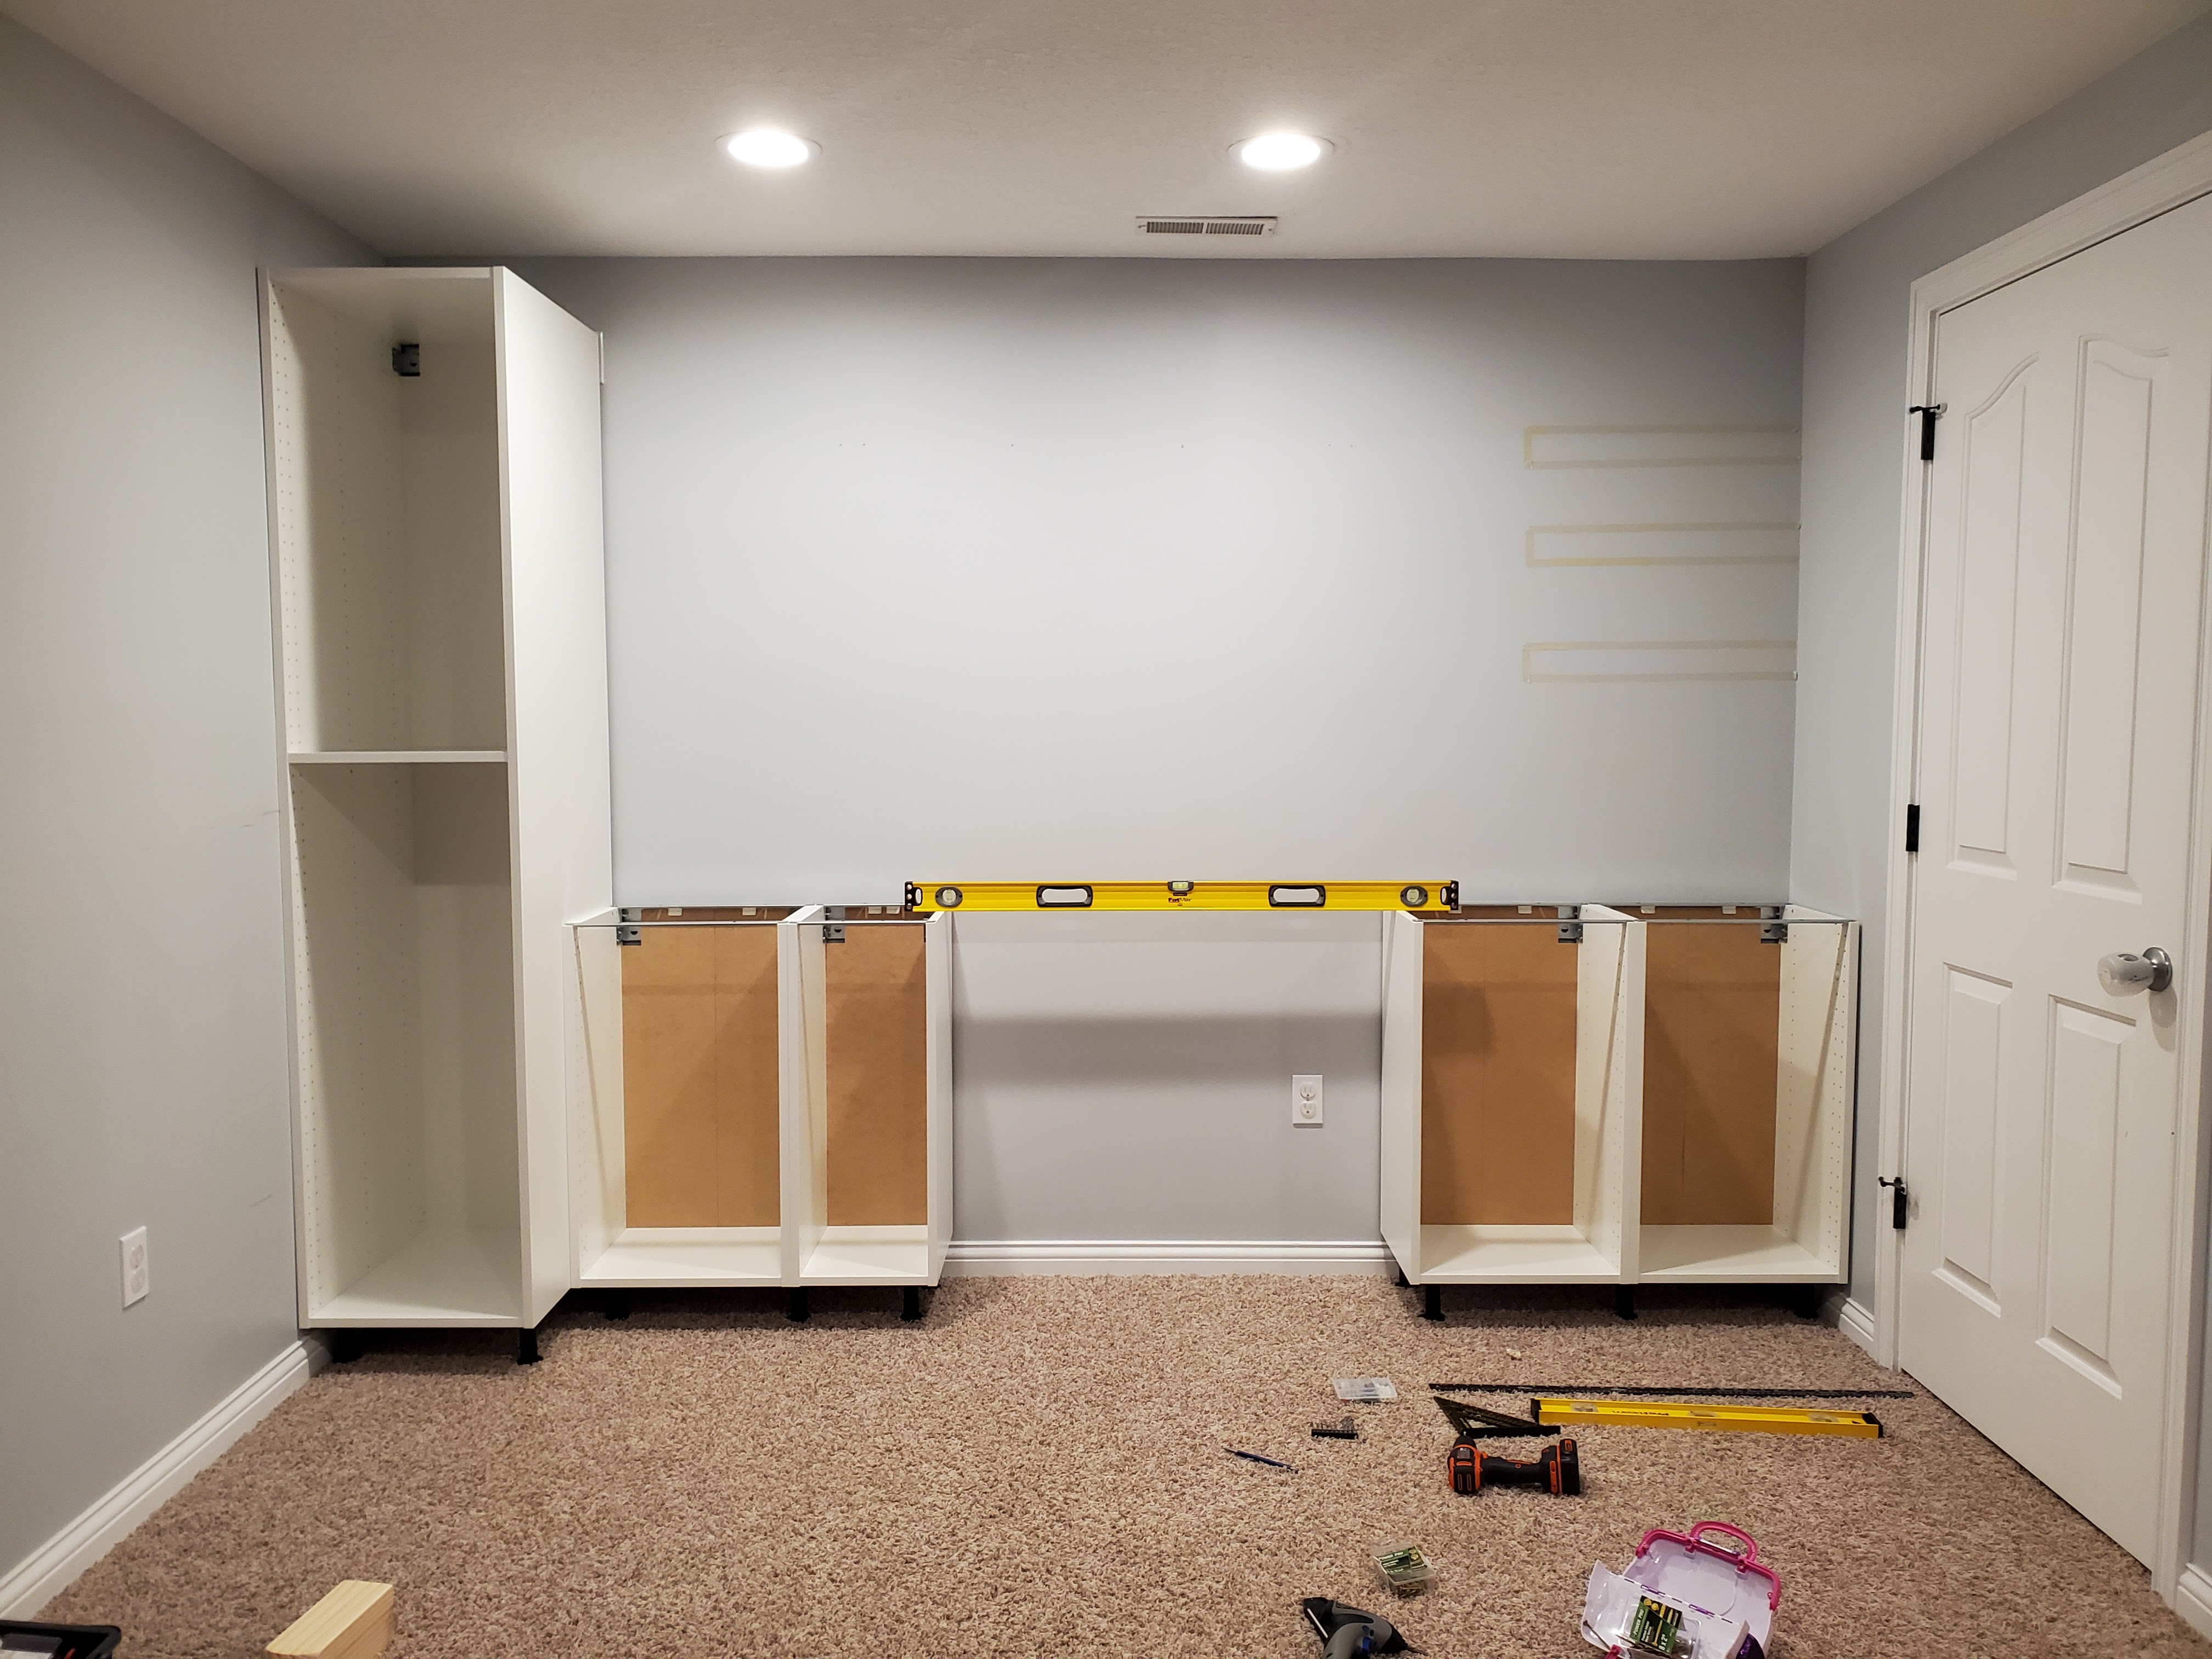
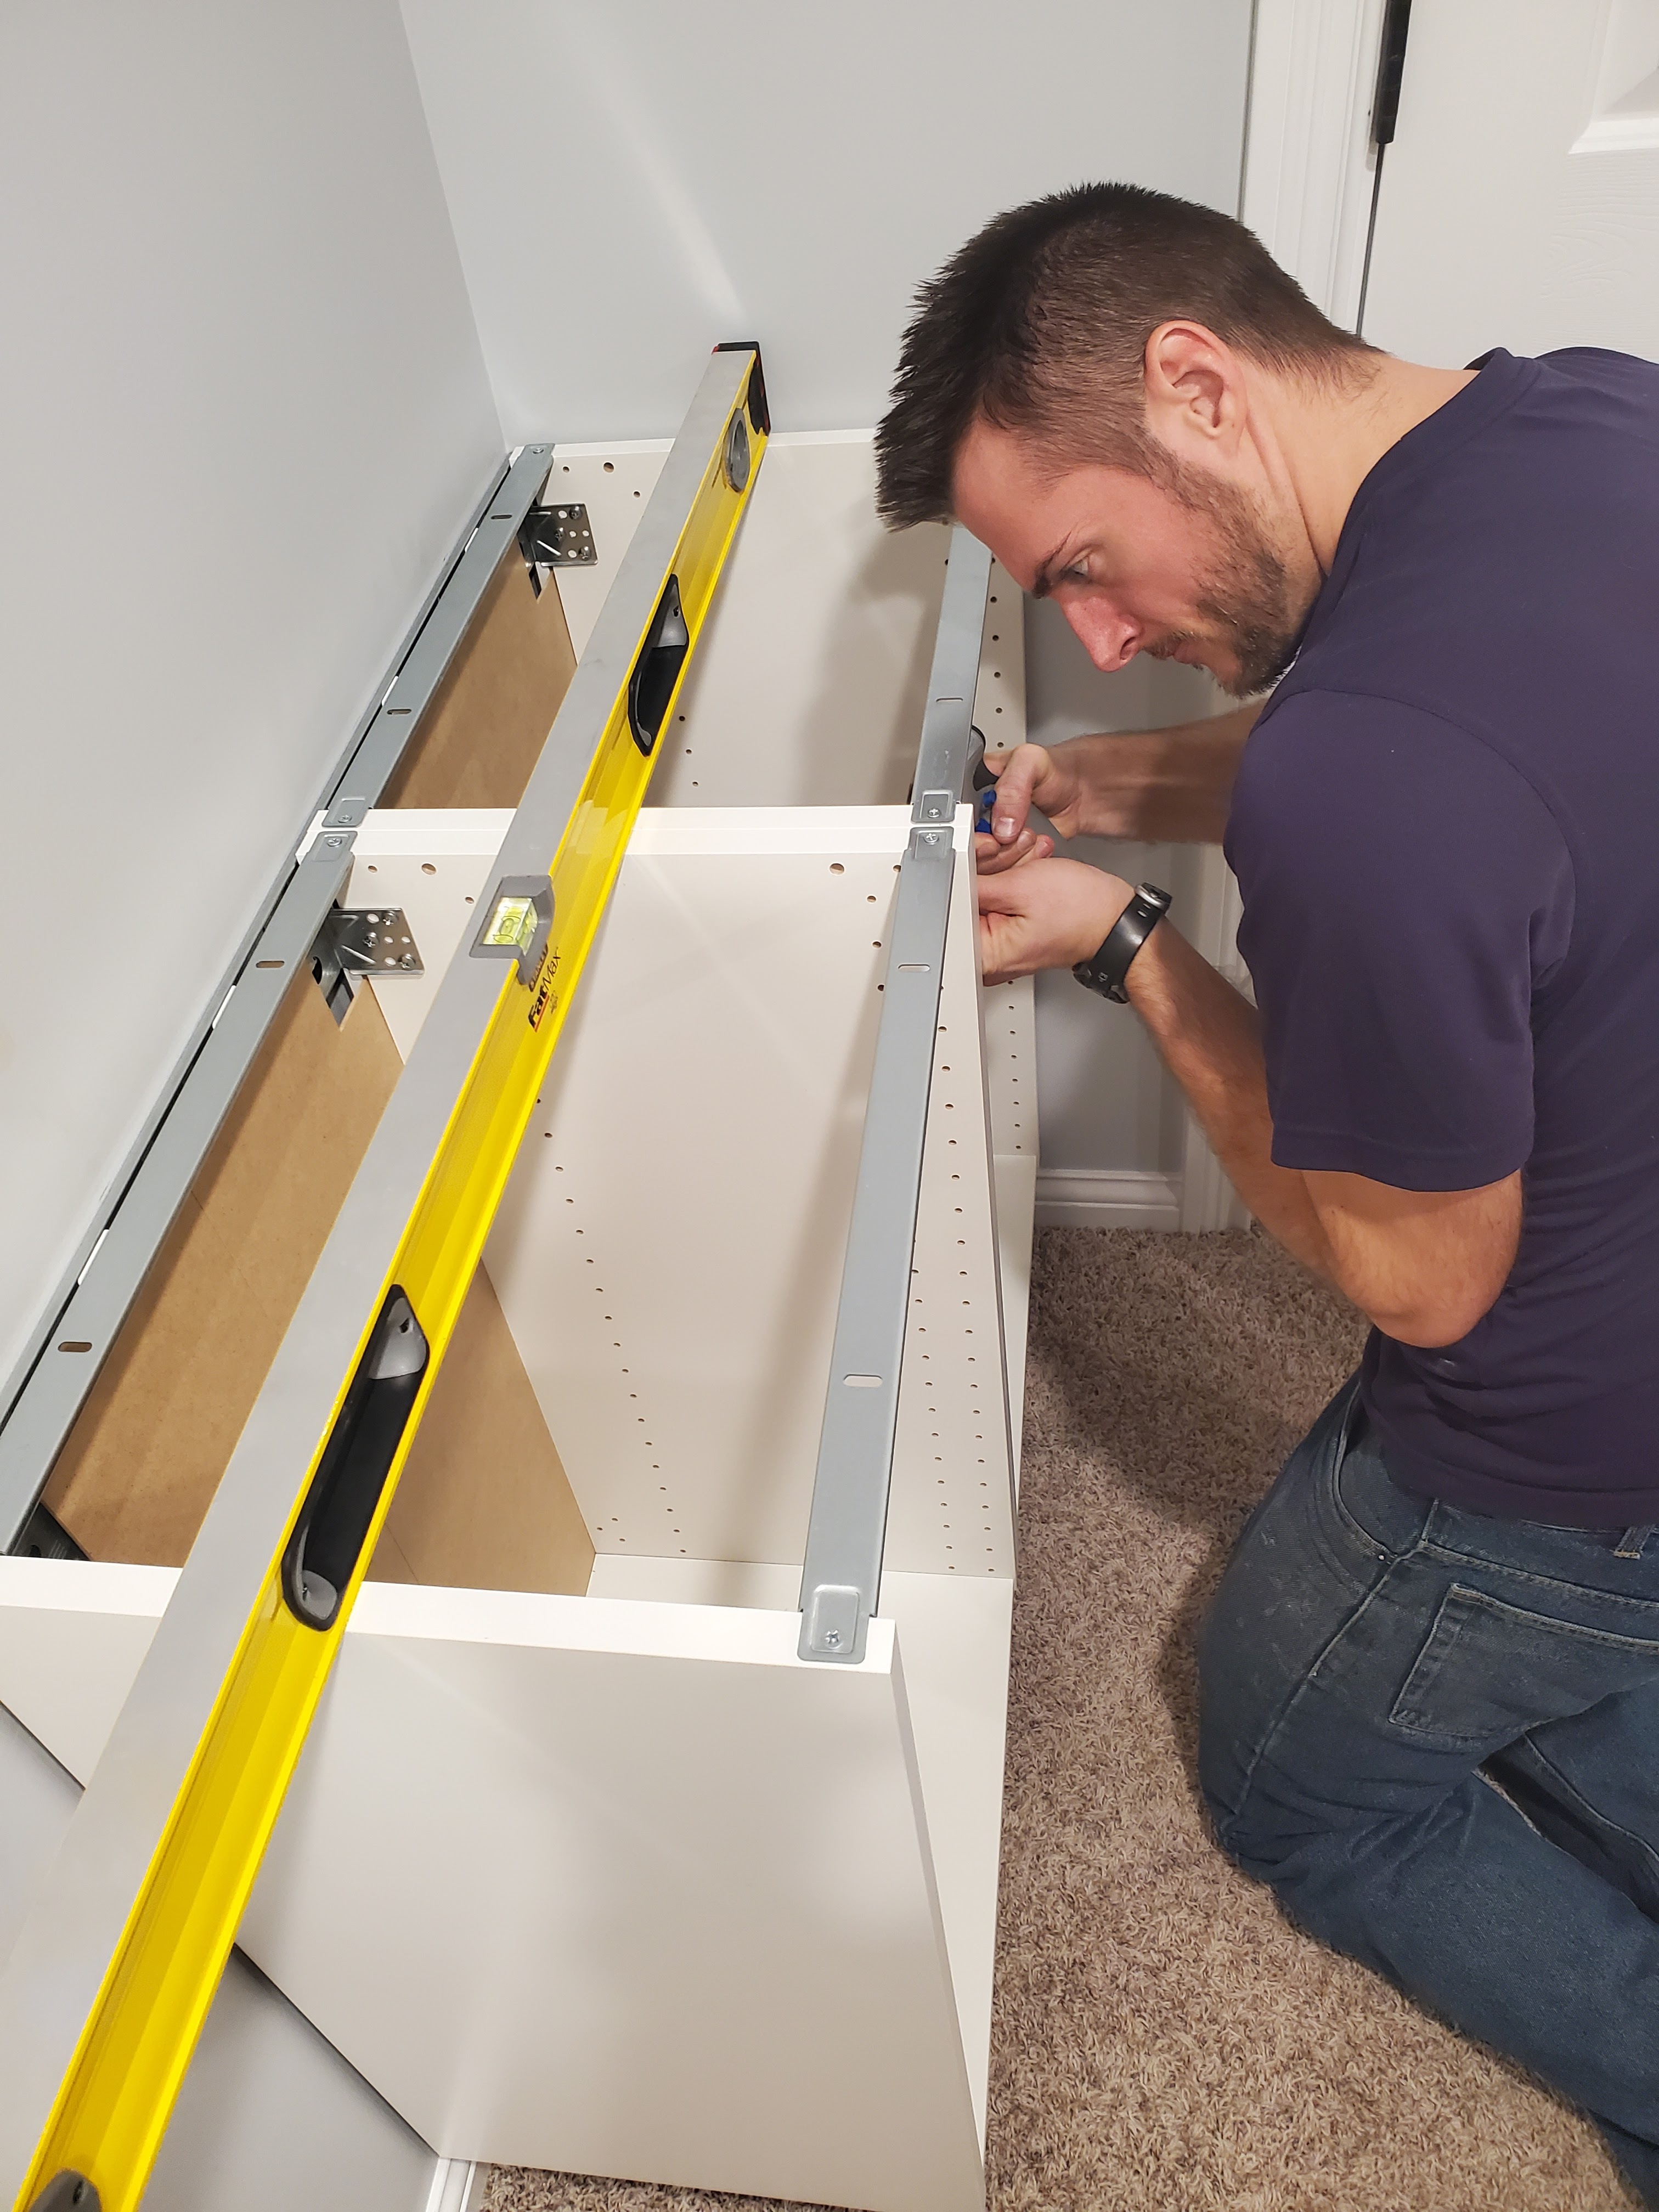
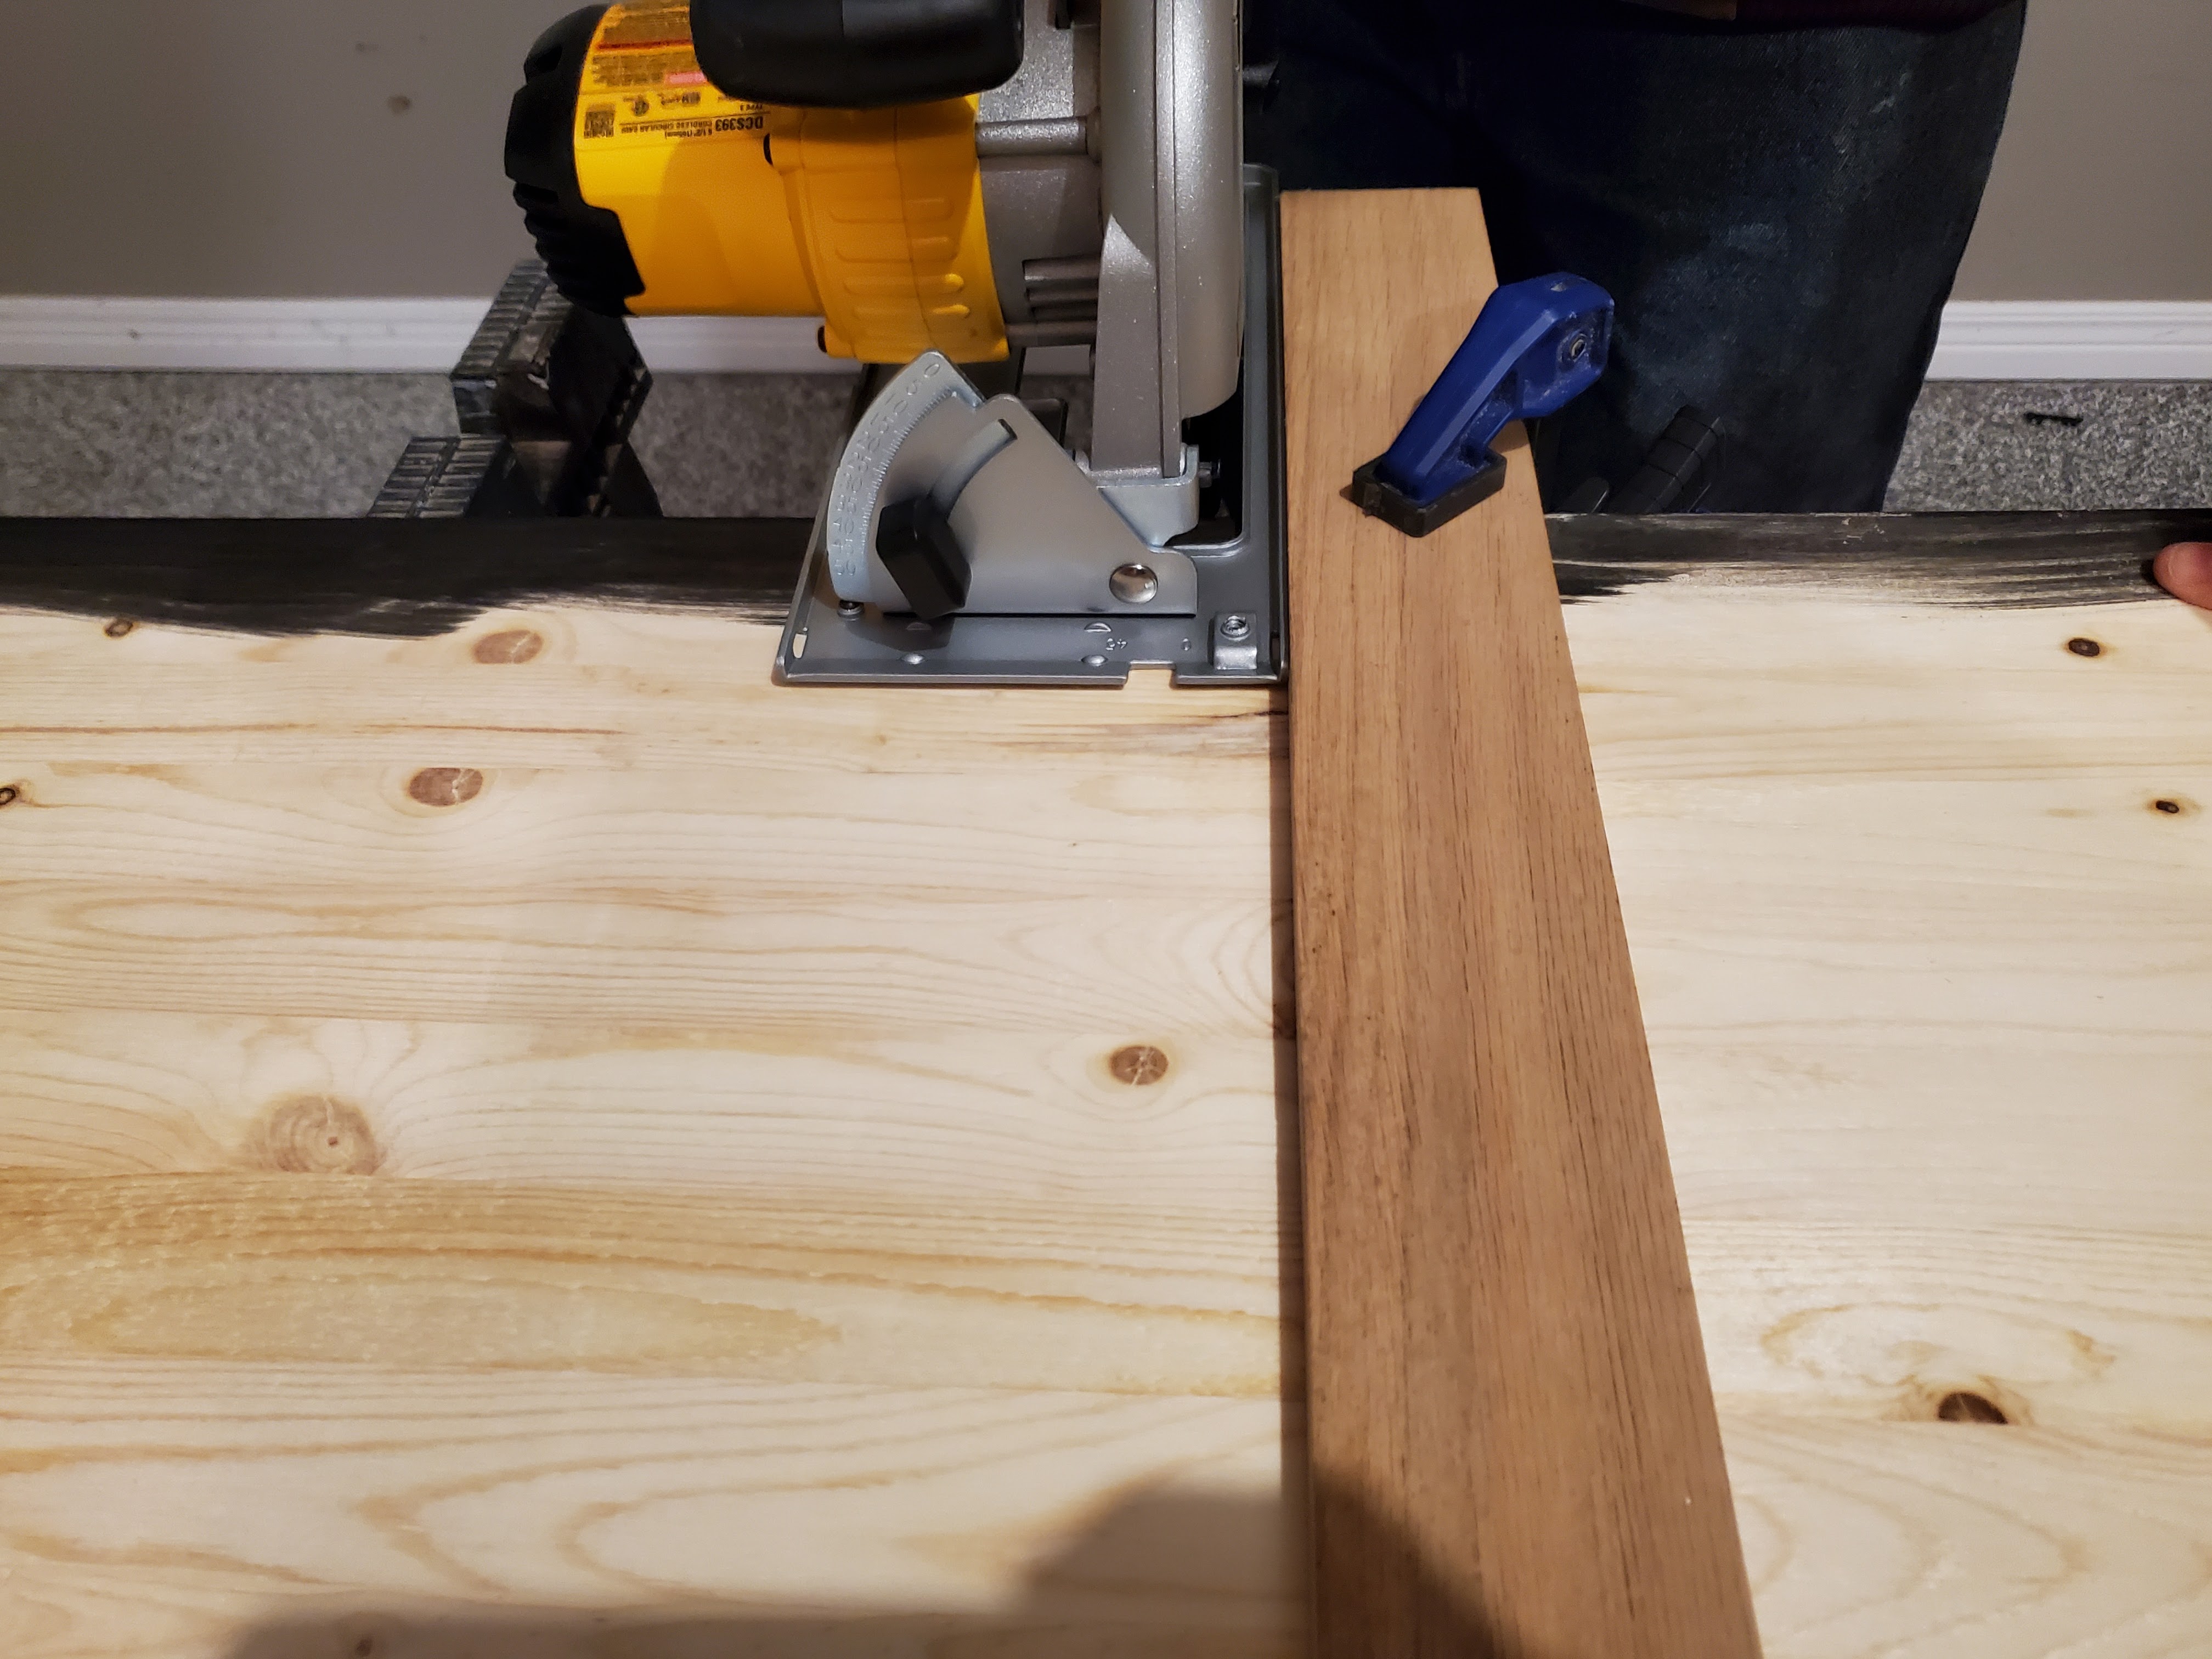
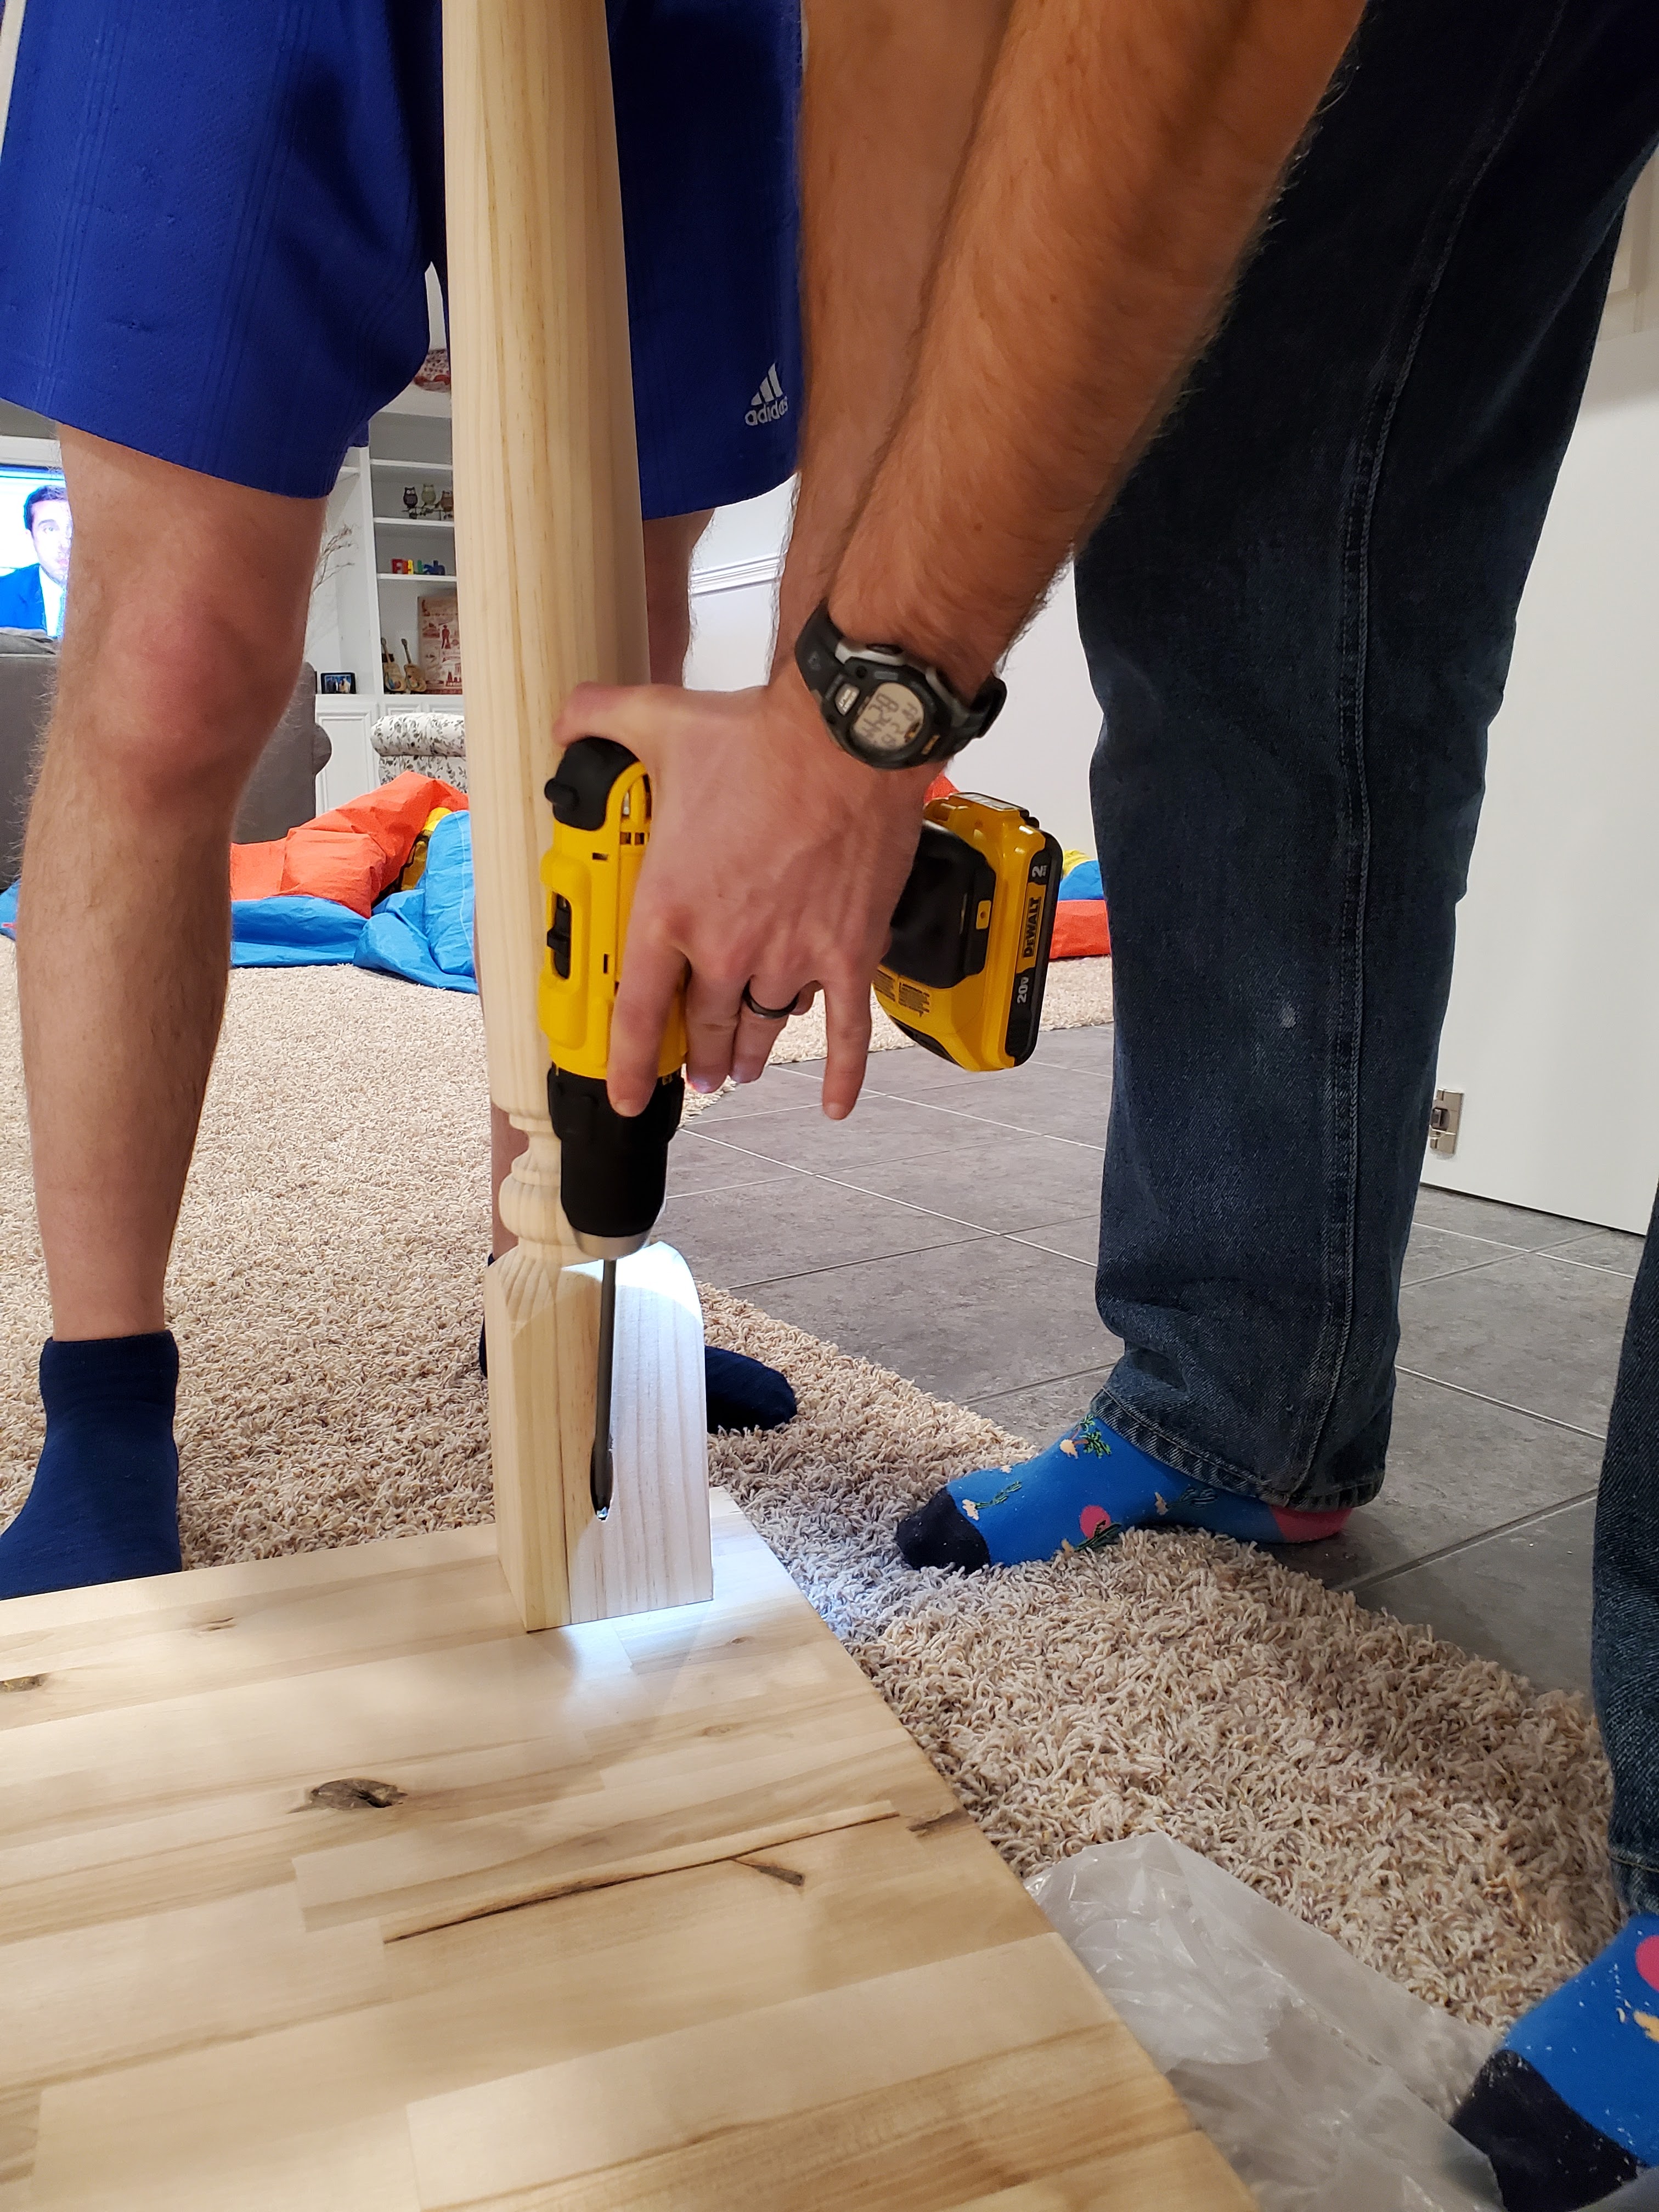
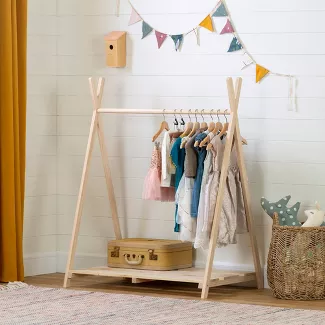
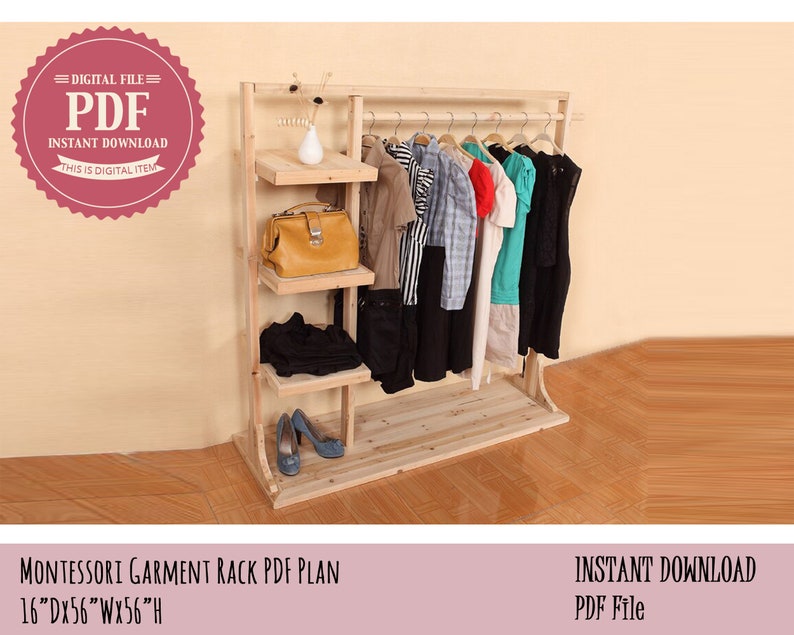
My plan is to DIY the clothing rack so it fits the dimensions in our playroom perfectly. I don’t have much time (the party is in five days!) but it’s okay because I’m imagining a relatively simple design. I just want it to include a rod for hanging clothes and at least one shelf for storing a bin or two for shoes and accessories.
Here’s some of the inspiration I’ve gathered so far:


Let Operation DIY Birthday Gift project begin!