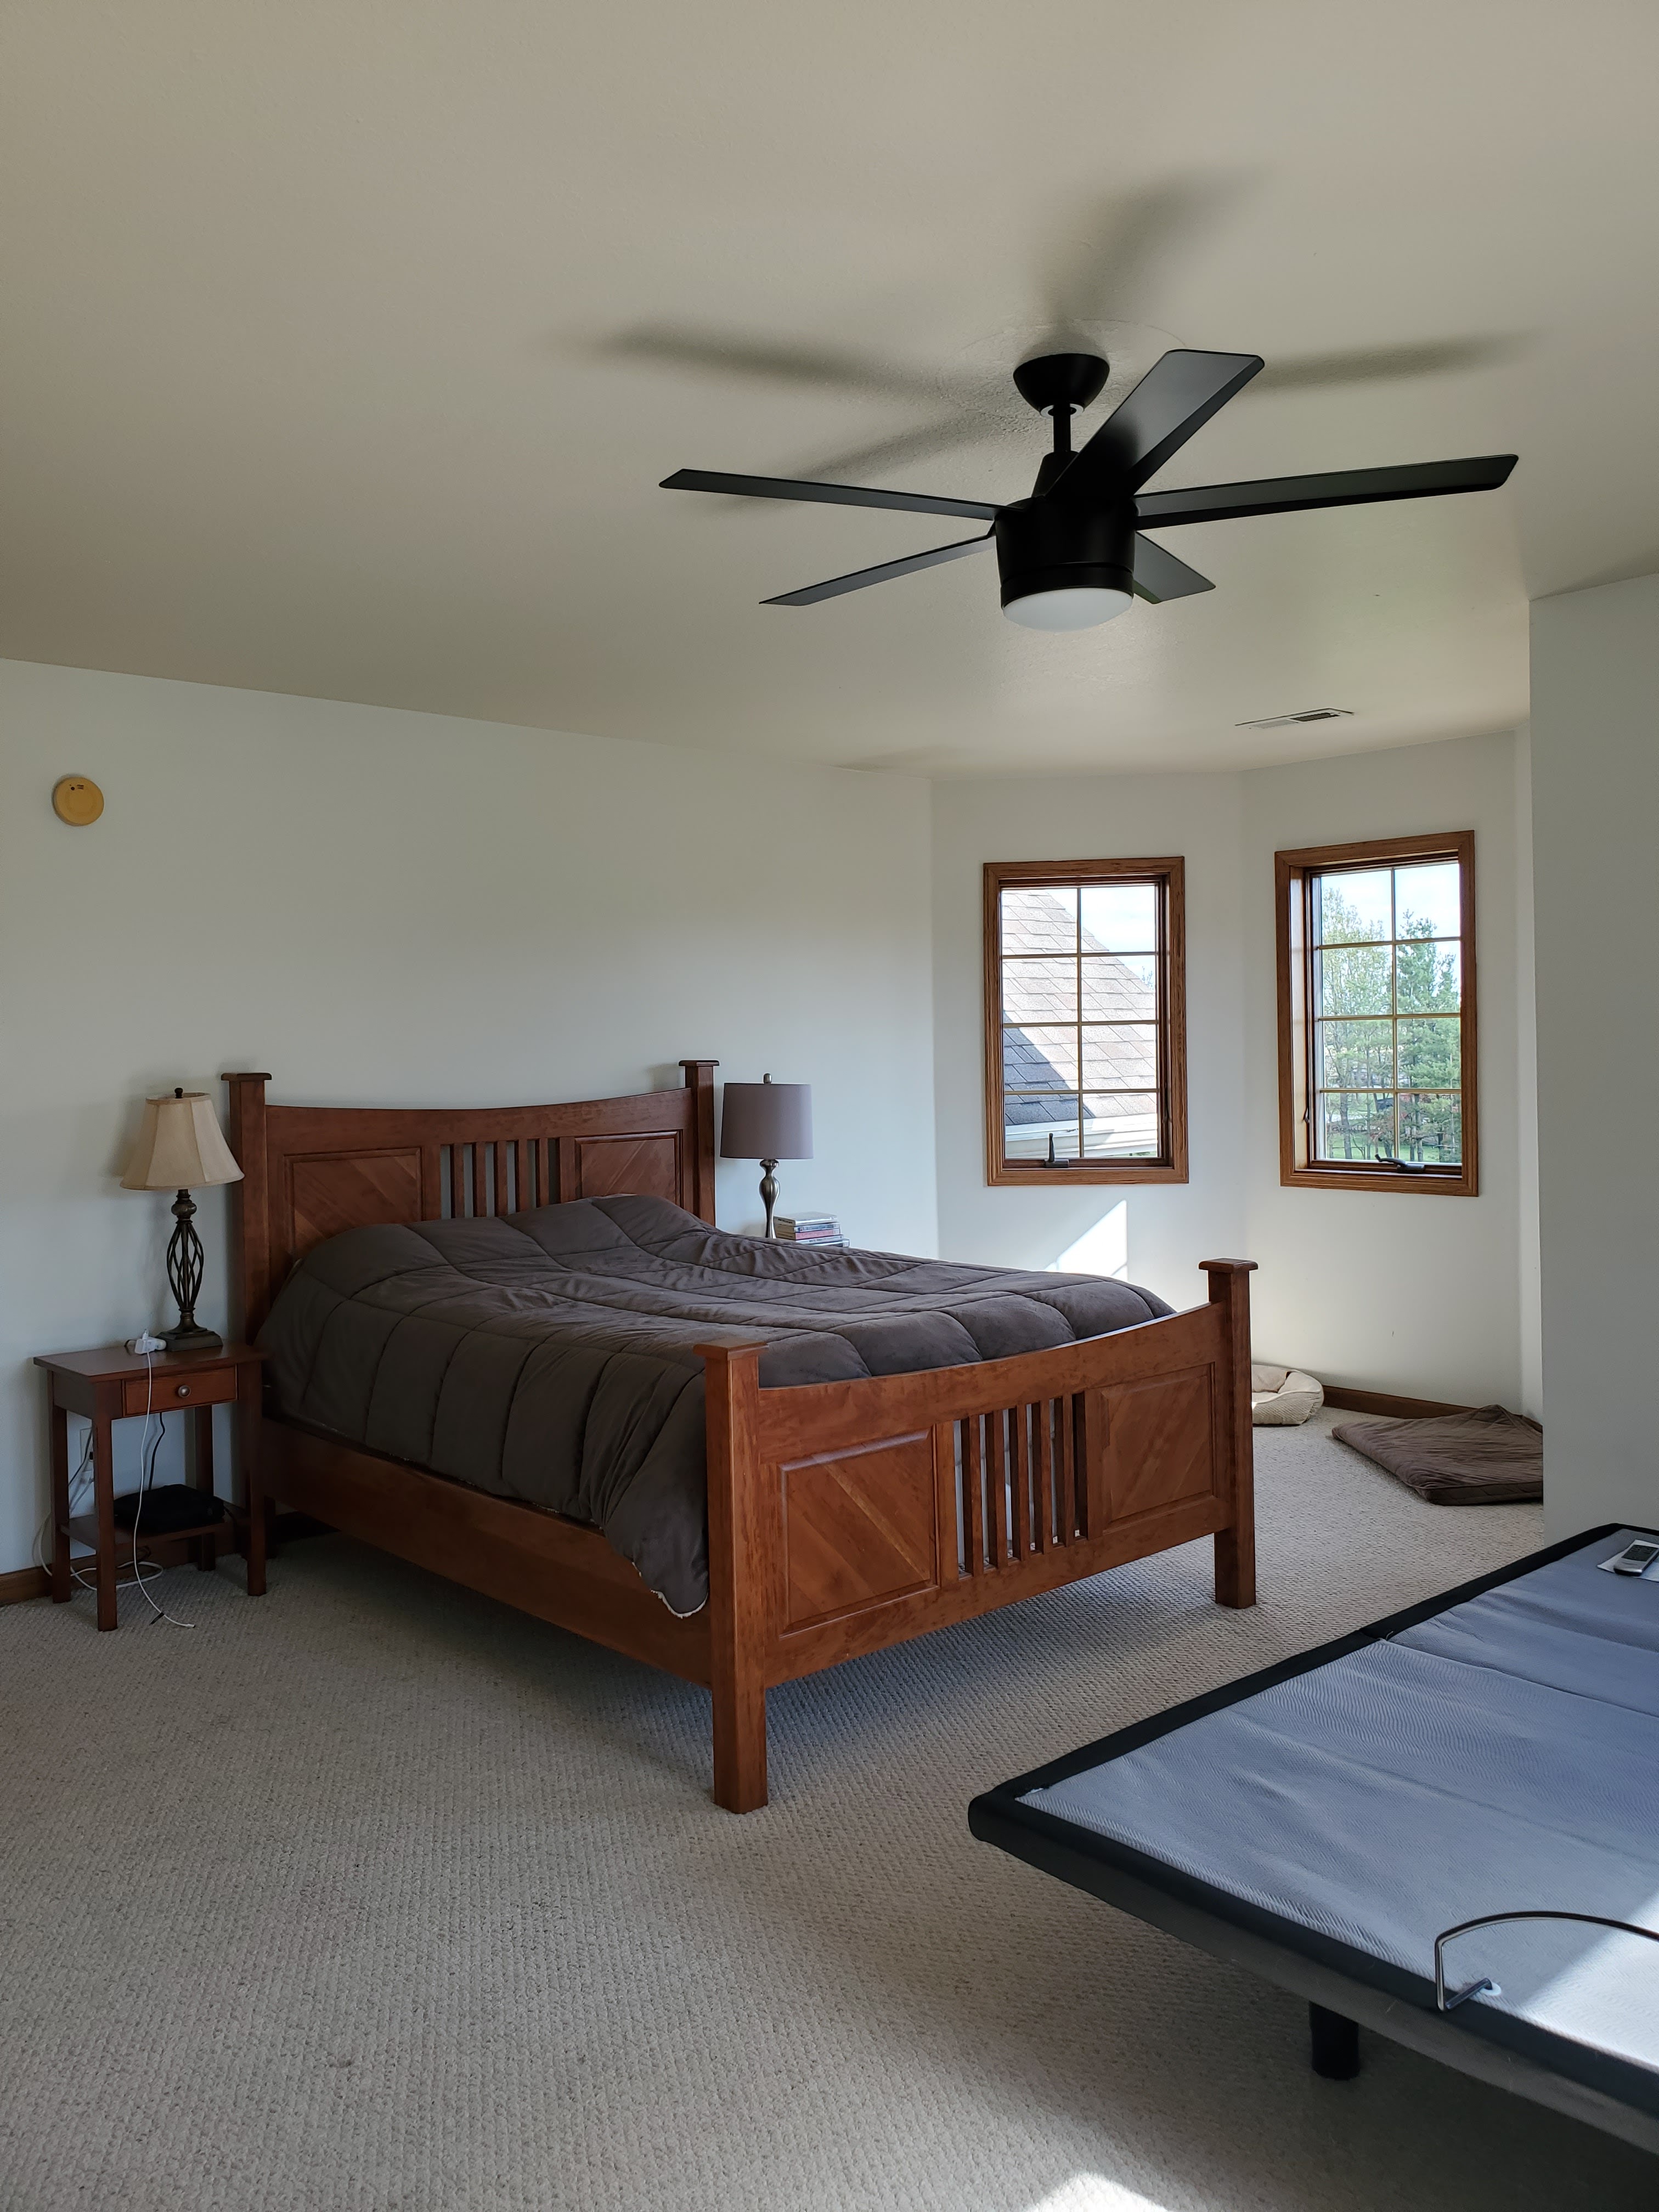
The kids’ shared bedroom, which used to be just LJ’s room, has been through a lot of changes in the almost three years we’ve lived here but one particular area has changed the most: the window treatments. Just this morning, I changed things up again but this time, I feel confident in saying they’re going to stay for many years!

When we first moved in, the previous owners left their curtain rods and mismatched roller blinds hanging. I kept the roller blinds and just hung up the curtains we brought from LJ’s nursery. His first nursery only had one window though, so I only had two panels – one for each window. From an aesthetic standpoint, it wasn’t a great look but from a practical standpoint, it worked fine.

I lived with that look for just over a year and in June 2021, I decided to do an inexpensive update. I removed the mismatched roller shades, painted the windows, updated the window trim, and took down the old curtain rods. I had leftover rods that I didn’t use from hanging our dining room curtains, so I repurposed them in here (I didn’t have all the pieces but I hot glued the end caps to the open end of the curtain rod to make it look finished!) and added inexpensive blackout curtains that I got on sale. Unfortunately, the curtain rods were just a single rod and didn’t extend, and the curtains only came in an 84″ length, so it wasn’t my “high and wide” preference but it was an inexpensive way to make this room feel much more cohesive. And somehow, the only photos I can find of this set up all look like this – ha! Vi had obviously already moved in at this point.
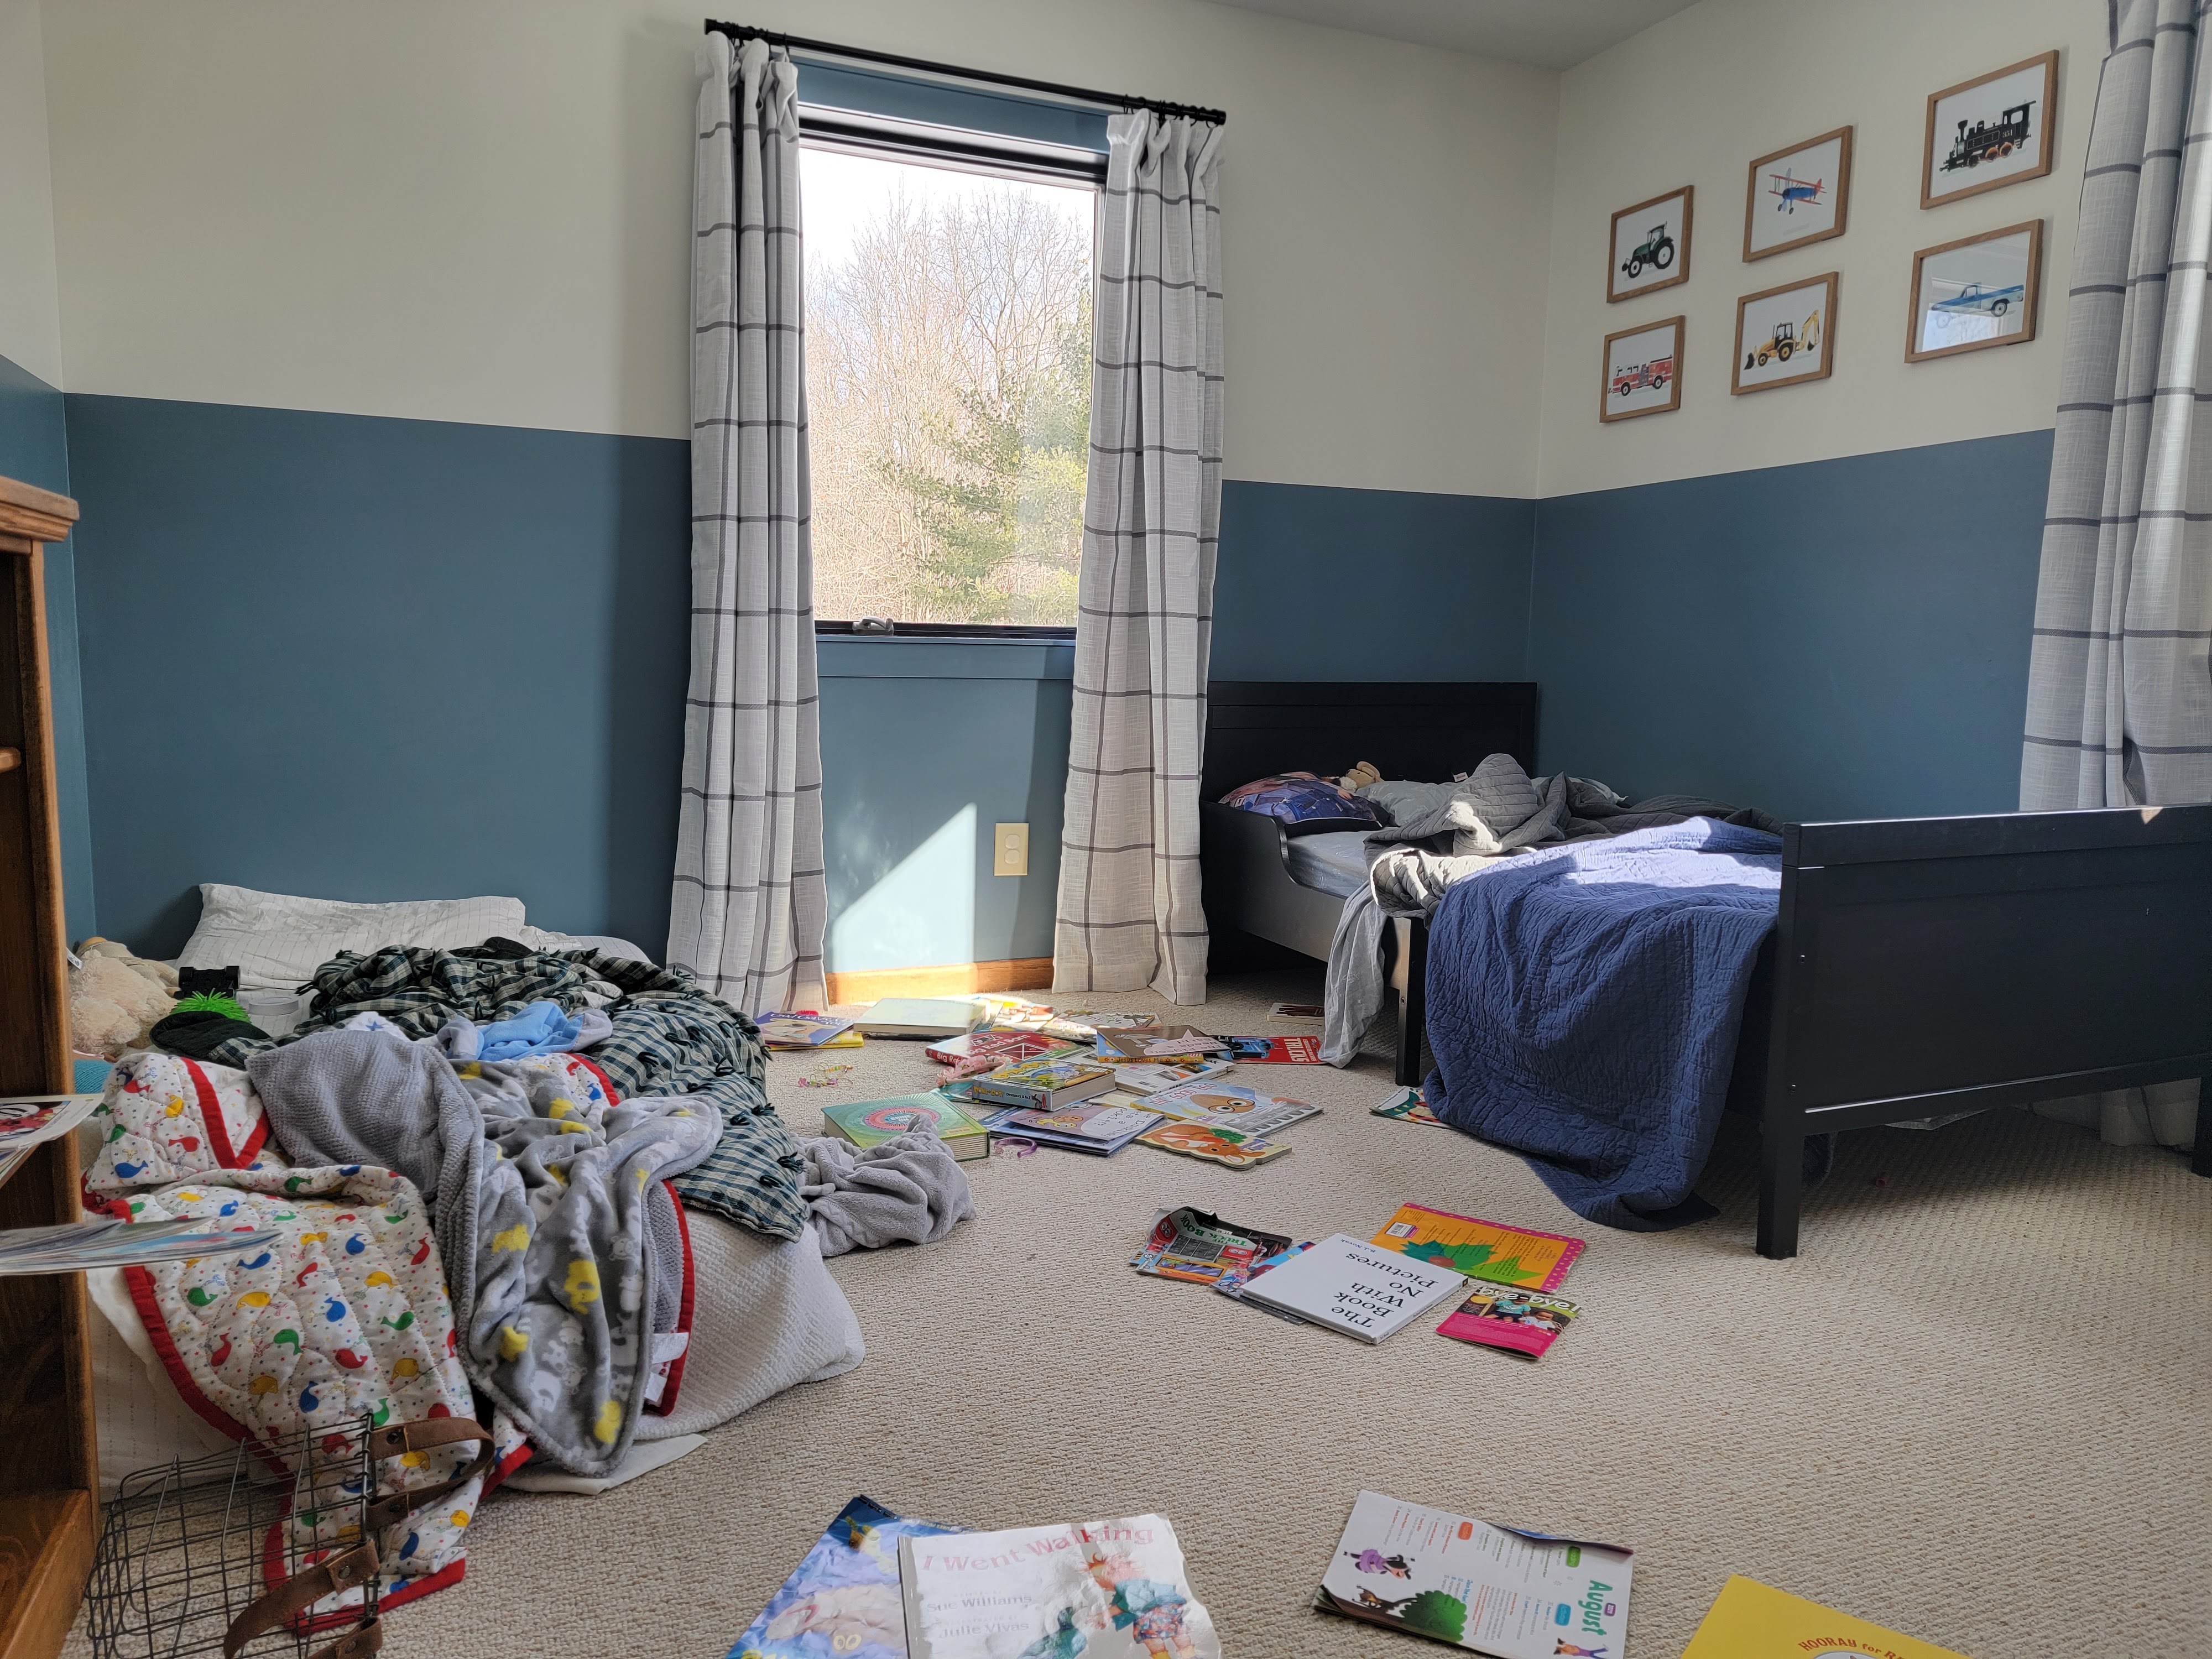
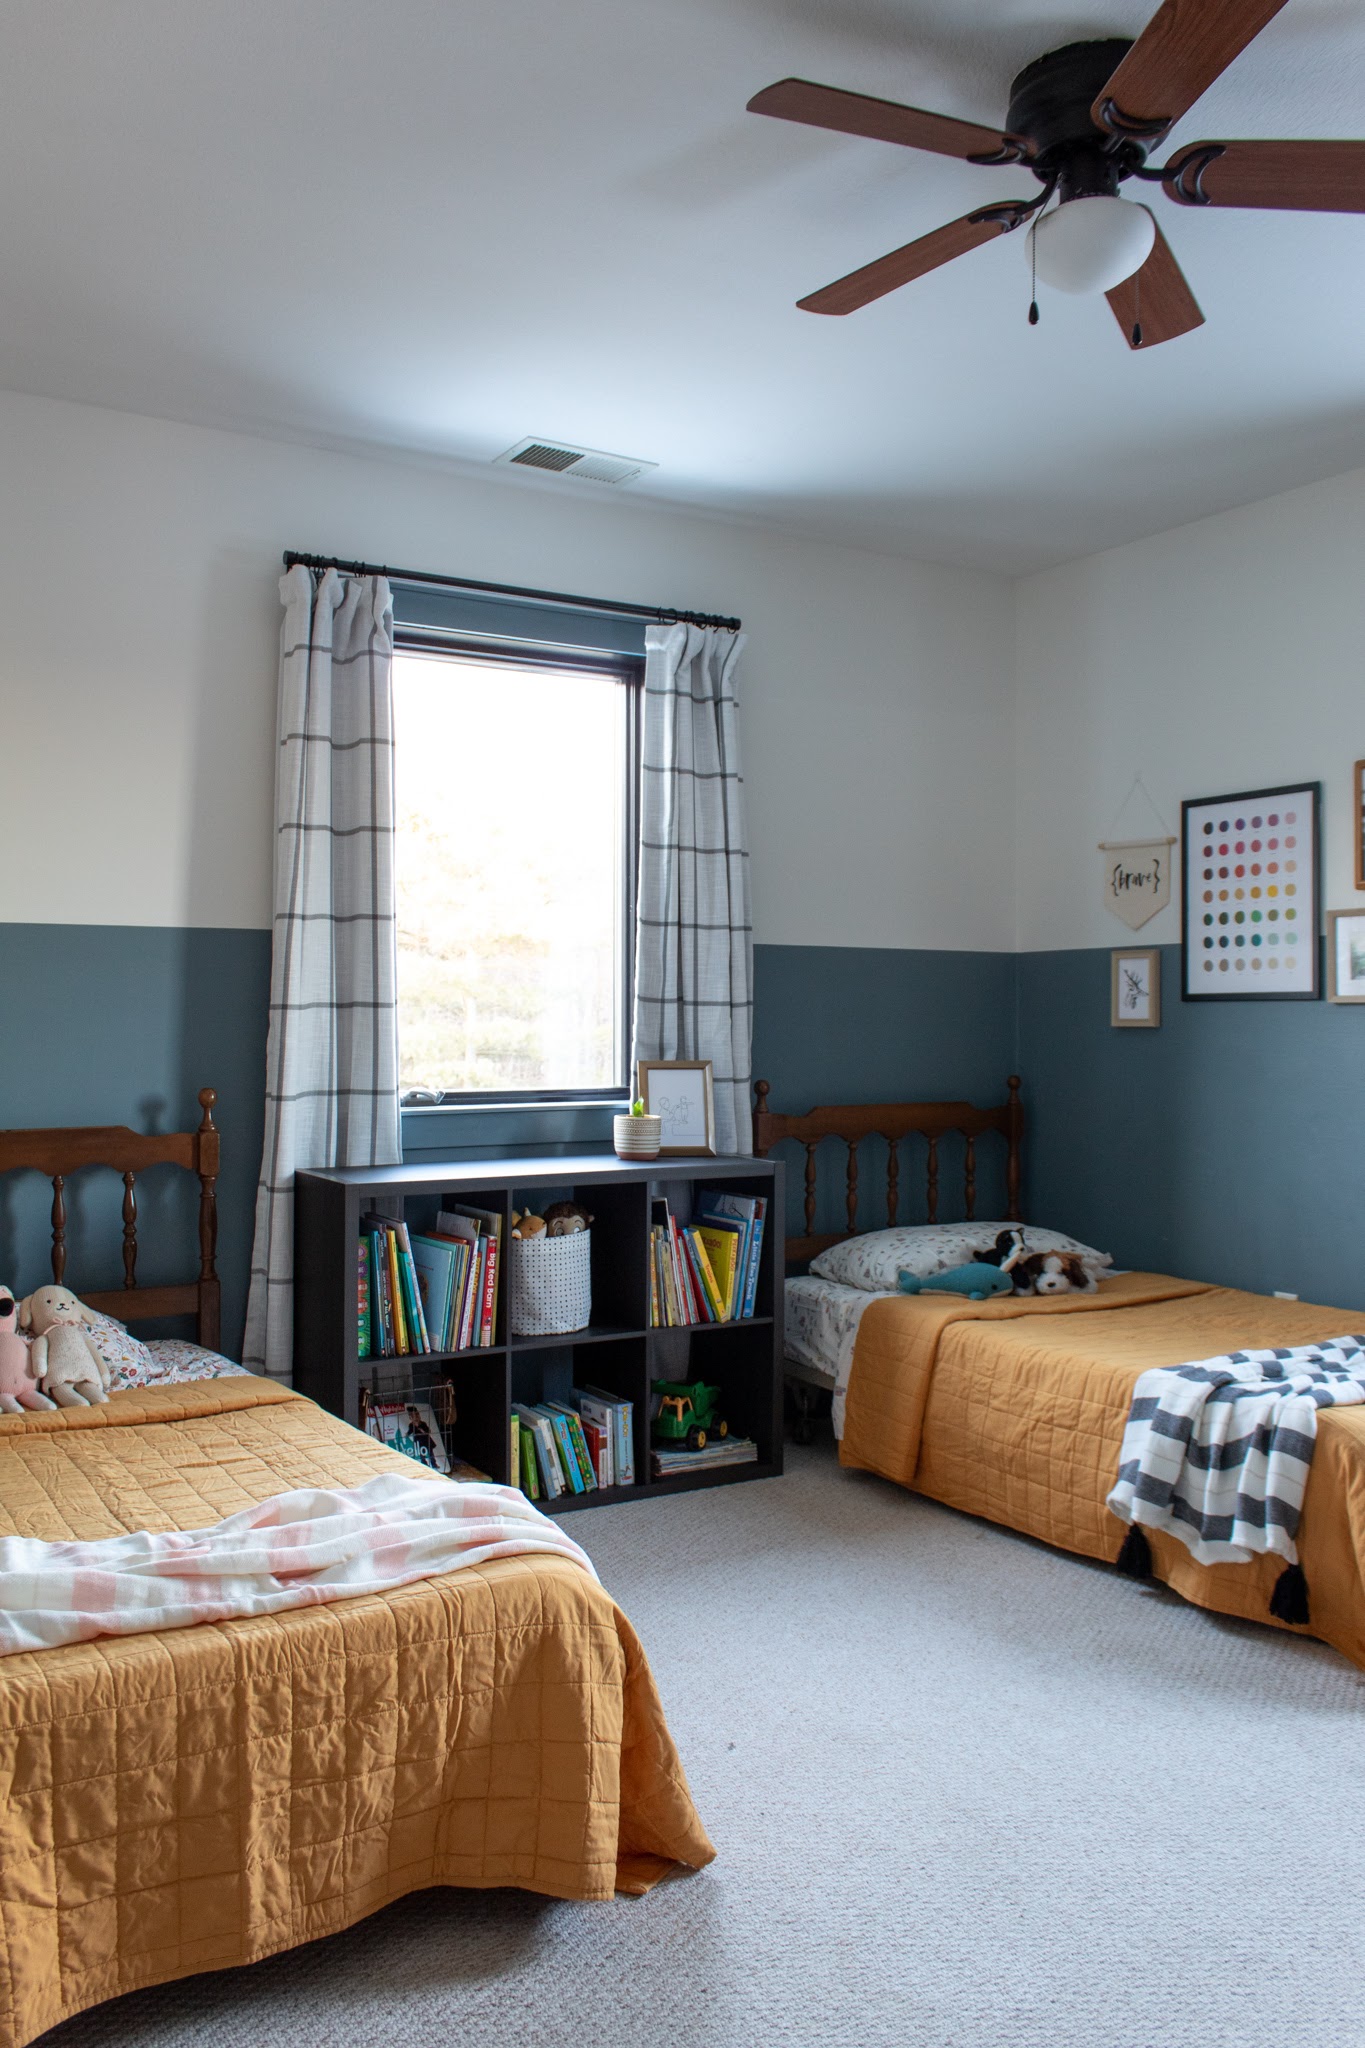
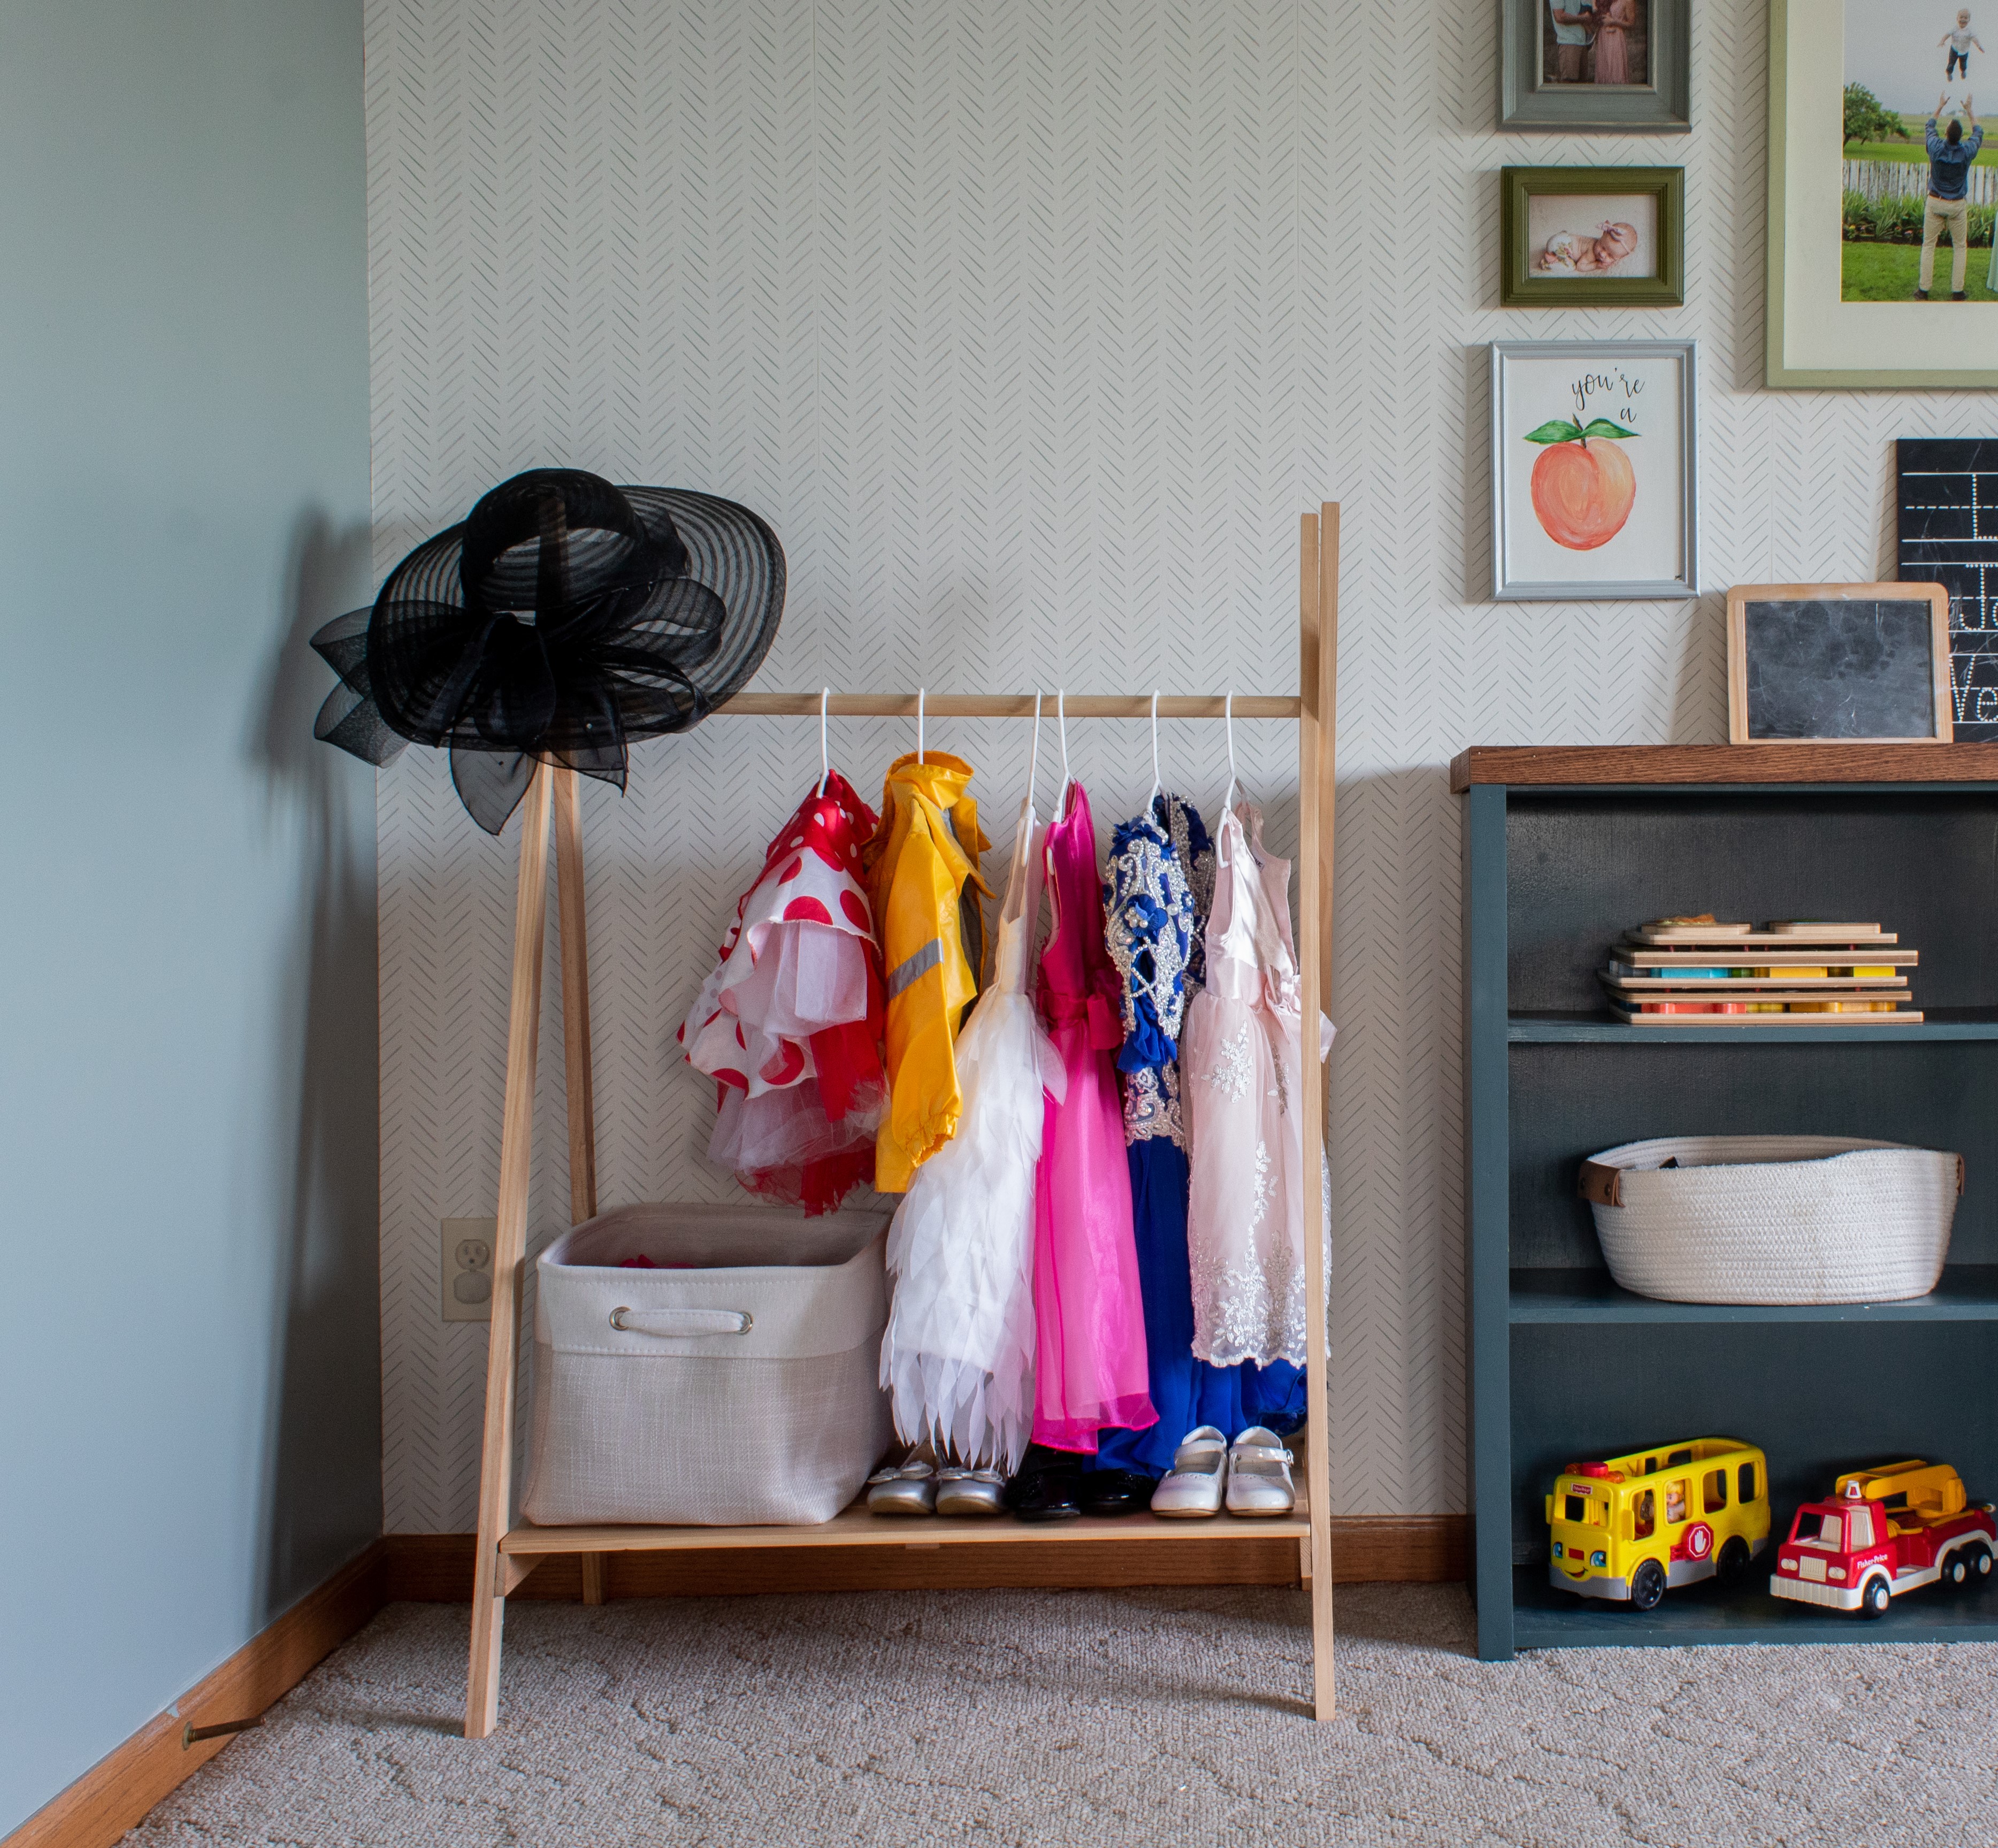
Once I updated the kids shared room with matching beds and new furniture, the short, narrowly placed curtains just felt cramped. Three out of four of them were behind something, and they didn’t do much to make the room feel more expansive. I shared my dilemma in this post: replace curtains or go without?

I took down the old curtains and hung blackout blinds only. (Side note: these were very easy to install and I was able to do it completely by myself!) Going to just blinds actually made the room feel too empty. Plus, I needed curtains to block out the small strip of light that still came through around the sides. Also, Vi’s side of the room has four more inches of wall space than LJ’s – without curtains to help offset the difference, it’s pretty obvious when you’re in the room.
So it came full circle back to curtains, but this time – I wanted them high and wide! My main goals were to make the room feel taller and more expansive and offset the asymmetrical wall space by cheating that curtain side out just a little. I ordered these grid curtains, which I thought would add a little pattern and fit my gender neutral theme, but could also definitely stay long term when Vi moves out since this will eventually be a shared boy room. The curtain delivery got a bit delayed and just came in last night; I was too excited to finally get them up on the wall so rather than wait for Justin to come home, I decided to figure out how to hang the new rods and curtains myself!
I followed this tutorial from Young House Love and made a quick little template out of cardboard marking where I wanted each curtain rod hook to go. I drilled pilot holes, hammered in anchors, and secured each hook in place. Following that tutorial made things surprisingly very doable for one person and I’m so proud that they are hung securely and evenly!

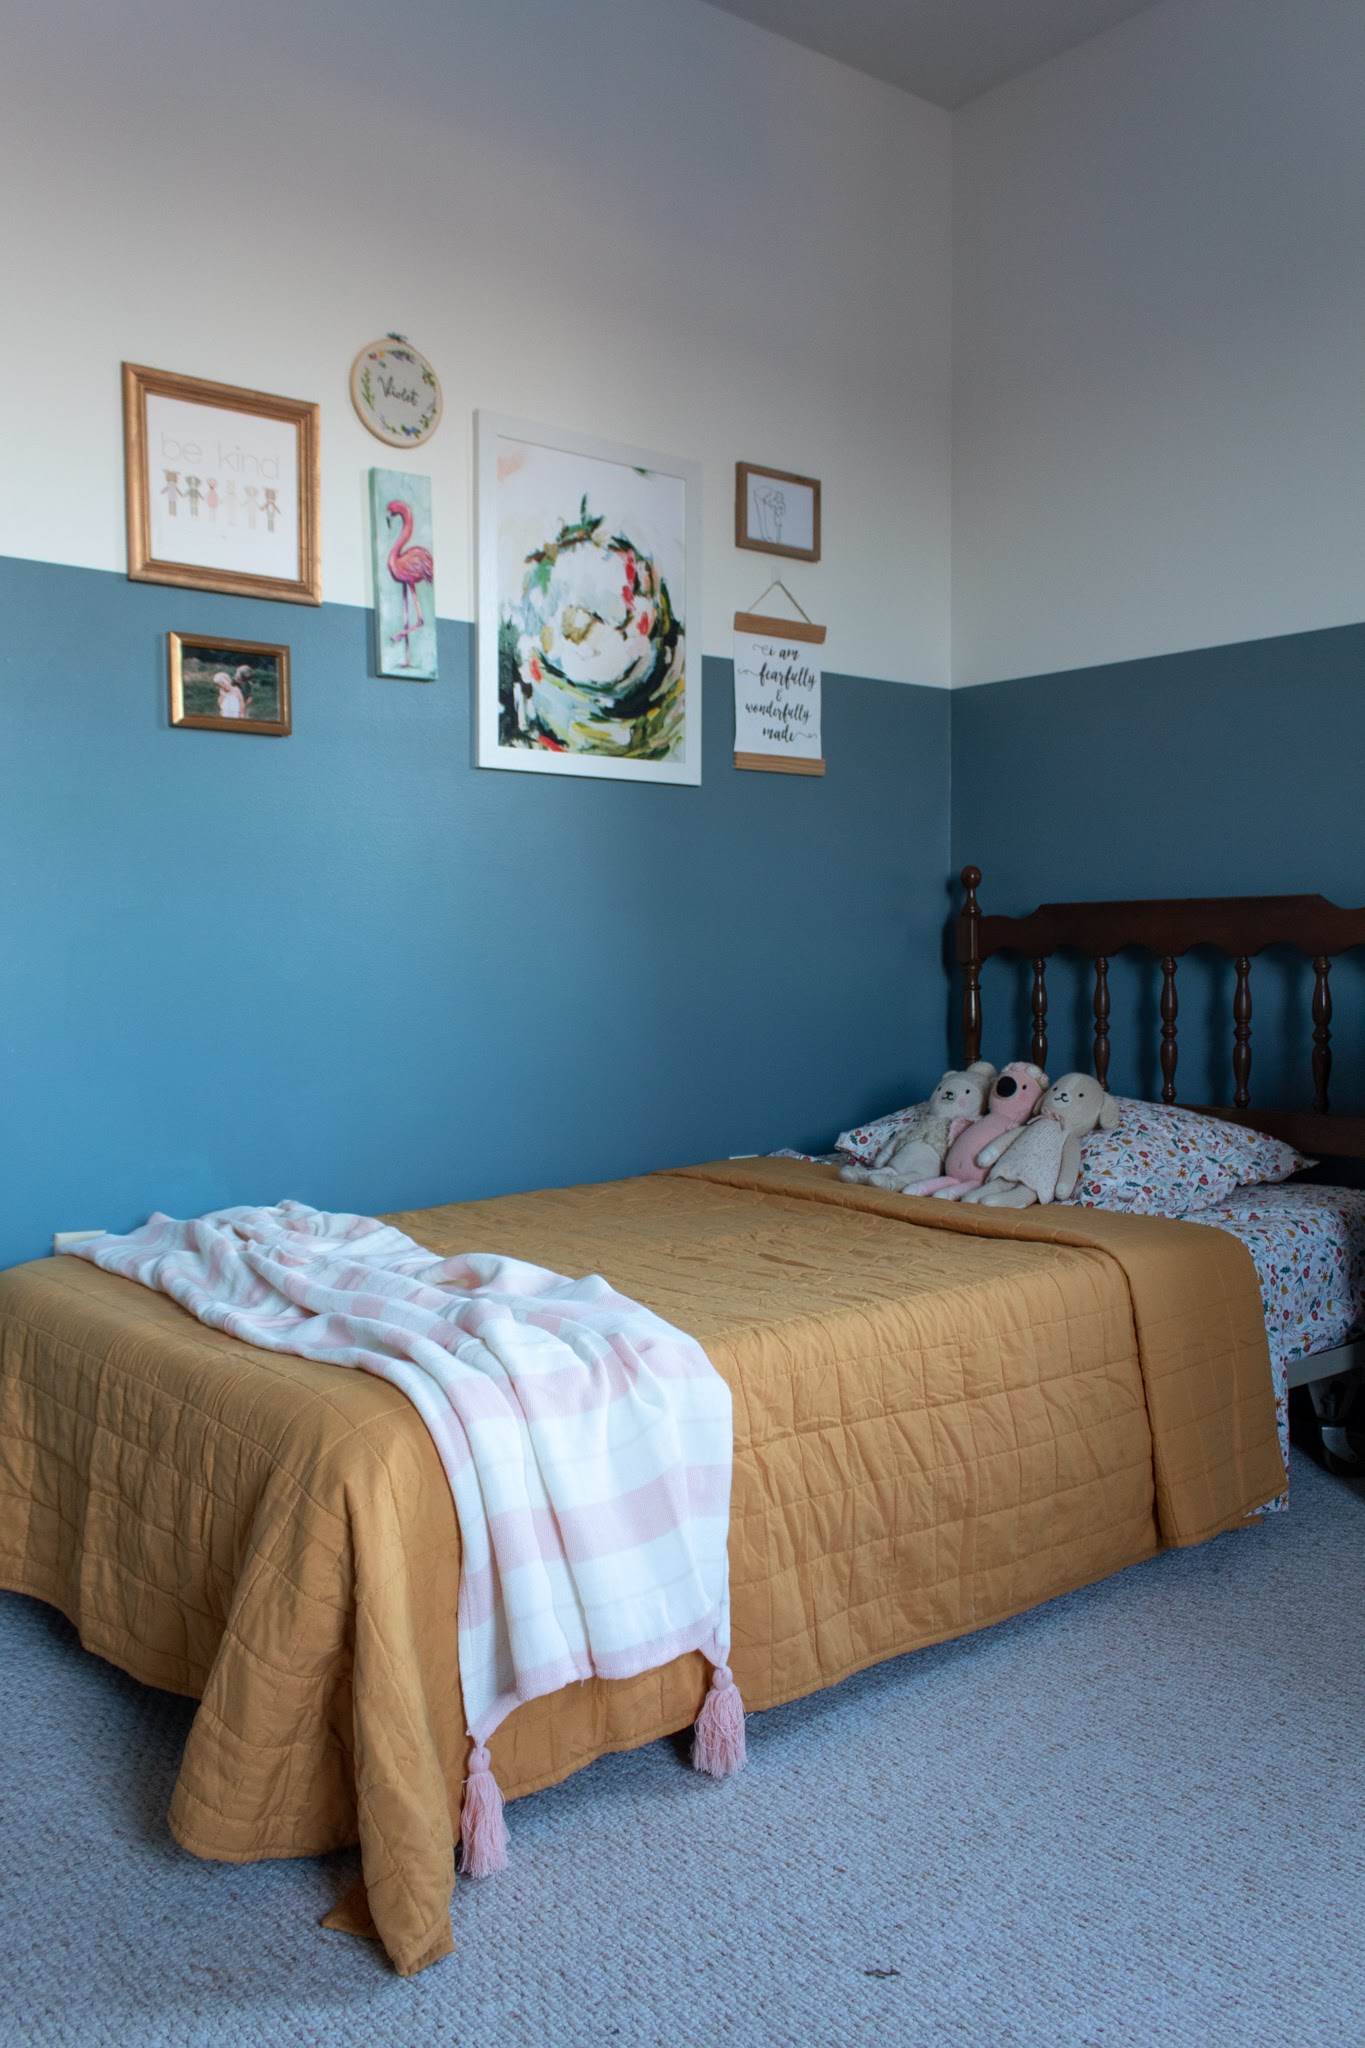
If you look closely, you can see I cheated just a bit more fabric width onto Vi’s side of the room. I don’t think it’s noticeable unless you’re looking for it, but it does make the sides feel more balanced! I’m very happy with how it looks and am feeling so accomplished to have done all this by myself in just under 90 minutes.
As happy as I would be to just sit back and enjoy looking at these new curtains, another delivery for this room is scheduled to arrive tomorrow so I’ll be back working in here soon. I’m excited to keep transforming this space piece by piece!
Sources
Wall Color: Sherwin Williams Eider White and Nordic Bleu
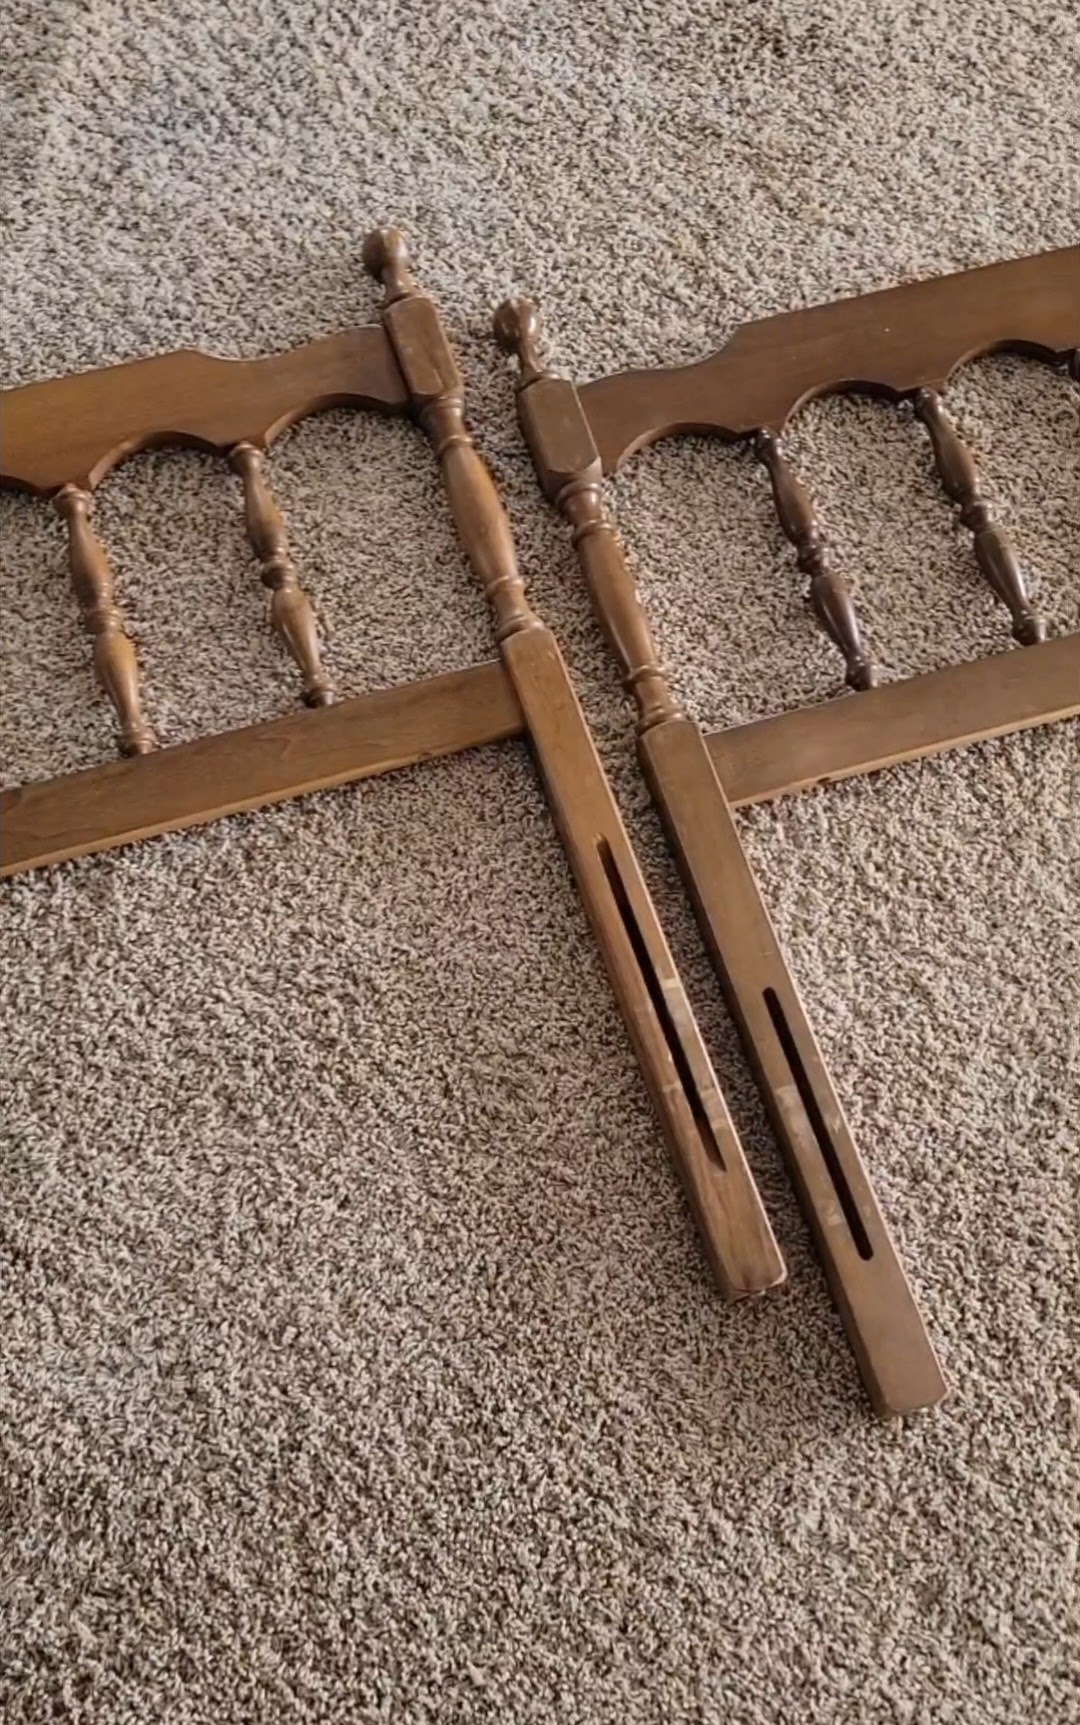
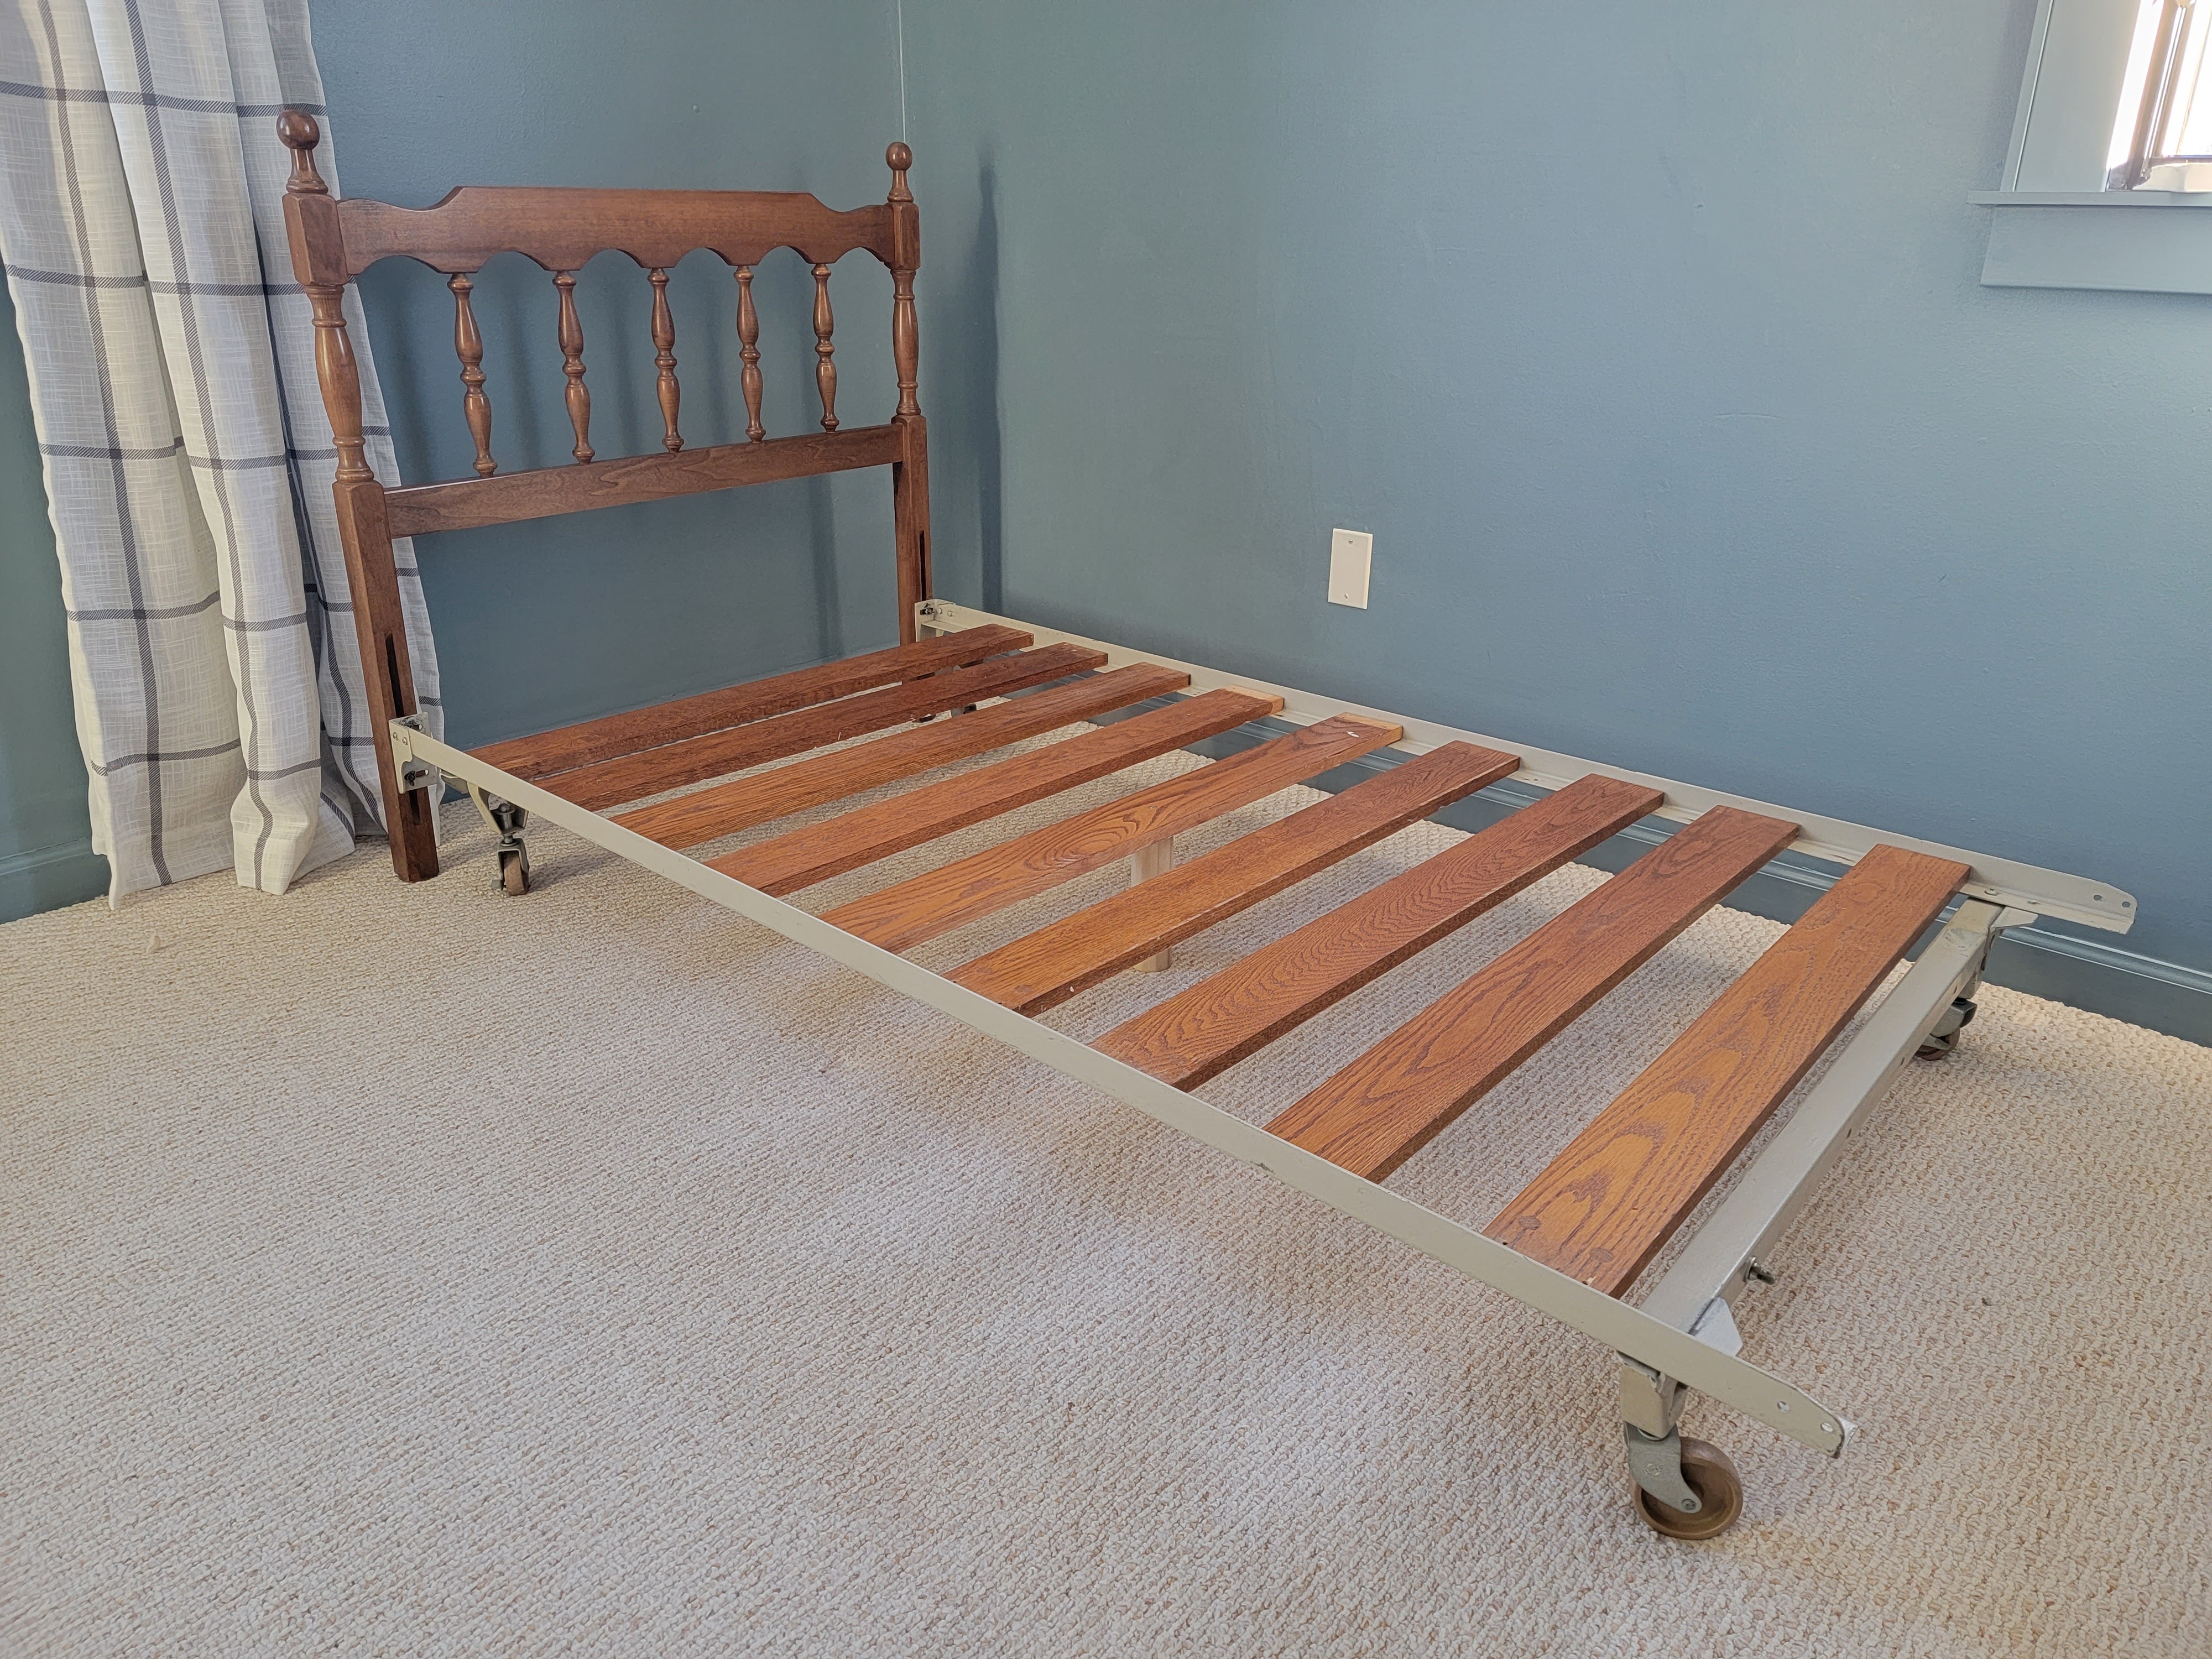
Bedframes: Vintage